
This article from ThinkPlay will be your guiding light, providing detailed step-by-step instructions, unveiling every secret, and ensuring you don’t miss any crucial details in this mysterious bamboo forest.
Back Hills
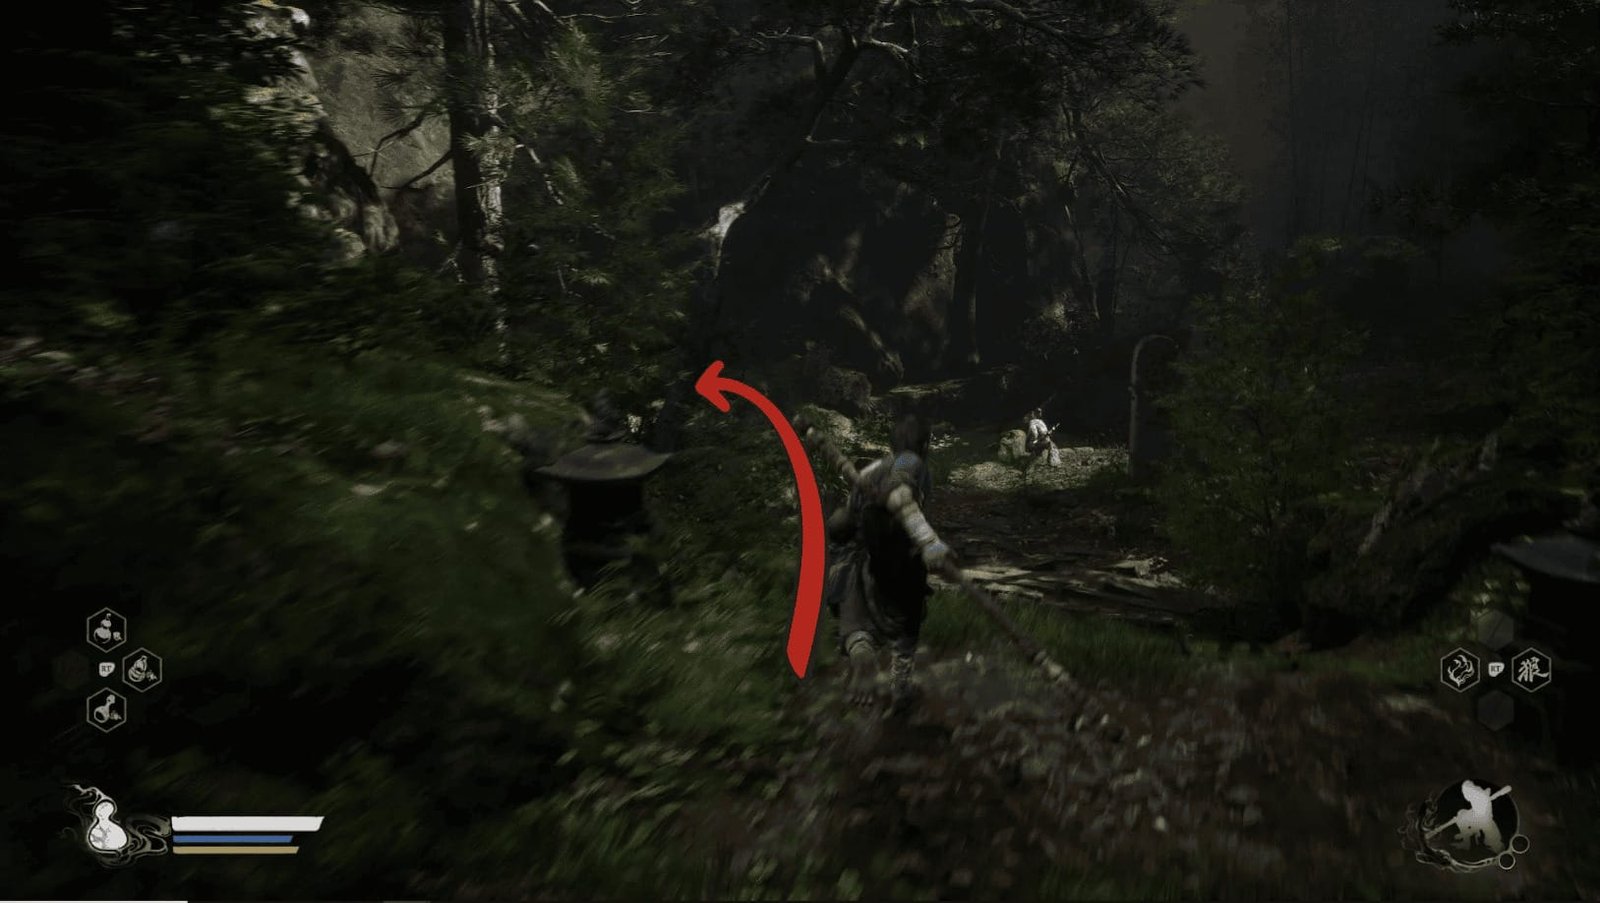
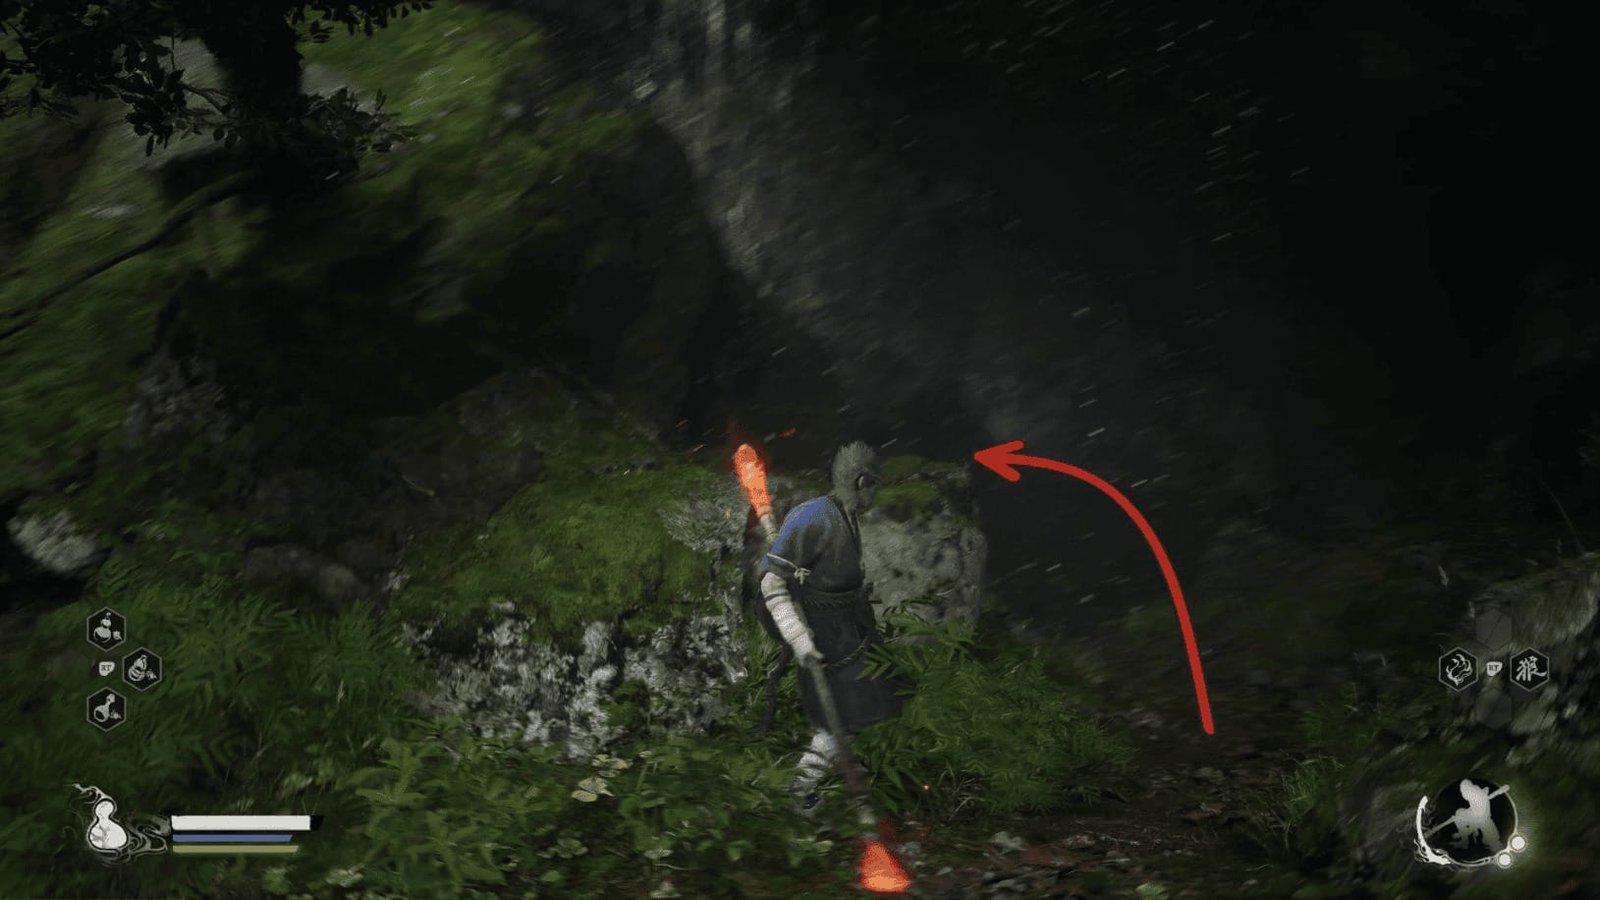
Your journey begins at the Back Hills Keeper’s Shrine – the first fast travel point in the area. After resting and replenishing your health and energy, head down the stairs. Don’t rush forward; instead, turn left and follow the small path leading into a cave.

Here, you will meet Horse Guai – a friendly NPC (Non-Player Character). Don’t worry, Horse Guai will not attack you. Take your time to talk to him, listening to all the dialogue options to unlock valuable information about the Black Wind King and the current situation on the mountain.
Right in the middle of the cave, you will find the second Meditation Spot. Interact with the small pillow in the middle of the cave to activate this meditation point. Doing so will not only help you recover but also grant you a Skill Point – used for upgrading your character’s combat skills.
Leaving Horse Guai’s cave, return to the main path and continue your journey. Keep an eye out for your surroundings; you’ll easily spot Jade Lotus – jade lotus, growing in the pond, and Gentian – gentian, growing right on the right side of the path. These are important medicinal herbs, so be sure to collect them.
Moving on, you’ll see a broken section of the fence on the right side of the path. Go through it, and you’ll encounter the Wolf Sentinel – a new type of wolf that uses a small halberd (a type of long-handled weapon) to attack. The Wolf Sentinel is quite agile with its continuous slashes and leaping attack from above. Carefully evade, wait for him to finish his attack, and counter with a heavy attack. After defeating the Wolf Sentinel, don’t forget to open the large wooden chest he was guarding.
Continuing along the narrow path, you’ll descend and go down some stairs until you see a large slab with a mural on it. Just to the right of the slab is a small alcove; go in there to collect a Snake-Head Mushroom – a type of mushroom with a snake-head shape.
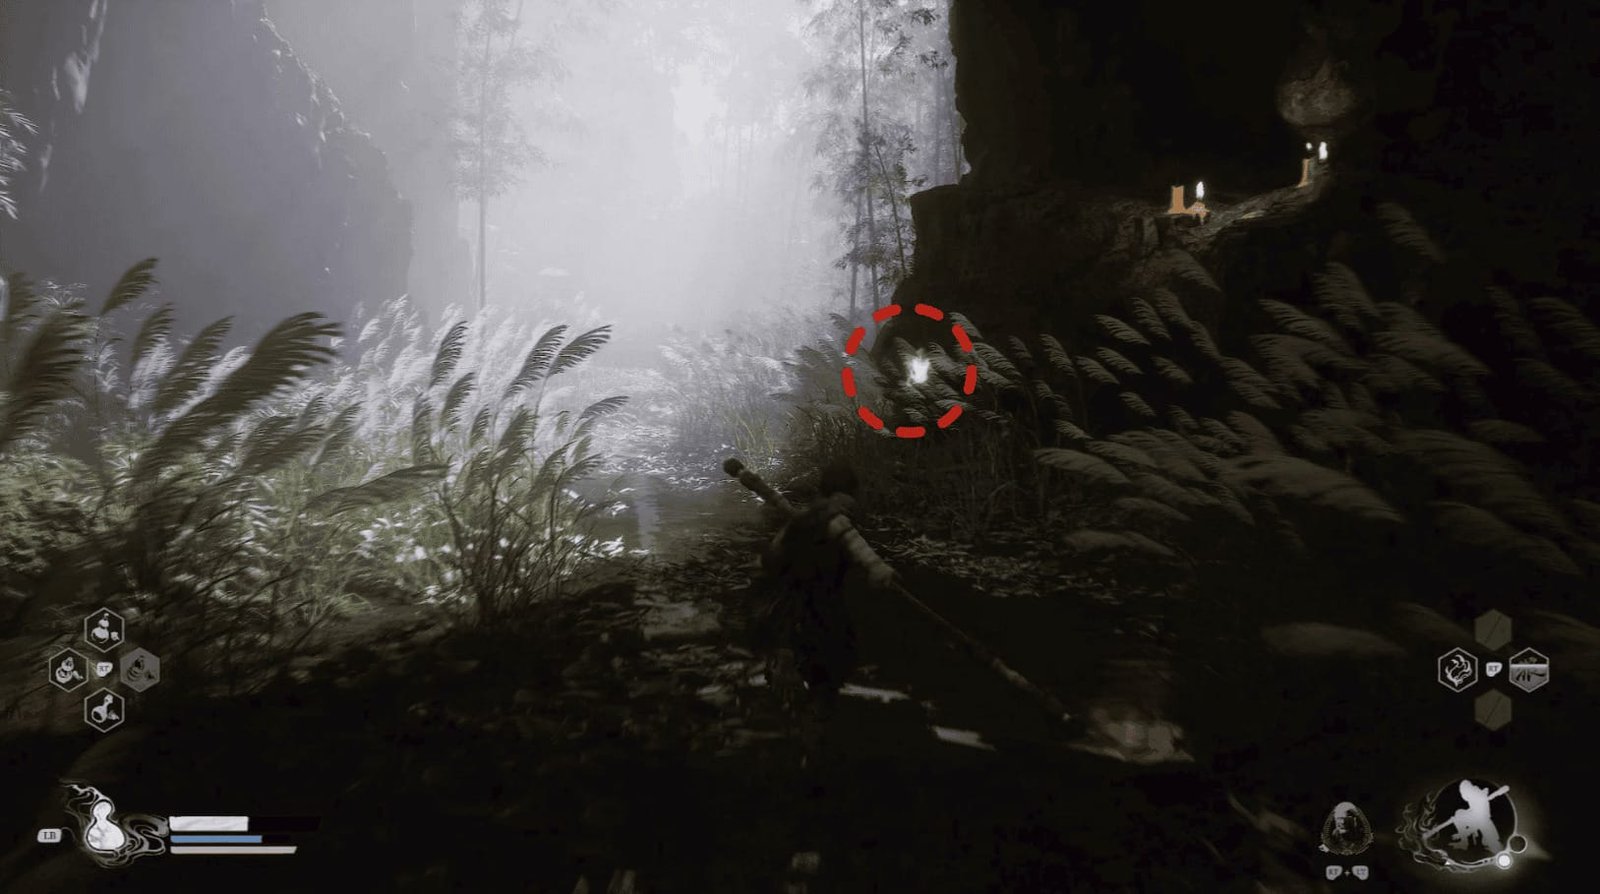
Ahead of you is the foot of a small waterfall, where a few Croaky – frog monsters, are waiting among some Jade Lotus. Defeat them and collect the Jade Lotus. You’ll also find a green wisp of light (Will) here. Another Will wisp can be found below the opposite waterfall. To get there, start going up the stone stairs on the side and look to the left to find a small canyon.
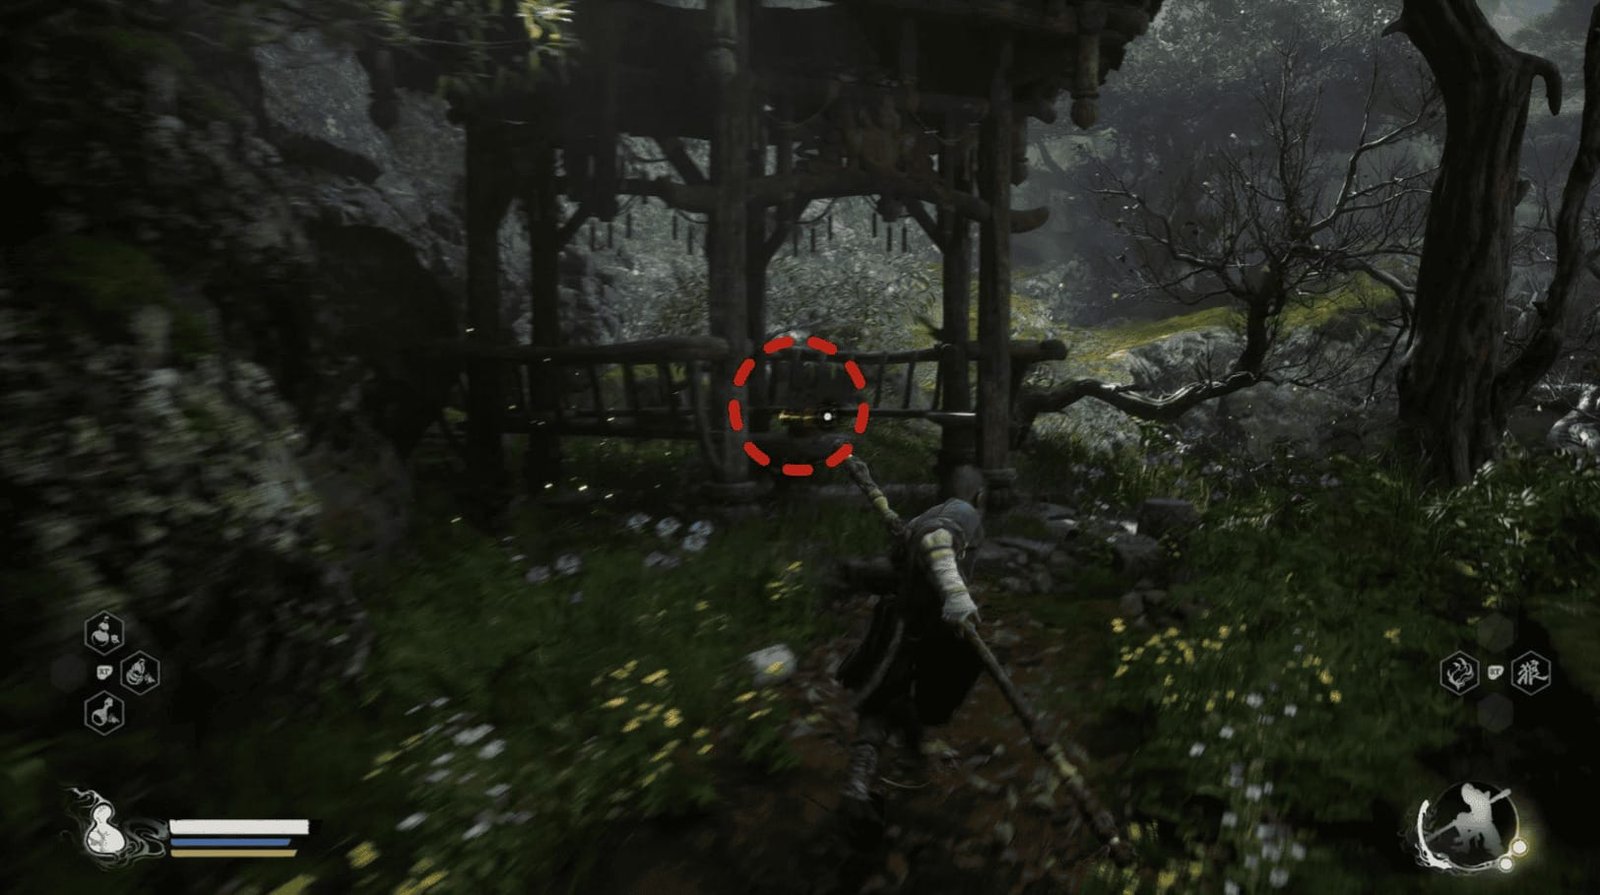
Continue up the stairway to cross the high bridge over the falls. You’ll soon see the golden trail of a nearby Shrine (fast travel point) beckoning you to the left. But before making that turn, be sure to look to the right. You’ll see a small wooden gazebo with a small table. On the table is a small gold box containing a variety of medicines: 2 Tiger Subduing Pellets, 1 Evil Repelling Medicament, and 1 Amplification Pellet. Be sure to collect them; these items will be useful for the journey ahead.
Snake Trail
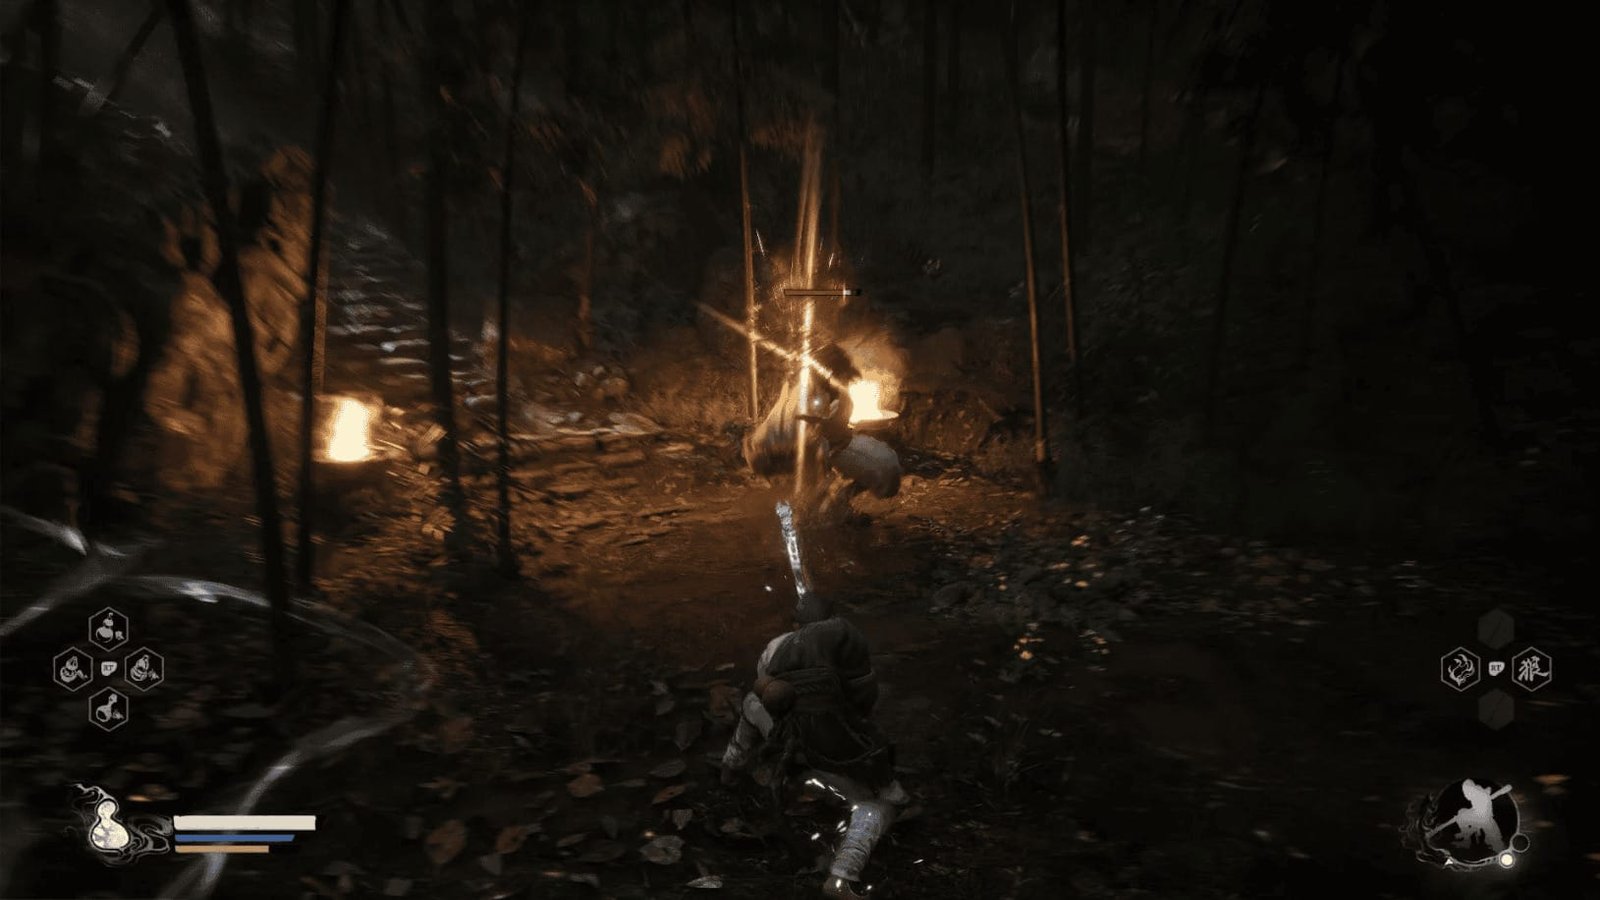
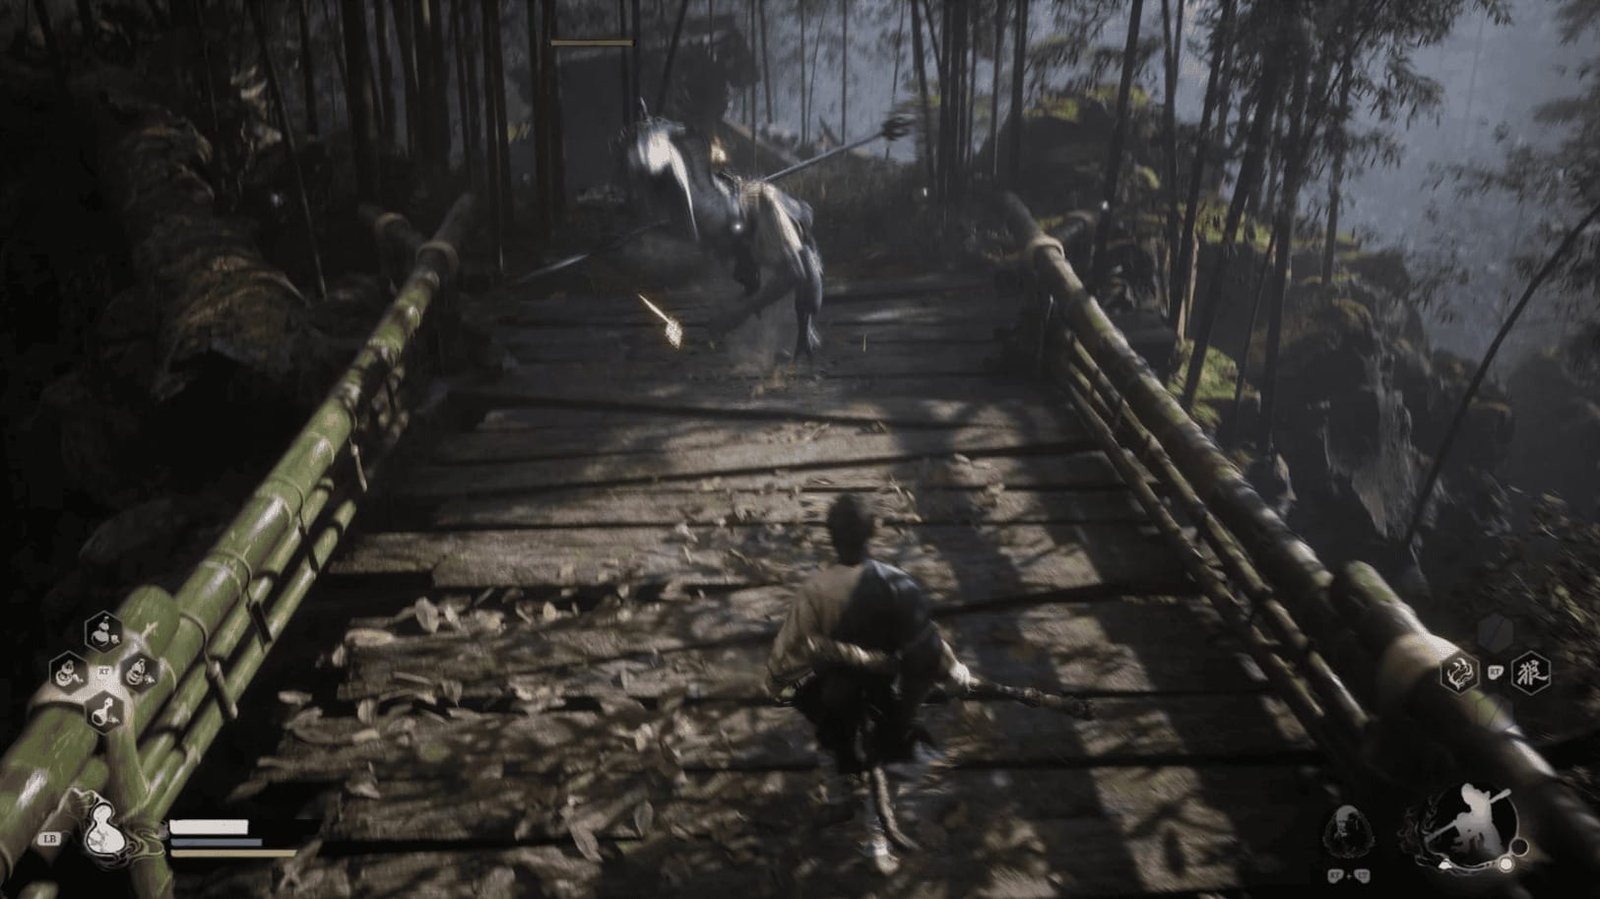
Following the path leading to the Shrine, you’ll encounter a Crow Diviner – a bird-like enemy that uses twin blades and sharp claws. He’s very agile with combo attacks, especially the reverse blade swing and the jumping claw kick. Be careful to dodge and counter when the opportunity arises. The good news is that the Crow Diviner will not respawn after being defeated.
After defeating the Crow Diviner, activate the Snake Trail Keeper’s Shrine so you can fast travel here later. Look to the left of the Shrine, and you’ll see an awning with a few pots. Break them. There’s a shortcut leading to the nearby canyon by jumping over the rocks. However, ThinkPlay recommends following the main path to avoid missing important items and secrets.
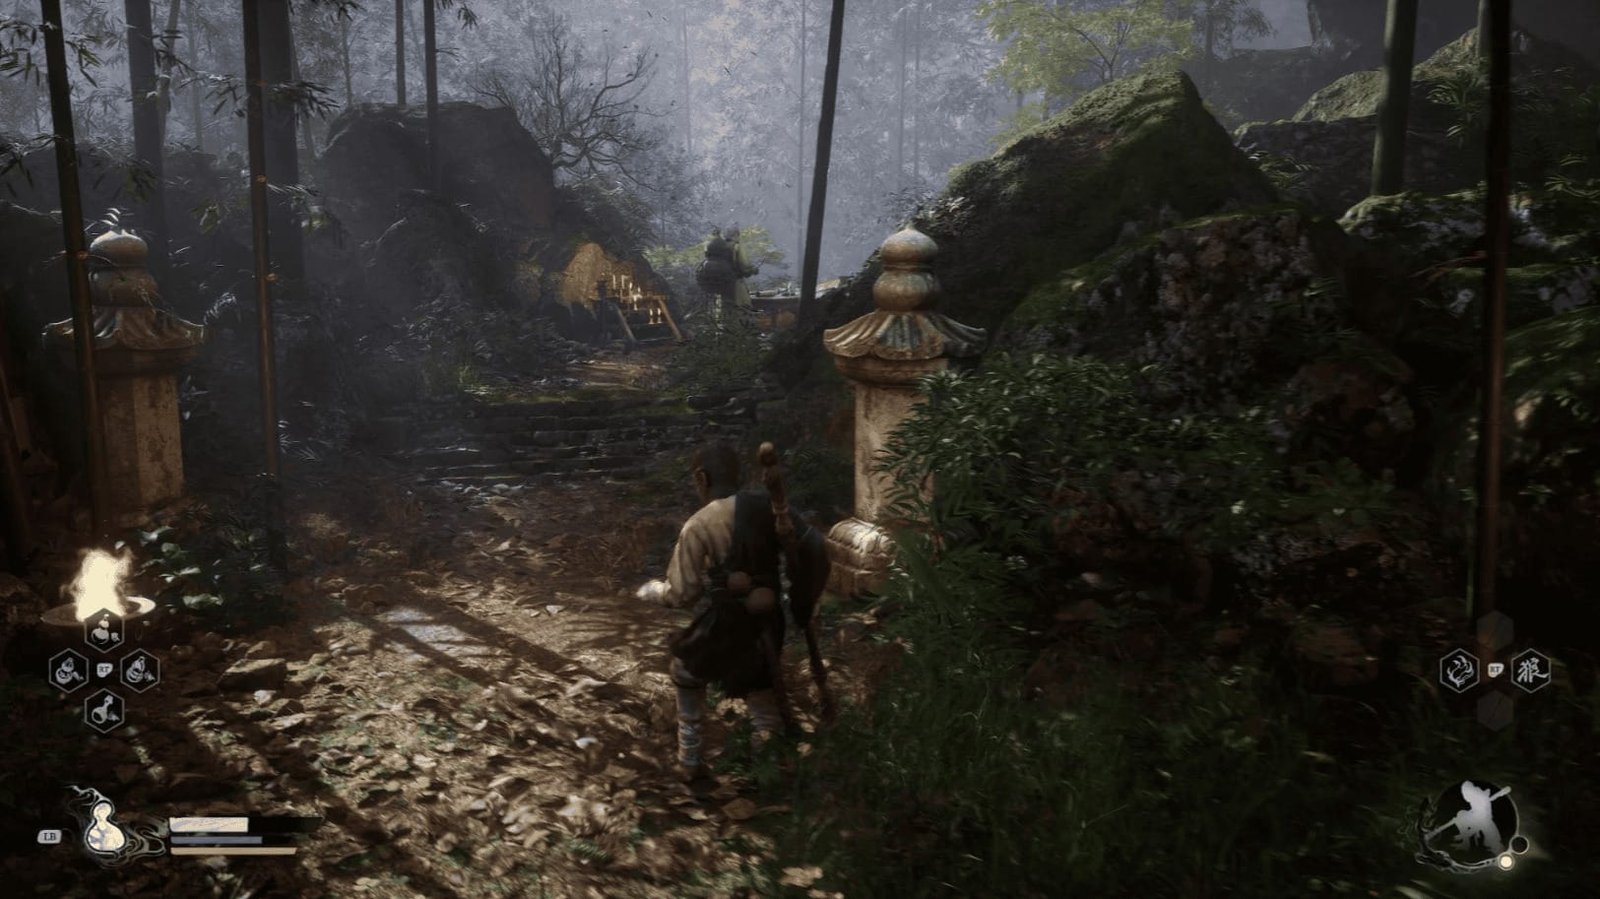
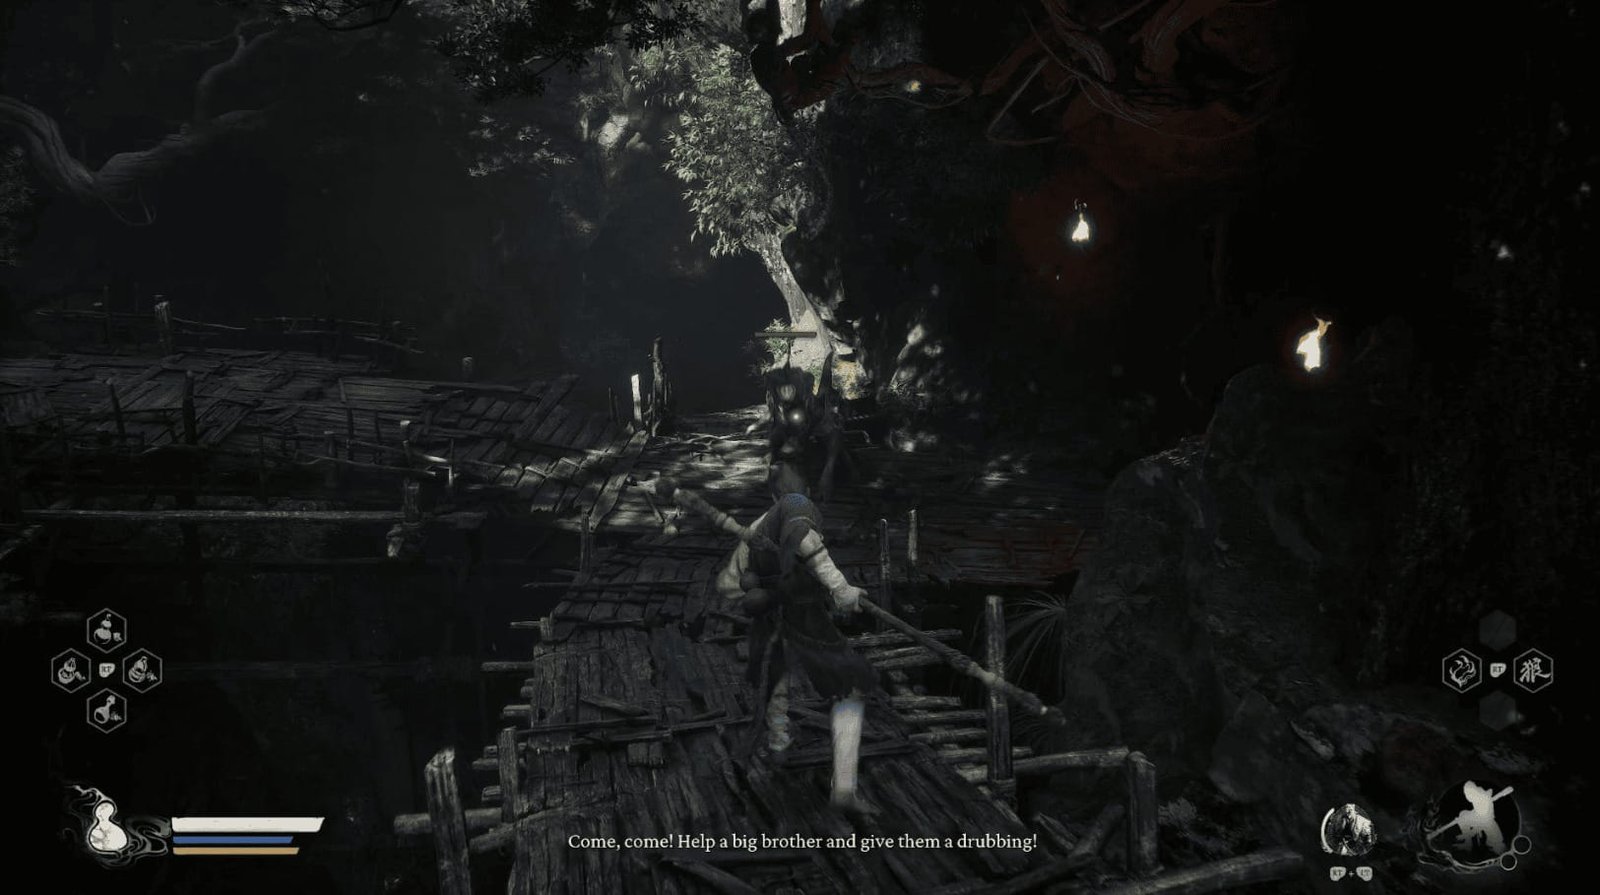
From the Shrine, go up the stairs and turn right before reaching the large bridge. You’ll see a strange man with a giant gourd on his back, reciting poetry. As you approach, he’ll ask if you’ve seen the nameless souls (Will) floating around.
This man will give you the Blessed Gourd – a magical gourd. This item allows you to absorb Will – the green wisps of light, not only providing a larger amount of currency but also replenishing the number of uses of your healing gourd.
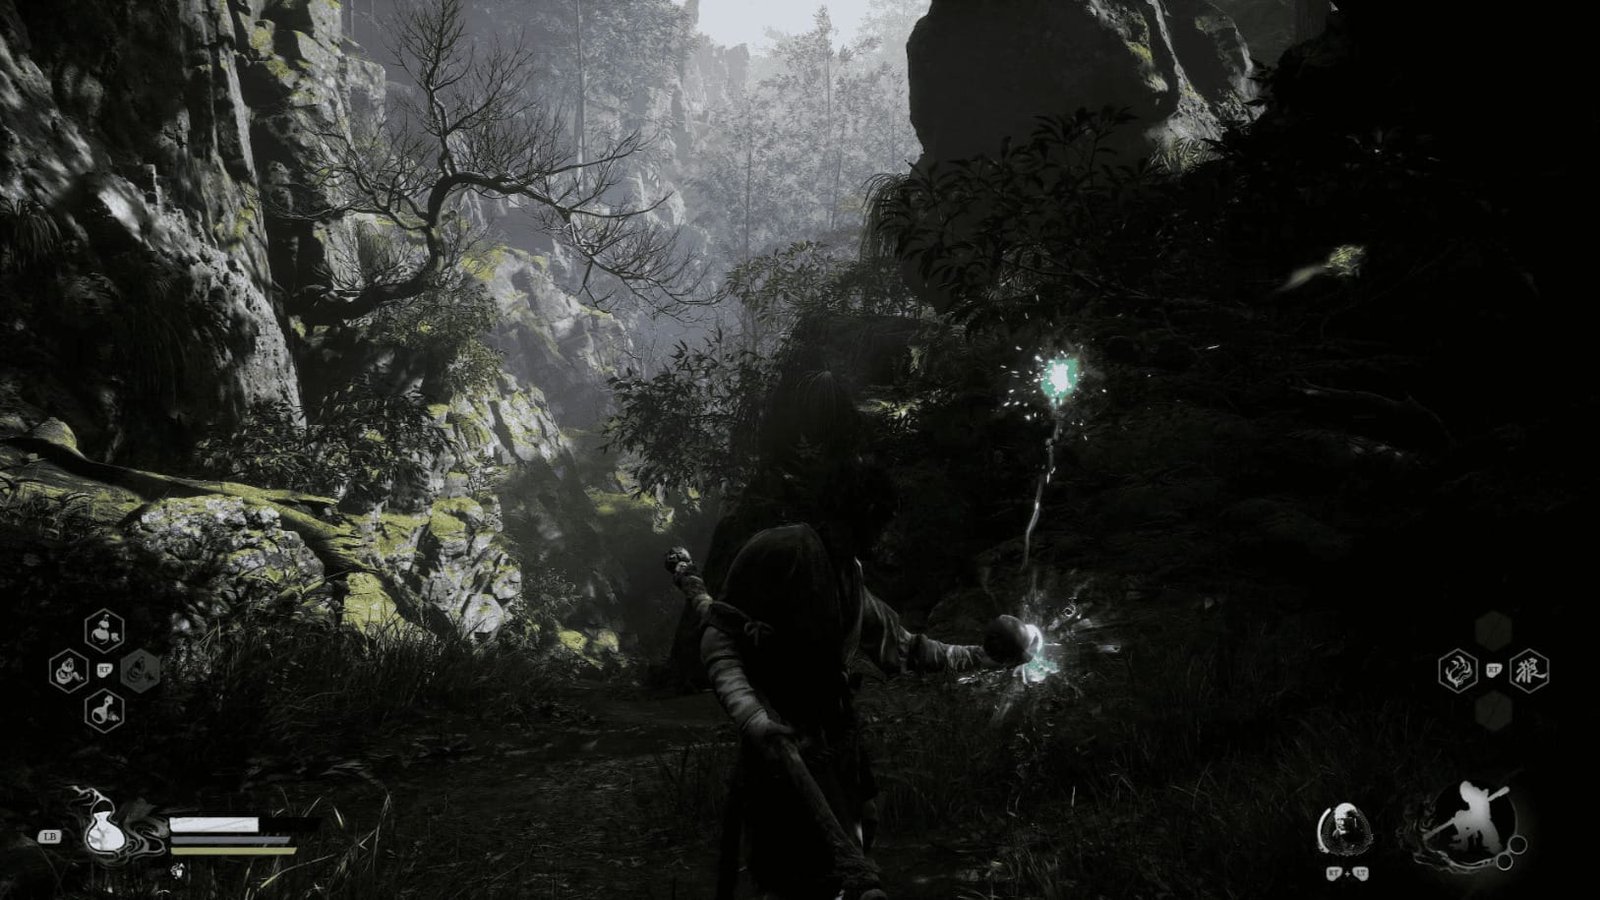
More importantly, the Blessed Gourd allows you to collect Spirits – the souls of certain special enemies. After defeating these enemies, you can absorb their spirits using the Blessed Gourd. Spirits can be equipped in a special slot and will be charged as you fight and earn Qi (energy). Once the Spirit bar is full, you can unleash their power by holding the right trigger (R2/RT) and then pressing the left trigger (L2/LT).
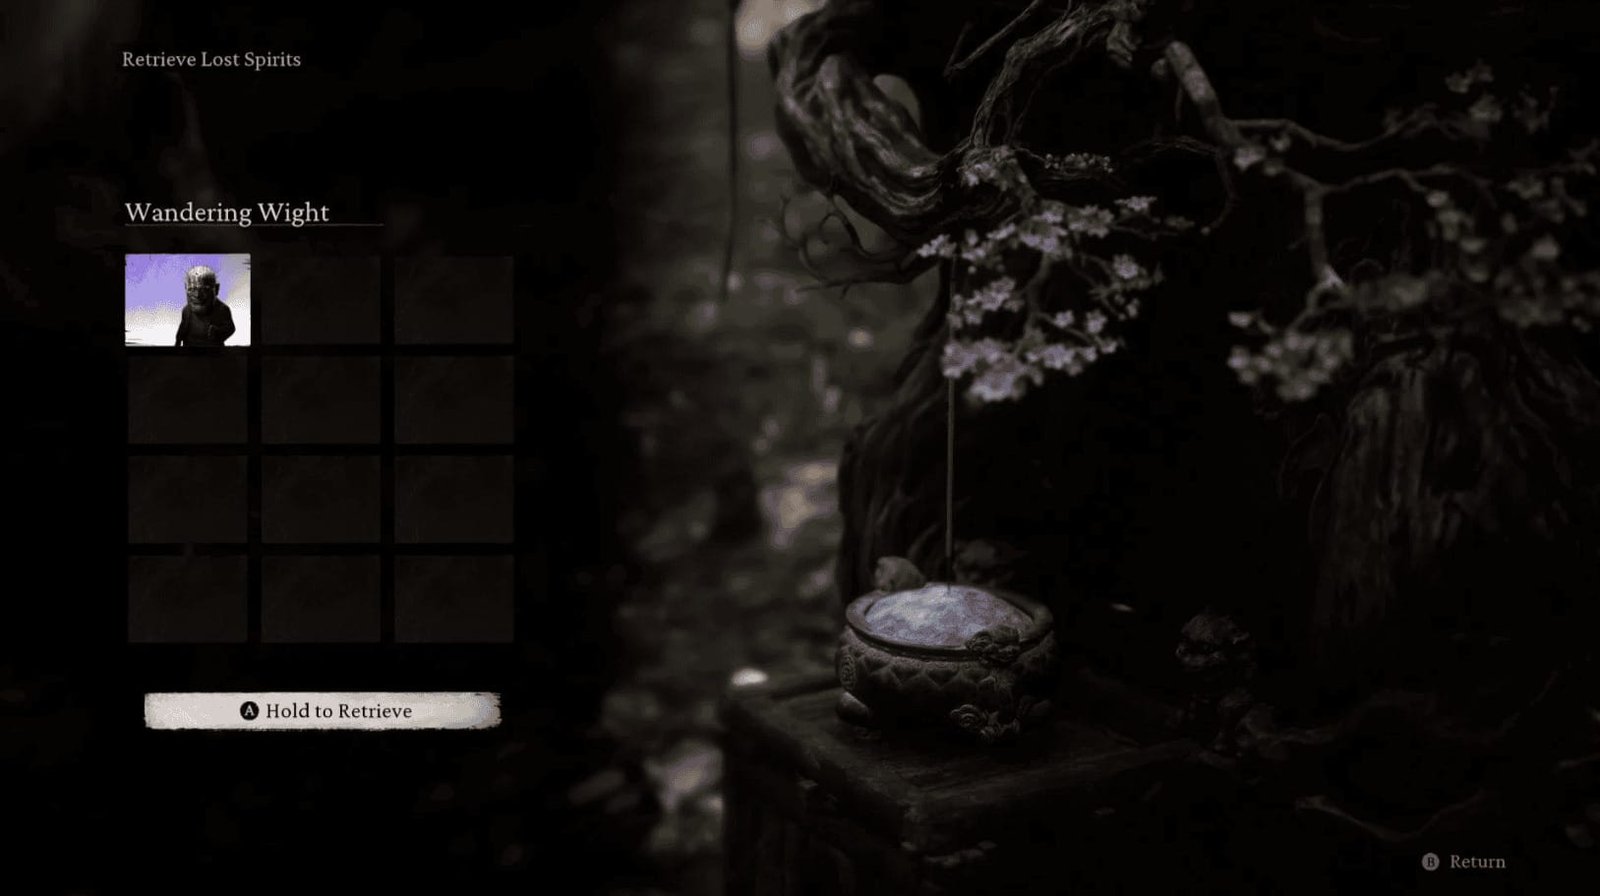
You may already have a Spirit in your possession, that of the Wandering Wight – an enemy you might have encountered in the Forest of Wolves. If you defeated him but couldn’t collect his spirit, return to any Shrine, select the “Retrieve Spirits” option, and then equip it in your inventory.
If you haven’t defeated the Wandering Wight yet, now is a good time to try again.
After leaving the mysterious man, cross the large bridge. You’ll face the Snake Patroller – a snake-like enemy that uses a spear. They often stand upright before lunging with a powerful bite that deals significant damage and inflicts poison. Be careful to dodge and use Antimiasma Powder if you get poisoned. The Snake Patroller can also hold the spear with its teeth and dash forward, swinging it in a combo attack.
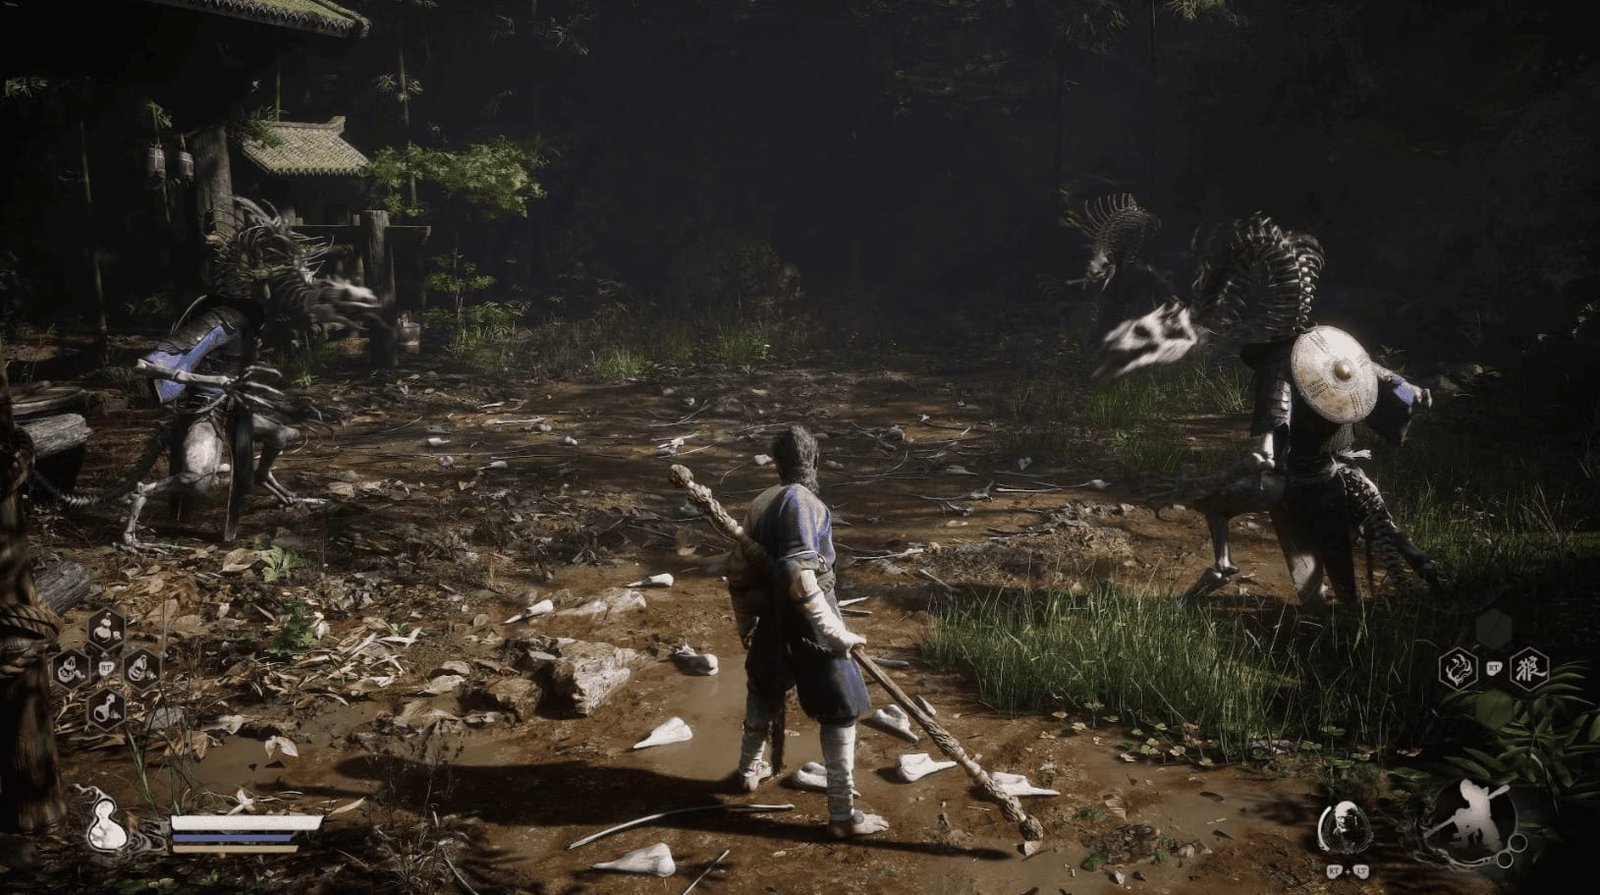
Defeat the Snake Patroller, and check the next area to find a Snake-Head Mushroom. Continue along the path, and you’ll reach a field of bones. Three skeletons will rise from the dead as Skeletal Snakes. Fortunately, they are quite weak, and you can easily defeat them with a few hits.
Exploring the Swamp and Mini-boss Baw-Li-Guhh-Lang
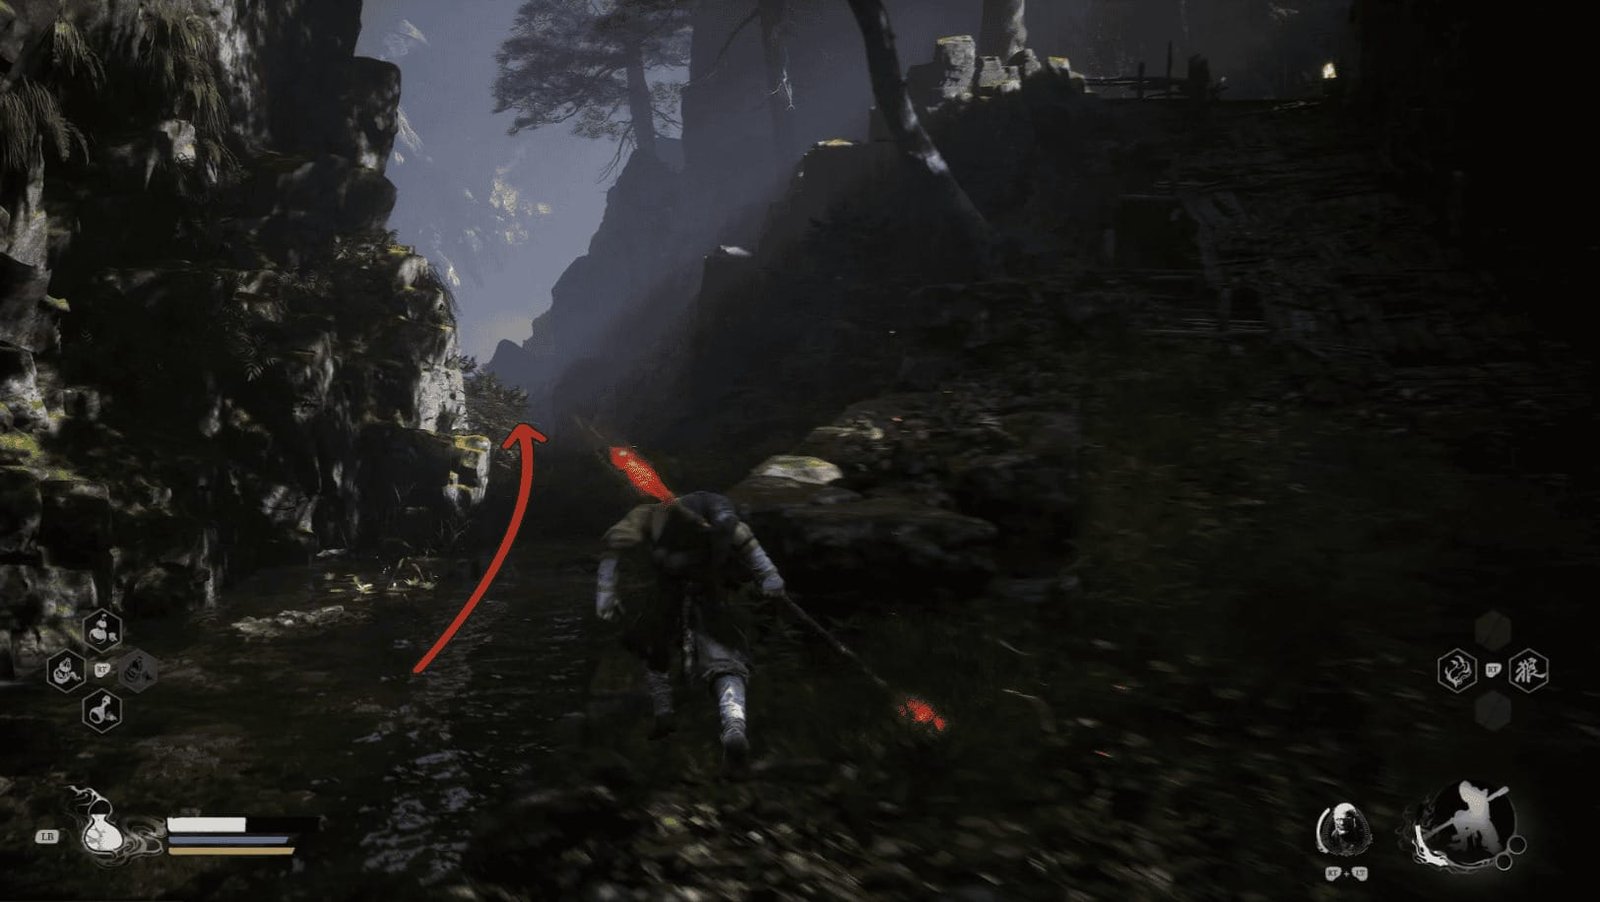
Heading down the trail from the Skeletal Snakes, you’ll find a stream. Here, you’ll see another Snake Patroller on patrol. You can explore an optional area by following the stream instead of going under the bridge. However, remember to check the other side of the bridge to collect a green wisp of light (Will).
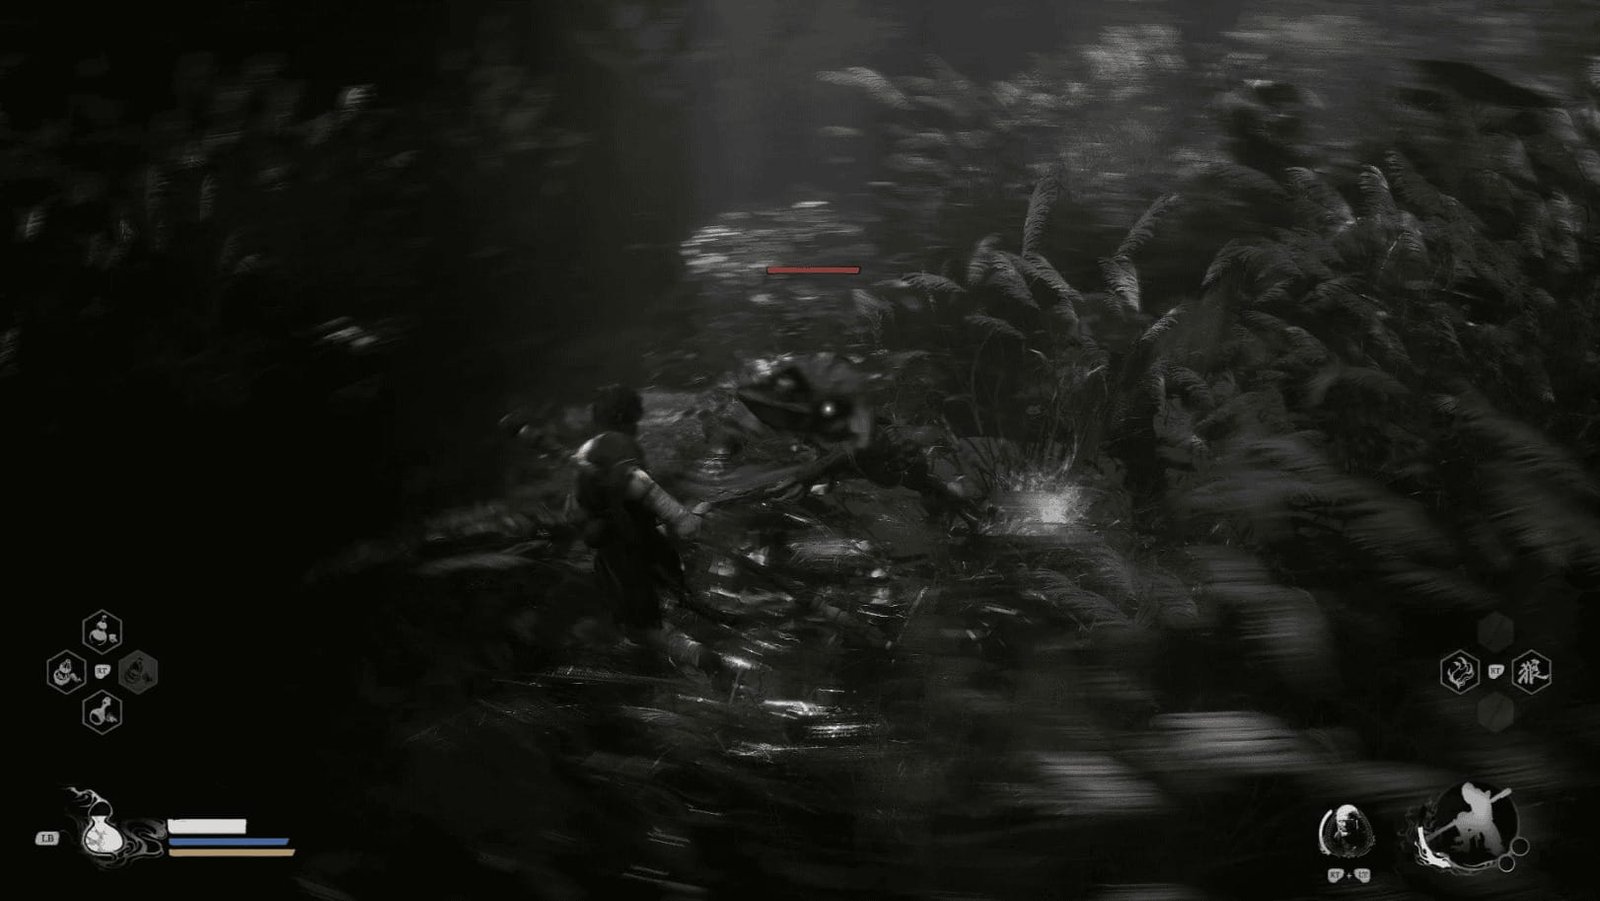
Following the stream, you’ll reach a swampy area with many tall, white reed flowers. Several Croaky are hiding in the reeds. Use the lock-on function to easily spot them and avoid being ambushed. As you make your way through the swamp towards the cliff with a large mural, a mini-boss will appear – Baw-Li-Guhh-Lang.
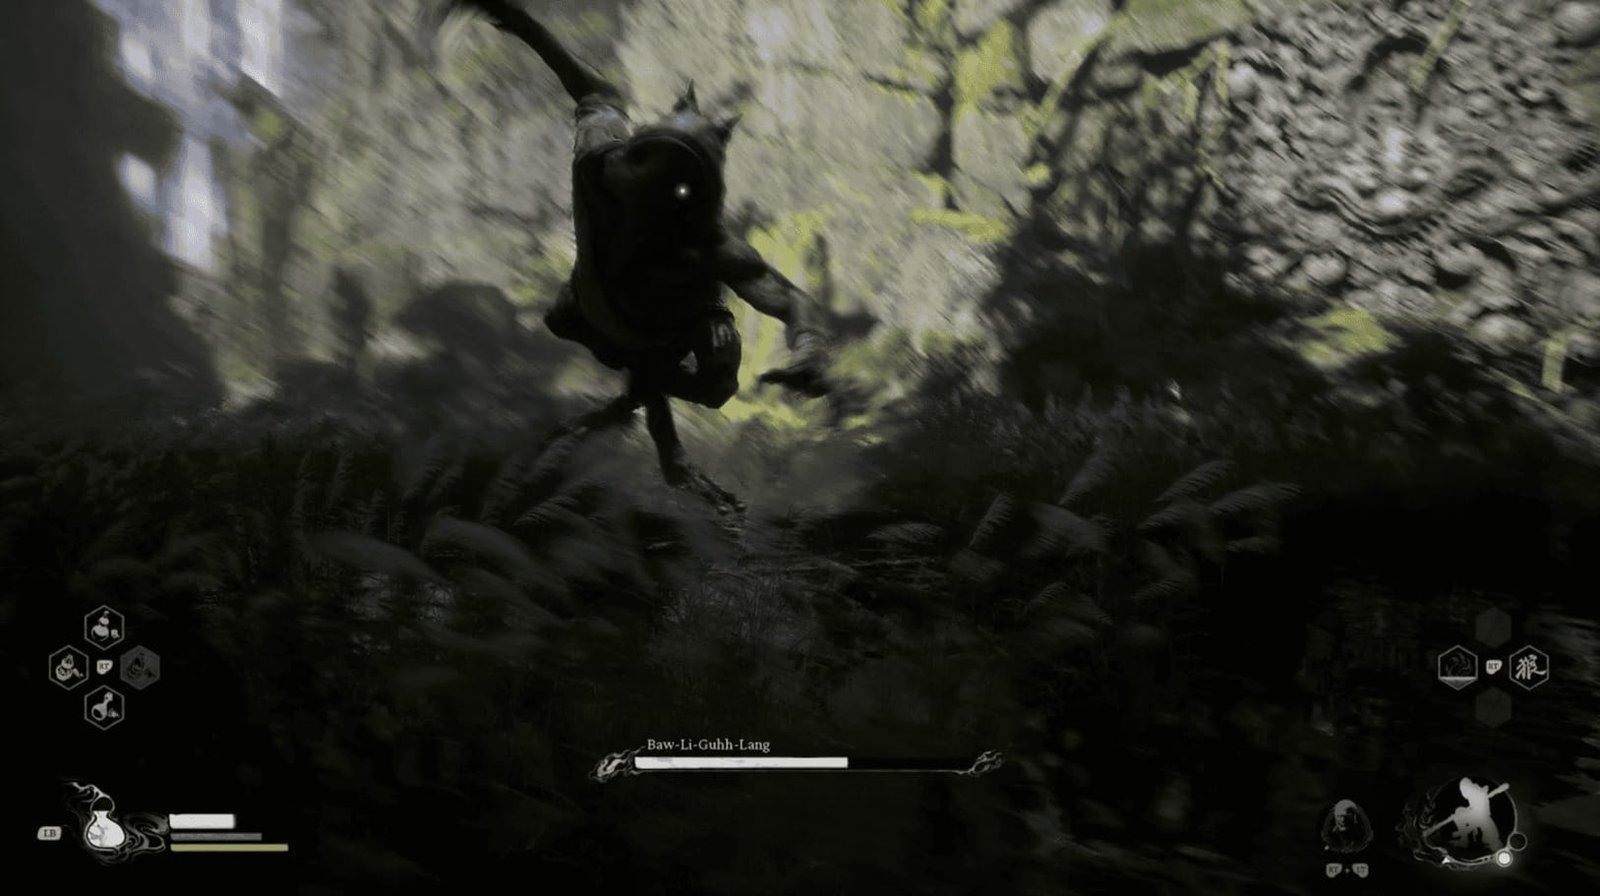
Baw-Li-Guhh-Lang is a giant toad. He won’t hesitate to jump into battle with a powerful leaping attack. Although he doesn’t have many moves, his attacks are very fast. Be prepared to dodge at any time.
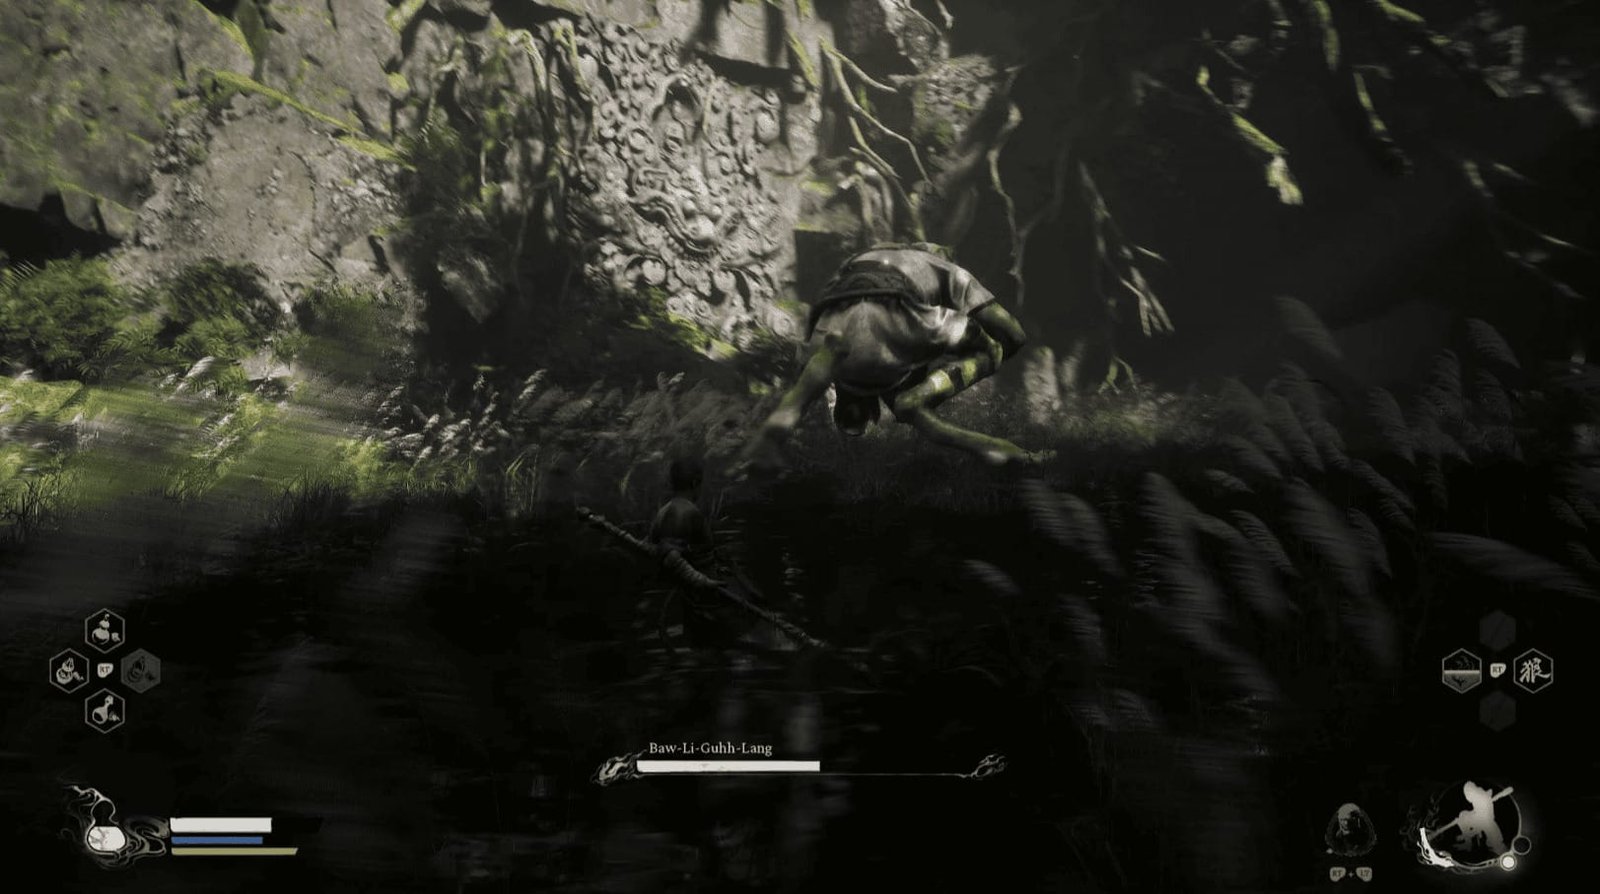
His usual attack is a series of swipes with both arms, followed by a leaping slam to reposition himself. You can dodge to the side when he swipes, wait for him to jump towards you, and use Immobilize – the immobilization spell, to hold him in place and attack.
He can also perform individual swipes or slams, or combine them into a three-hit combo. Observe carefully to dodge and counter.
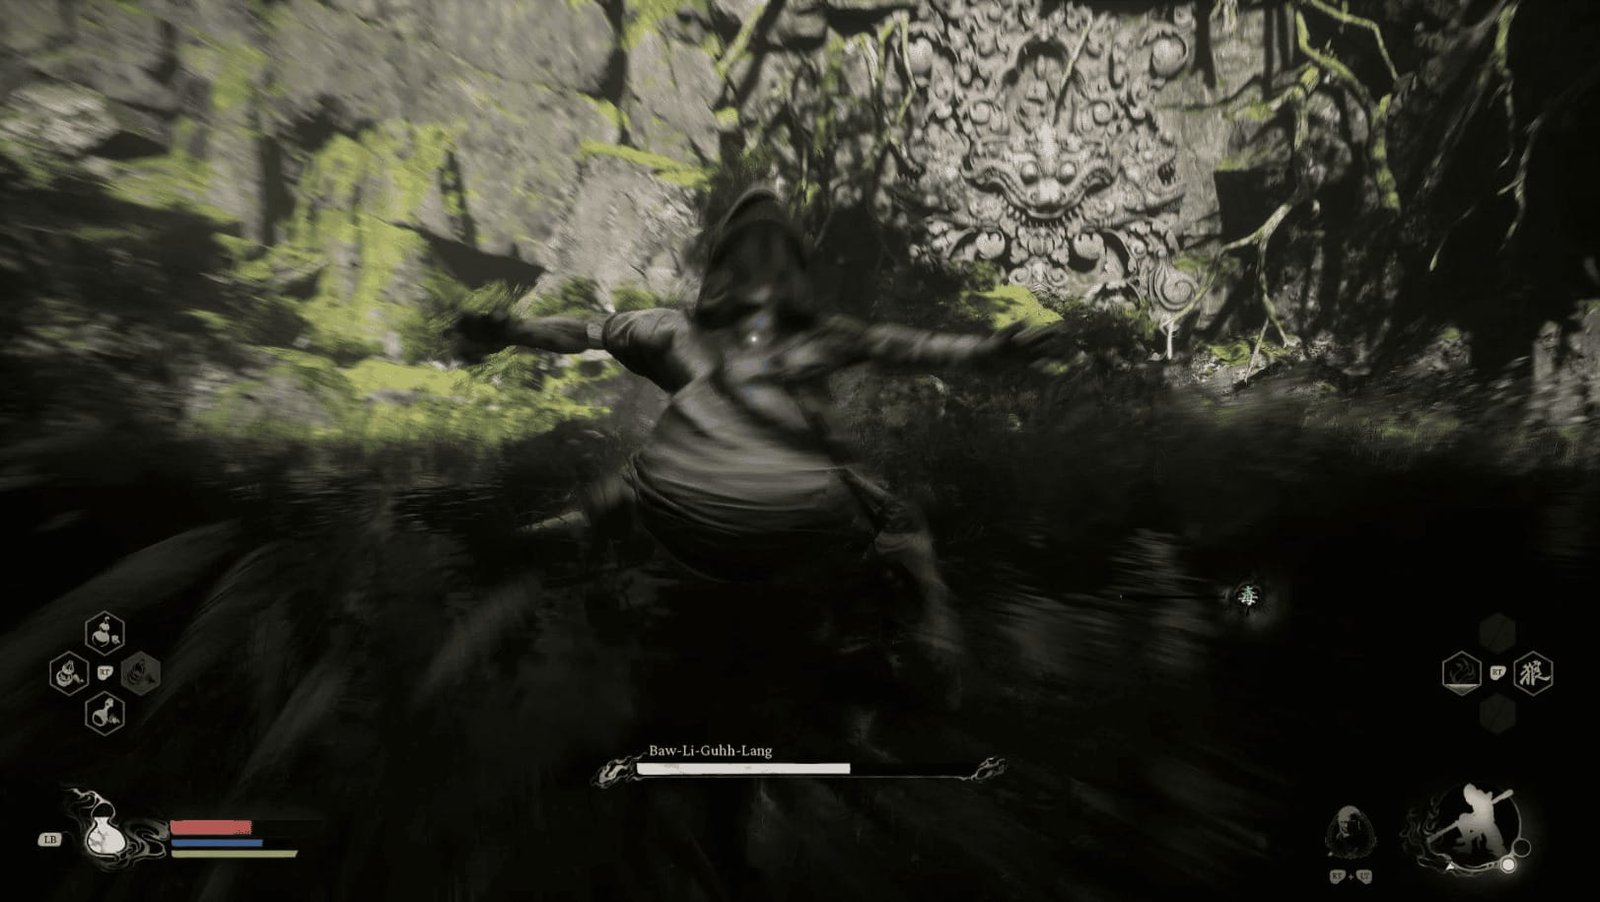
When facing you directly, he’ll lower his arms across his chest, then quickly dash towards you like a ball. Quickly dodge to the side.
When you move behind him, or when he jumps and turns, he’ll suddenly kick with his hind legs, which have a very long reach. He can perform this kick twice in a row!
He can also shoot his tongue out far and sweep it back and forth multiple times. Dodge out of the tongue’s path, or use Immobilize to stop this attack.
Using Red Tide to transform is also an effective tactic, allowing you to avoid damage and attack from his side.
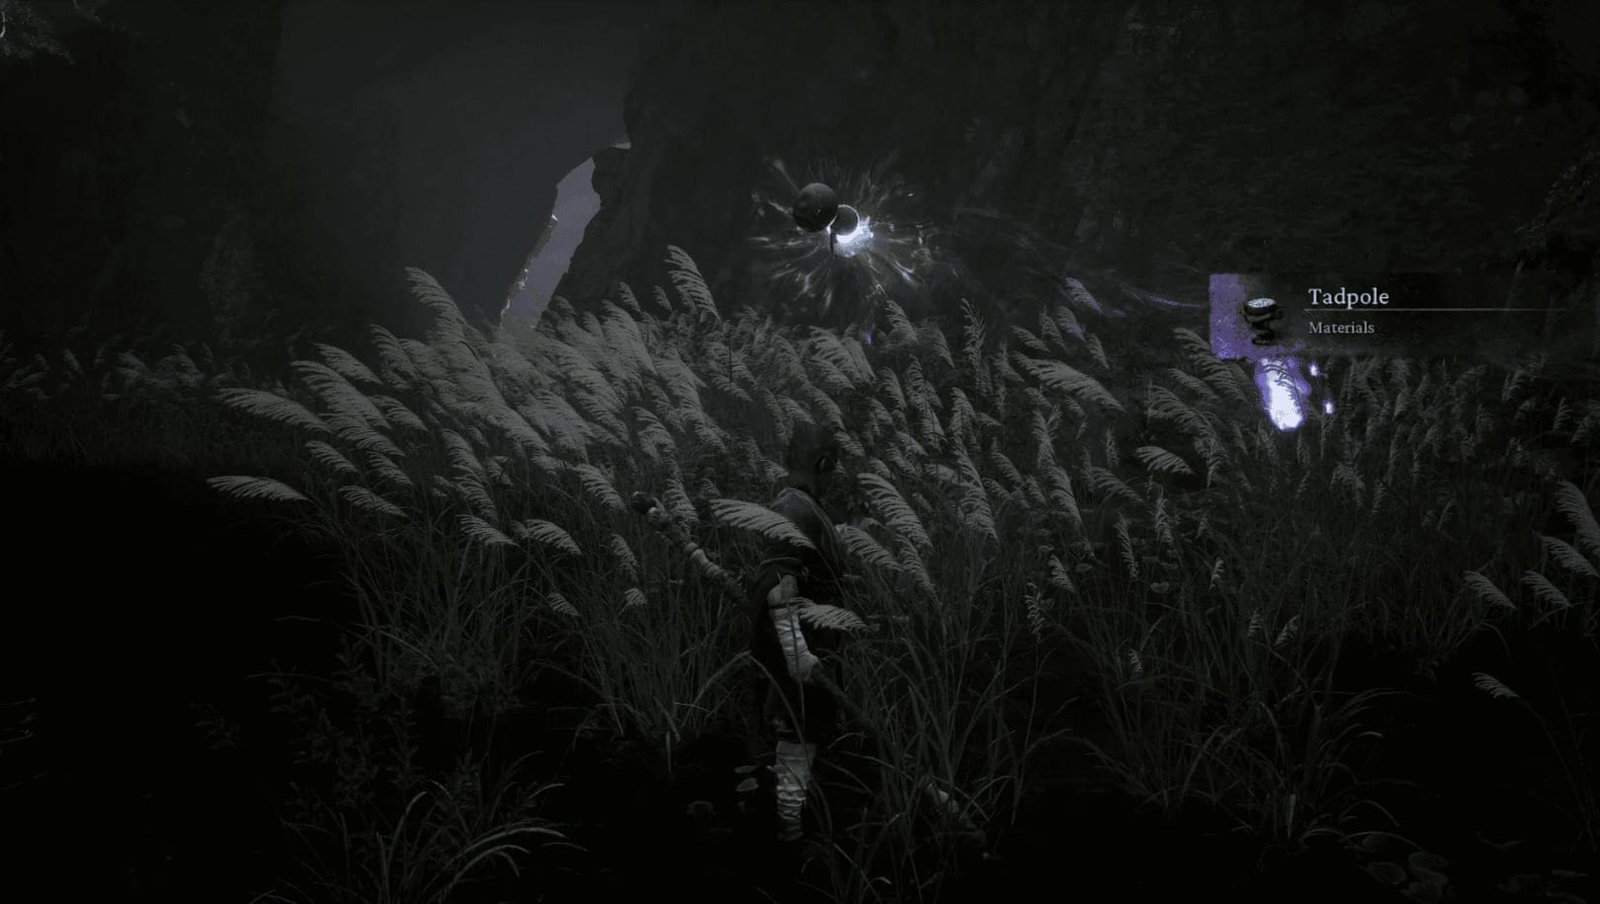
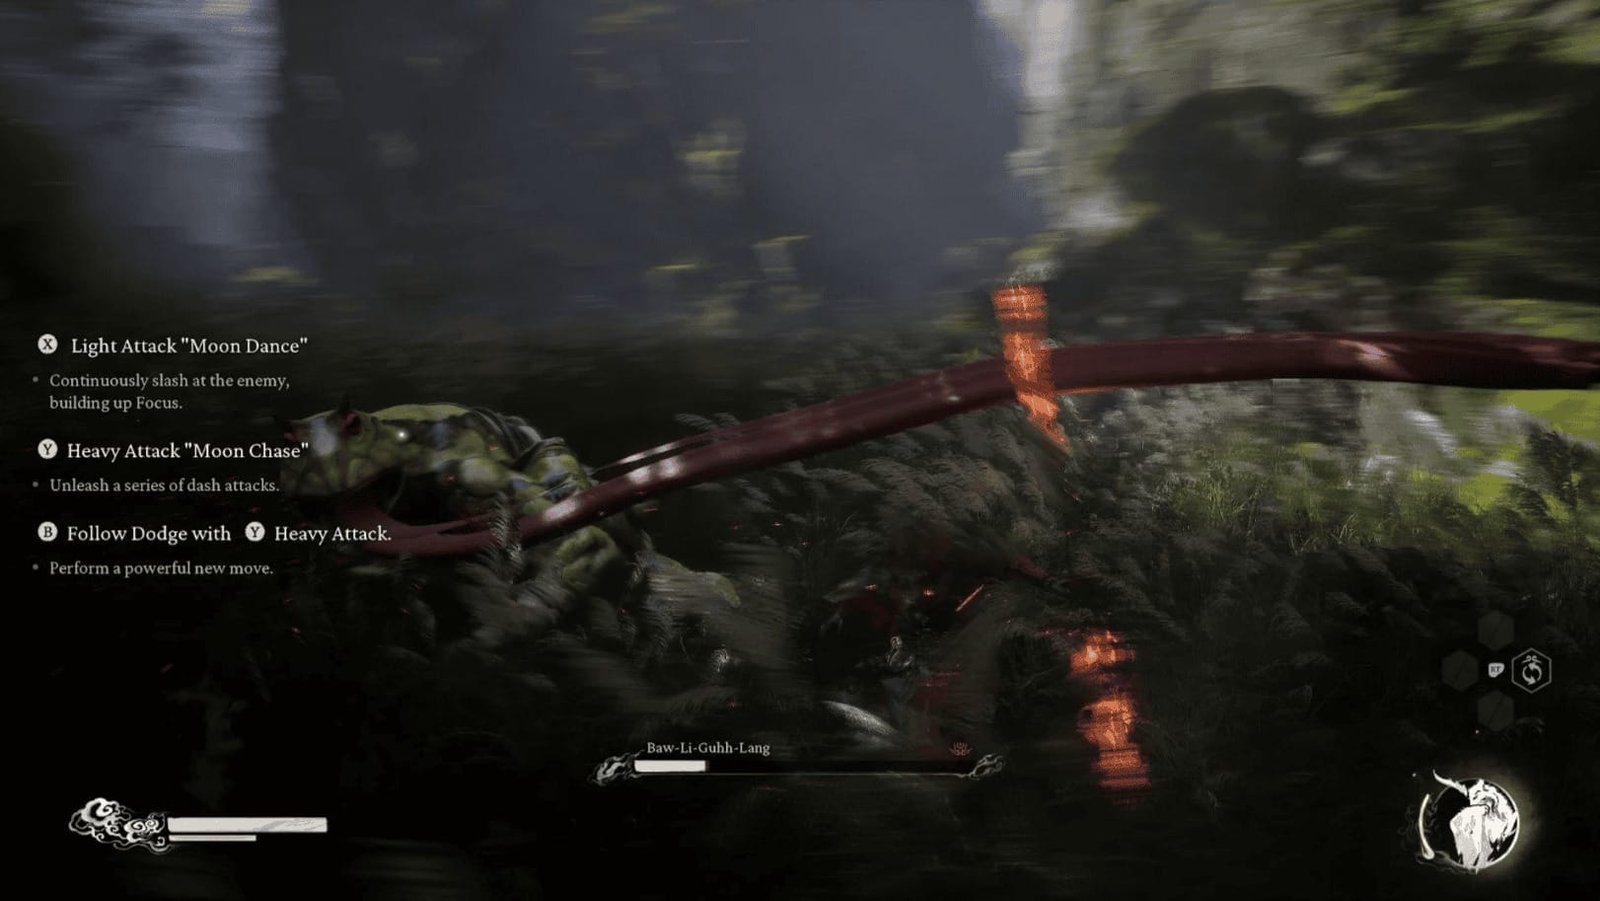
Defeating Baw-Li-Guhh-Lang will reward you with his Spirit and a Tadpole Material. Using the Blessed Gourd, absorb the Spirit to temporarily transform into a toad and use his tongue swipe attack against multiple enemies. The Tadpole Material can be used to upgrade Baw-Li-Guhh-Lang’s Spirit later on.
Exploring the Bamboo Forest and Mini-boss Guangmou
From Baw-Li-Guhh-Lang’s location, take the path to the right, and you’ll arrive at a bamboo forest. Continue until you drop down to a lower area. Follow the rocks to your left until you see a narrow passage flanked by two statues.
In this bamboo forest, you’ll encounter many Snake Patrollers and Skeletal Snakes. You can choose to fight or ignore them. However, ThinkPlay recommends defeating them to accumulate Will and experience, and to clear the path for easier movement in the area.

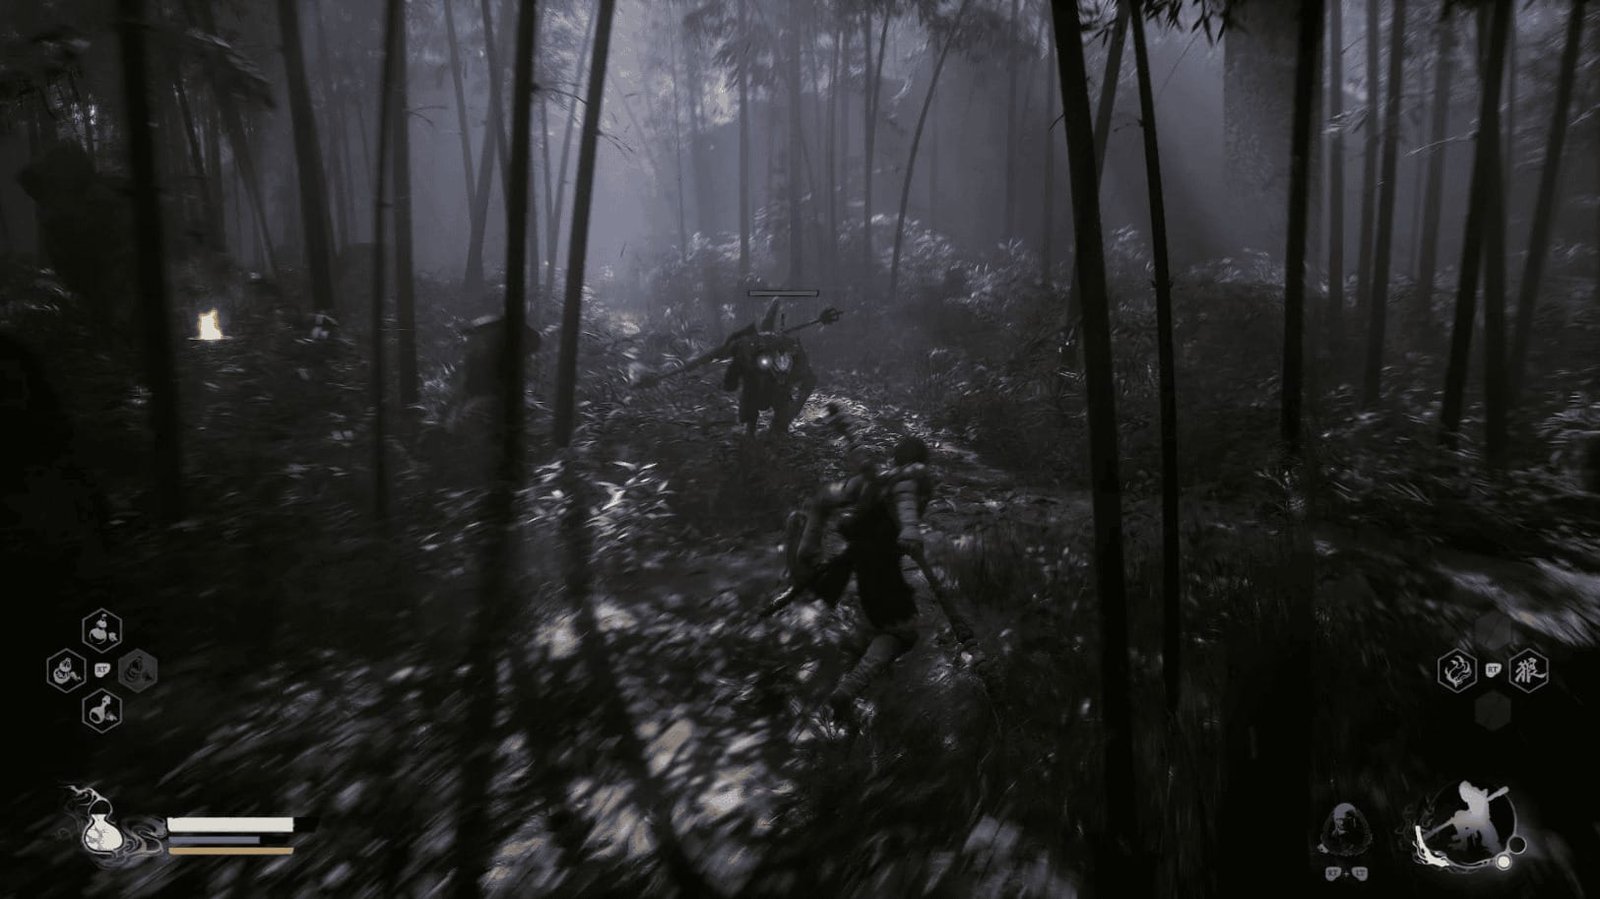
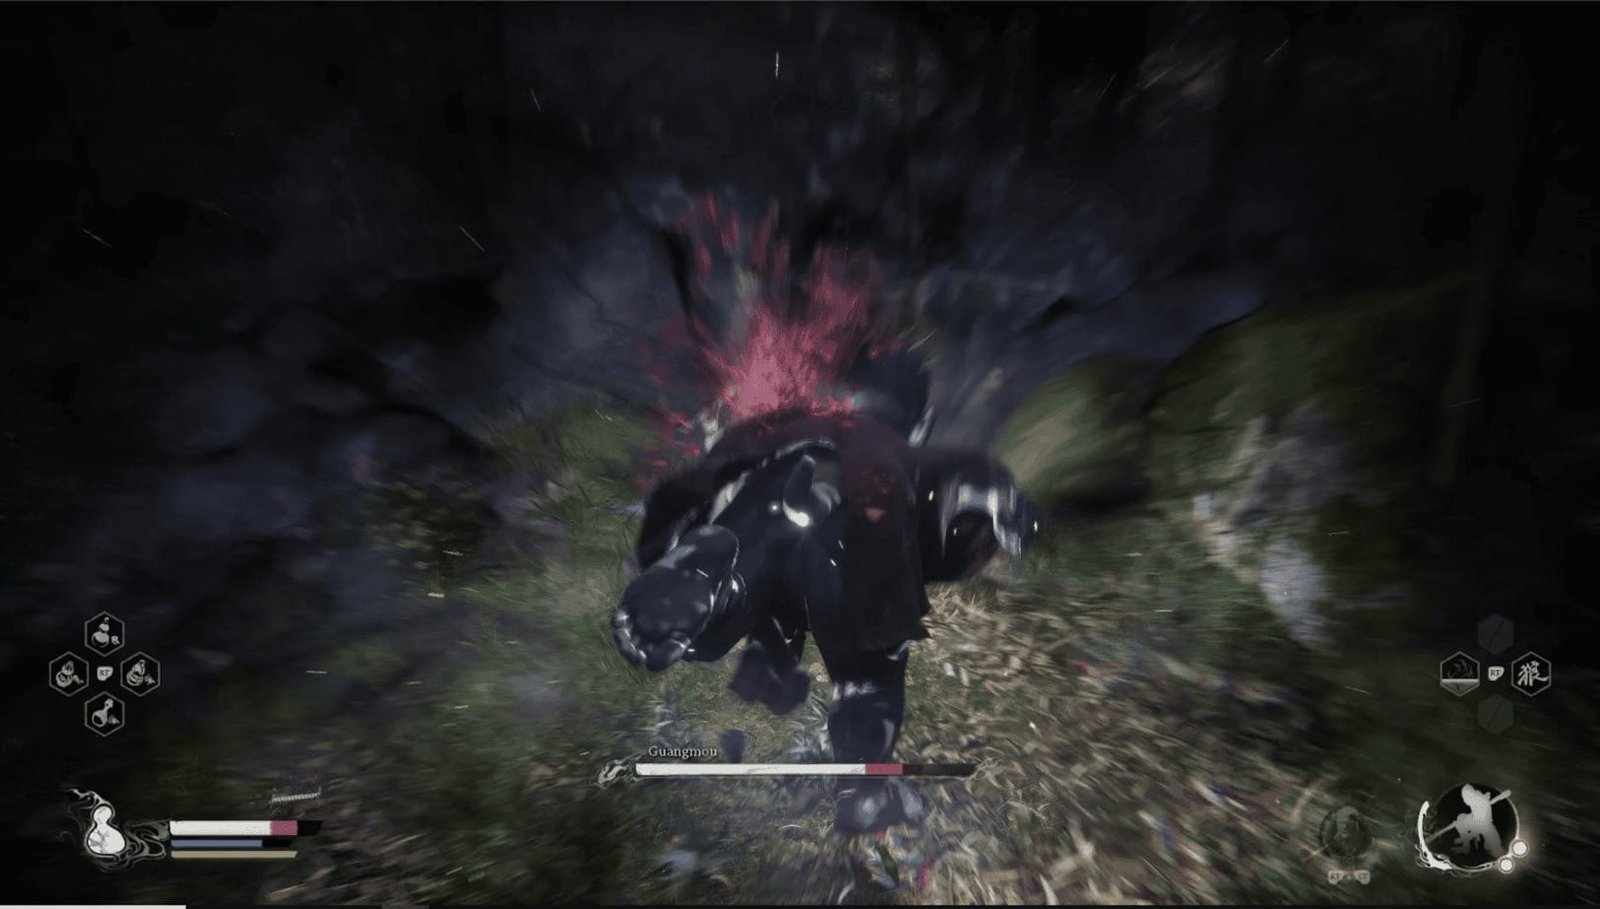
Following the narrow path, you’ll reach a wider area and face Guangmou – the second mini-boss of Bamboo Grove.
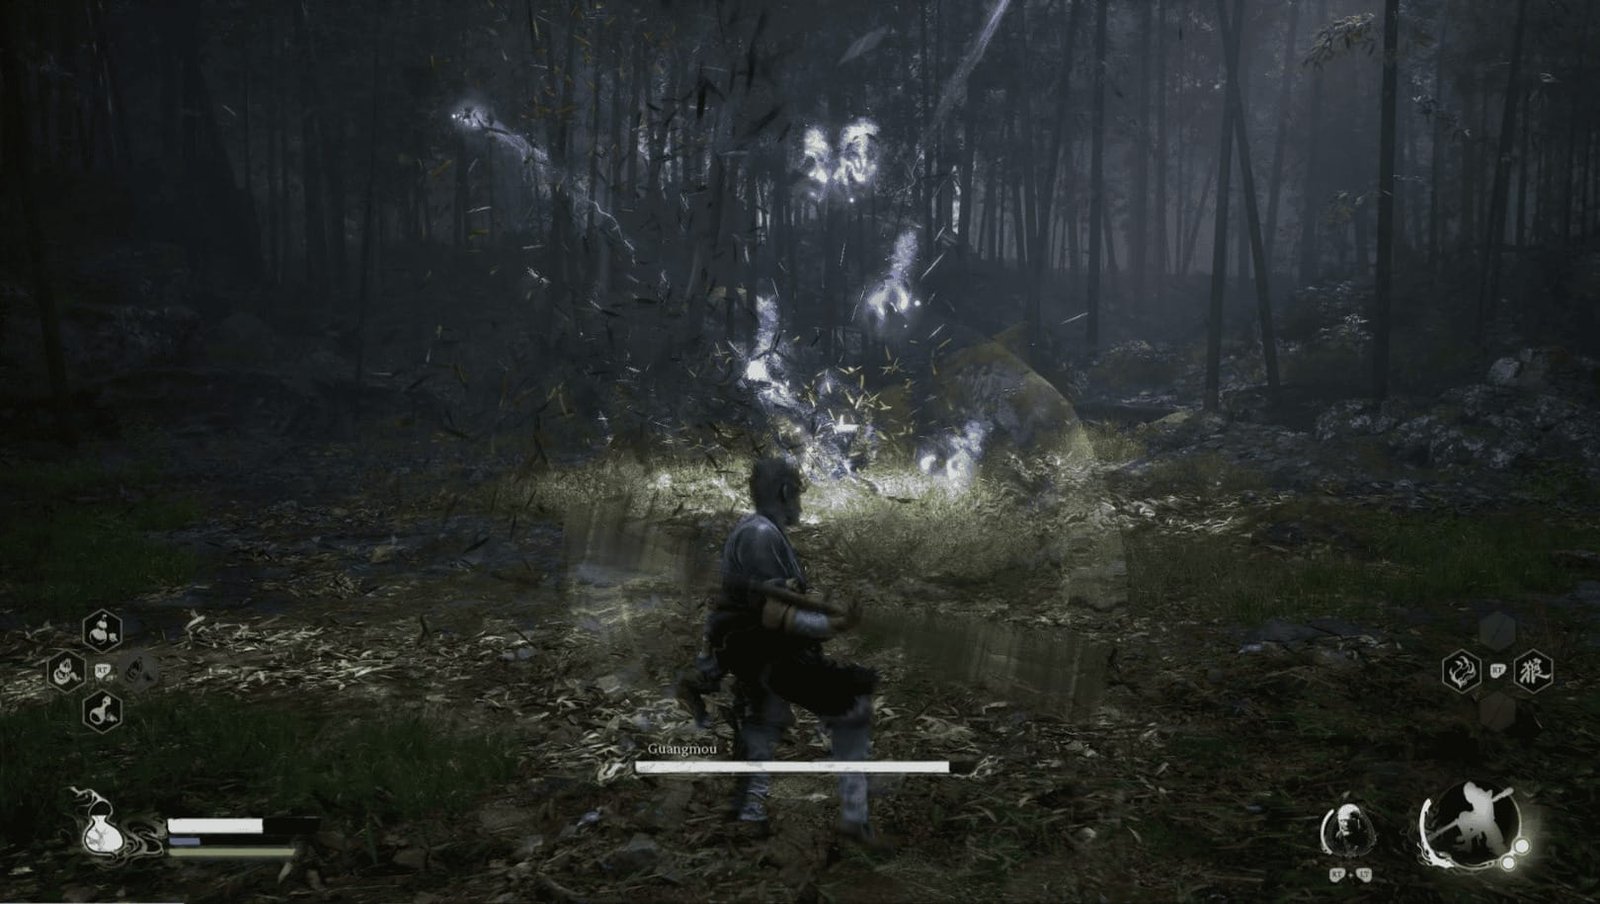
Guangmou is a tougher opponent than Baw-Li-Guhh-Lang, with a variety of annoying attacks. He often starts the fight by summoning a cluster of homing magic projectiles that track you. You can dodge to the side or spin your staff to deflect them.
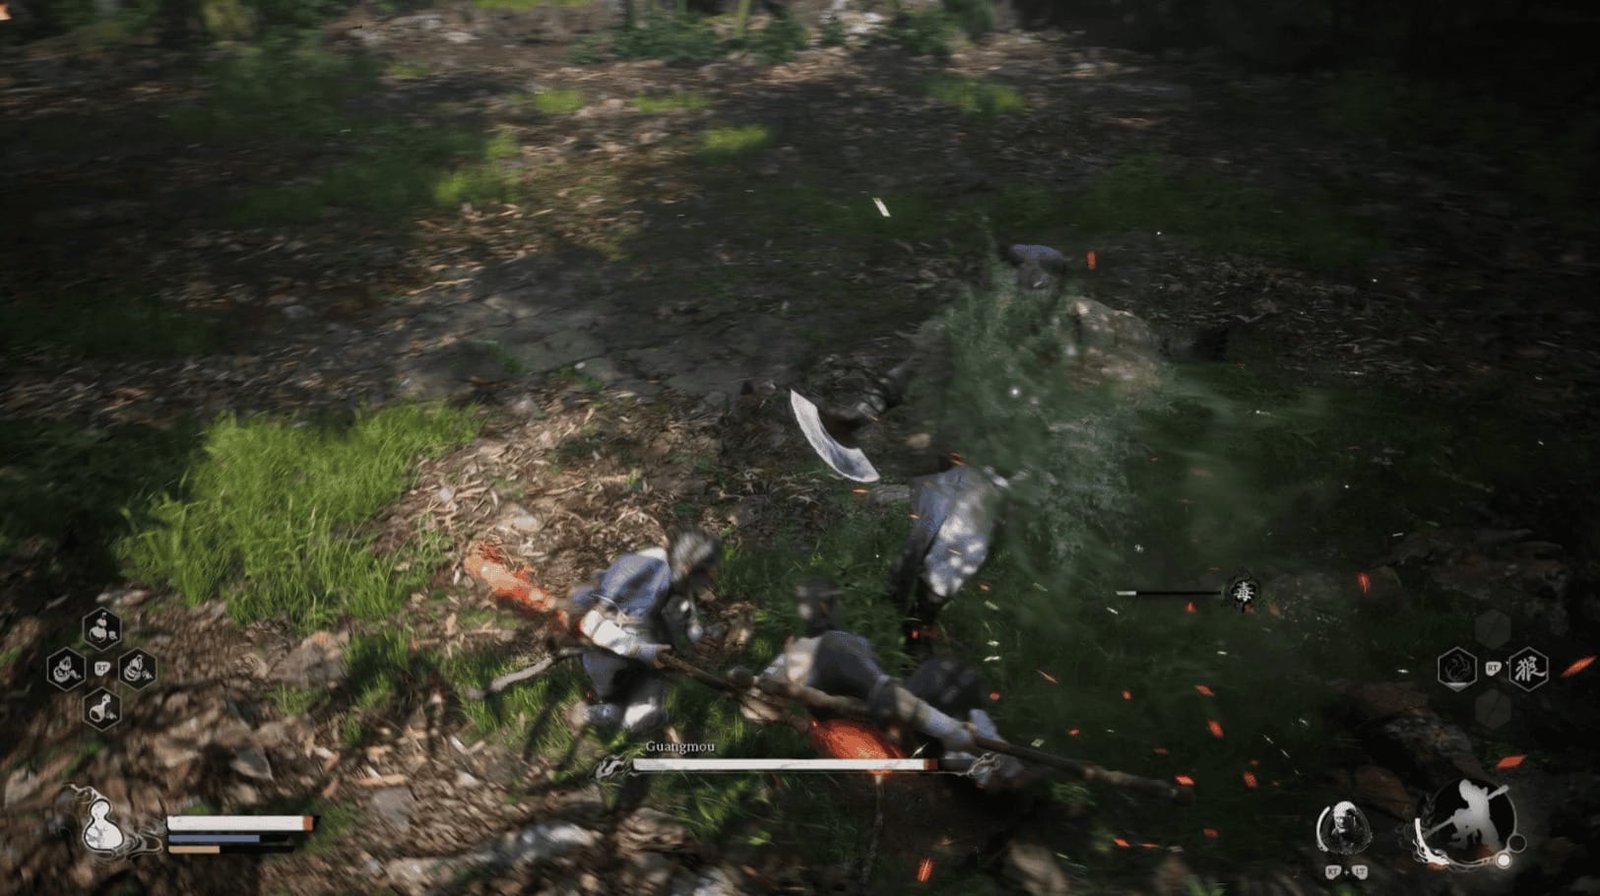
However, that’s just a distraction. Guangmou will often teleport close to you while you’re busy dealing with the magic projectiles. When he’s close, beware of his wide-area poison spray attack.
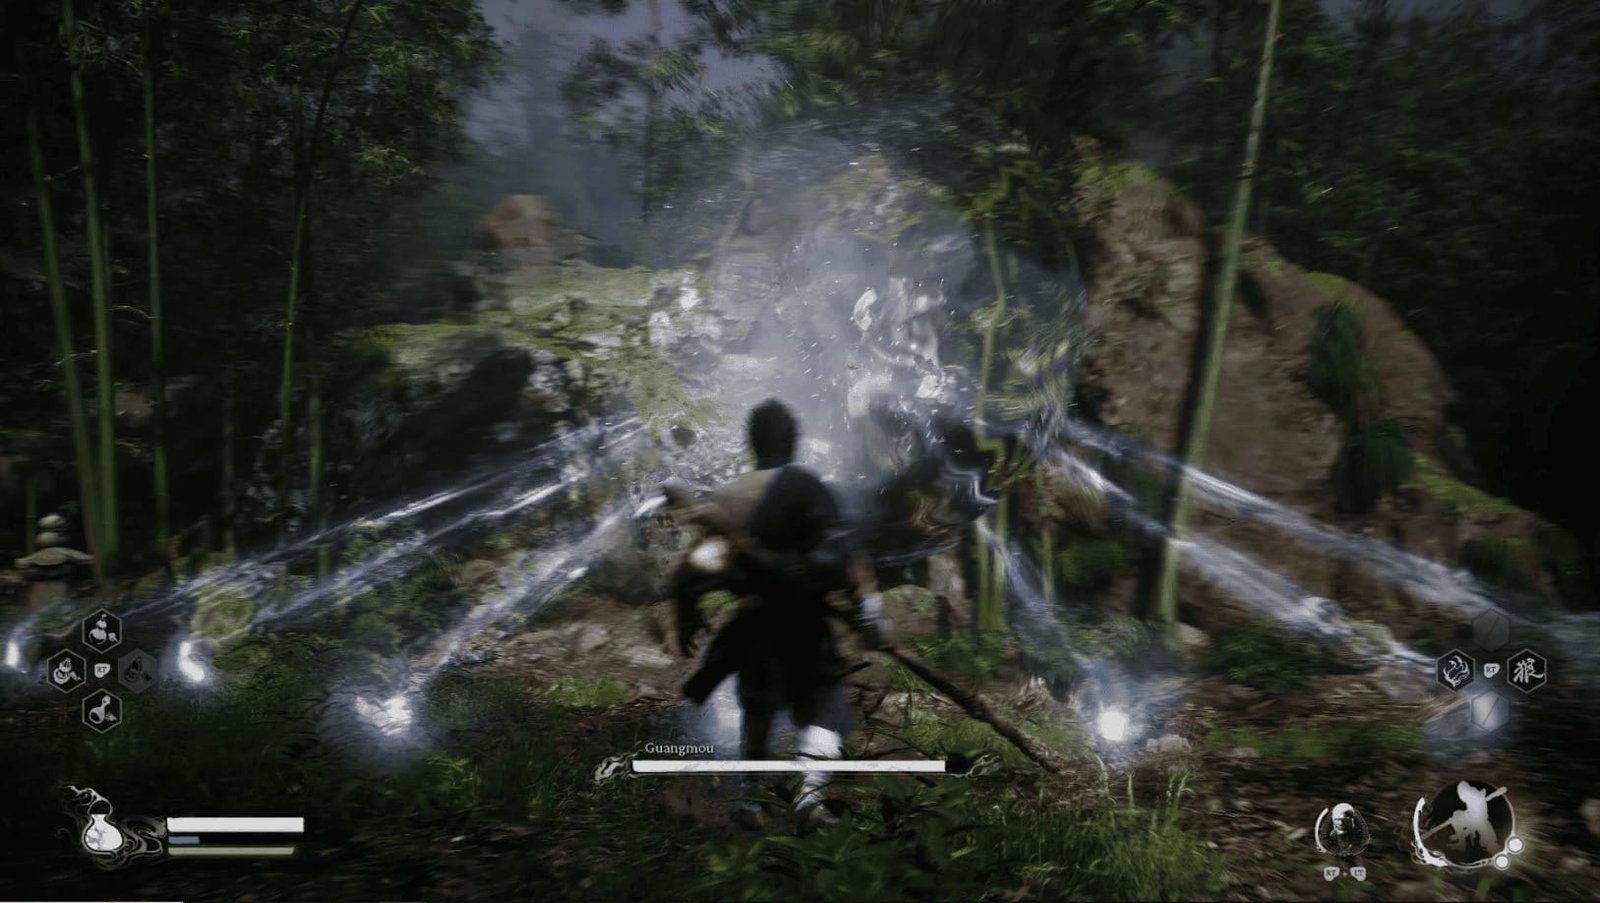
Another of his ranged attacks is shooting a series of magic projectiles that fly straight forward. They don’t track you like the first one, but they will fly fast and stick into the ground.
When Guangmou is at a distance, listen carefully. If he yells “Storm forth!”, he’ll create a gusty orb surrounded by leaves that will slowly float towards you. This orb can’t be deflected, but when it reaches you, it will turn into a small tornado that knocks you down.
You can use Immobilize as soon as he creates the orb to neutralize both him and the orb.
Sometimes, he won’t use the orb but will wave his fan rapidly to create a tornado at your last known position. Keep moving and attacking to avoid these attacks.

His most annoying move is summoning a number of poisonous snakes from the ground when he calls out “Boys”. The snakes will spit venom 5-6 times before disappearing. You can choose to: 1) Run and dodge continuously; 2) Find a corner of the arena to observe all of them and spin your staff to deflect the venom. However, the second method won’t be effective forever due to stamina consumption, and Guangmou might attack you during this time.
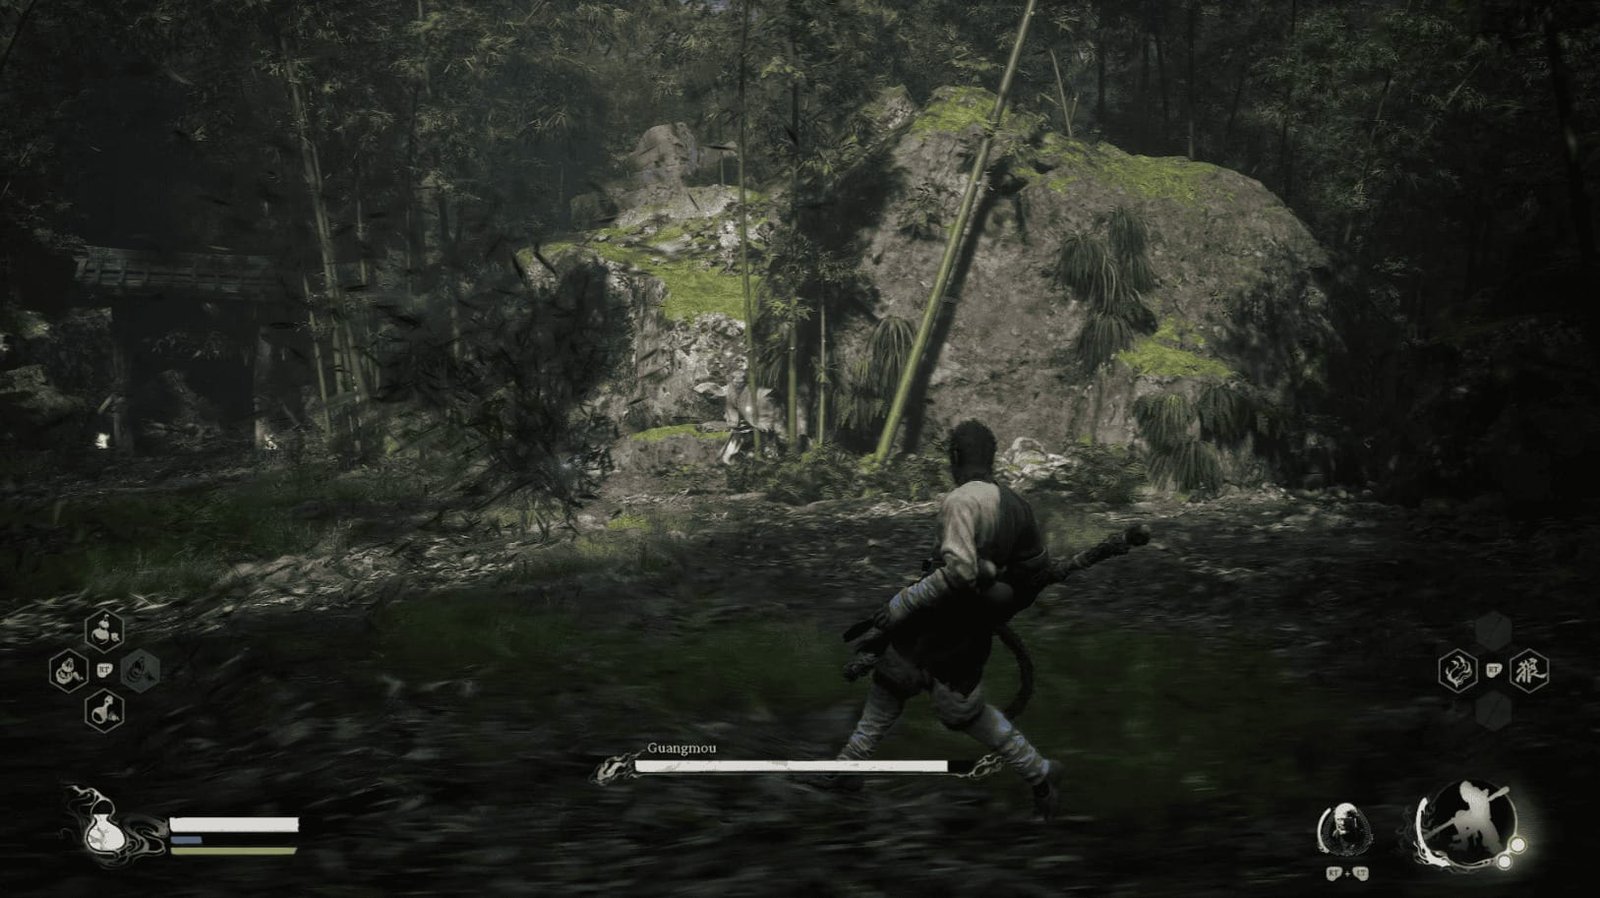
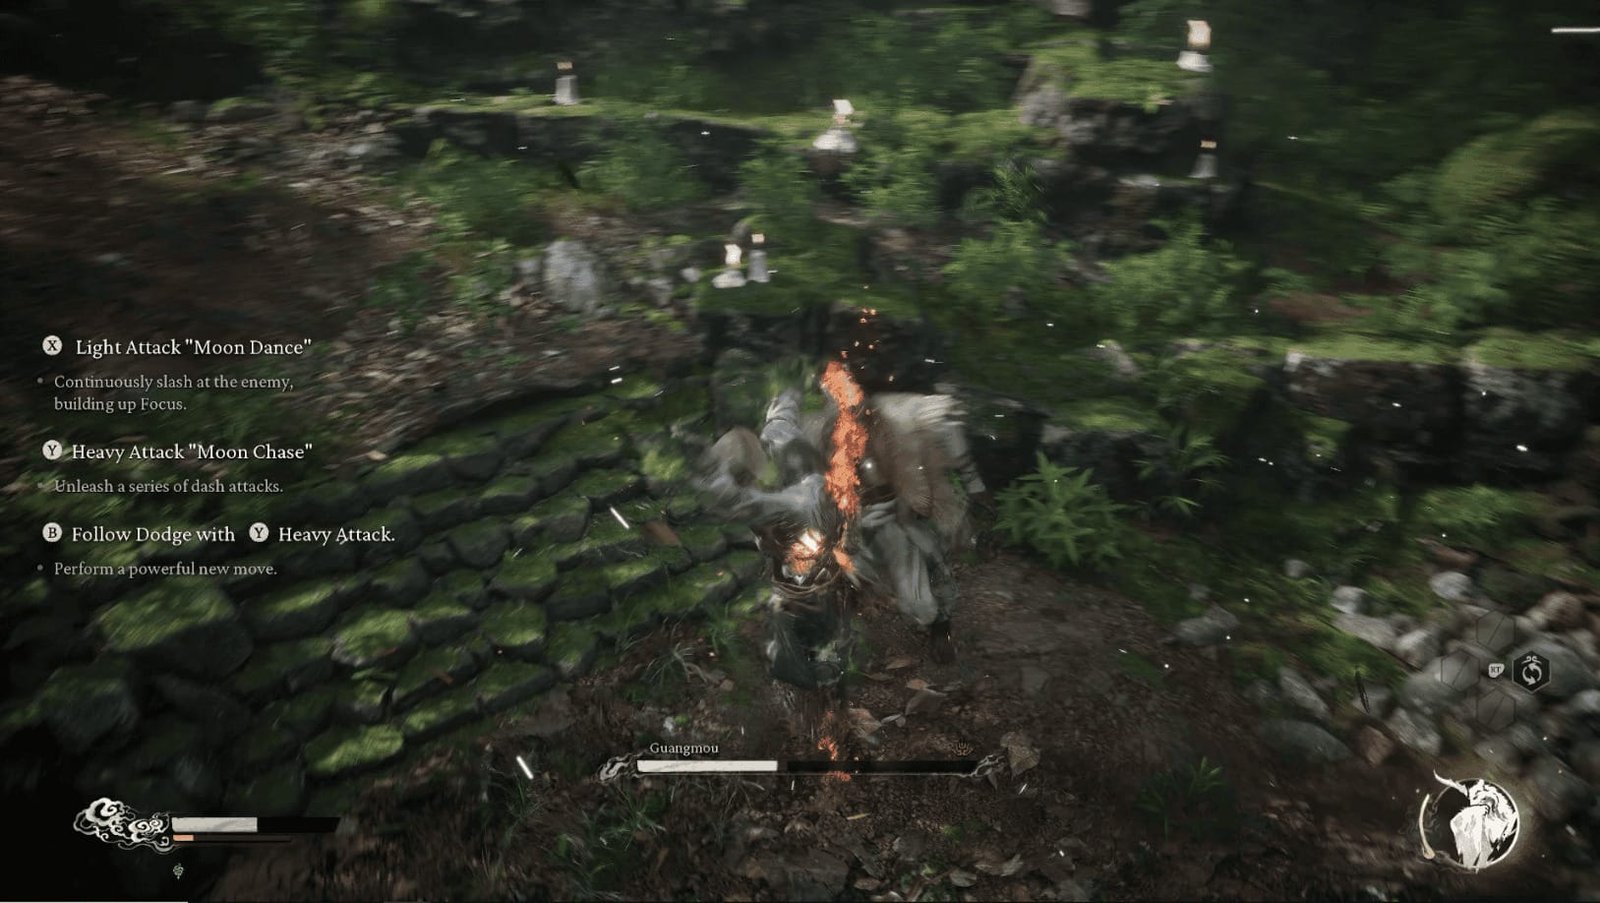
Guangmou’s weakness is that he doesn’t have many melee attacks, except for a slow-charging repelling attack. Take advantage of this by closing in and attacking continuously.
If you’ve defeated the Wandering Wight, use his Spirit Attack to knock Guangmou down, preventing him from teleporting.
Using Red Tide to transform can help you avoid being poisoned. Any status effects you suffer while transformed will be removed when you return to your normal form.
Remember to buy Antimiasma Powder from the Shrine to cure poison.
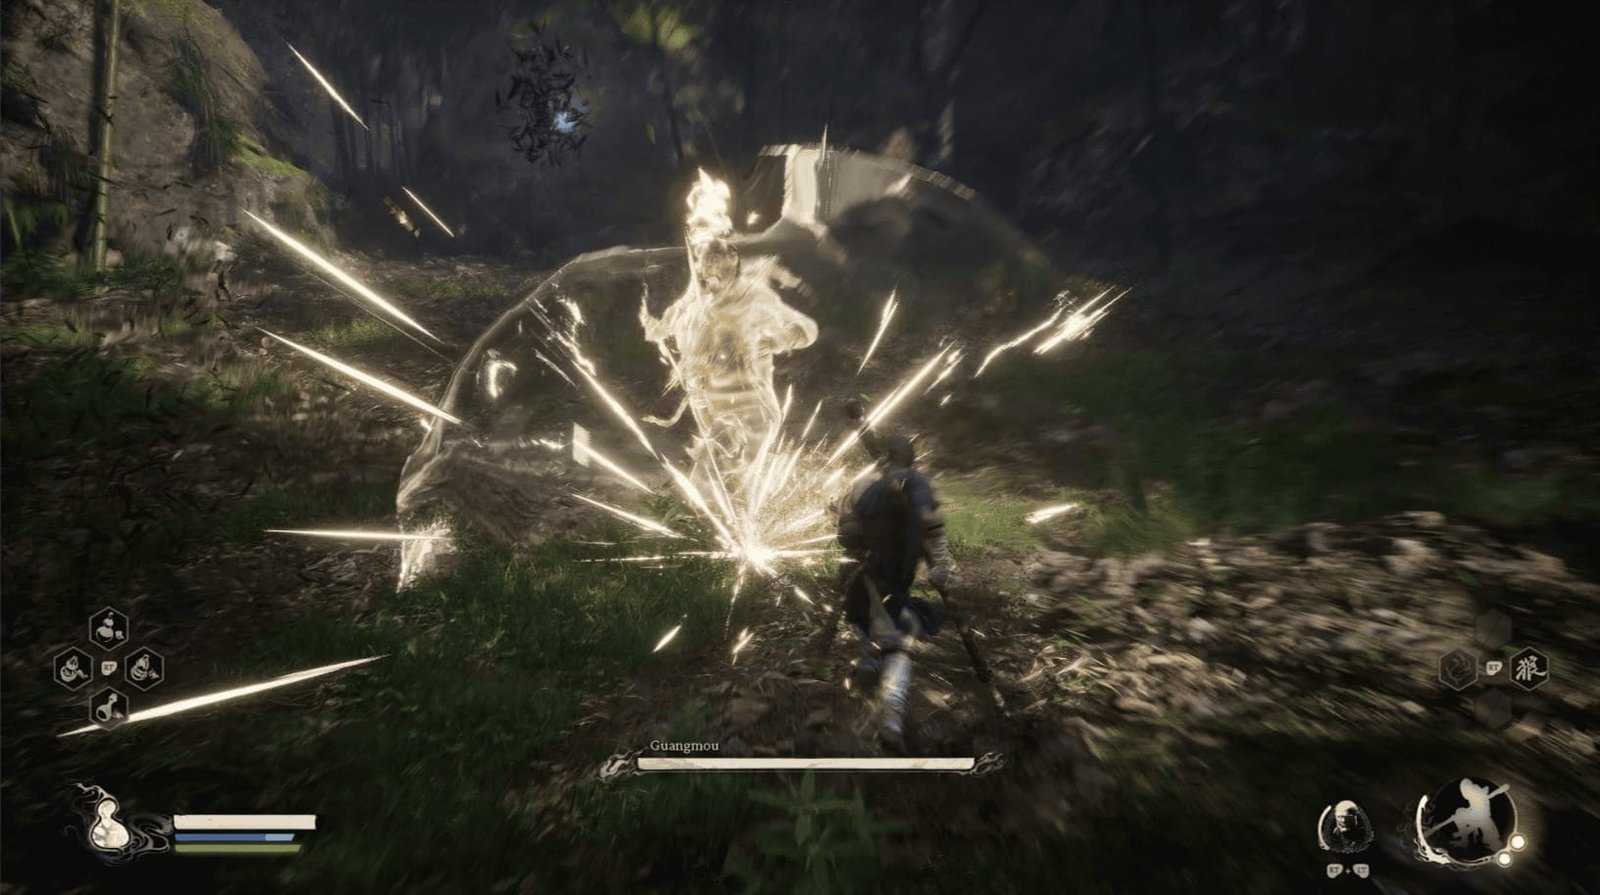
Defeating Guangmou will reward you with his Spirit, allowing you to summon poisonous snakes.
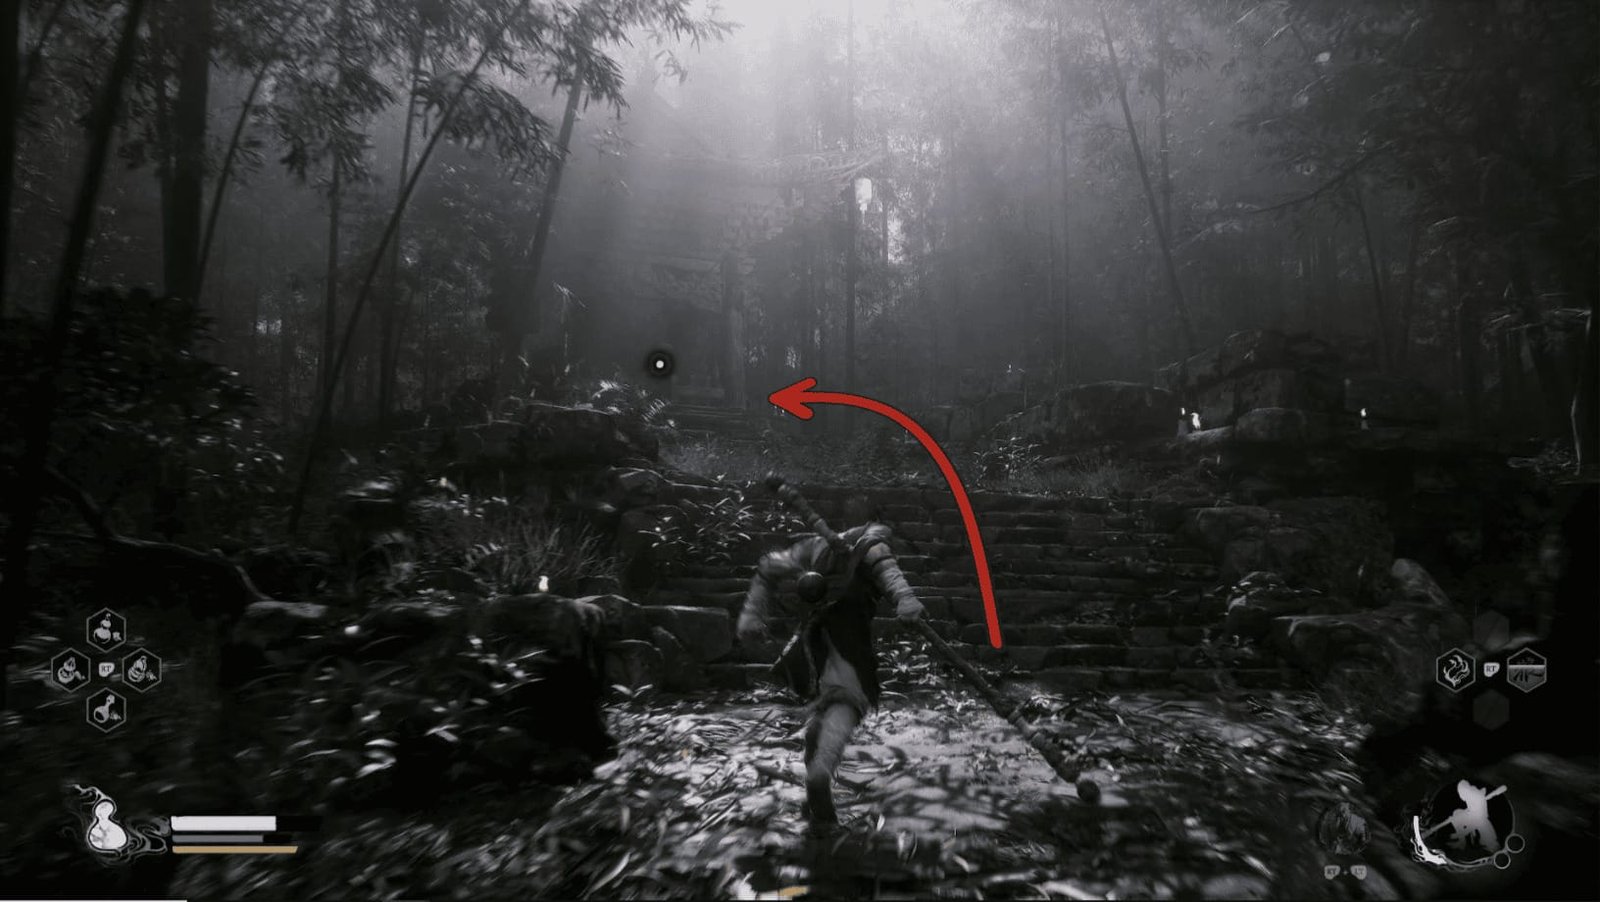
After defeating Guangmou, you’ll see three paths: the one you came from, a path with a Torii gate, and a set of stairs leading upwards. Take the stairs and interact with the large bell – this is the second bell in Black Wind Mountain. The sound of the bell resonates, hinting at a hidden secret within the mountain…
Marsh of the White Mist
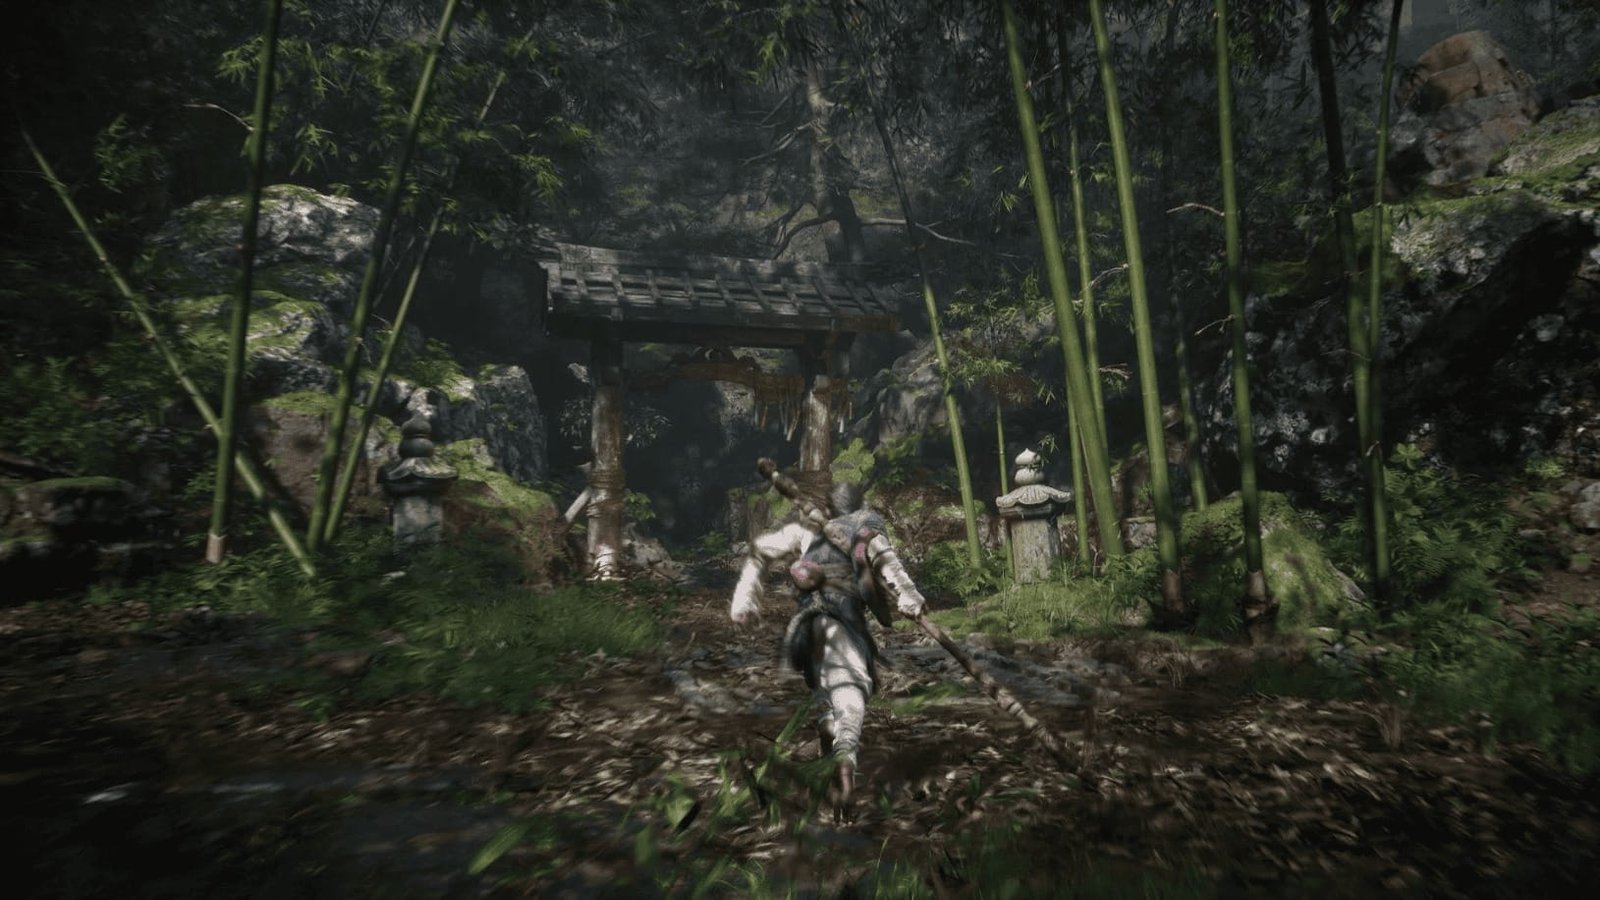
Going through the Torii gate, you’ll arrive at the Marsh of White Mist Keeper’s Shrine. From the Shrine, take the path to the left and look for a large tree with yellow flowers hanging down.
Interact with the tree to collect the Luojia Fragrant Vine – a rare medicinal herb used to upgrade the Gourd.
Continue along the main path and cross the wooden bridge. You’ll encounter a Snake Patroller harassing another monkey hanging from a tree branch. Defeat the cunning Snake Patroller. After defeating him, you’ll receive a large amount of loot, including a Gall Gem – a medicinal herb that increases poison resistance.
The monkey you just rescued is Shen Monkey, a special merchant. Follow Shen Monkey into the cave on the right. Here, you can trade with him. Shen Monkey offers the following services:
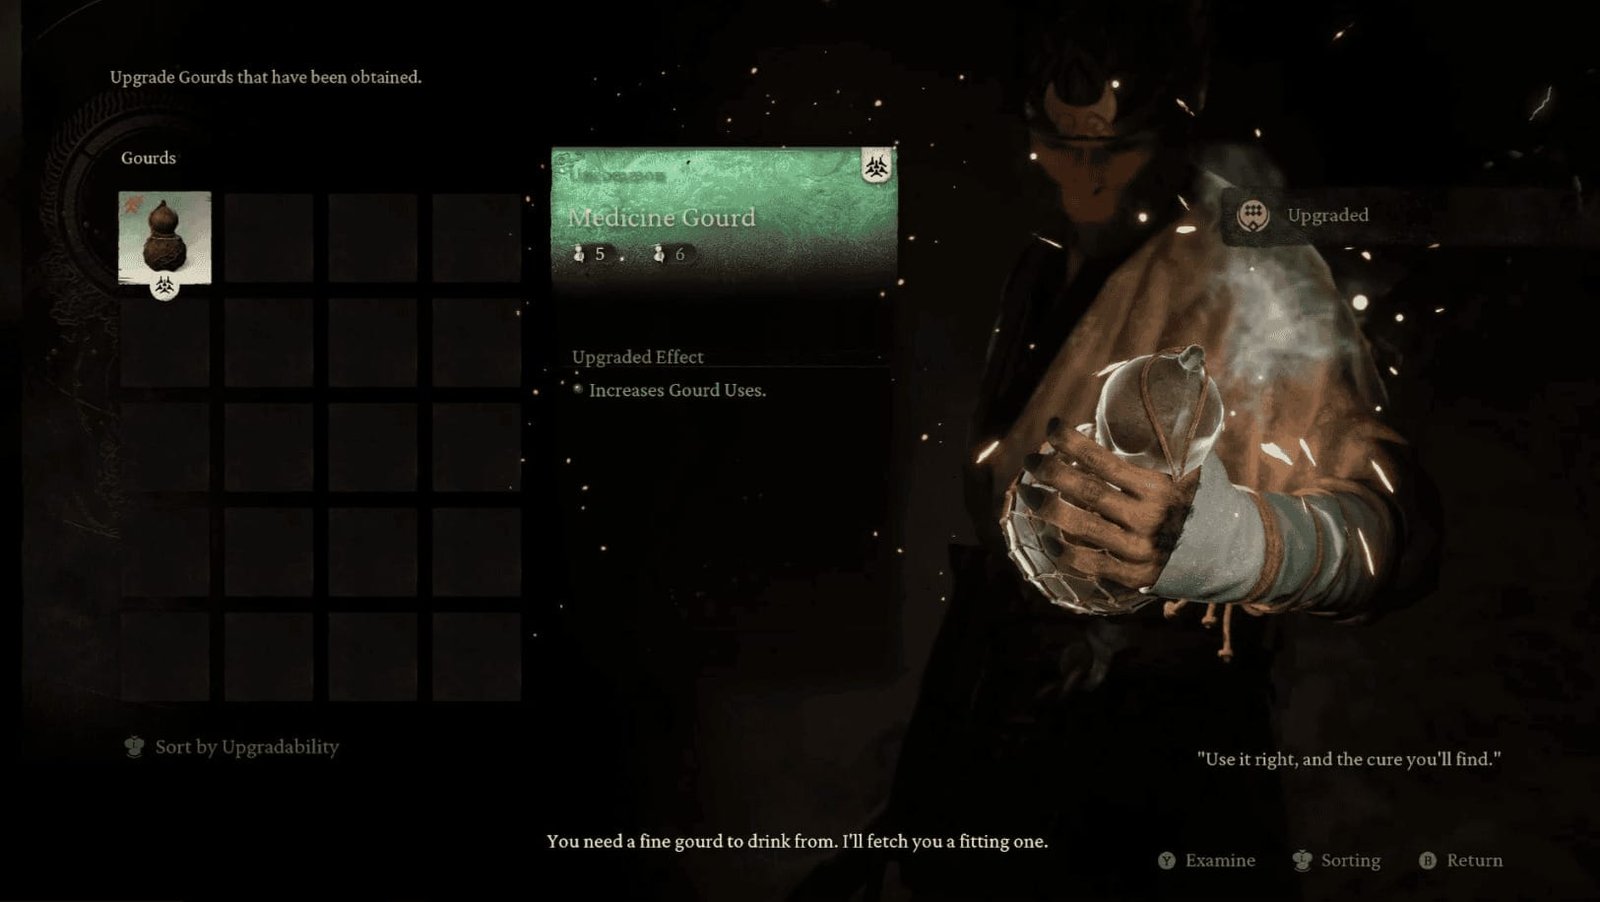
Upgrade Gourds: Upgrade the number of uses of your Gourd. Use the Luojia Fragrant Vine you just found to upgrade from 4 uses to 5, turning it into a Medicine Gourd.
Upgrade Drinks: Upgrade the amount of health restored by the Gourd. By default, the Gourd contains Coconut Wine, which restores 1/3 of your health per use. When you find Awaken Wine Worms, return to Shen Monkey to upgrade the amount of health restored.
Brew: Concoct, adding extra effects to the Gourd. You can experiment by adding a Gall Gem to increase poison resistance, or Celestial Lotus Seeds – purchased from Shen Monkey’s store, for continuous health regeneration after drinking.
Store: A shop where you can buy useful items, including Celestial Lotus Seeds.
Explore all the options and buy what you need for the upcoming battle!
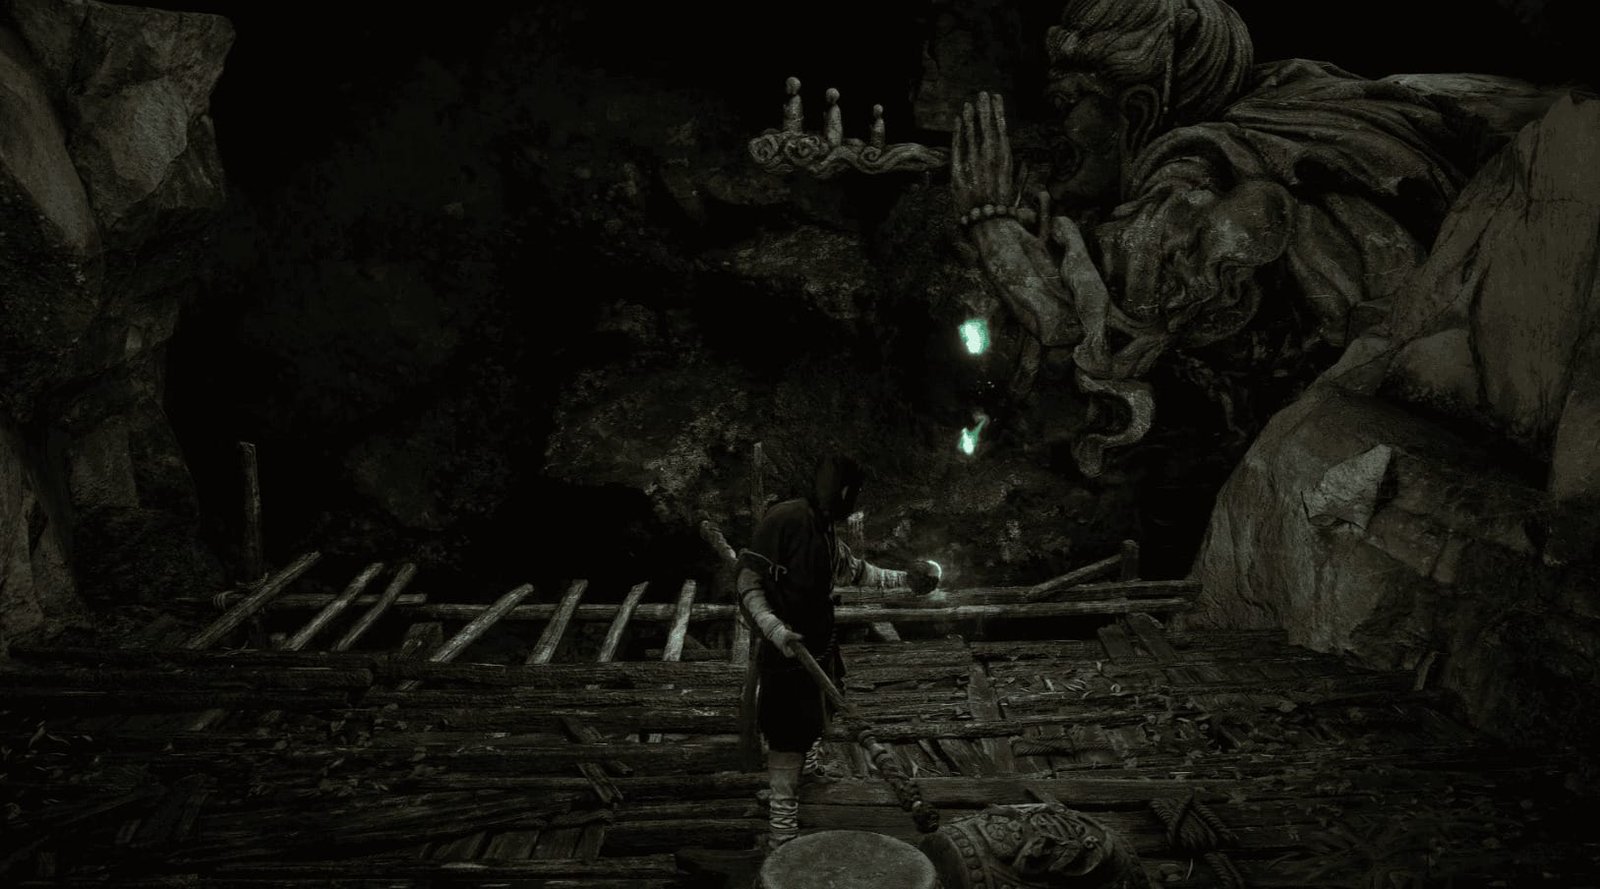
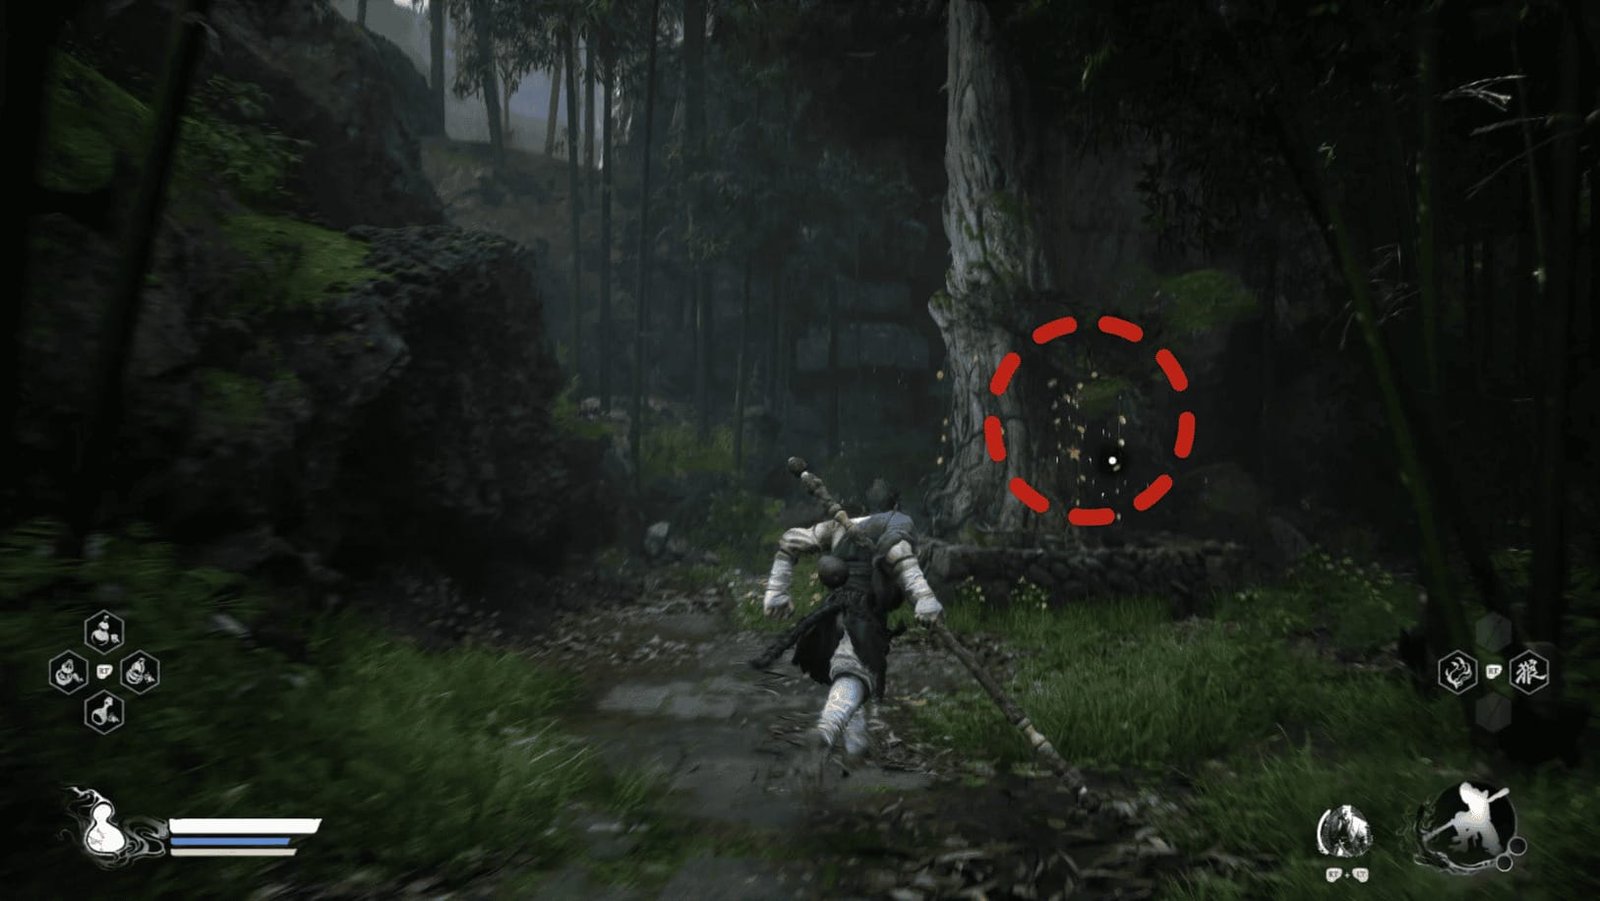
Before leaving Shen Monkey’s location, look near the wooden scaffolding beside the large statue, you’ll see a green wisp of light (Will). Absorb it to receive a large amount of currency. You can jump down below for a shortcut, and also collect a Snake-Head Mushroom.

However, don’t leave just yet. Go outside the cave, cross the wooden bridge where you fought the Snake Patroller to the small building in the distance. Inside the building, you’ll find a large chest containing 2 Tiny Piece of Gold and 2 Stone Spirit.
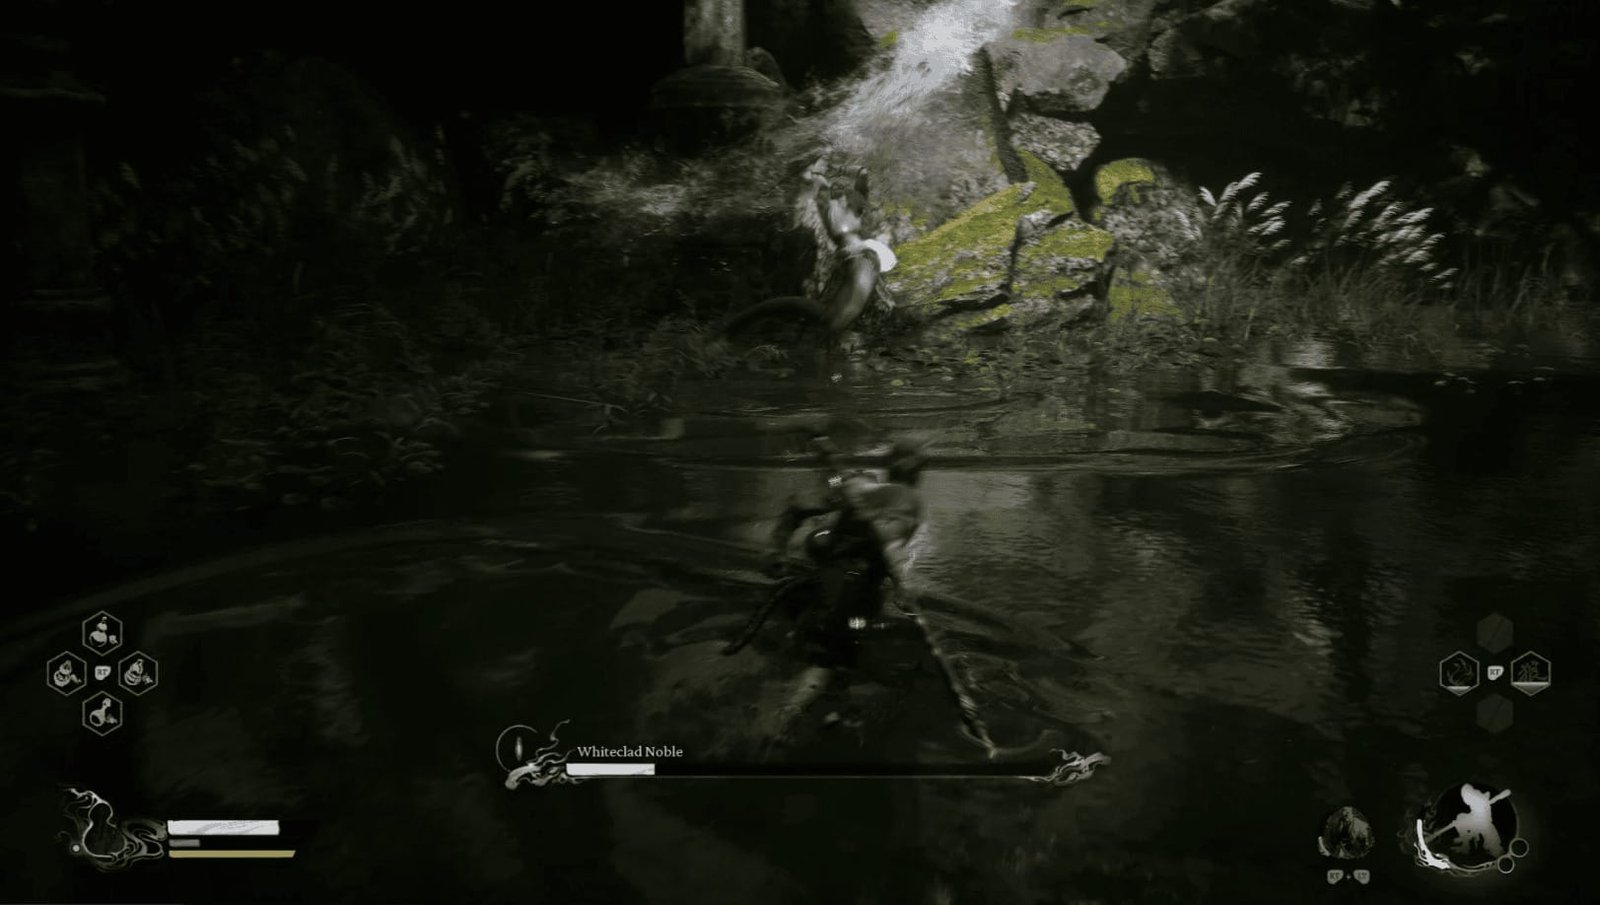
Whiteclad Noble Boss Fight
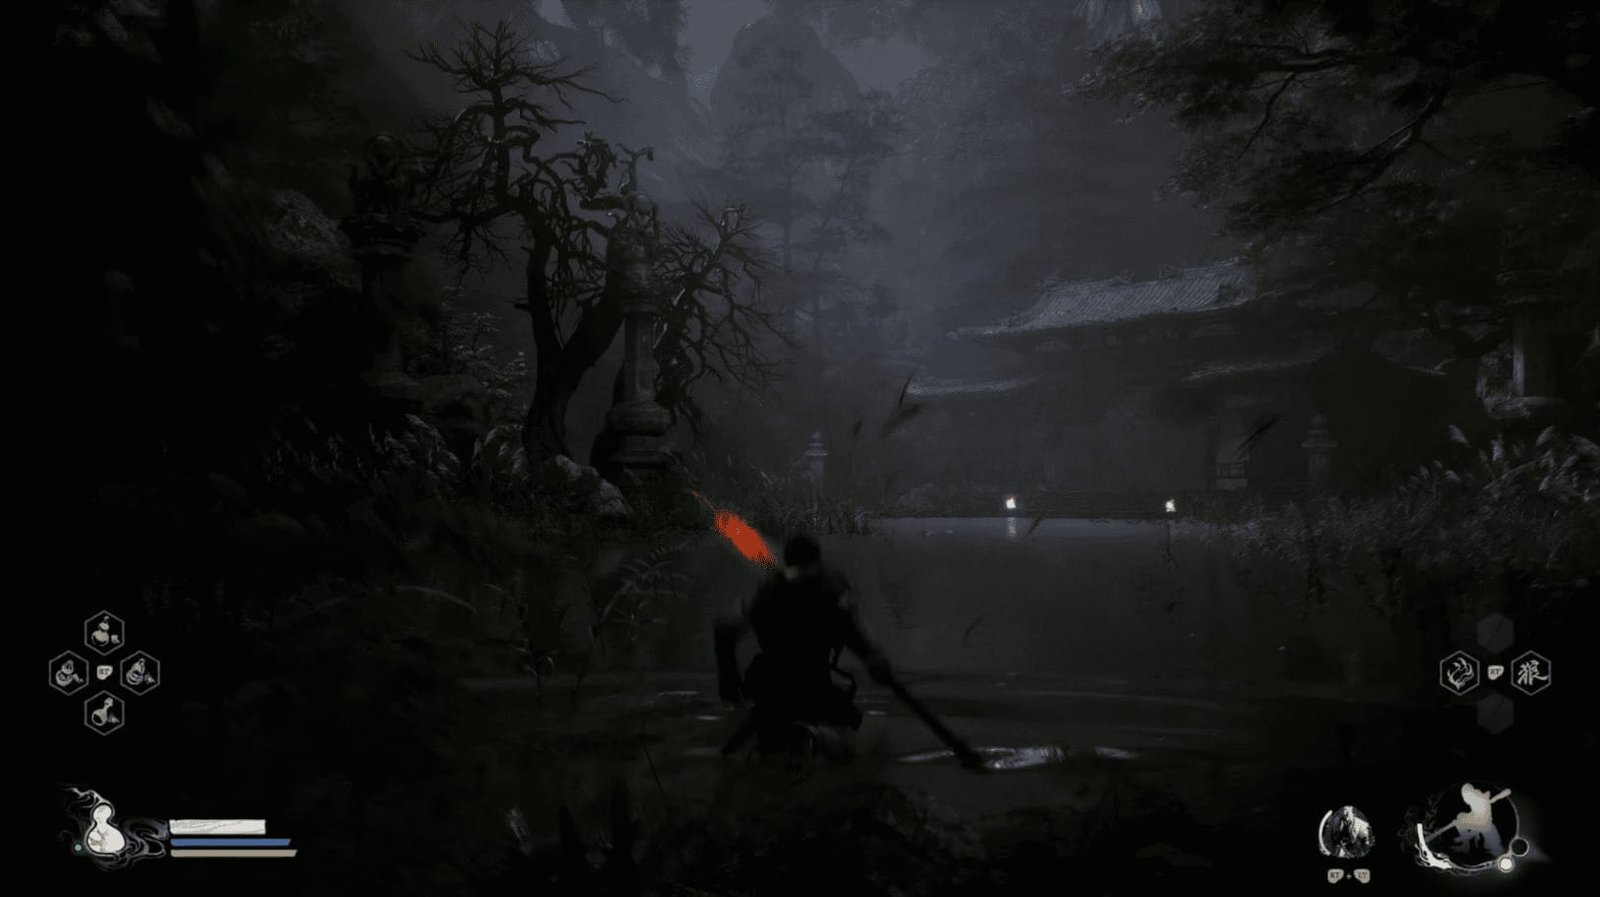
After you’re fully prepared, return to the wooden bridge and head down the sloping path. At the end of the path lies the marsh where Whiteclad Noble, a noble warrior, awaits you. This is a tough battle, so make sure you’re fully healed and ready for anything.
Combat Strategy for Whiteclad Noble
Phase 1
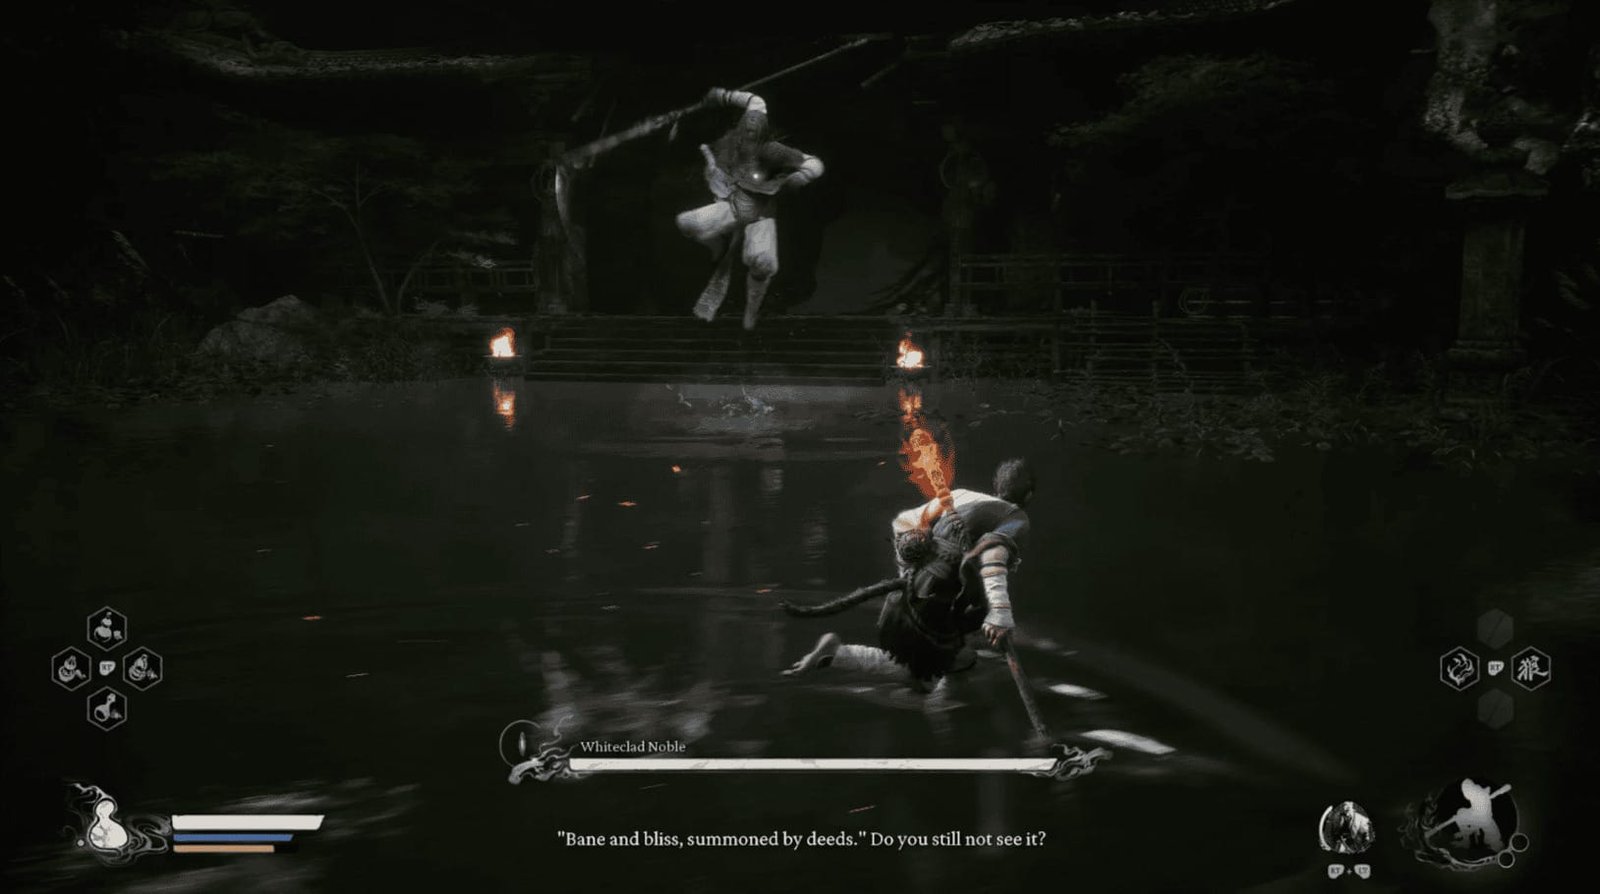
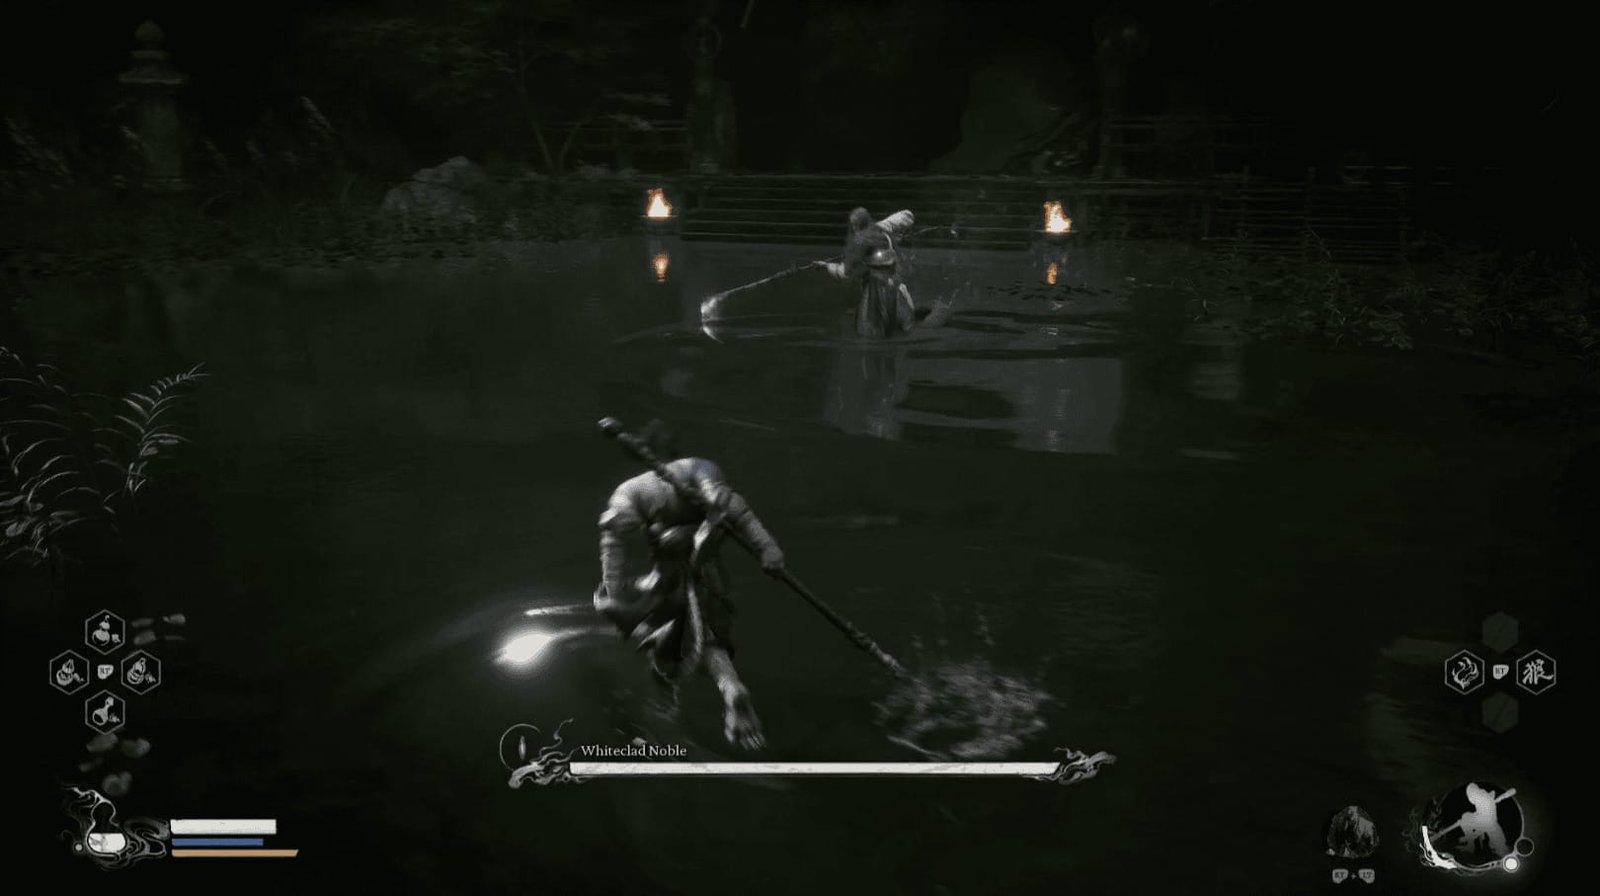
Whiteclad Noble wields a long spear and can create waves of water to attack from a distance. He usually starts the fight with a jumping lunge. Be careful to dodge.
He’s also very mobile, often retreating to reposition himself. Be cautious when chasing him.
His usual attack is a series of thrusts and slashes, often ending with a jump. You can continuously dodge or wait for him to finish the combo and then counter. Immobilize is also a good option to interrupt his combo.
When he pulls his spear back and twists his body, he’s about to unleash a powerful spinning attack, accompanied by a wave of water. Dodge towards him, don’t retreat, to avoid getting hit by the water wave.
He can also throw his spear at you. Dodge to the side. He’ll then dash towards the spear, grab it, and spin around to kick you, followed by a final thrust.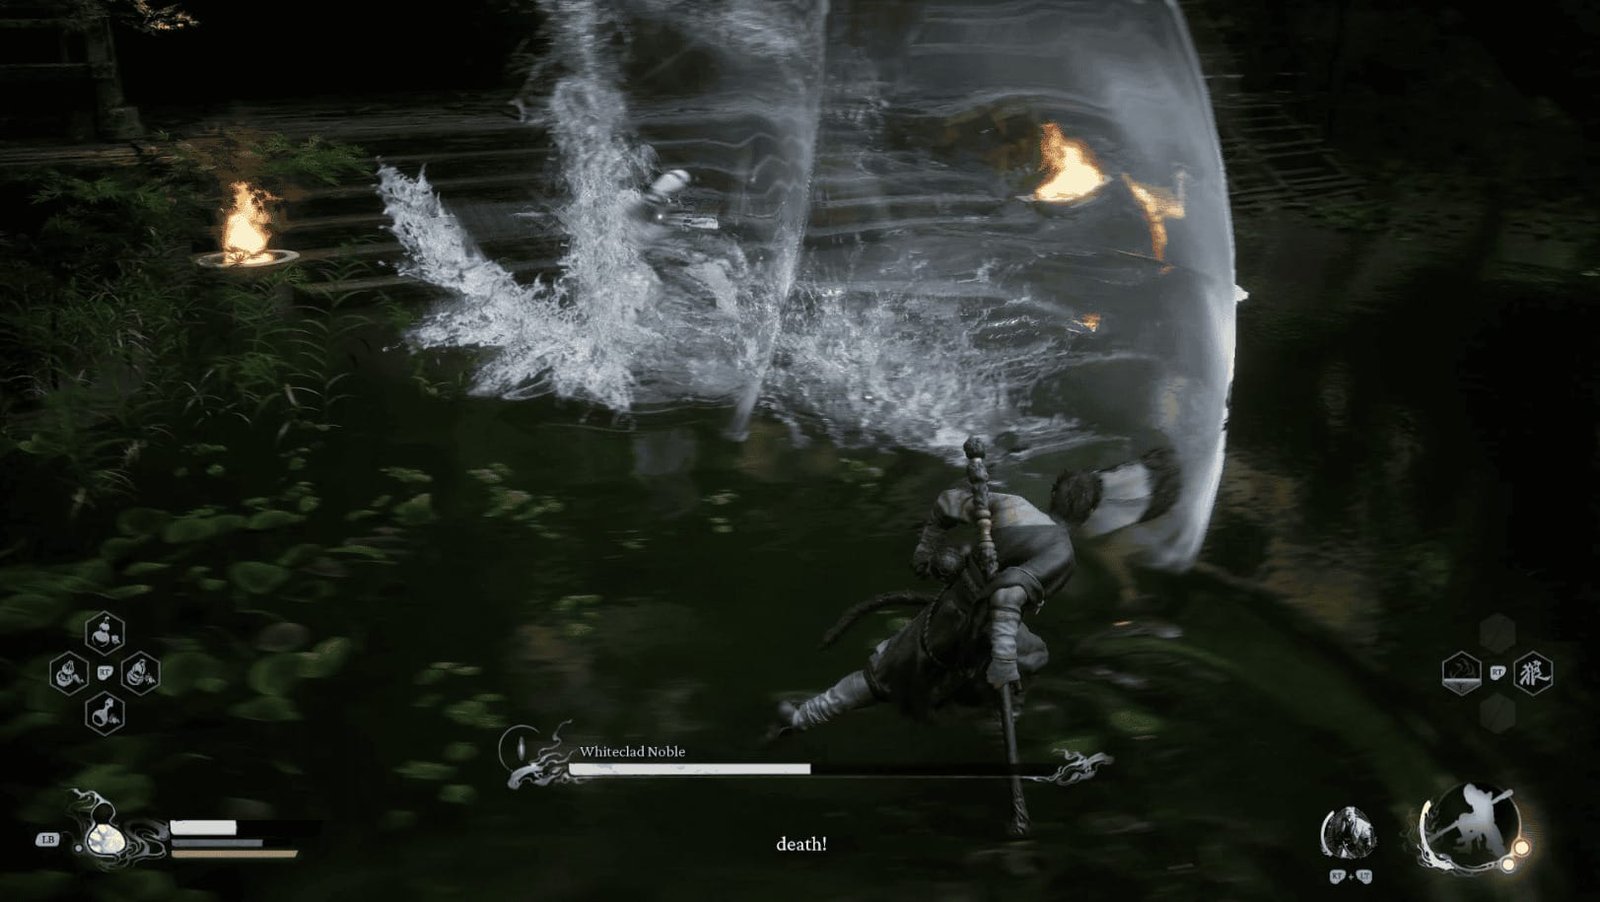
Sometimes, he’ll twirl his spear above his head, creating small waves of water. You can strafe to avoid them, then wait for him to finish with a thrust and counter.
Phase 2
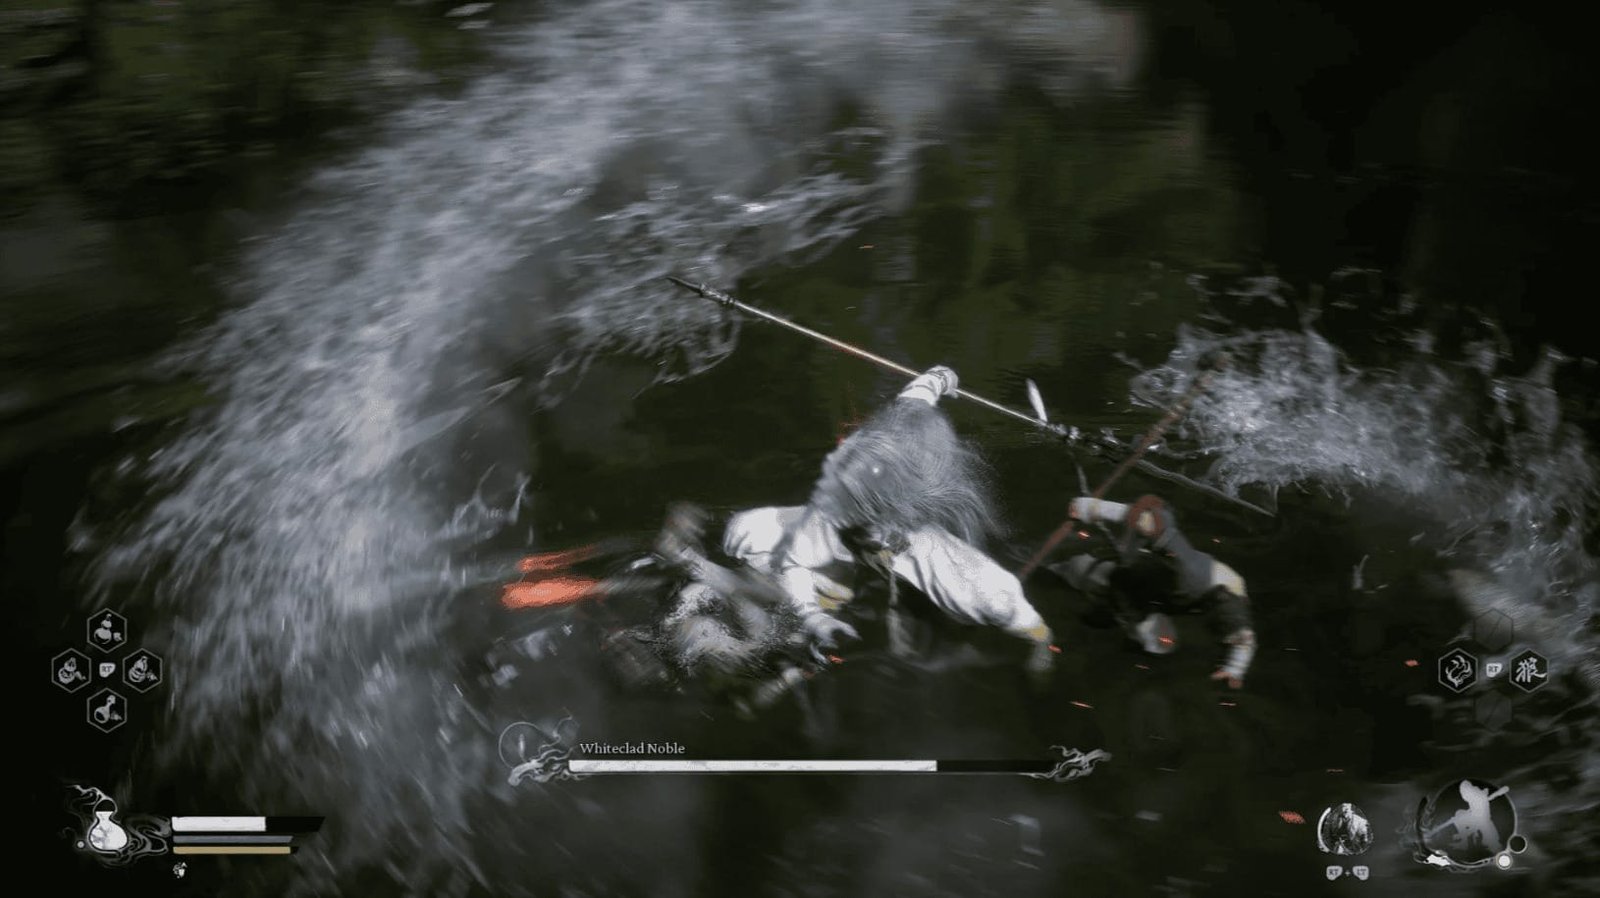
When Whiteclad Noble’s first health bar is depleted, he’ll transform into a giant serpent and regain all his health.
His attacks are similar to phase 1, but harder to dodge due to his new form.
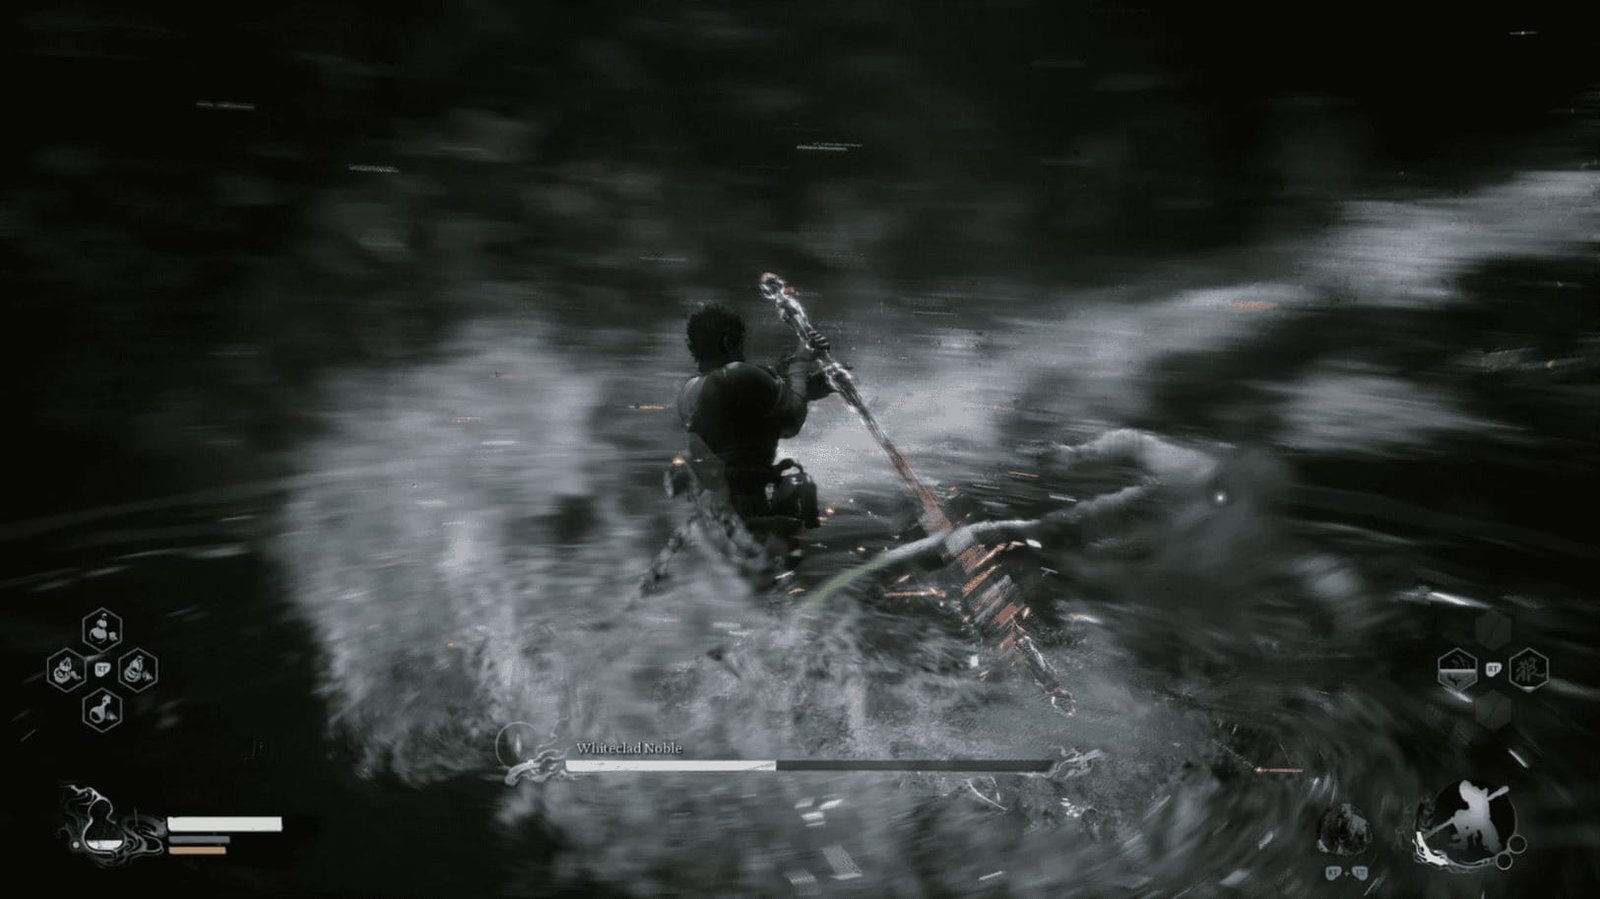
His spinning attack is harder to anticipate as his spear will dip into the water. Watch his movements carefully to dodge.
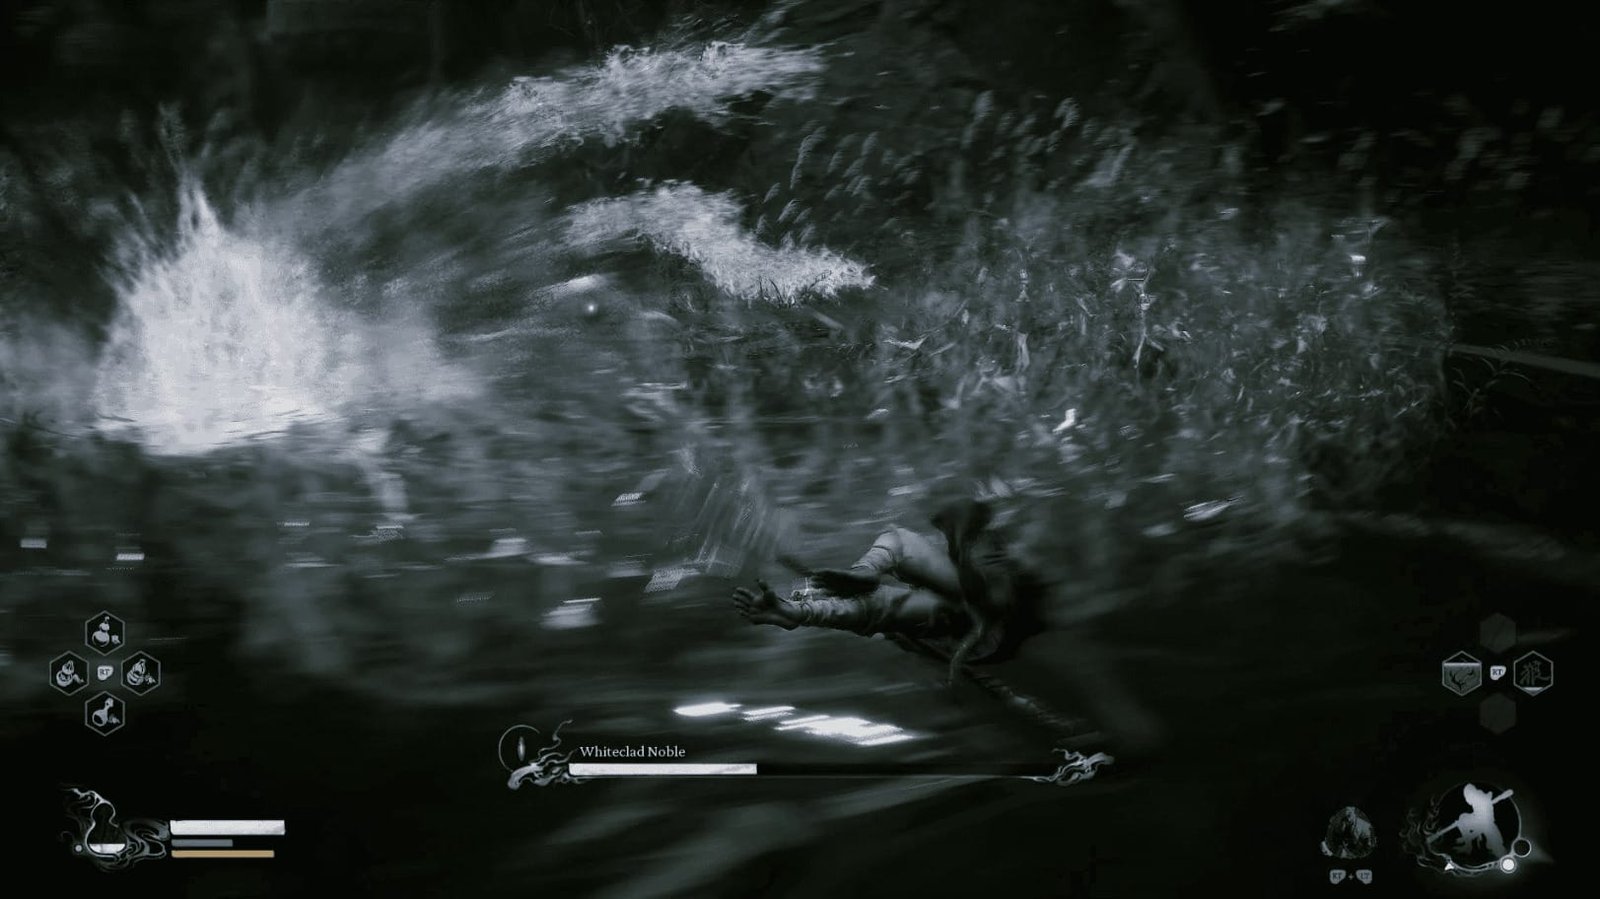
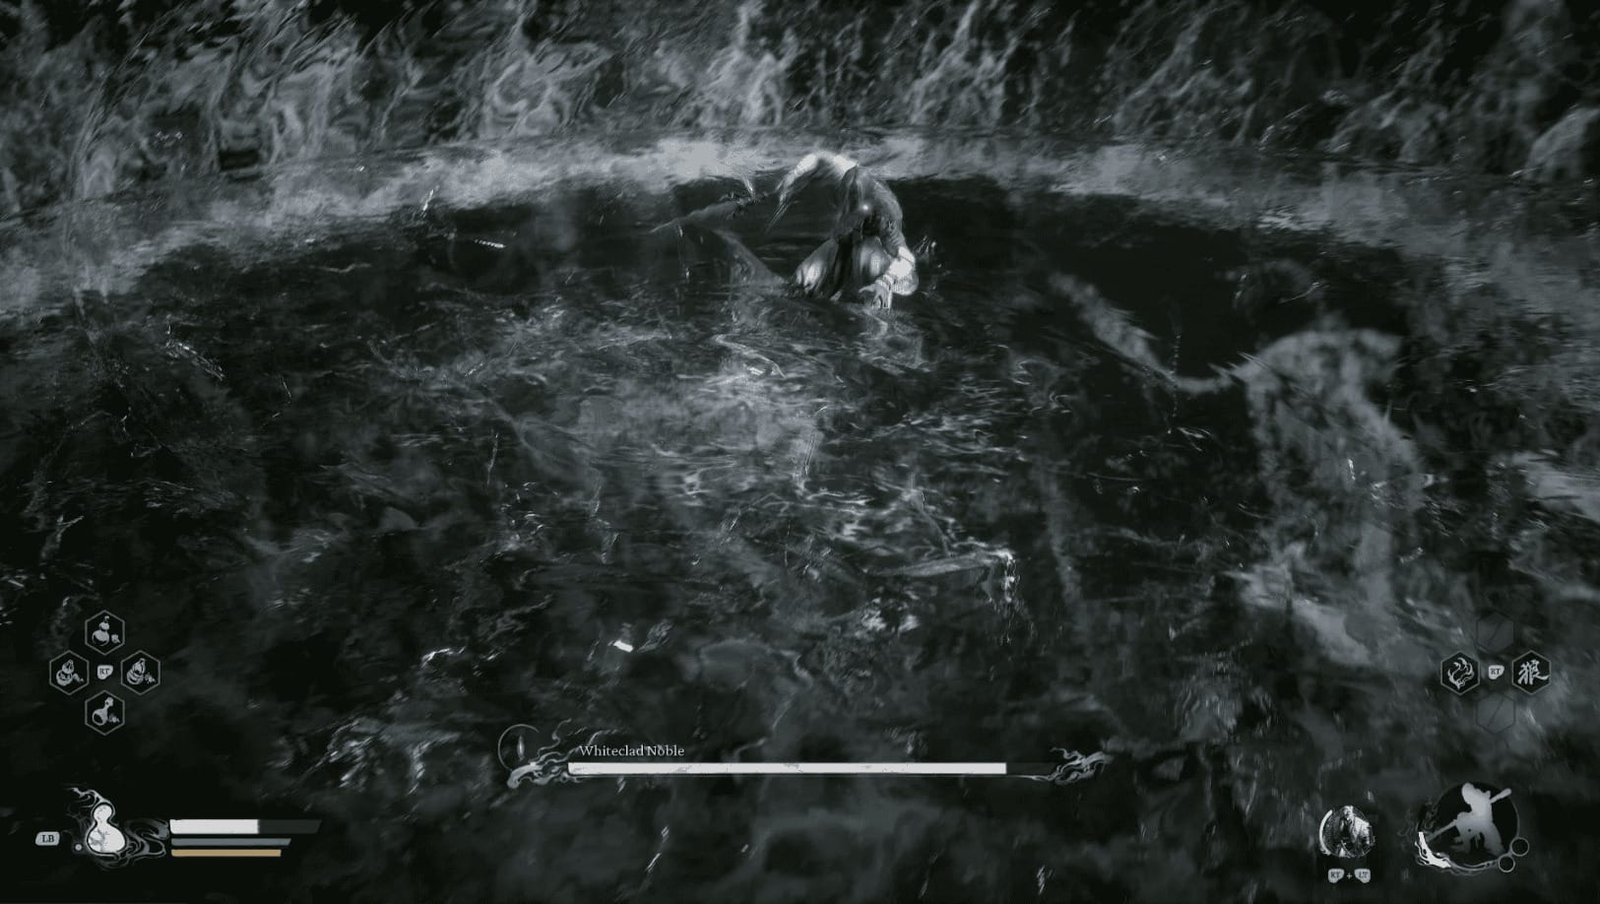
Instead of twirling his spear above his head, he’ll rise from the water and slash repeatedly, creating diagonal water waves that are harder to avoid.
He can also twirl his spear above his head, creating a large column of water and slamming it down, creating a straight line of water towards you.
Stay close, attack continuously, and use Immobilize and Spirit Attack (the Wandering Wight’s headbutt is a good choice) to control him.
Defeating Whiteclad Noble will reward you with a Jade Fang. He will concede defeat and reveal that he was only feigning loyalty to the Black Wind King to learn more.
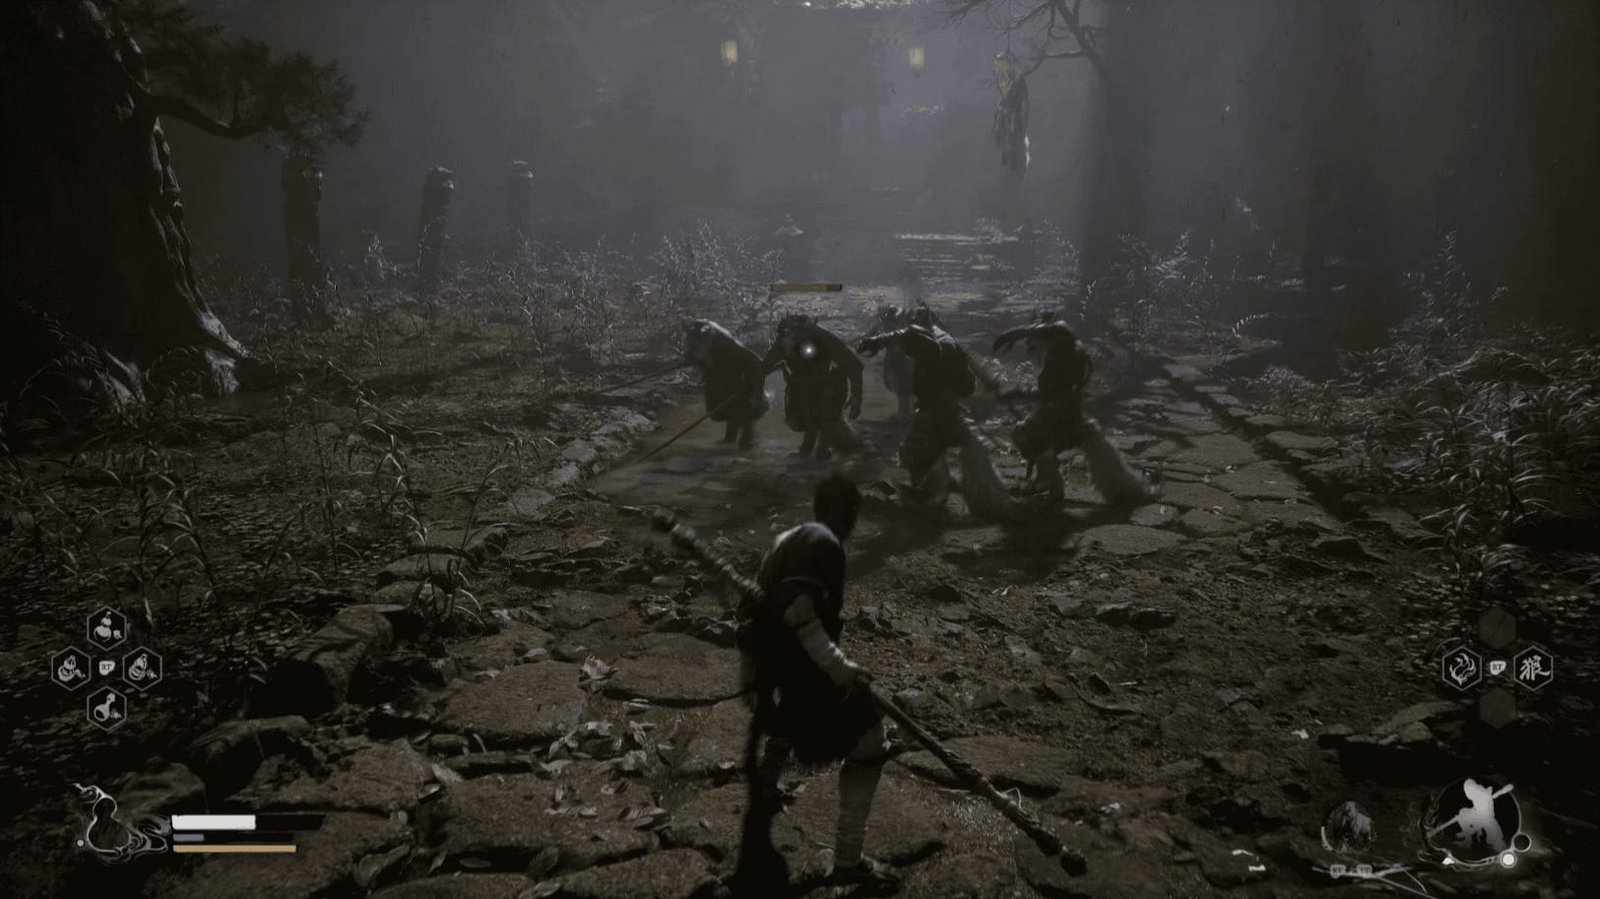
Instead of continuing down the path that Whiteclad Noble was guarding, look to the left, and you’ll see a flooded ravine. Go through this ravine, and you’ll reach a large open area where several Wolf Guai are sitting in front of the third and final bell. A wolf’s corpse hangs from a nearby tree.
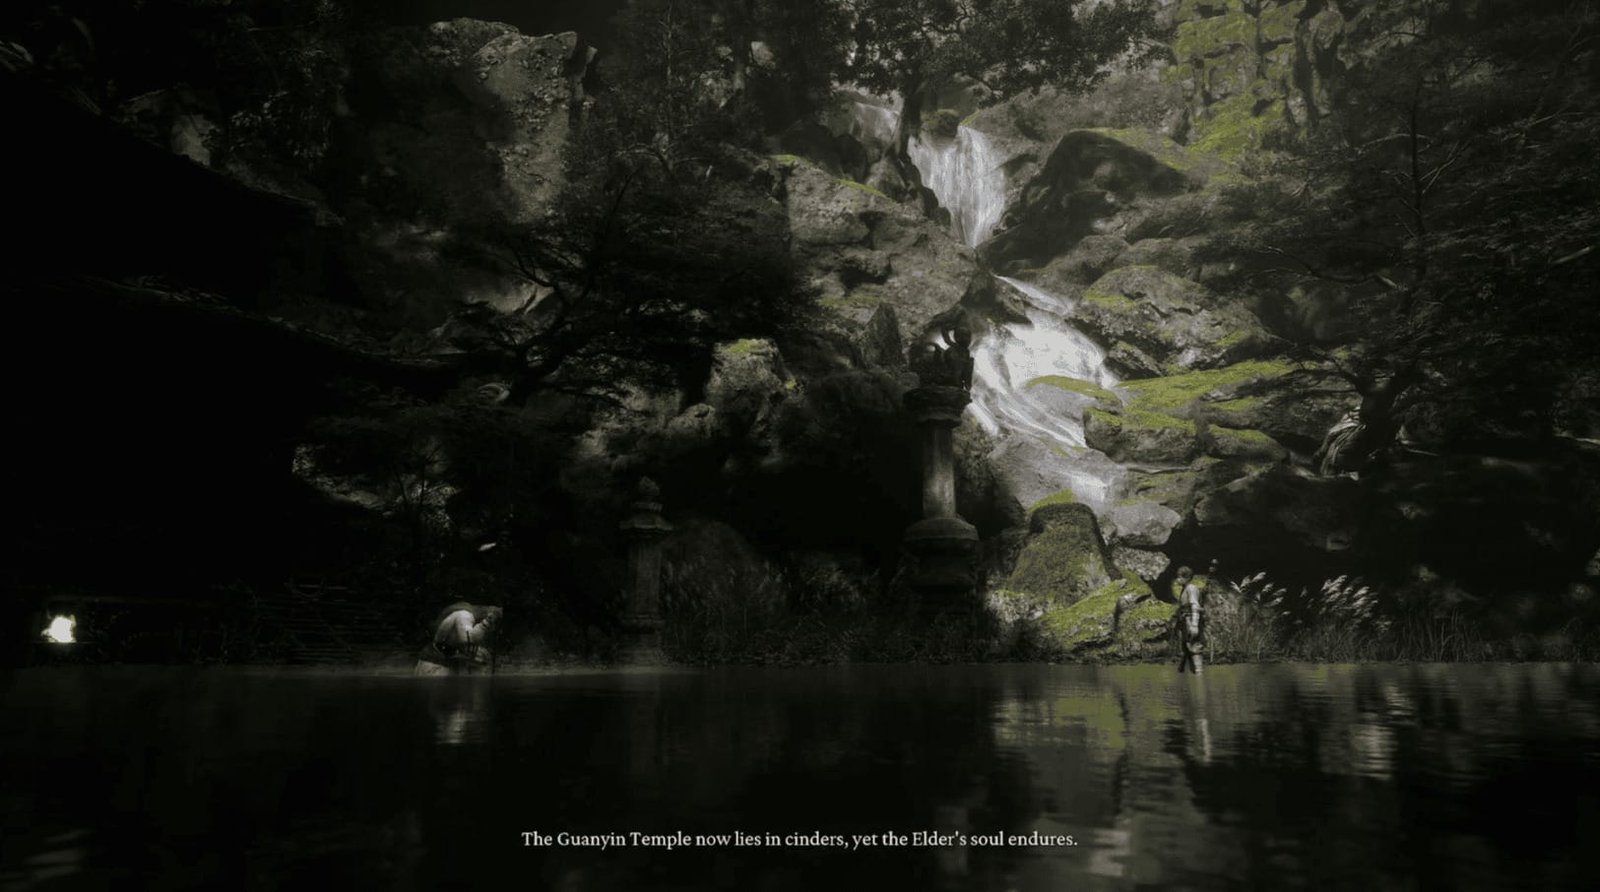
After defeating the Wolf Guai, approach and ring the final bell. The sound of the bell will transport you to a secret area…
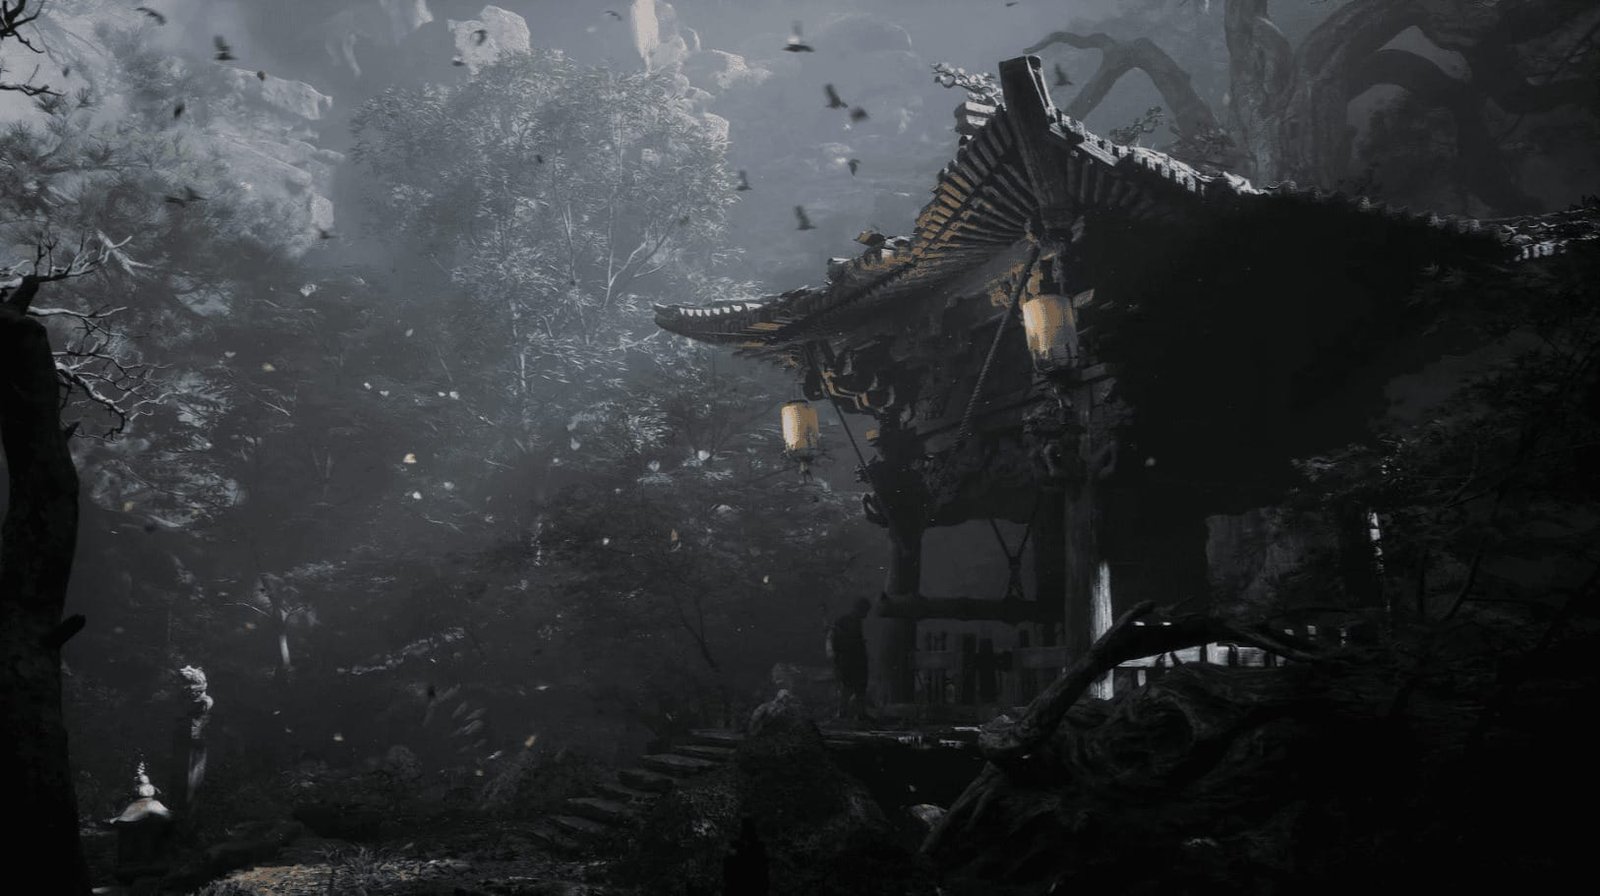
Welcome to The Ancient Guanyin Temple, a secret area hidden within Black Wind Mountain. Head up the stairs and activate the Shrine here. In front of you are three chests; open them and collect the items.
Here, you’ll face a difficult challenge – Elder Jinchi, an extremely powerful hidden boss. Prepare yourself thoroughly before entering the battle. ThinkPlay will have a separate, detailed guide on how to defeat Elder Jinchi.