

This guide will be your guiding light, helping you conquer Black Wind Cave with ease. I, a seasoned veteran of Black Myth: Wukong, will guide you step-by-step, through every nook and cranny, revealing all the secrets, hidden items, and the most effective battle strategies. Prepare yourselves, for together we will conquer Black Wind Cave!
Entrance to Black Wind Cave
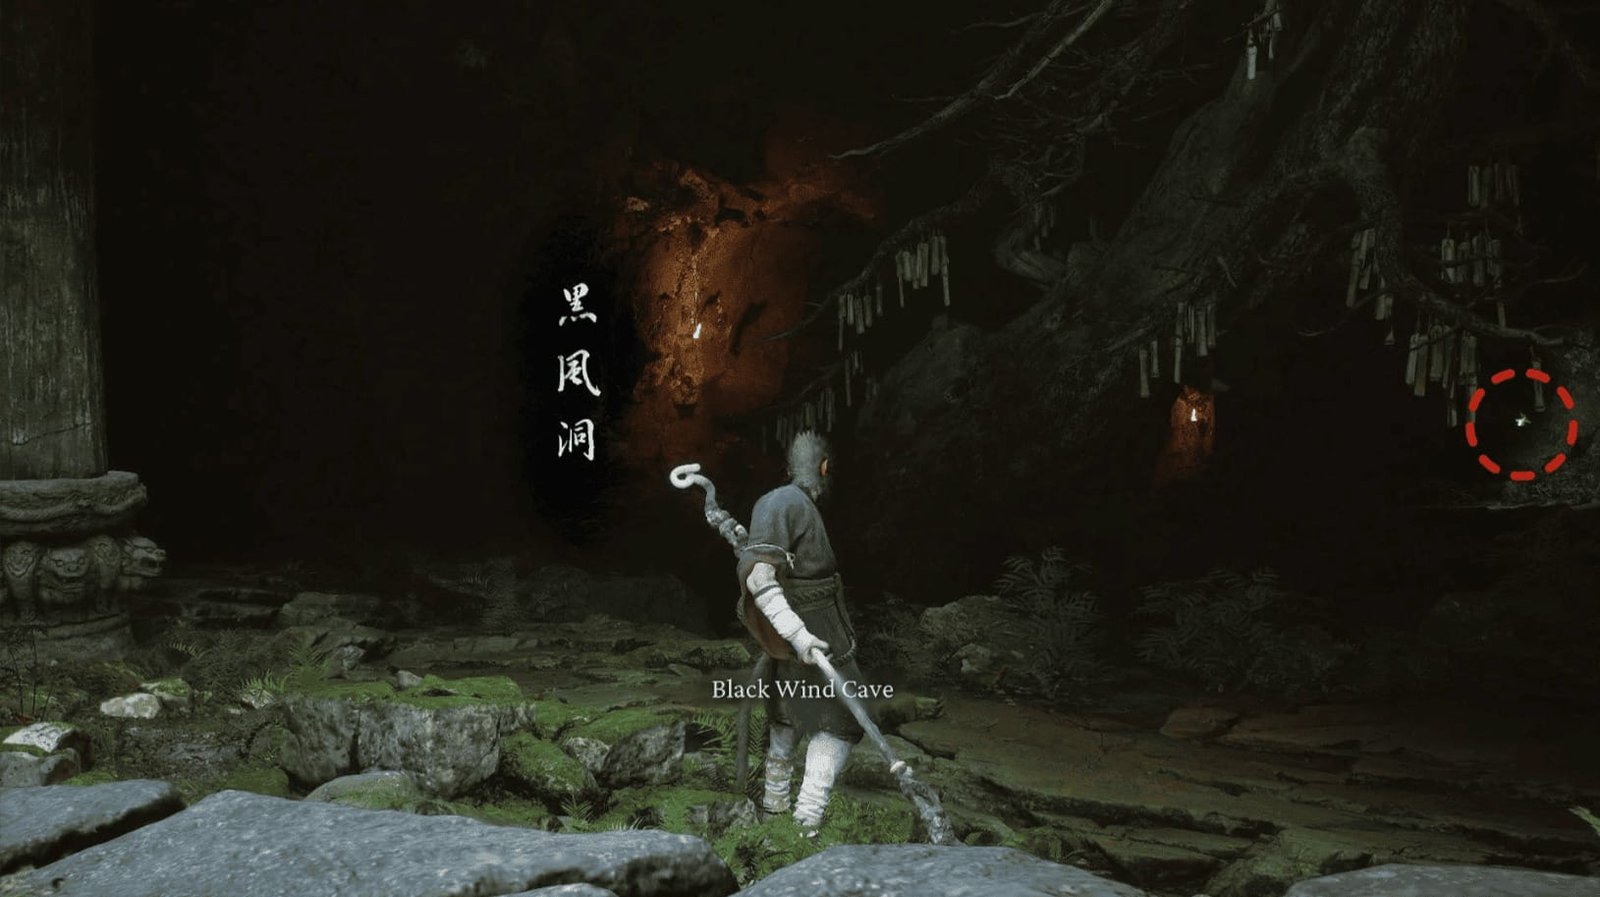
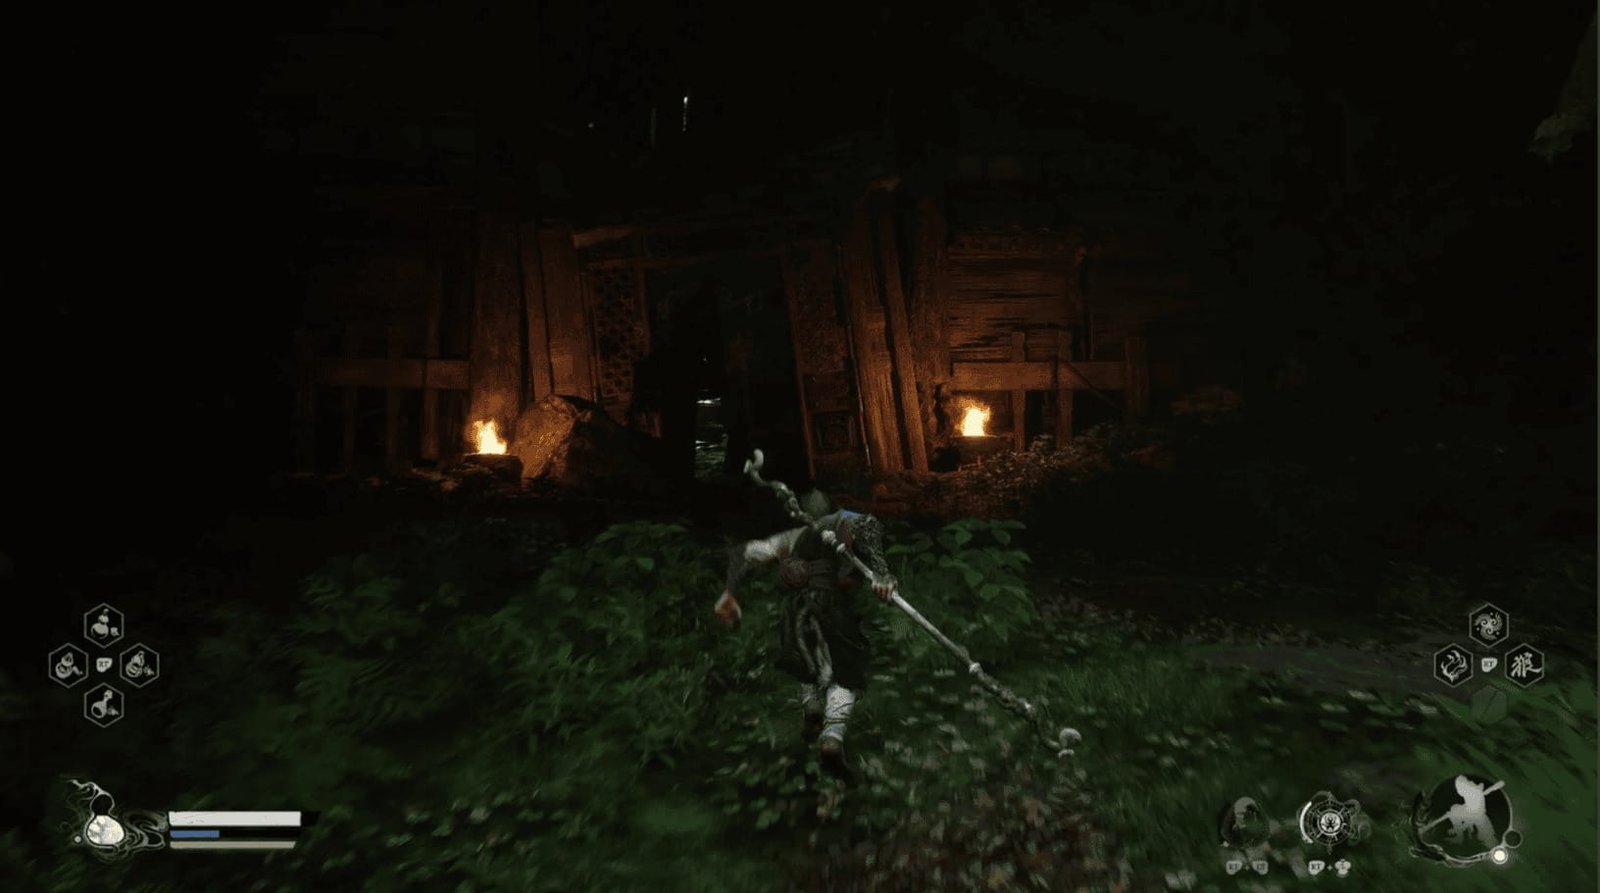
After defeating the Whiteclad Noble, you will see a ruined structure in front of you. Head up the stairs of this structure, that is the entrance to Black Wind Cave.
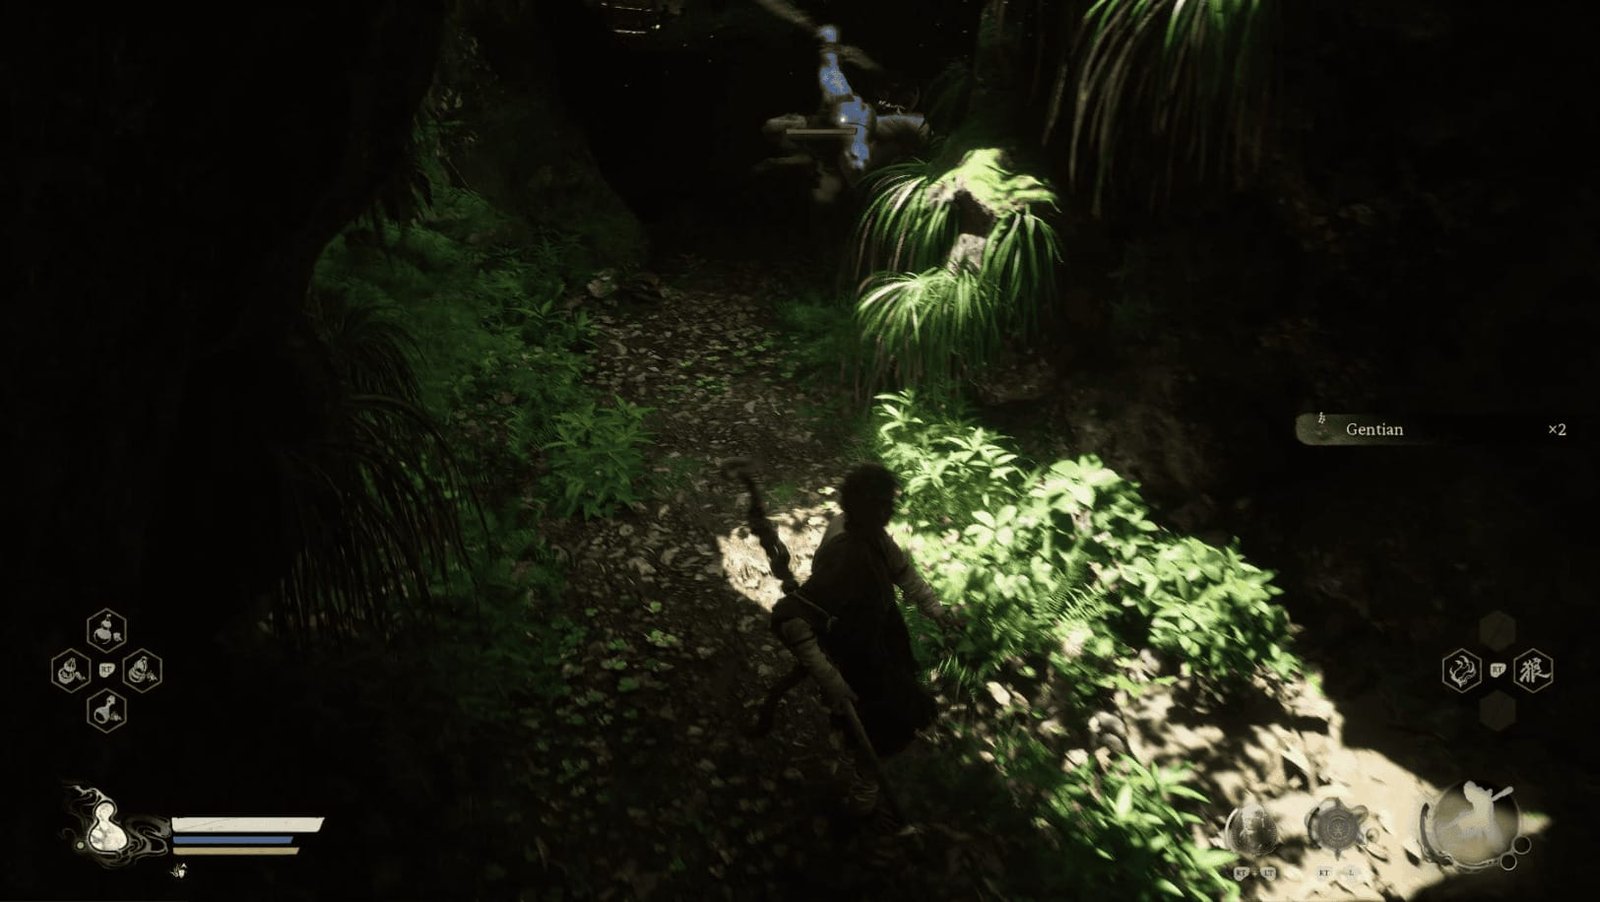
As soon as you enter, you will notice the dark space inside. Don’t panic, just calmly follow the path on the right. There, you will find a green glow, that is x360 Will. Collect it, as Will is very useful for upgrading your character.
Going a little further, you will find x2 Gentian. Remember to pick them up, they might be useful later.
Continuing your journey, a Wolf Assassin will appear, they usually hide in the dark. A little tip is to lure them to a brighter area to make the fight easier.
After passing the area of the Wolf Assassin, the road will split into two paths:

Turn left: This path leads to the third and also the last Meditation Spot in the Black Wind Mountain area. Here, you will receive a free Spark Skill Point. Explore a bit, and you will see a golden pot containing the Celestial Taiyi Pill – an item that increases your maximum Mana (magical energy). Don’t forget to pick up the x2 Purple Lingzhi on the right side of the Meditation Spot platform.
Turn right: This path will lead you further into the cave.
Cave Interior
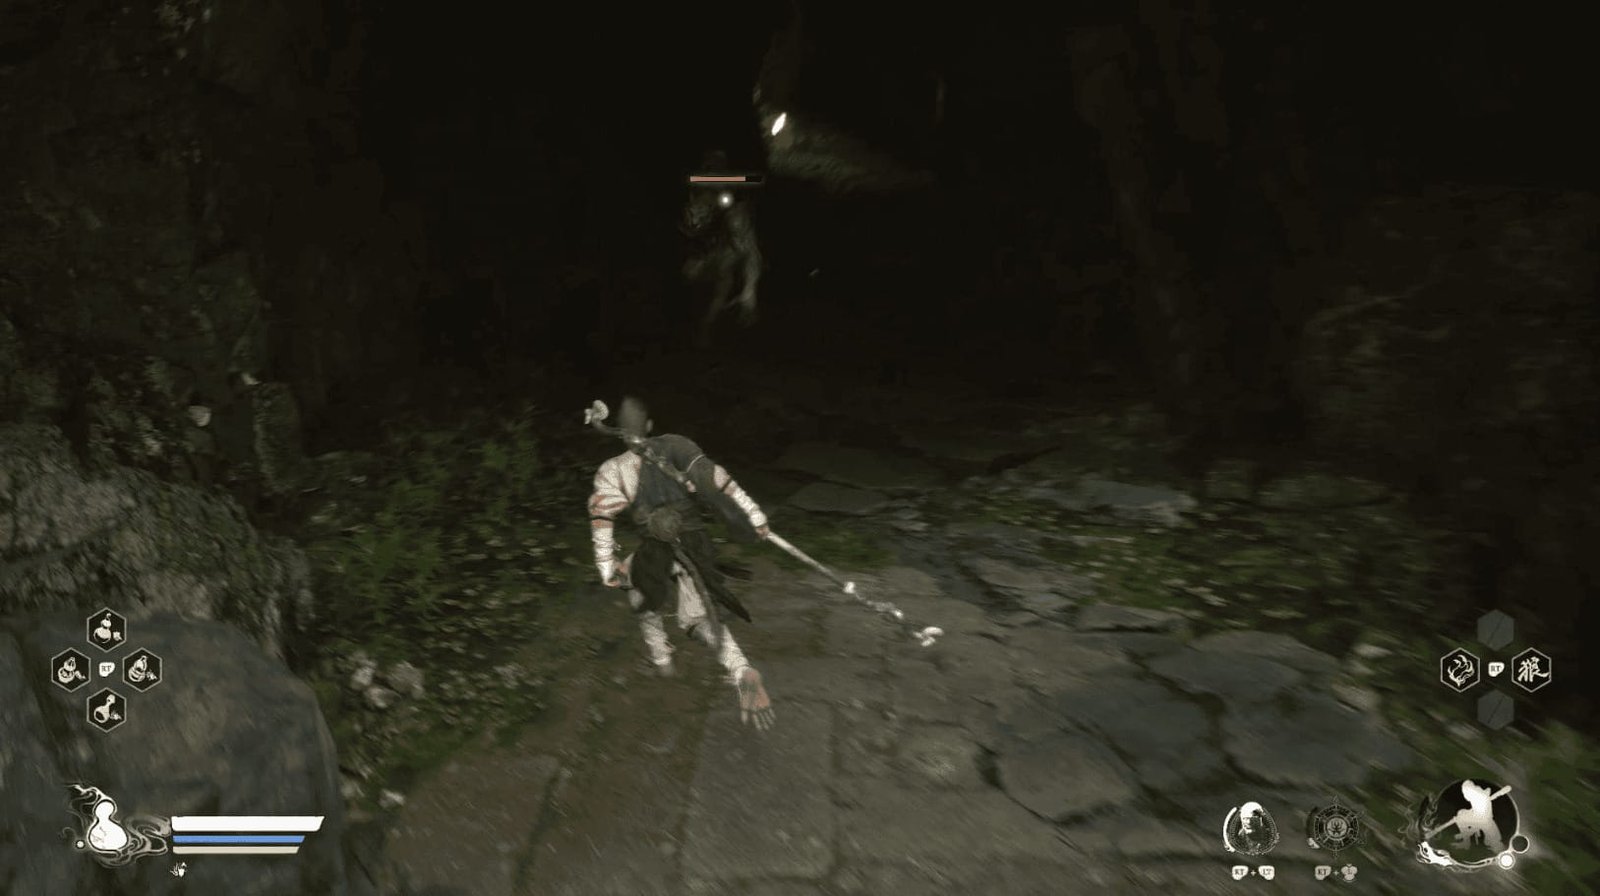
The further you go, the darker the cave becomes. Be careful, another Wolf Assassin is hiding, waiting for you. Just like before, try to lure him to a place with light to make it easier to deal with him.
Moving on, you will encounter two Wolf Sentinels guarding a Shrine – the Cave Interior Shrine. This is a good opportunity for you to rest and recover. But be careful because you have to fight both of them at the same time.
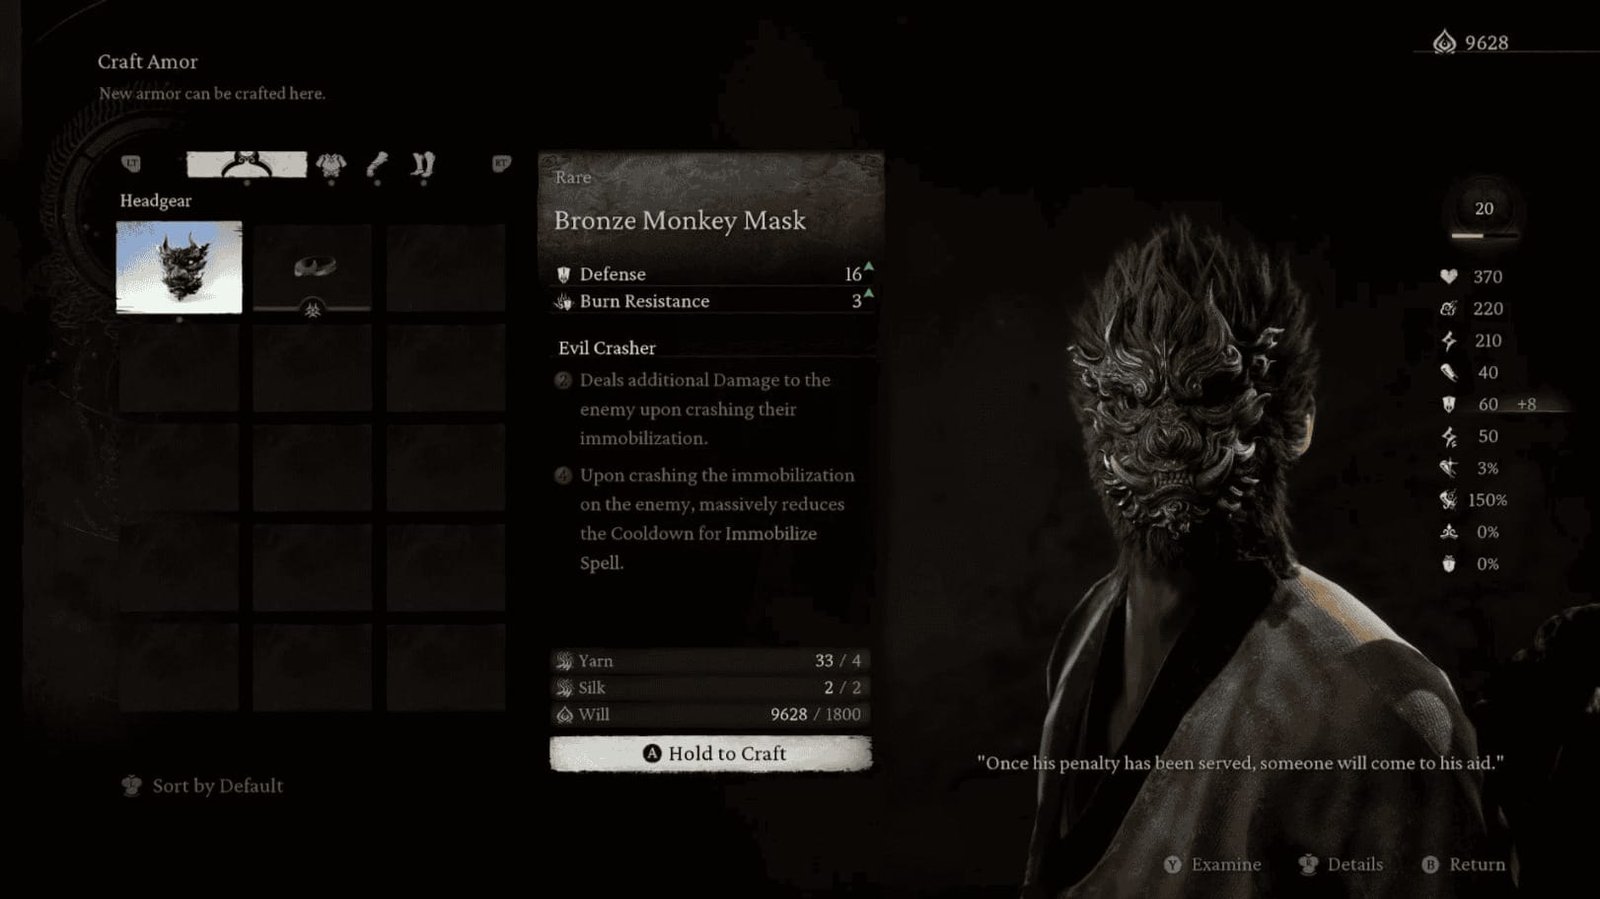
After defeating the two guards, use this Shrine. Here, you can upgrade your equipment. Some new equipment will appear after you defeat the Whiteclad Noble, including the Serpentscale set and the Twin Snake Staff – which can be upgraded from your current staff using the Jade Fang obtained from the Whiteclad Noble. Notably, if you have already defeated the Secret Boss by ringing the three bells, you will be able to craft the Bronze set – which enhances your ability to use the Immobilize Spell.
Craft and upgrade whatever you can afford, because right behind that large wooden door, the boss Black Wind King is waiting for you. He is not an easy opponent!
Alright, time to face the first boss of this cave!
Black Wind King Boss Fight
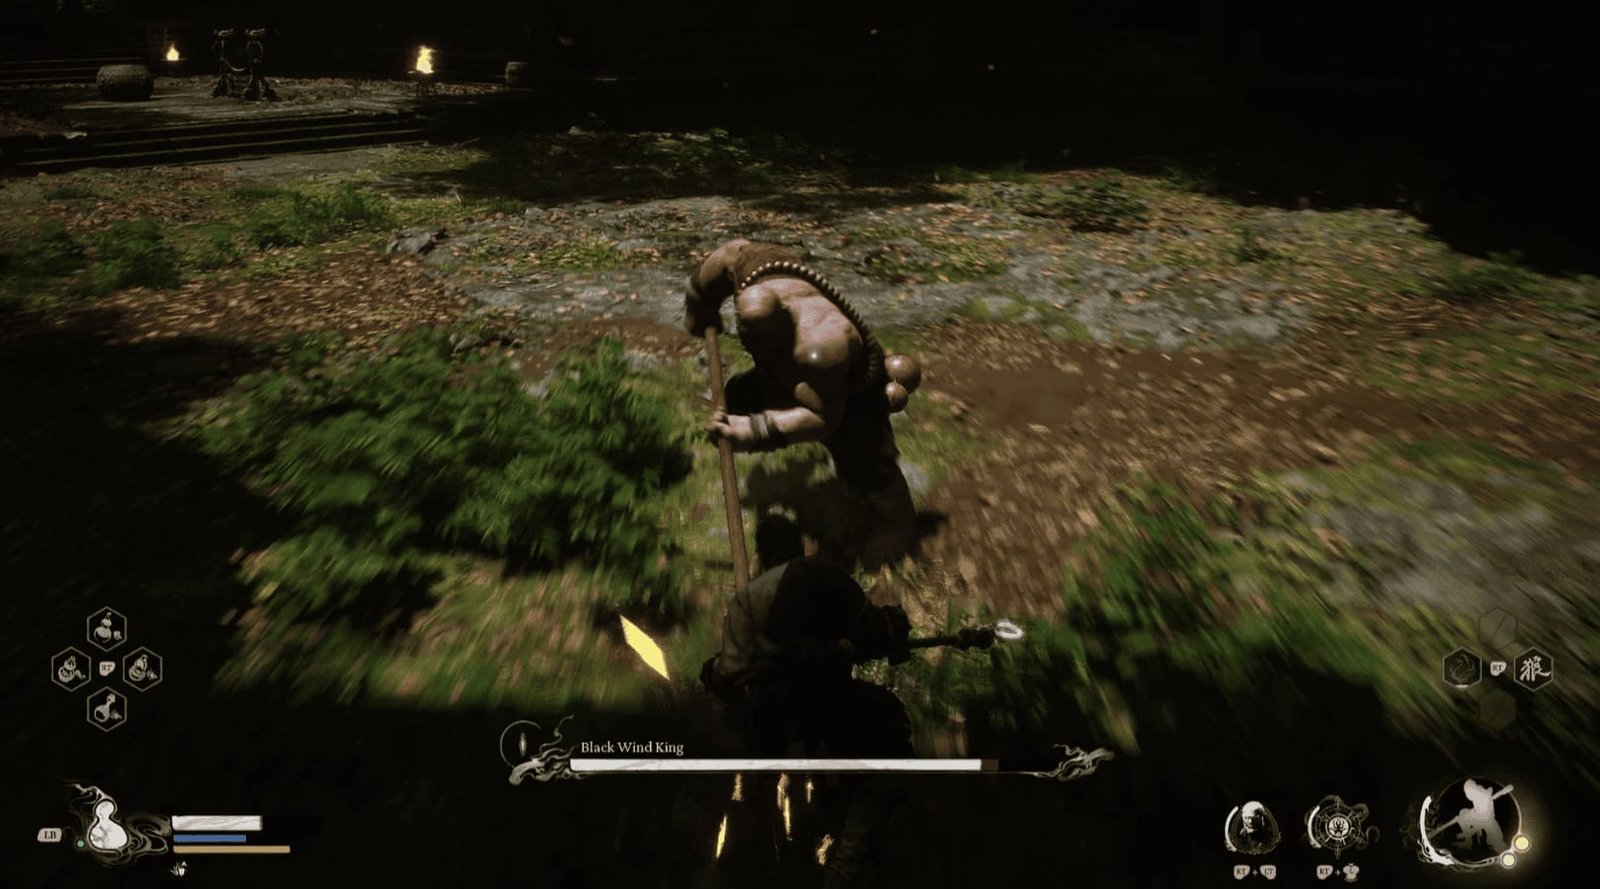
The Black Wind King the self-proclaimed king of Black Wind Mountain, has been waiting for you for a long time. He uses a spear as his main weapon, with the ability to generate Black Wind powerful and dangerous dark winds. He can also transform into a Black Wind Orb, dashing around quickly and dealing damage if you touch it.
Phase 1
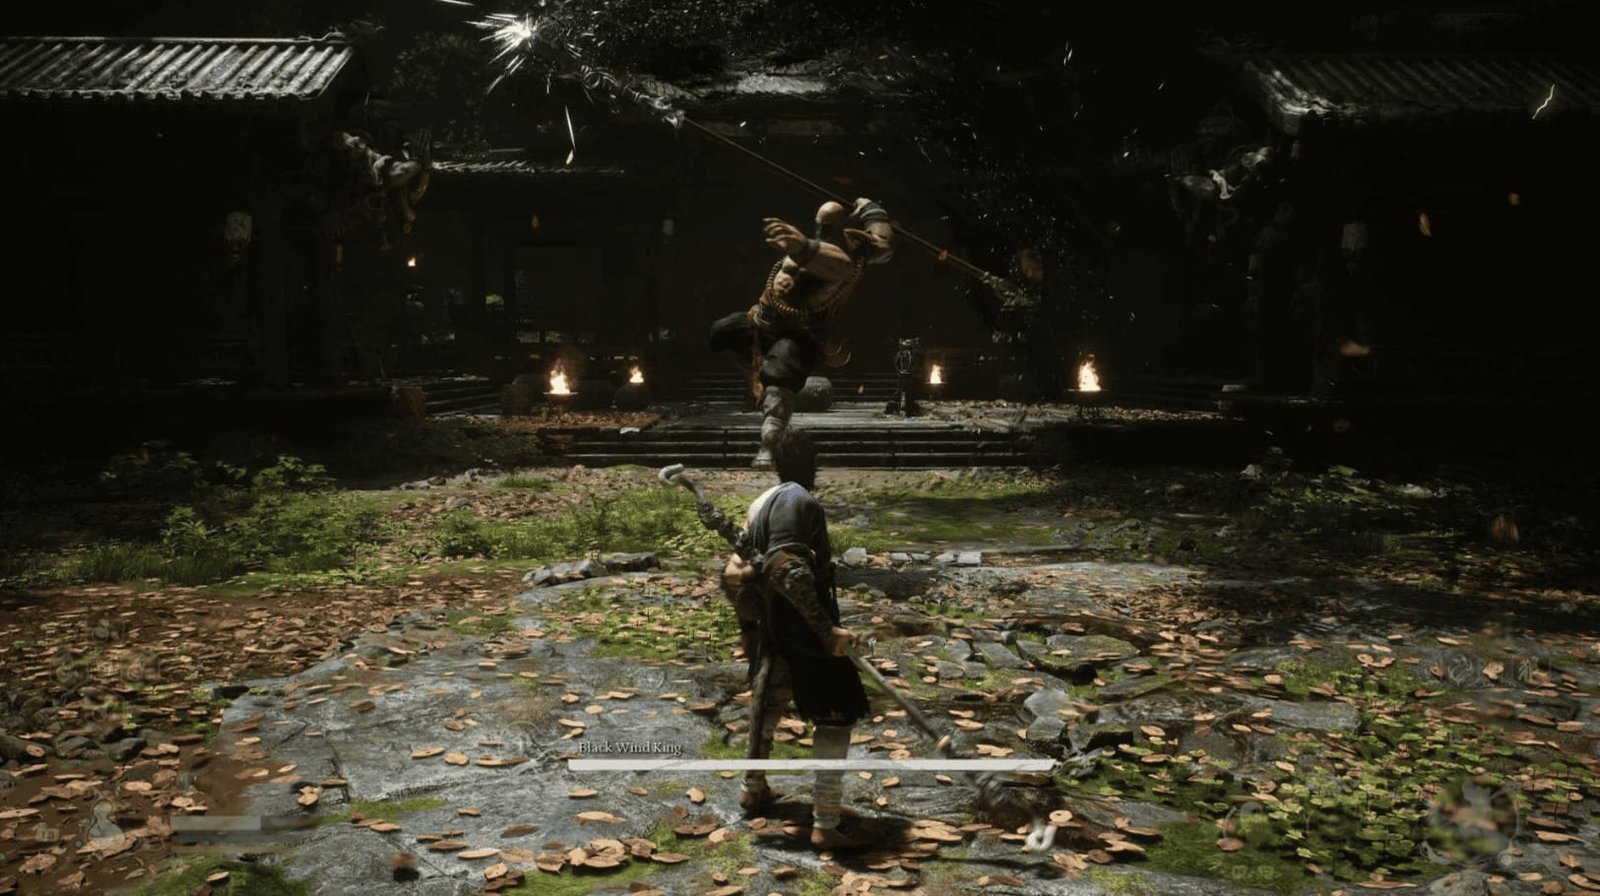
Jumping Spear Thrust: He will jump, pause in mid-air for a beat, then thrust straight towards you.
Spear Spin: He often spins his spear twice in quick succession after the jumping thrust, creating a short window for you to attack.
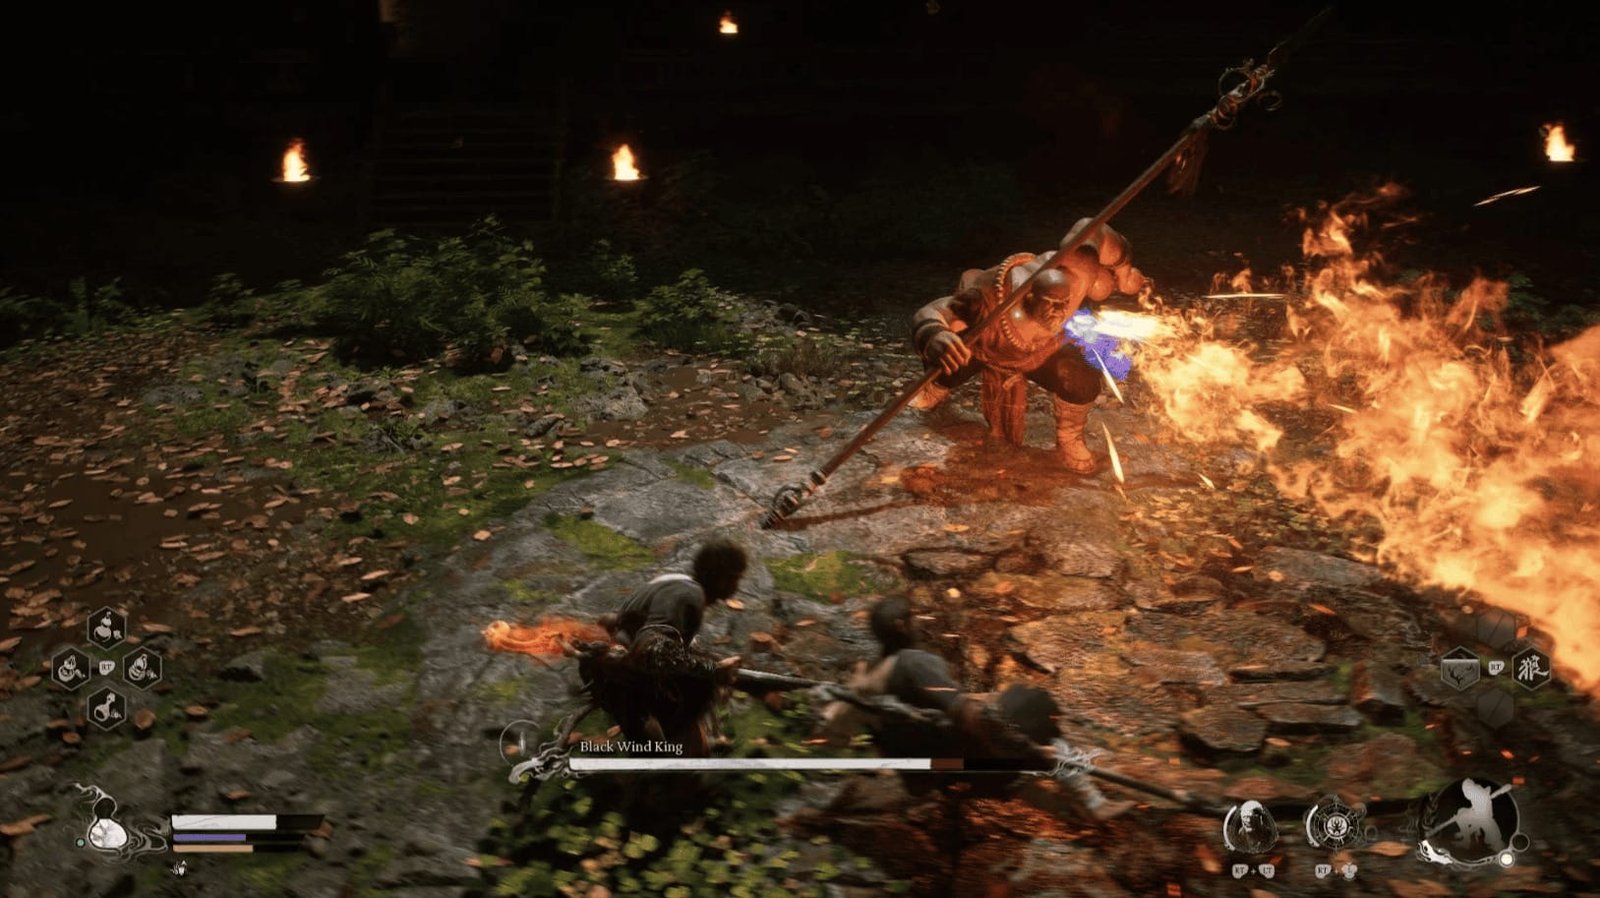
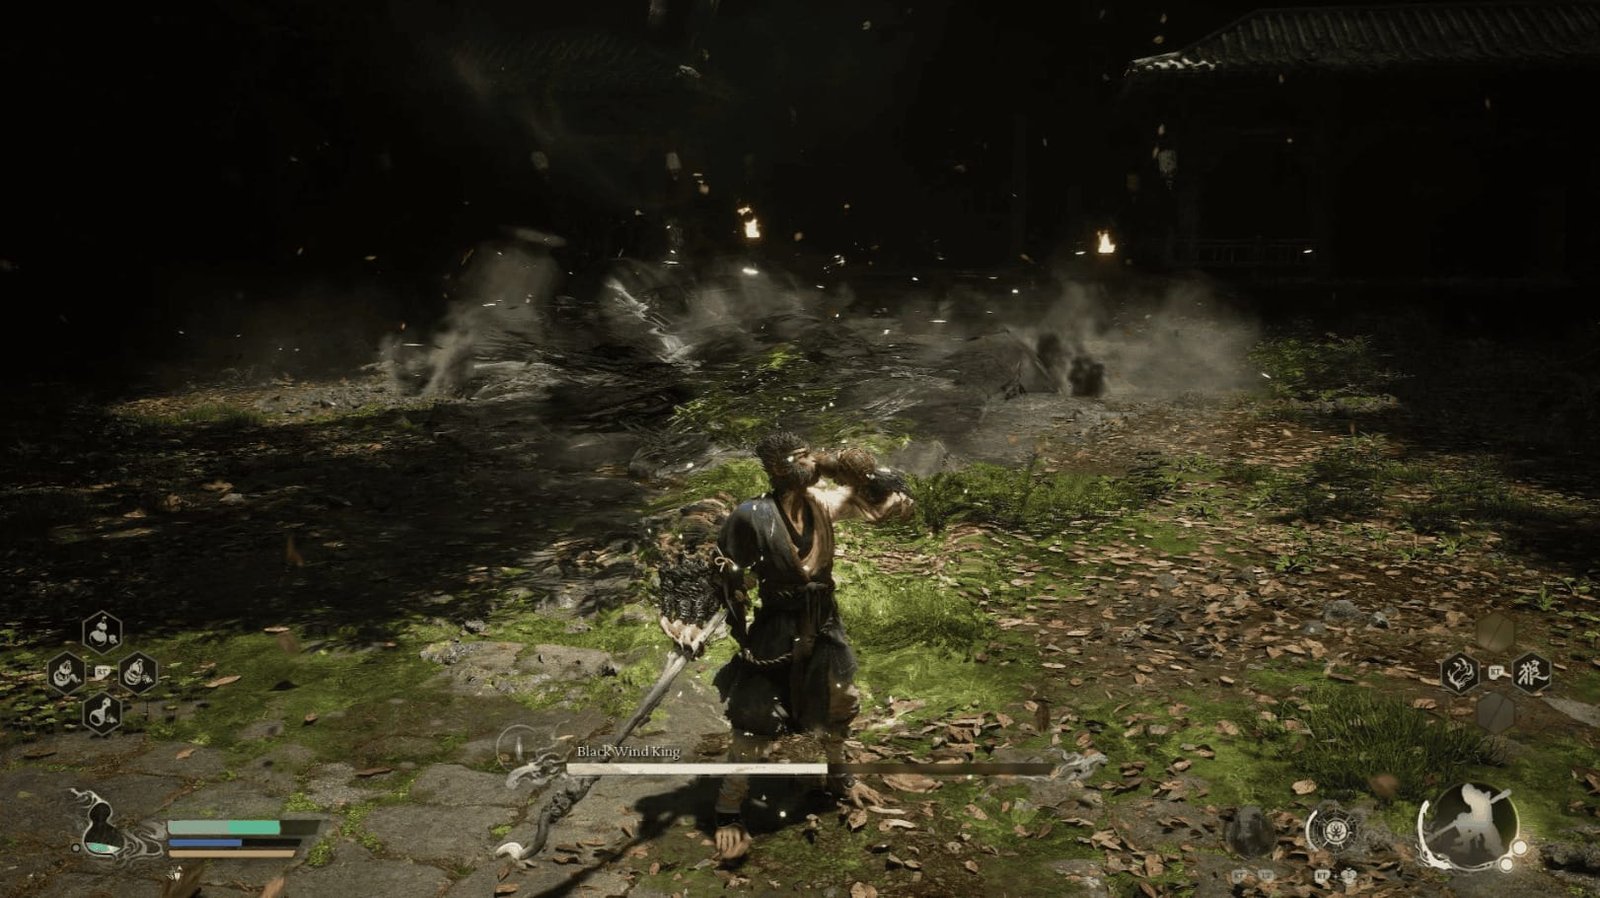
Flame Breath: When close, he will take a swig from his gourd and breathe fire in front of him. Quickly dodge to the side to avoid this, you can circle behind him and attack.
Kick: If you see him raise one foot, quickly use Immobilize or dash to the side, as he will kick very fast and continue to charge at you with multiple hits, making it nearly impossible to escape once hit.
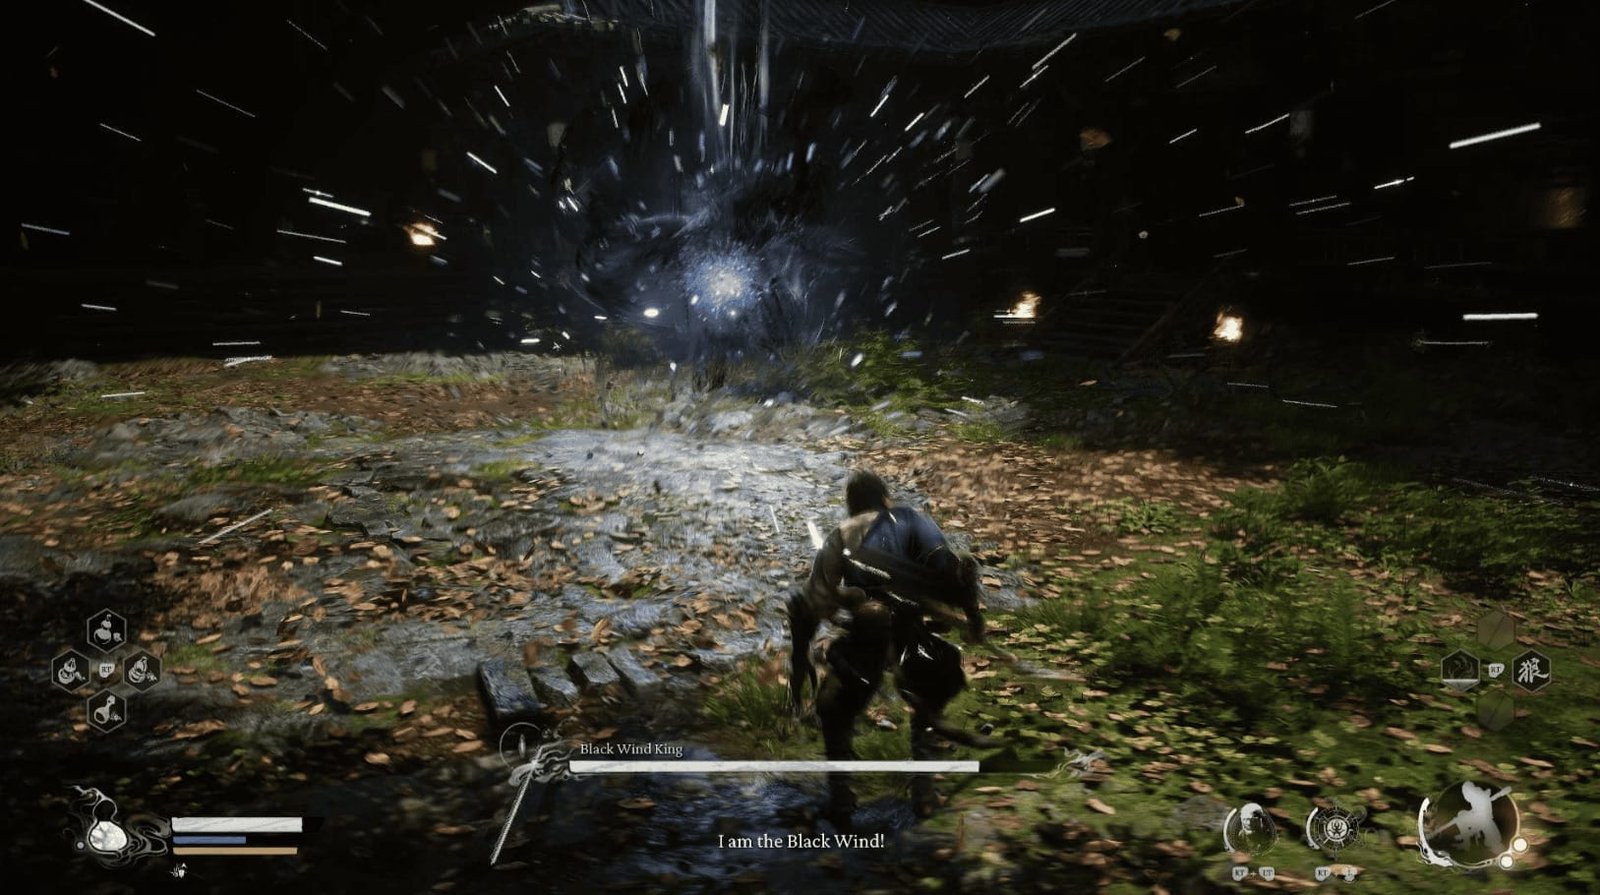
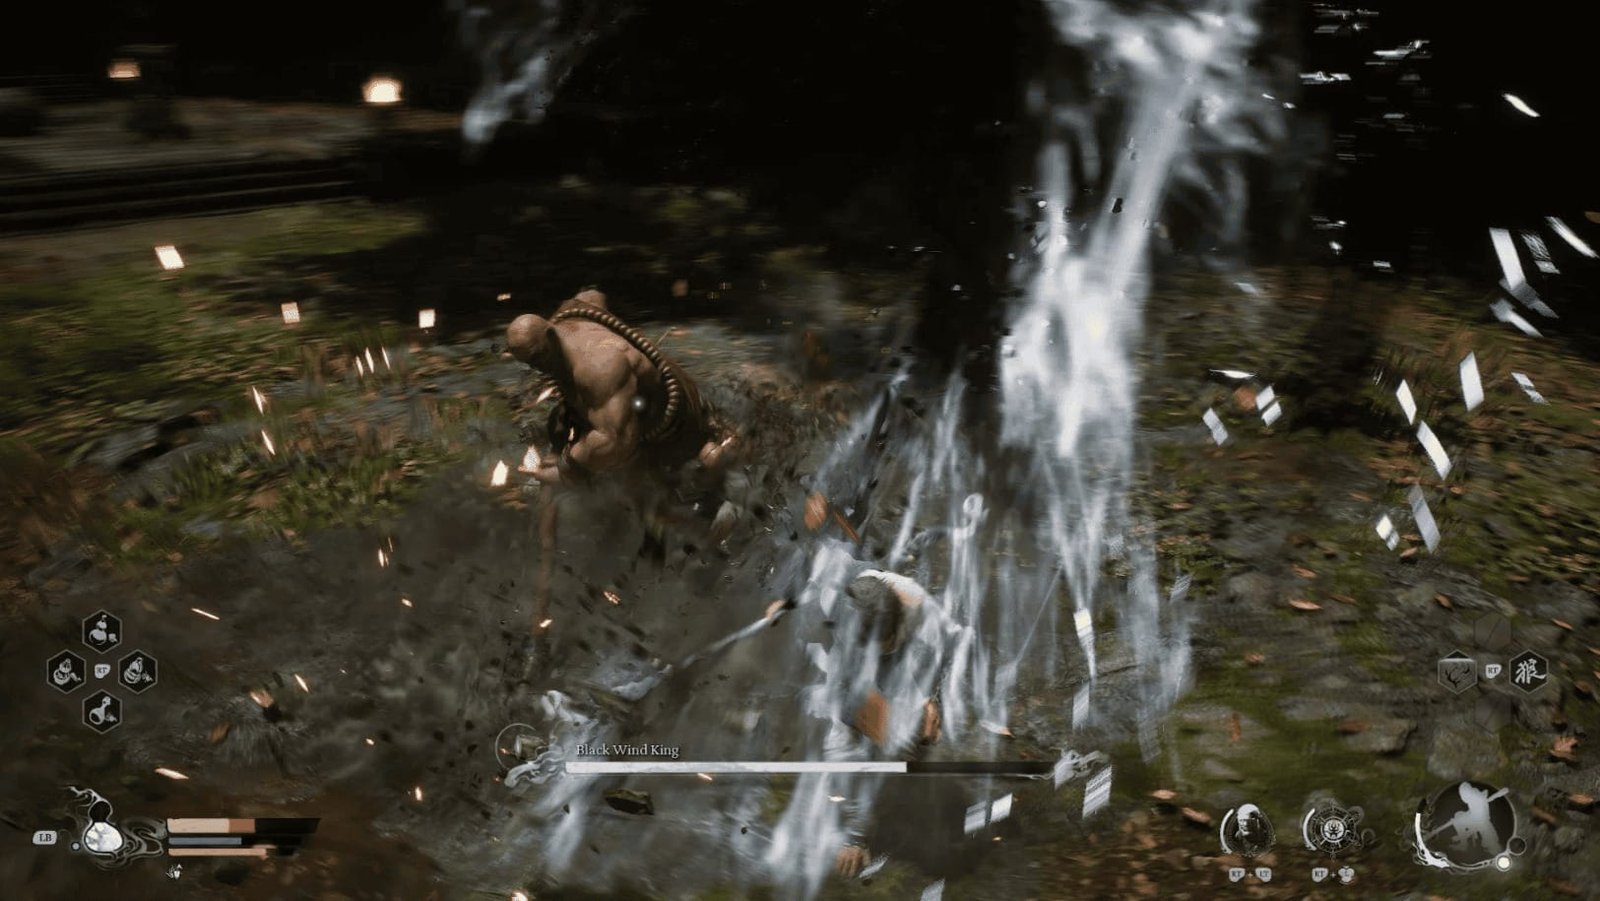
Black Wind Form: He transforms into a black wisp, floating around the arena. Pay attention to the small “bursts” emanating from the wisp, indicating he’s about to charge. He usually charges twice in quick succession. When he flies up, move away from the center of the arena as he will reappear with a large explosion.
Be patient, carefully observe his attacks. Pay attention to the “spark” (ignition) emitting from the spear, that’s when he’s about to attack. Take advantage of the openings after his attacks to counterattack. Use your Spirit Attack when there is enough space.
Phase 2 (After losing about half his health)
The Black Wind King will become more aggressive, using Black Wind more often. He can disappear completely and reappear suddenly in the middle of a combo.
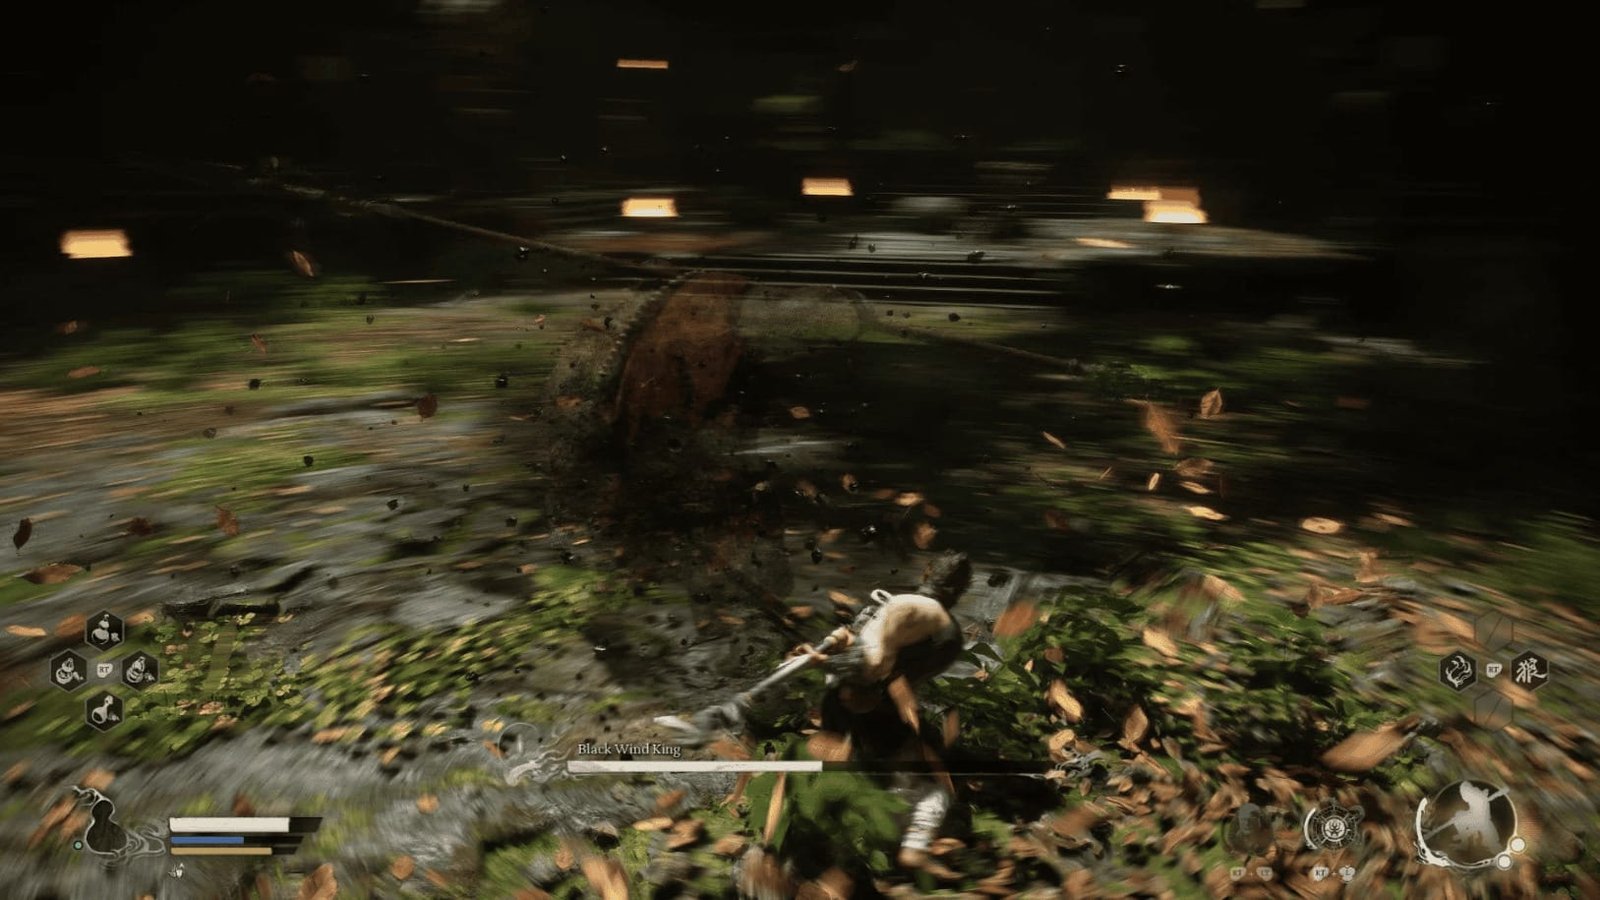
Long Combo: He will start with a shove, then stab his spear into the ground, jump into the air, slash downwards, and finally slam his fist down creating a large explosion.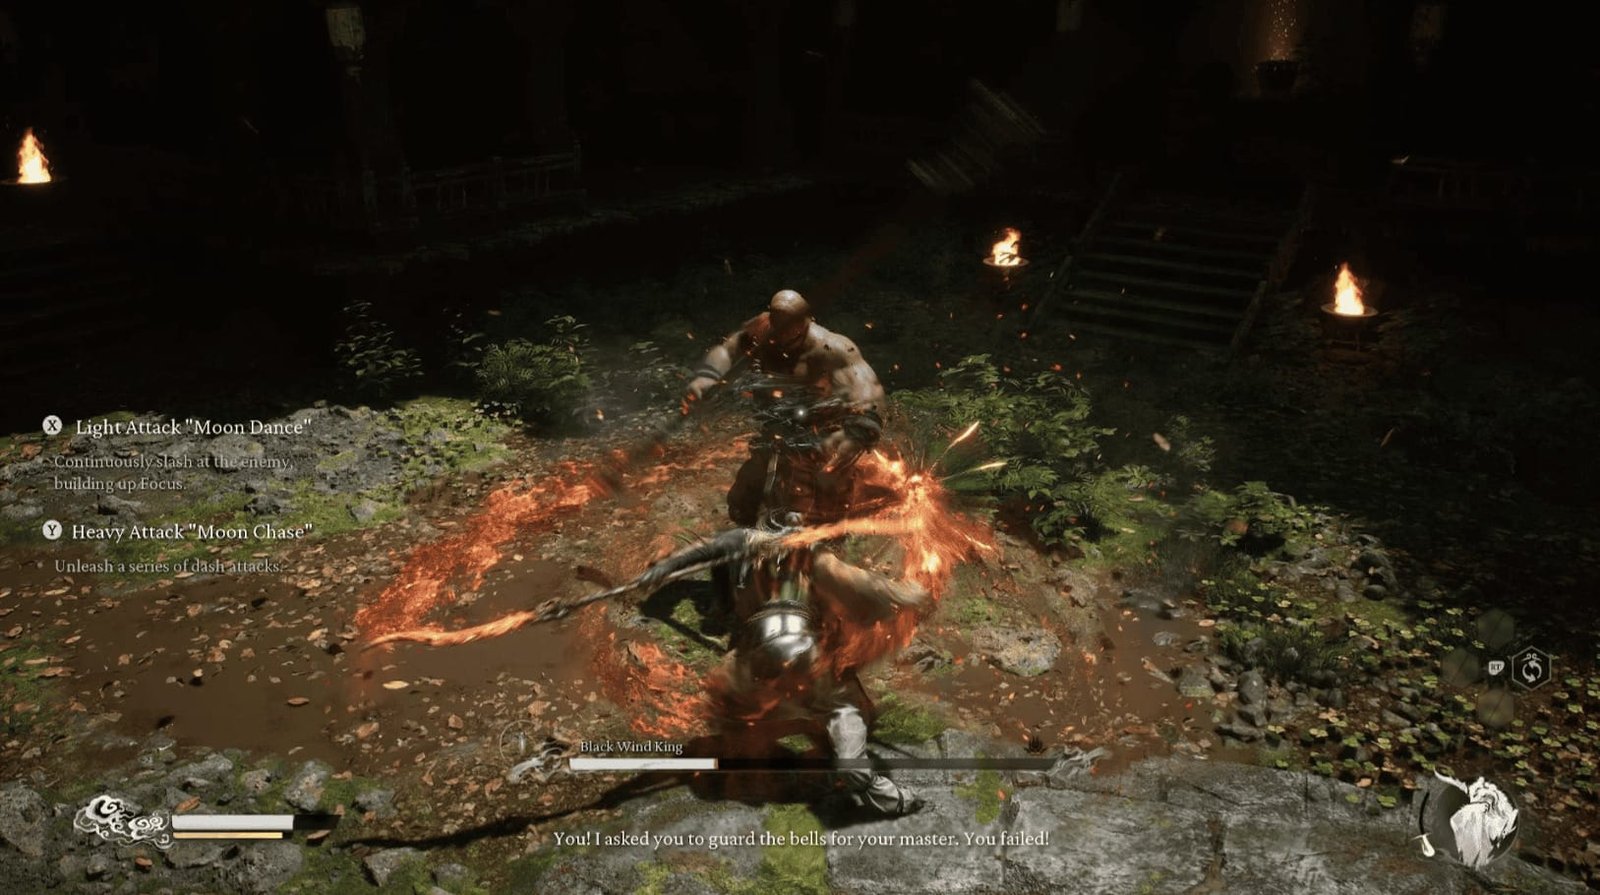
When he disappears, focus on recovering Stamina and be ready to dodge. Use the Red Tides Spell to transform, when he reappears, quickly charge and attack, the aerial attack of the transformed state is very effective. When he’s charging his Black Wind, his spear will glow, be prepared to dodge.
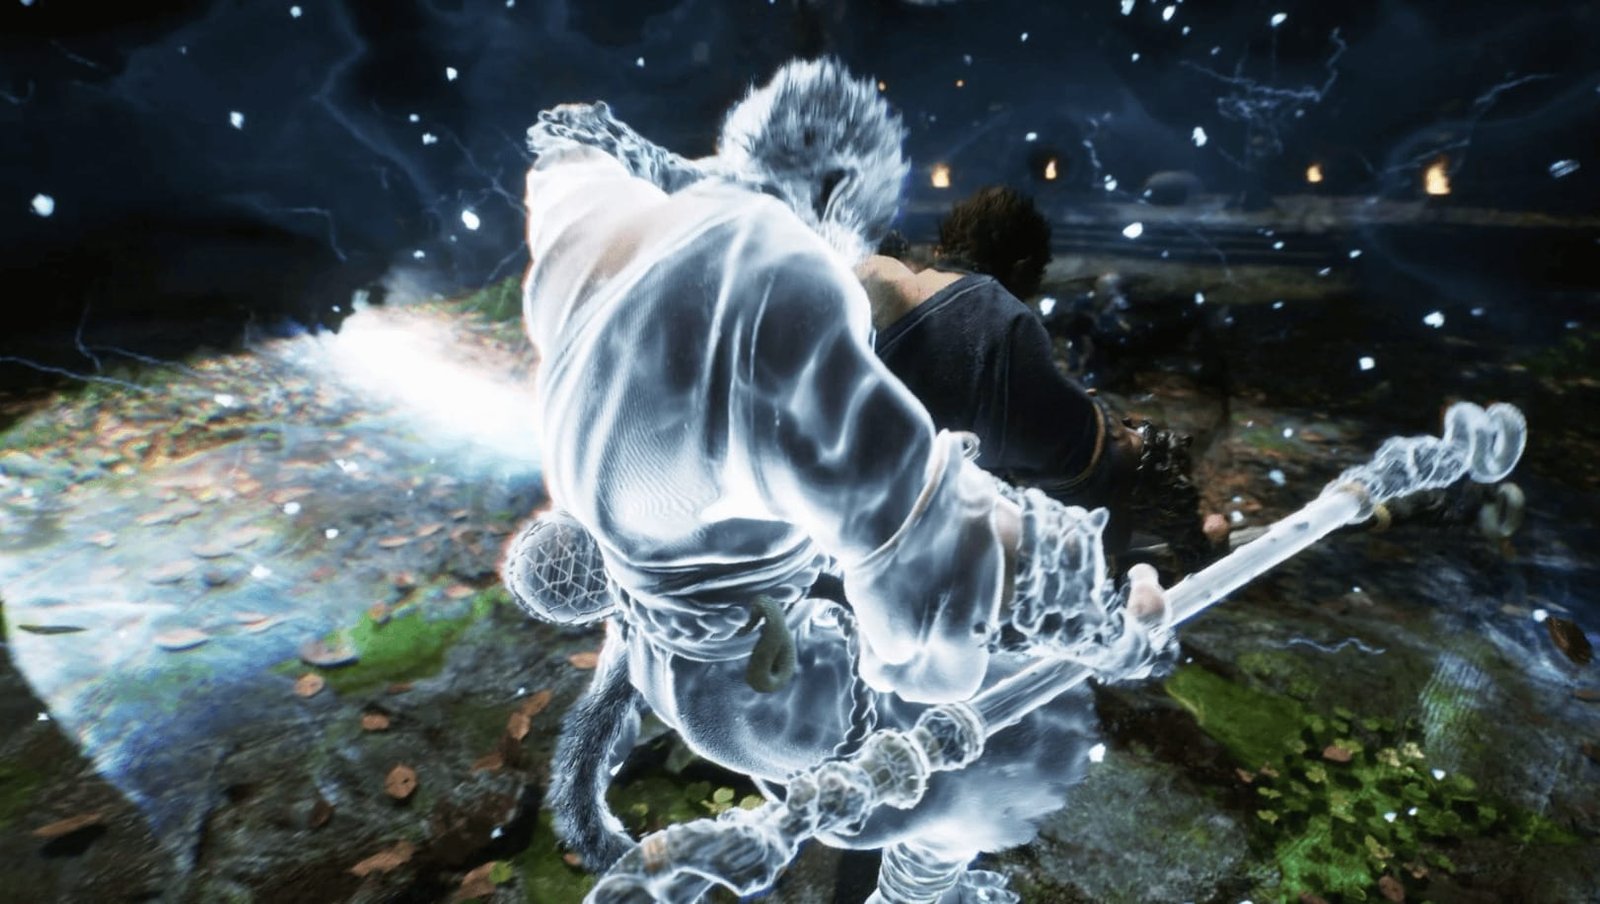
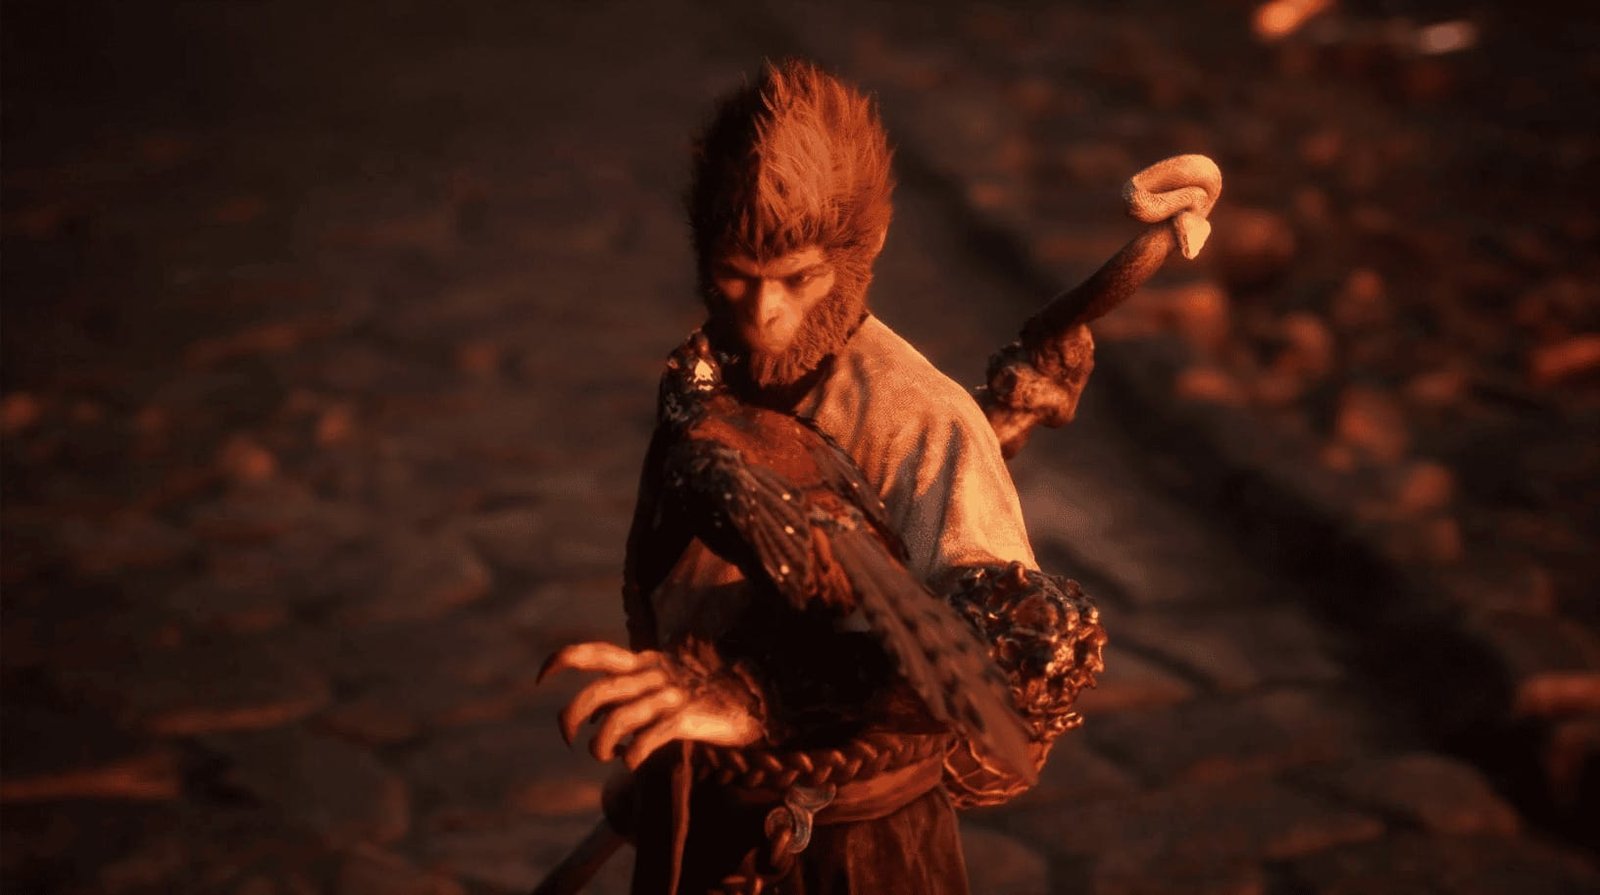
Reward: After defeating the Black Wind King, you will receive Cloud Step a new spell that allows you to vanish while dashing forward, creating a copy of yourself to distract enemies, and when attacking from this state, you will deal increased damage.
Exploring the Temple
After the Black Wind King flees, the Keeper will grant you the Cloud Step spell. Now, take your time to explore this temple, as there are many useful items waiting for you.
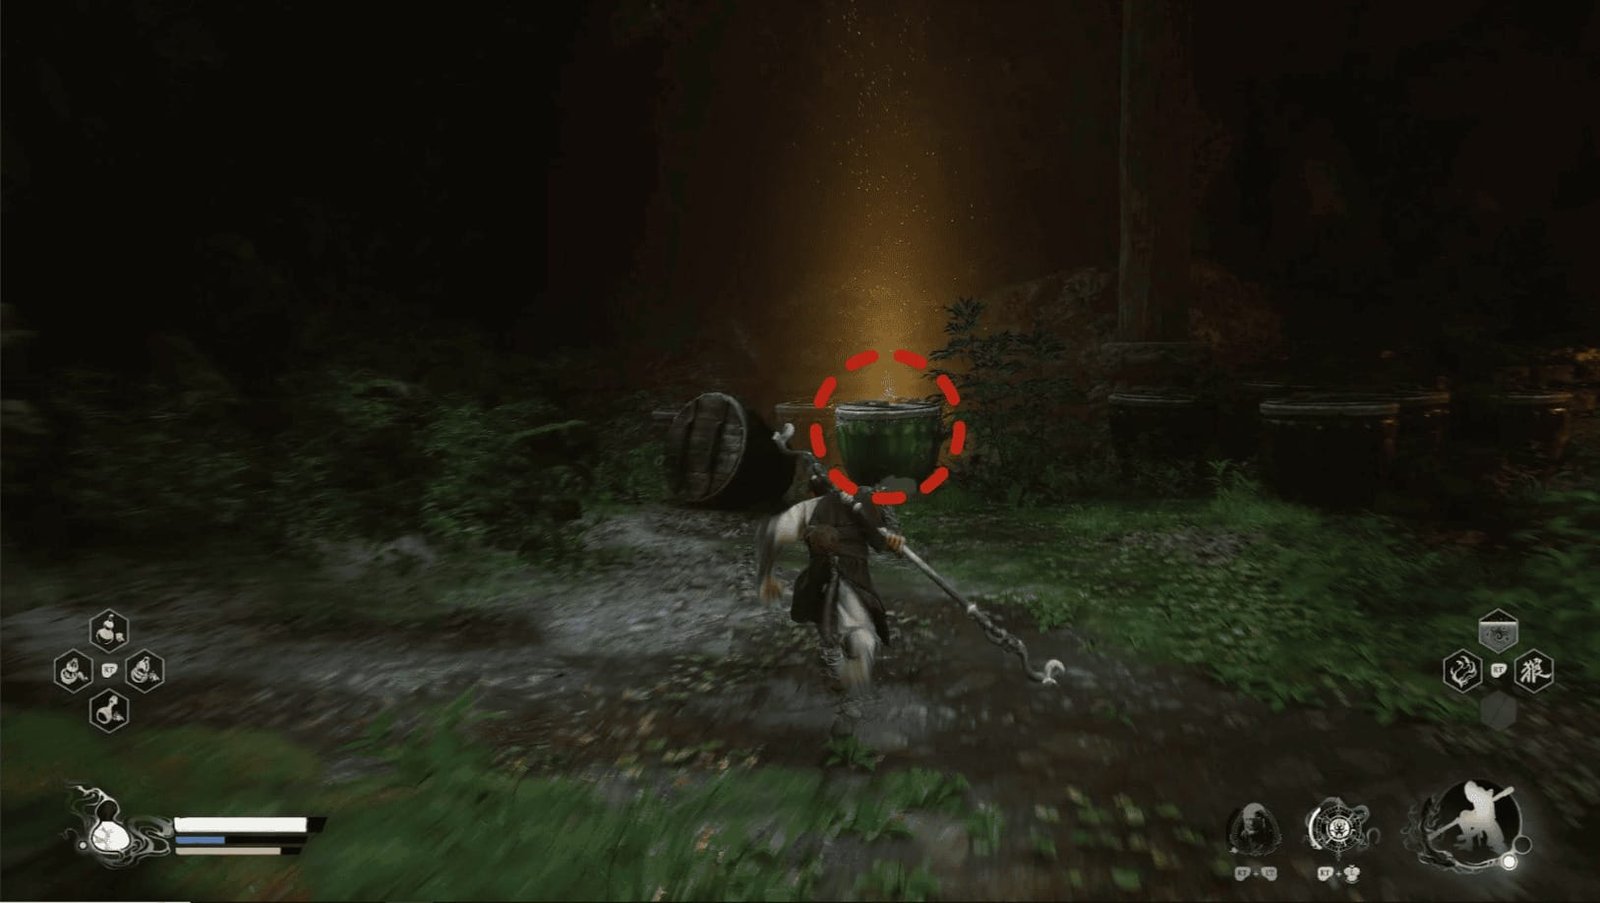
First, look to the right corner (from the direction you entered when the boss fight started), you will see a row of jars. Break the jar that emits a golden glow, inside is an Awaken Wine Worm – which helps you upgrade the Medicine Gourd, increasing the amount of health recovered each time you drink.
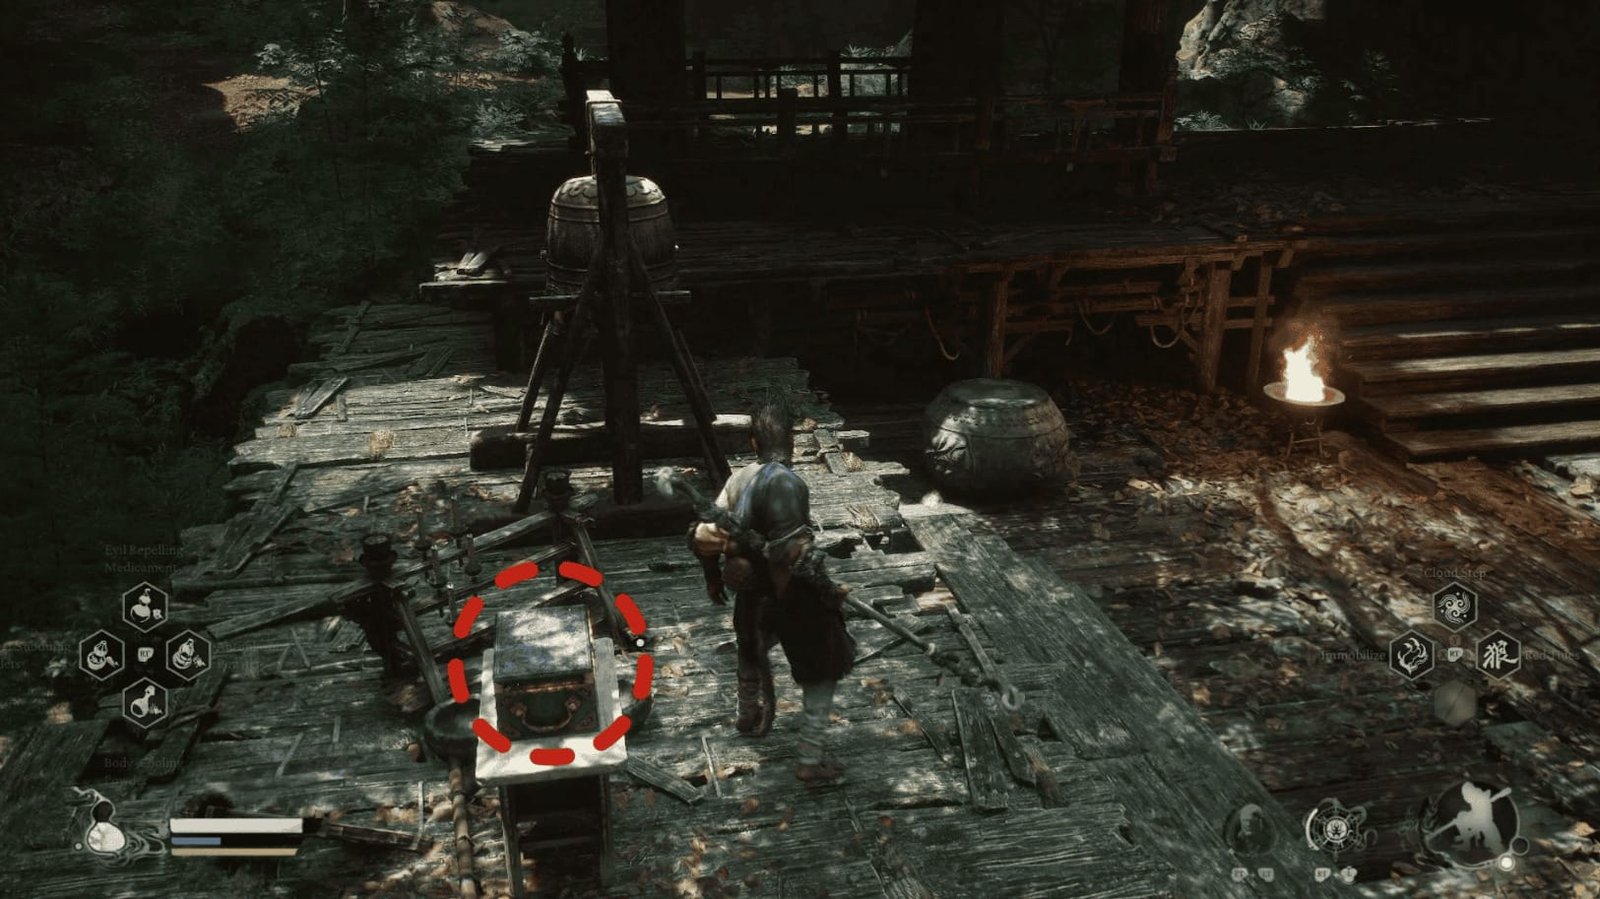
Next, find the small table near where the Black Wind King was standing at the beginning of the battle (next to where his spear was placed), there are two small bells nearby. On the table is a box, open it and you will receive an Agate Jar – a type of Curio that can be equipped.
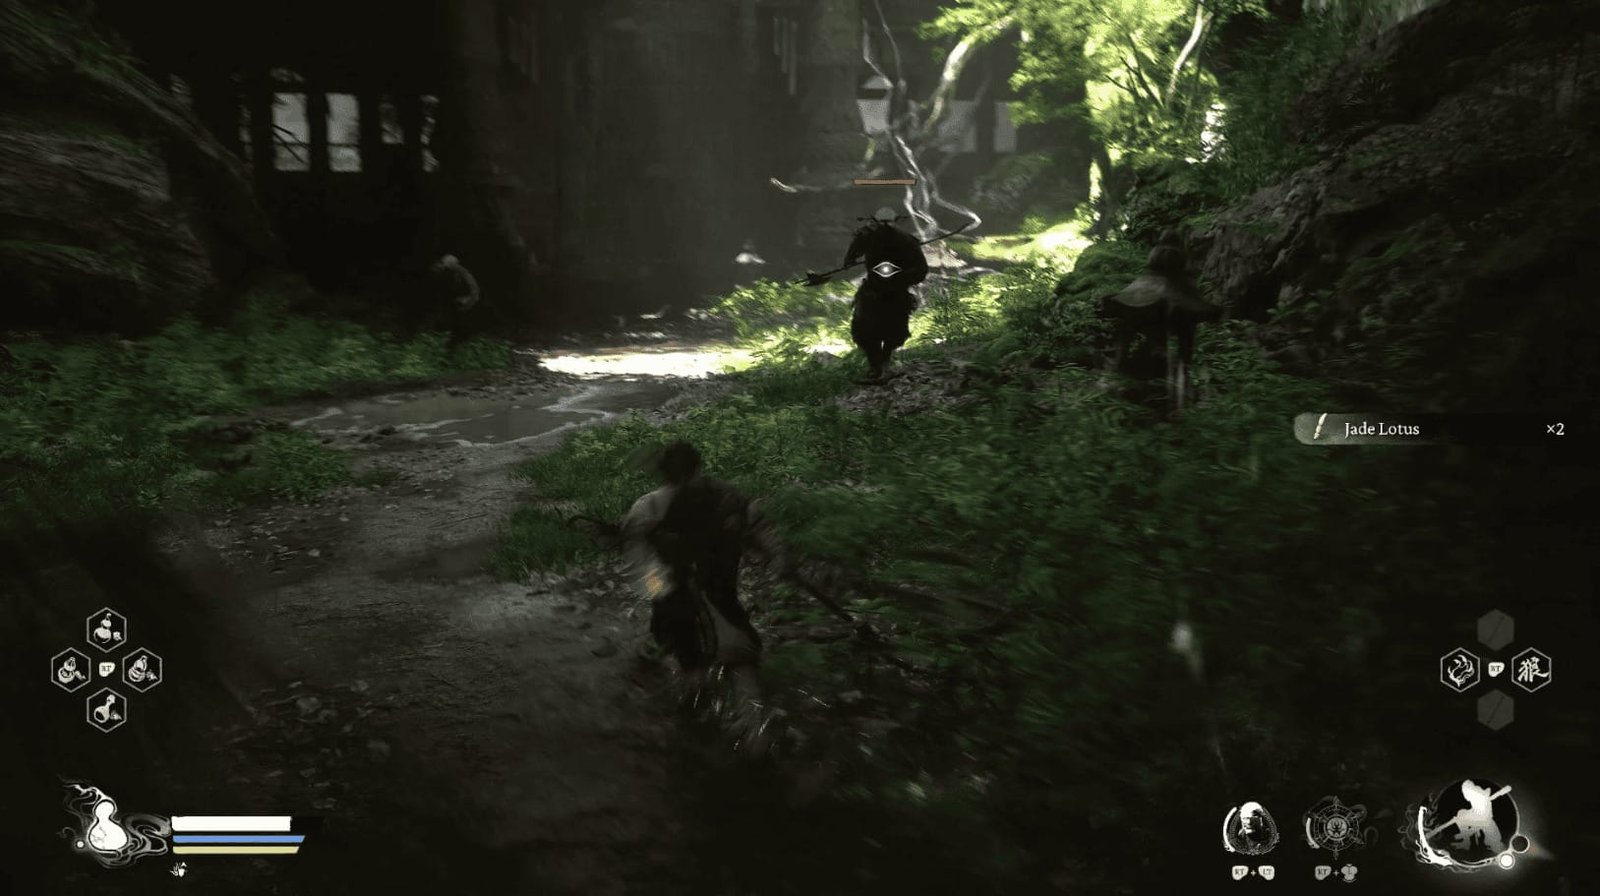
Don’t forget to check both sides of the cave, you will find Jade Lotus and Aged Ginseng.
After collecting all the items, go to the end of the temple, you will see a narrow passage. Go through it, and the scenery will change to dusk, indicating that you are closer to the top of the mountain.
Let’s leave the temple and continue our journey to the summit!
Outside the Cave
Passing through the narrow passage, you’ll reach the cliffs outside. Before you is the path leading to Bodhi Peak. But first, stop by the Outside the Cave Shrine nearby to recover.
Right below the Shrine, along the small path on the cliff side, you will find x2 Snake-Head Mushroom.
Looking towards the cliff on the left, you will see a green wisp – that’s x720 Will.

Continuing up, you will encounter a Wolf Sentinel and two Wolf Archers. Lure the Wolf Sentinel down and deal with him first, then deal with the two archers. The advantage now is that you have the Cloud Step spell, use it to dodge and attack unexpectedly.
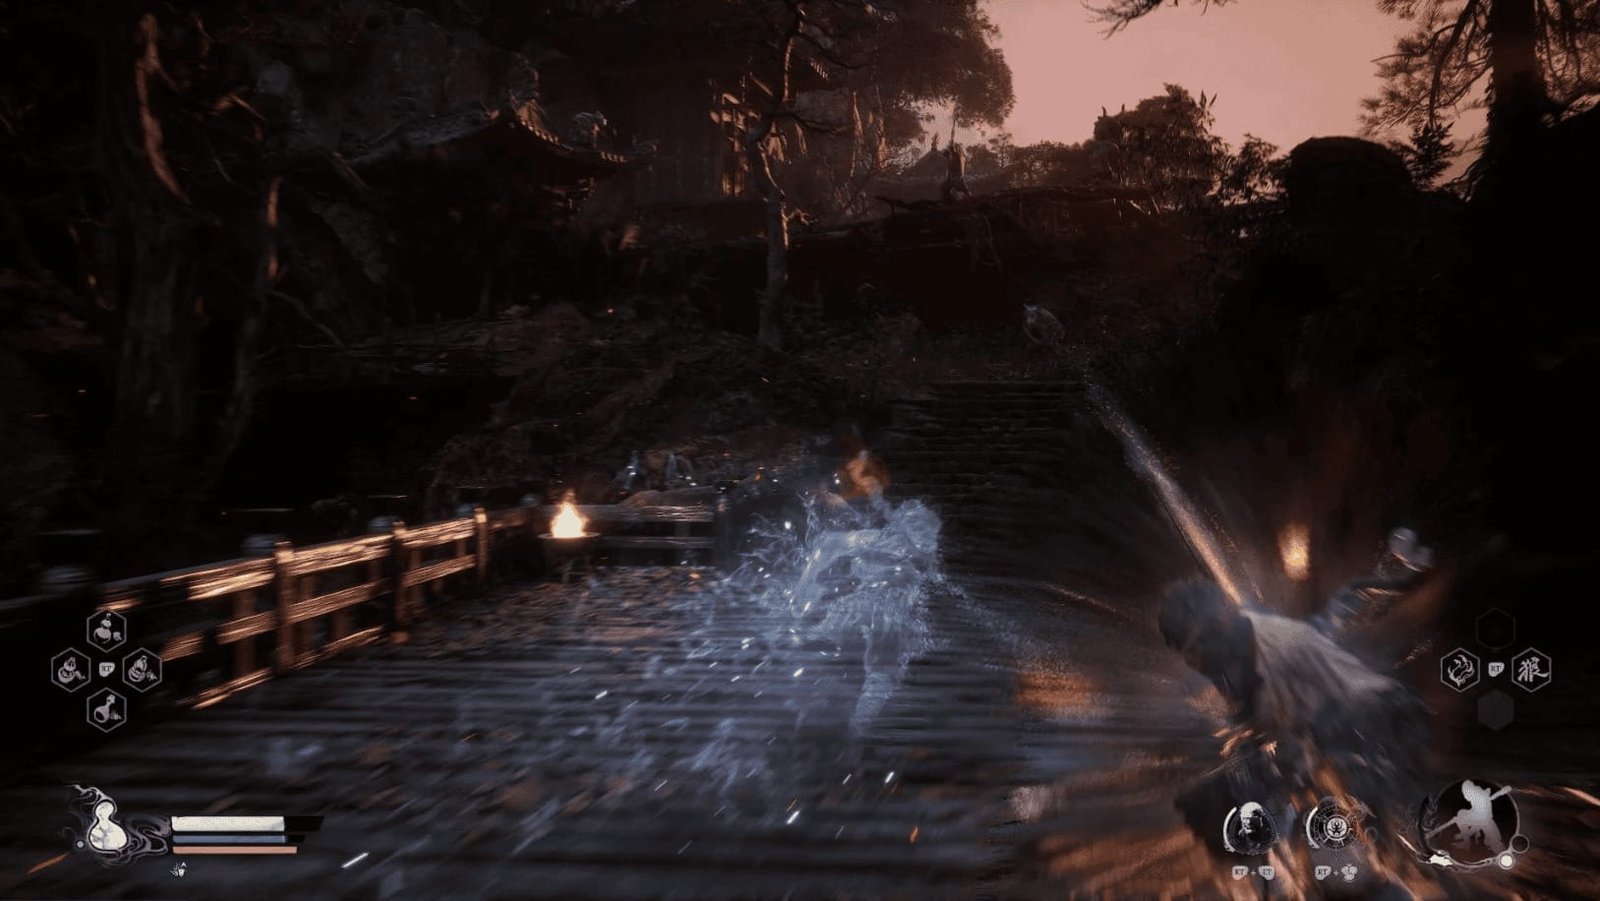
Going past this area, you will see a bridge. There is a Wolf Sentinel and three Wolf Archers there. Take them down one by one, be careful as they shoot arrows quite painfully!
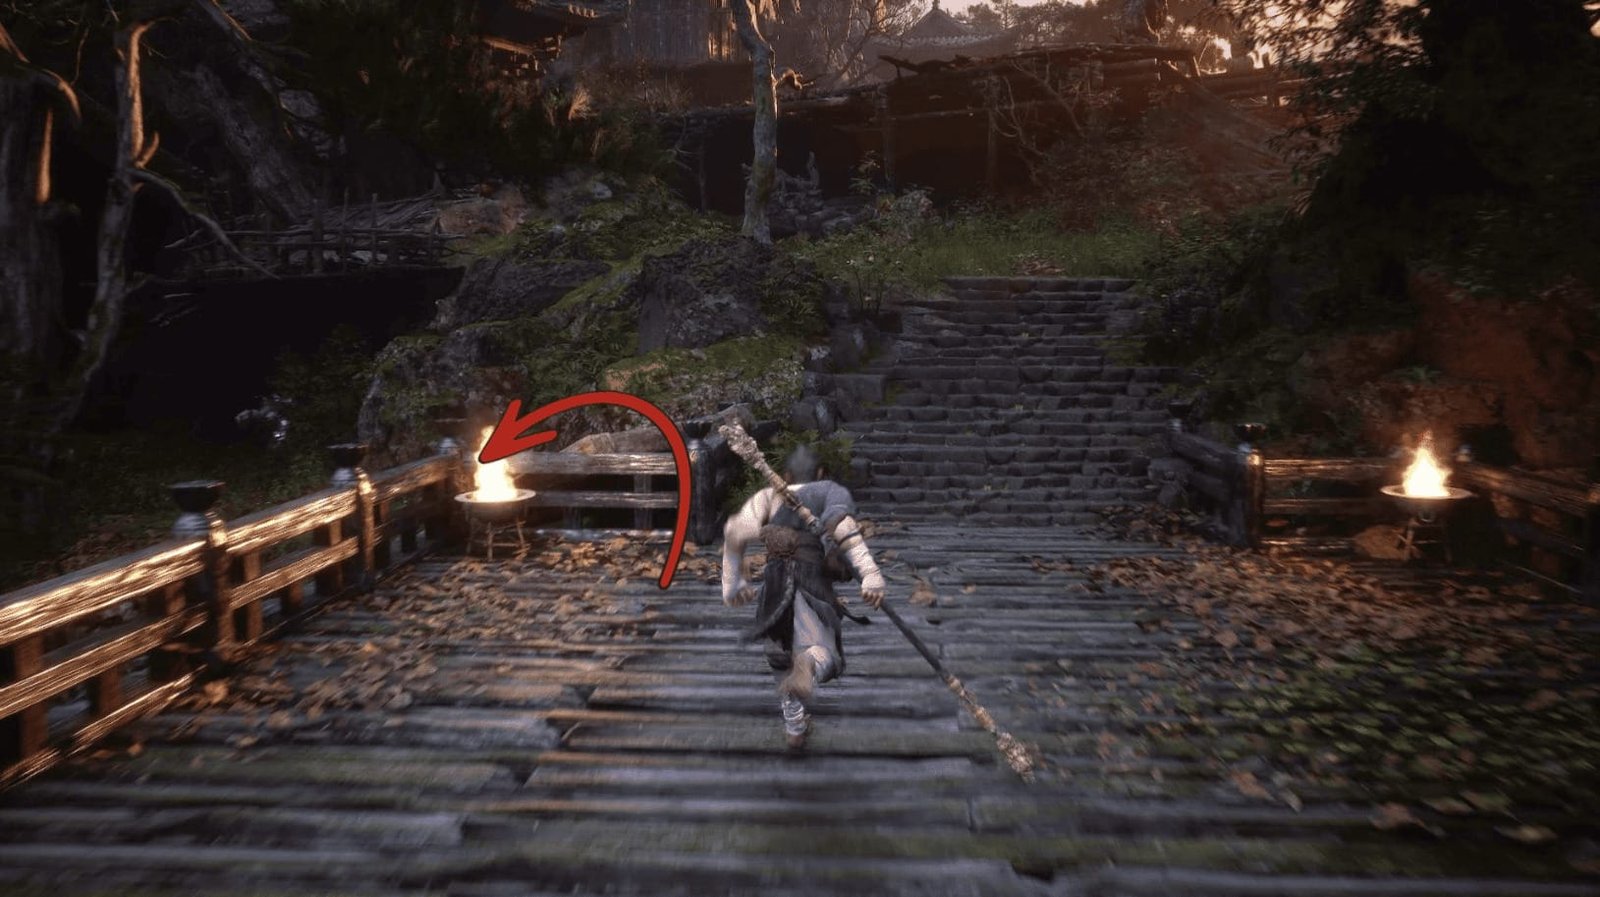
To the left of the bridge, there is a small path. Follow this path, and you will encounter a Wolf Assassin that is significantly stronger than the previous ones. Be careful, he moves very fast and unpredictably. After defeating him, you will receive the Wolf Assassin (Spirit) – a new Spirit Attack, and Blood of the Iron Bull.
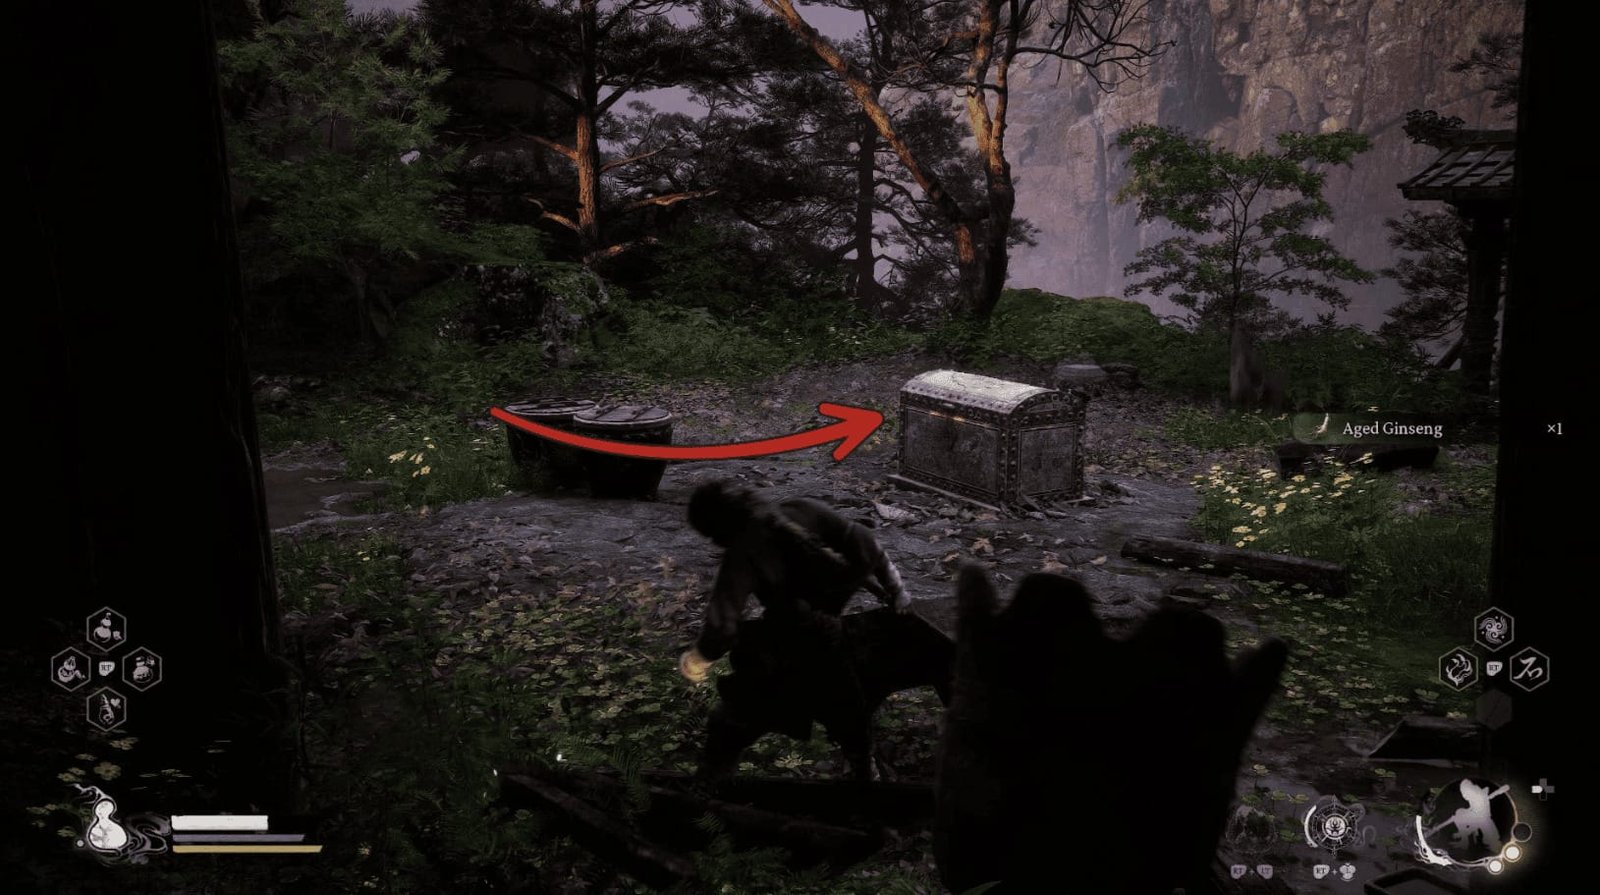
In this area, you will also find a chest containing another Blood of the Iron Bull and x3 Stone Spirit.
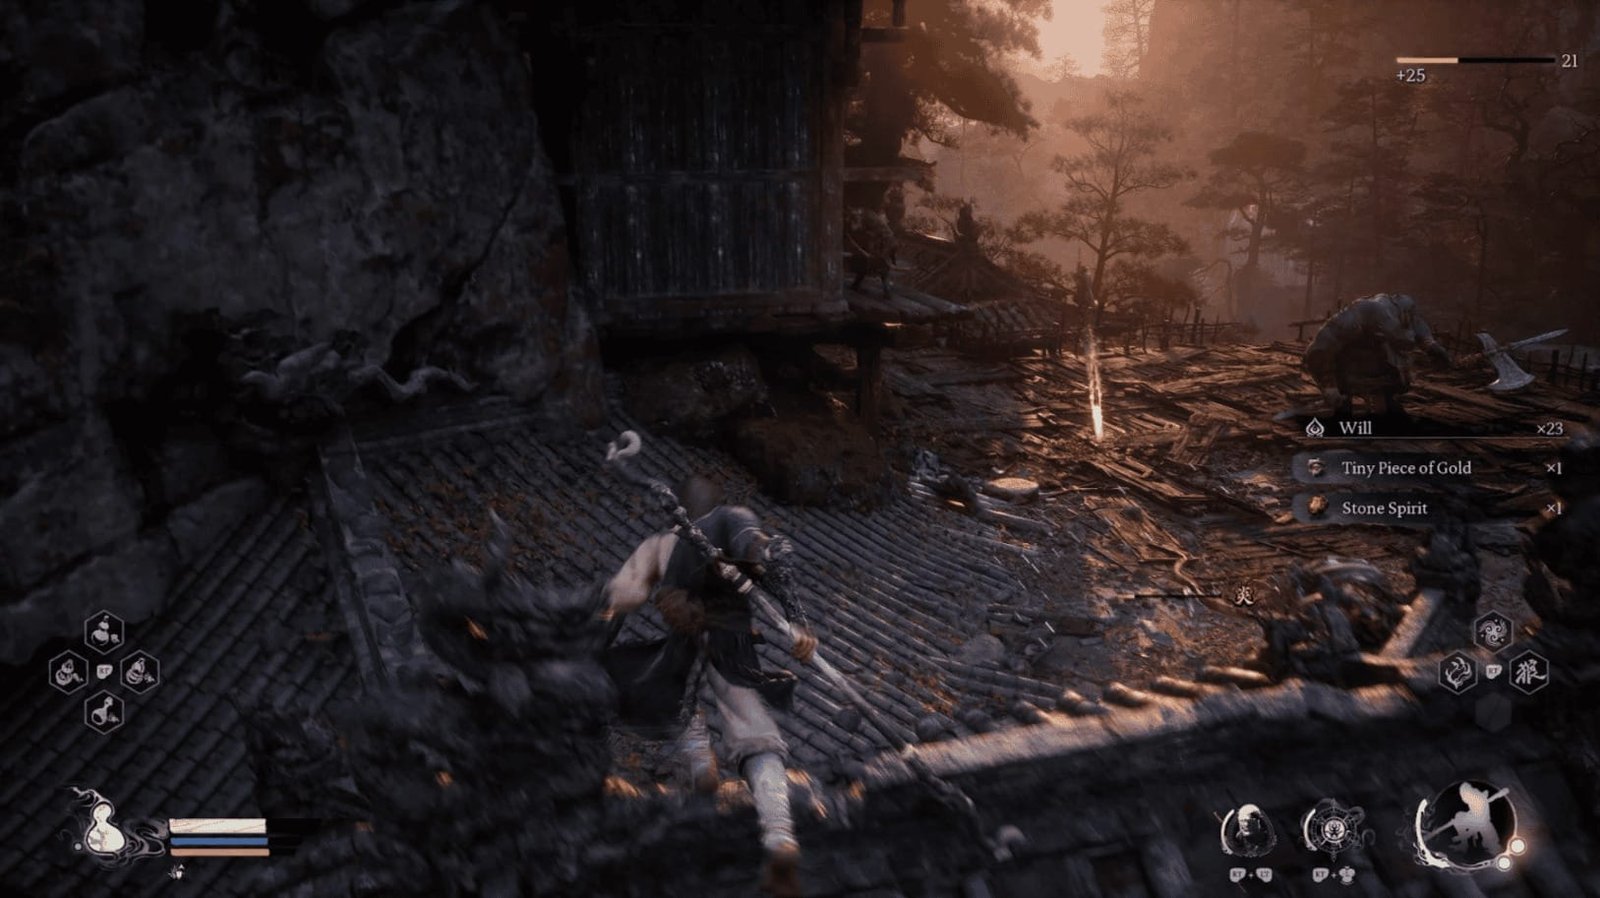
Return to the bridge and go up the ramp where you defeated the archers, you will reach a rooftop area. Here, you will face a Bullguard – similar to the mini-boss at the beginning of the game, along with many Wolf Archers. Use Cloud Step to approach and eliminate each archer one by one, then focus on dealing with the Bullguard.
Going past this area, you will see a Wolf Sentinel and a Wolf Archer standing on a wooden platform. Use Cloud Step to get past the Sentinel and take down the Archer first.
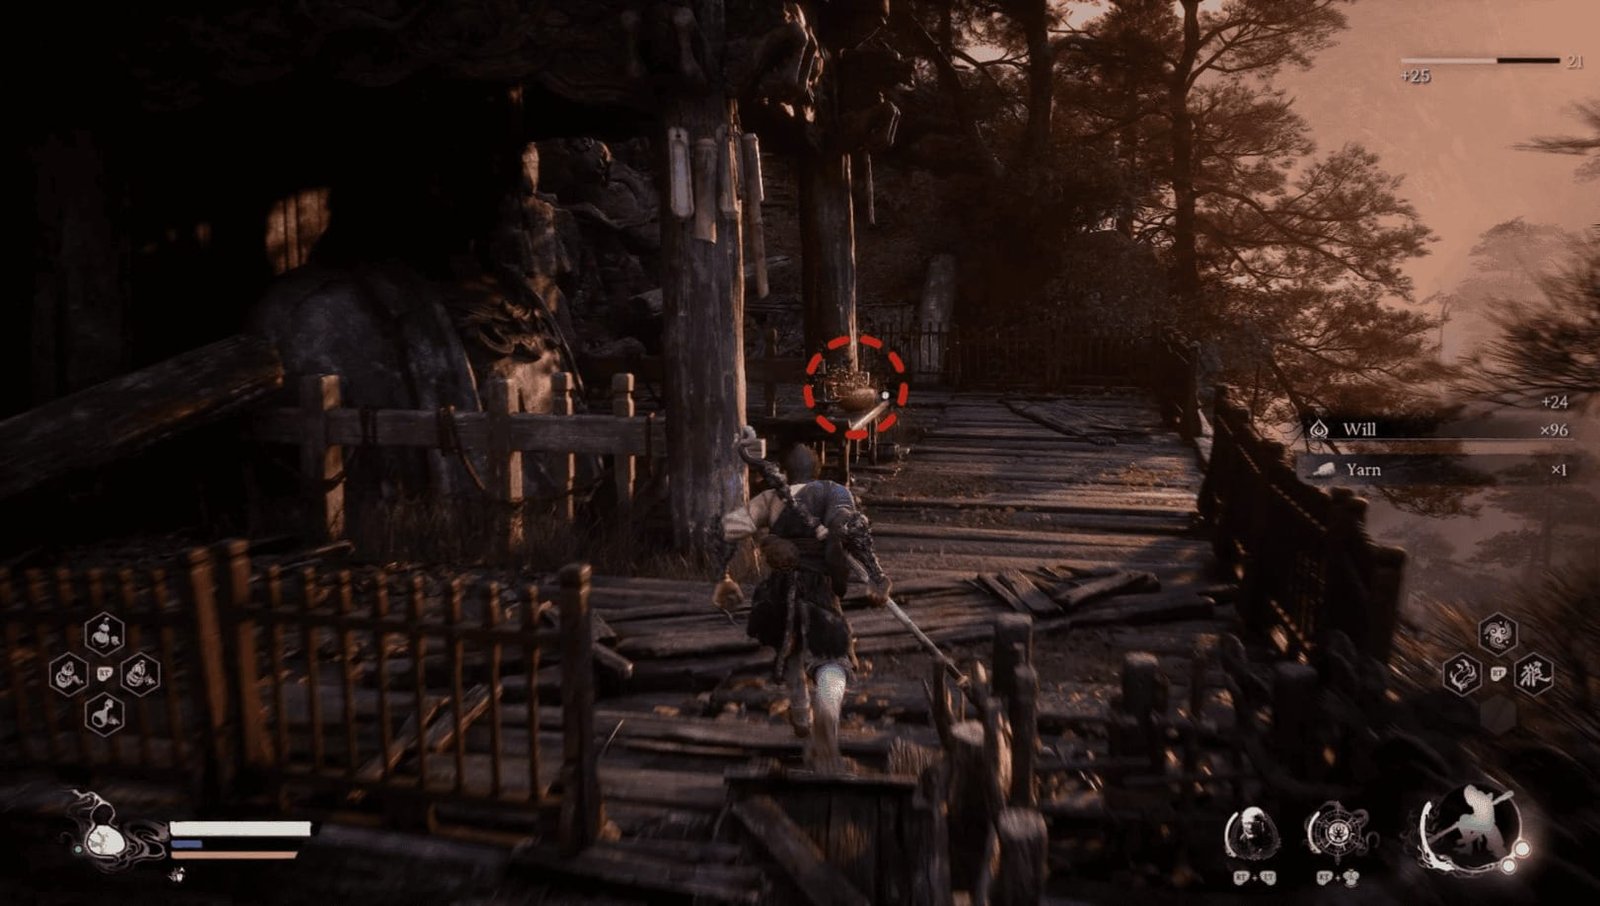
Nearby, you will see a small altar. On it is a golden pot containing the Celestial Nonary Pill (increases maximum Stamina). This is the final pill in Chapter 1!

Continue up the stairs, you will face many Wolf Guai and Wolf Archers. Utilize Cloud Step, Spirit Attacks, and other skills to defeat them. Remember to look to the left, near the graves, you will find some Aged Ginseng.
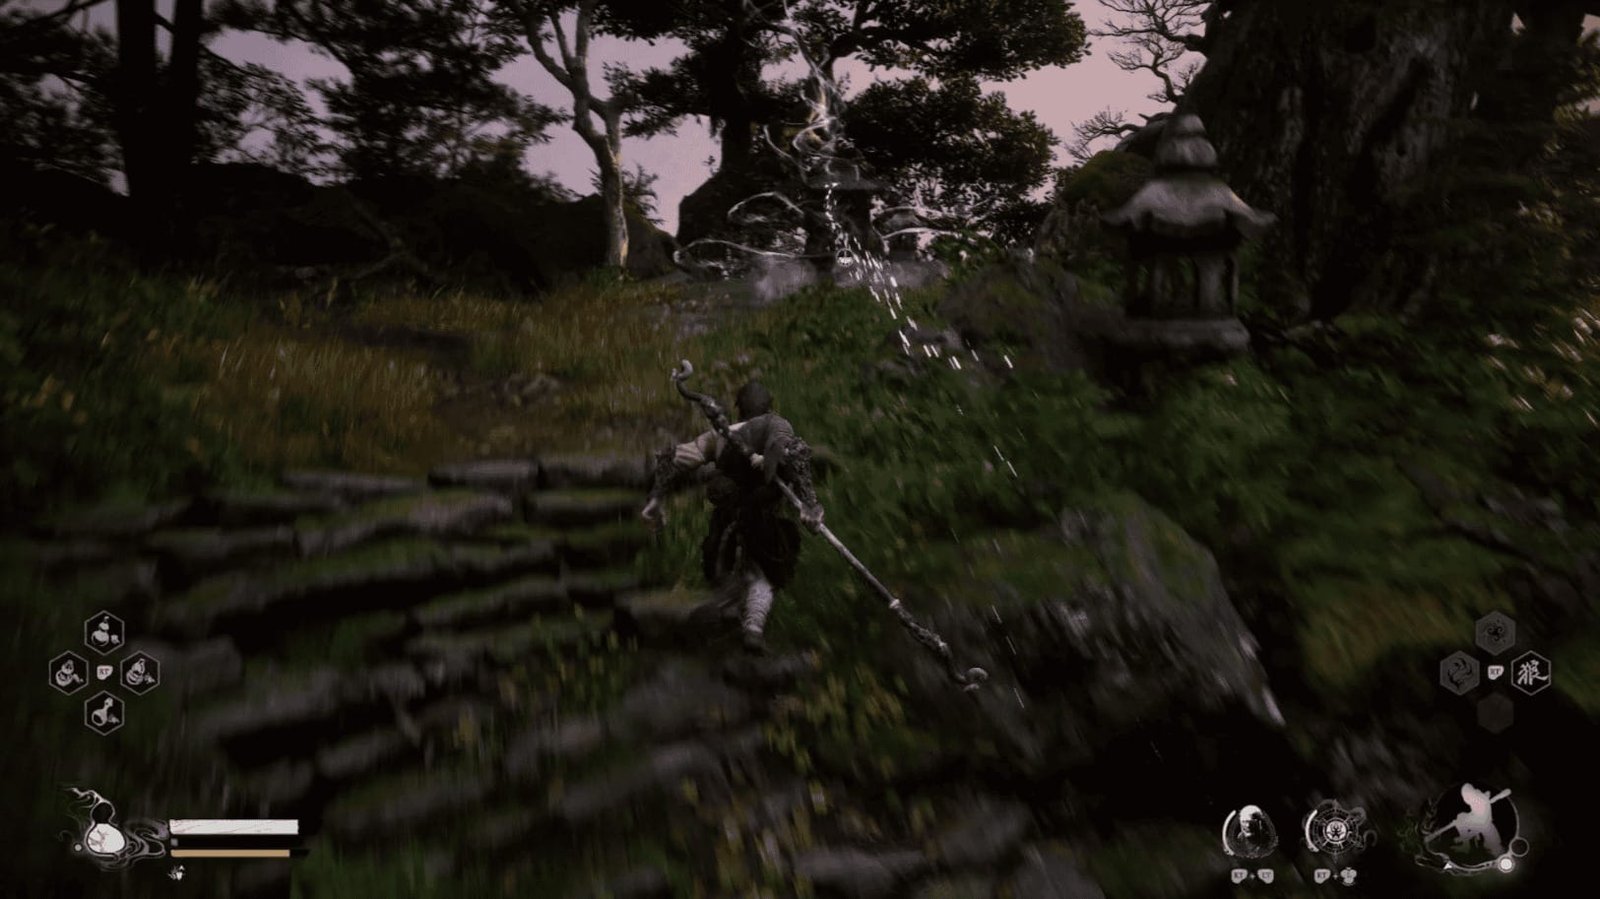
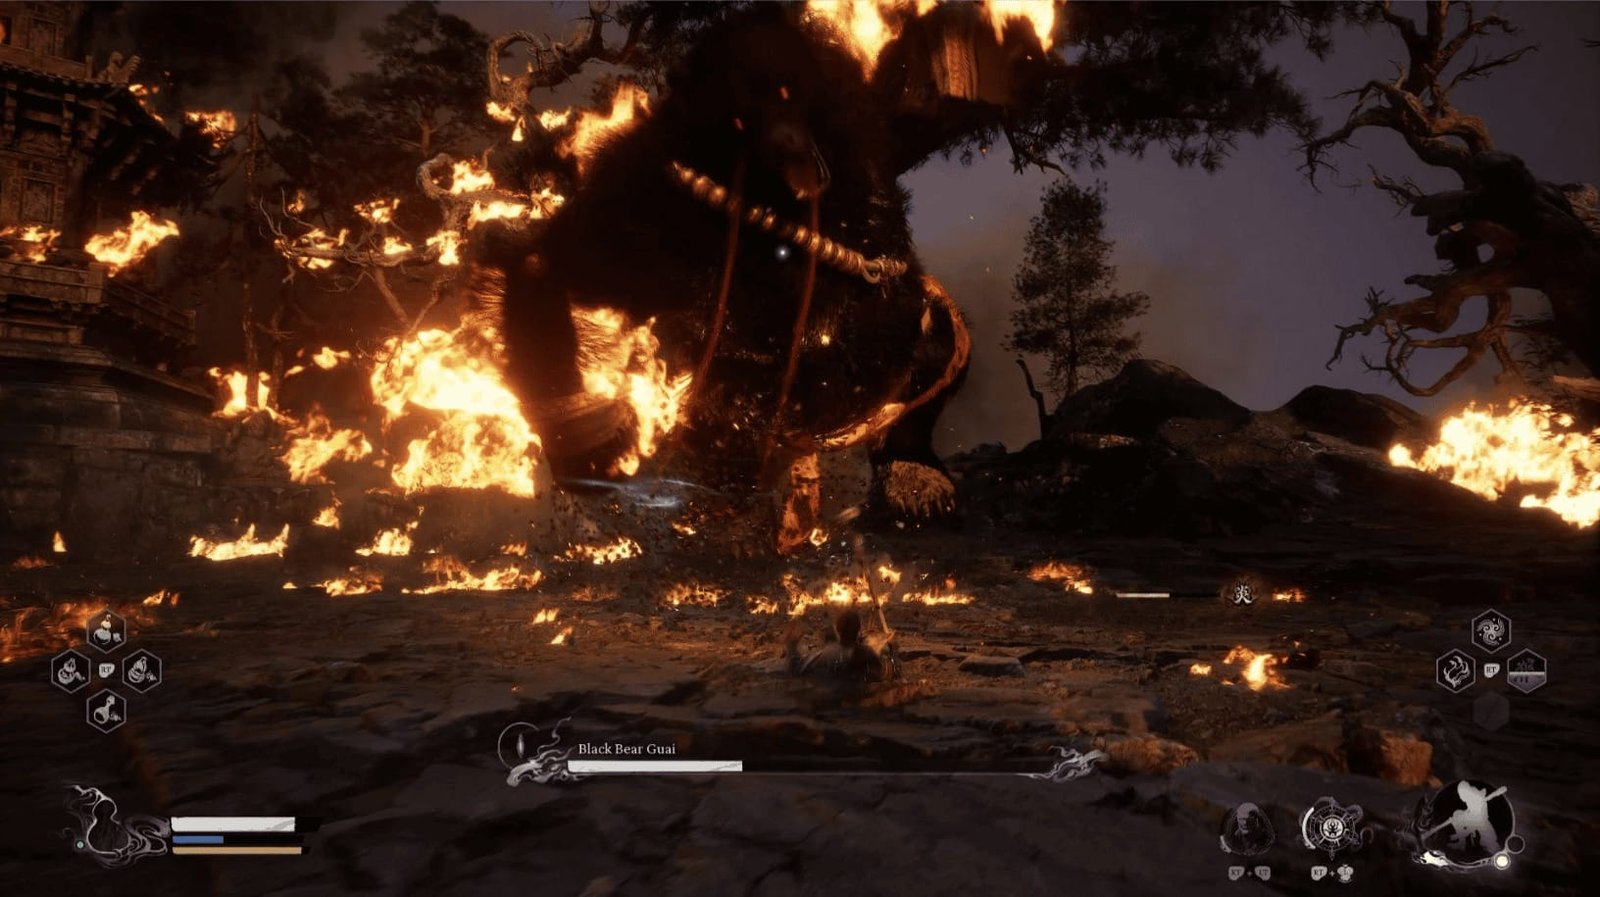
Upon reaching Bodhi Peak, you’ll see a large temple where a part of the Great Sage is kept. But before you can lay your hands on the treasure, you must overcome the true form of the Black Wind King – Black Bear Guai.
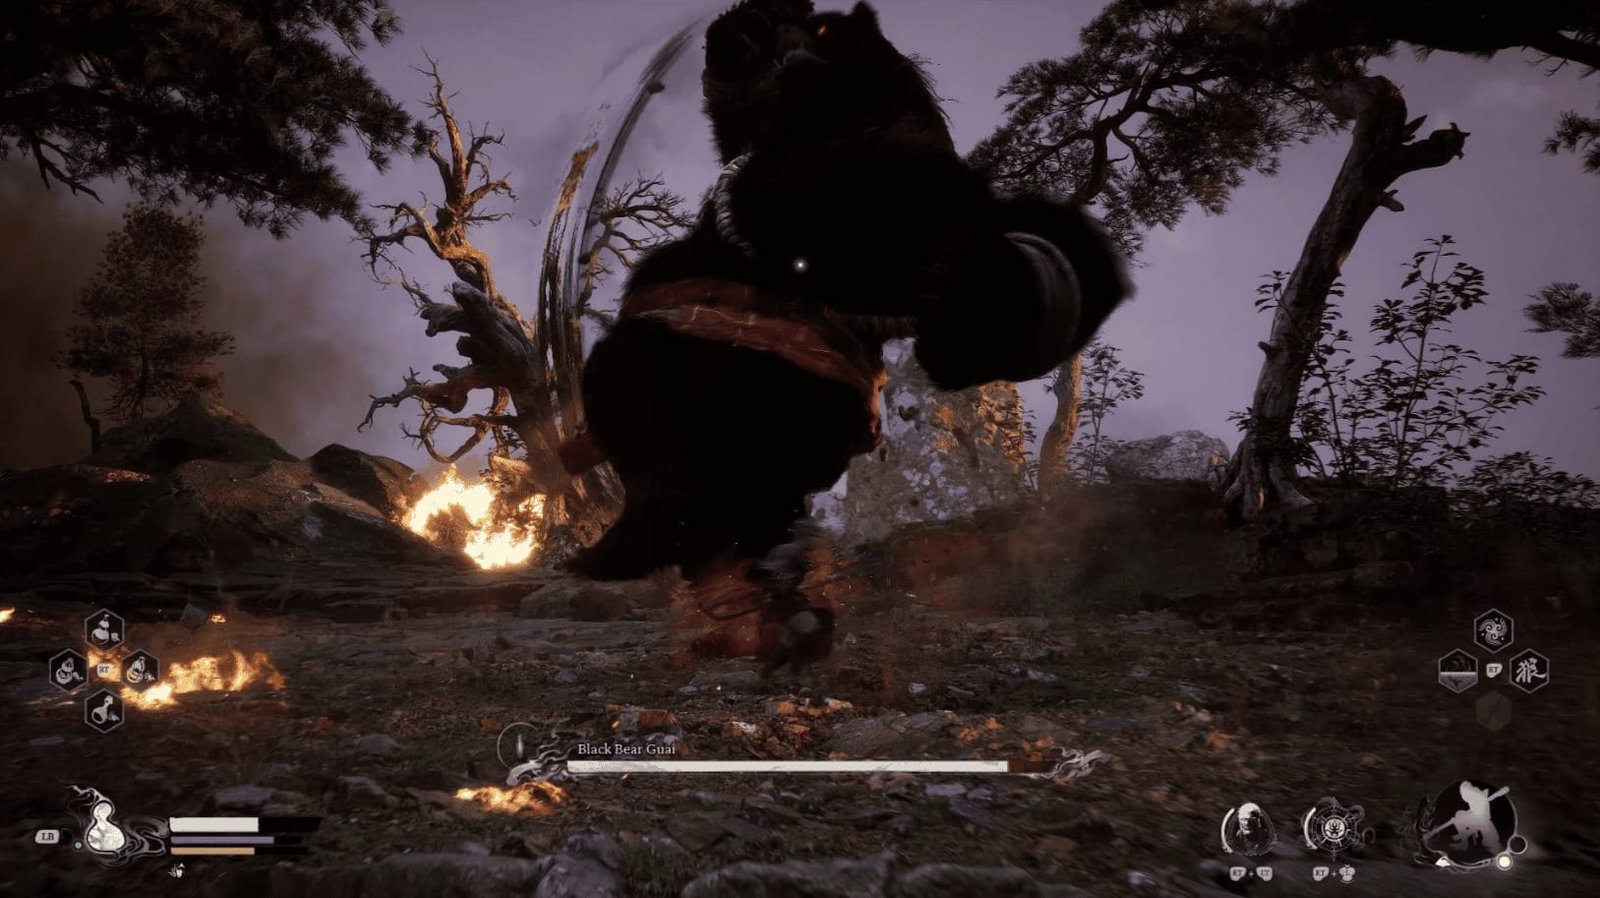
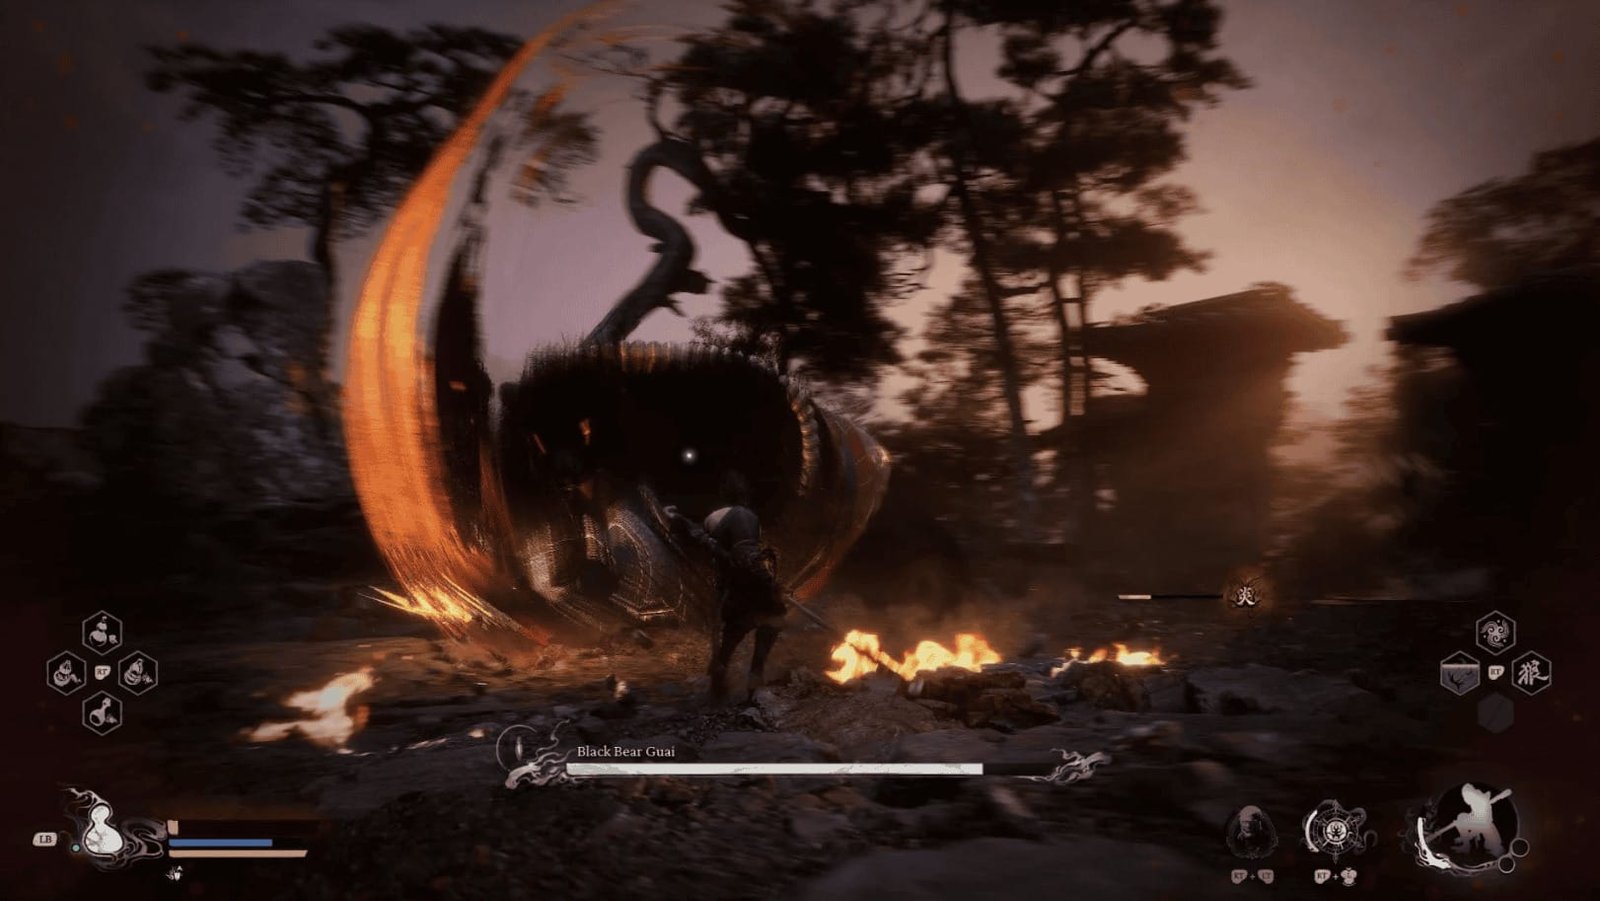
Black Bear Guai Boss Fight
This is the true form of the Black Wind King, a giant black bear with overwhelming power. Unlike his human form, Black Bear Guai focuses on physical attacks with powerful slaps and punches. He also retains some moves from the Black Wind form, and is especially dangerous as the entire arena will be engulfed in flames.
Phase 1

Swipe: He will swing his arms towards you, usually two consecutive swipes. Sometimes, he will follow up with a stomp.
Belly Flop: He will jump up and slam his entire body towards you. Dodge to the side instead of backwards. He can also perform this move from the sides, so don’t be complacent standing beside him.
Gallop and Dive: One of the easiest attacks to punish, he will gallop to your side, then jump into the air and dive down. He will take a few seconds to get up, creating an opportunity for you to attack. Use Wight’s Spirit Attack to headbutt him, dealing massive damage.
Black Wind Form: Similar to the Black Wind King, he will transform into a black wisp and dash back and forth. Pay attention to the “burst” to determine his attack direction.
In this phase, you need to focus on dodging and choosing the right time to attack. Wait until he finishes his major attacks and has a recovery period to unleash your combo.
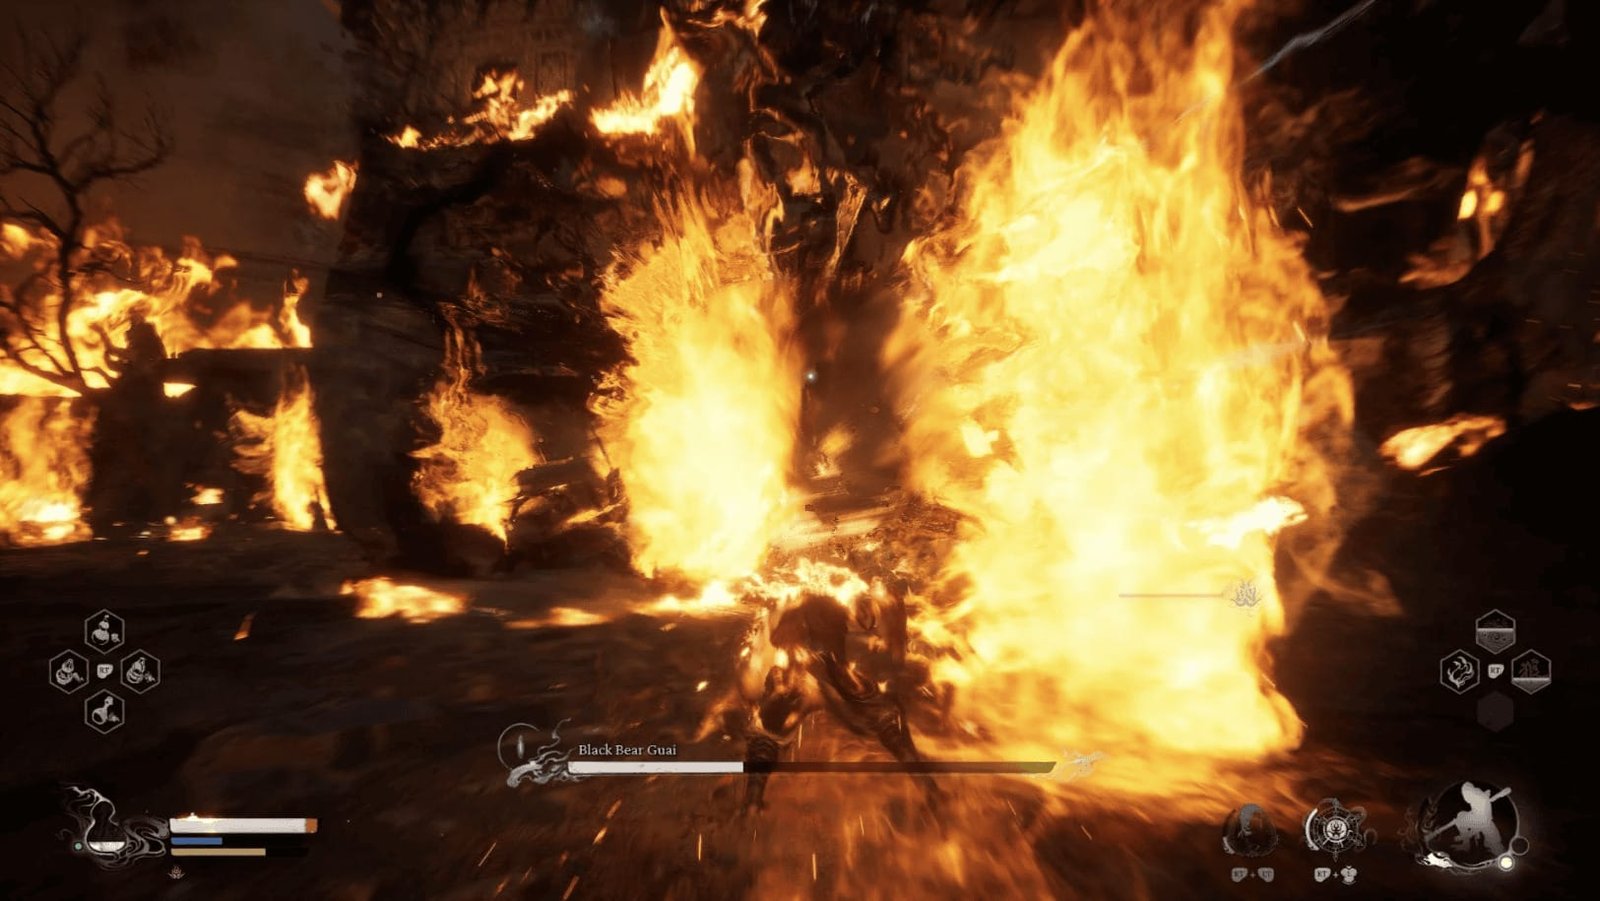
Phase 2 (below 50% health)
He will roar, slam the ground, and become engulfed in flames, creating fire explosions all over the arena. This is when you should use the Fireproof Mantle obtained from the Secret Boss. This mantle not only reduces fire damage but also helps you accumulate Focus faster to perform heavy attacks in your combo.
All his attacks now deal fire damage. Every punch and stomp creates a small explosion.
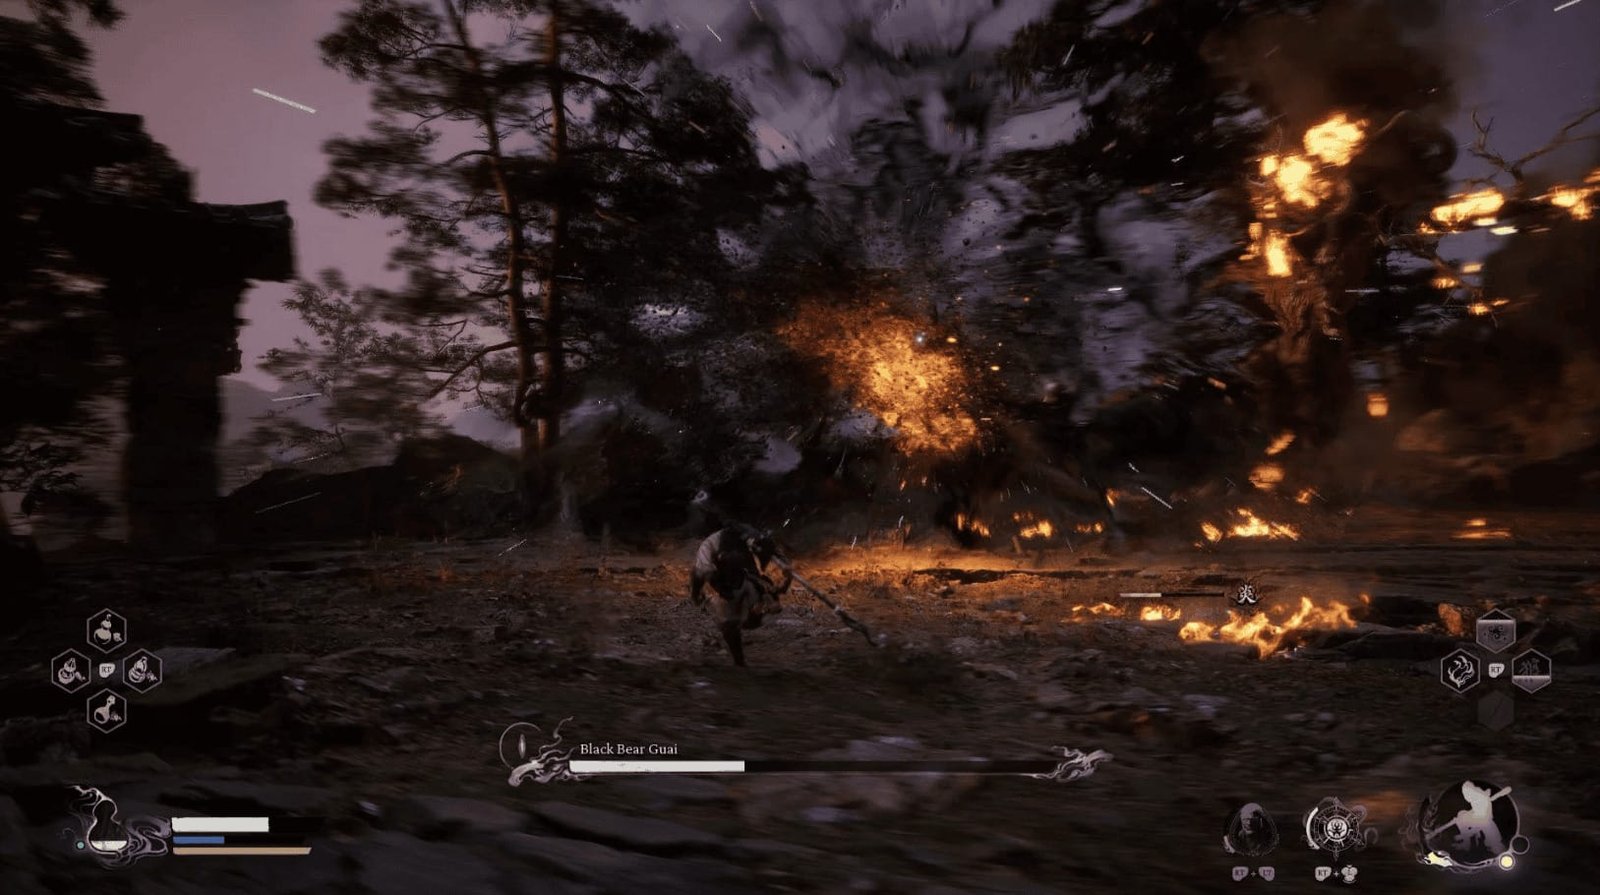
Black Wind Form: Still the black wisp dash, but this time it will deal additional fire damage.
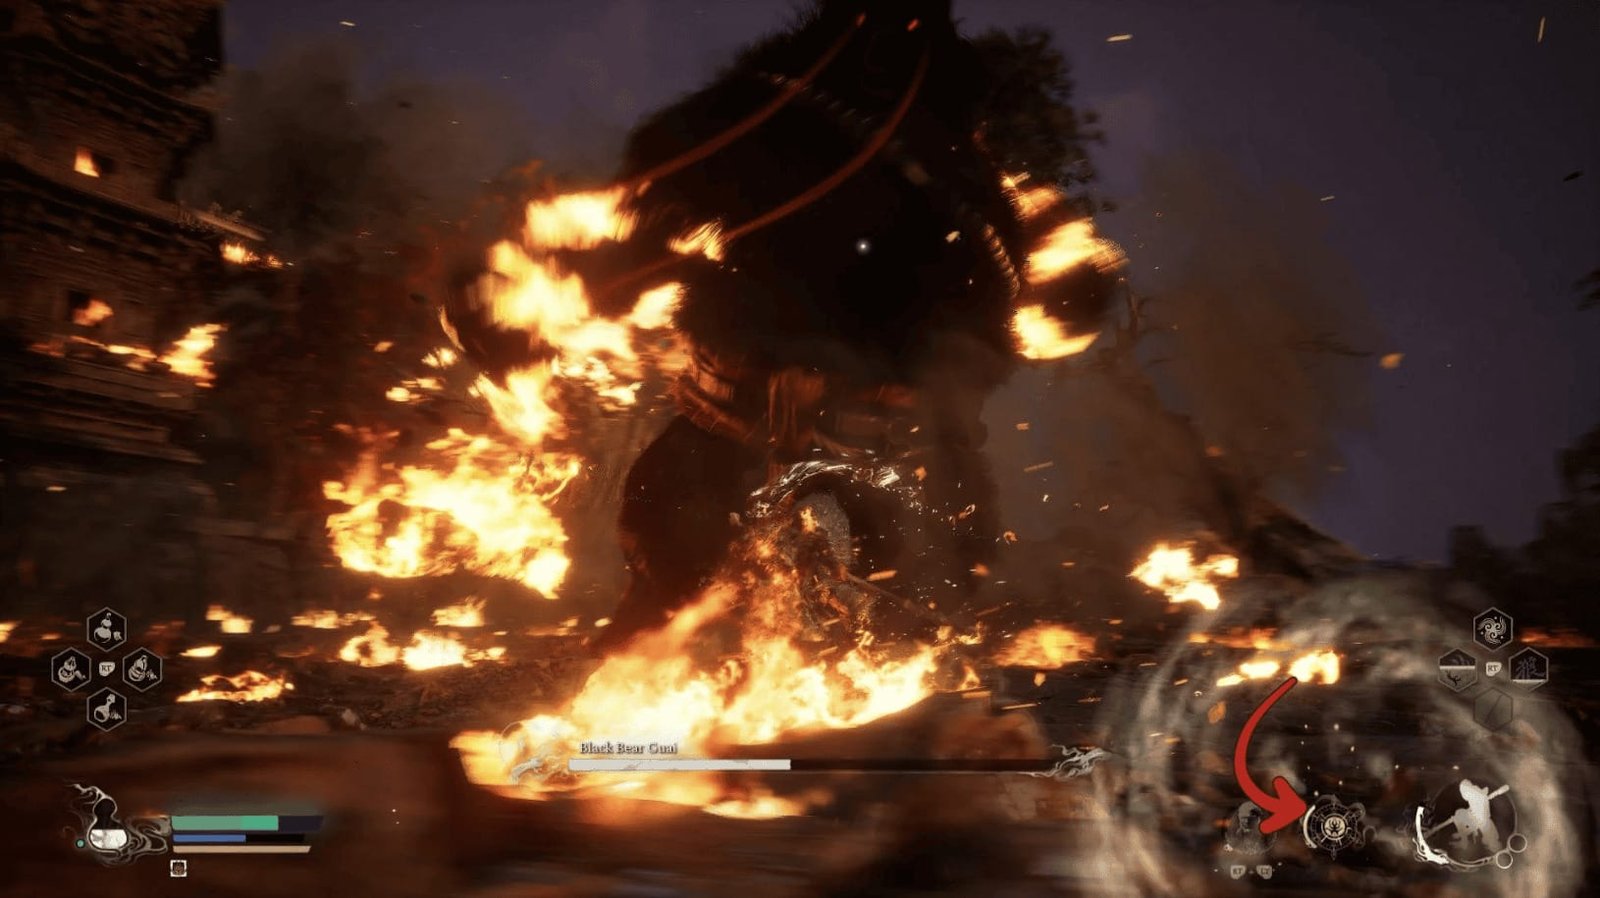
Diving Bodyslam: He transforms into mist, then reappears in the air and dives down (with fire). When you see the black smoke rising, be prepared to dodge.

Dodging is a top priority in this phase. Use Cloud Step to quickly move and avoid explosions. Take advantage of Immobilize to interrupt his combo. If you catch fire, roll continuously or use cooling powder. You can also use Red Waves to transform, resetting the fire effect and adding extra damage with the jump attack.
Despite his ability to use fire, Black Bear Guai still takes fire damage from your attacks.
After defeating Black Bear Guai, you will receive many items, including Flame Ebongold, x5 Yarn, x2 Silk, x1 Stone Spirit, x1 Yaoguai Core, and x1 Mind Core. Most importantly, you will obtain the Craving Eyes Relic a part of the Great Sage.
The Craving Eyes Relic allows you to choose one of the following three perks:
Opportune Watcher: Significantly increases Focus gained when hitting enemies with consecutive light attacks.
Eagle Eye: Significantly reduces the cooldown of Unveiling Strike (the attack when canceling Cloud Step) after hitting an enemy.
Keen Insight: Significantly increases critical hit damage.
You can change your choice later in the Reignite the Sparks menu under the Relic tab.
Now, the door to Chapter 2: Yellow Sand, Desolate Dusk has opened. Prepare yourself for new challenges, new enemies, and new mysteries that await you.