
Welcome to the guide to conquering Sandgate Village – the first challenge in Chapter 2 (Yellow Wind Ridge) of the epic Black Myth: Wukong. This article will be your companion, guiding you through every corner, revealing all the secrets, and helping you defeat the tough bosses in this trap-filled village.
Yellow Wind Ridge
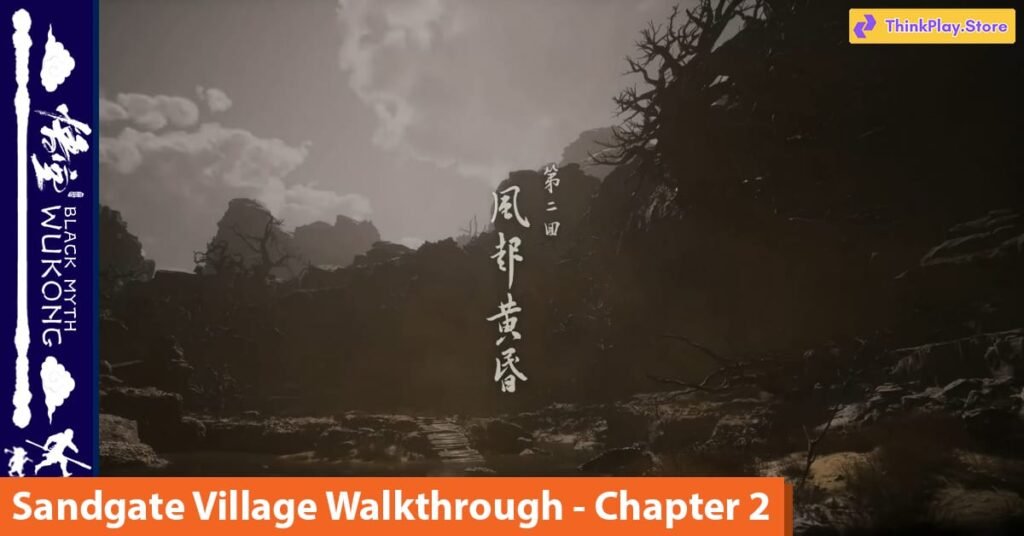
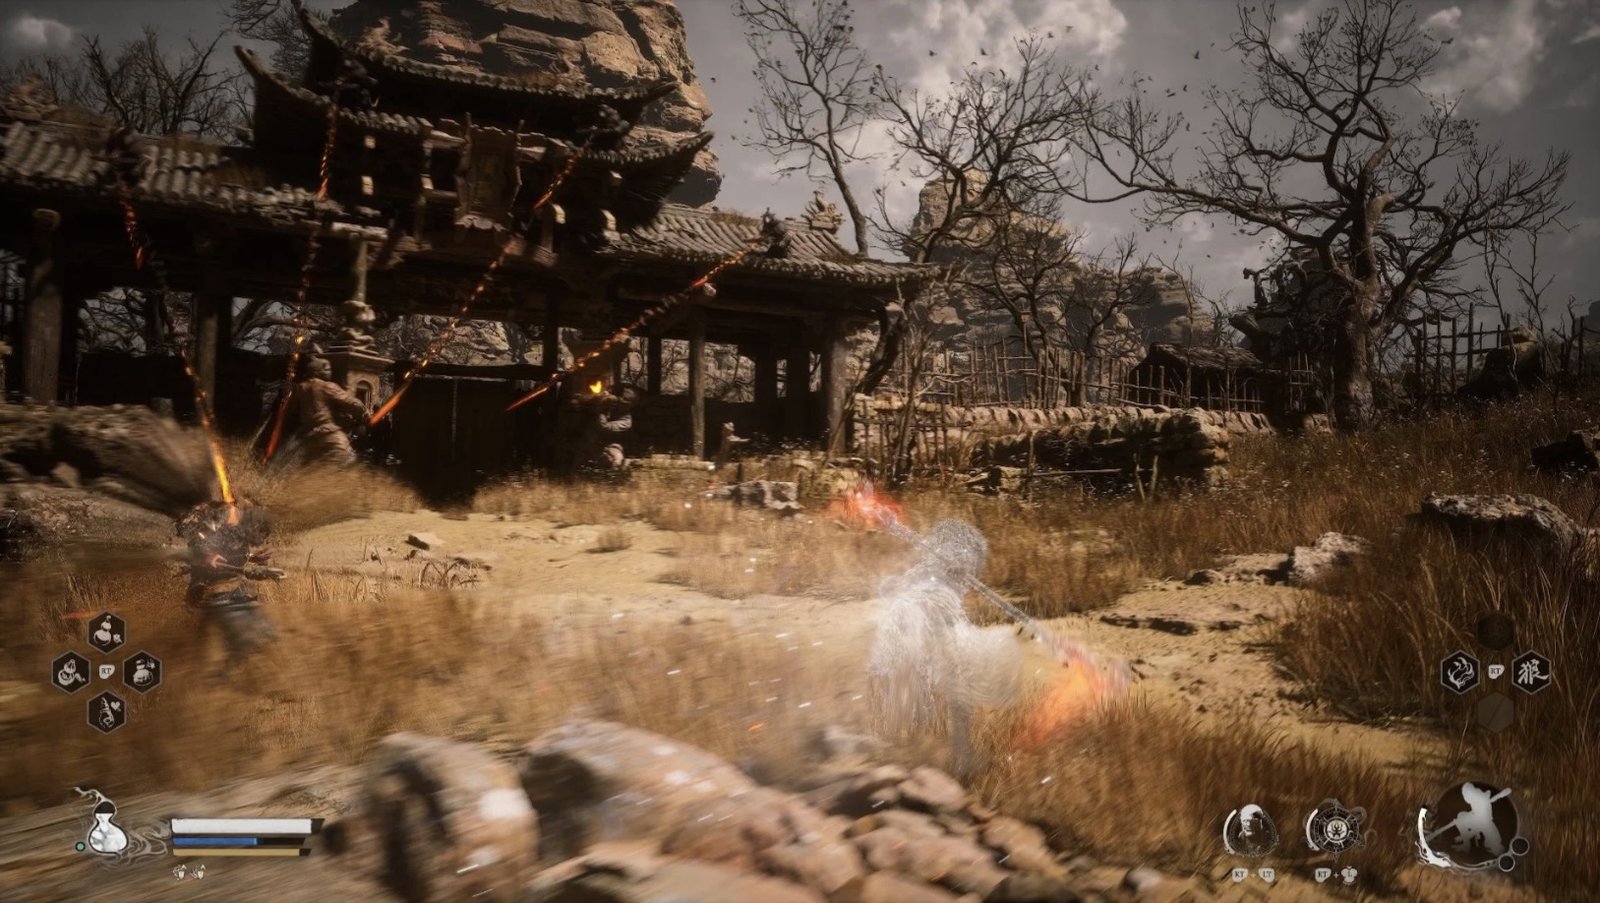
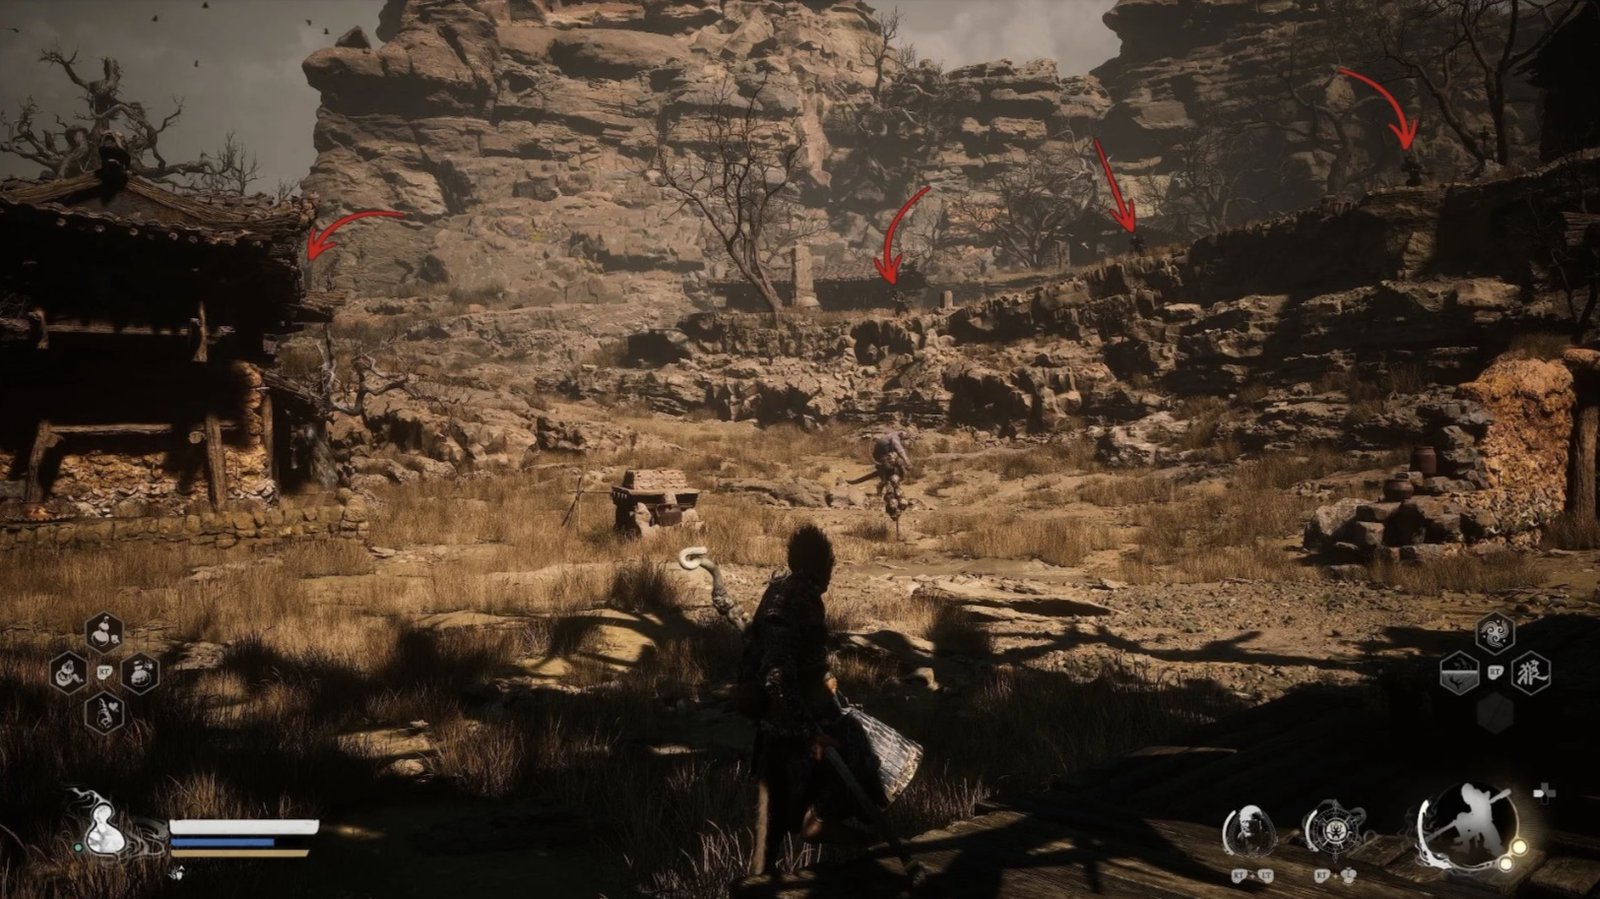
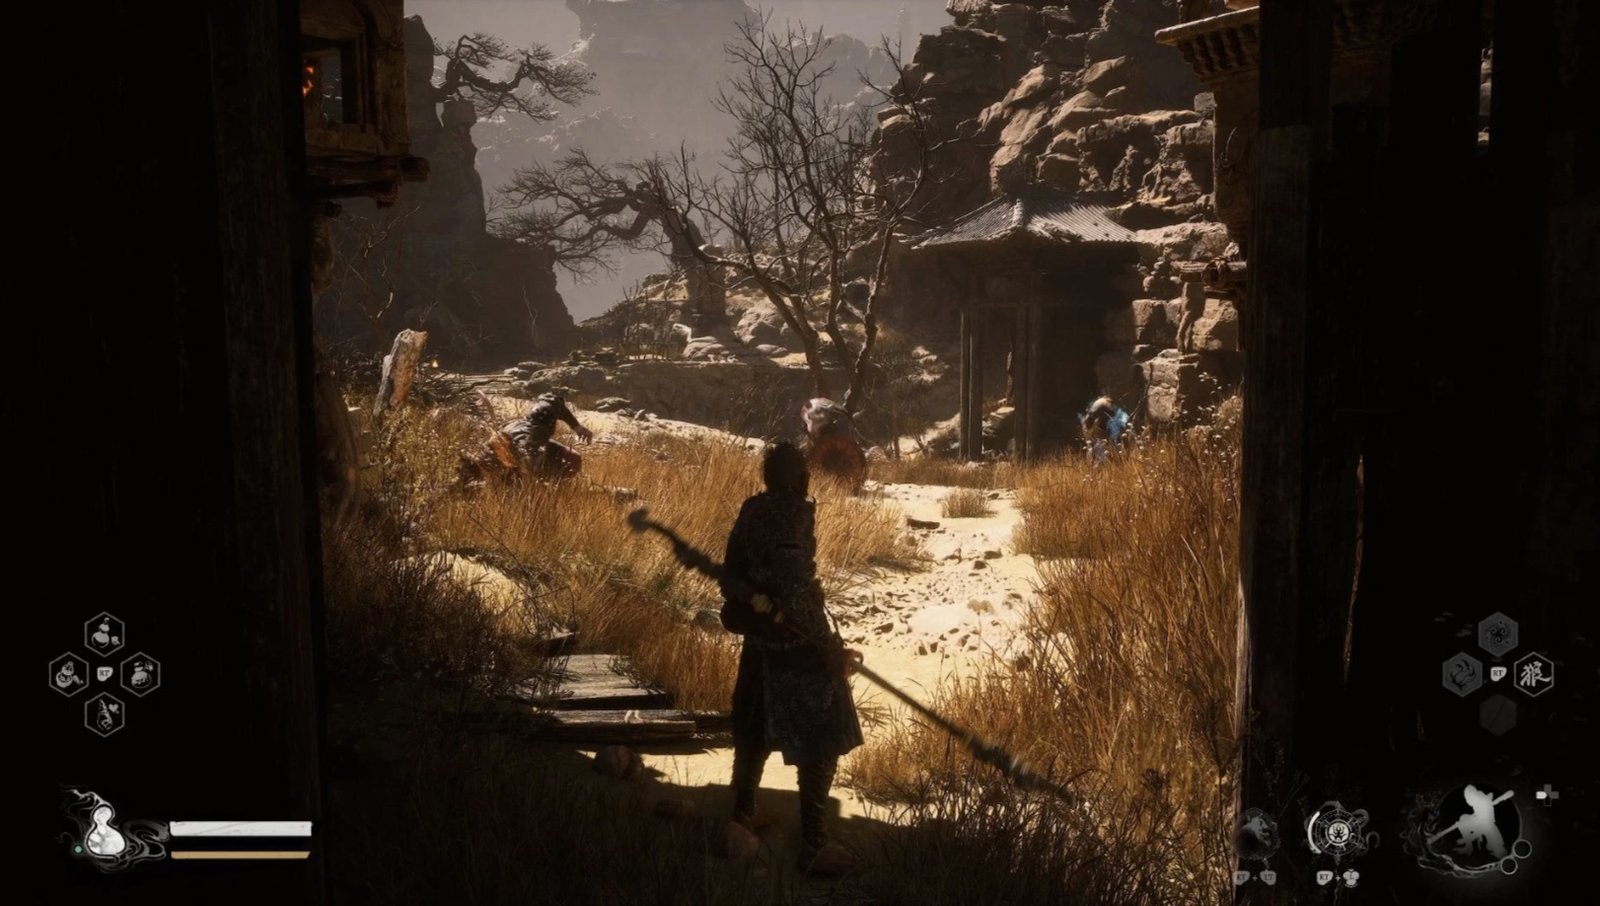
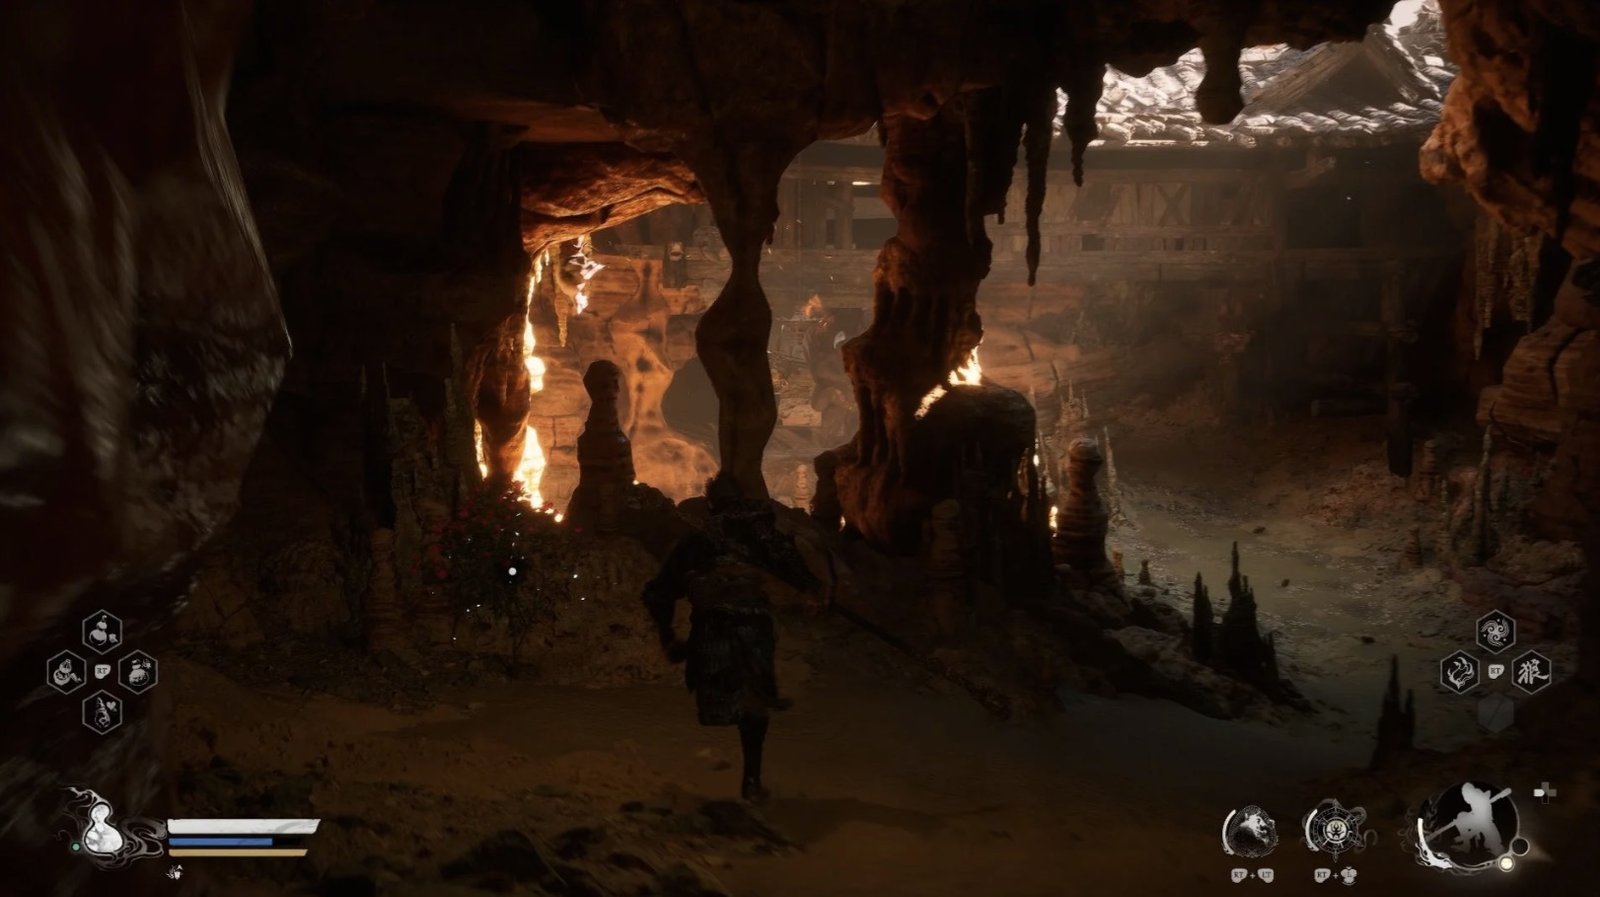
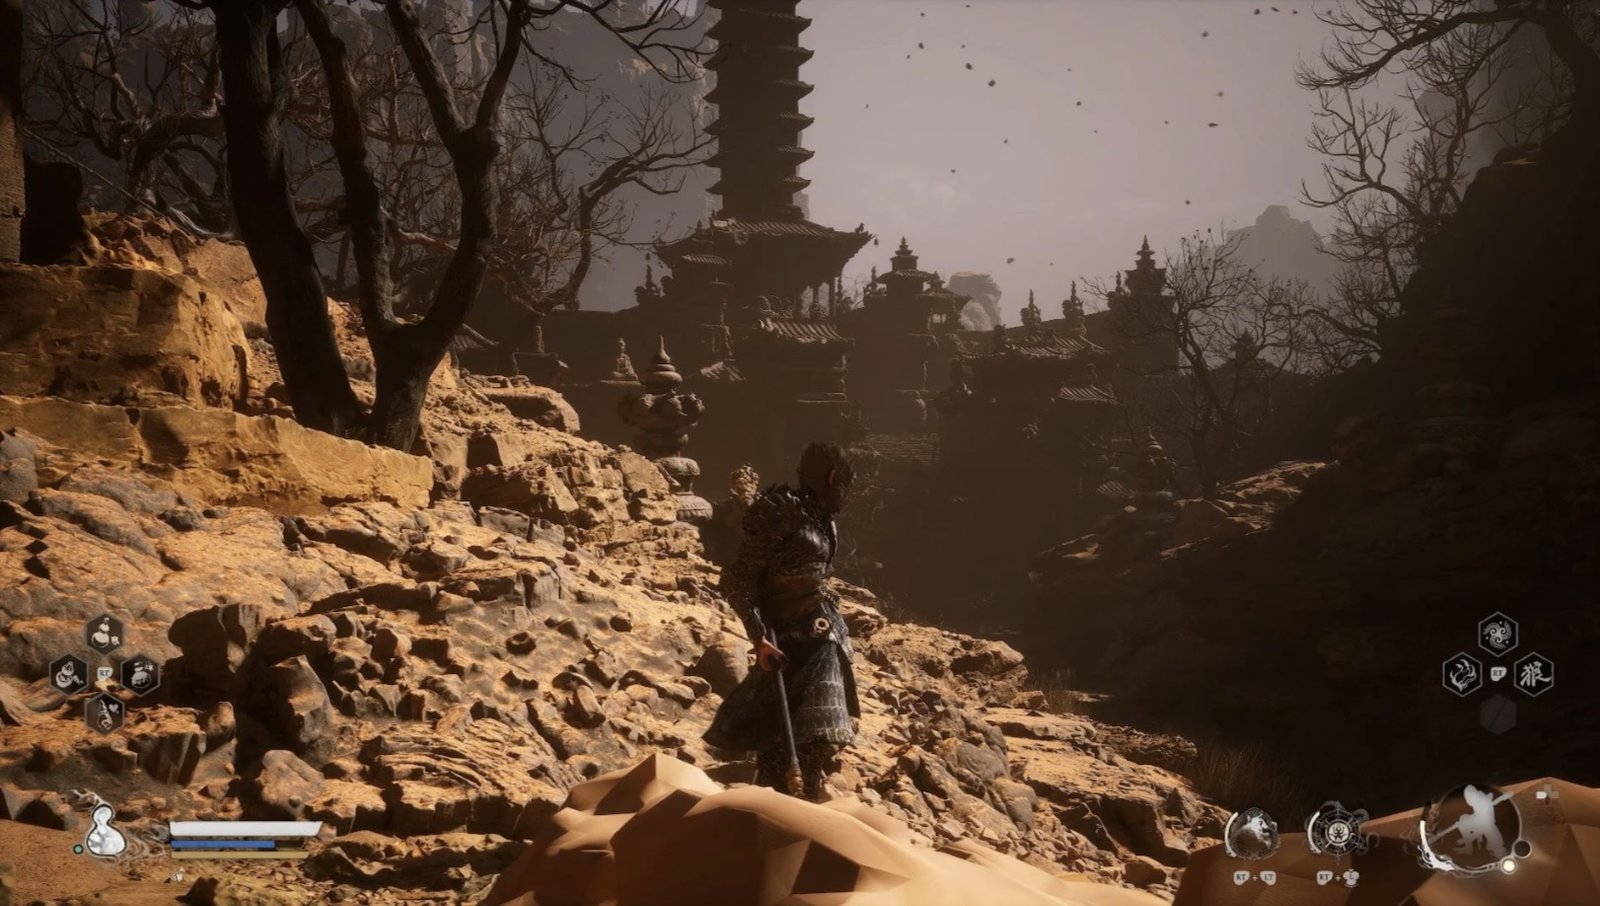
As you step into Yellow Wind Ridge, you’ll be greeted by a vast desert landscape with golden dunes stretching as far as the eye can see. The dry, hot air and the howling wind amplify the harshness of this land. After the introductory cutscene, you’ll meet the headless man, a strange, headless figure engrossed in playing his lute. He will accompany you throughout this challenging Chapter 2.
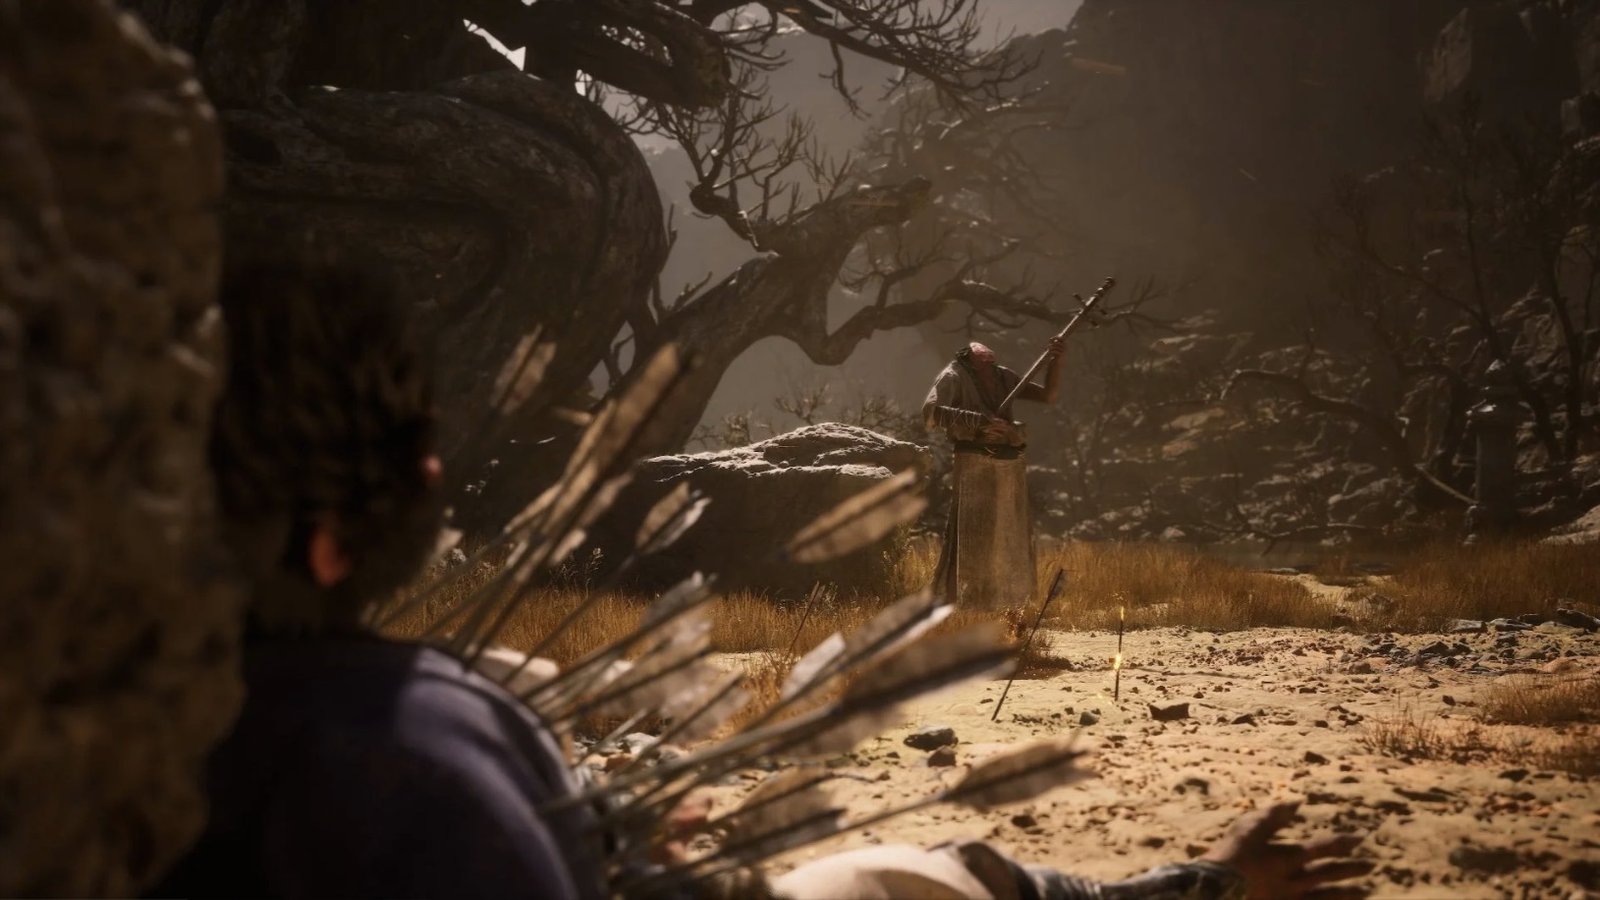
Directly ahead, a small puddle shimmers under the sunlight. Approach it to collect the blossoming Jade Lotus. These aren’t just pretty flowers; they’re vital components for crafting potent elixirs later on.
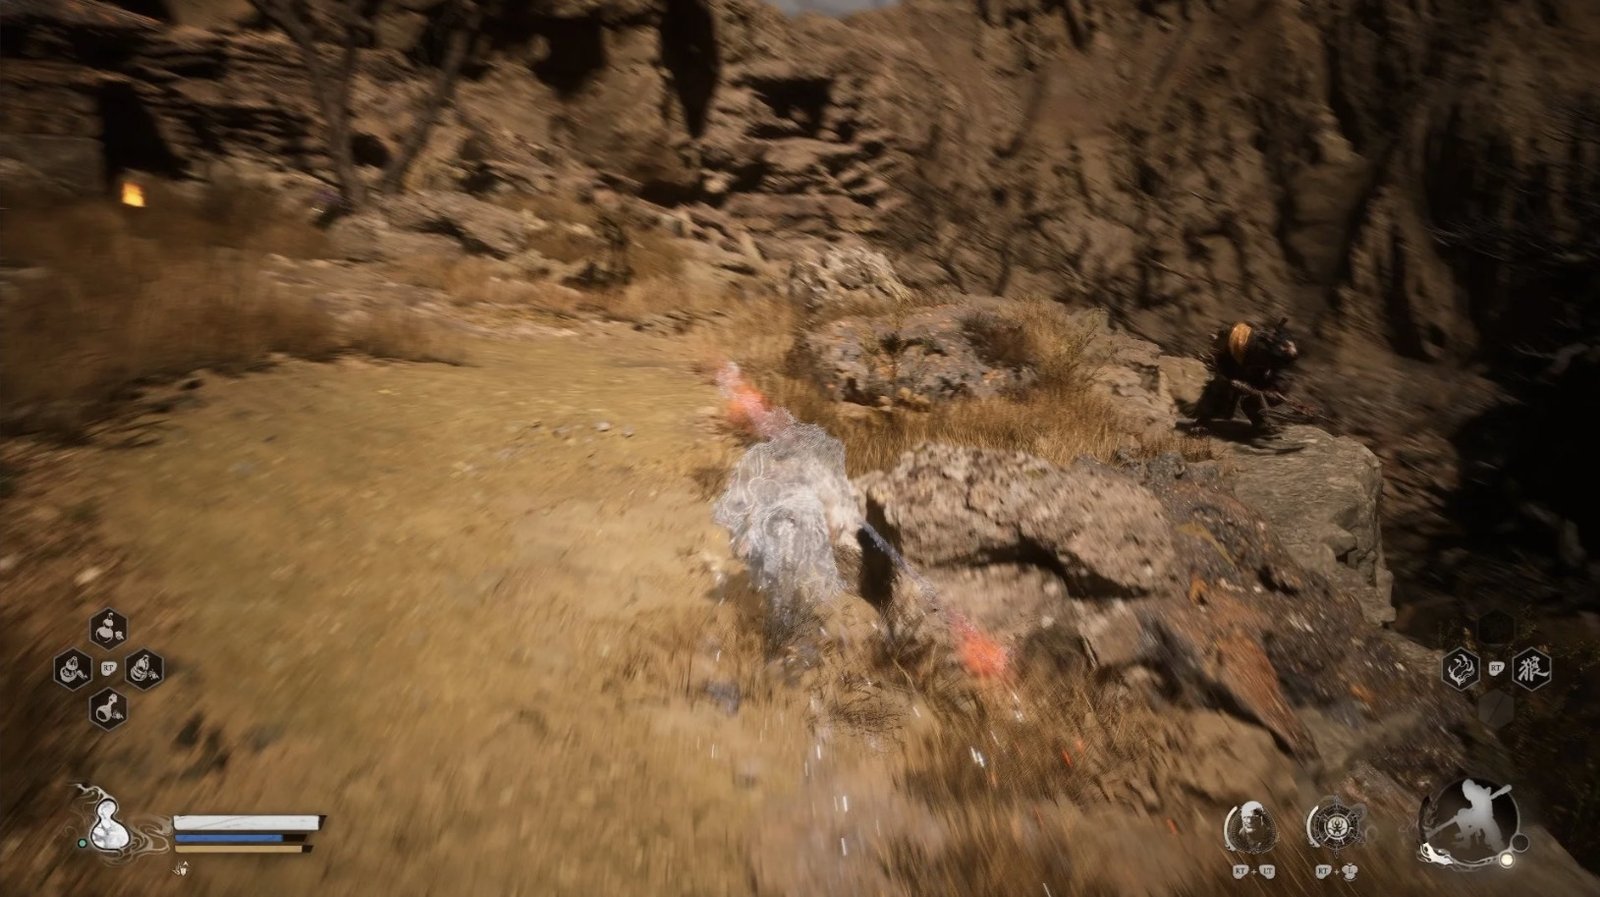
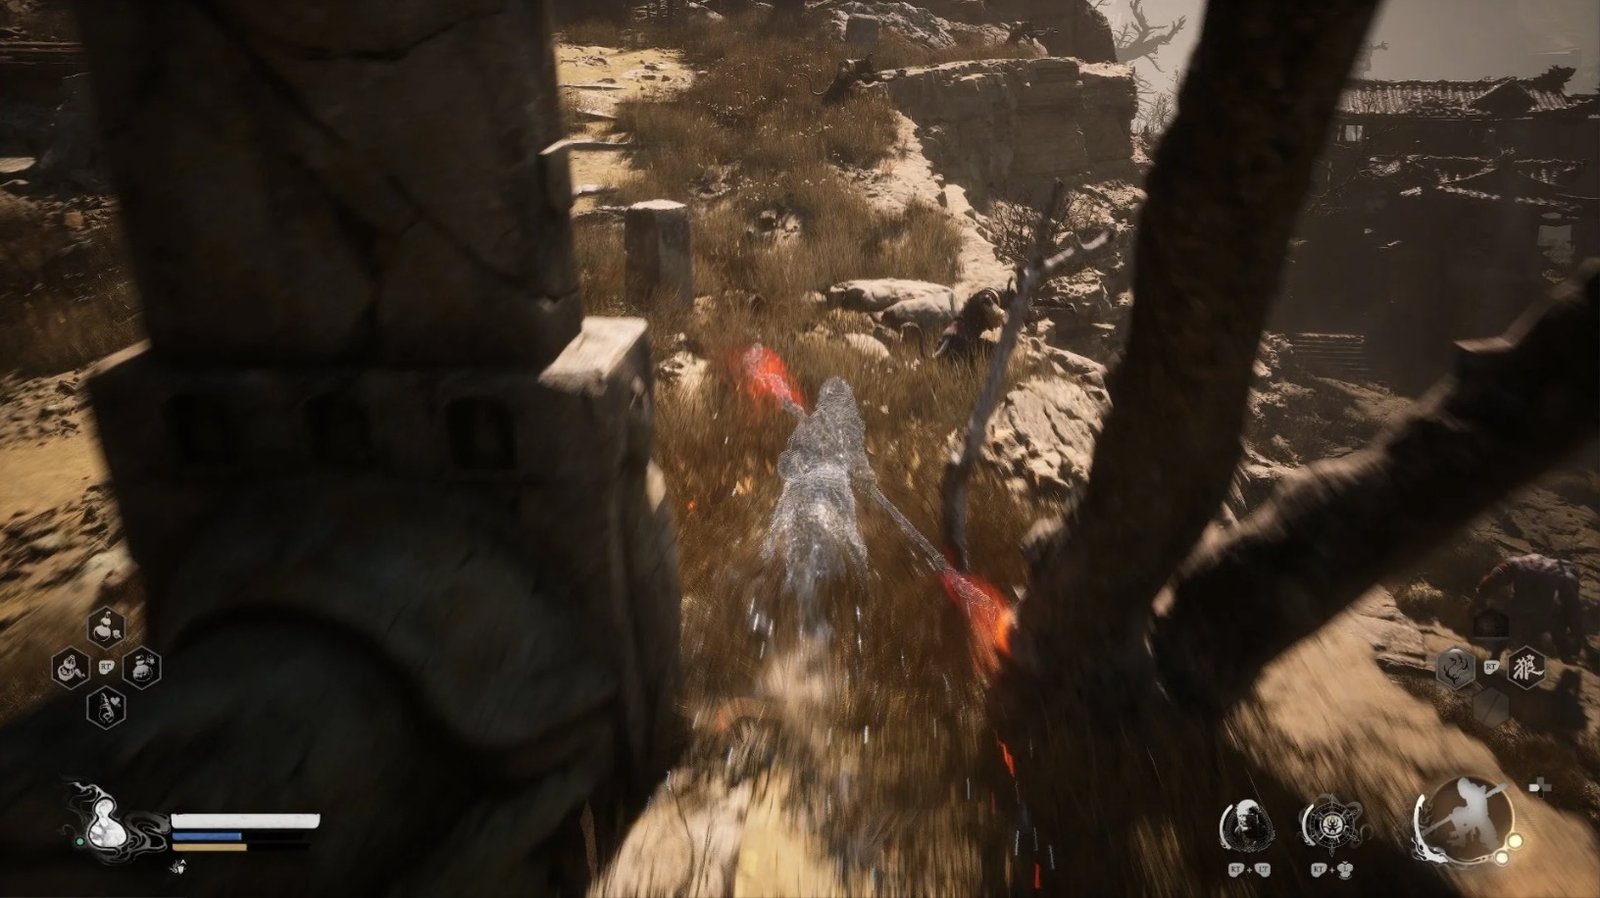
Watch out! A group of Rat Archers positioned on the hillside to your right will begin launching a volley of fire arrows your way. Don’t delay! Sprint along the water’s edge to the opposite side, using your Cloud Step ability to swiftly navigate the fiery onslaught and avoid taking damage.
Continuing along the water, you’ll come across a rickety wooden bridge. As you traverse it, be prepared to confront a Rat Soldier brandishing a hefty shield. He’s slow-moving; lure him away from the Rat Archers’ firing range above. A helpful tip: utilize your heavy attack to shatter his shield, then dispatch him with a flurry of blows.
After crossing the bridge, you’ll spot a gentle incline to your right. This path leads to the Rat Archers’ position. Ascend cautiously, employing Cloud Step to close the distance swiftly and using your Staff Spin to deflect incoming arrows. Eliminating these archers will make traversing the area much safer.
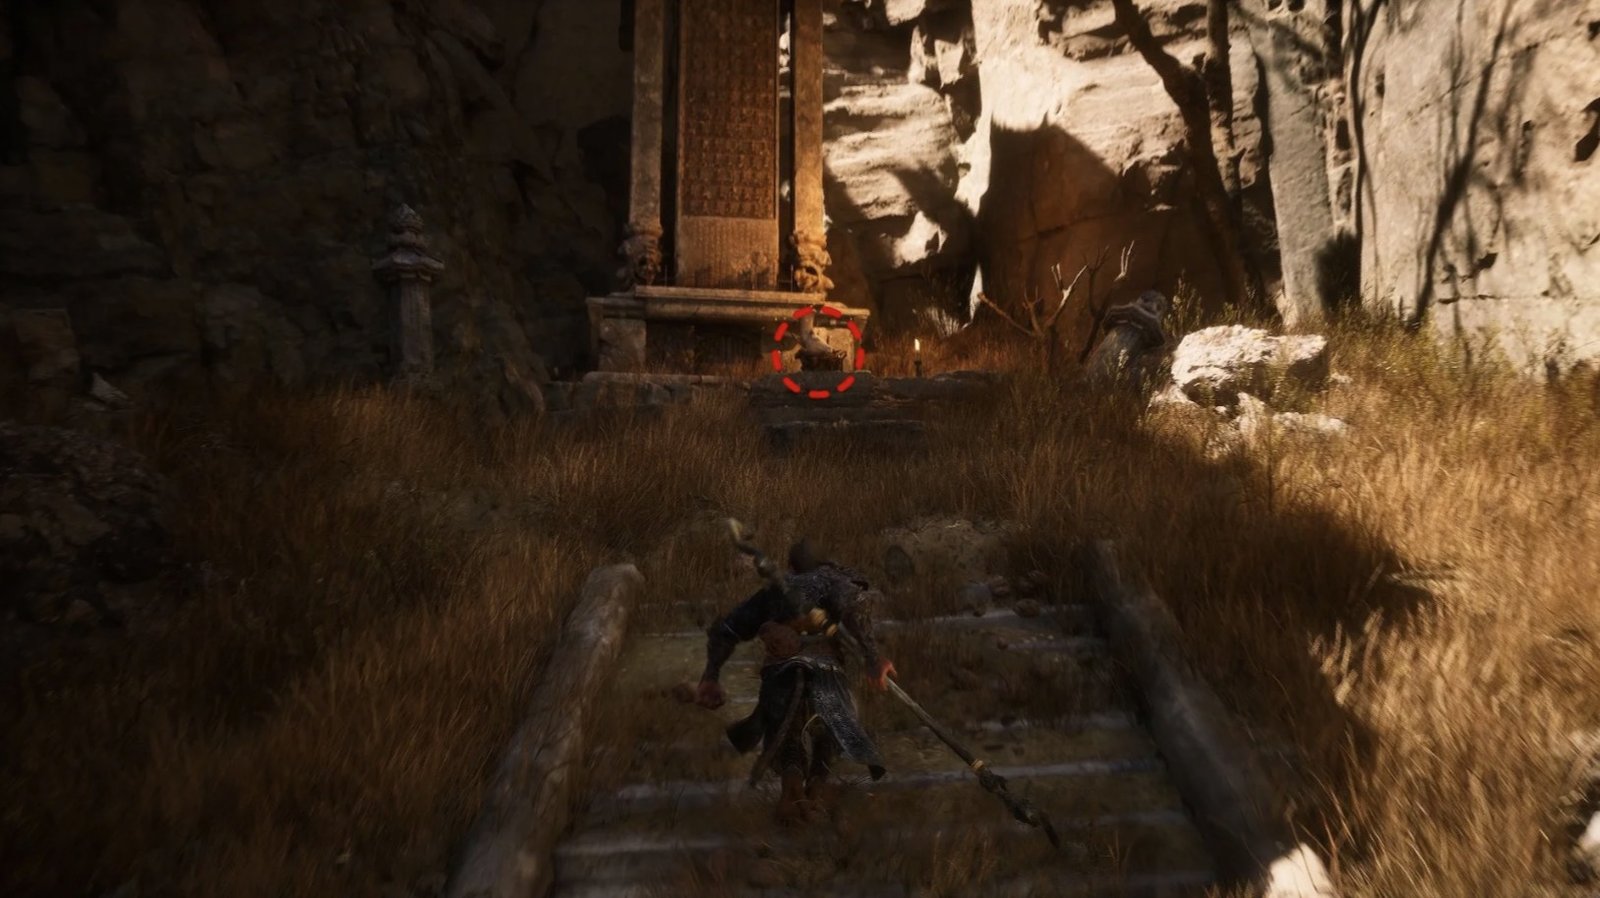
Atop the slope lies an ancient altar encircled by large stones. Upon the altar, you’ll discover a vessel of Lambrew Drink emanating a soft glow. This unique beverage gradually restores your health, proving invaluable during protracted battles. Remember to scour the area around the altar for Violet Licorice, another valuable herb.
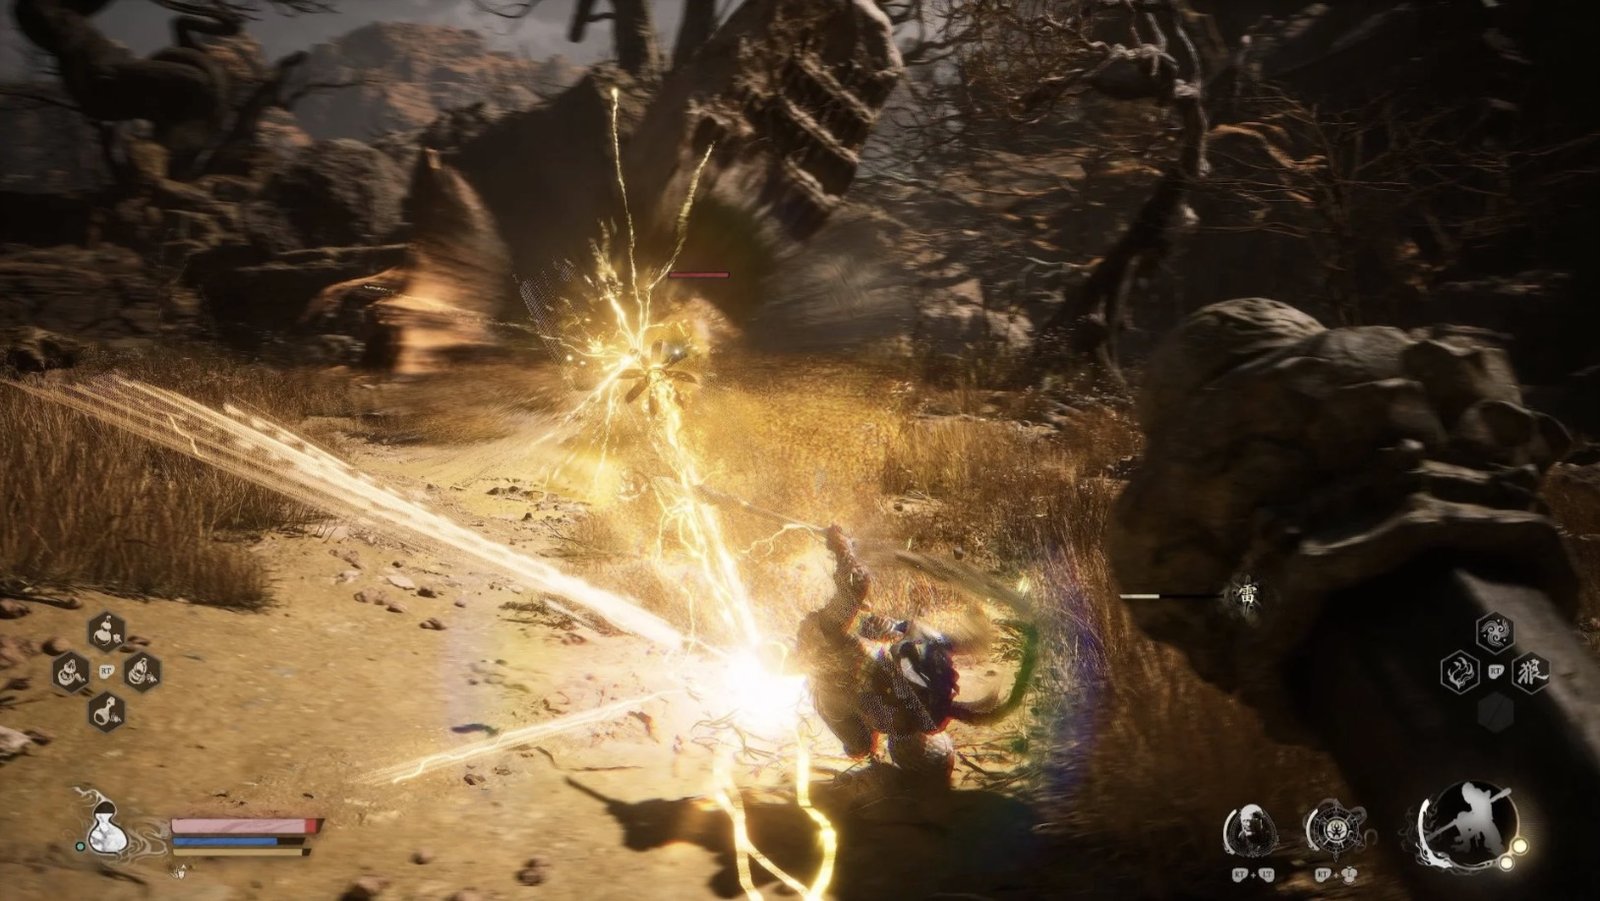
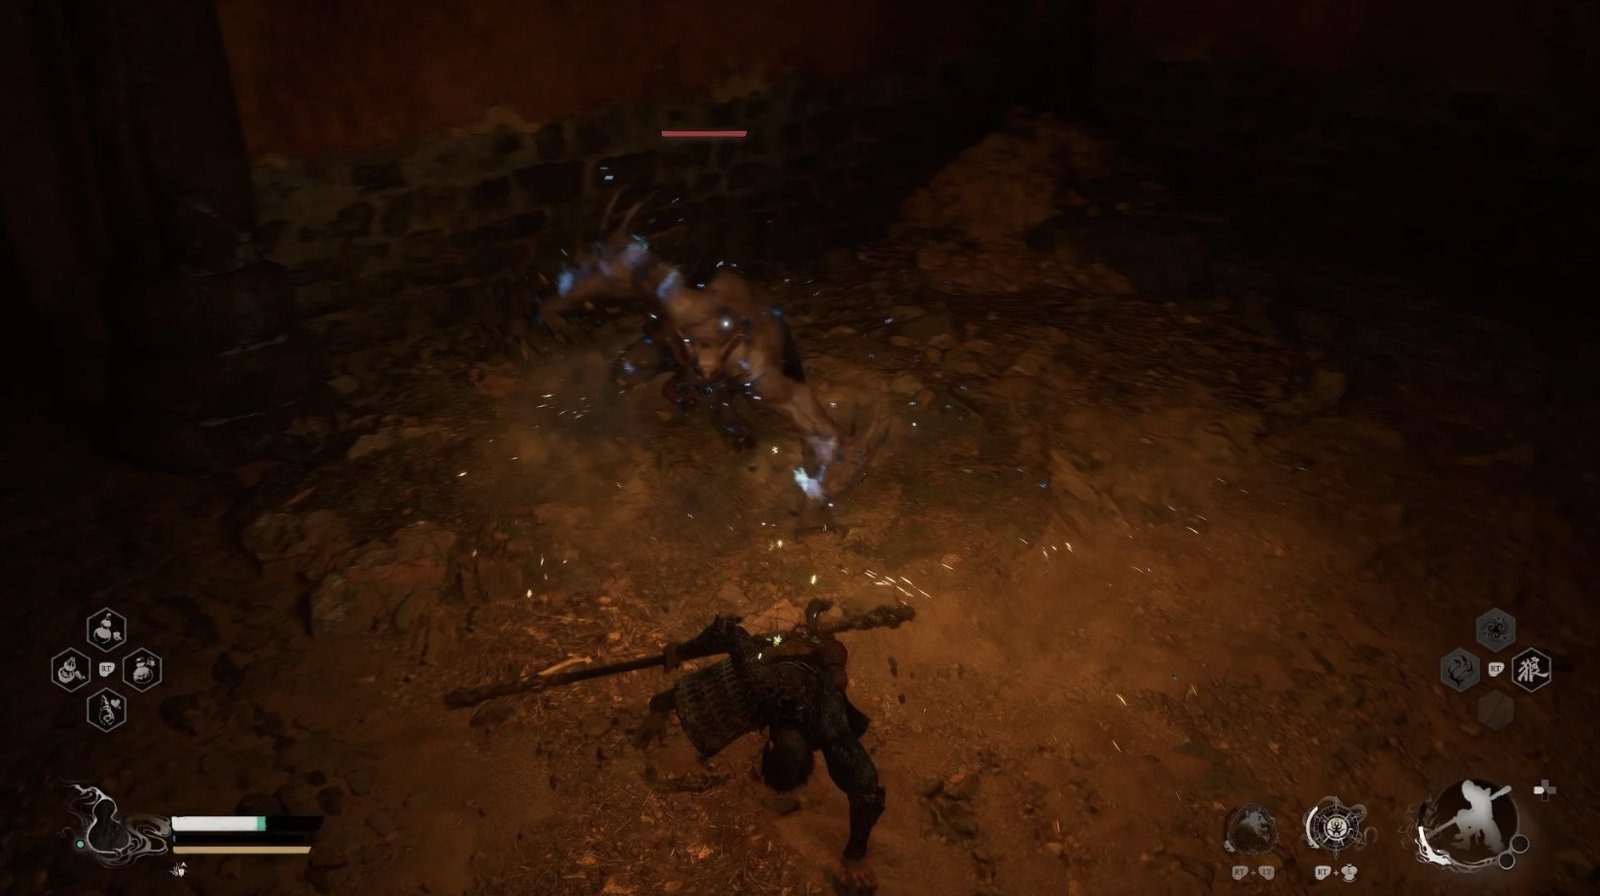
Having explored the hilltop, descend along the path. Here, you’ll engage the Rat Governor, a more formidable variant of the Rat Soldier. He wields a staff that discharges electricity, inflicting significant damage and inflicting the Shocked status, which amplifies your vulnerability to damage. Employ Immobilize the instant he begins charging his attack, then swiftly close in and unleash your own assault.

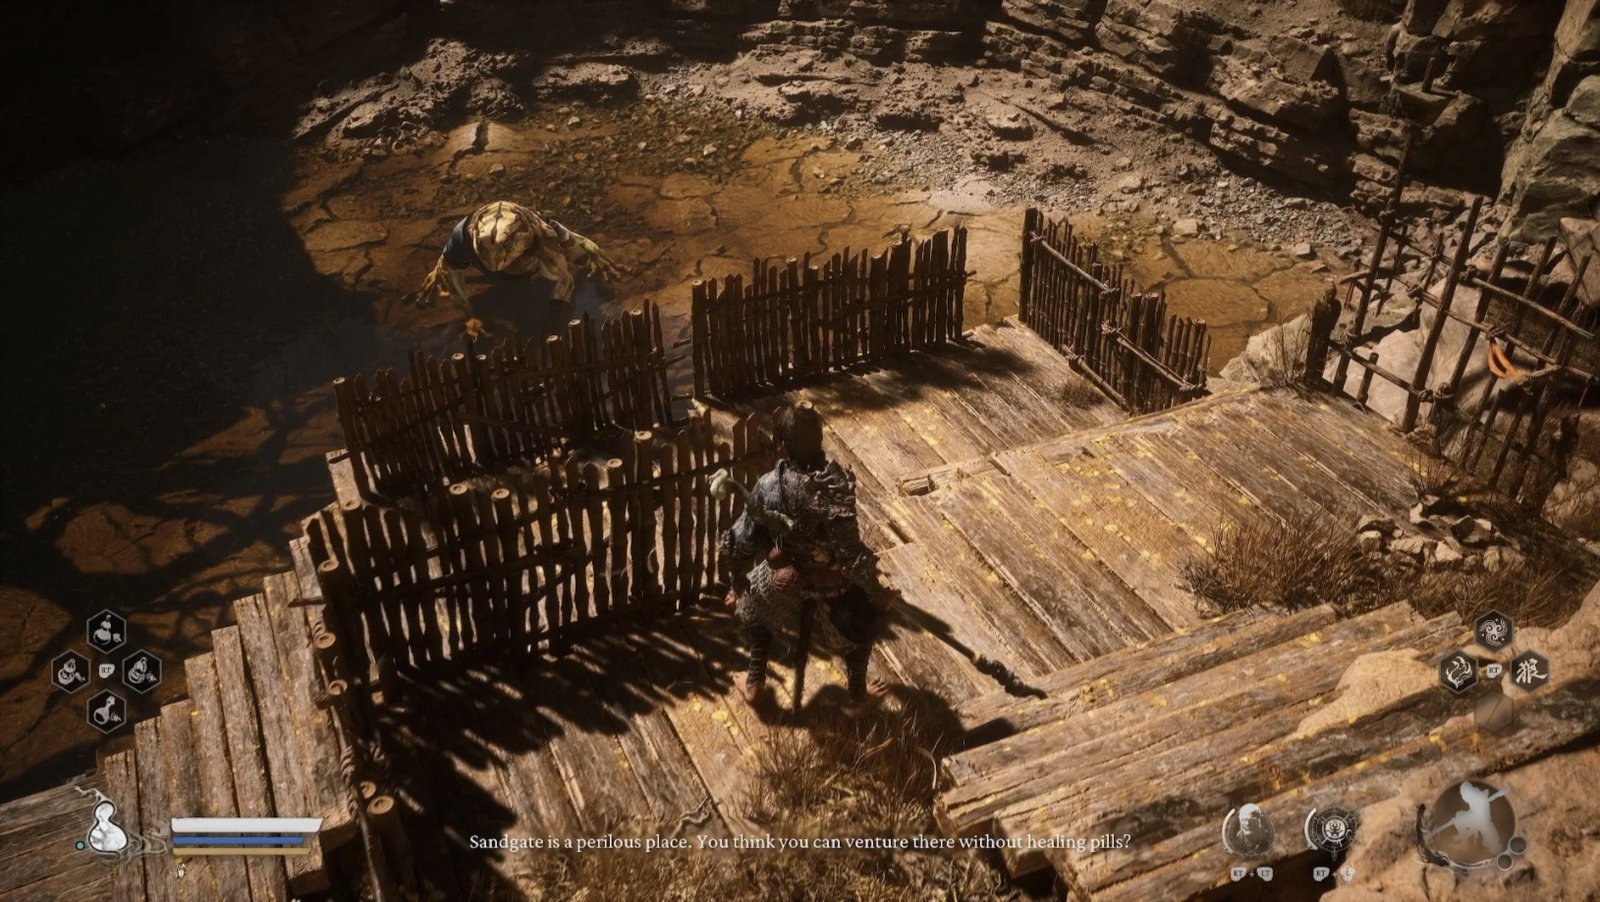
As you proceed, a large water-filled pit will appear on your left. Within resides the Toad Yaoguai, a formidable sub-boss. It’s wise to bypass this area for now, saving this challenge for when you’re better equipped.
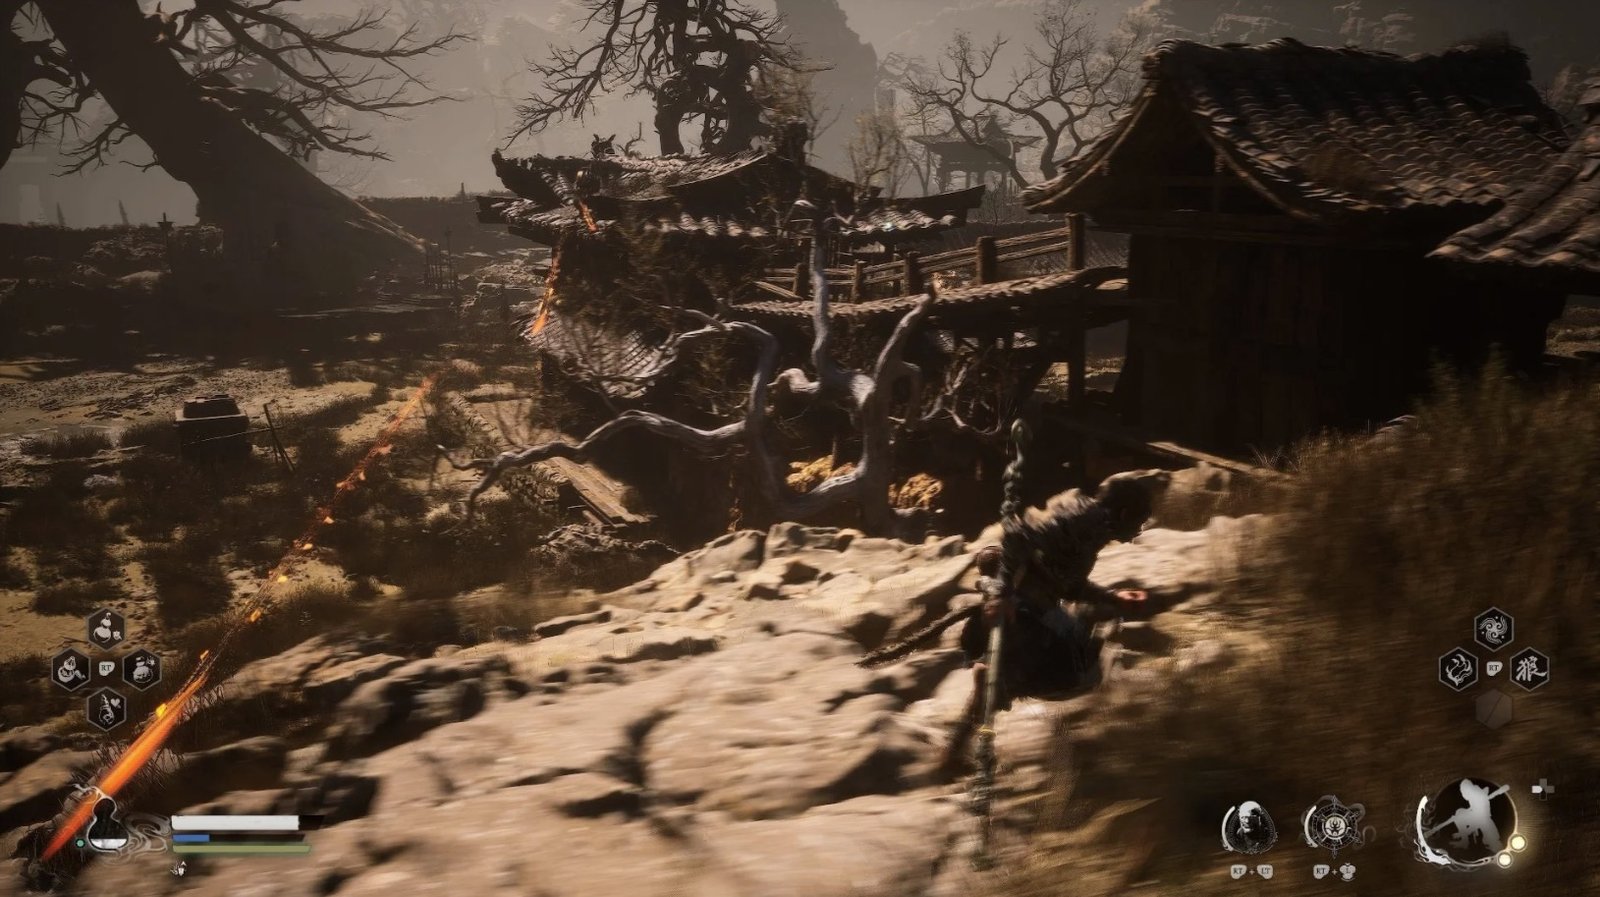
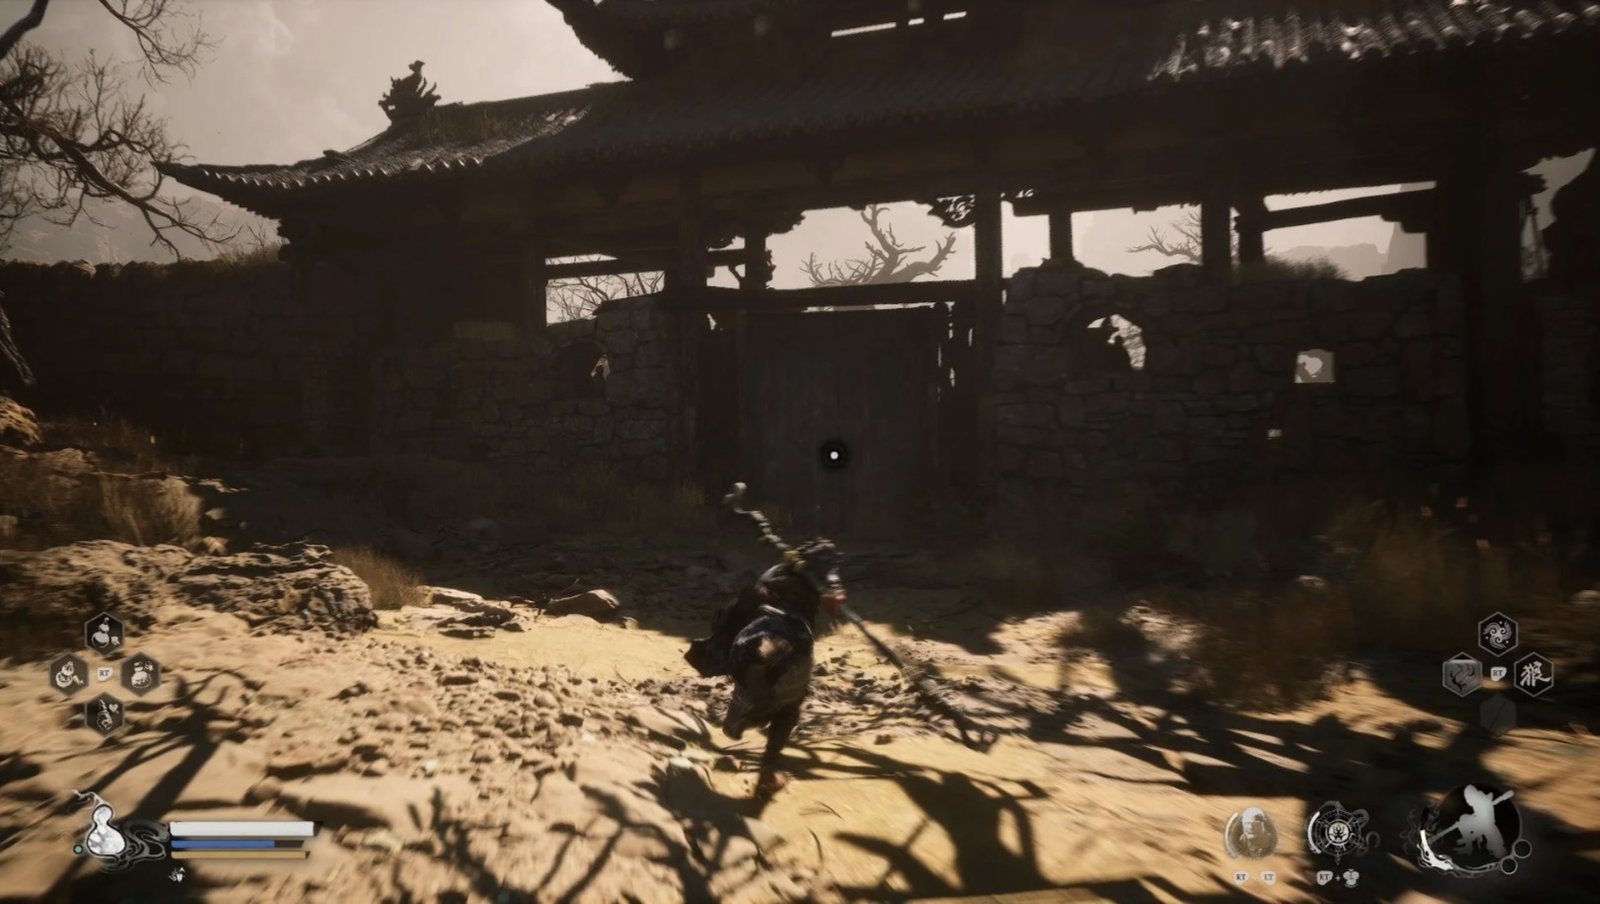
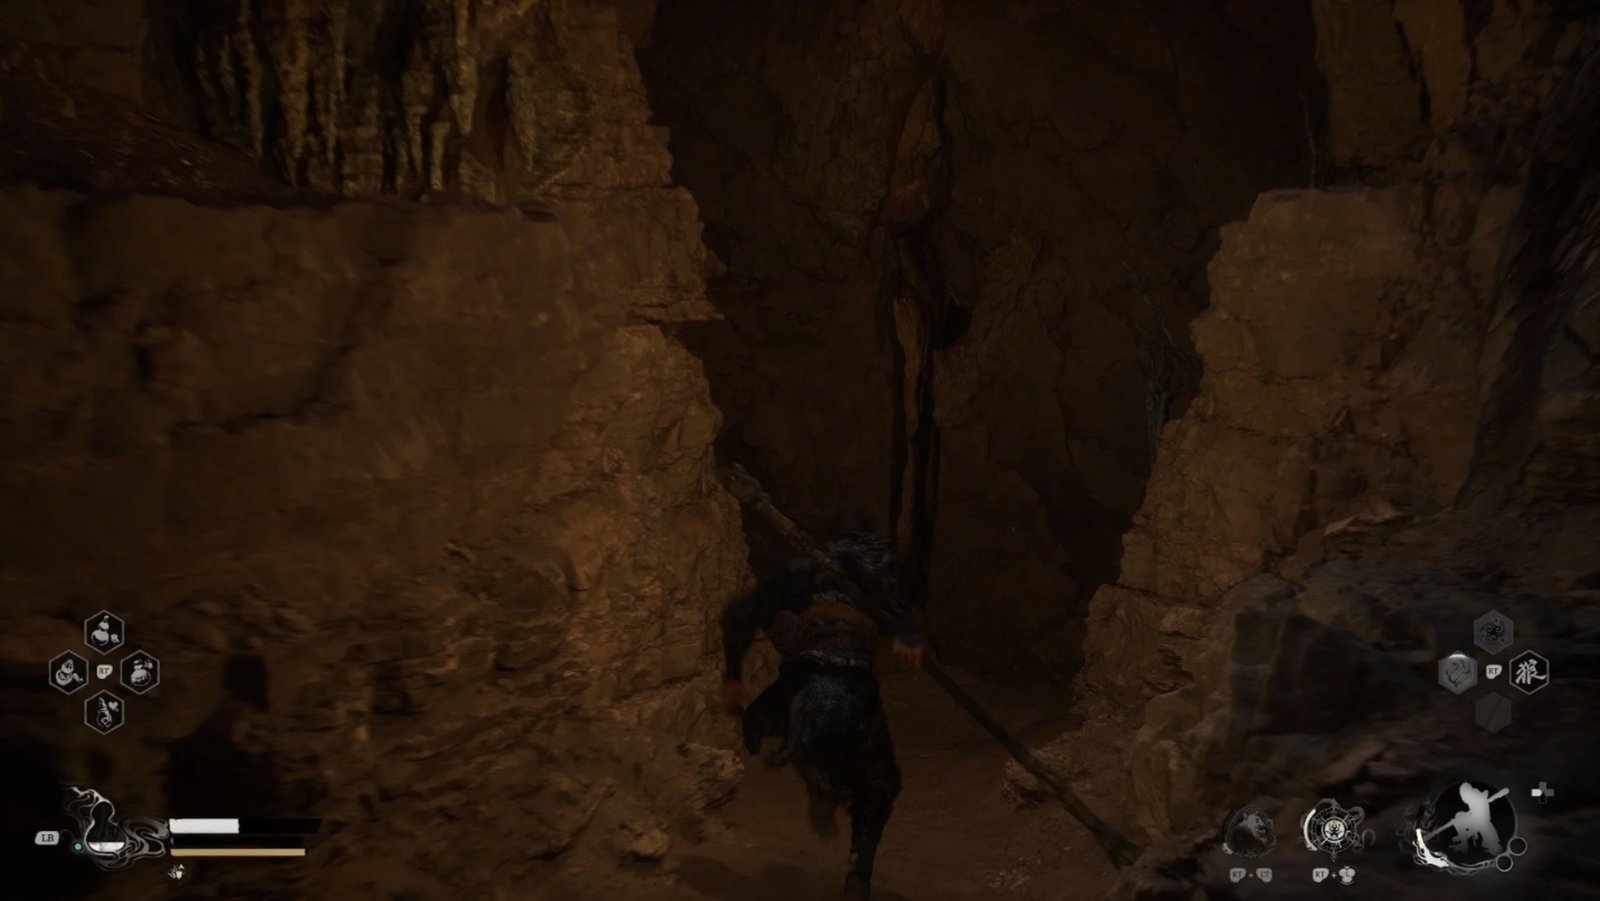
Continue along the beaten path, hugging the cliffside. You’ll encounter wooden scaffolding, indicative of the rat’s presence. Dispatch the Rat Soldier standing guard and venture into the next zone – the Village Entrance.
Arriving at the Village Entrance, you’ll find a new Shrine. Take advantage of this opportunity to replenish your health and magic, and browse the items available for purchase here.
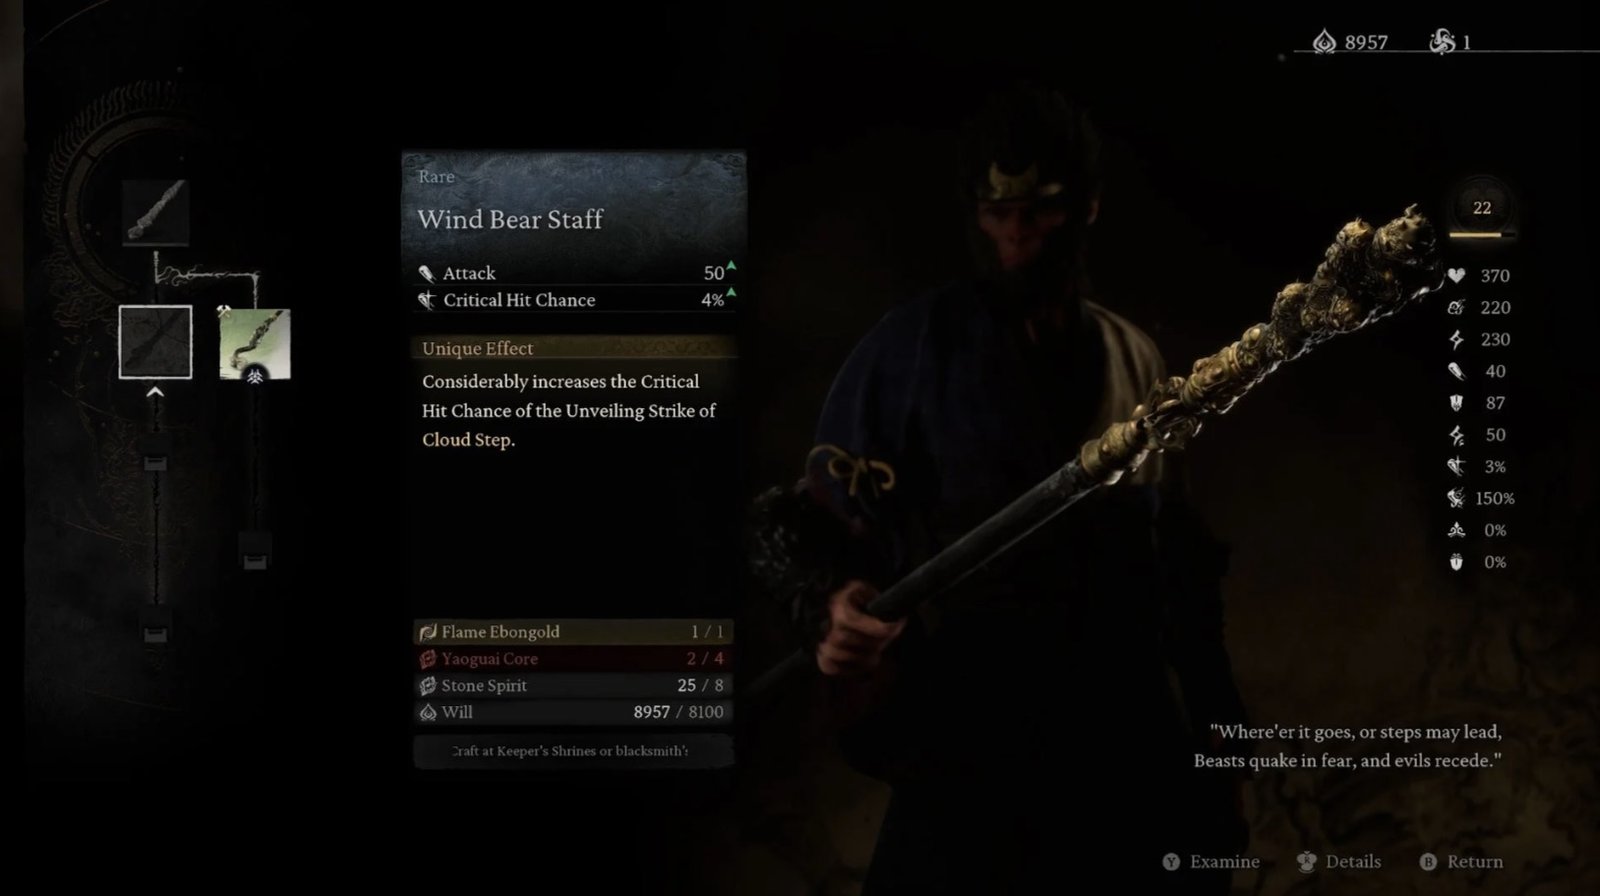
Right at the Shrine, you can purchase useful items such as Antimiasma Powder, Shock-Quelling Powder, Tonifying Decoction, and more. Don’t forget to check the crafting materials and upgrade your equipment. Notably, you can craft the Ebongold set and the Wind Bear Staff using the Flame Ebongold obtained from the boss Black Wind King in Chapter 1. The Ebongold set provides improved defense and bonuses related to using Cloud Step, while the Wind Bear Staff is a powerful weapon well worth acquiring.
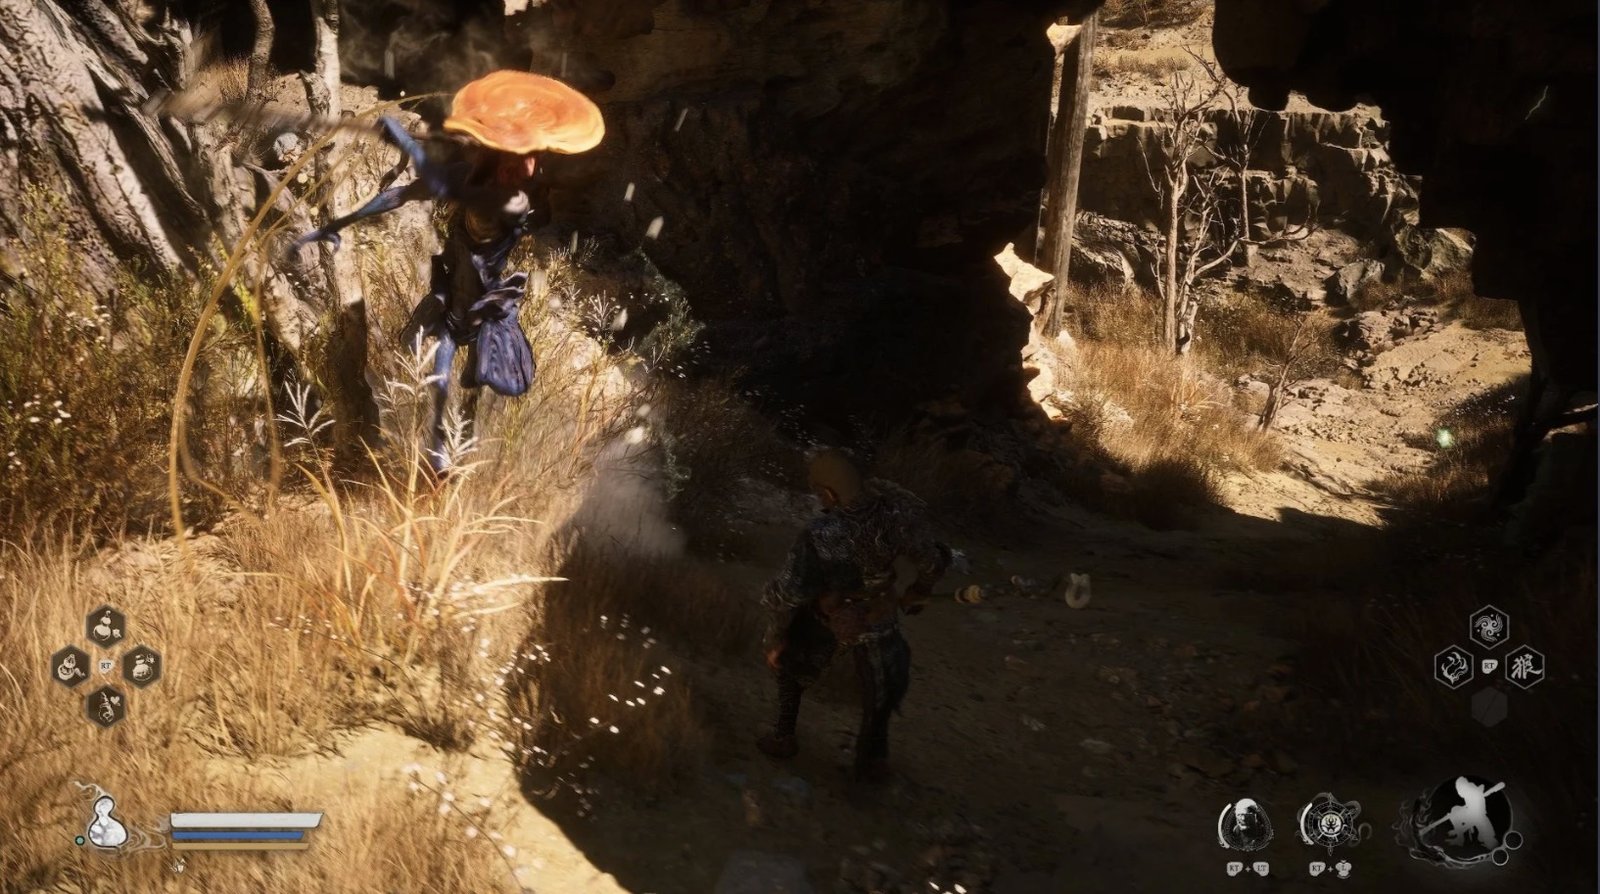
Looking to the left of the Shrine, you’ll see a small ditch running under a wooden bridge. Follow this ditch, and you will find a sloping path that leads up to a small ledge. Here, you will encounter a Lingzhiling it looks like a mushroom but is actually a monster. Be careful with its poisonous attacks and defeat it to collect various mushrooms, including the rare Lingzhiling.
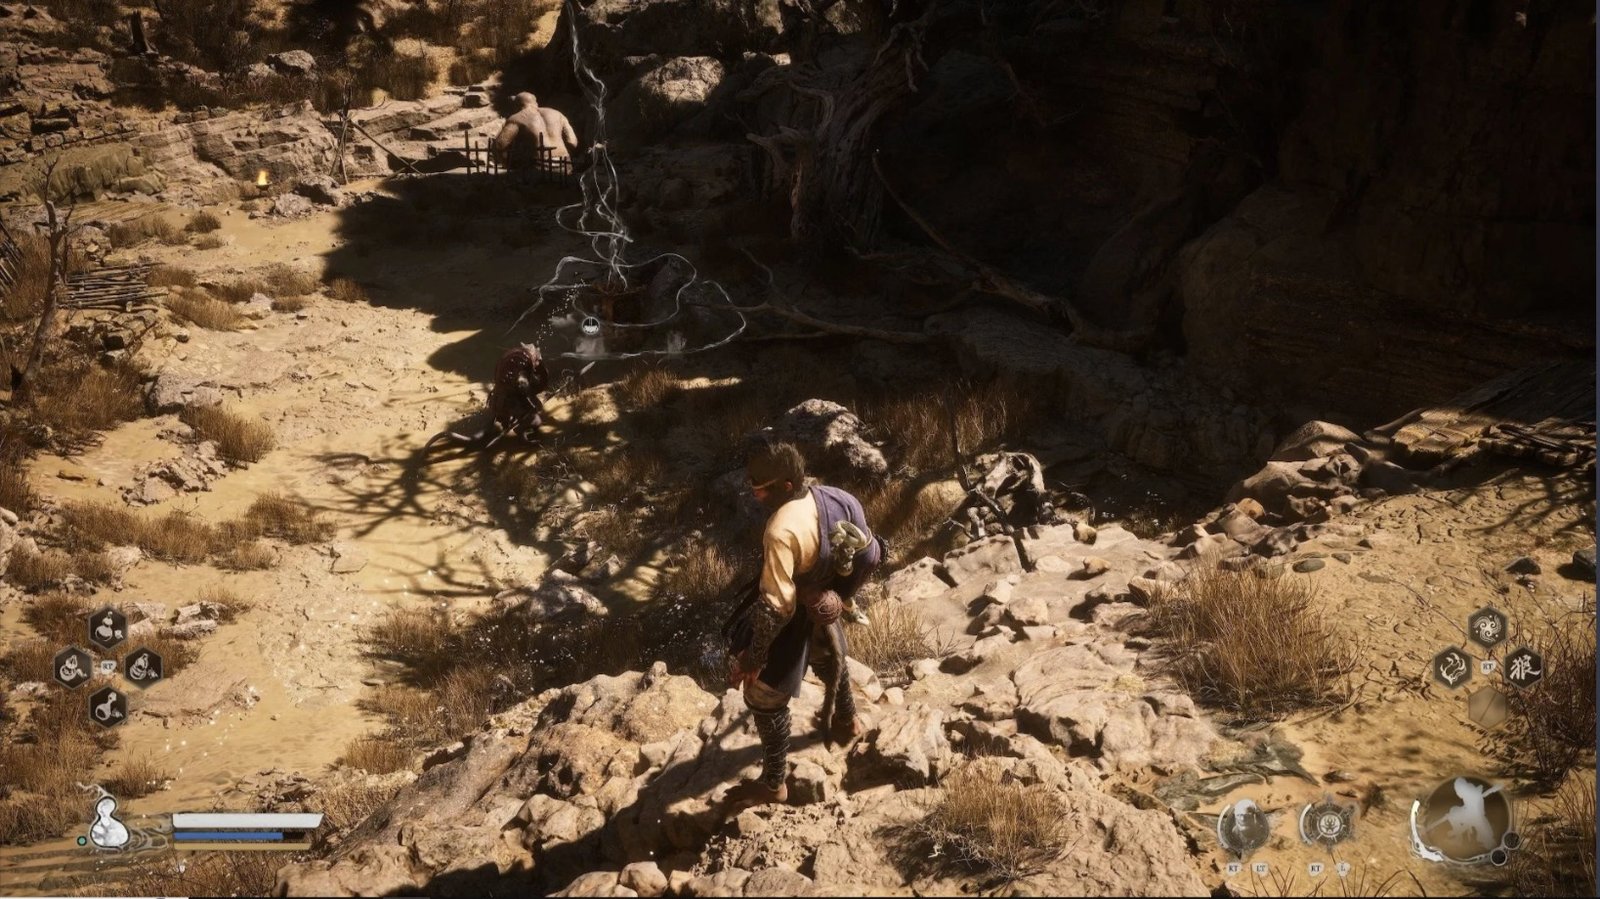
Follow the ditch to the other side, you will meet Xu Dog.
Following the ditch, you’ll come across Xu Dog, a canine disguised as a medicine man. He’s having trouble with a giant toad that swallowed his medicine formula. This is your first side quest in Sandgate Village.
For now, ignore Xu Dog and head back to the village gate area. You’ll find that the main gate is closed and guarded by many Rat Archers from above. Don’t try to attack them from here.
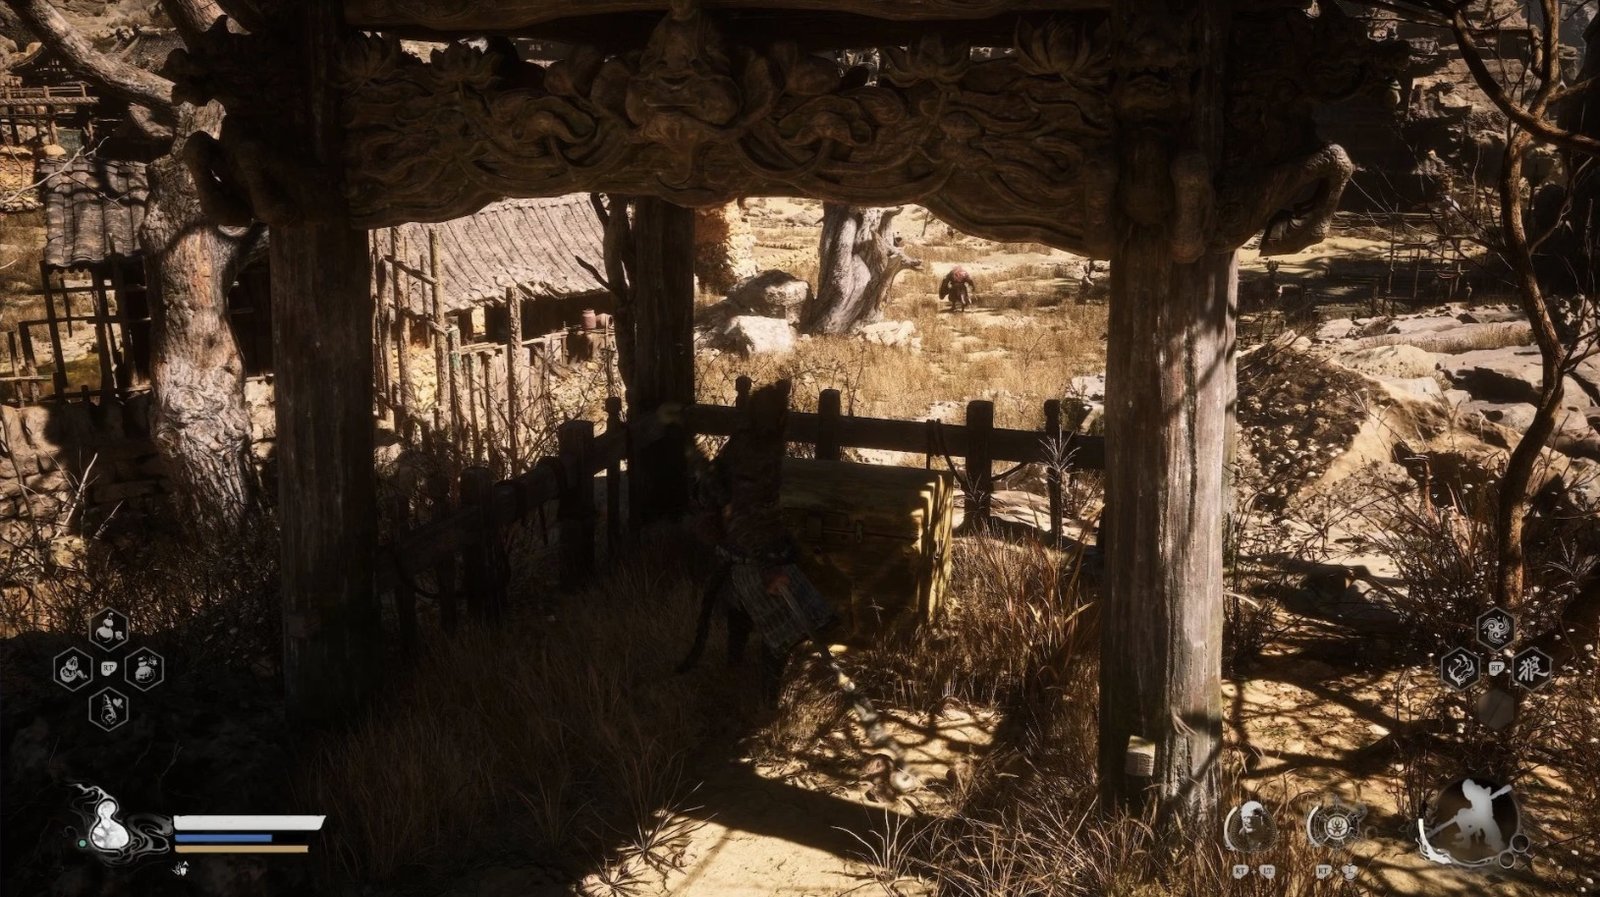
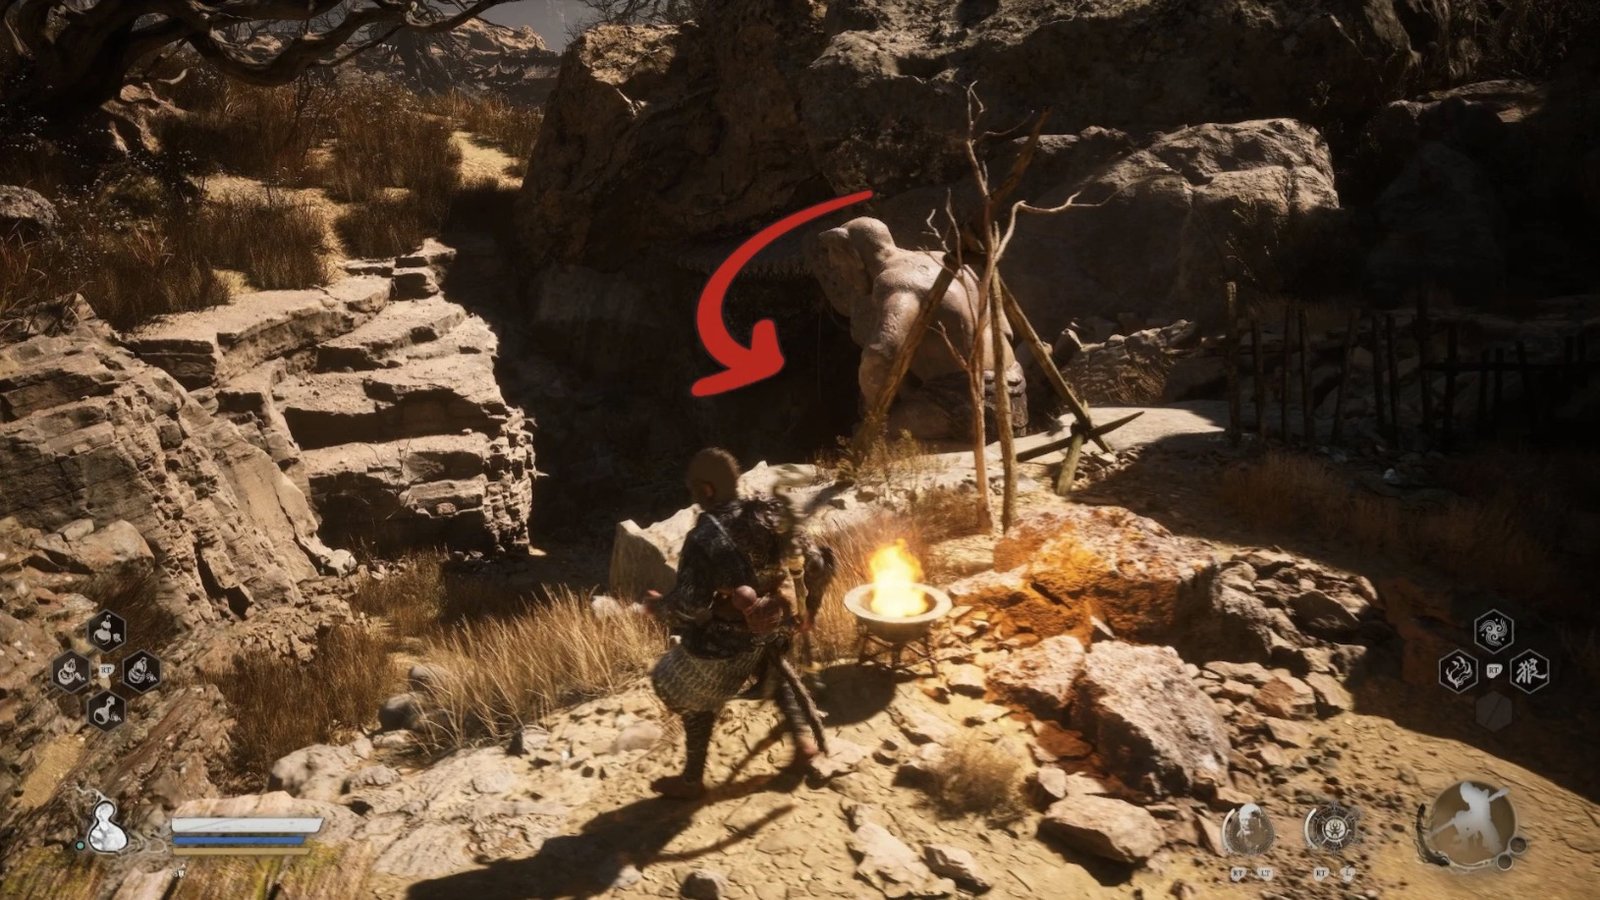
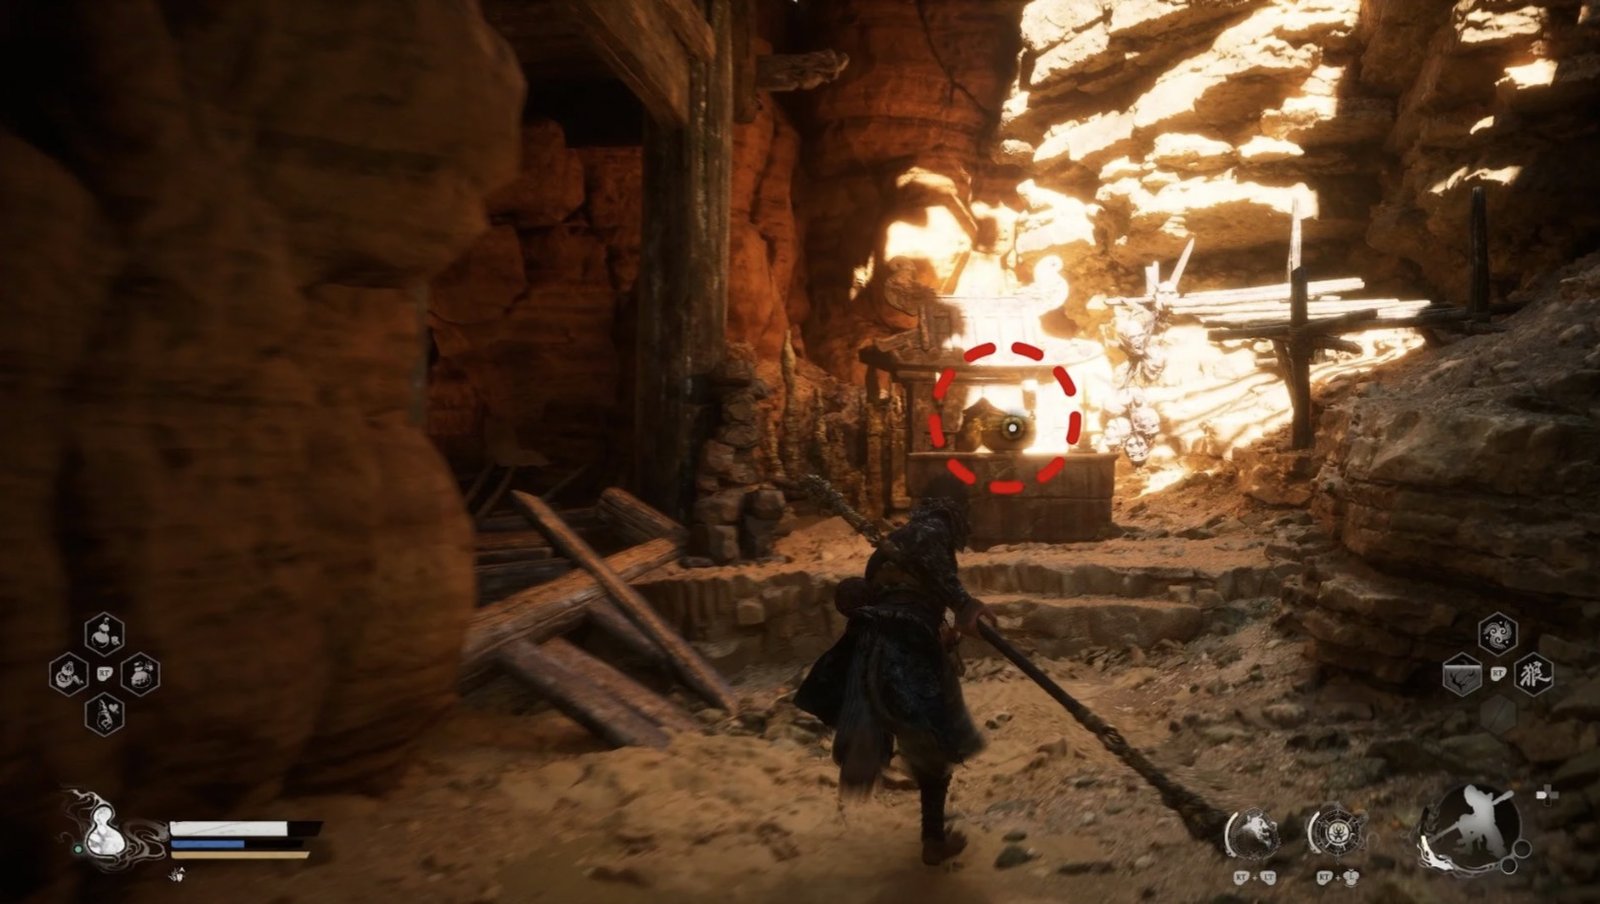
Instead, go to the right, following the foothills. You’ll find a small altar with a chest. Open the chest to receive 3x Tiny Piece of Gold and 2x Silk.
Continue to the right, and you’ll see a slope leading down to a lower area. Here, you’ll encounter a Rat Governor and a Rat Soldier. Use the same tactics as before to deal with them.
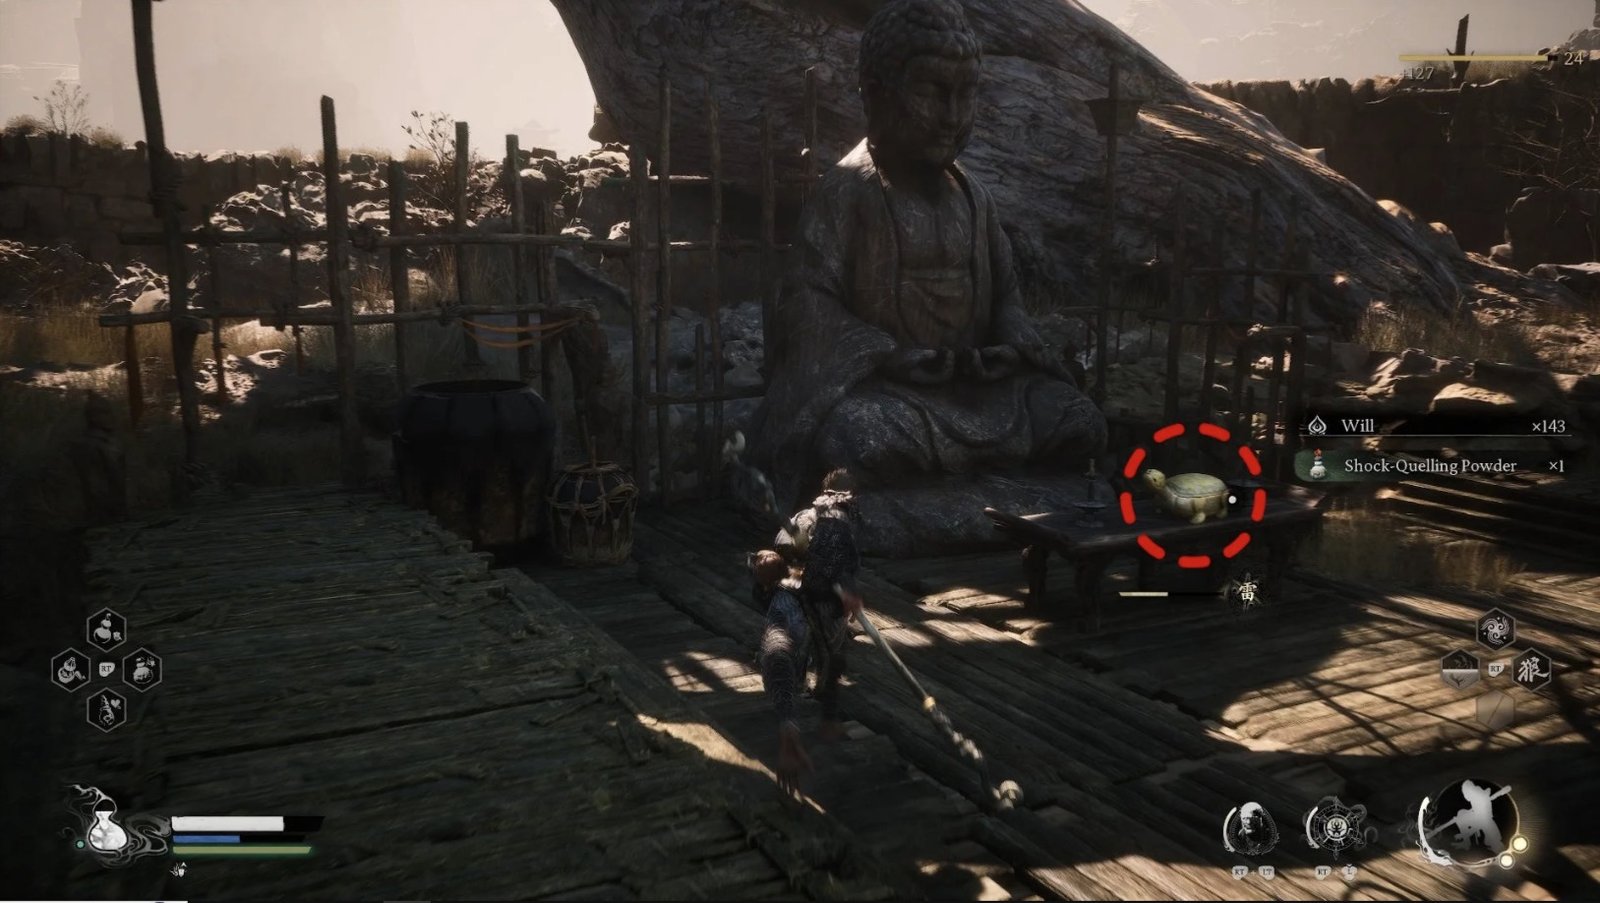
After clearing the area, you’ll see a turtle-shaped pedestal. Climb onto the pedestal and open the box on it to receive Laurel Buds – an ingredient used to upgrade your Gourd.
Side Quest: Xu Dog and Lang-Li-Guhh-Baw
Having explored the Village Entrance area, it’s time to tackle your first side quest. Return to Xu Dog, the canine medicine man distressed over his lost formula.
Xu Dog will tell you about how Lang-Li-Guhh-Baw, a giant toad, swallowed his precious medicine formula. He’ll ask for your help in retrieving it. Accept the quest, and you’ll be tasked with eliminating the toad.
This toad is the same Toad Yaoguai you saw earlier in the Yellow Wind Ridge. Return to the pit you previously bypassed.
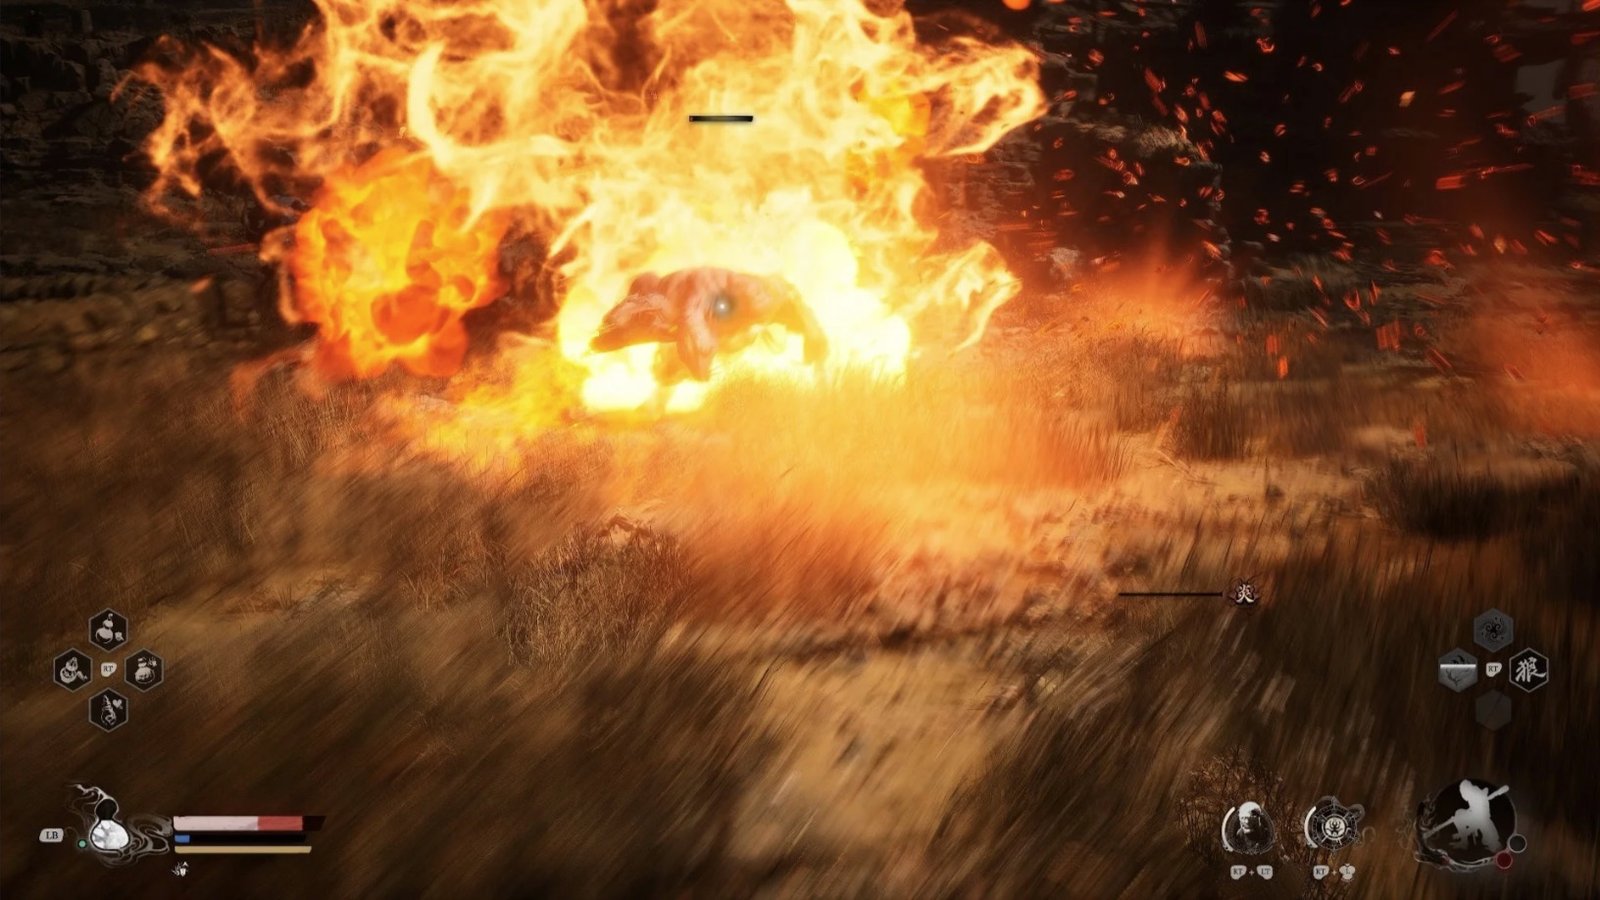
This is a fairly challenging fight. Lang-Li-Guhh-Baw has basic attacks like hand slaps, ground pounds, and spitting. He also has Electric attacks, similar to the Rat Governor.
Avoid standing in water when he uses Electric attacks to minimize damage.
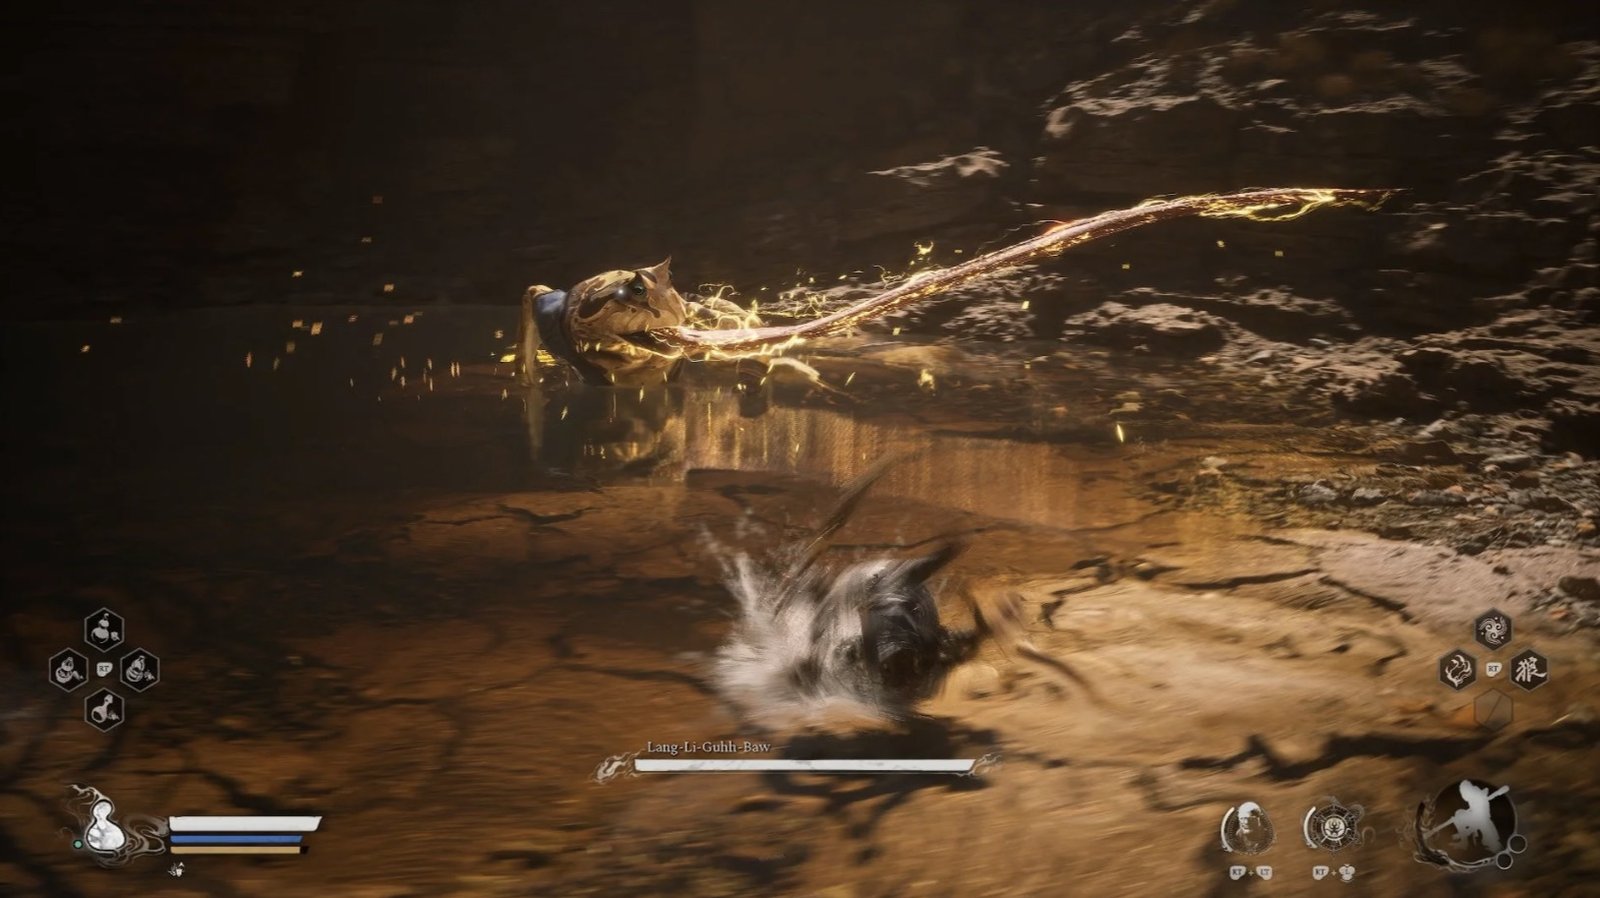
He has a dangerous attack where he shoots his tongue forward; pay attention and dodge to either side.
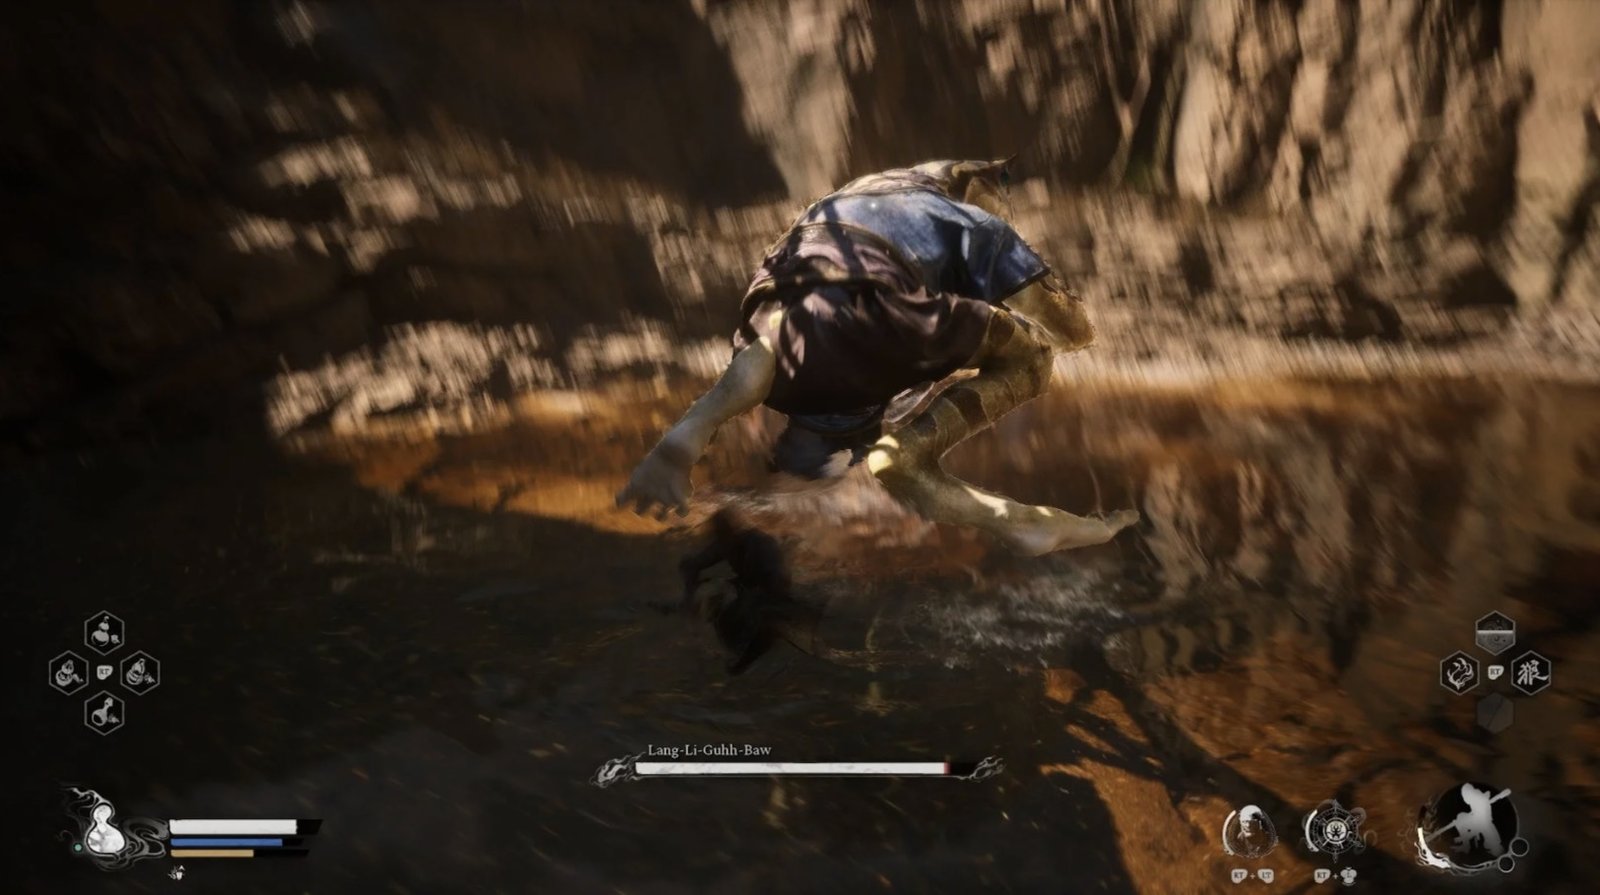
When he crosses his arms in front of his chest, he’s about to slam the ground; move away.
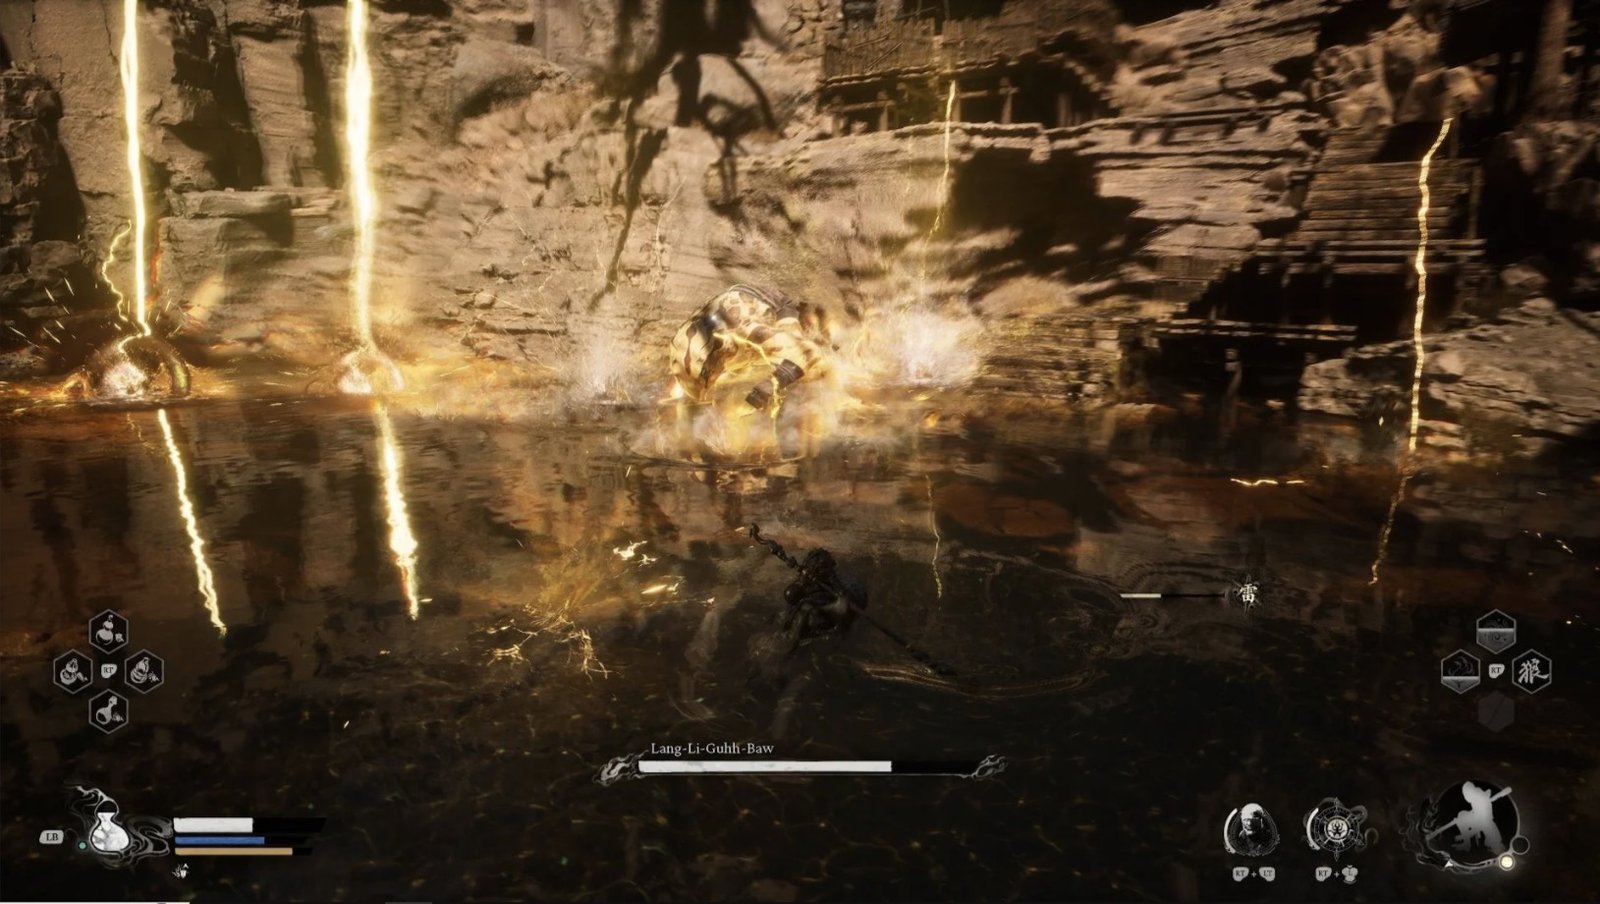
Utilize Cloud Step to move nimbly, avoid attacks, and use Immobilize to interrupt his Electric attacks.
If needed, use Shock-Quelling Powder (purchased at the Shrine) to reduce electrical damage.
After defeating Lang-Li-Guhh-Baw, you’ll receive the Evil Repelling Medicament formula.
Bring the formula back to Xu Dog, and he will be extremely grateful, rewarding you with 2 Evil Repelling Medicaments. More importantly, you’ll unlock the ability to craft consumables at Shrines. Now, you can craft various support elixirs from collected materials.
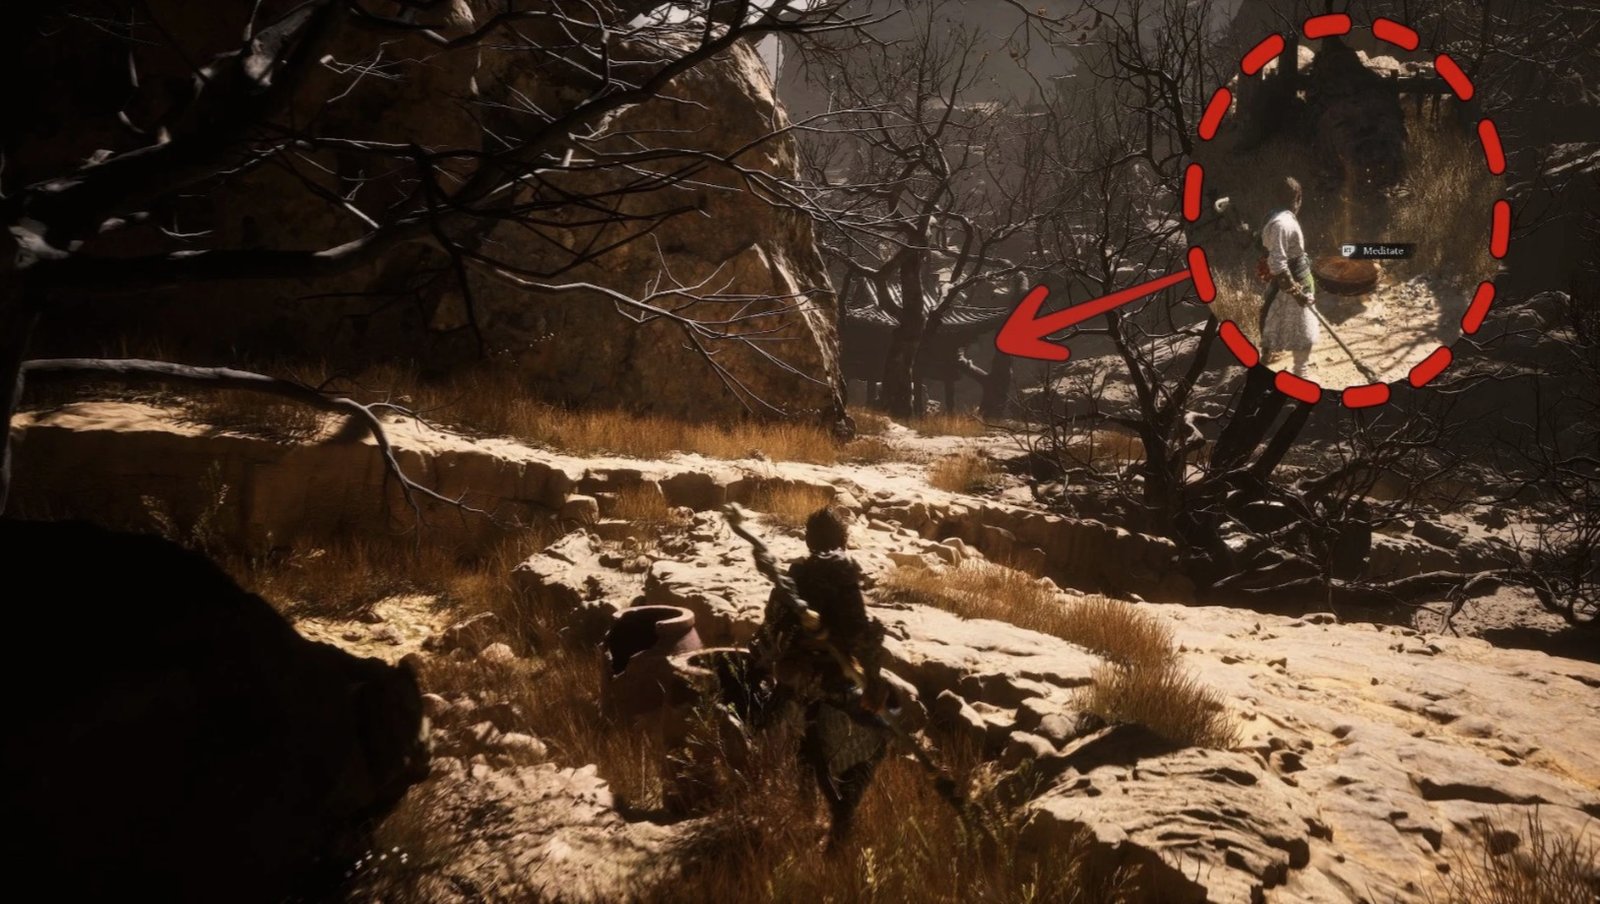
After completing the quest, go past the pit area, and you’ll find an elevated spot with an animal head statue. This is The Altar – a Meditation Spot that grants you a free Spark (skill) point.
Open Area
After completing Xu Dog’s side quest and exploring The Altar, return to the Village Entrance area. This time, we’ll venture into the open area, where new challenges and secrets await.
From the Shrine at the Village Entrance, head in the opposite direction of the village gate (the way you went to reach Xu Dog).
Passing the turtle-shaped pedestal, you’ll enter a large open space. Here, you’ll encounter a Rat Governor and a Rat Soldier. Employ similar tactics as before: use Immobilize to control the Rat Governor and focus on defeating them one at a time.

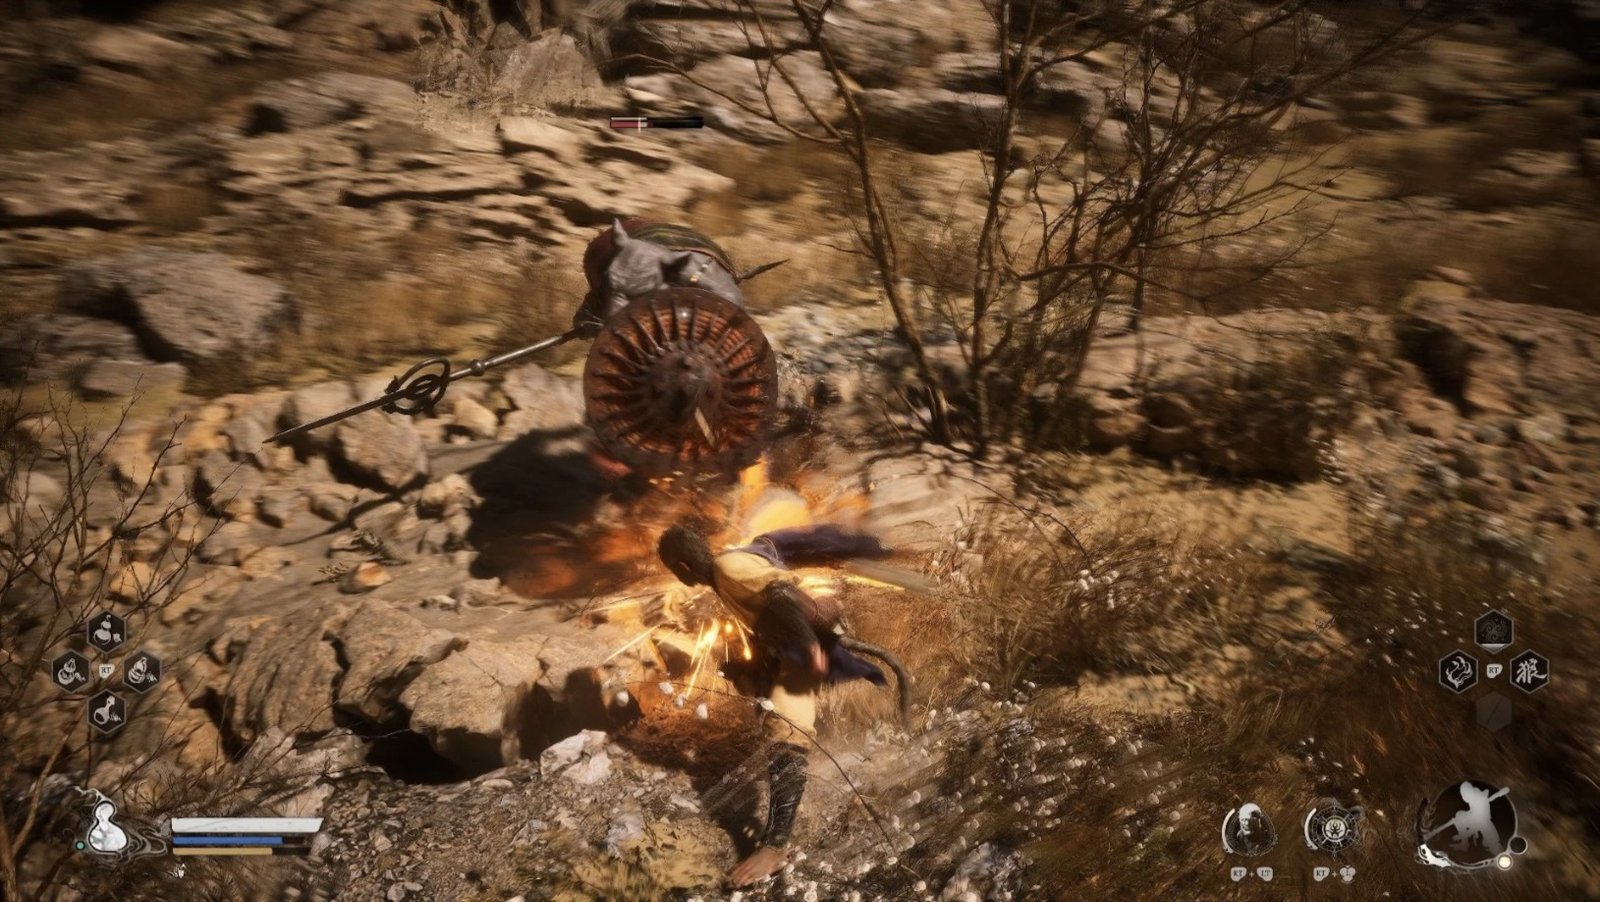
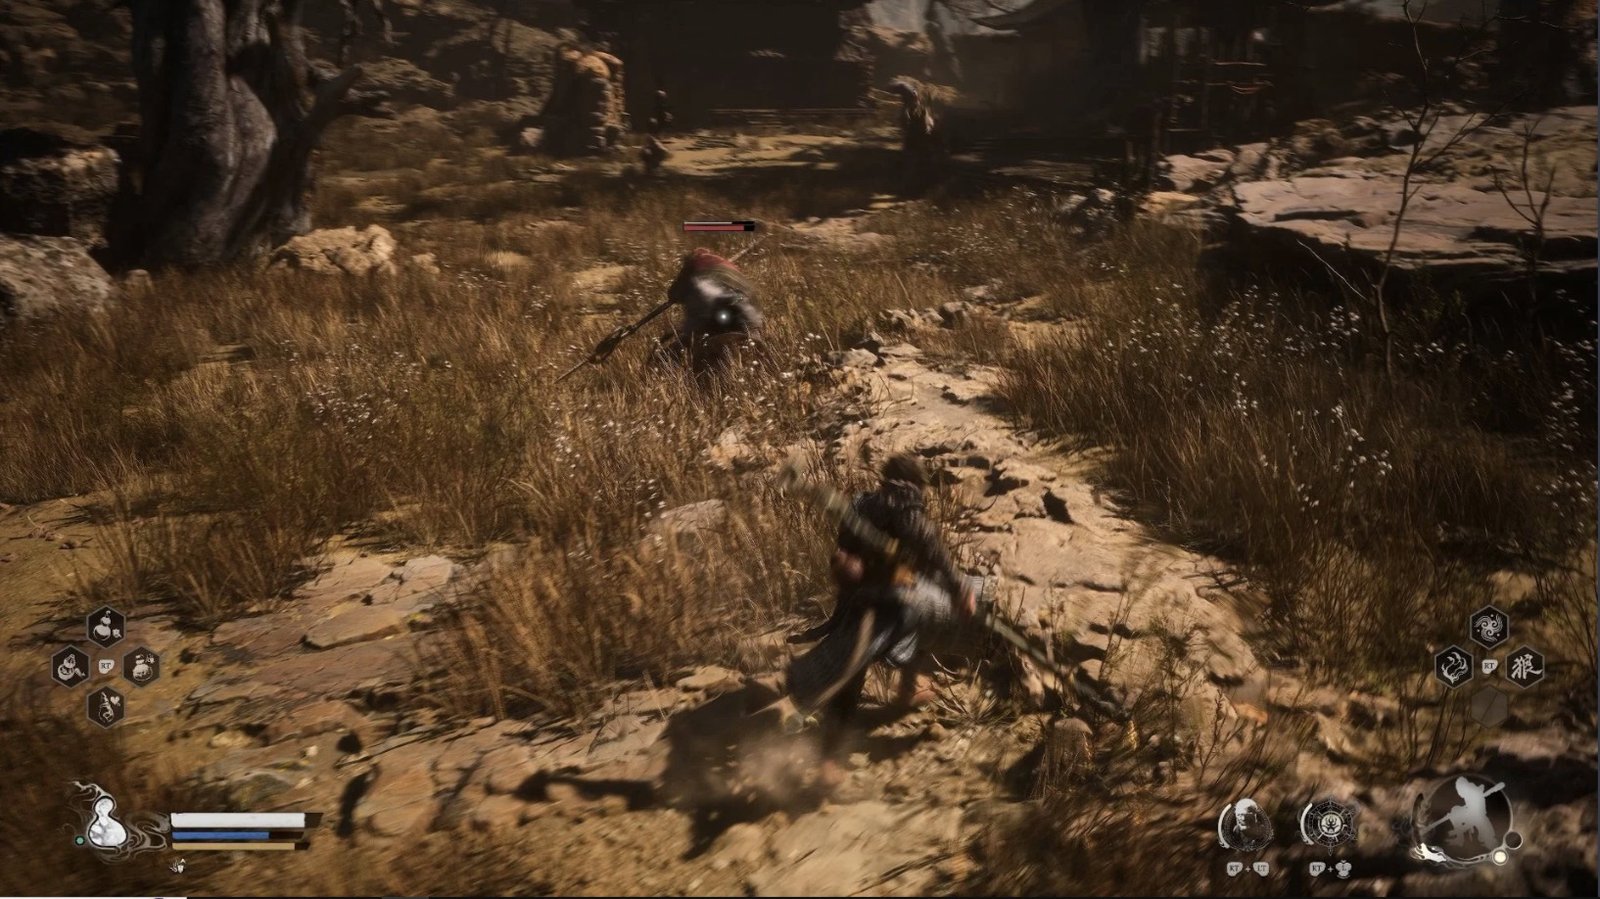
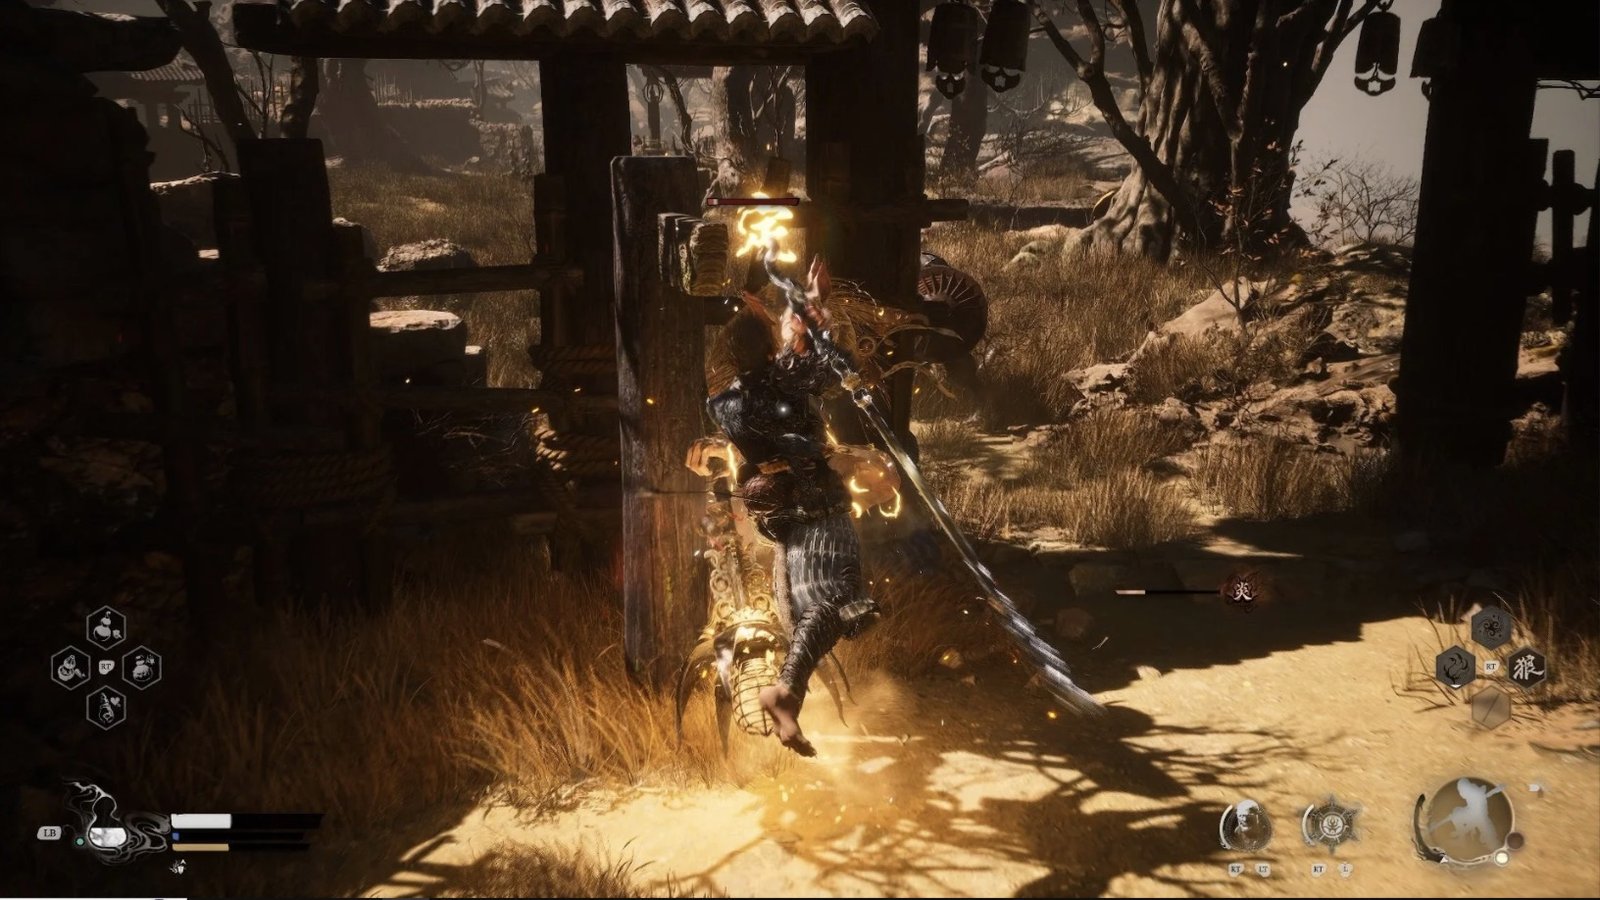
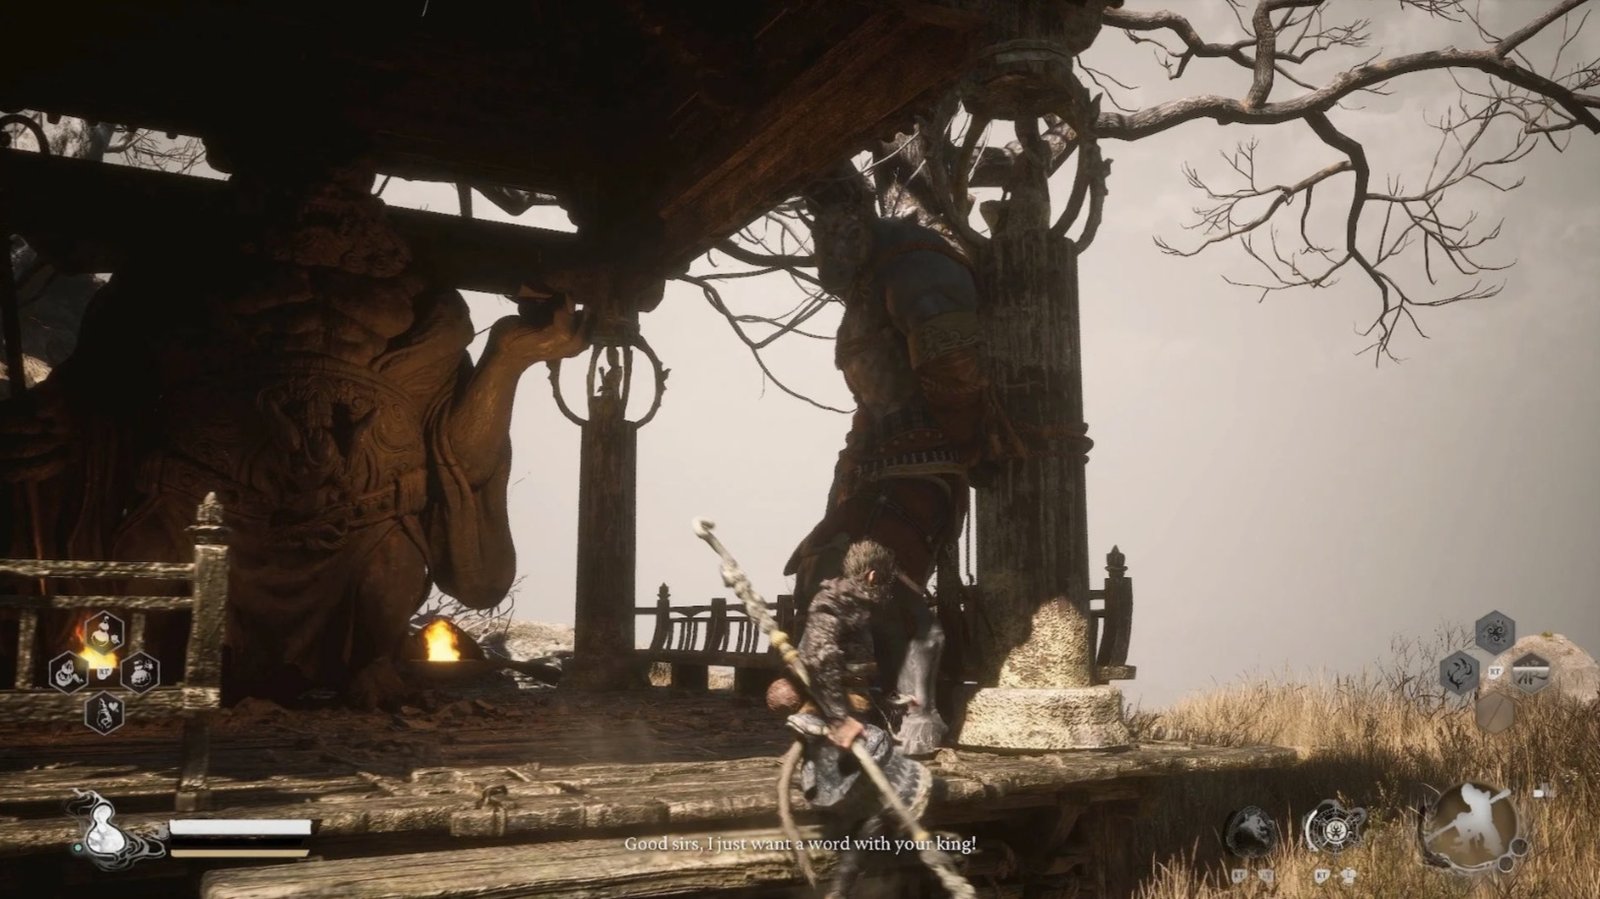
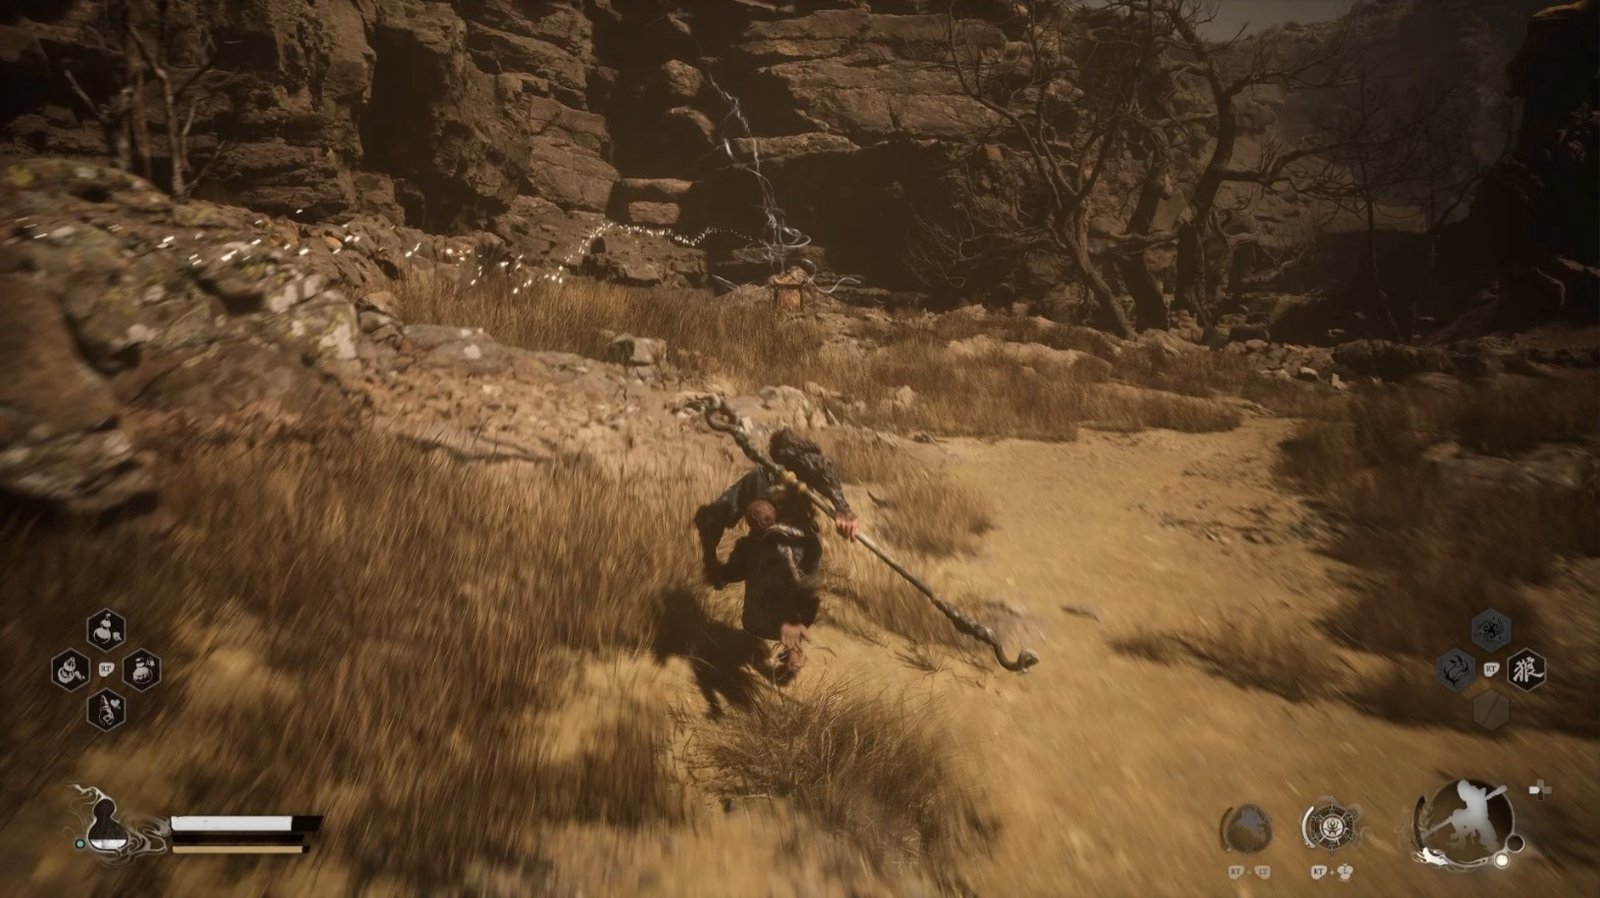
Proceeding forward, you’ll see a large gate on your right and a two-headed Rat Captain guarding it. This is a rather dangerous foe with a large blade and the ability to spew toxic fumes.
One of its heads will emit a thick fog, while the other will shoot fire. Stay away from the smoke, as it can explode upon contact with fire, causing massive damage. It can also imbue its blade with fire, making its attacks deal additional fire damage.
When it dies, its body will explode, causing area-of-effect damage. Stay away from it when its health is low. Immobilize and Cloud Step remain two useful skills for dealing with it. Currently, you don’t need to go through this large gate. Ignore it for now and continue exploring.
Opposite the gate, you’ll see a sprawling valley. This is where you need to go. However, be cautious of the Rat Archers on the high ledges.
Use Cloud Step to move swiftly and avoid the Rat Archers’ fire. Eliminate them one by one, from higher ground to lower. Don’t forget to destroy flammable objects to remove their hiding spots.
After clearing the area, look around to find ways to climb onto the rooftops. You might find Wisps to absorb, granting you Will points.
On the far side of the valley, you’ll see a small hut, separate from the other houses. Approach it and interact with the door. You’ll hear whispering from inside – this is a small secret related to the Third Prince. Keep talking to the mysterious voice. After you’ve eliminated all Rat Captains in the area, they will thank you and reveal a clue about the Third Prince.
Go up the hill, checking the houses. One has a Rat Soldier waiting to ambush you in the back, and another Wisp inside. Higher up, past where the Rat Archers were, is a larger and open building with some Licorice.
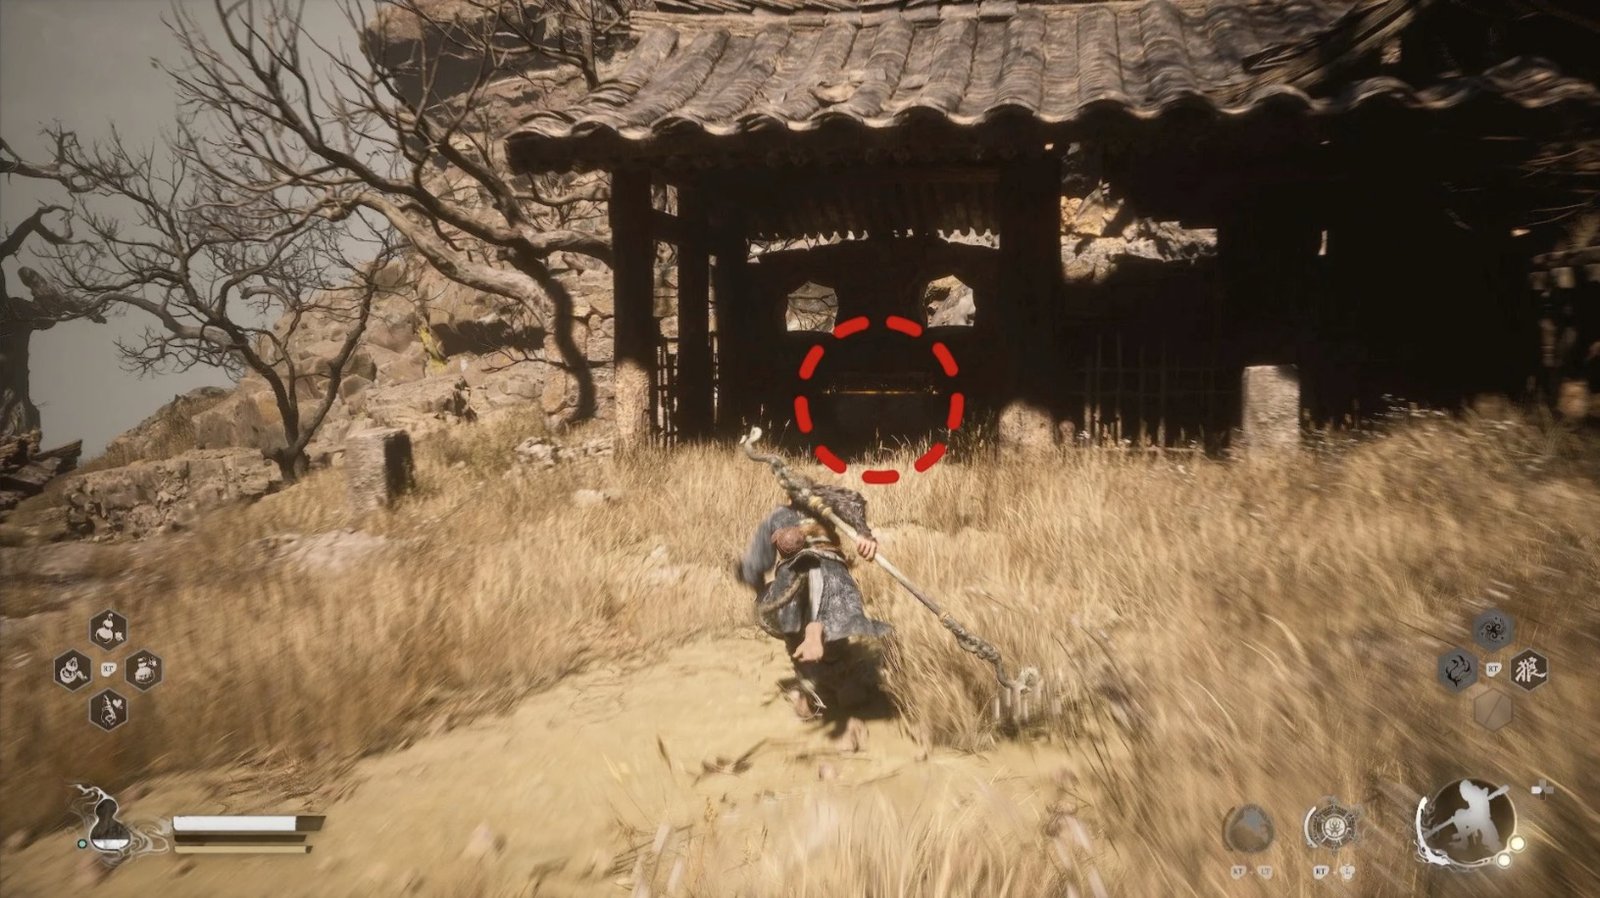
Continue climbing to the top of the hill, and you’ll find a small house with a large chest inside. Open the chest to receive Blood of the Iron Bull, 1 Small Piece of Gold, and 4 Tiny Pieces of Gold. Don’t forget to circle behind the house to collect a Fragrant Jade Flower.
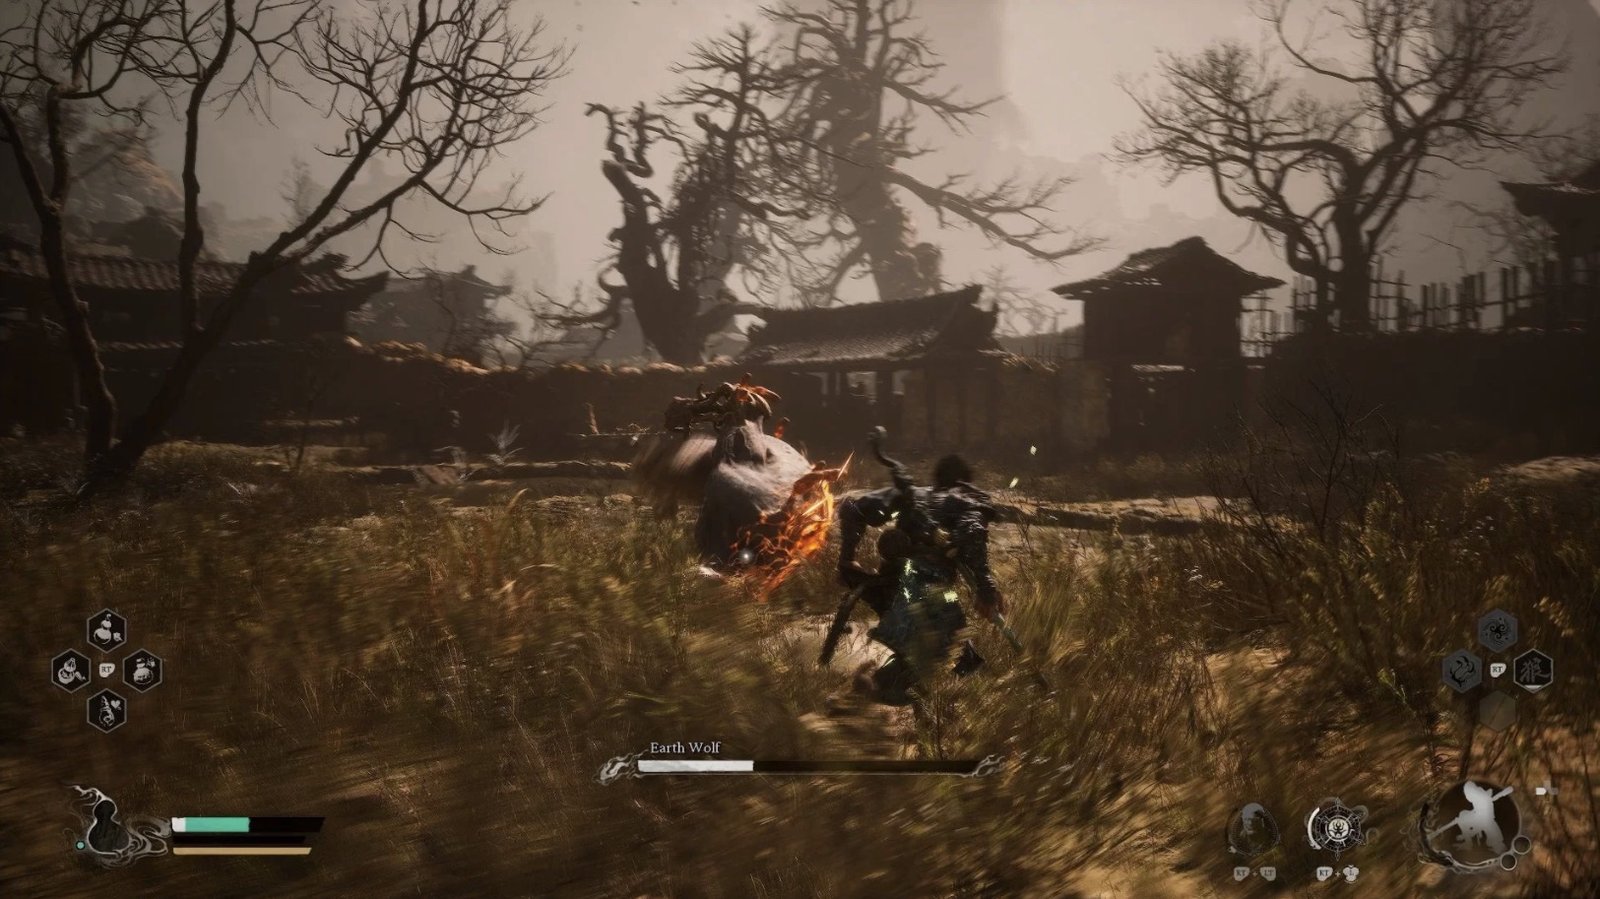
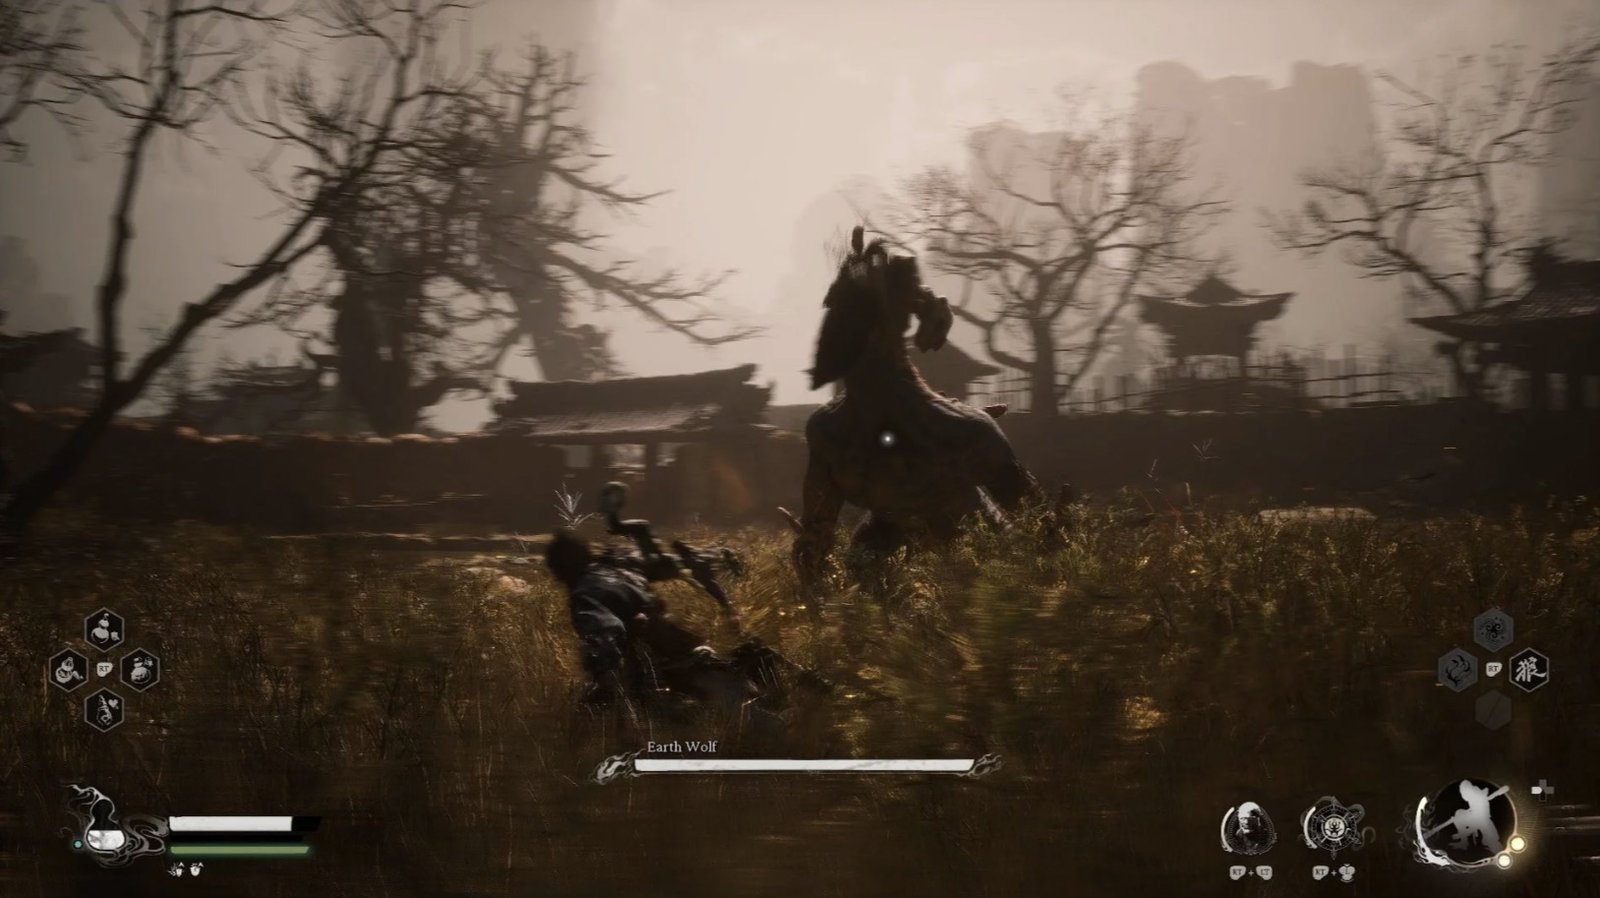
Earth Wolf – Yaoguai Chief
From the location of the mysterious hut (where you heard the whispering), head towards the gate with a Rat Governor and a Rat Archer on the roofs, you will open a gate. Go through it, and you will find the Earth Wolf prowling in an open, circular area. Before stepping into the battle, ensure your health and magic are fully replenished. Check your consumables and equipment. The Earth Wolf is a fairly agile boss with powerful attacks. Here are some of its main attacks:
Charge: It will frequently charge at you, attempting to ram you with its head. Pay attention to its lowered-head posture and use Cloud Step to dodge to the side.
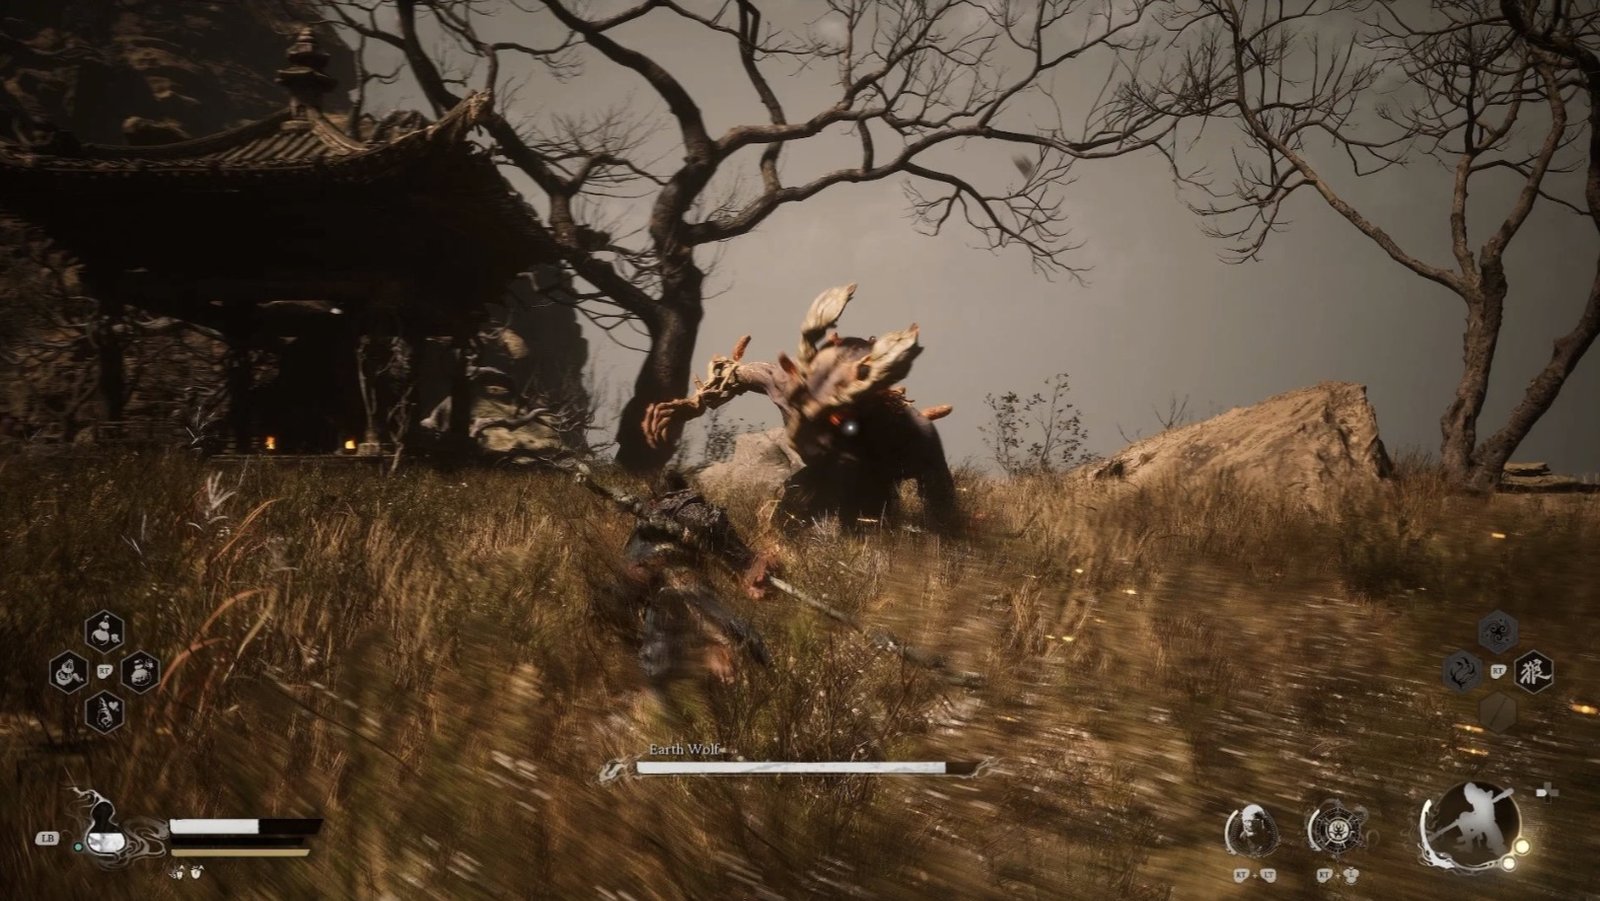
Claw: It can caw with its front paws, either in quick succession or individually.
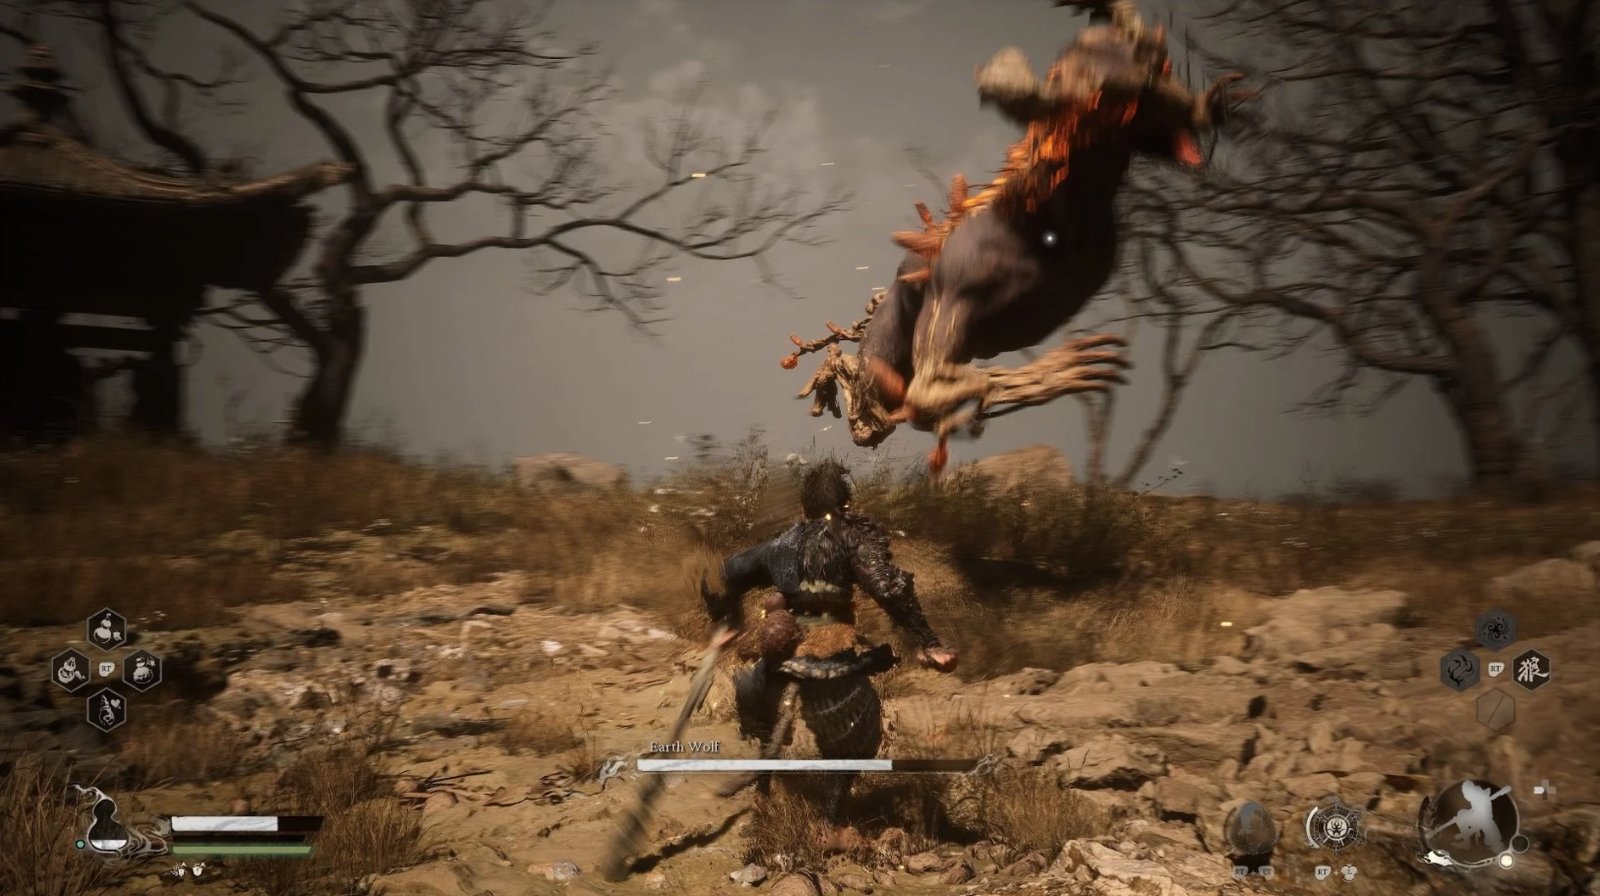
Leap: It will leap into the air and land at your location. Keep moving to avoid being crushed.
Roll: After leaping or a failed charge, it may roll across the ground. Stay clear to avoid being hit.
Belly Flop: When it stands on its hind legs and swings its arms, it’s a sign of an impending Belly Flop. It will slam its belly onto the ground, creating a shockwave. Use Immobilize to interrupt this attack or move far away.
Weakness: Its belly is its weak point; focus your attacks there when the opportunity arises, especially after a failed Belly Flop.
After defeating the Earth Wolf, you’ll receive the Earth Wolf Spirit – a very useful spirit that allows you to summon the Earth Wolf in combat.
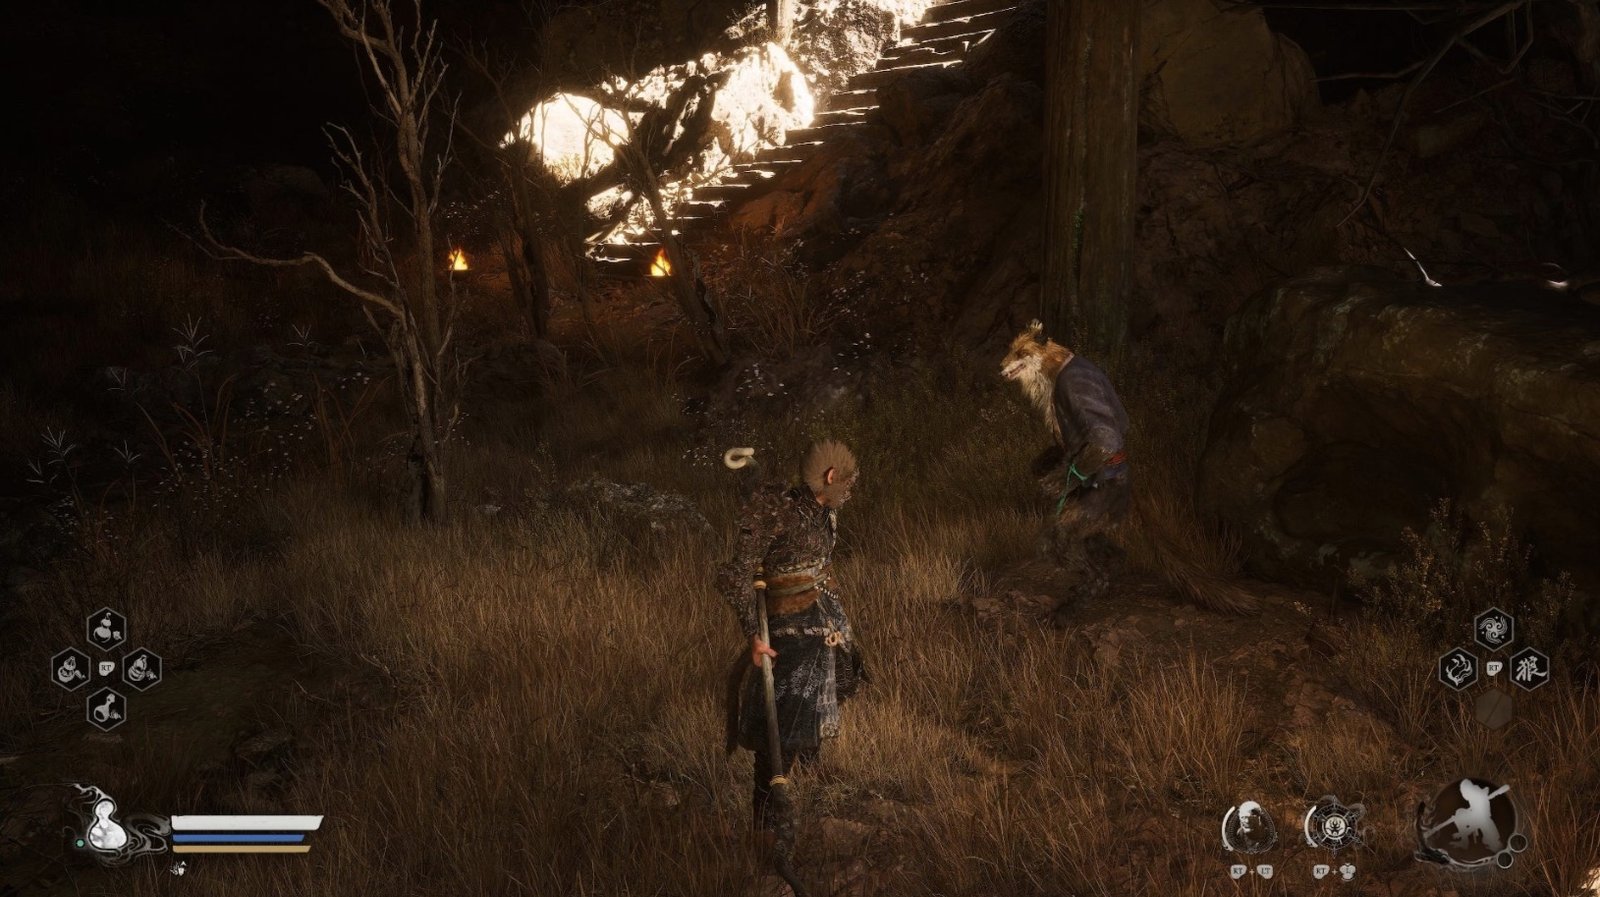
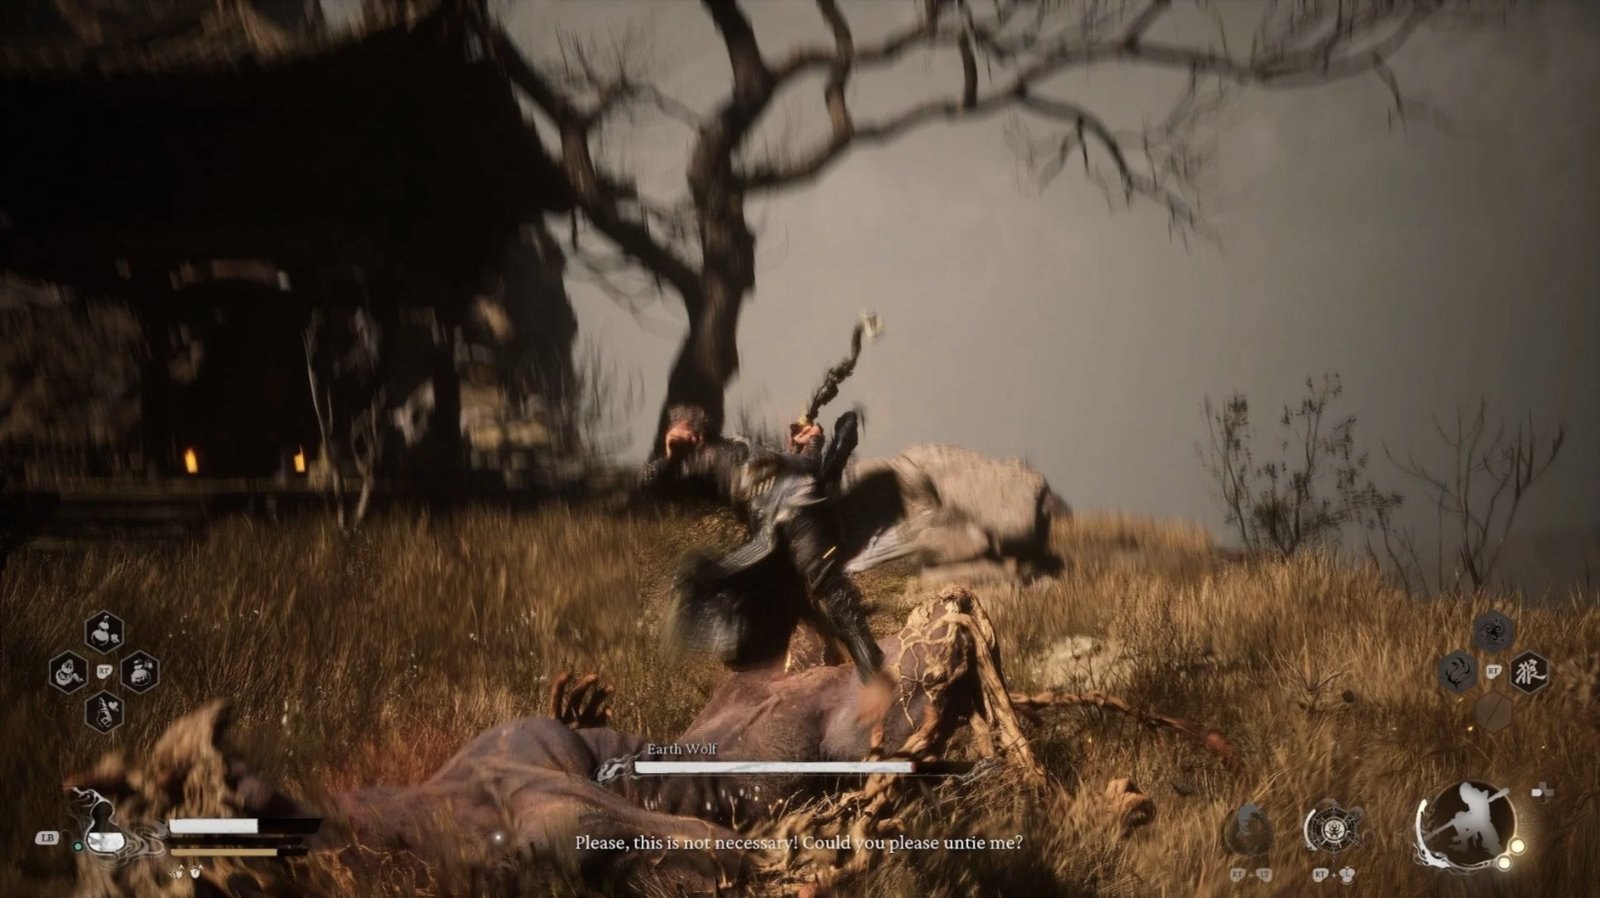
After subduing the Earth Wolf, proceed to the altar with the tiger statue nearby. You’ll meet Horse Guai again – the one you may have encountered at Guanyin Temple in Chapter 1. Talk to him to update the side quest.
Open the nearby gate to create a shortcut back to the Village Entrance.
Conveniently, all the Rat Archers on the village gate have jumped down. Defeat them to make this area safer. You can also absorb a Rat Archer Spirit from a special Rat Archer with blue flames.
Defeating the Earth Wolf is a major step in your conquest of Sandgate Village. Prepare for the next challenge!
King of Flowing Sands and Second Rat Prince – Yaoguai Chief
Having defeated the Earth Wolf and rescued Horse Guai, you now face the next two bosses: the King of Flowing Sands and the Second Rat Prince.
From Horse Guai’s location, go through the gate you unlocked earlier, returning you to the area near the Village Entrance. Head towards the large gate previously guarded by the two-headed Rat Captain (opposite the valley). Passing through this gate, you’ll enter a large arena where the battle against the two rat bosses takes place.
Before entering the battle, ensure your health and magic are fully replenished. Check your consumables and equipment.
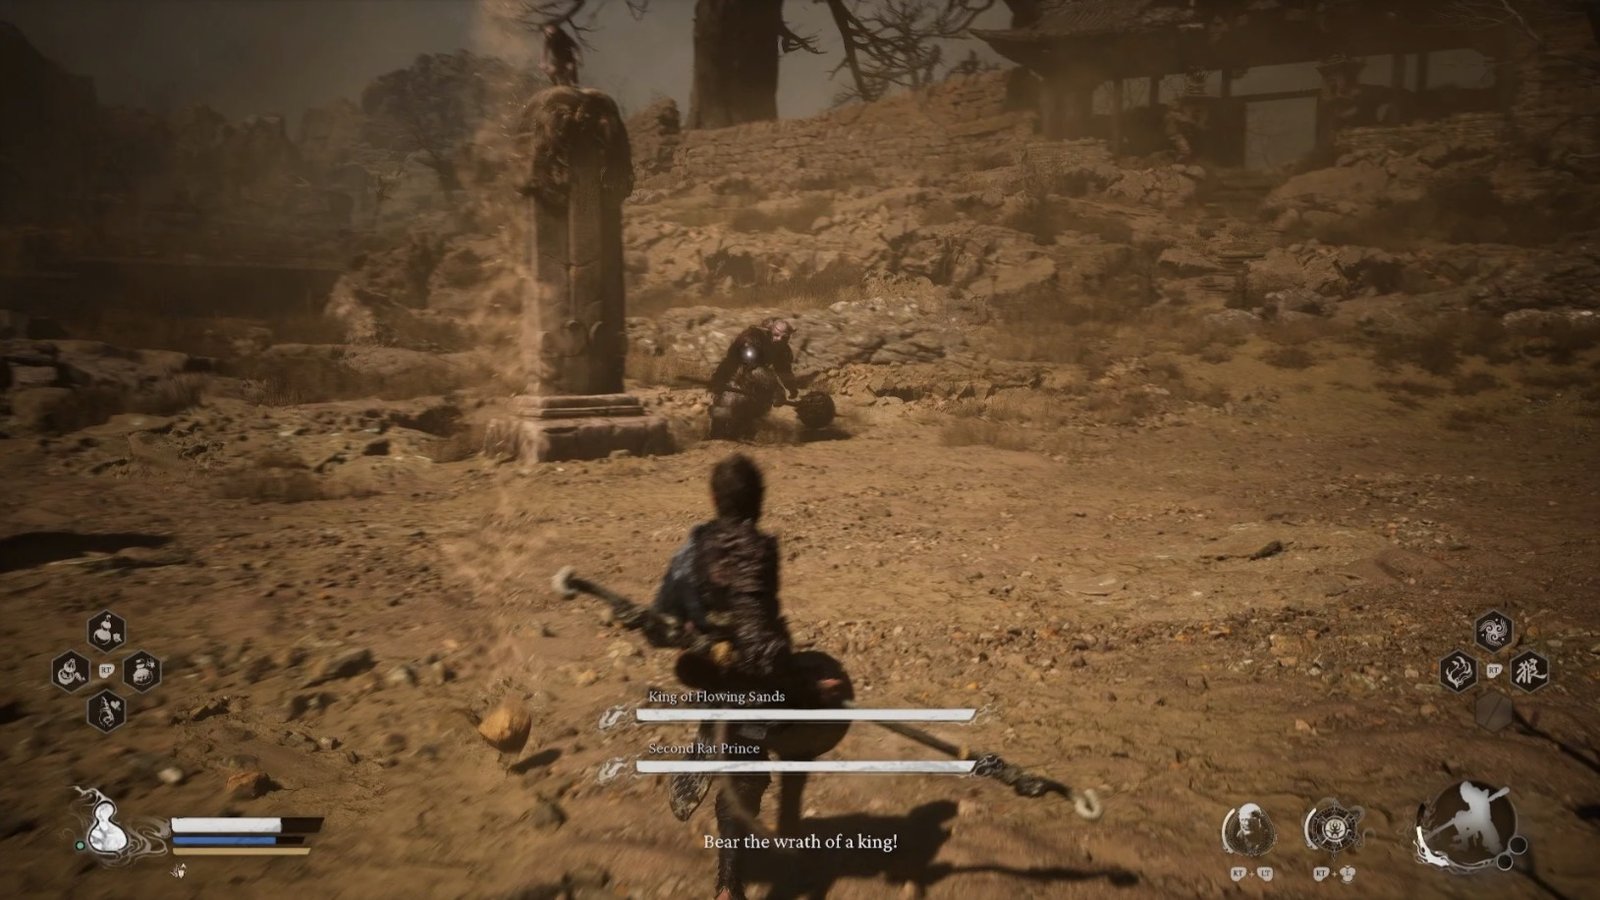
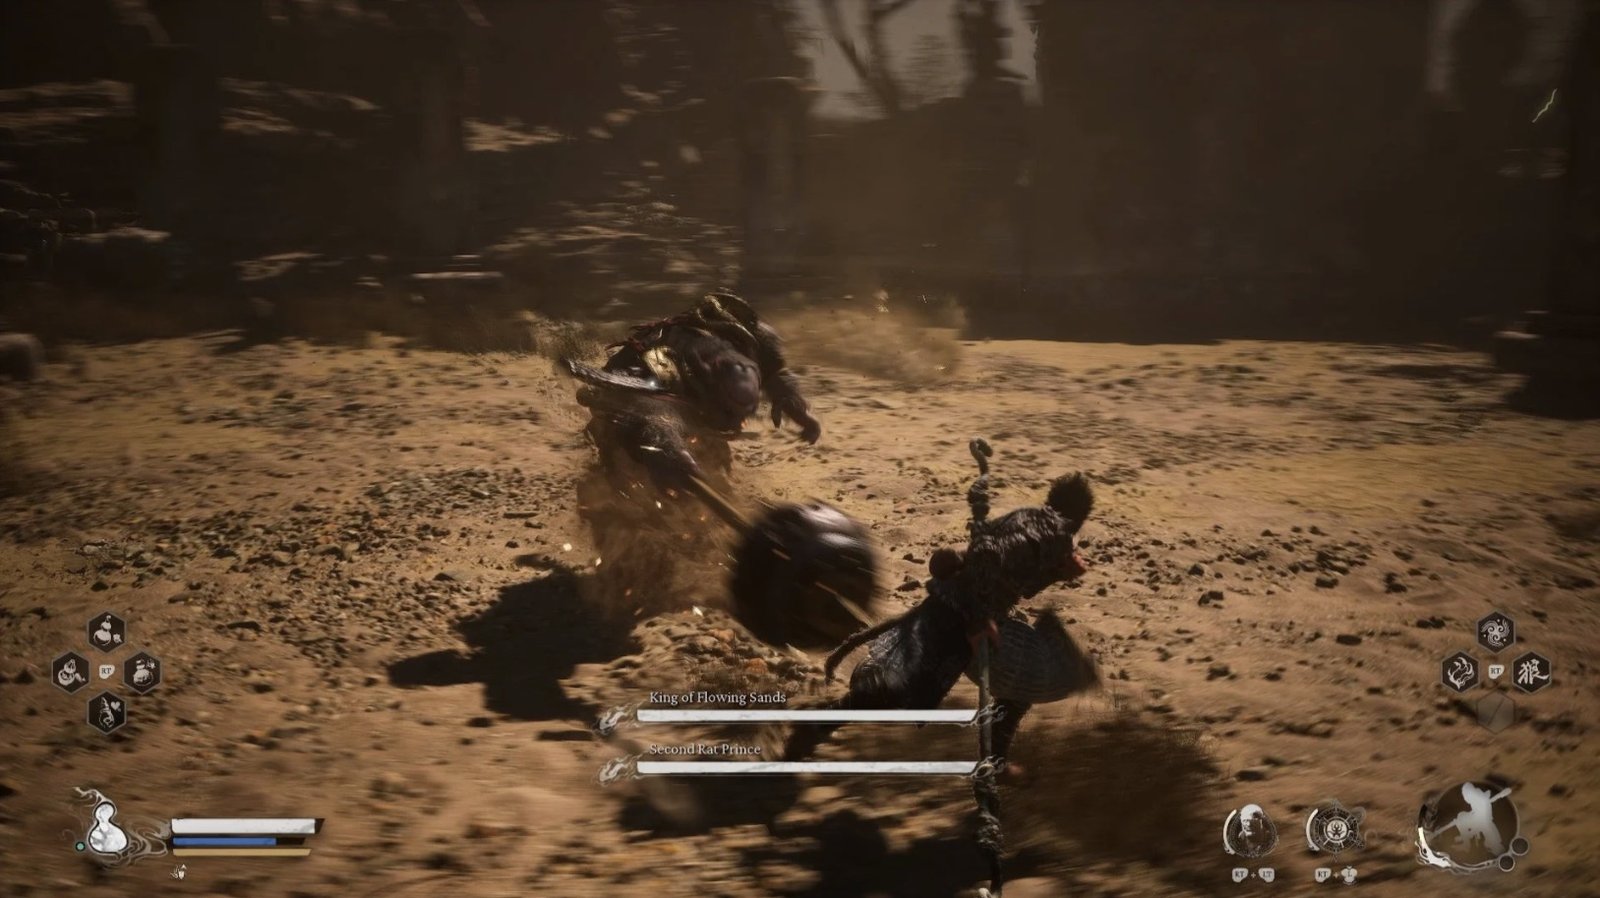
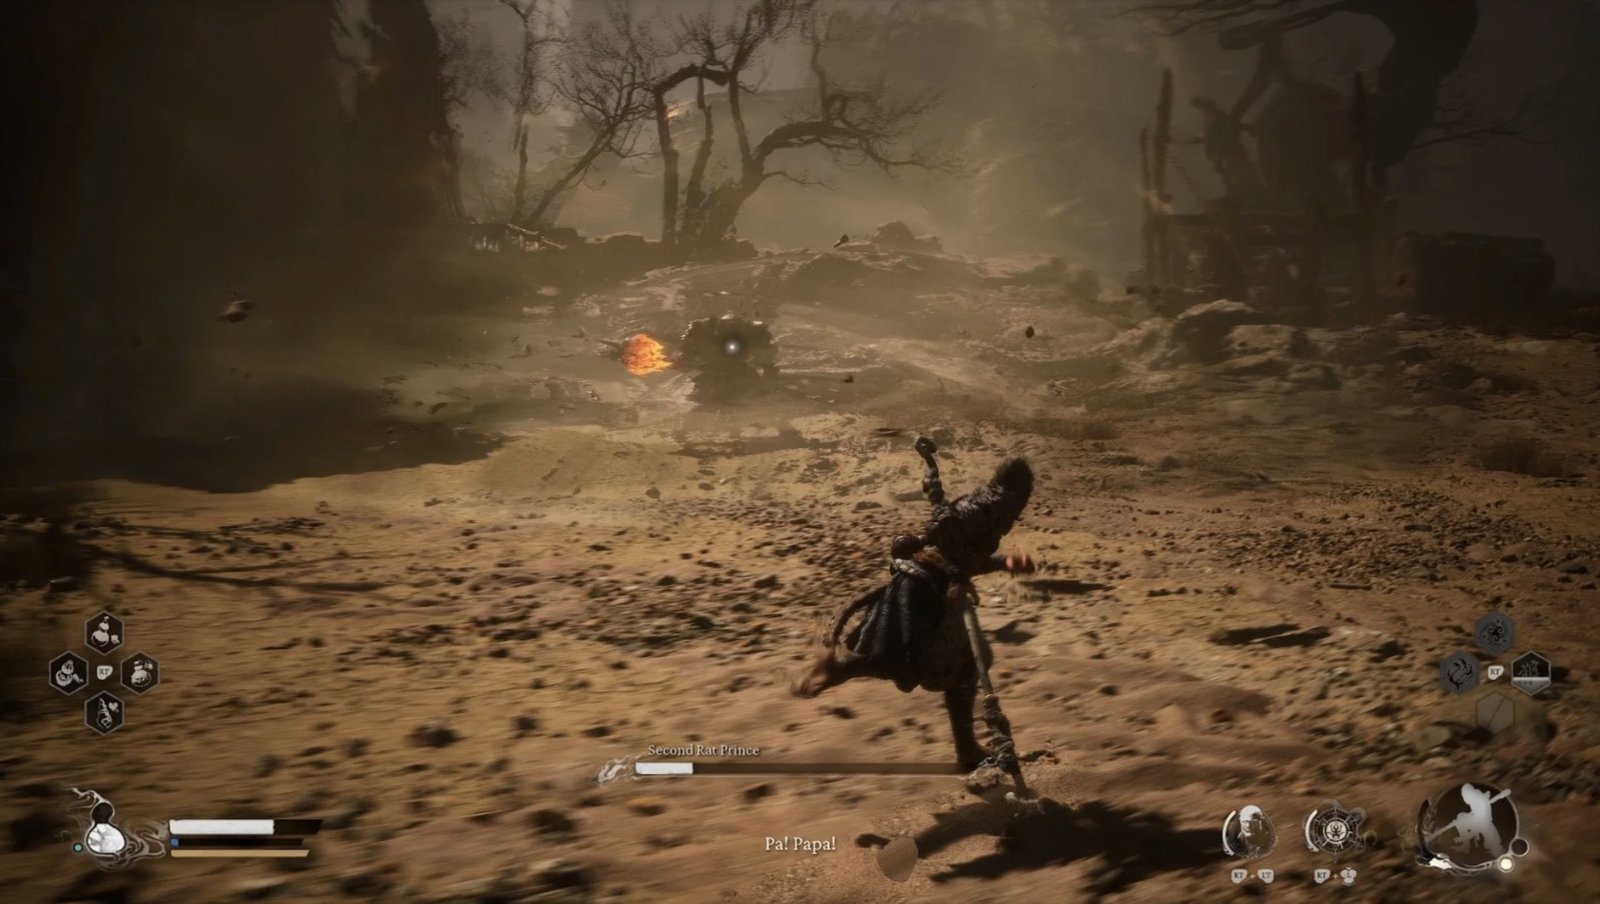
This is a rather unique battle; you’ll face two enemies simultaneously. However, you only need to defeat the Second Rat Prince to win the battle.
This old rat is quite weak and mainly moves around, throwing rocks from a distance. He can also burrow underground to move.
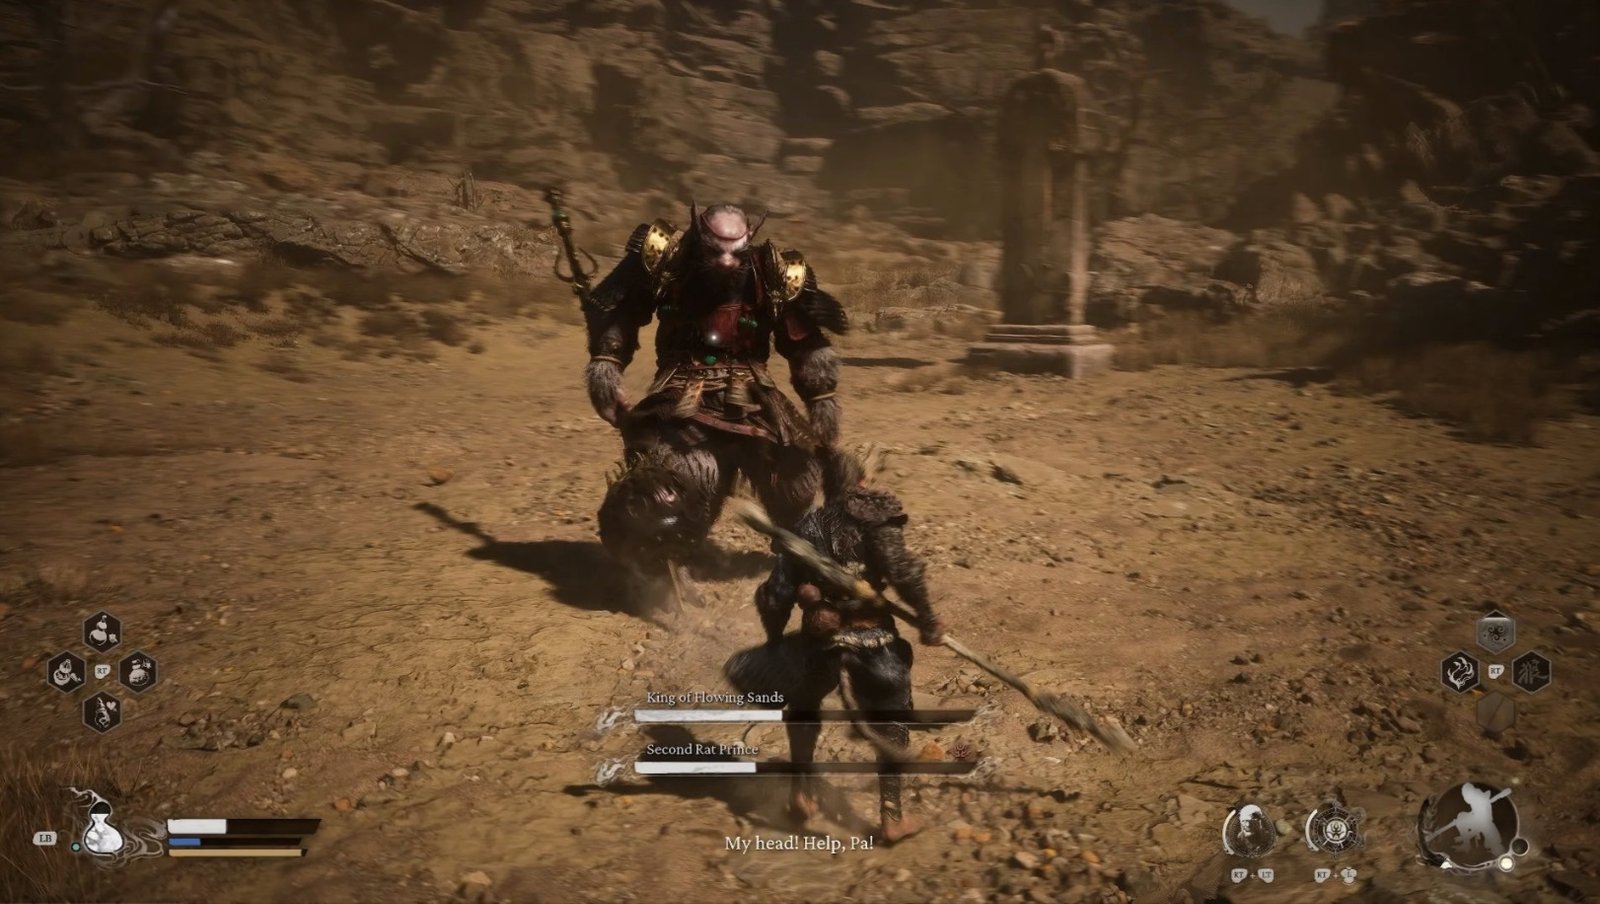
This is the real threat. He is large, aggressive, and equipped with a giant spiked mace. His attacks are very powerful and can knock you into the air.
Concentrate your attacks on the Second Rat Prince as he is the primary target.
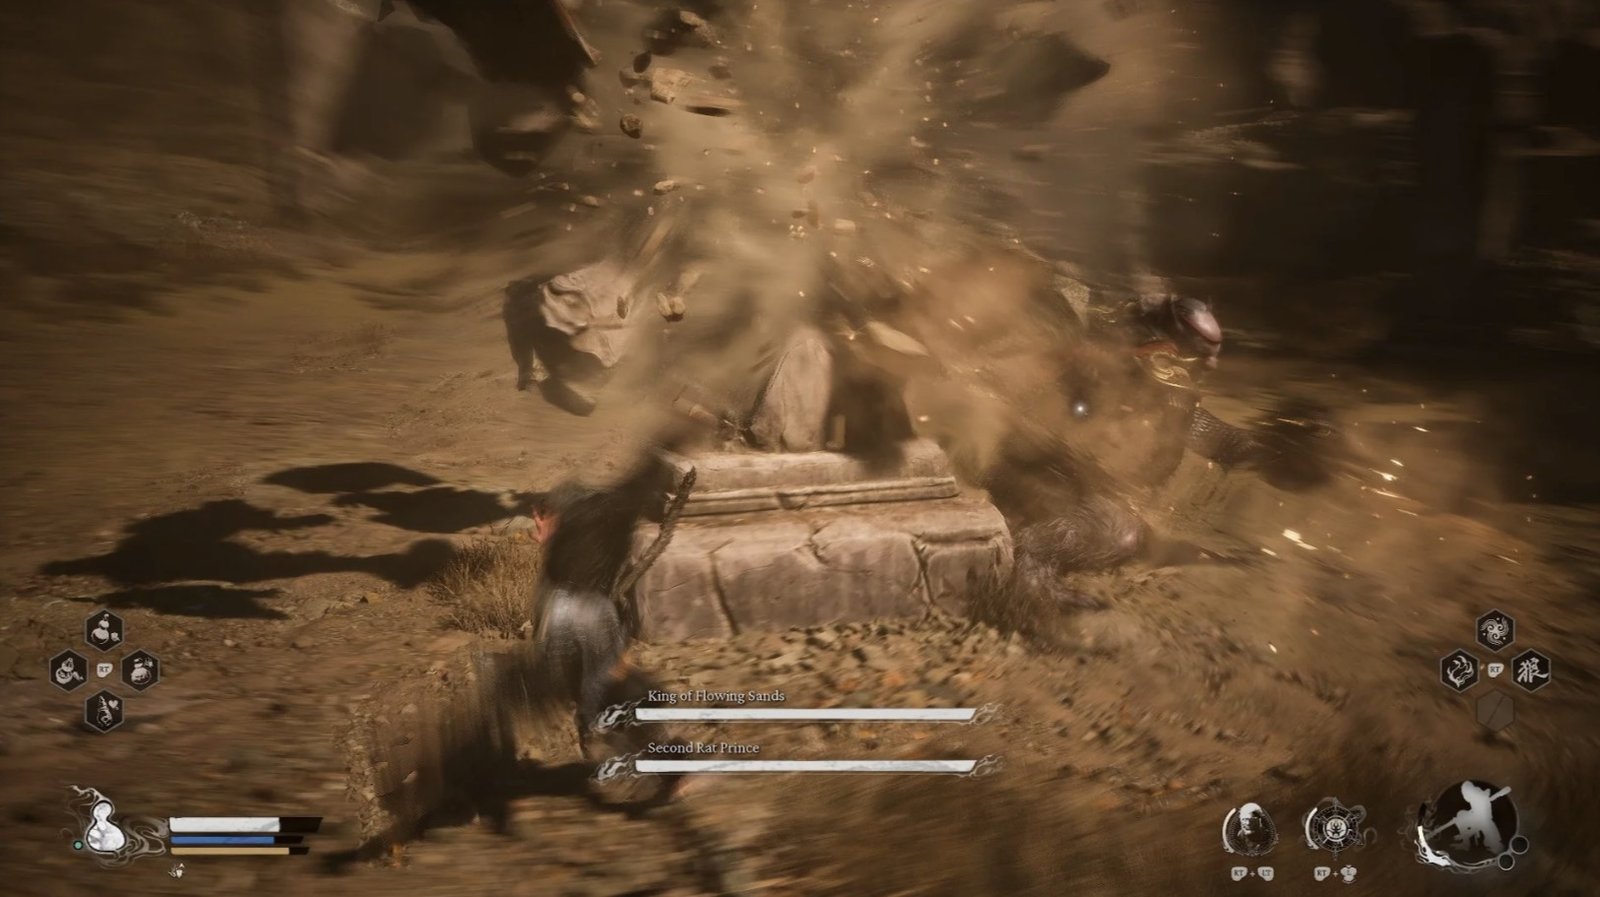
The arena has five large stone pillars. You can use these pillars to block the Second Rat Prince’s path and avoid his attacks.
When the Second Rat Prince attacks, he can destroy these pillars. While dangerous, this can also be advantageous. When a pillar is destroyed, if the King of Flowing Sands is standing on it, he will fall and become stunned, creating an opening for you to attack.
Beware of the Second Rat Prince’s Attacks
Mace Slam: He frequently slams his mace on the ground, creating a shockwave. Jump or use Cloud Step to avoid it.
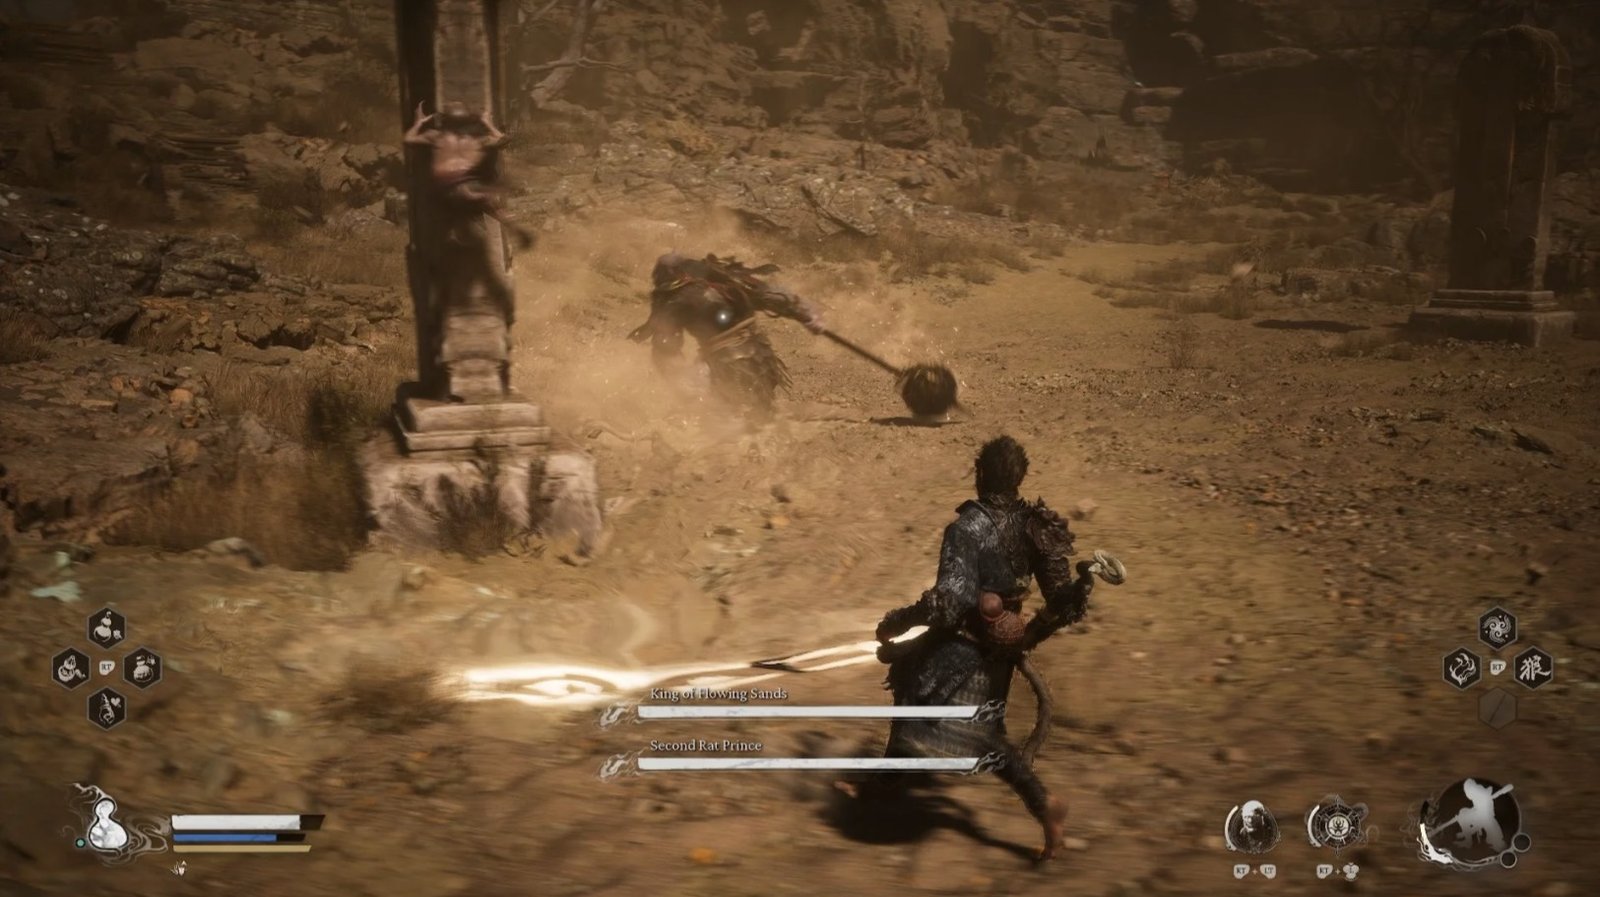
Mace Spin: He’ll spin his mace around, knocking away anyone nearby. Maintain a safe distance.
Mace Throw: He can throw his mace at you, then leap to retrieve it. Use Cloud Step to dodge to the side.
You can choose to defeat the King of Flowing Sands first.
How to Defeat the King of Flowing Sands
As mentioned, the Second Rat Prince can destroy the stone pillars with his attacks. Lure him near the pillars and let him destroy them. When the King of Flowing Sands falls from a pillar, he’ll be stunned. This is your chance to attack.
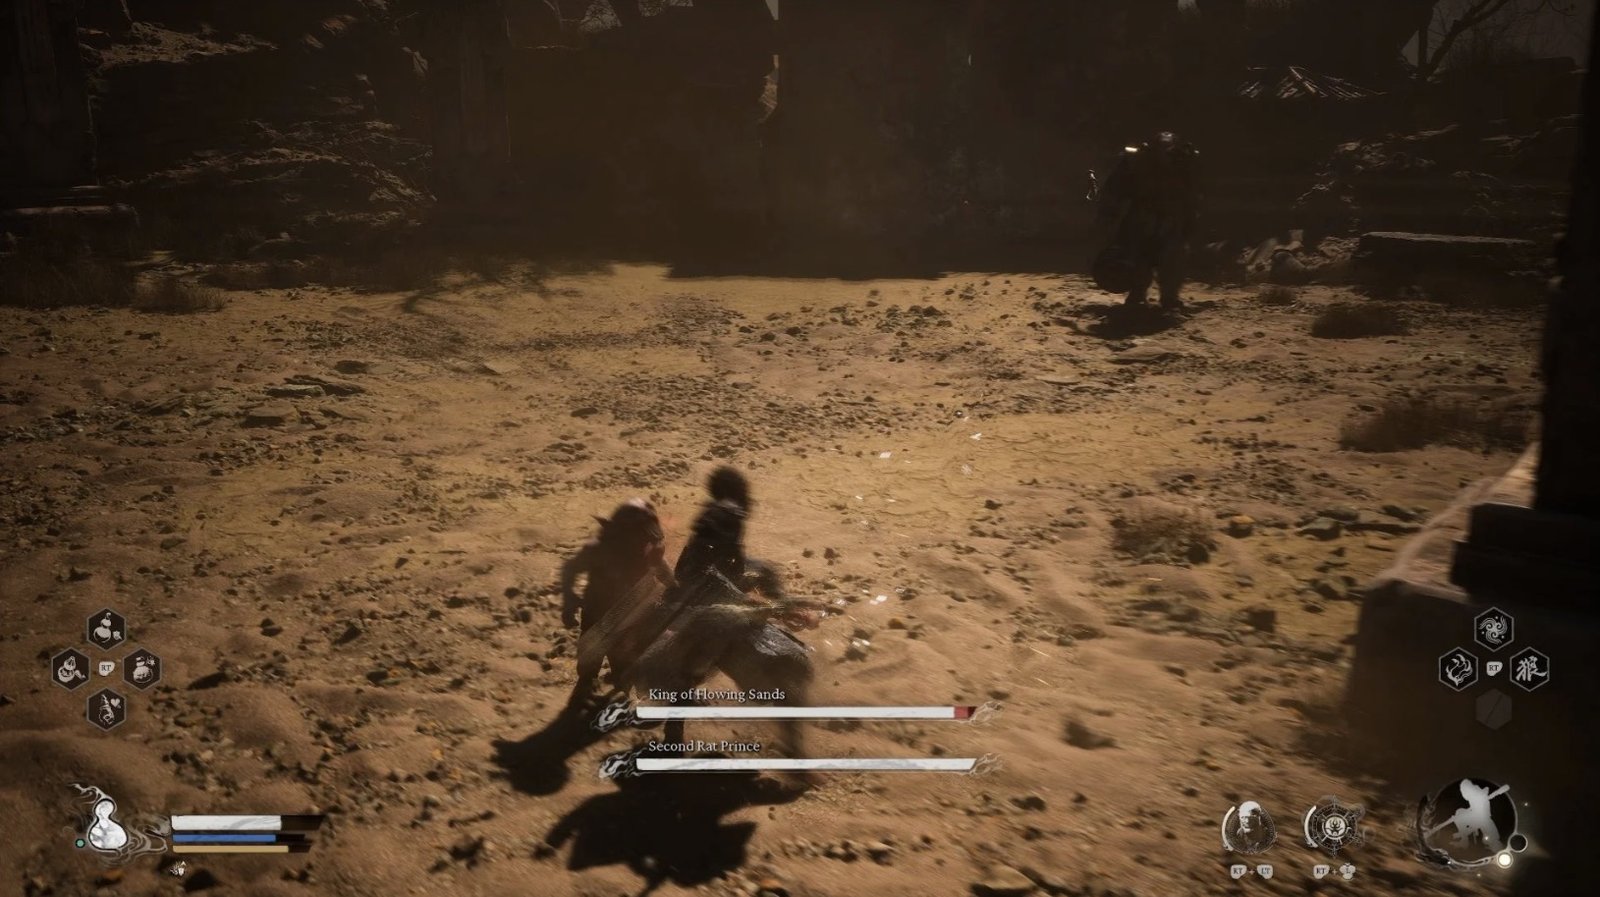
When the King of Flowing Sands burrows, pay attention to the moving mounds of earth. He’ll emerge after moving a short distance, giving you an opportunity to strike.
You can use Immobilize to stun the King of Flowing Sands when he’s above ground, creating an attack opening.
If you defeat the King of Flowing Sands first, the Second Rat Prince will become enraged, and his attacks will be faster and more powerful (buffed). However, you’ll be rewarded with the Second Rat Prince’s Spirit a very powerful spirit.
After defeating the Second Rat Prince (and the King of Flowing Sands if you chose to), you’ll receive the Pungent Flesh Chunk an important item for a later quest. If you killed the King, the Second Rat Prince will drop his Spirit.
Valley of Despair
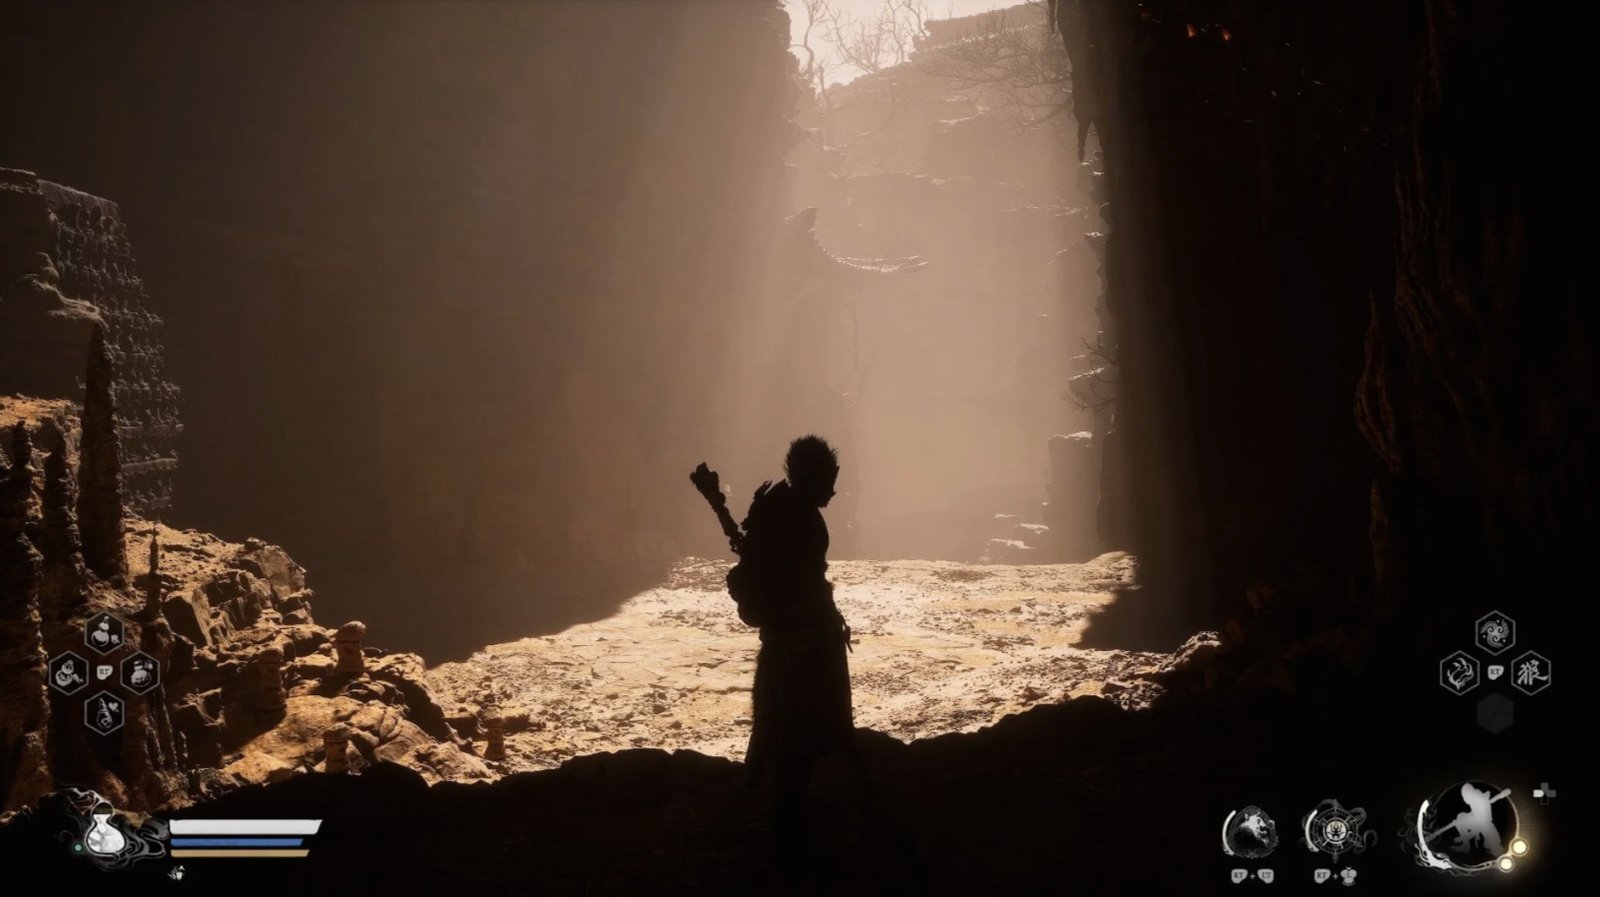
After defeating the King of Flowing Sands and the Second Rat Prince, you’ll find yourself at the entrance of the Valley of Despair.
As soon as you enter the Valley of Despair, you’ll see a new Shrine on the left side of the arena. Activate it to save your game and recover.
Look to the right of the Shrine, and you’ll see a small cave. Enter it, and you’ll encounter a Rat Soldier and a Rat Archer on guard. Defeat them.
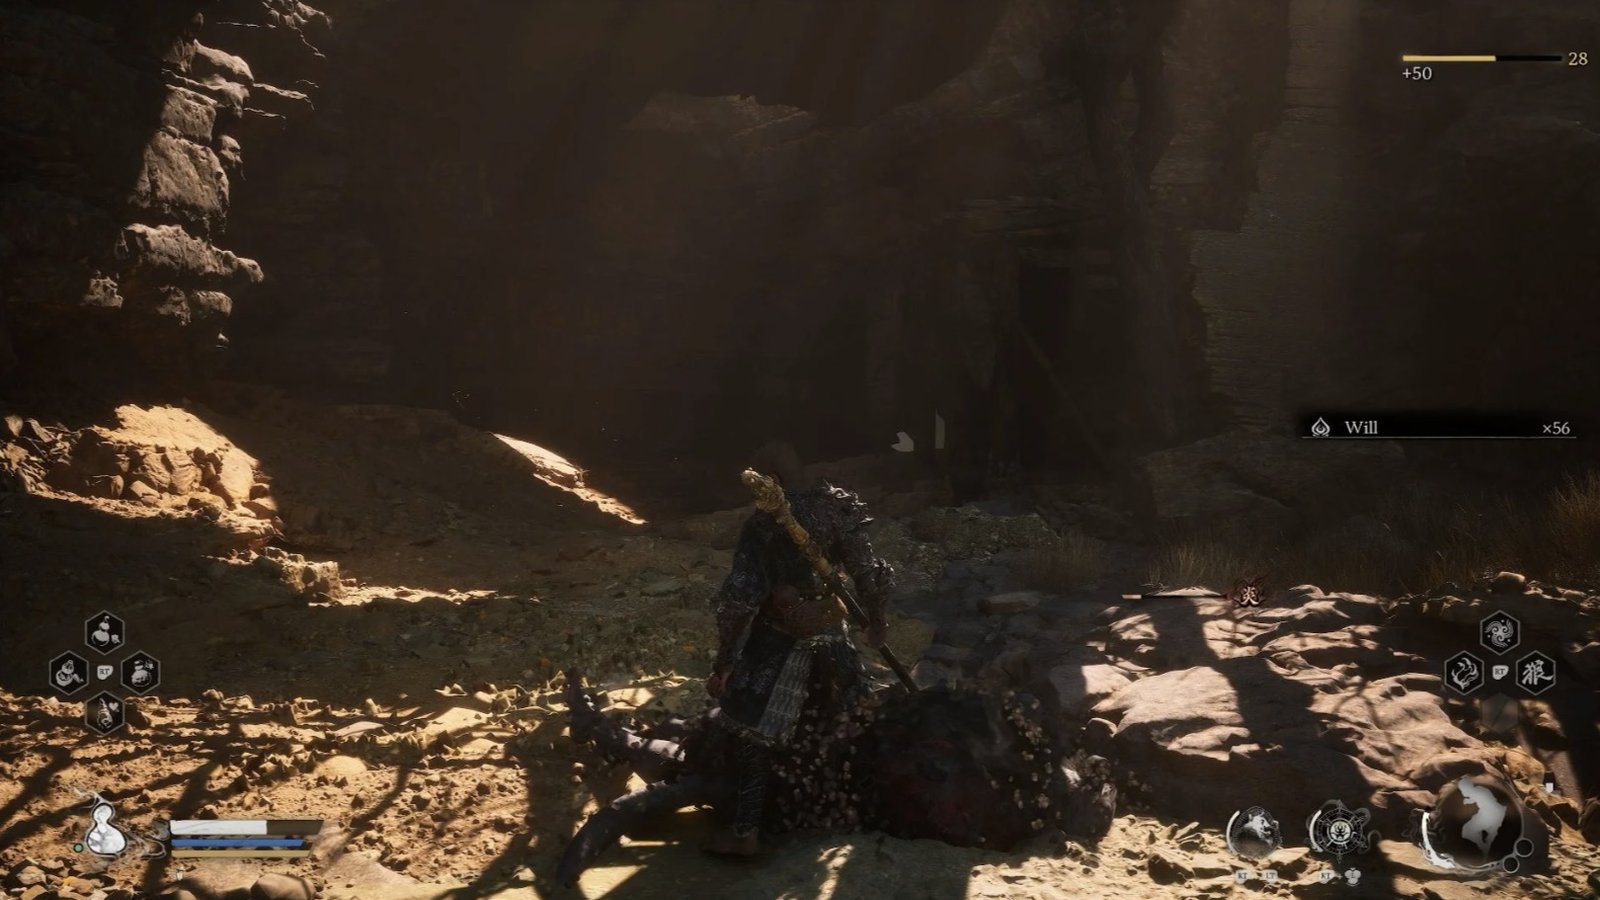
Go deeper into the cave, and you’ll reach a more spacious area with sunlight streaming in. Be cautious of Blazebones a new type of enemy that throws bones from above.
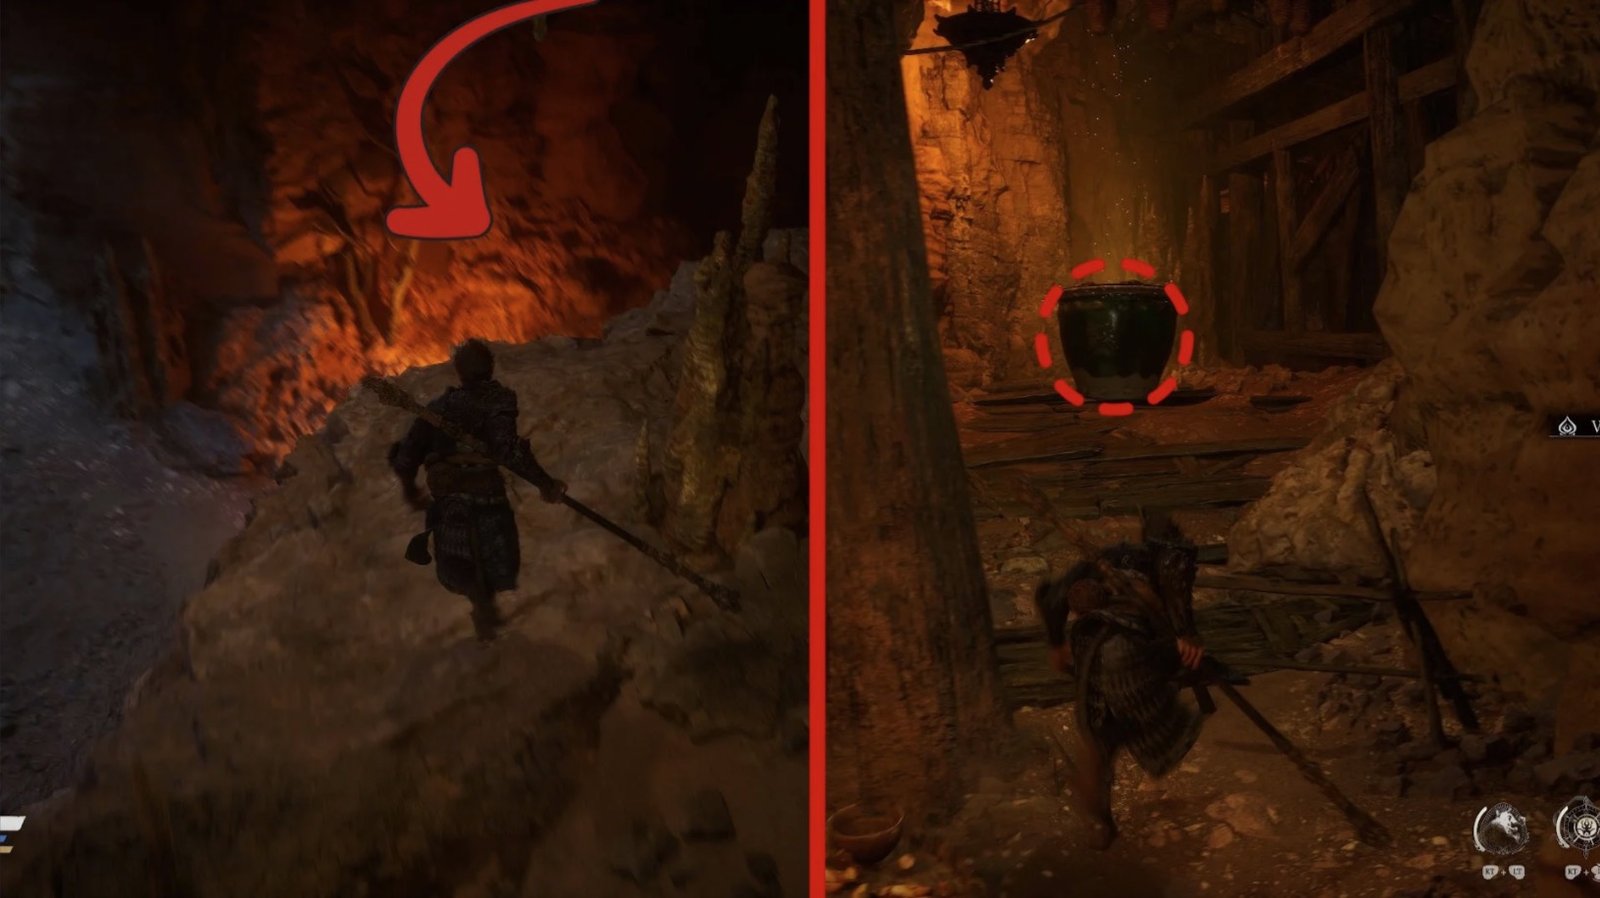
Head to the right, following the cliff. You’ll see a large door, but you can’t open it yet. Keep going, and you’ll find a wooden structure built on the cliffside. Find a way to climb it by going down to the ledge below and then circling back up. At the top, you’ll discover a jar containing an Awaken Wine Worm an item used to upgrade your Gourd.
After obtaining the Awaken Wine Worm, descend and locate a narrow crevice nearby. Go through the crevice, and you’ll reach another area with a large stone slab bridging the gap. You can collect Fire Bellflowers along the way.
If the King of Flowing Sands survived your previous encounter, when you approach the area with the large stone slab, he will appear and summon the First Prince of Flowing Sands to attack you. If the King of Flowing Sands is already dead, you can skip this step and proceed to section First Prince of Flowing Sands – Yaoguai Chief.
First Prince of Flowing Sands – Yaoguai Chief

This is the final boss of Sandgate Village and also the most powerful.
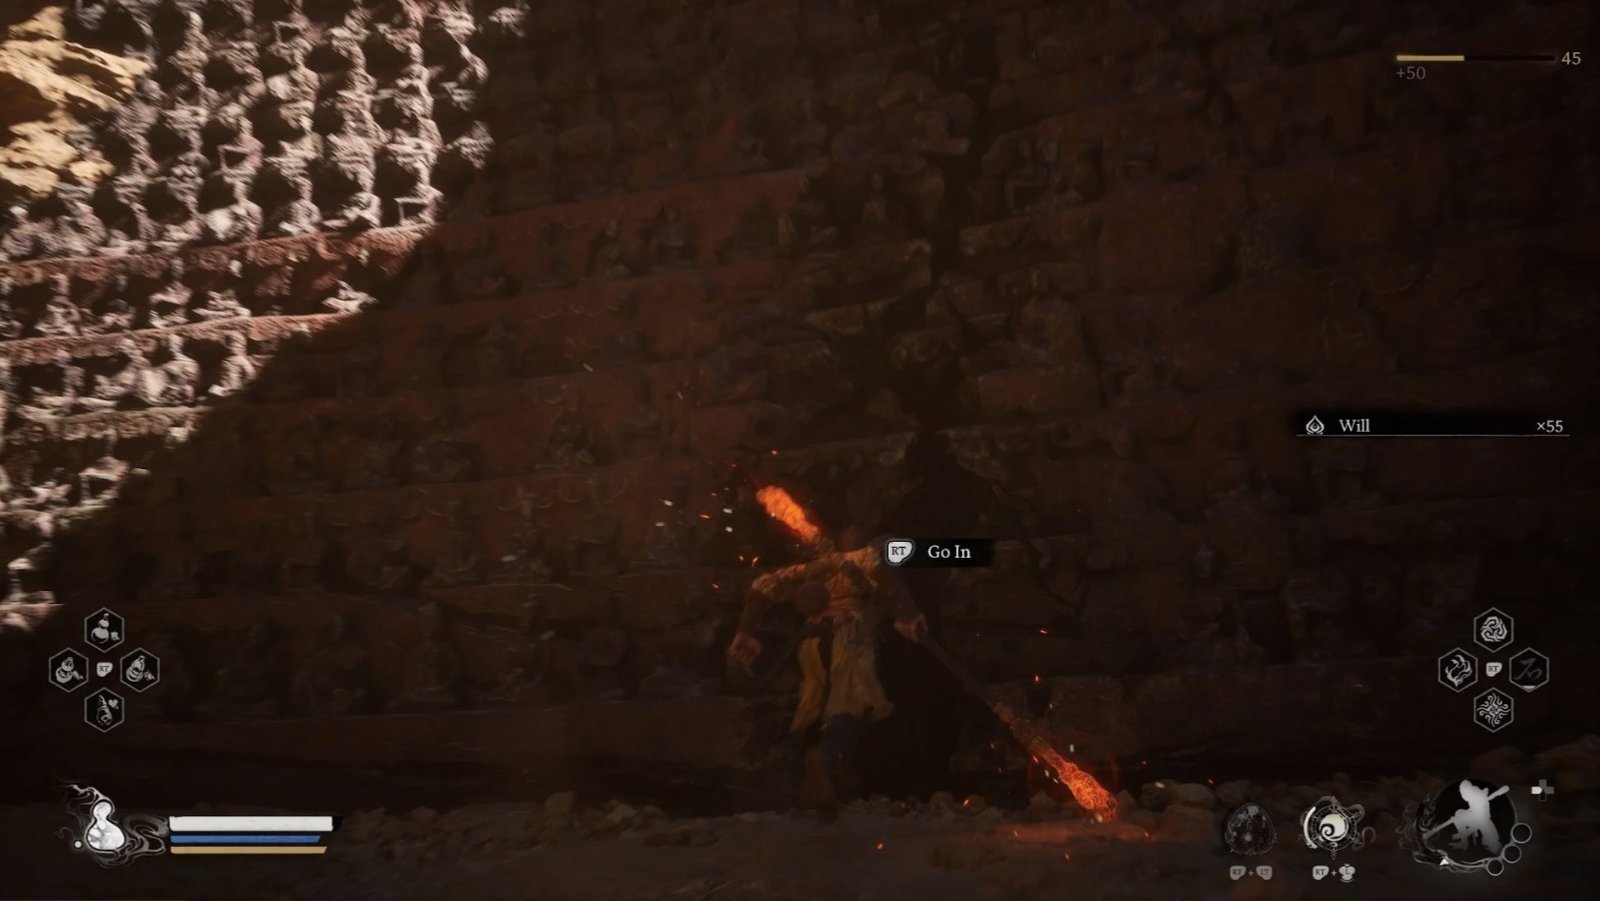
If you defeated the King of Flowing Sands in the previous battle, you need to summon the First Prince of Flowing Sands by throwing the Pungent Flesh Chunk into the circular abyss near the large stone slab in the Valley of Despair.
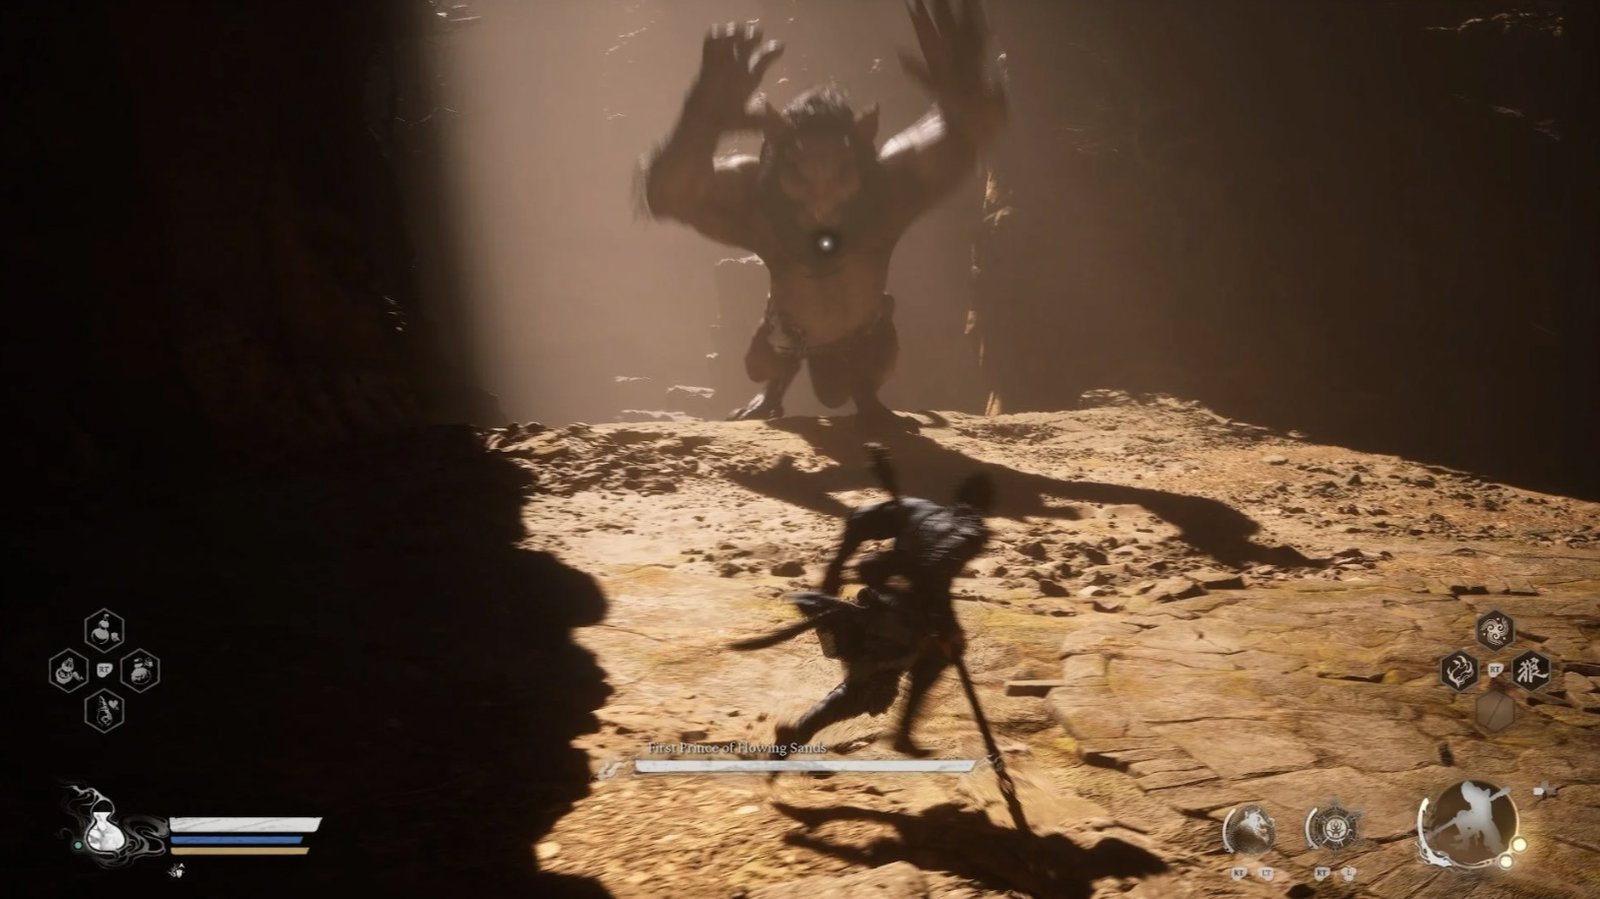
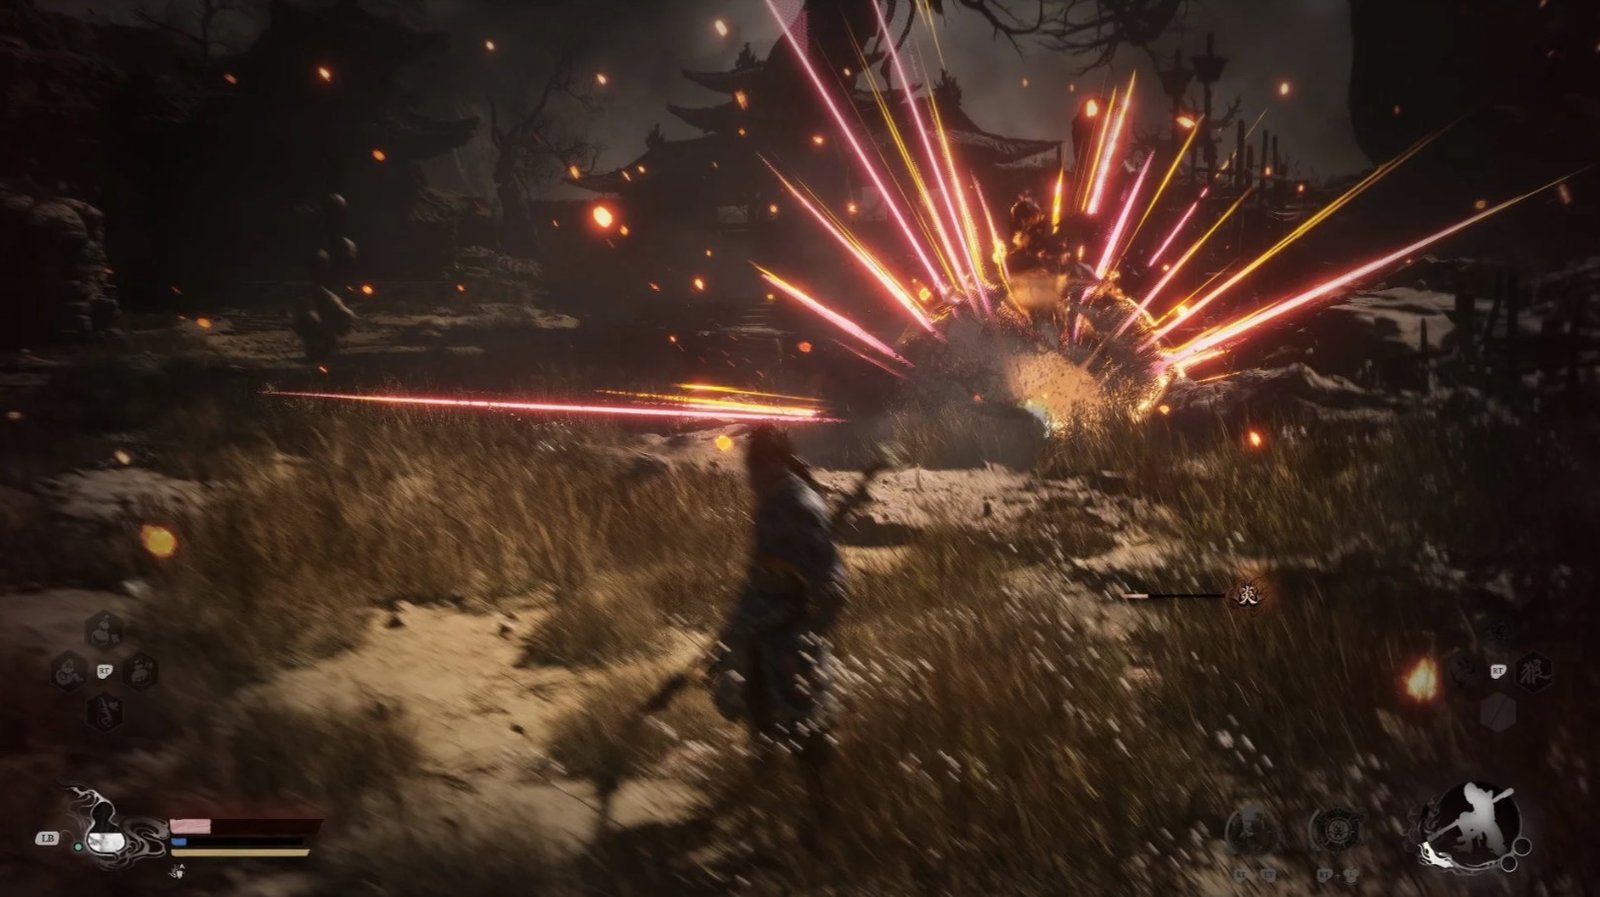
The First Prince of Flowing Sands is a massive and ferocious boss with devastating attacks.

Punches: He’ll throw a series of punches with both hands or alternate between each hand.
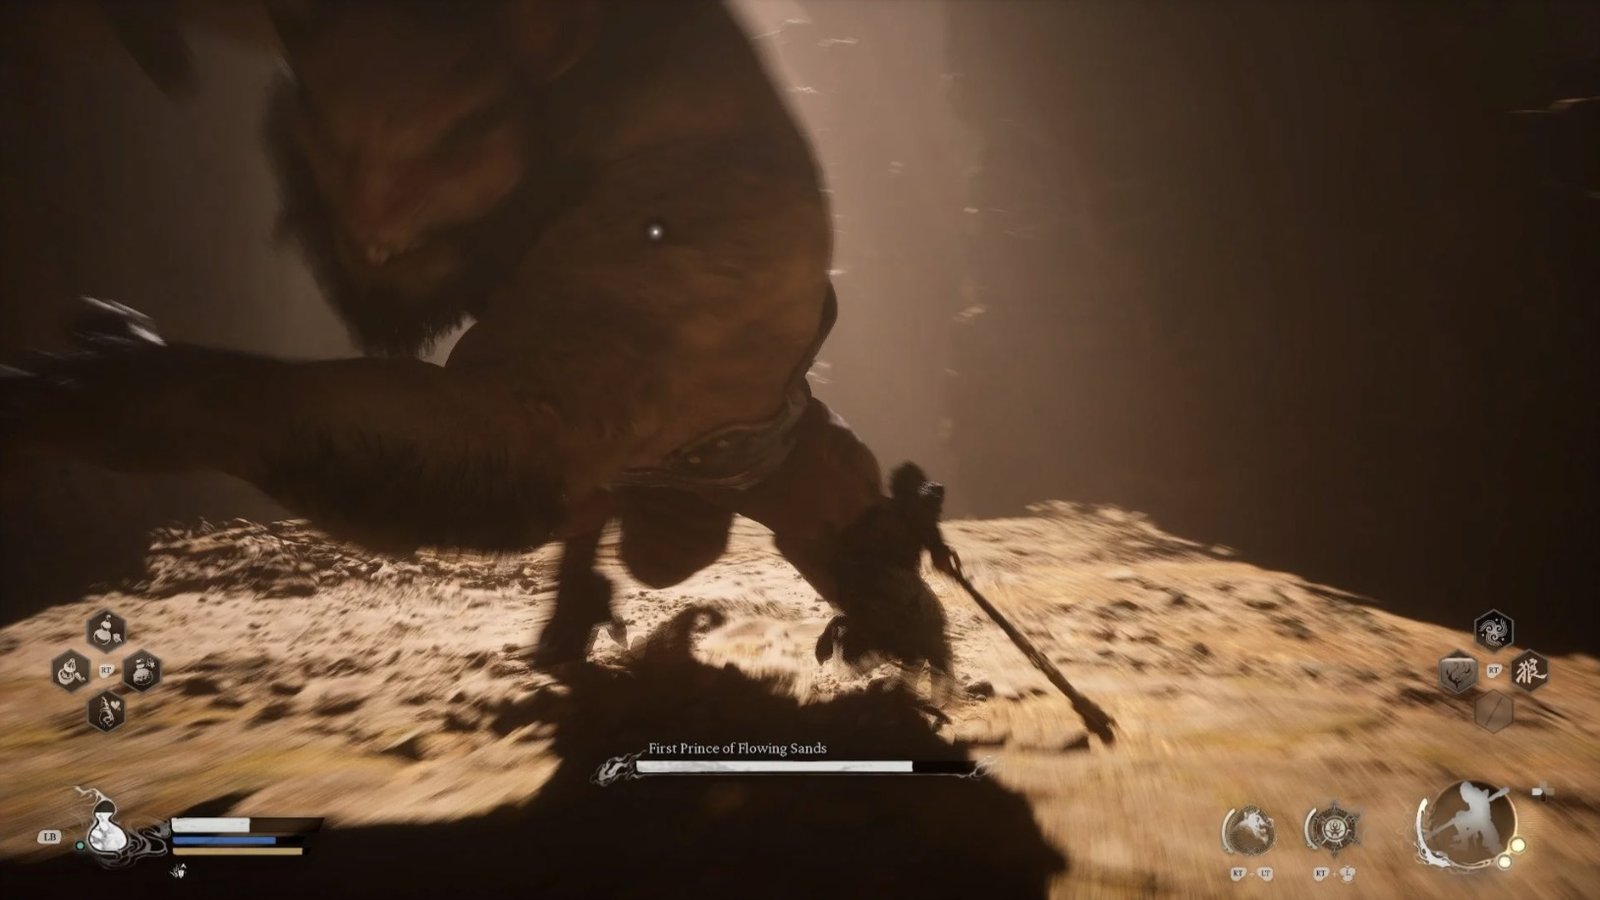
Hand Sweep: He’ll sweep his hand horizontally, knocking away anyone nearby.
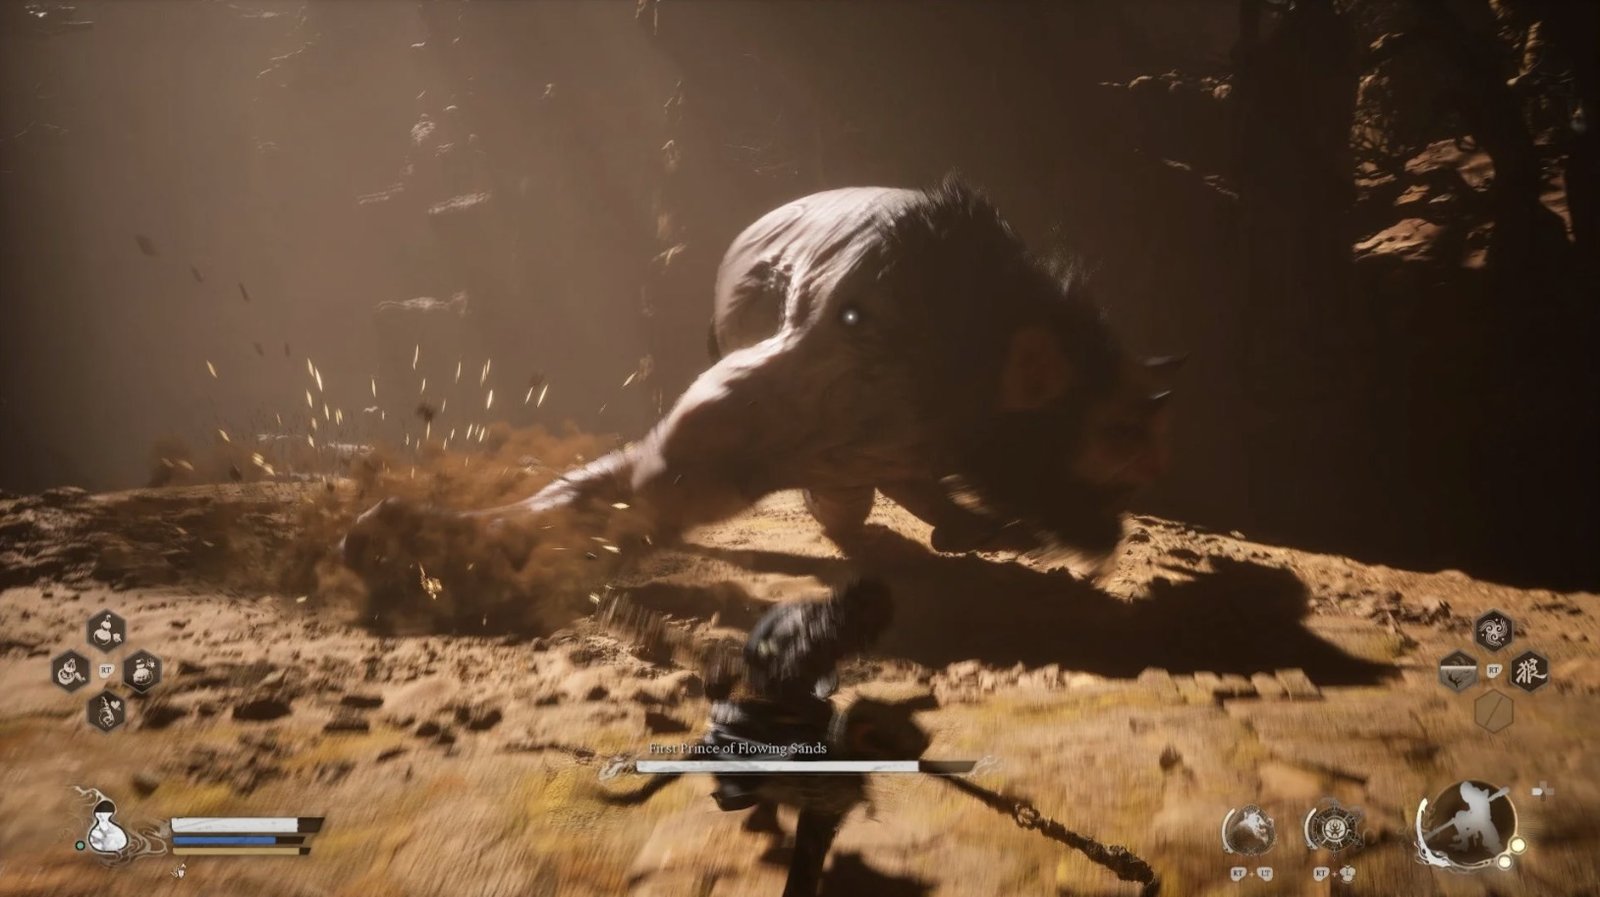
Leap and Slam: He’ll leap into the air and slam down forcefully, creating a shockwave.
Roll: He’ll curl up and roll towards you.
Roar: He’ll unleash a powerful roar that can stun you.
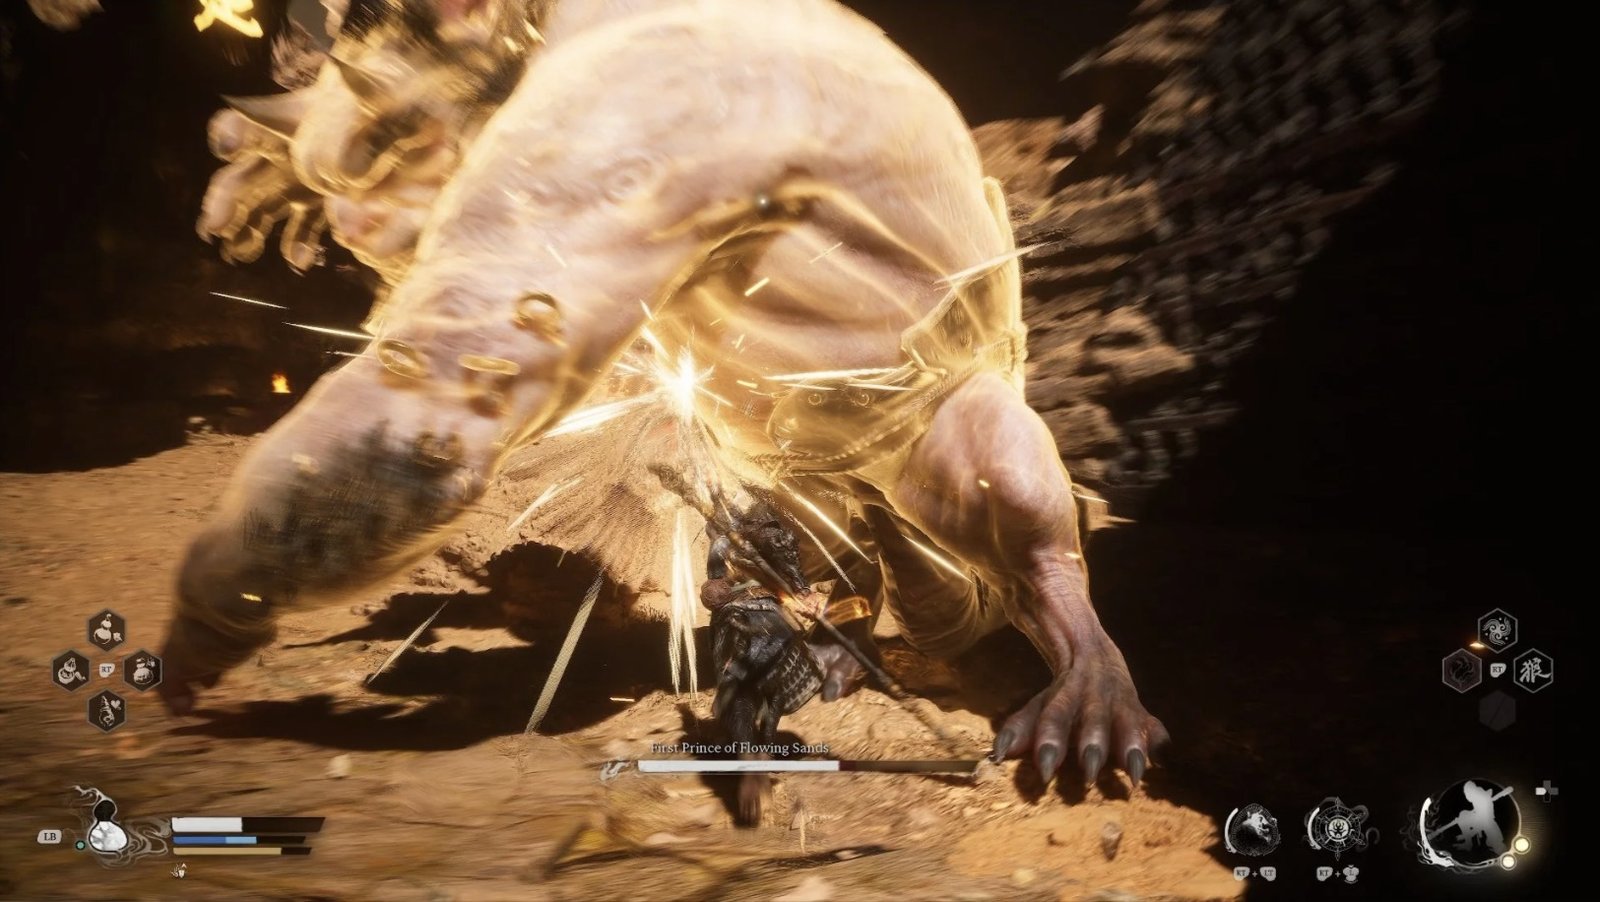
Keep moving and use Cloud Step to evade his attacks. When he leaps, time your jump to avoid the shockwave. When he curls up, quickly move away to avoid being hit. Use Immobilize when he’s roaring or preparing an attack. Try to attack from behind or from his sides to avoid his frontal attacks.
Utilize the First Prince of Flowing Sands’ attacks to break the curved wall (with small statues on it) nearby. To do this, stand near the wall and bait him into attacking.
After the wall is broken, you can find the Loong Scale – an important item for hidden quests later on. If you are unable to get him to break it, use Wandering Wight’s Spirit Attack to destroy the wall.
After defeating the First Prince of Flowing Sands, you have officially completed the Sandgate Village area. However, there are still a few things to do before you leave.
After defeating the First Prince of Flowing Sands, you will receive the Arhat Gold Piece – an important quest item. If you broke the wall during the battle with the First Prince of Flowing Sands, go inside and collect the Loong Scale.
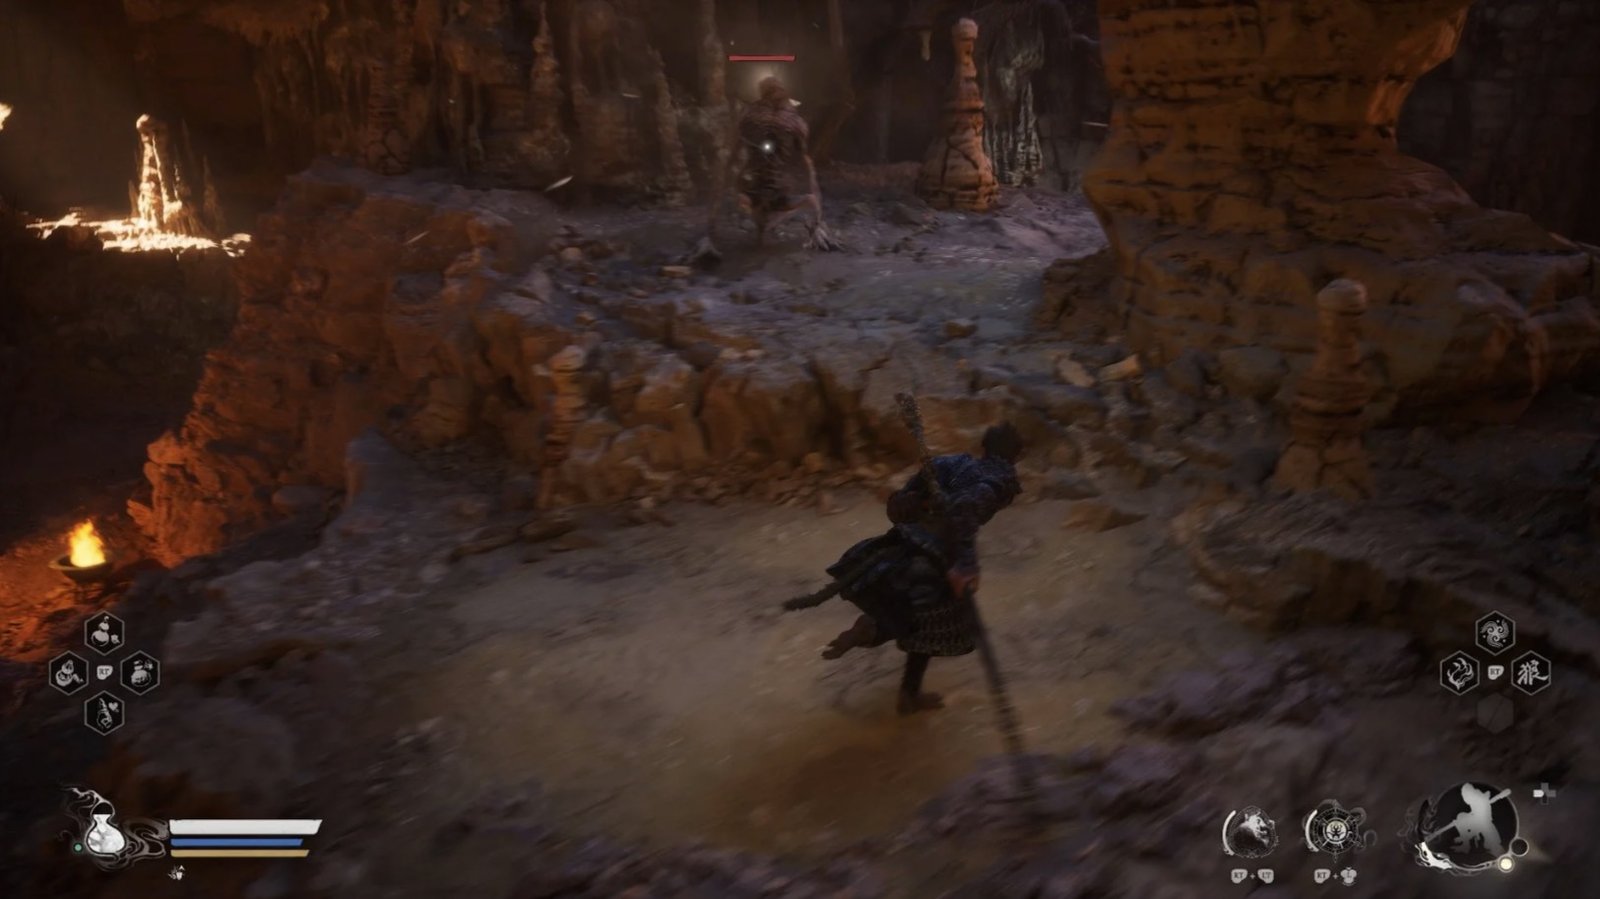
Go through the crack in the wall (near where you fought the First Prince), and you’ll encounter a Swift Bat.
Defeat it, and you’ll receive the Swift Bat Spirit. Continue along the path, and you’ll find a wooden barricade. Break it down to open the way.
Enter the cave, and you’ll find a large chamber with two more Swift Bats. Defeat them.
Search the chamber thoroughly, and you’ll find an altar with a jar containing the Celestial Nonary Pill which permanently increases your stamina.
After collecting all the items, leave the cave and follow the trail to reach the Crouching Tiger Temple.
Congratulations on completing Sandgate Village! This was a challenging area filled with dangerous enemies and hidden secrets. Through this guide, it’s hoped that you were able to overcome all obstacles, collect all the important items, and unlock the intriguing secrets.