

The goal of this article is to provide you with a clear, easy-to-understand roadmap to help you “clear” this area completely. Not just a guide, we will reveal to you the secrets, hidden items, and useful tips for you to have the best experience with Black Myth: Wukong. Get ready, the Yellow Sand Formation awaits you!
Windrest Bridge
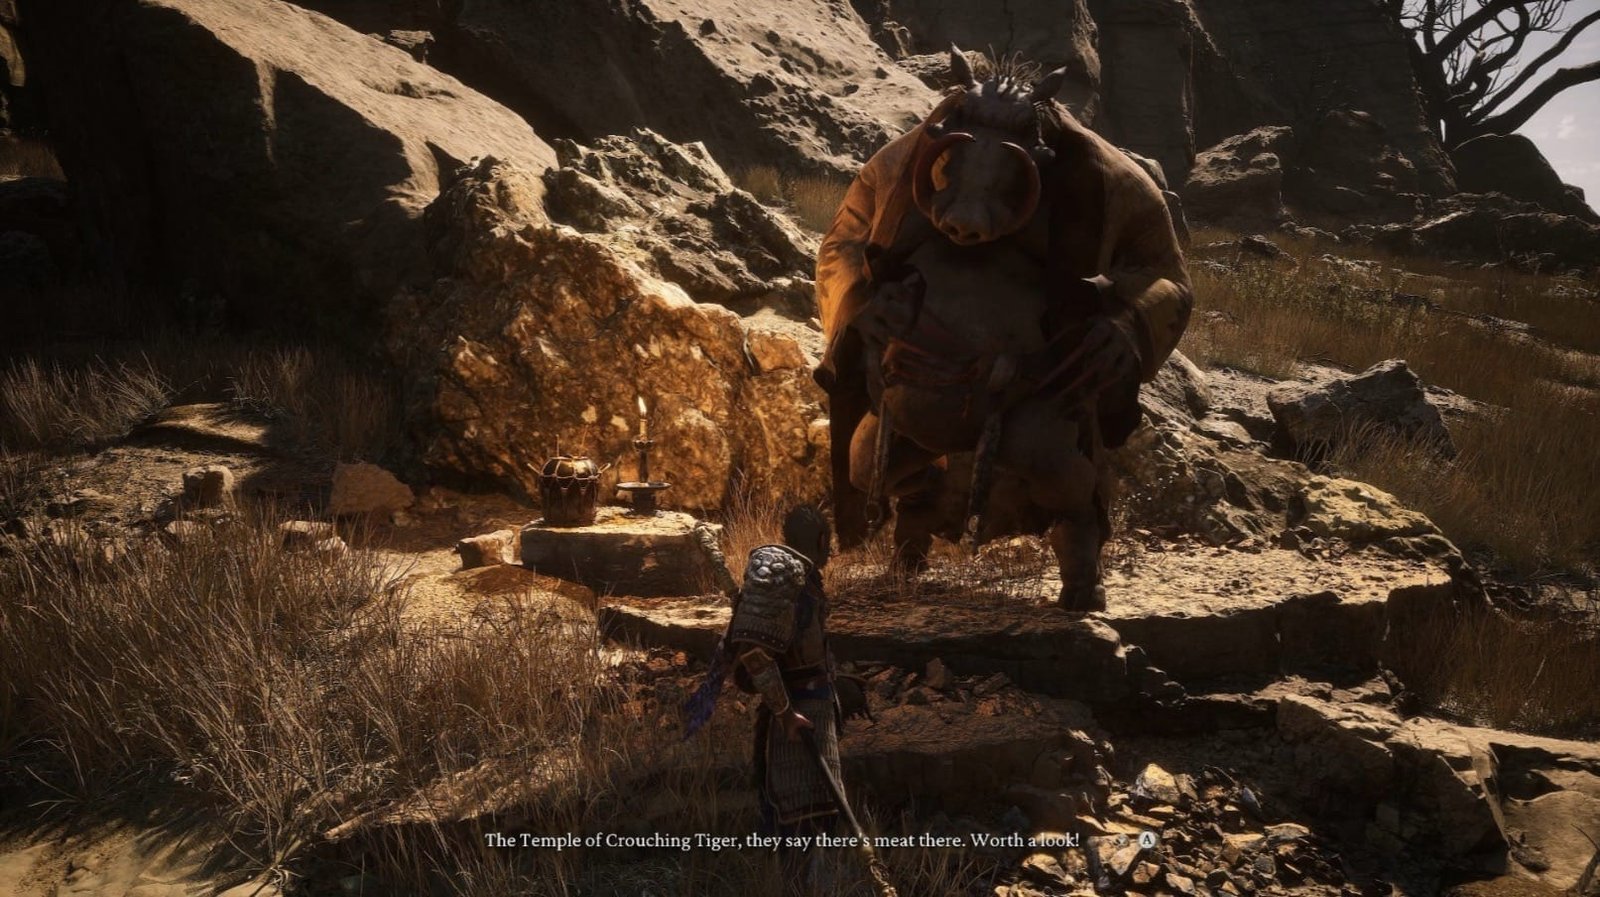
The journey to conquer the Yellow Sand Formation begins after defeating the Stone Vanguard boss in Crouching Tiger Temple. After leaving the temple, you’ll find yourself on a path leading to the Yellow Wind Ridge.
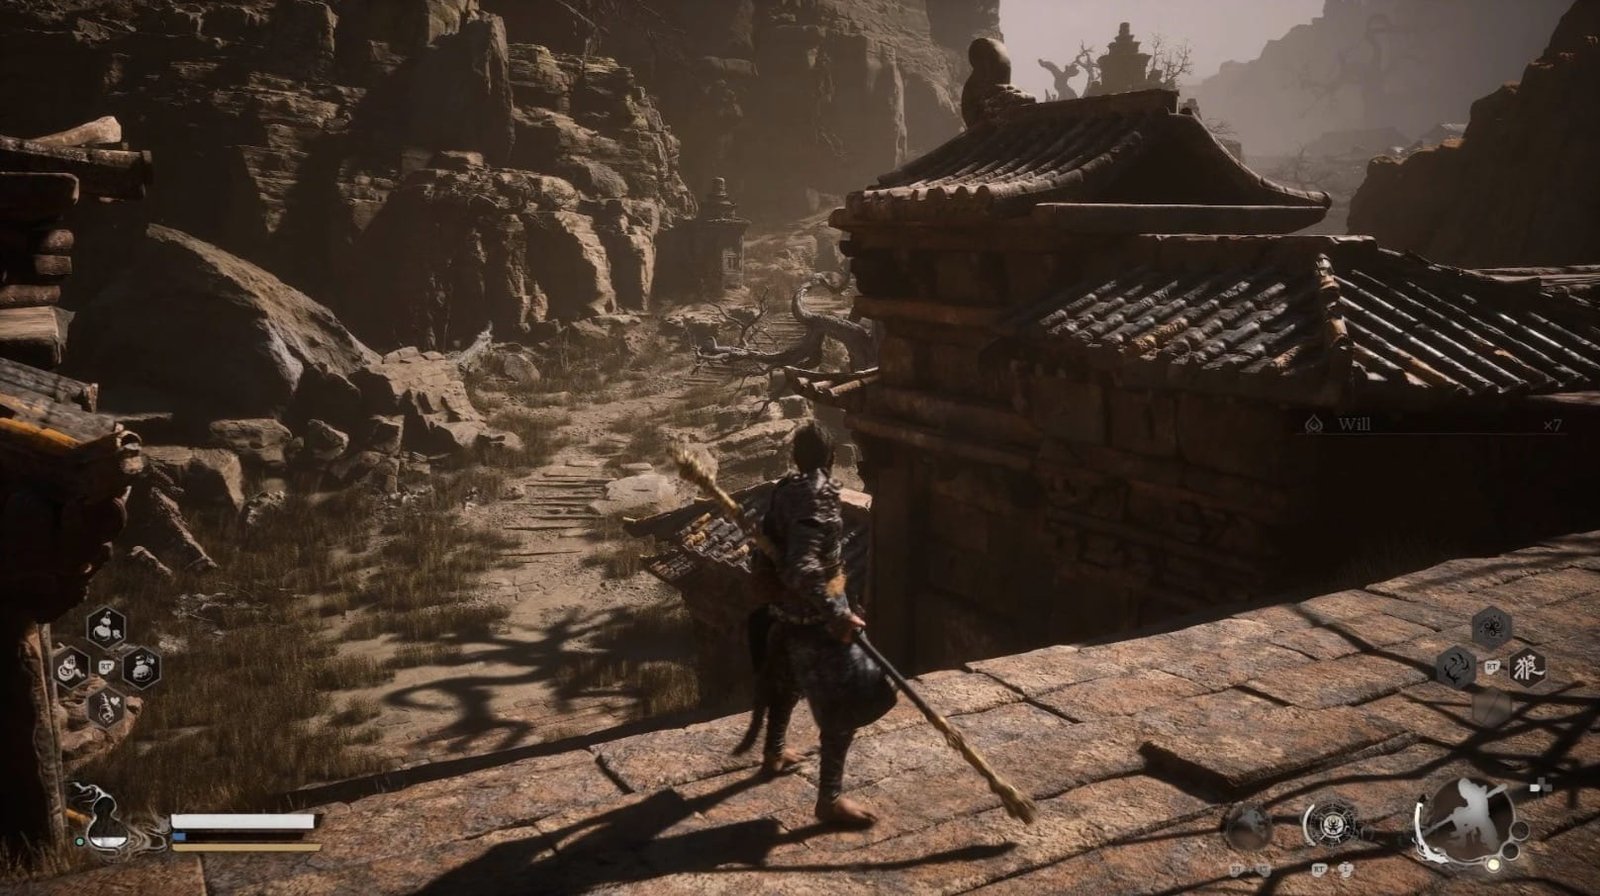
Exit Crouching Tiger Temple by heading down the steps on the far side.
A large area has a sloping path leading up to the right, with several plants to harvest, including Aged Ginseng, Fragrant Jade Flowers, and a Lingzhiling in disguise.
Further up, you’ll find a Rat Soldier and Rat Archer guarding a large statue embedded in the rock wall with a small turtle chest at its altar. Clear out the foes, and then open it to find a Copper Pill Soak for your Gourd. This one in particular has an impressive effect to negate the cost of Rock Solid when used soon after using the gourd.
Take out any stray Withered Corpses as you head to the top of the path, and you’ll find the Windrest Bridge Shrine. Activate the Shrine to save your progress and recover.
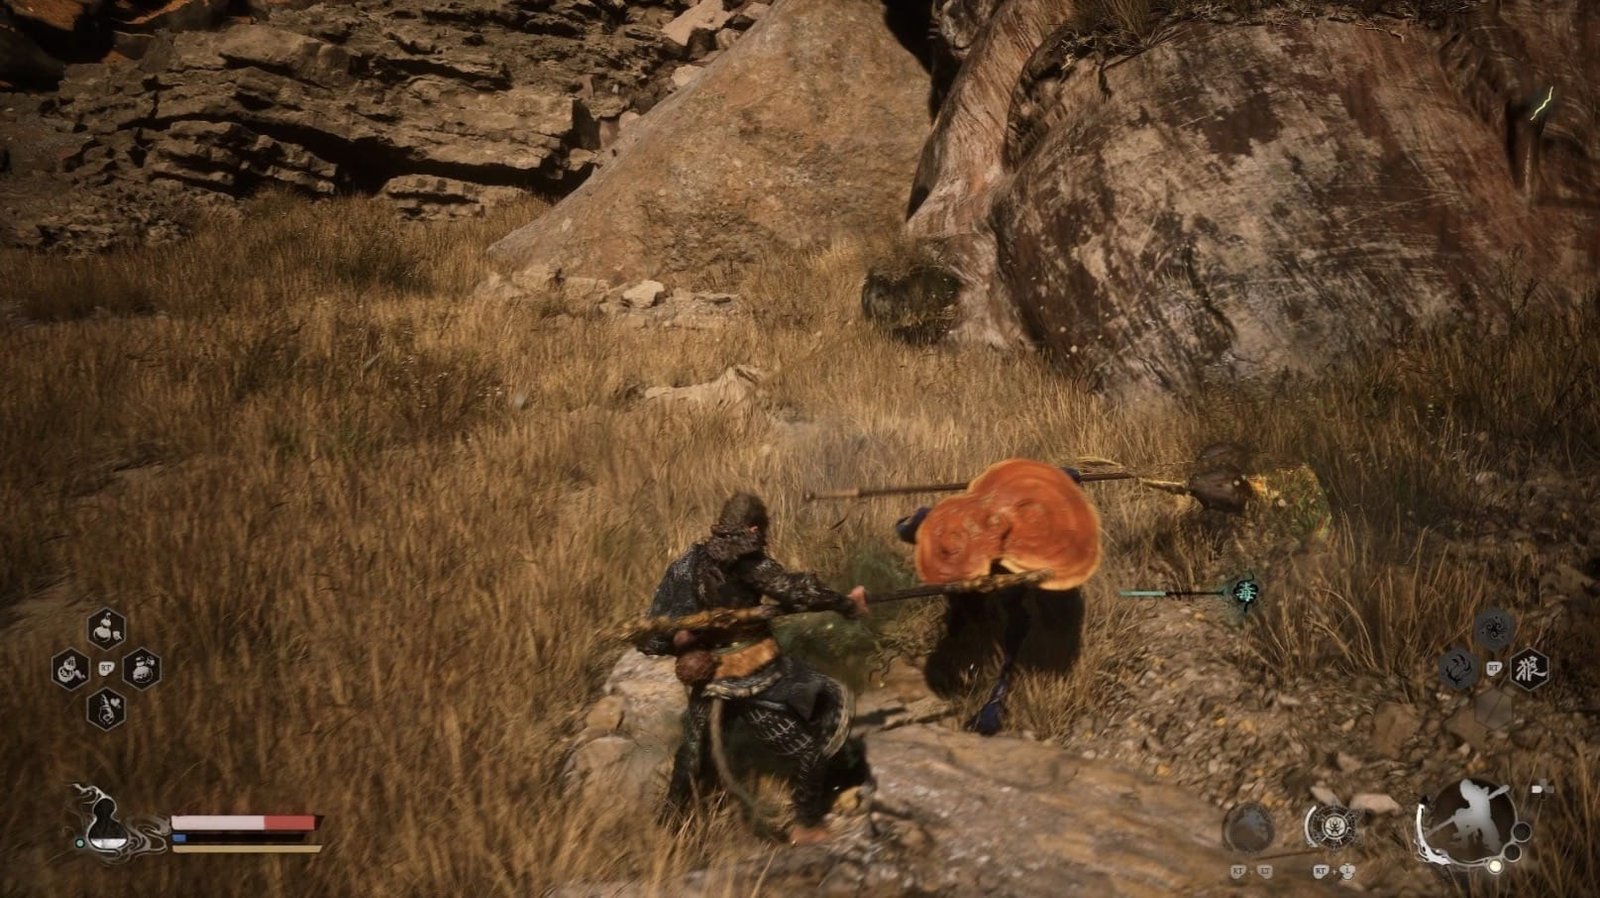
Beyond it, the large stone bridge leading to the Windrest Hamlet is well guarded by a shield-bearing Spearbone, and two Blazebone ranged attackers supporting him.
Lure the Spearbone out of range, or alternatively, you can dodge around him (or use Cloud Step) to ambush the Blazebones first, and then focus on overpowering the defenses of the Spearbone with careful timing.
Windrest is a pretty sizable place, and full of ambushes, so be sure to advance cautiously. A third Blazebone waits on a raised wooden platform on the right as you enter, and a Withered Corpse sitting just below him.
The main path will lead straight on the other side of the long roof before you, but look carefully and you’ll spot a new type of ambush – The Rat Imperial Guard. They’ll leap off rooftops to surprise attack you, using twin hookblades for quick strikes, then dodging out of reach — and even throwing their blades at you from a distance.
You can use your new Rock Solid move to bait them into attacking and deflect to stagger them, opening them up for an assault which you can prolong by Immobilizing them when they try to flee, or use the Thrust Stance to hit them even after they jump away.
Moving ahead, there are also paths to the right and to the left. Going right leads to another Blazebone and Withered Corpse, as well as a house next to the ranged attacker that holds a green Wisp inside you can absorb.
Head to the right side of the hamlet, defeat the Blazebone and Withered Corpse. You can find a green Wisp inside a house next to the ranged attacker.
Heading to the left side of the hamlet instead will place you between rows of houses and a large building on the side. Search the first house on the left to find a chest with 1 Small Piece of Gold and 3 Tiny Pieces of Gold.
Defeat the Rat Soldier guarding the entrance to the larger house, and be sure to check the far end of this street for a green Wisp to absorb with a Withered Corpse near it, then enter the courtyard of the large building.
On the left side, in the first house, you’ll find a chest containing 1 Small Piece of Gold and 3 Tiny Pieces of Gold. At the far end of this street, there’s a green Wisp and a Withered Corpse.
Another Rat Imperial Guard will jump down from the rooftops to ambush you, and a Blazebone in the corner of the courtyard may try to give you trouble while you’re otherwise engaged. Lure the Rat out of range so you can deal with him in peace, then go for the bone thrower.
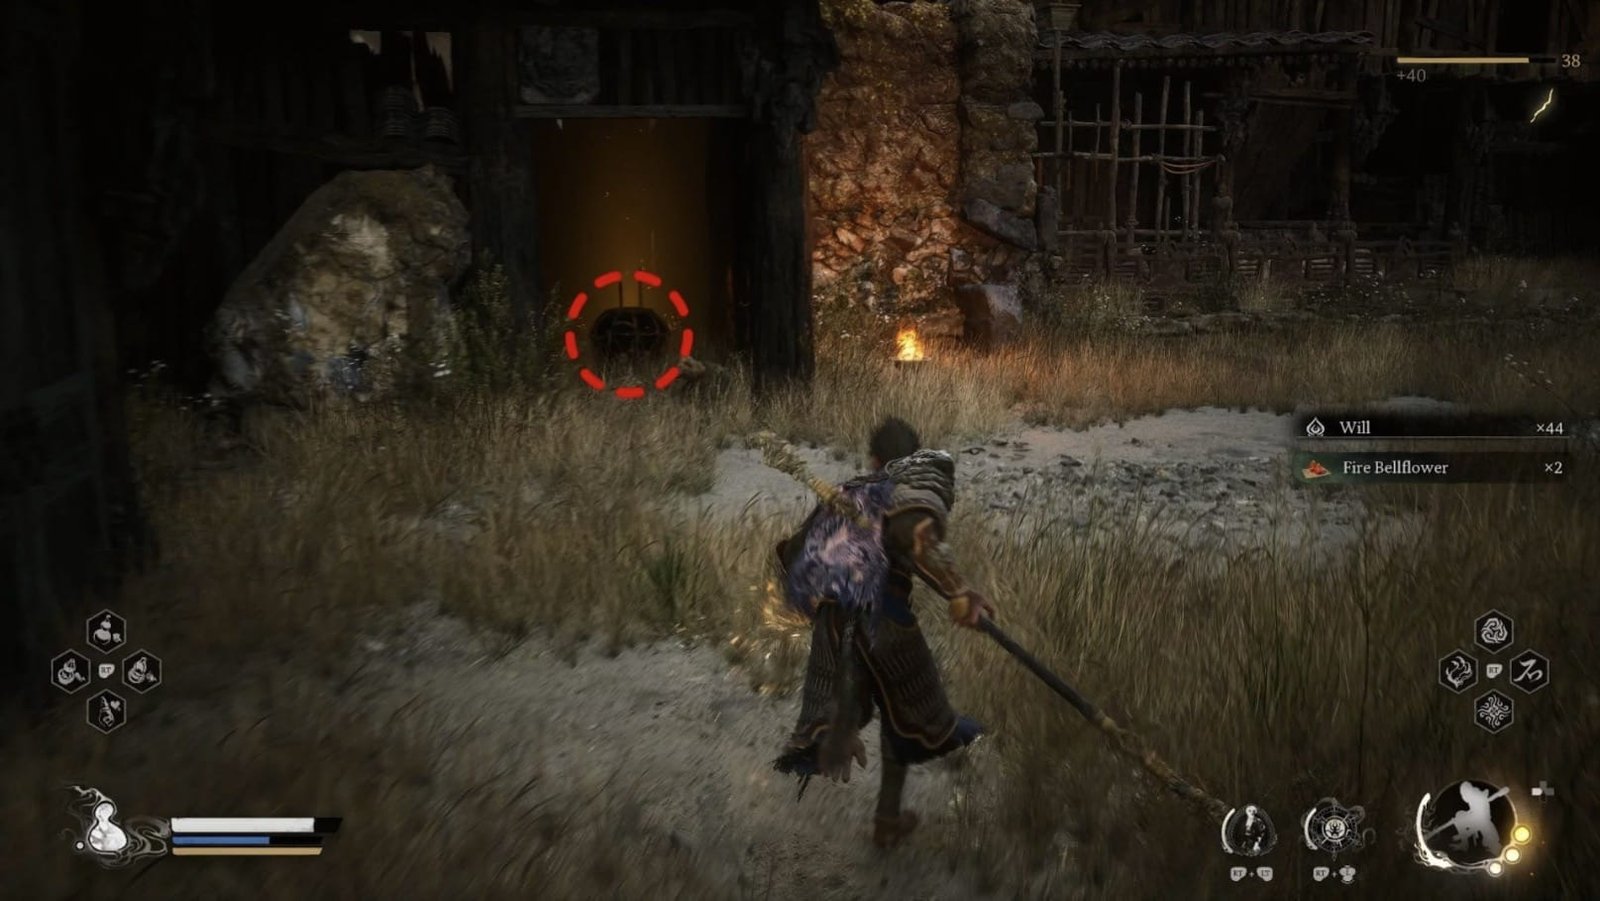
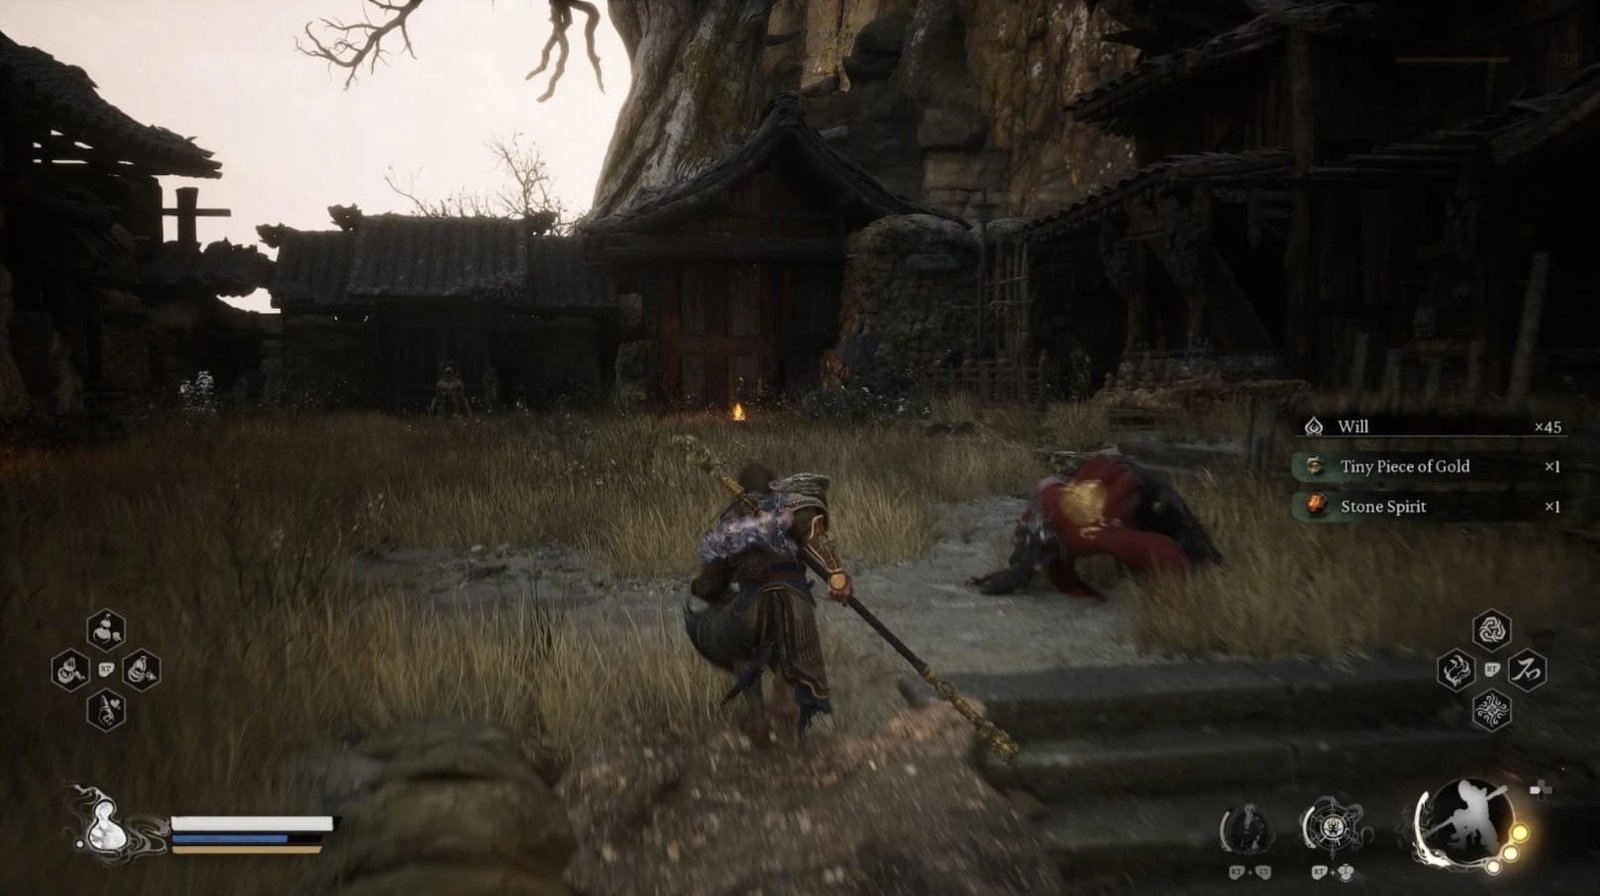
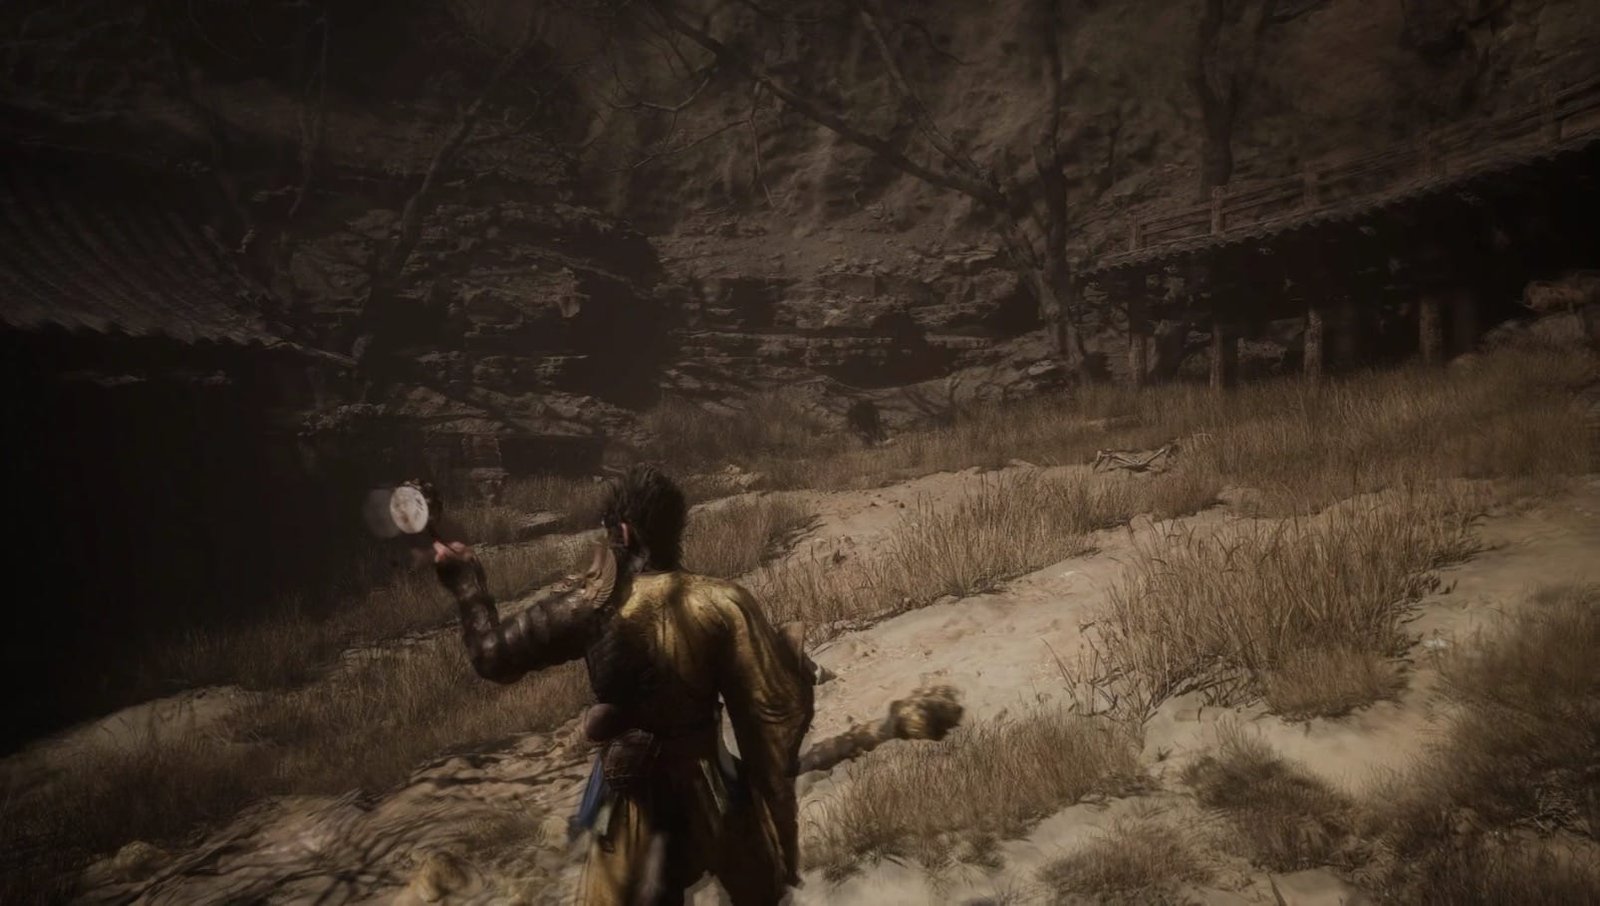
After killing the Blazebone in this courtyard, look around for an open shack across from a Fire Bellflower, and you’ll find a small glowing jar. Break it open and you’ll receive a Sobering Stone – the exact kind of item the drunk boar in the yellow robe needs to sober up back at the Fright Cliff.
Exit the large building to the side to find a larger open center of the village, where a Spearbone patrols near a few more Blazebones.
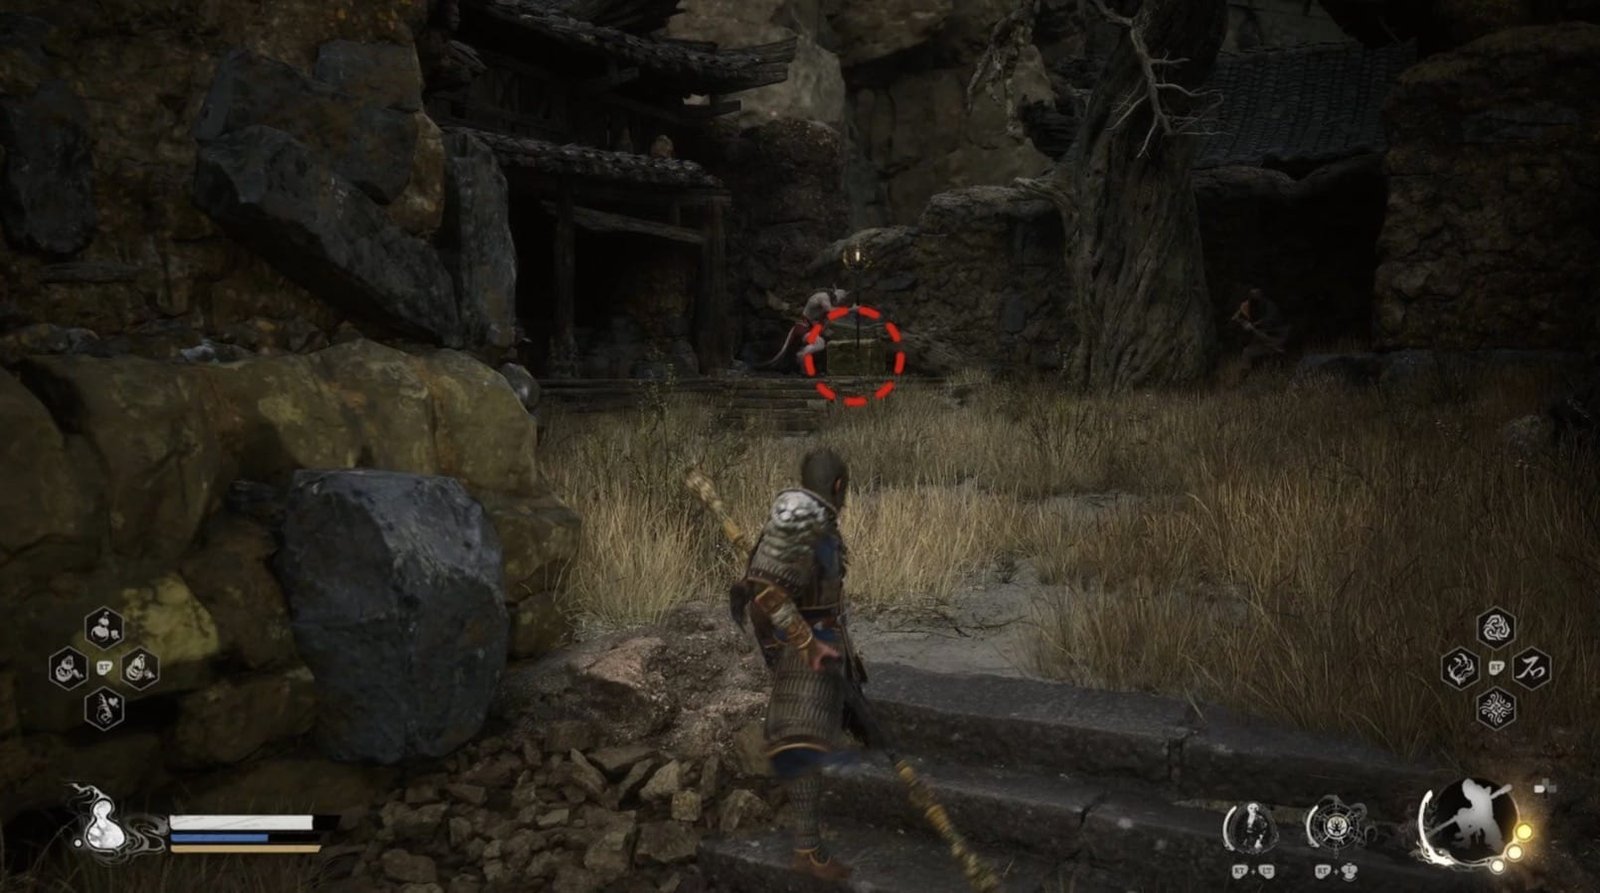
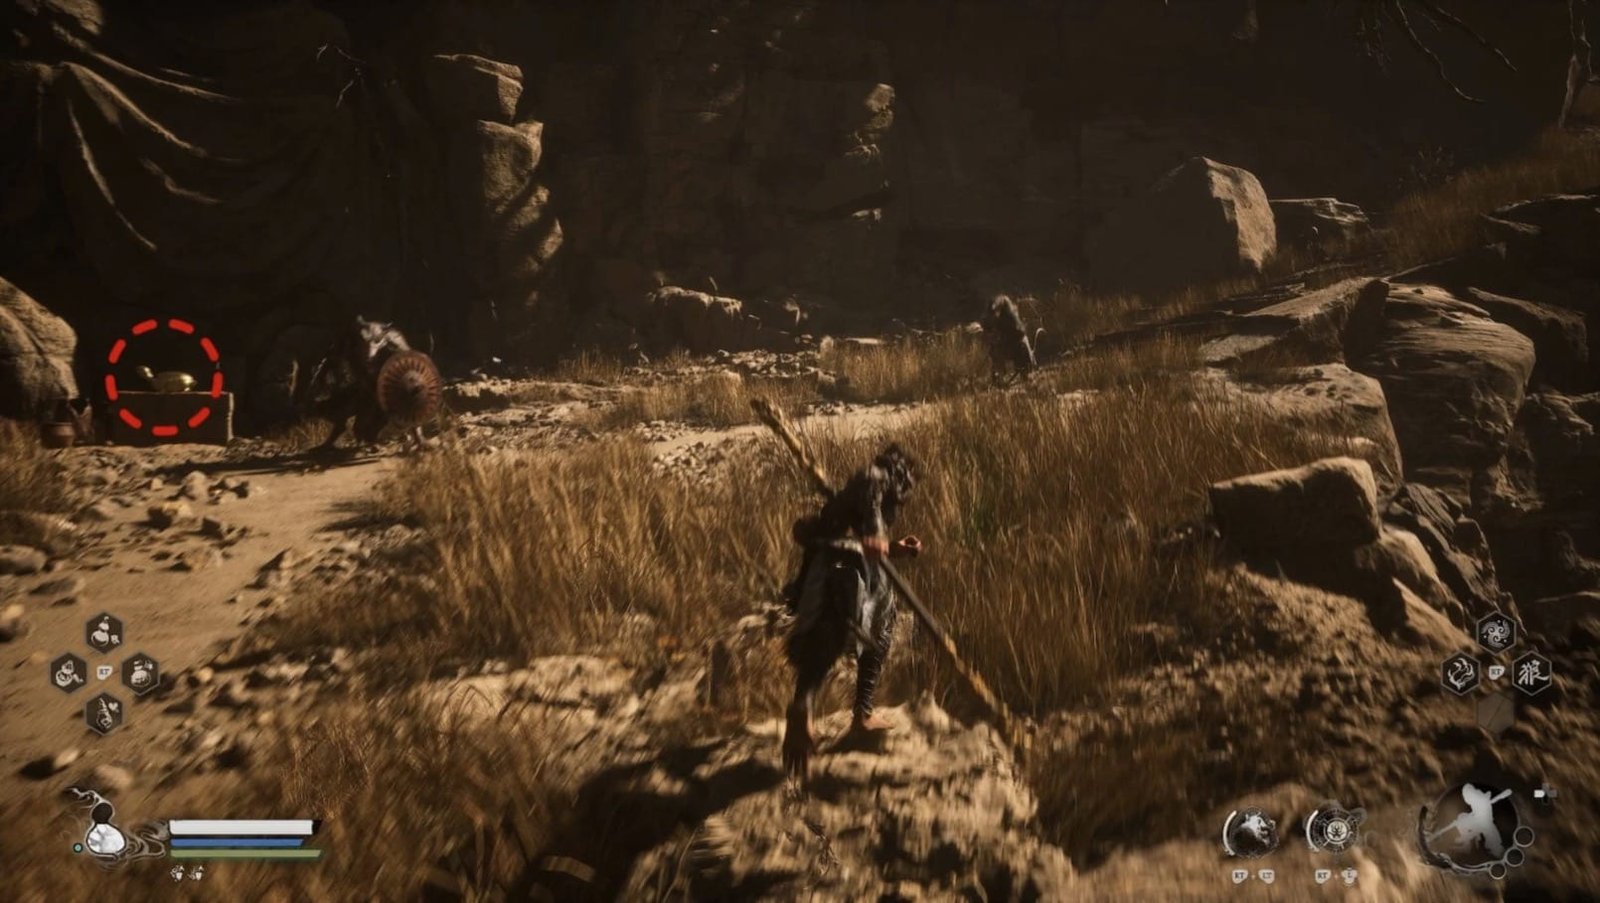
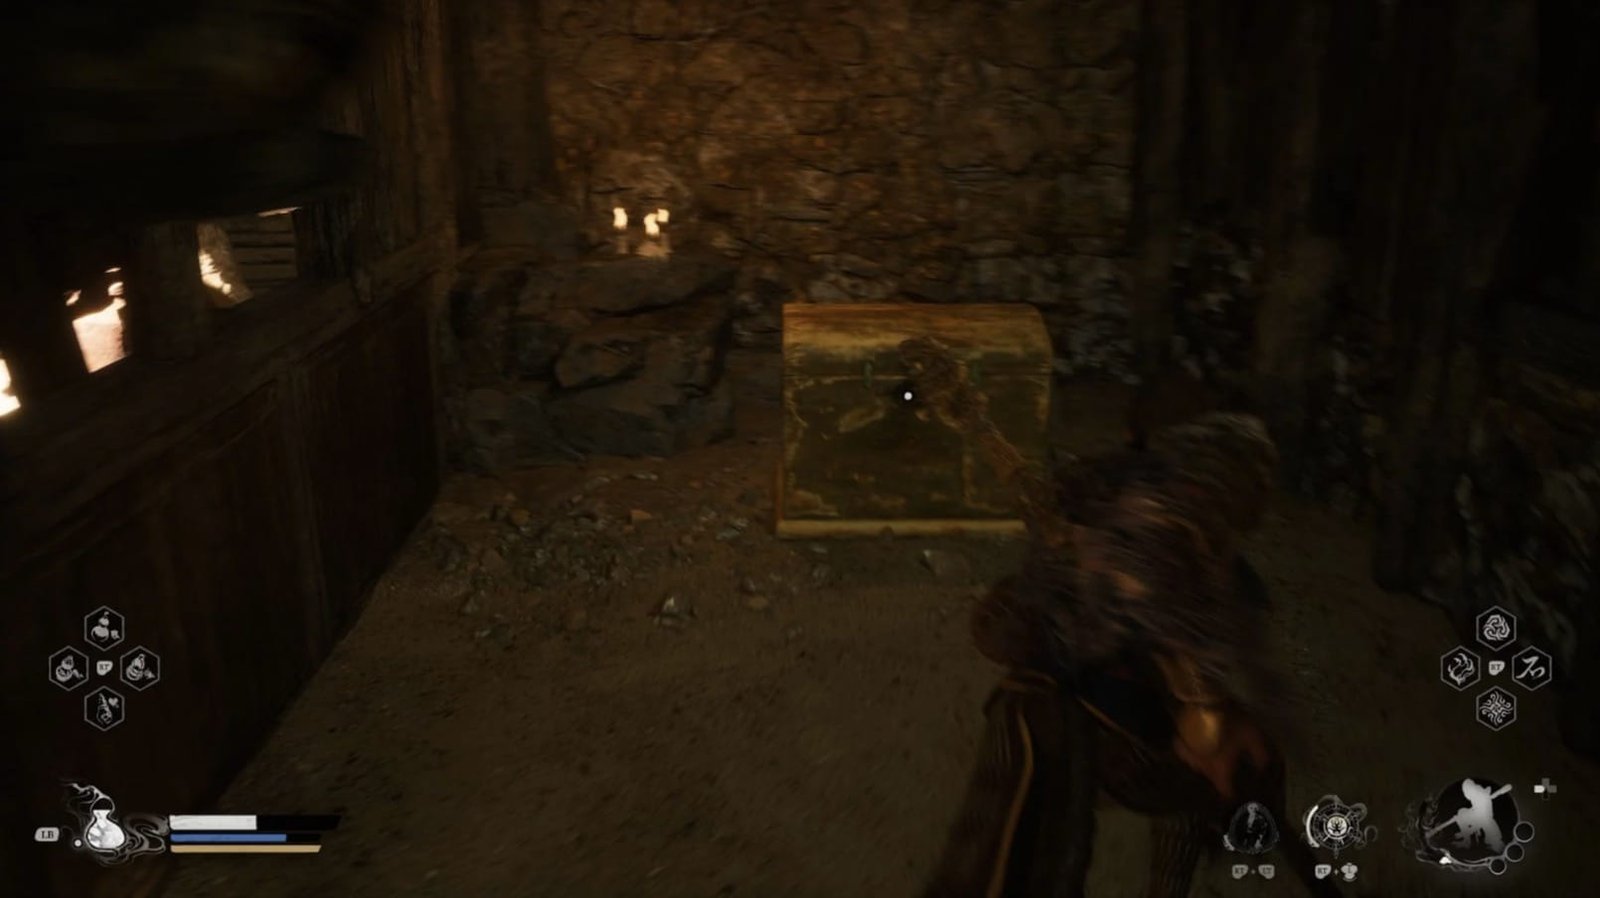
If you stick to the left wall, you can find a walkway up to a group of ruined shacks. Here you’ll find a Rat Governor looking over a chest, but beware, he’s got several Rat Archers backing him up in the corners.
You can either try to lure them out by dashing around the corner, or use something like Cloud Step or Pluck of Many to confuse and draw their fire to take out the archers, and then the Governor. Once they’ve been defeated, help yourself to the spoils in the chest for 1 Small Piece of Gold and 3 Tiny Pieces of Gold.
Return to the large open area to deal with the Spearbone and the many Withered Corpses sitting around.
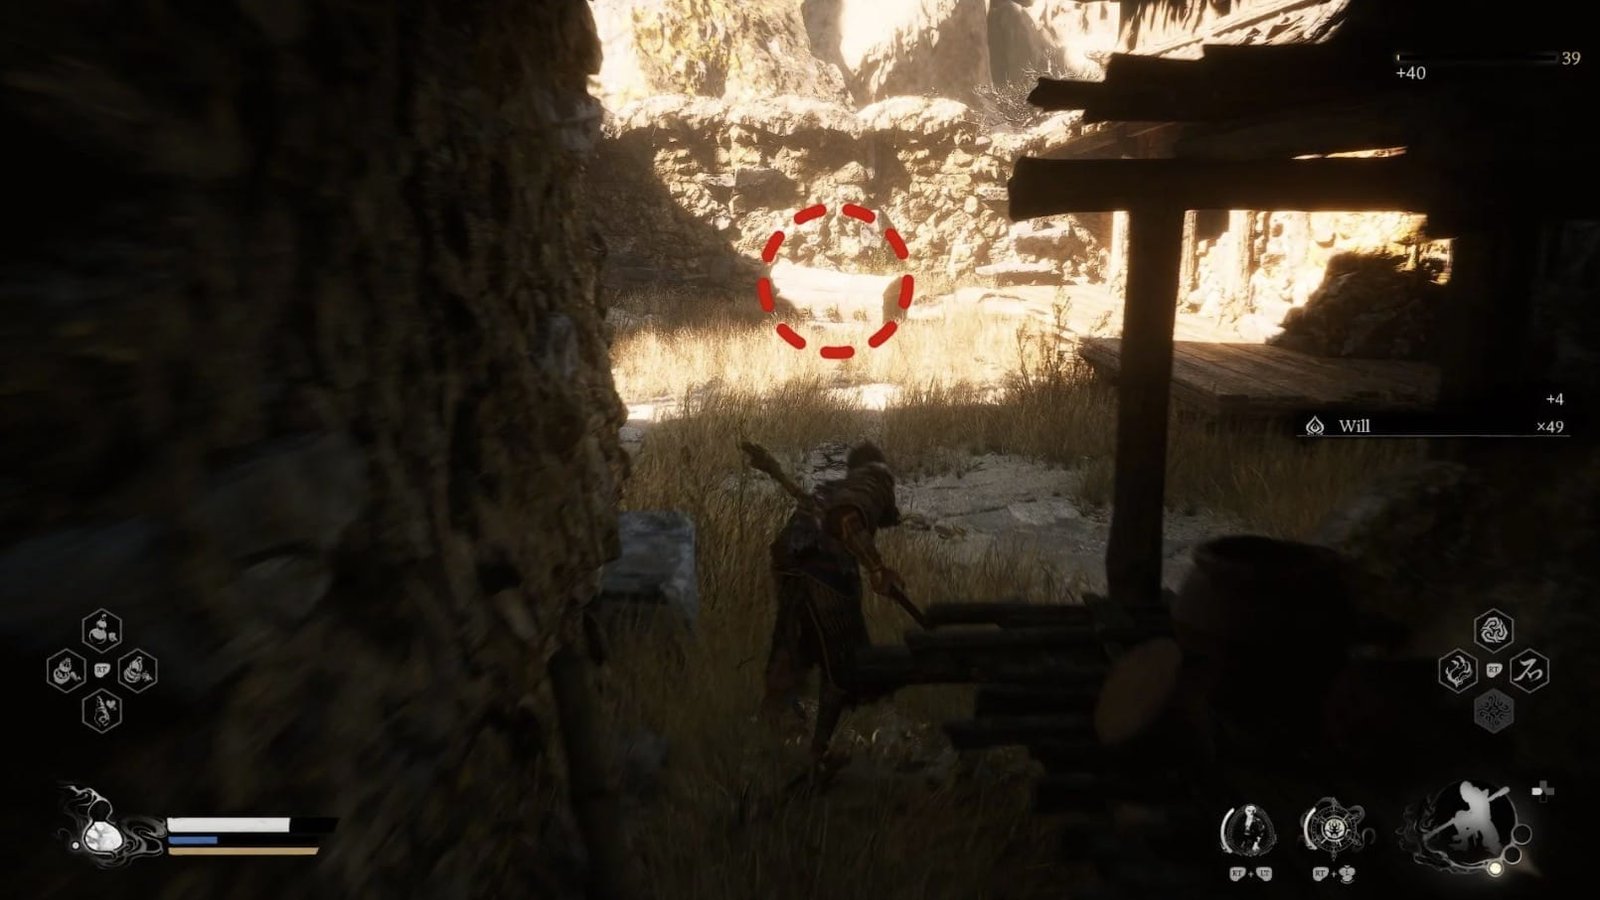
Check the far side before going up the main path, as you can break apart some wooden fencing to find a yard with another Blazebone guarding a wooden chest, and inside you’ll find 3 Yaoguai Core and a lot of Will.
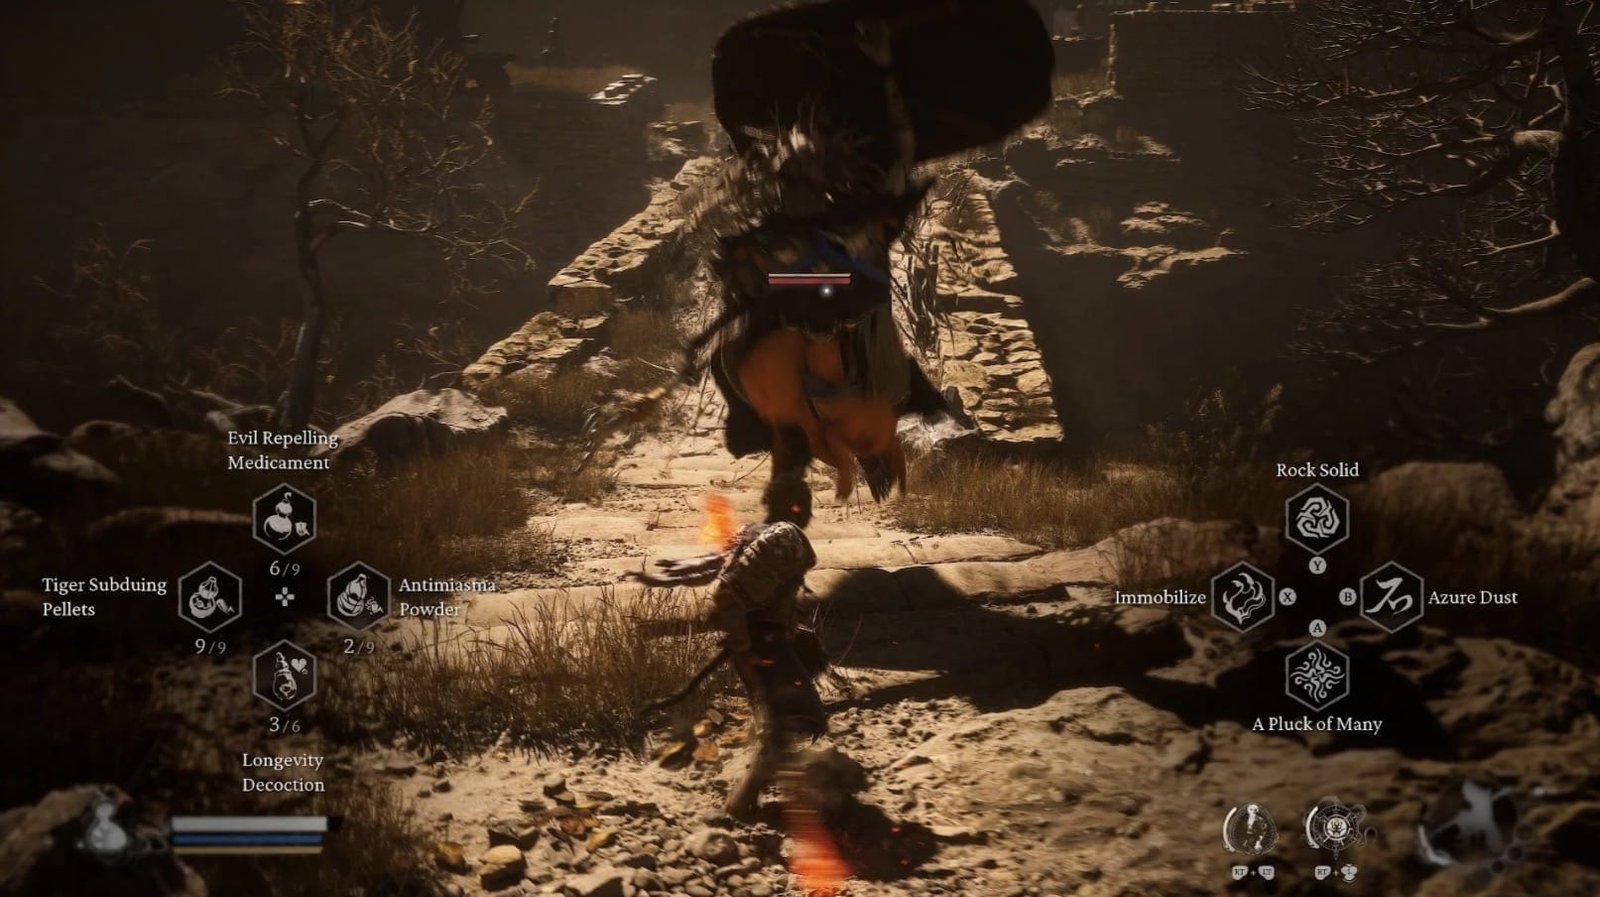
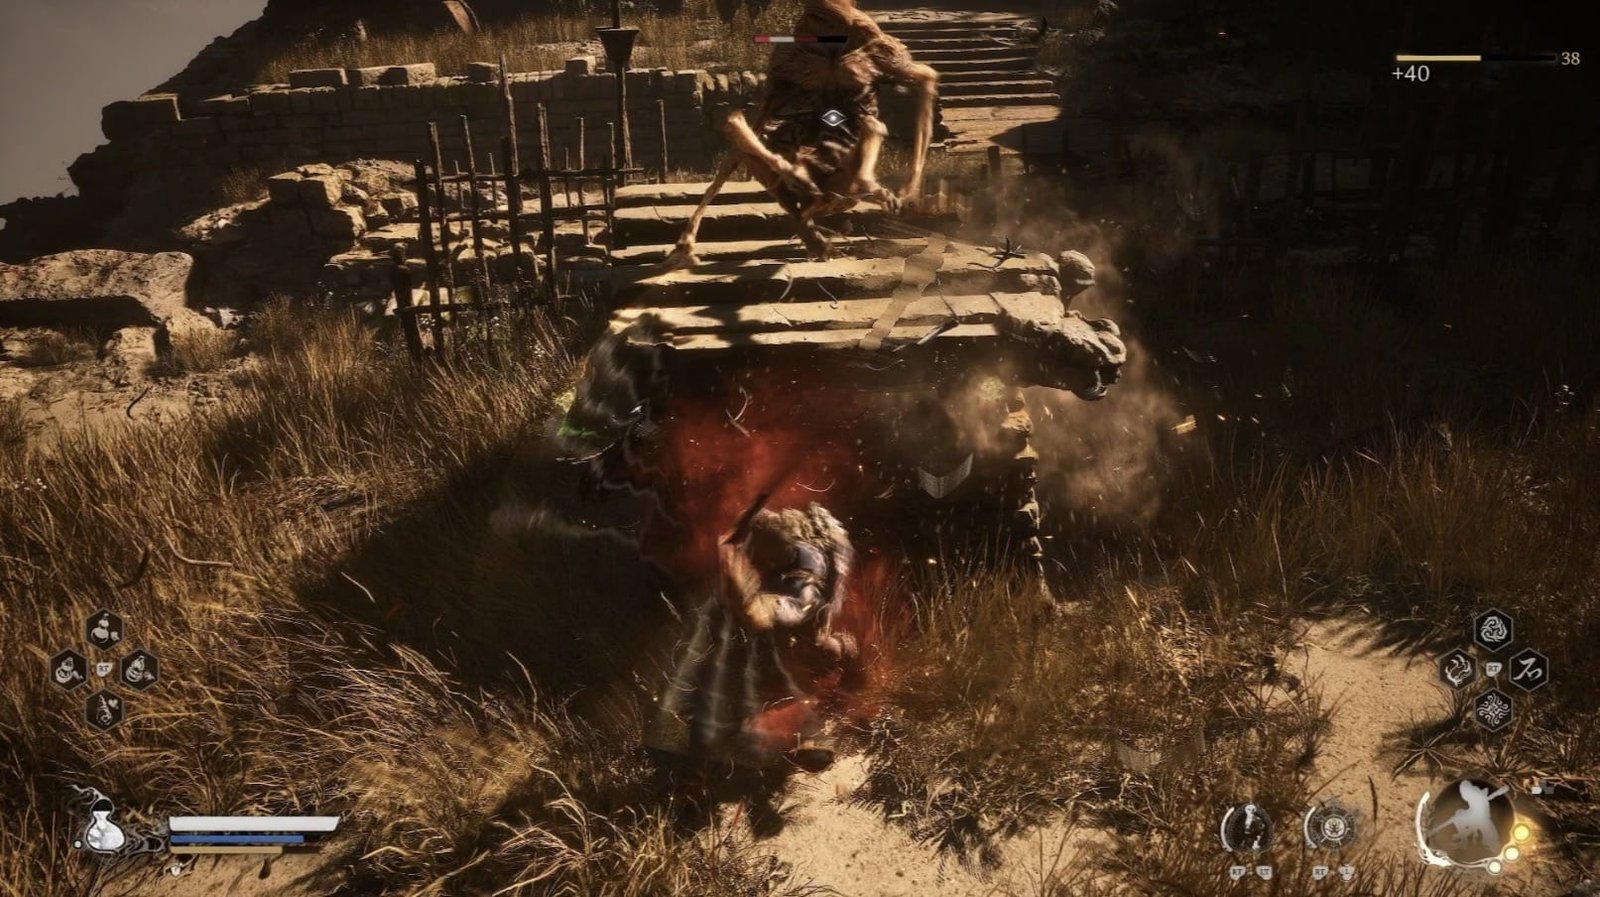
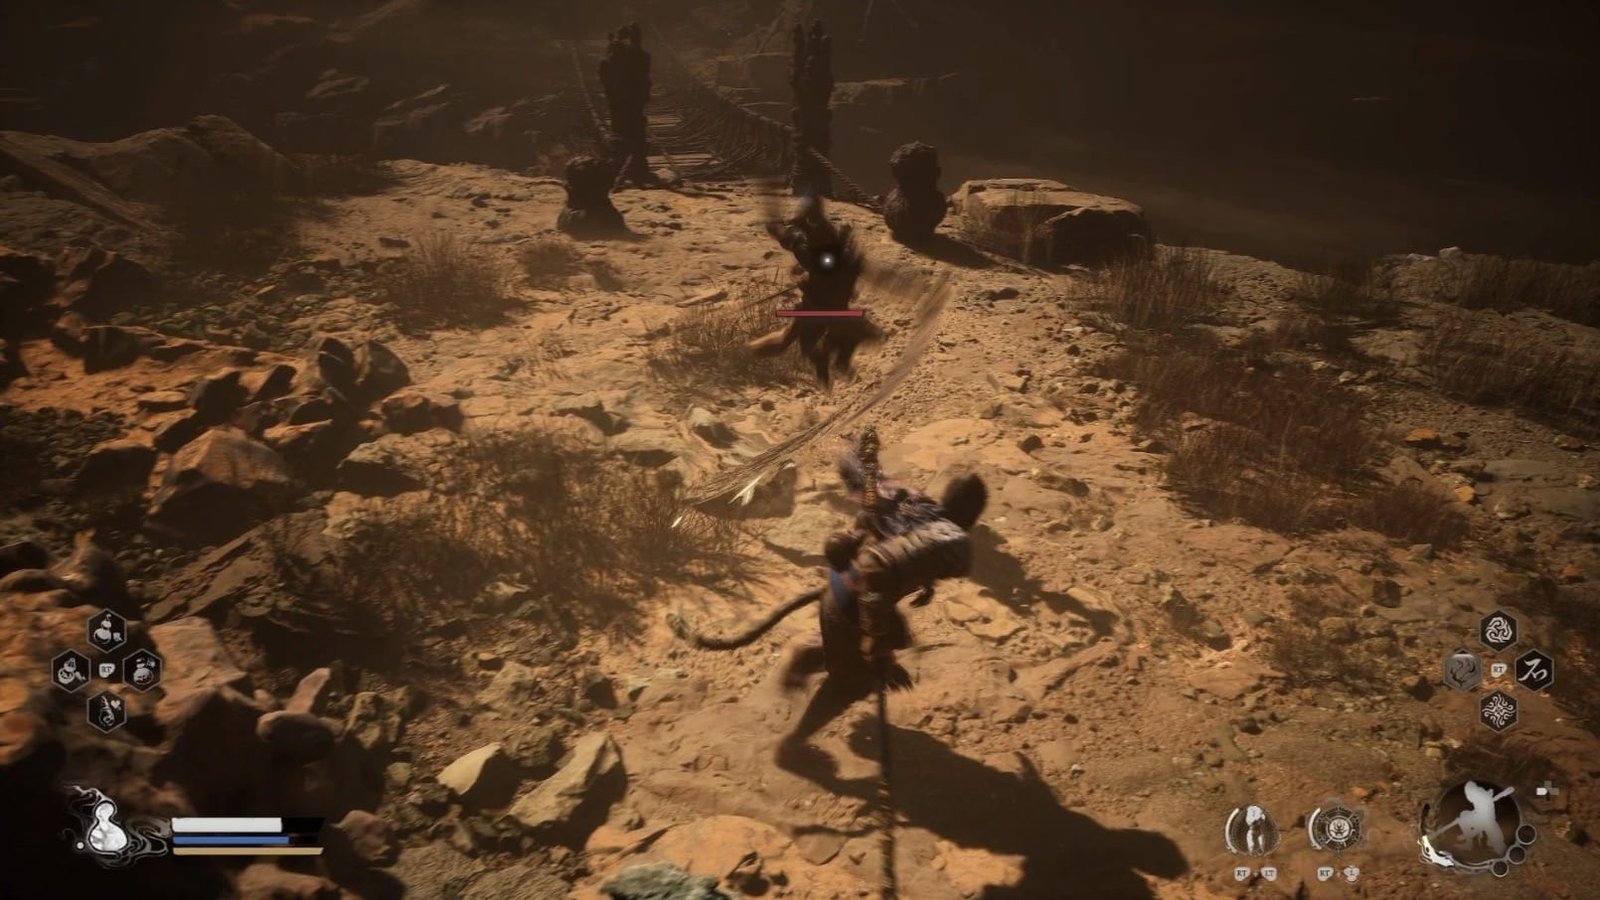
Going up the main path to the back of the village, you’ll find a large gate with an arch where not one but three Rat Imperial Guard await you on the rooftops. To make matters worse, one of them is much stronger than the rest.
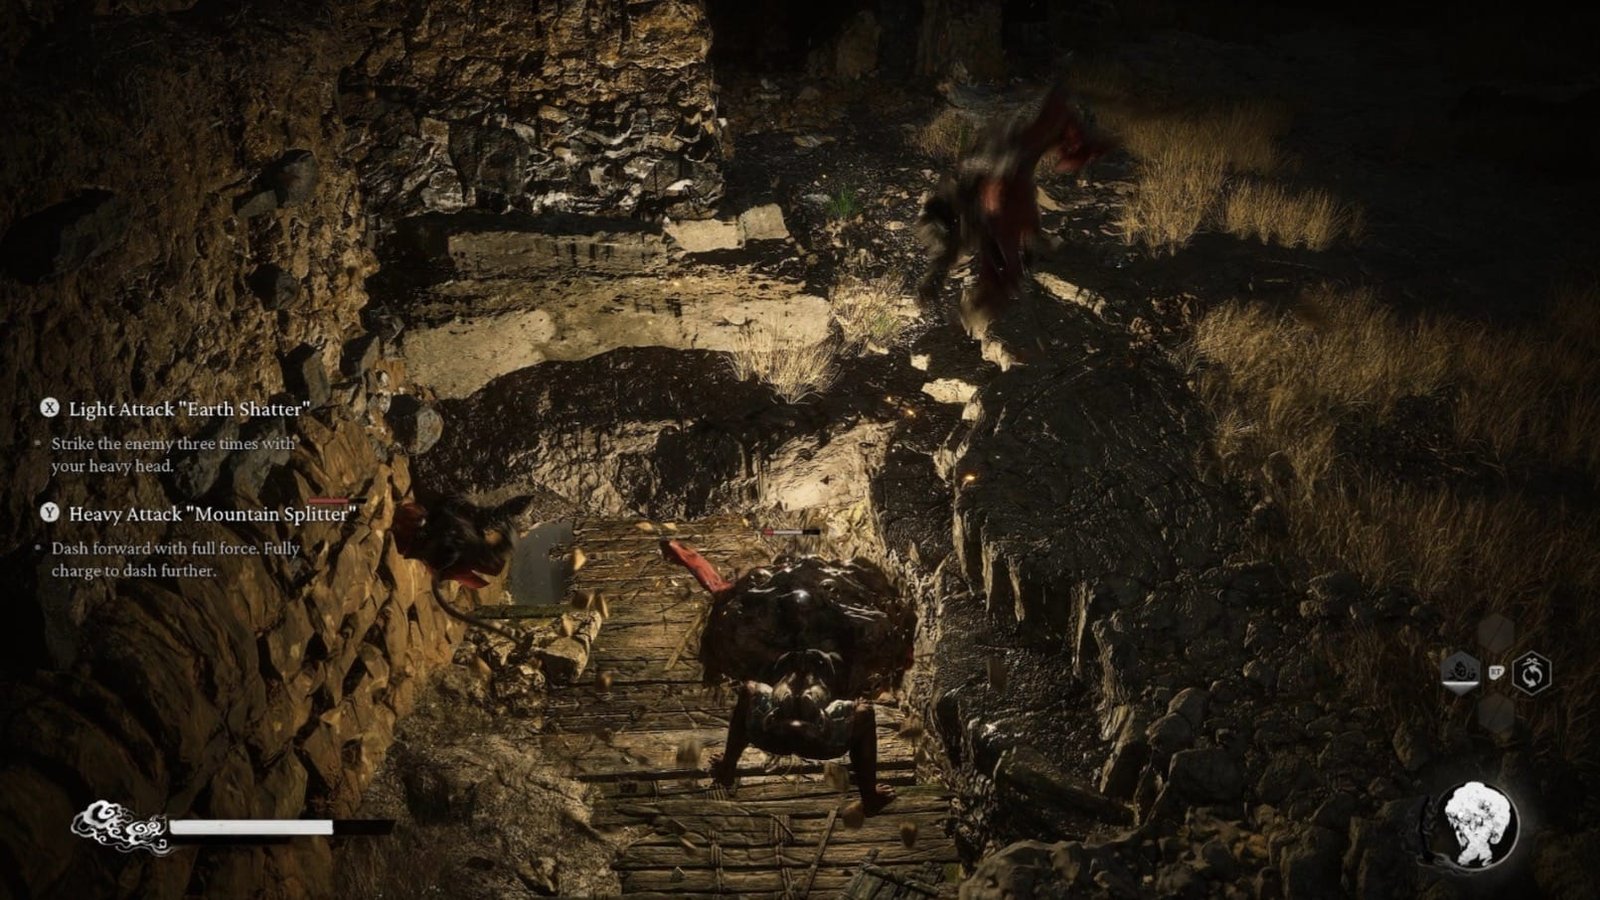
Consider using your stronger abilities on this group, like transforming into the Rock Guai to slam down on them, use your Pluck of Many if you have the mana, or Immobilize the weaker ones to focus them down before turning your attention to the one wreathed in blue flames. Defeating this stronger Rat will award you the Rat Imperial Guard Spirit, allowing you to perform some slick and quick moves with their fast transformation.
To the left of the gate, you can find a spot to harvest some Licorice and absorb a green Wisp.
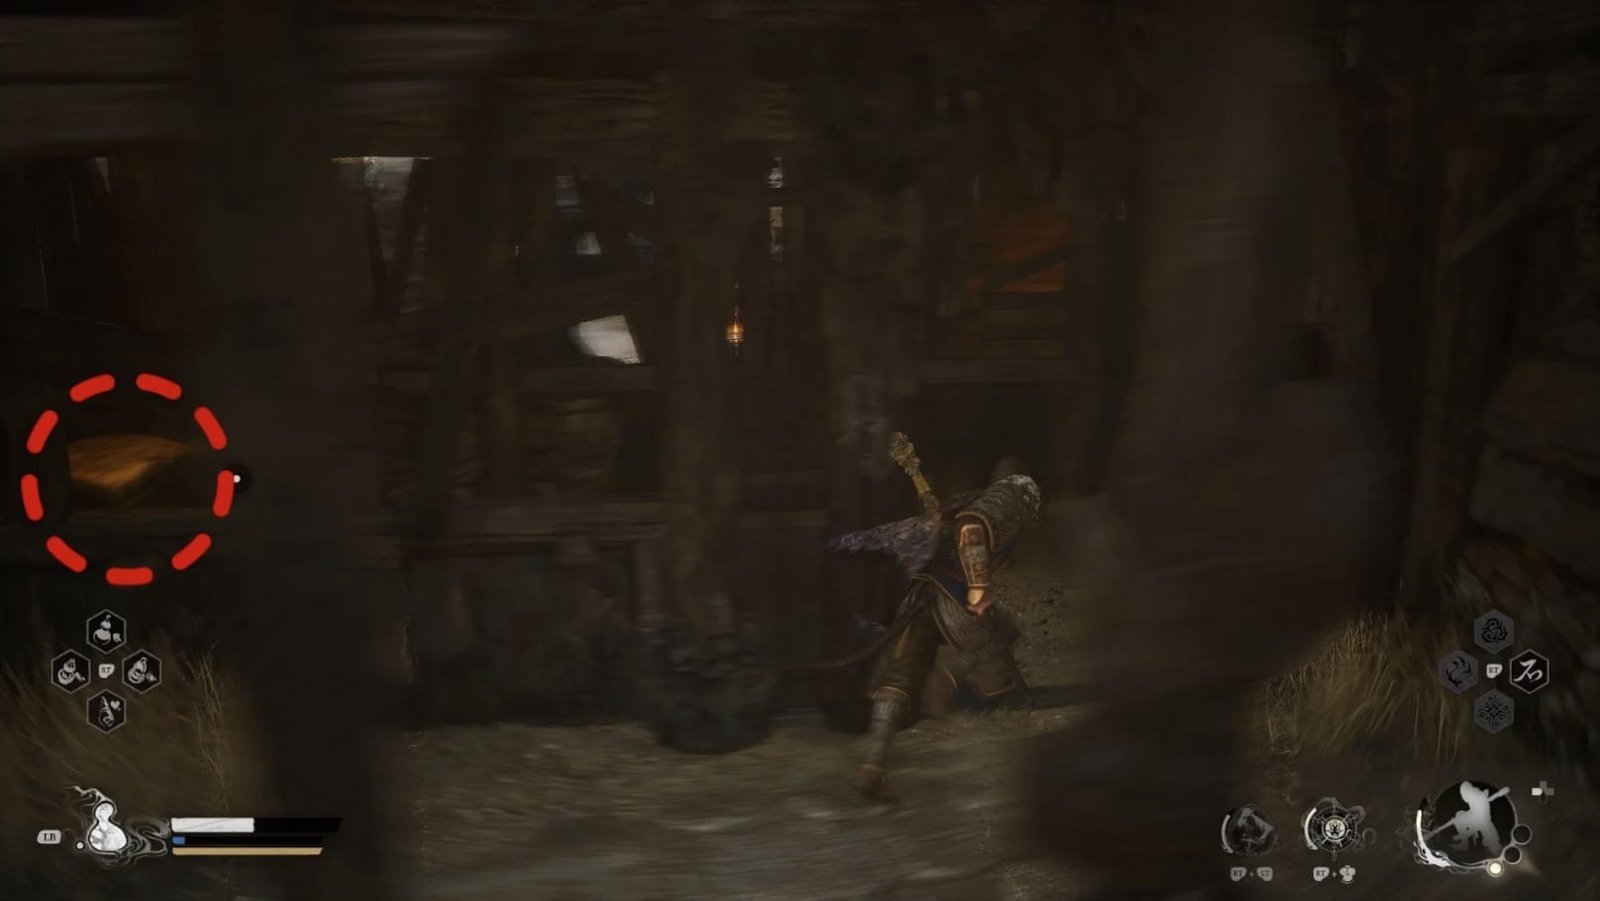
To the right of the gate is a large empty shack surrounded by Withered Corpses who don’t seem to move much without provocation. This area is actually important for later, so remember the spot. (This is related to Secret 15 and the Old Rattle Drum).
You can still search some of the smaller homes to find a chest in one that holds 2 Silk and 3 Tiny Piece of Gold.
Open the large gate the Rat Imperial Guard were posted at, and head through to the other side.
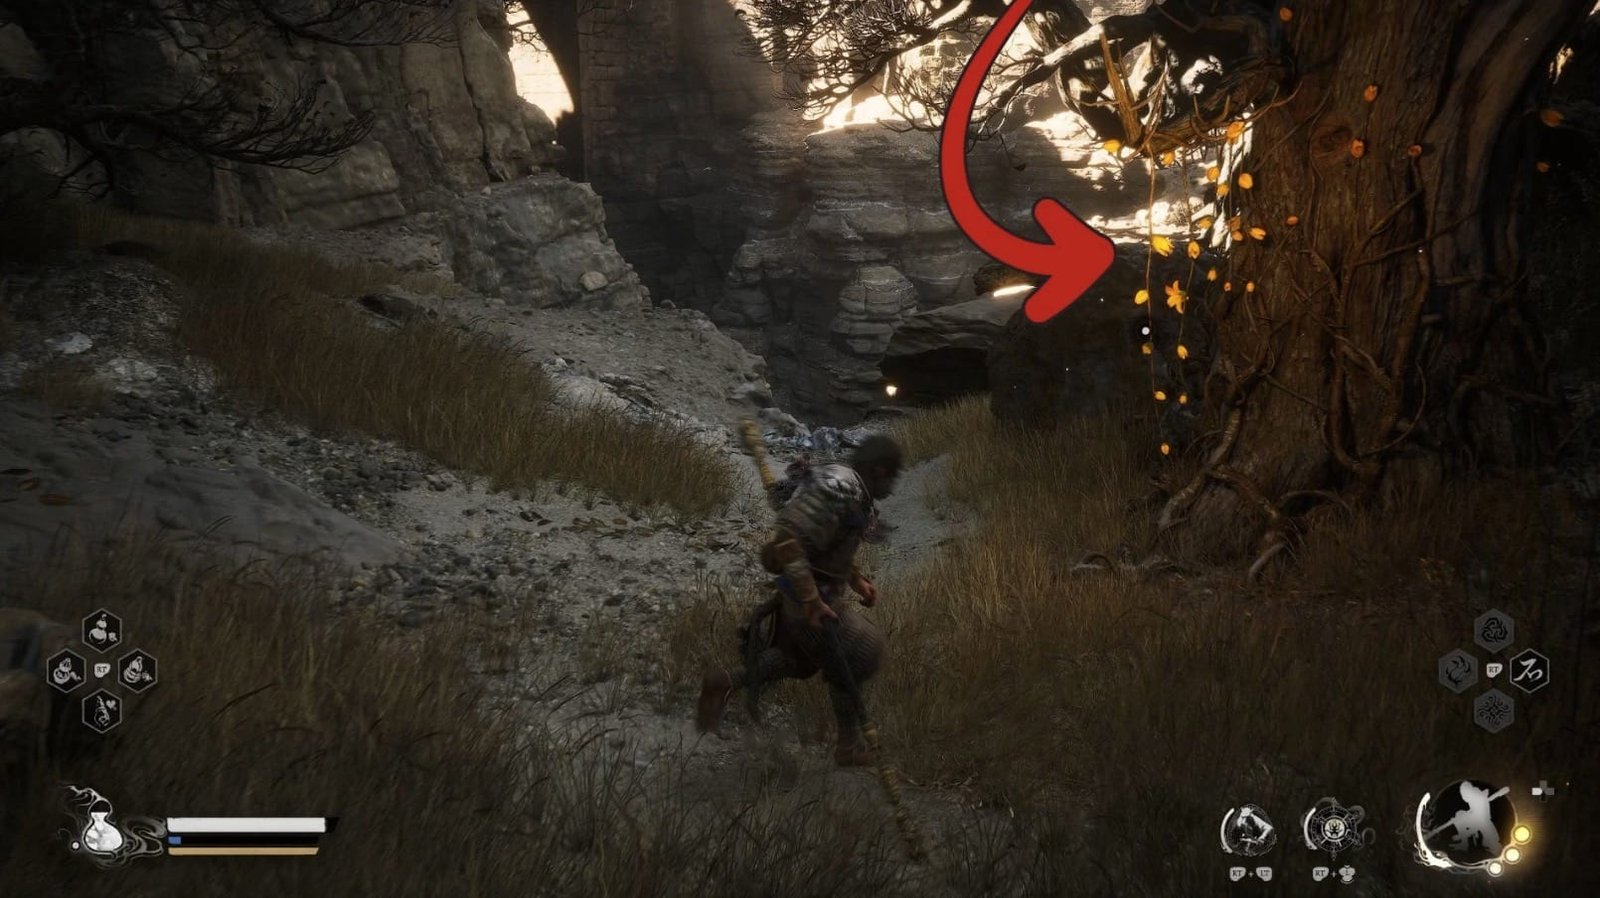
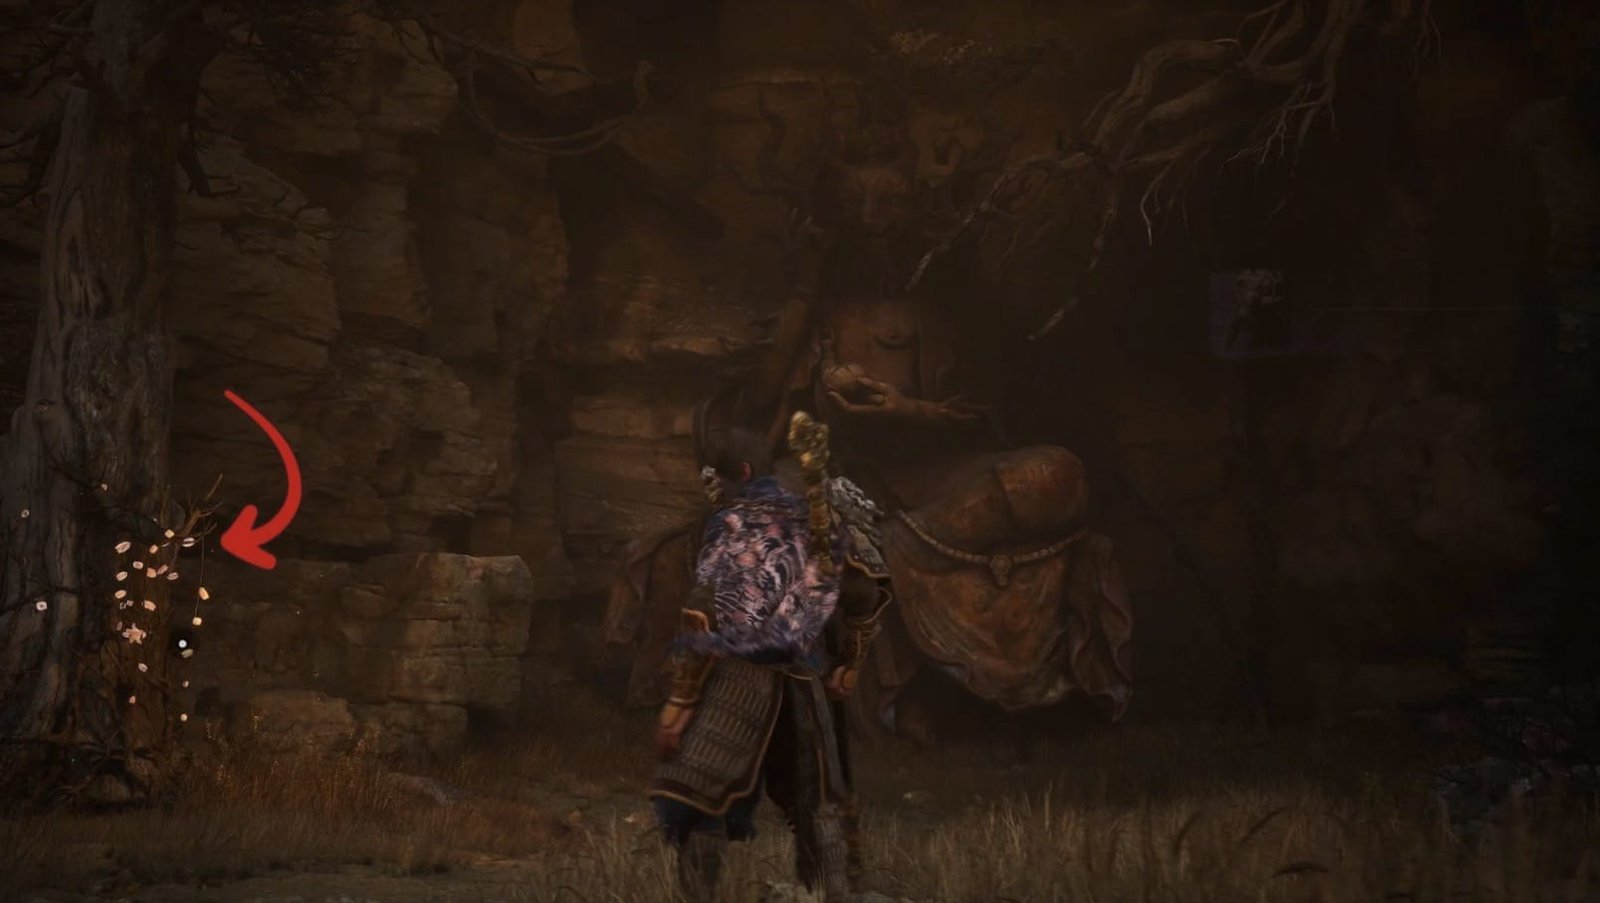
Be sure to look to the right as you open the gate, and you’ll find a tree with glowing flowers on it. Gather the Luojia Fragrant Vine, and be sure to return to the Shen Monkey later to improve your Gourd when you can!
Watch out for another Lingzhiling in disguise nearby from the fragrant vine, and then travel up the path (check a small cave on the left for a green Wisp) and up to the Windrest Hamlet Shrine.
Windrest Hamlet
After resting at the Shrine, prepare to enter the village of Windrest Hamlet, which is fraught with danger.
Crossing the bridge, you will encounter a Shield Horse and a few Withered Corpses. Take them down as usual. Be careful not to be pushed off the bridge, you will fall into the abyss!
The nearby house (on the right) has a Spirit inside, don’t miss it.
Continue along the path, you will find a Fire Bellflower along with its seeds. Collect the seeds so you can plant more Fire Bellflowers later.
Nearby, you will see a large dead tree, next to it is a chest containing Will x382 and Silk x2.
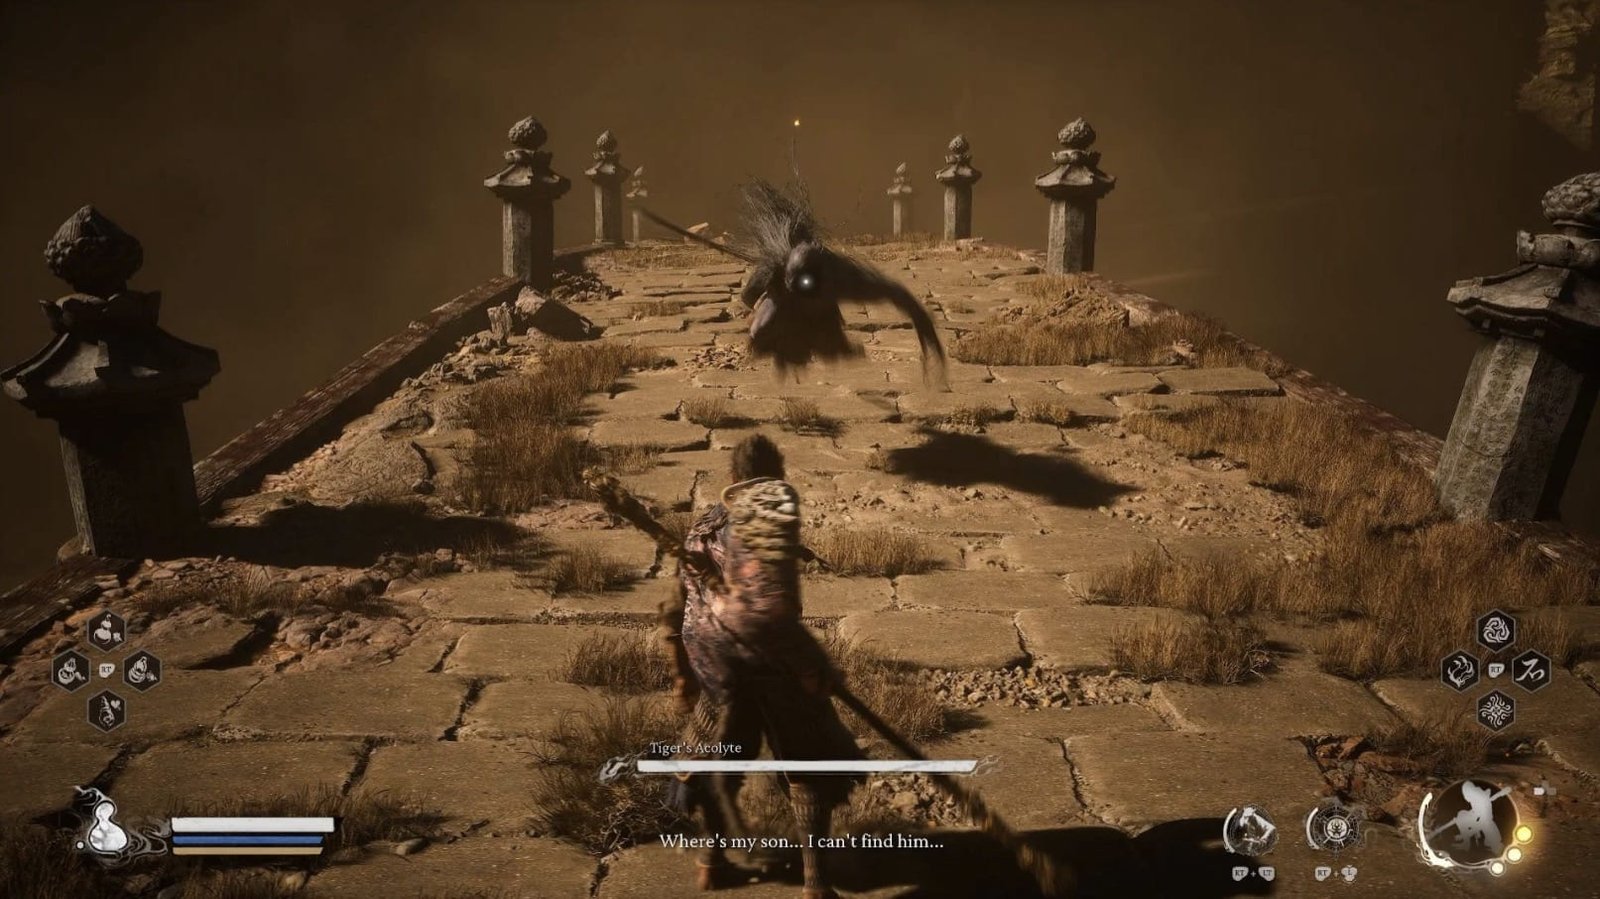
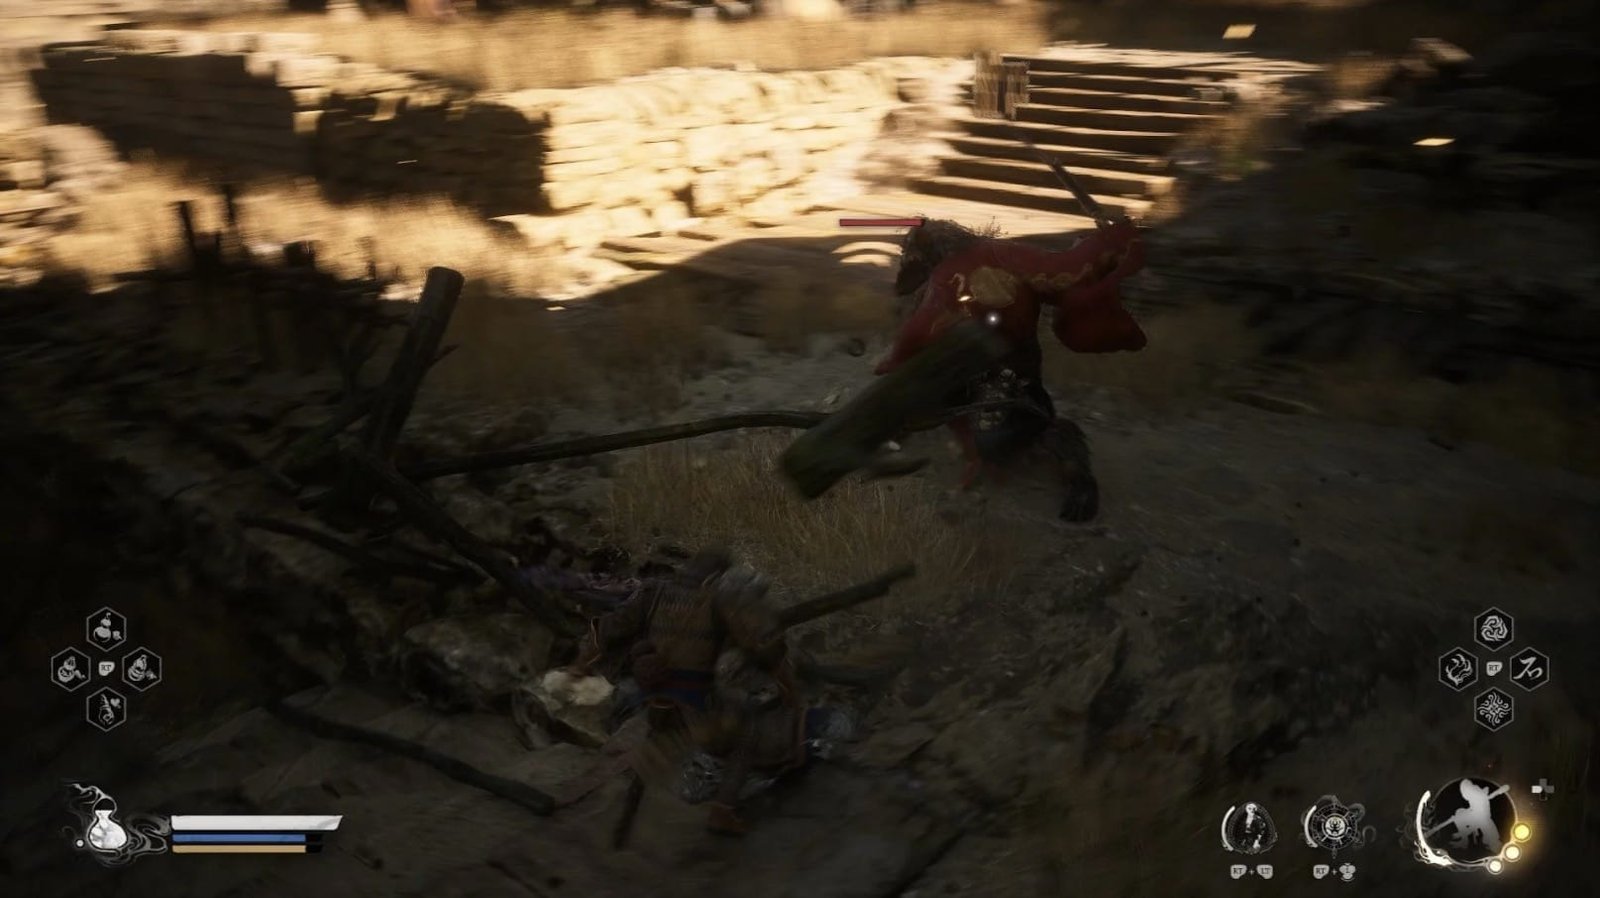
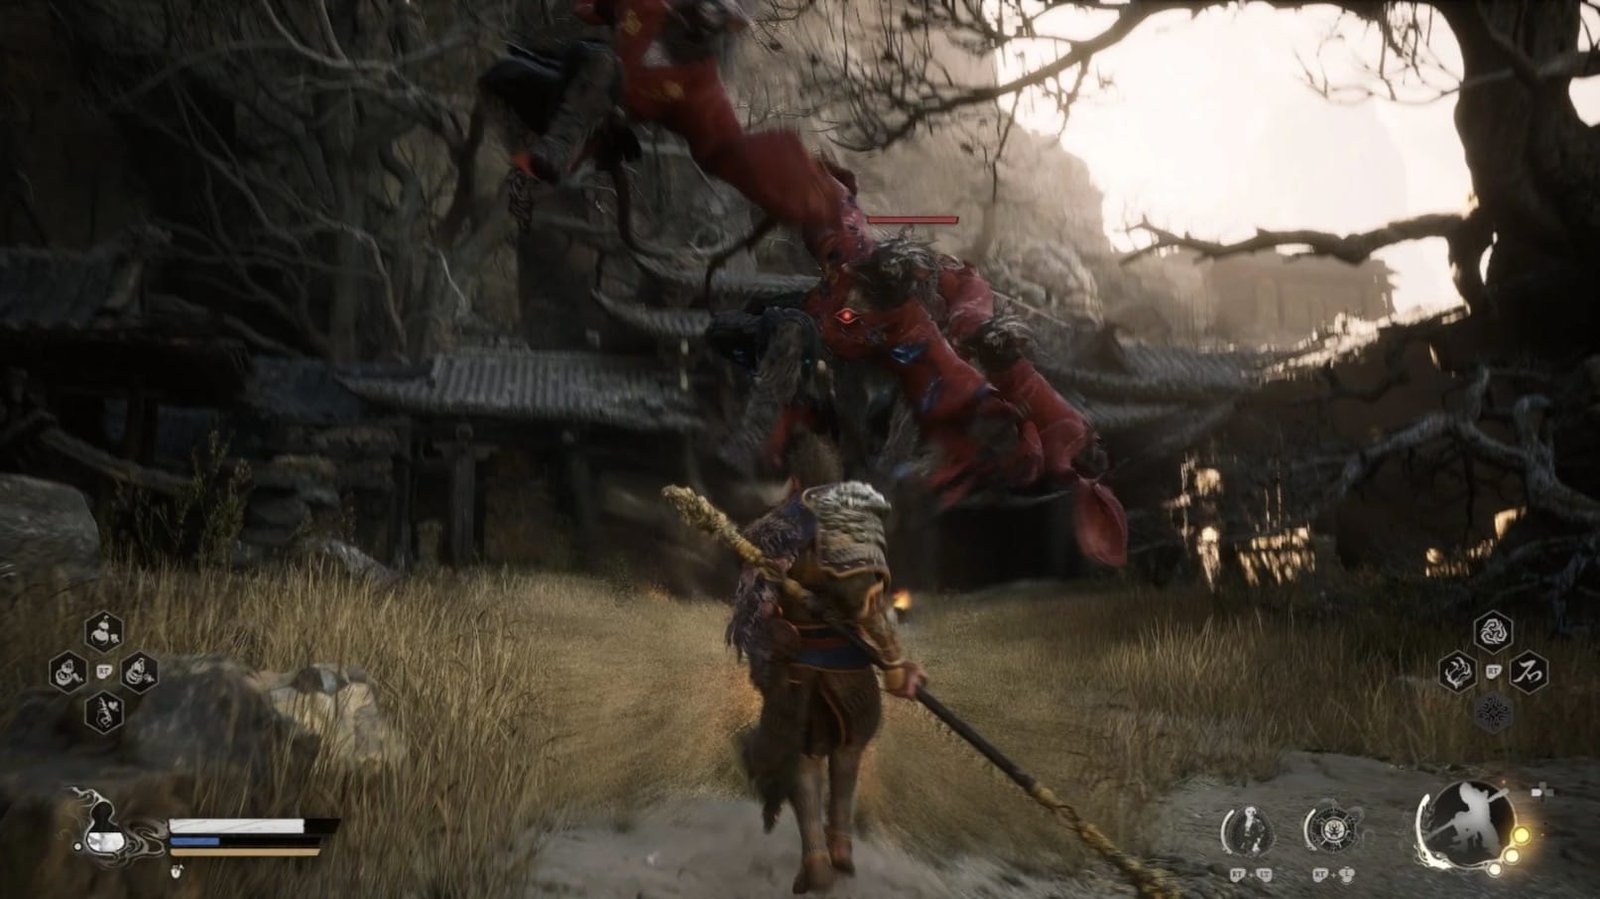
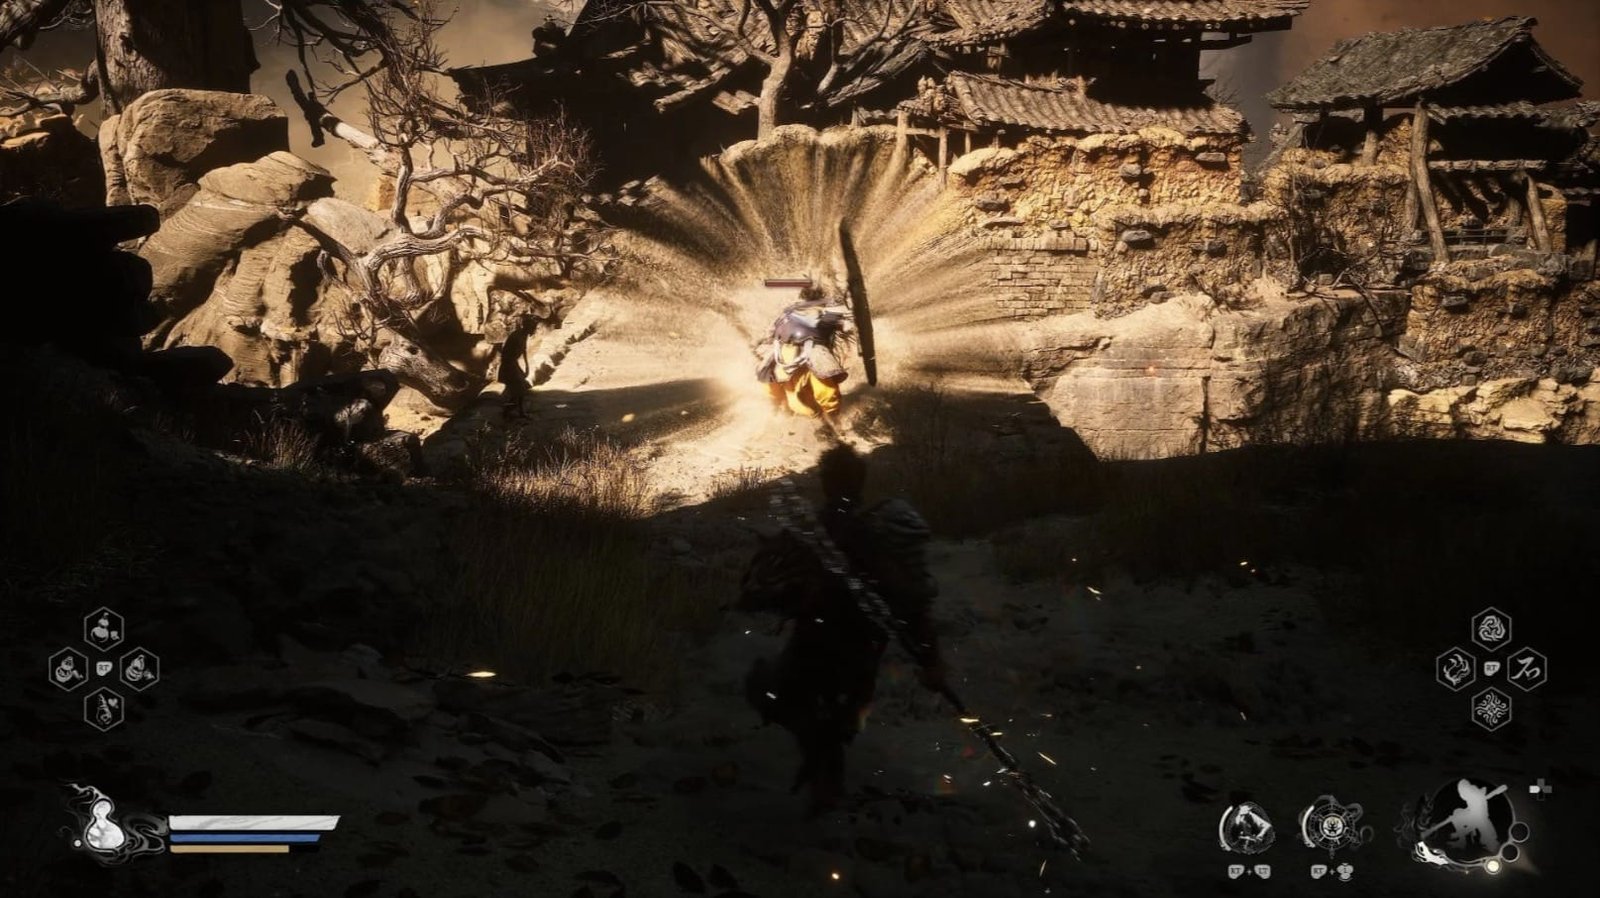
Go down the slope, you will see a bridge with a faint mist. On the bridge, an imposing figure stands – Tiger’s Acolyte, a very annoying mini-boss. Before engaging in battle, take a deep breath and prepare carefully.

After defeating the Tiger’s Acolyte, cross the bridge and get the Nine-Capped Lingzhi on the steps.
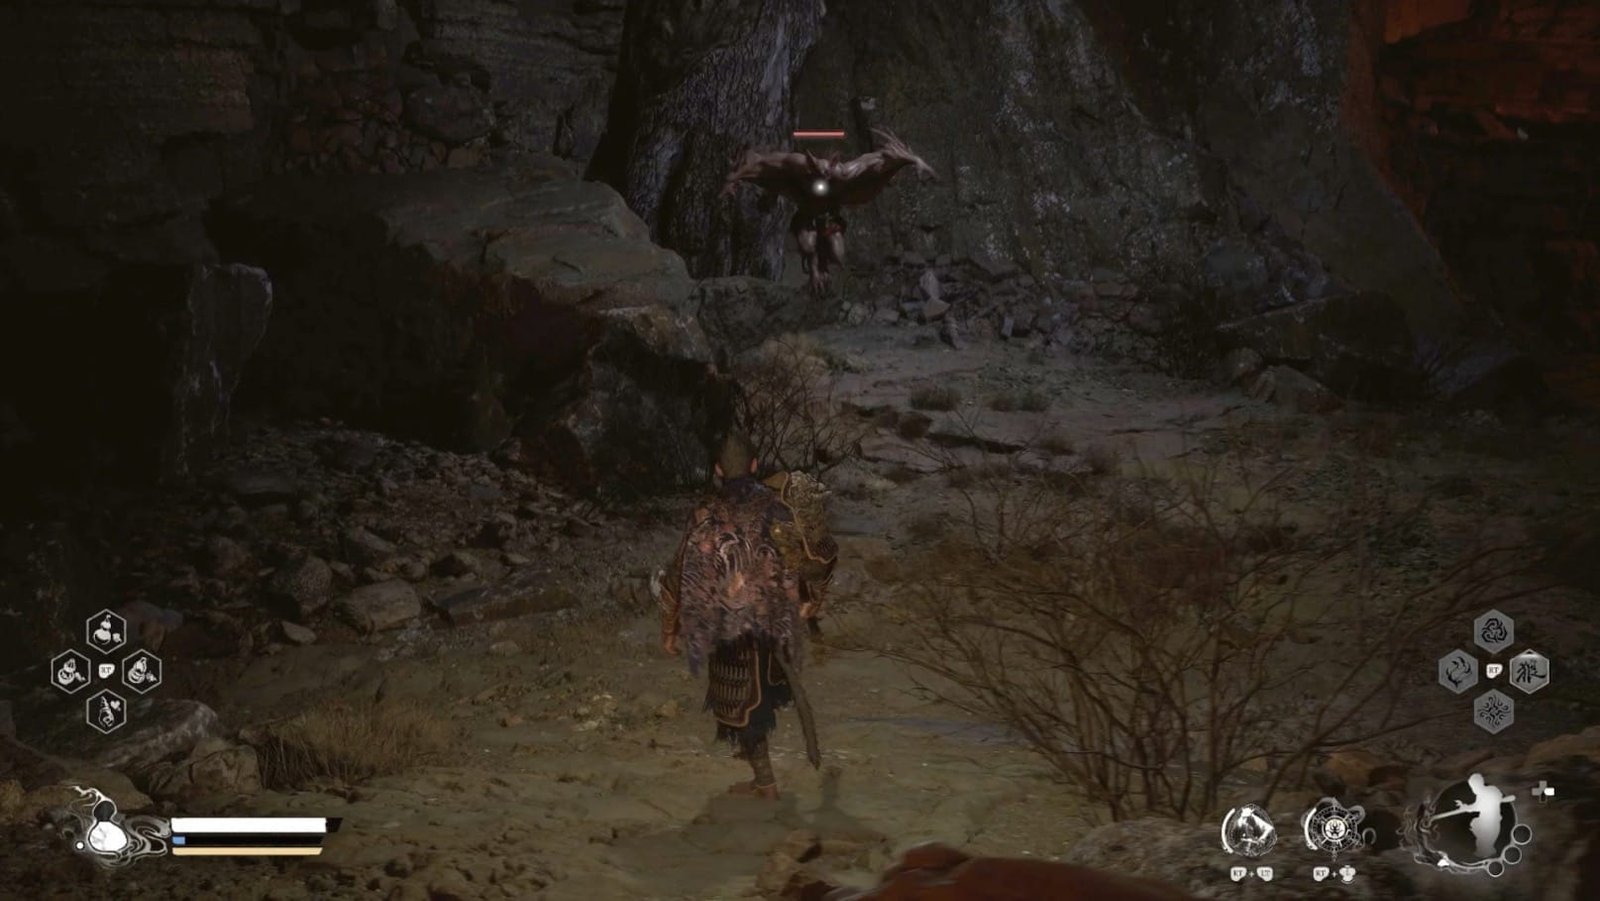
Looking up, you will see a strange object hanging. That is a bat, kill it along with the corpse below.
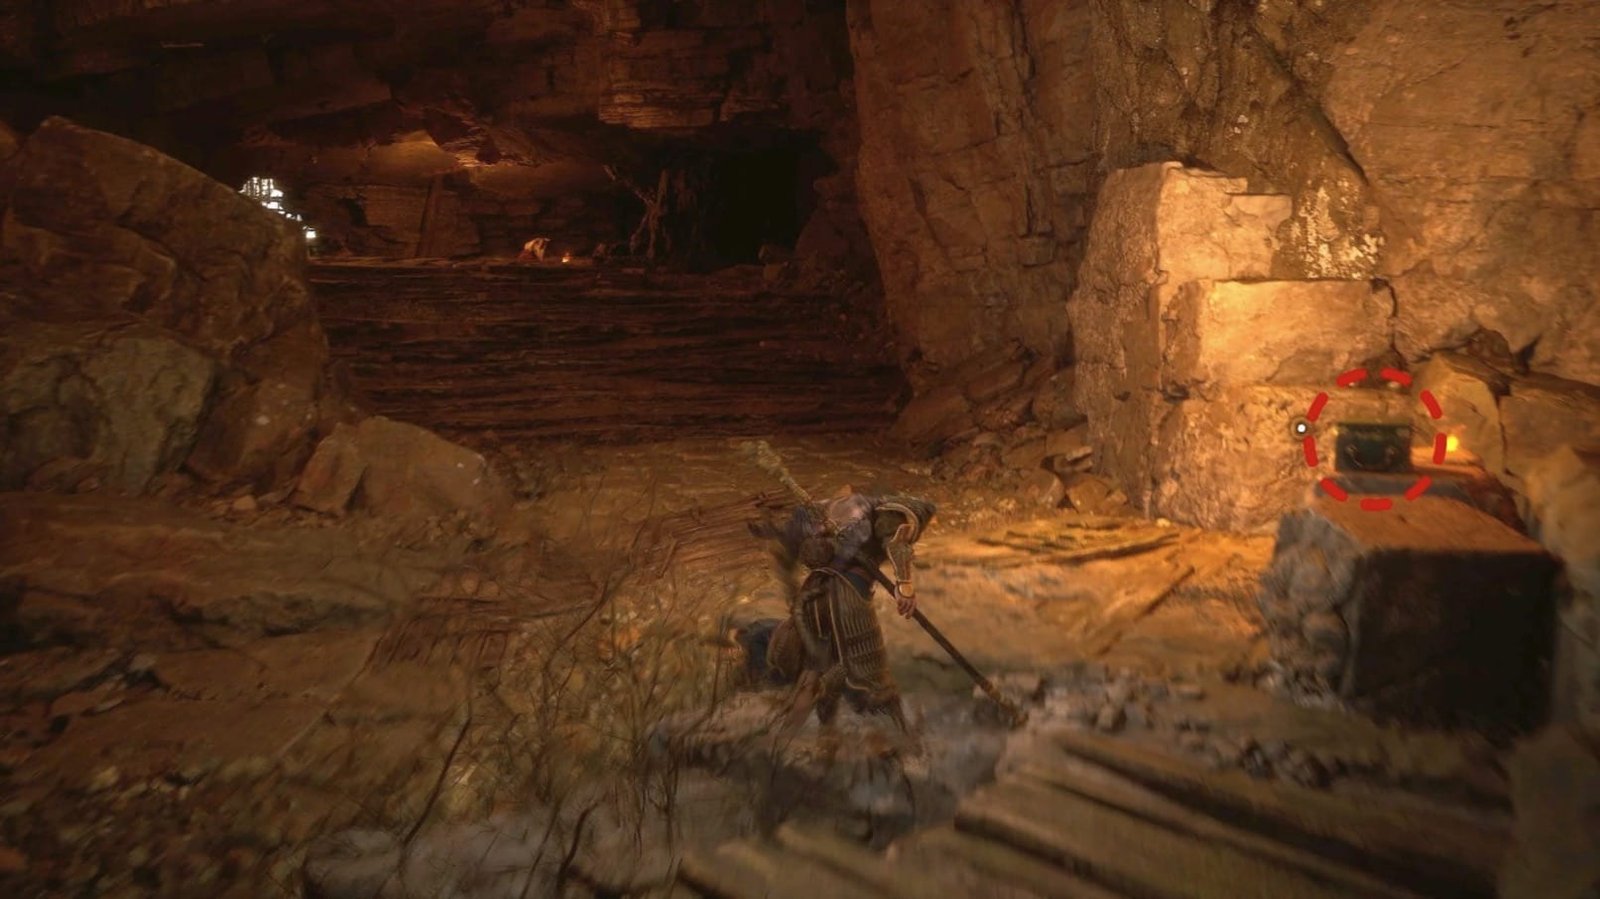
Continue, you will see a Spitter, take it down and look to the left, you will find a chest nearby, containing Curio – Glazed Reliquary a reward for perfect dodging.
Go forward, you will exit the cave. Get the Licorice on the right. At this point, you have returned to the Rock Vanguard area and the Shigandang Boss arena (these are two previous bosses).
At this point, I recommend you go back to do the side quest related to the Old Rattle-Drum and explore the secret area Kingdom of Sahali. Completing these will help you get the Wind Tamer – an extremely useful item for the final boss battle.
Windseal Gate
After you’ve returned and completed the side quest with the Old Rattle-Drum and explored Kingdom of Sahali (as suggested at the end of the previous section), it’s time to head to Windseal Gate.
From the Rock Vanguard area, fast travel to Keeper’s Shrine: Sandgate Village – Valley of Despair.
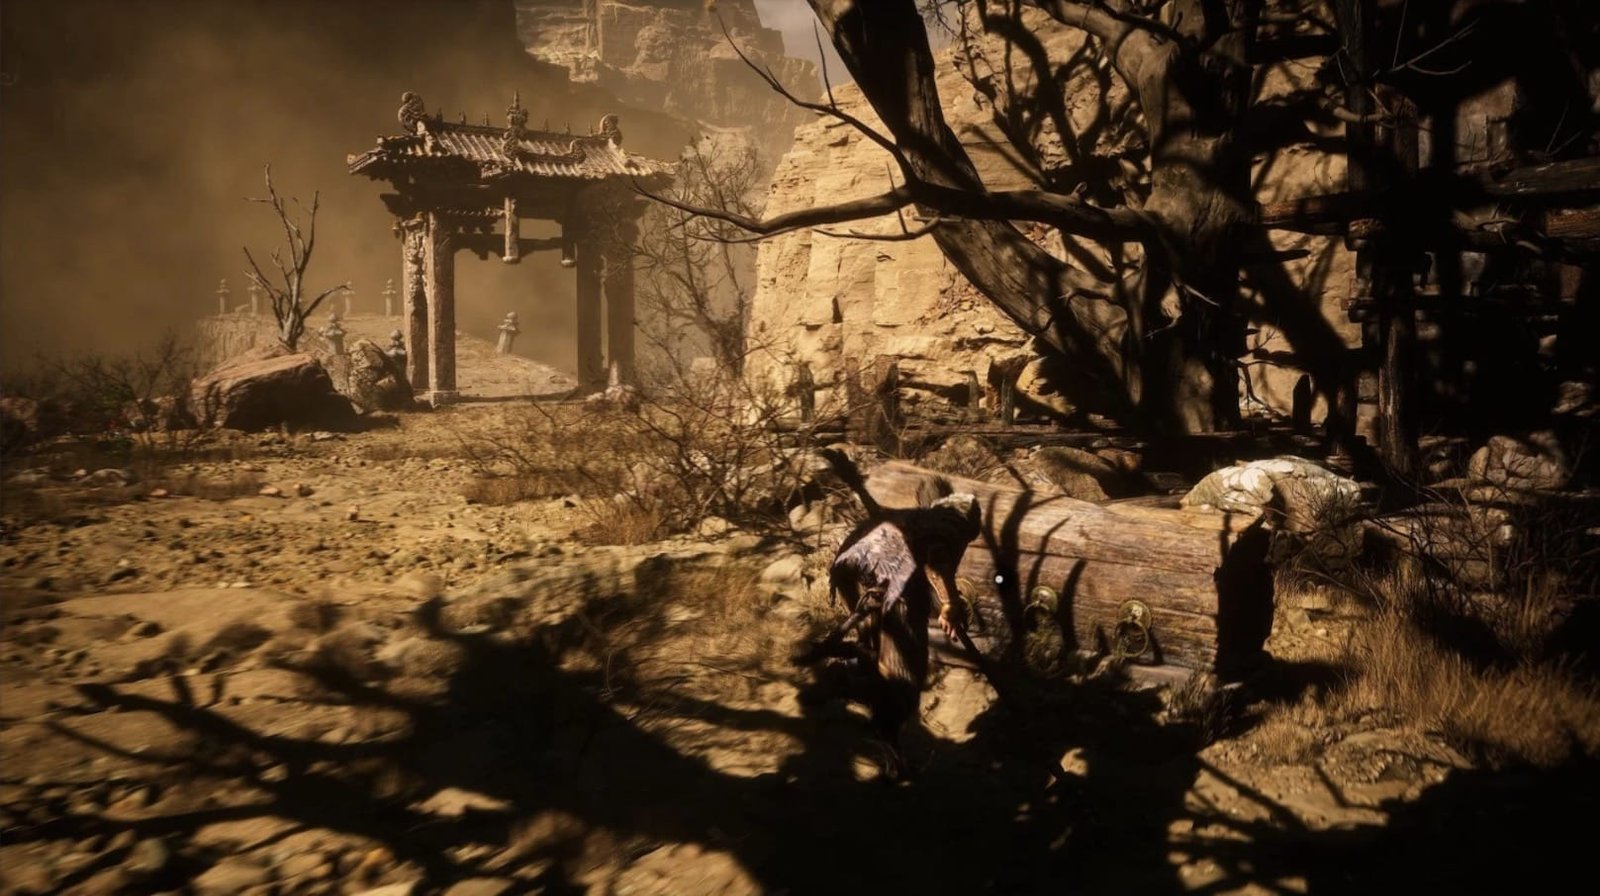
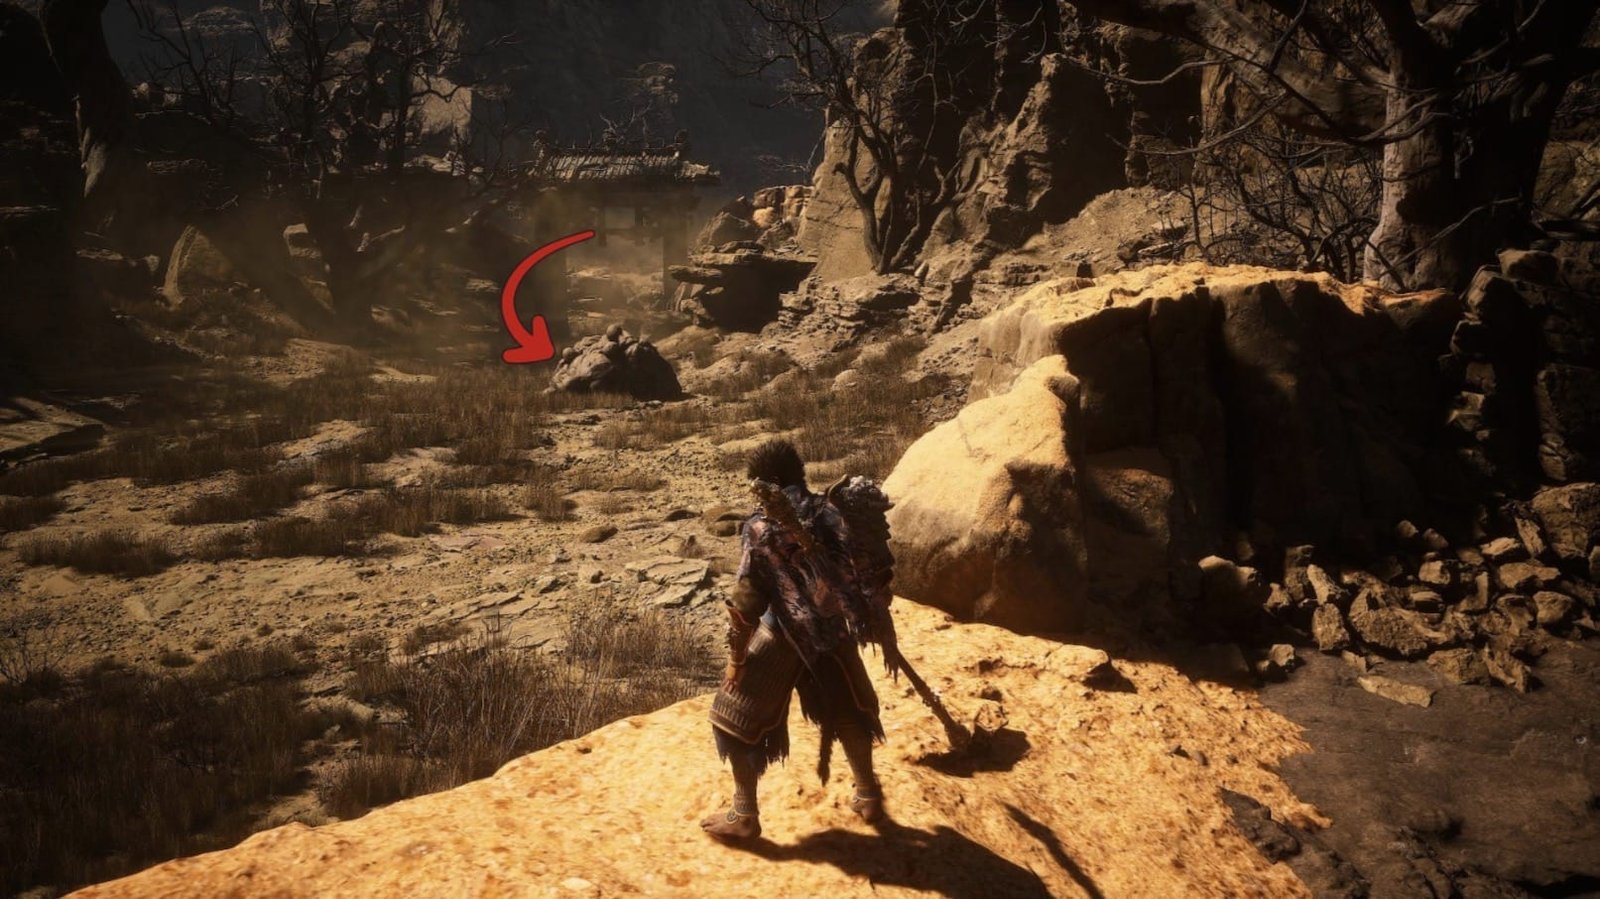
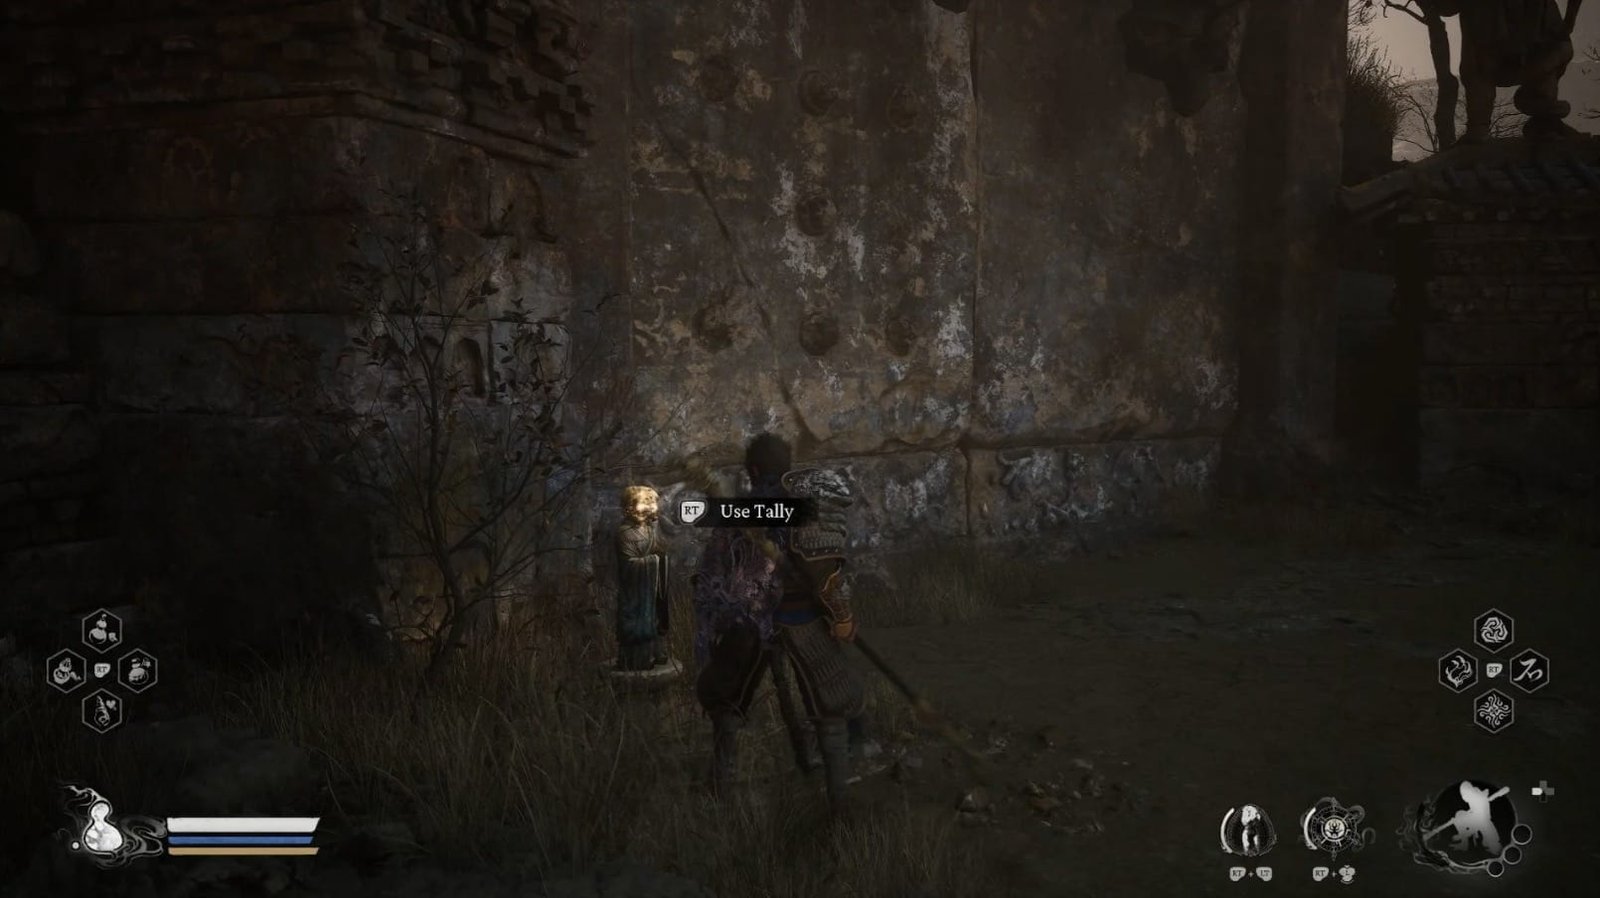
Turn your back to the arena (where the bridge is), you will see a path on the left. Follow that path, you will see a large statue where we needed the Tiger Tally to open the gate. Now that we have the Tiger Tally (obtained by defeating Tiger Vanguard), use it to open the gate. This is another entrance leading to this Yellow Wind Formation area.
Go through the gate, down the stairs, you will see a small ravine on your left. This path leads to a shortcut door, connecting to the “Cave area” – where we fought the First Son.
Go down the stairs, you will see a skeletal horse with a shield.
Next to it (on the right) is a new enemy: Weasel Captain. They move fast and attack with scimitars, but a full combo will finish them off easily.
Get the Fragrant Jade Flower nearby.
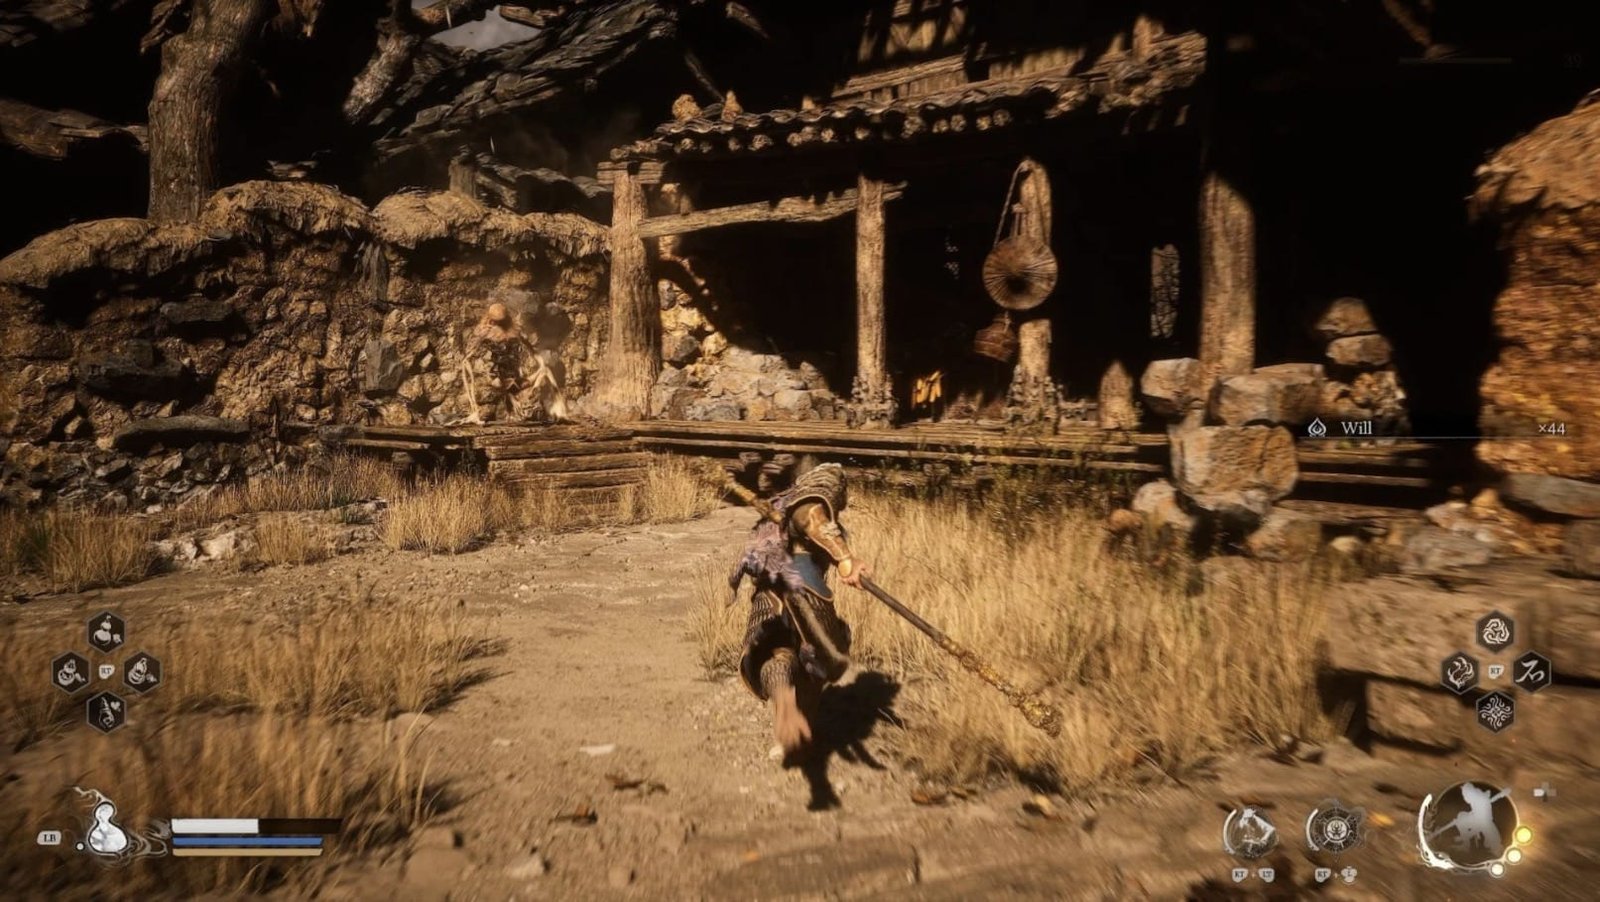
Go down the stairs, turn RIGHT, go through the building, you will reach an open area with many corpses. This is one of the locations to use the Old Rattle-Drum. When used, the scene will turn black and white. (This is the second location to use the Old Rattle-Drum, the first is at Windrest Hamlet near the Shrine, the third is at Sandgate Village I will reiterate this in the Notes section).
In the back of this area is a chest containing Will x374 and Silk x2. There is also Aged Ginseng nearby, but you have to fight for it.
Return and cross the bridge that the skeletal horse was guarding earlier.
On the other side of the bridge, get the Fire Bellflower on the right. Proceed a little further, you will get Licorice (guarded by a Weasel Captain).
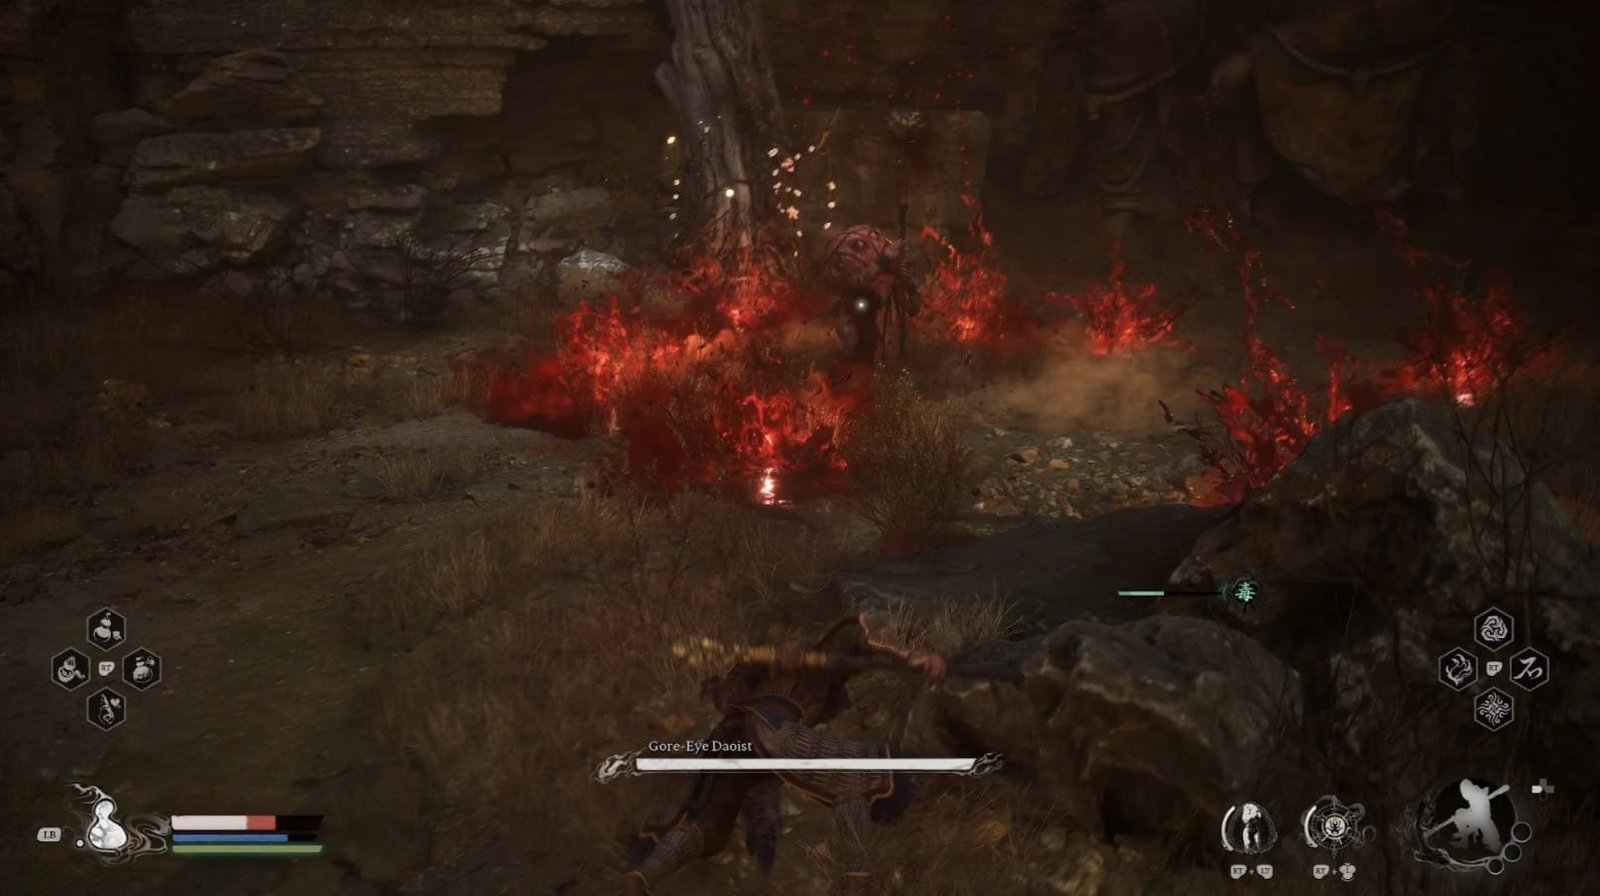
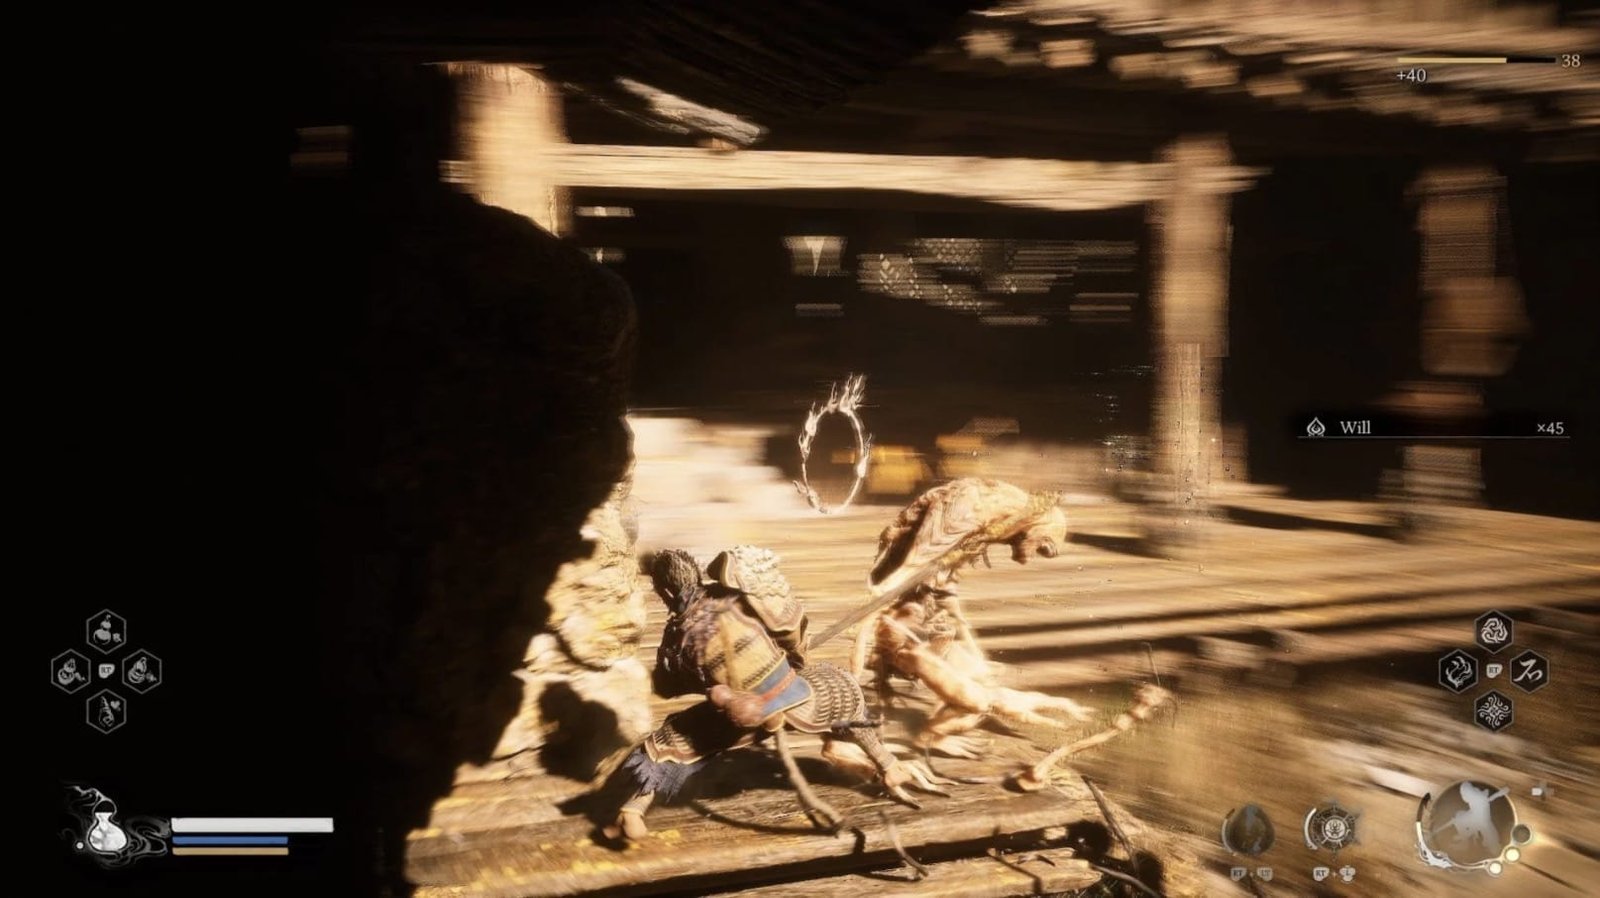
Right ahead is another mini-boss fight: Gore-Eye Daoist.
Gore-Eye Daoist is a fairly easy opponent if you understand his mechanics. He uses poison blood as his main weapon, creating blood pools and shooting blood beams at you.
His blood is VERY POISONOUS. Avoid standing in blood pools and be careful when hit. Have some detoxifying items ready.
After defeating Gore-Eye Daoist, interact with the tree nearby to get the Luojia Fragrant Vine. We are about to have enough materials to upgrade the Gourd! At the end of the area, opposite the entrance, there is Nine-Capped Lingzhi / Purple Lingzhi guarded by a Weasel Captain. Fight for it.
Follow the path on the left from the initial entrance. Get the Fragrant Jade Flower and Spirit along the way.
Finally, you will reach a bridge and meet our old friend: Keeper’s Shrine: Windseal Gate. Activate the Shrine to rest.
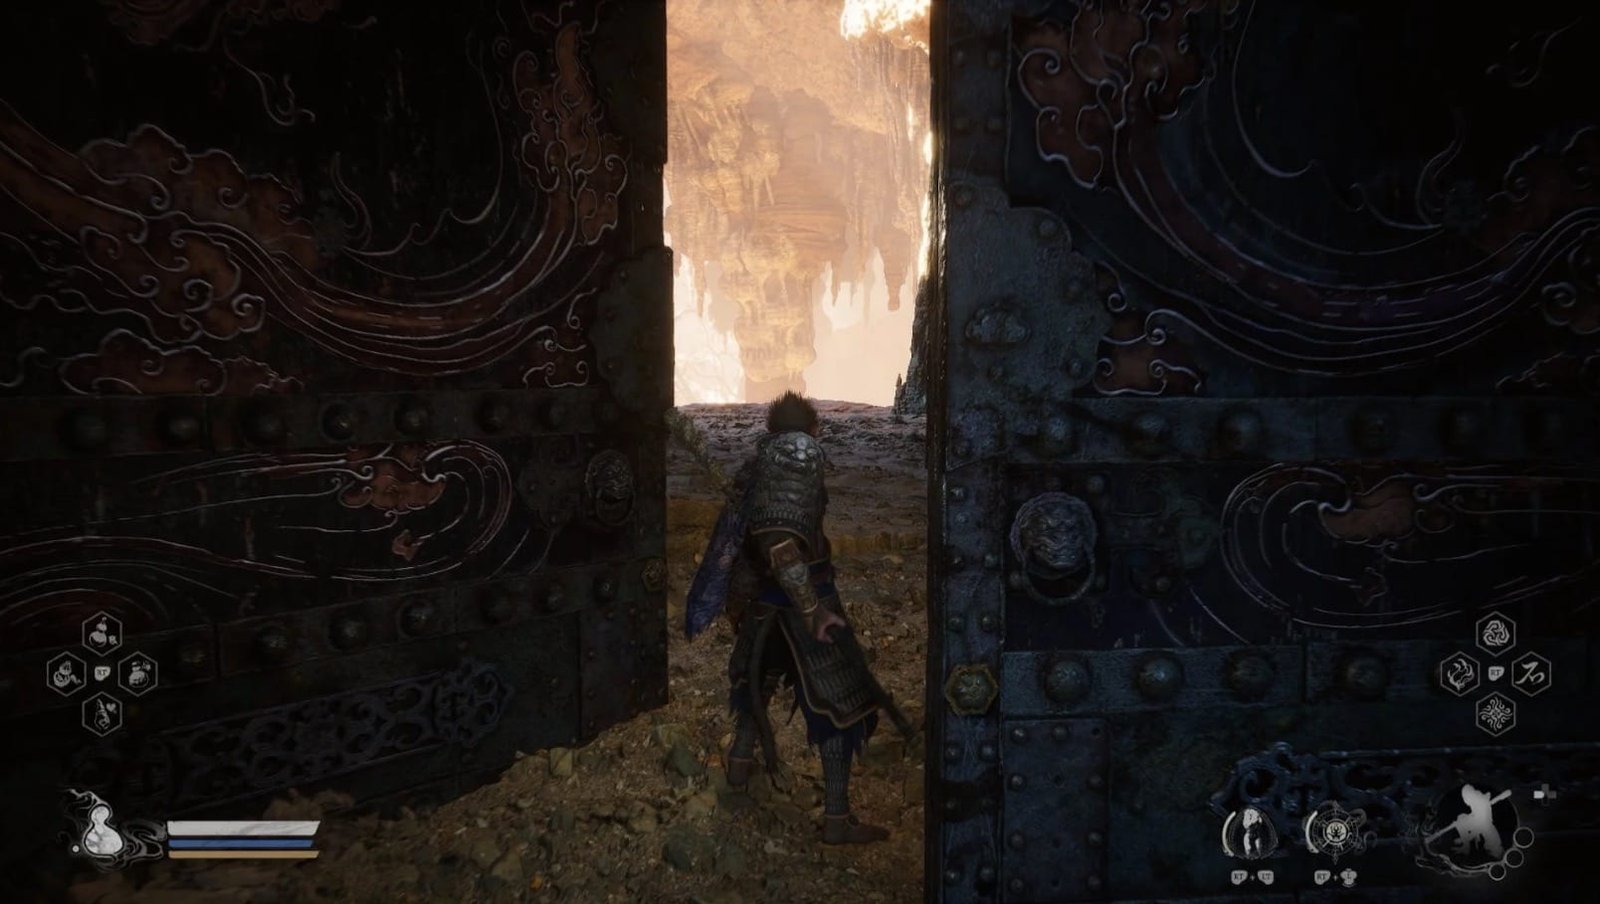
To the left of the Shrine is a gate, you can open it with the Tiger Tally. This gate leads to the location of the final boss in this chapter.
We have reached the final stretch of Yellow Wind Formation. Get ready for the final battle!
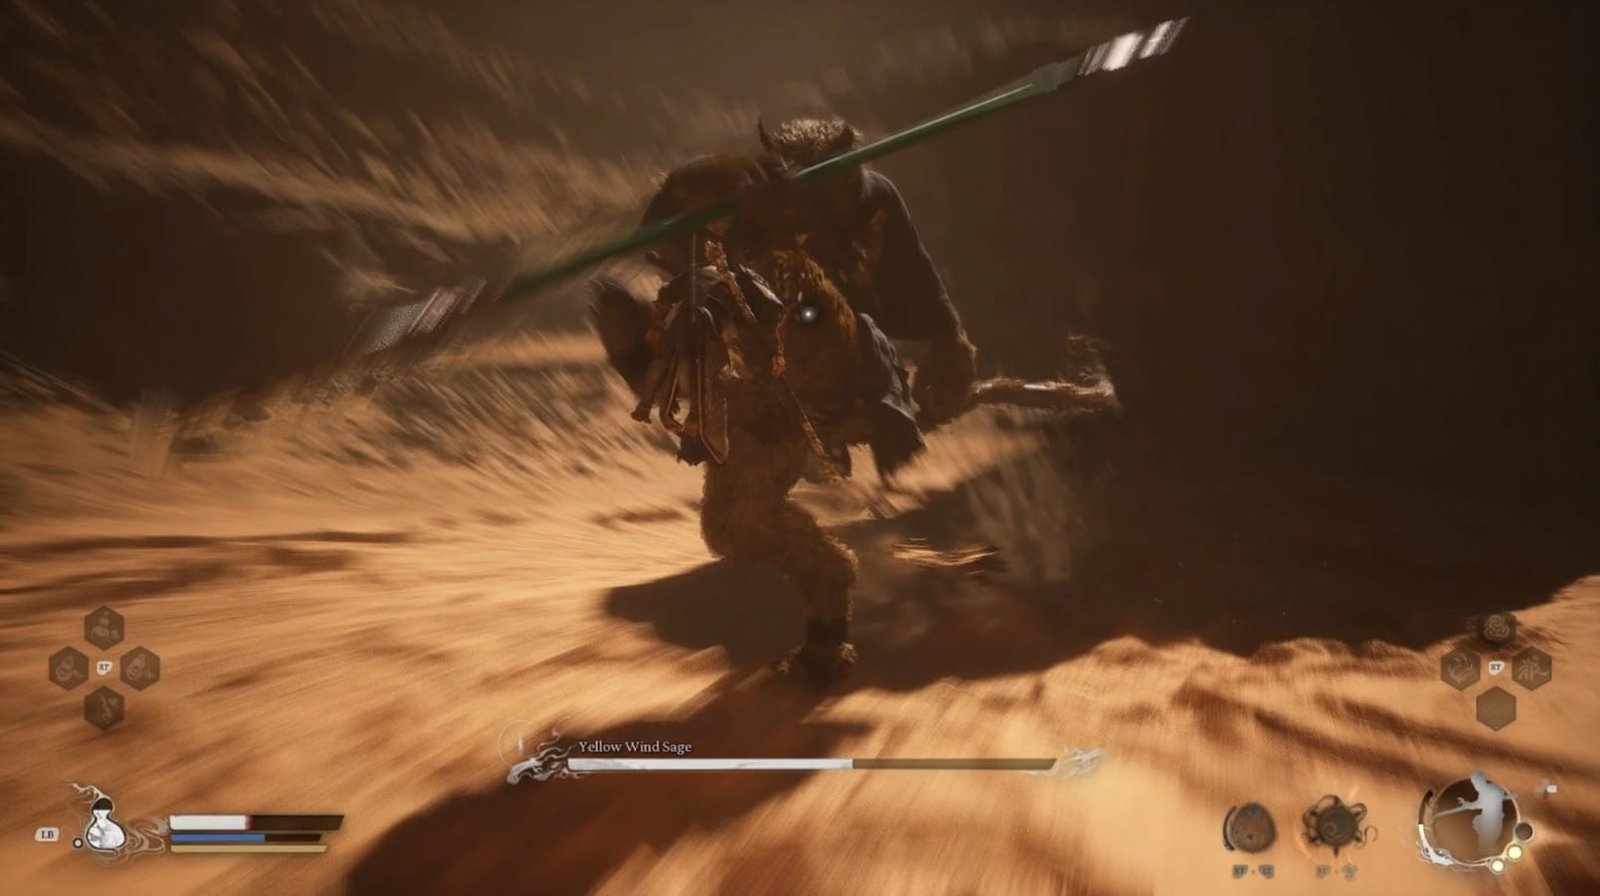
Yellow Wind Sage Boss Fight
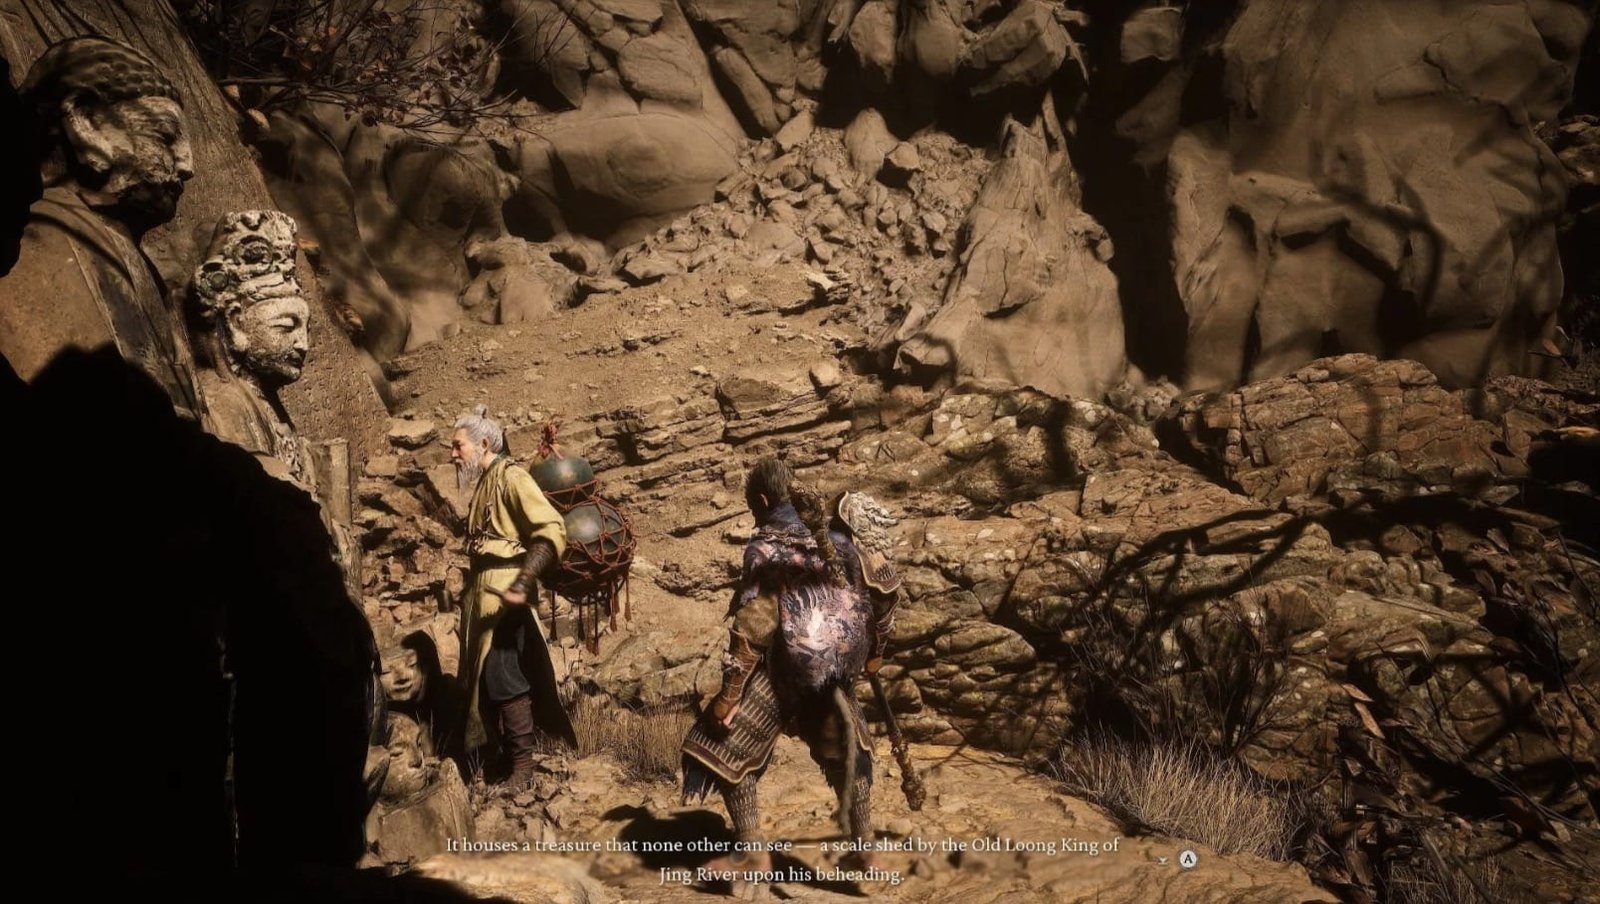
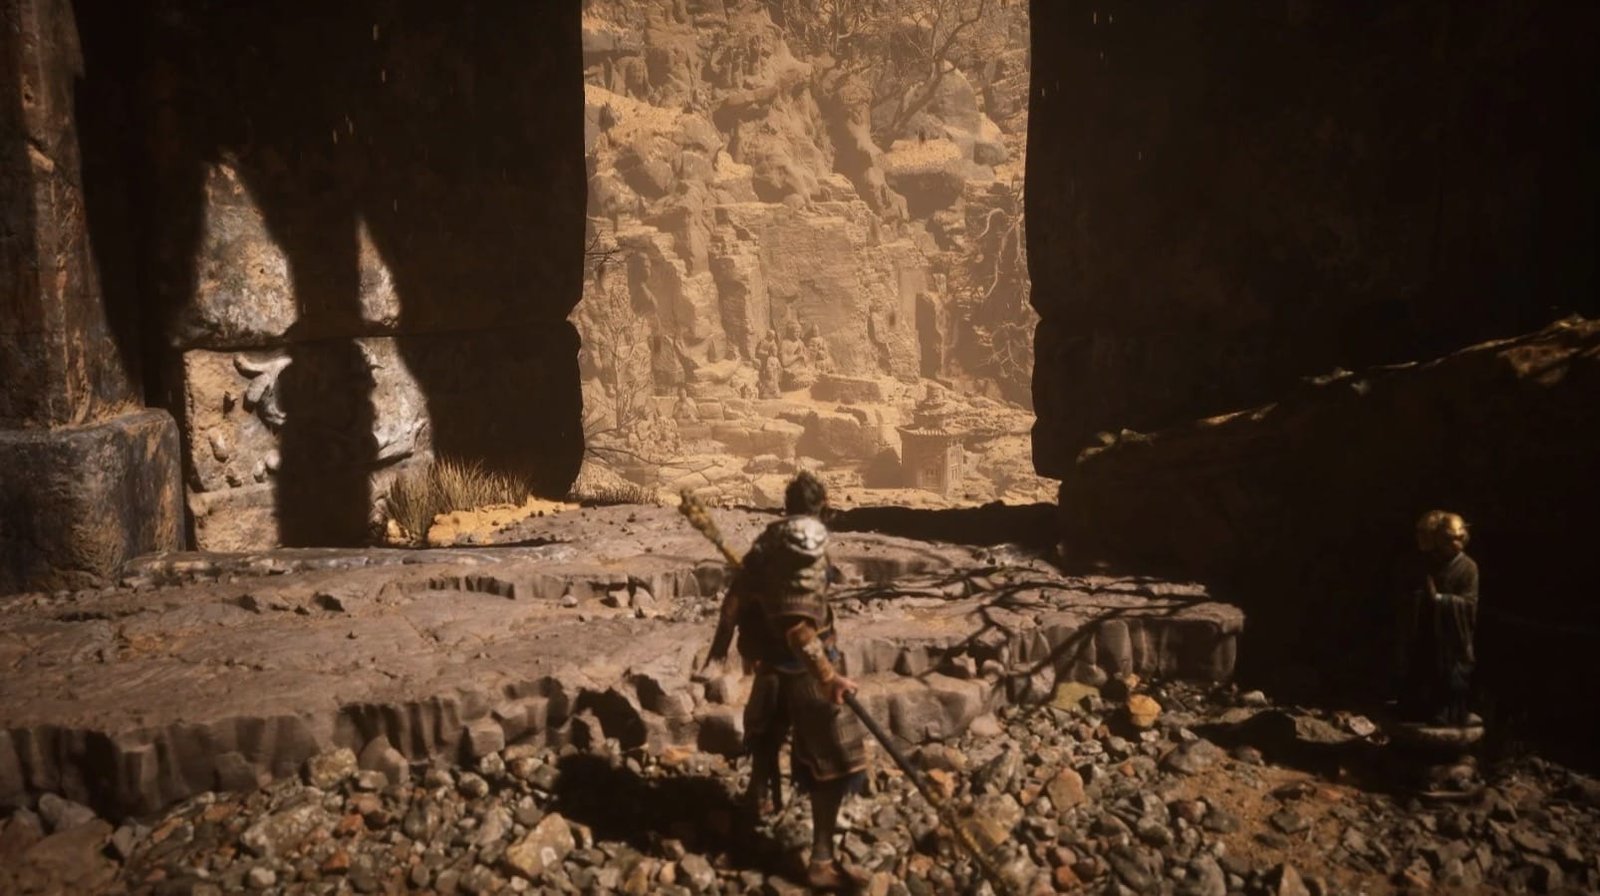
From the gate you opened with the Tiger Tally, go down the stairs. Instead of turning right towards the sand tornado (where the final boss is), go straight and turn LEFT. You will find a path leading to a grotto. Here, you will meet the Wise Master, who imbued your gourd with the power to absorb Spirits. He will have a few more words of wisdom (hinting at the existence of the Loong Scale we picked up in the Valley of Despair), and you can also find the Yellow Wind Meditation Spot nearby. Use this Meditation Spot to gain one free Skill Point.
There is a path on the left just before you reach the sand tornado. This path leads up to Keeper’s Shrine: Crouching Tiger Temple Cellar. Activate this Shrine, as it is a shortcut to quickly return to the boss if you happen to fail.
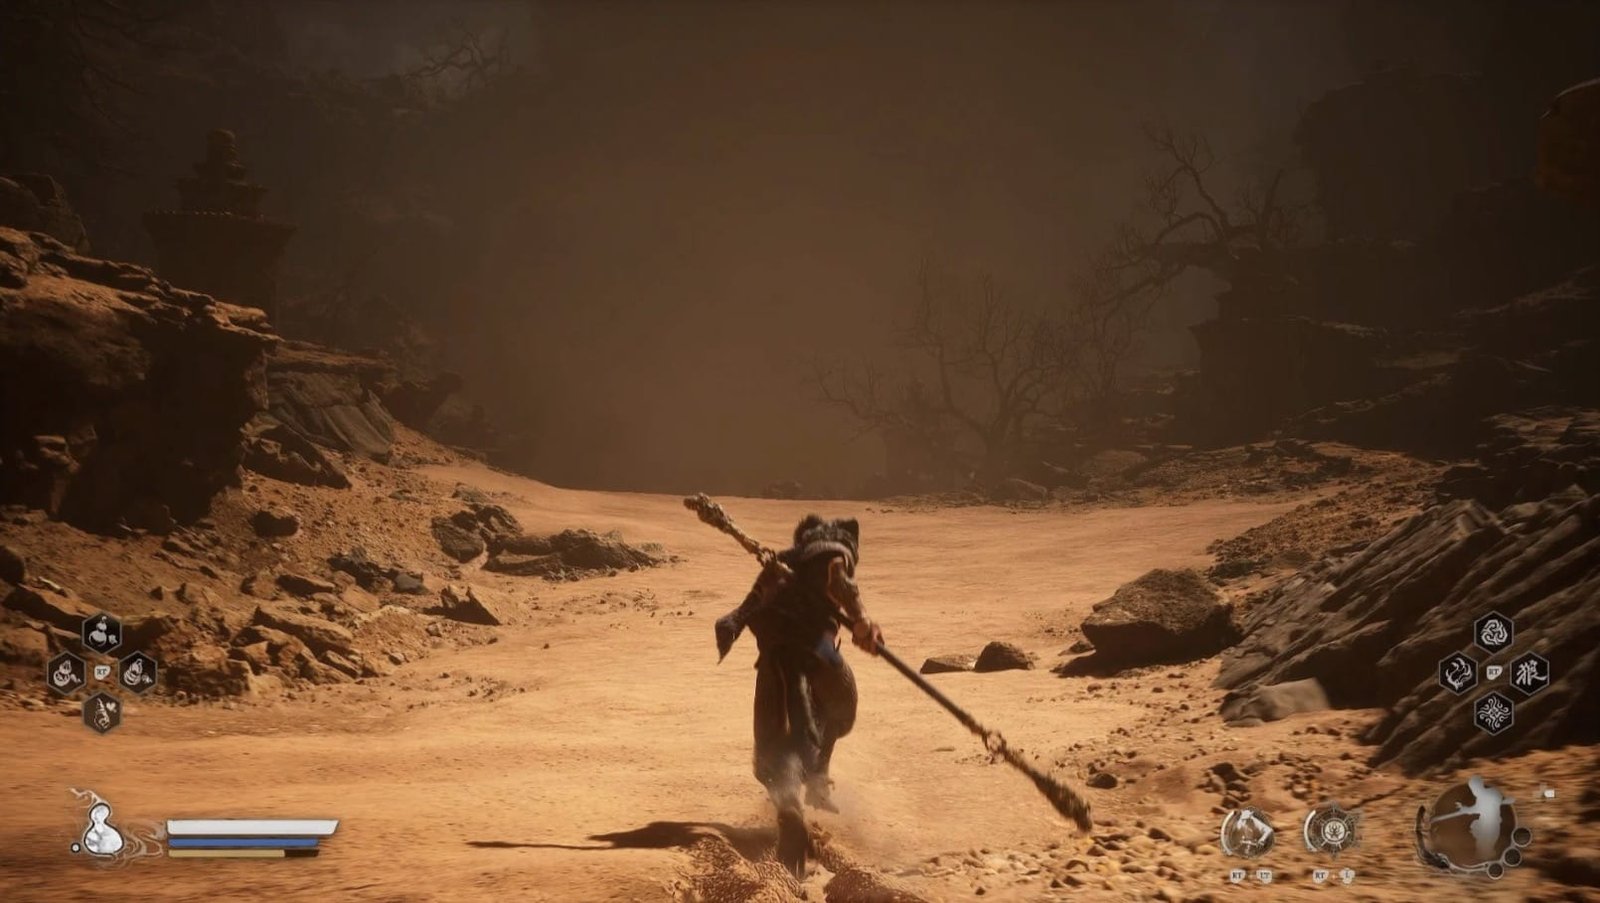
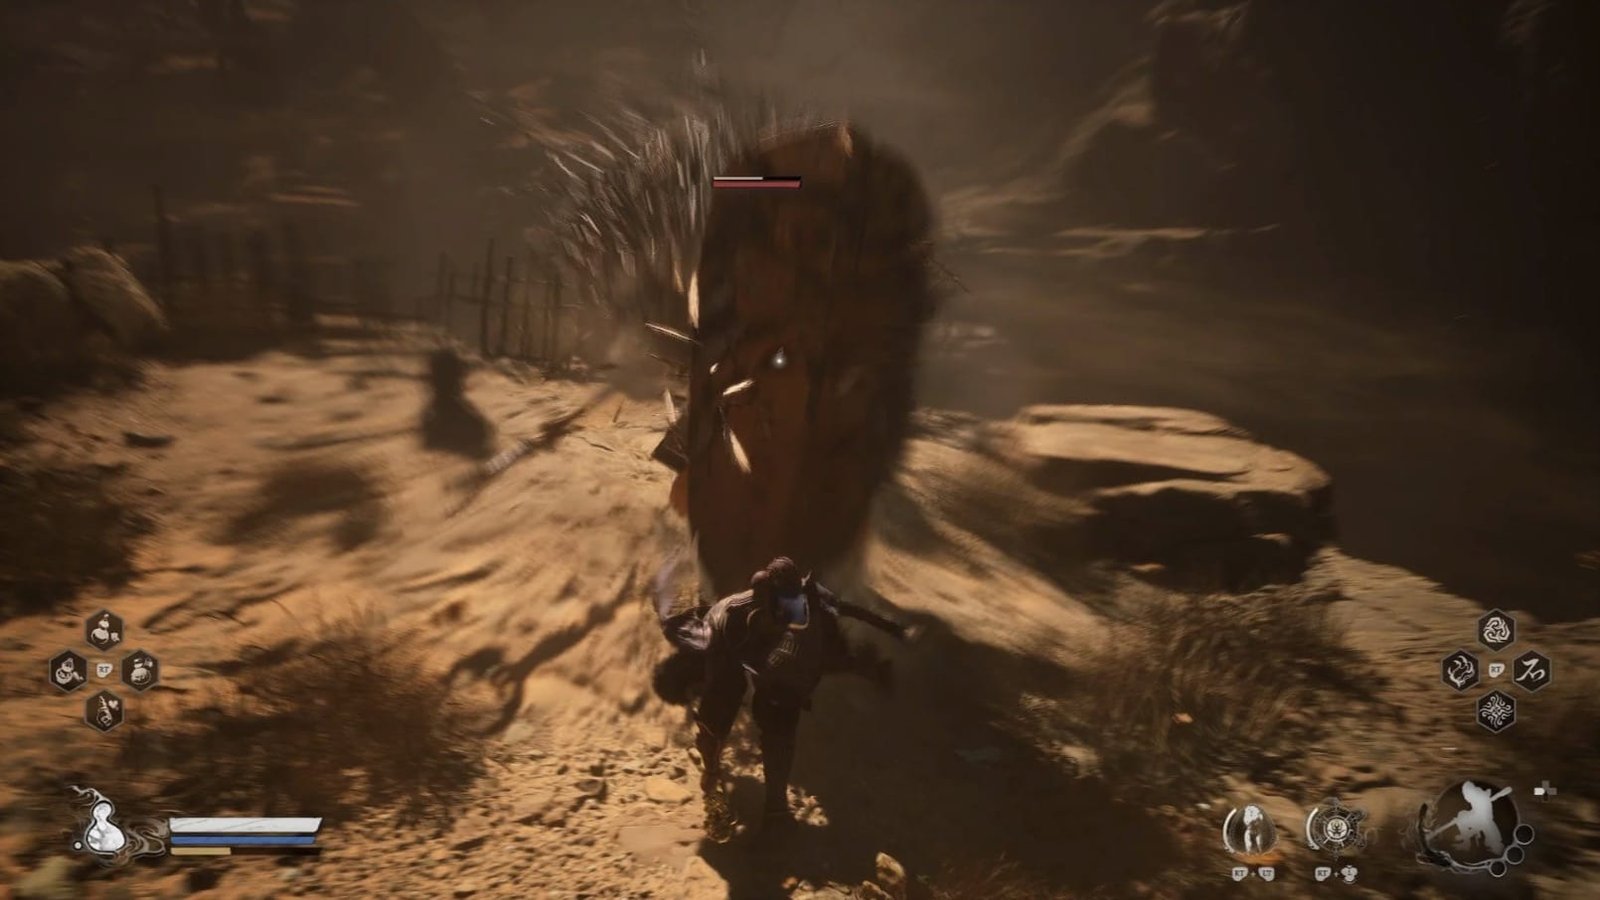
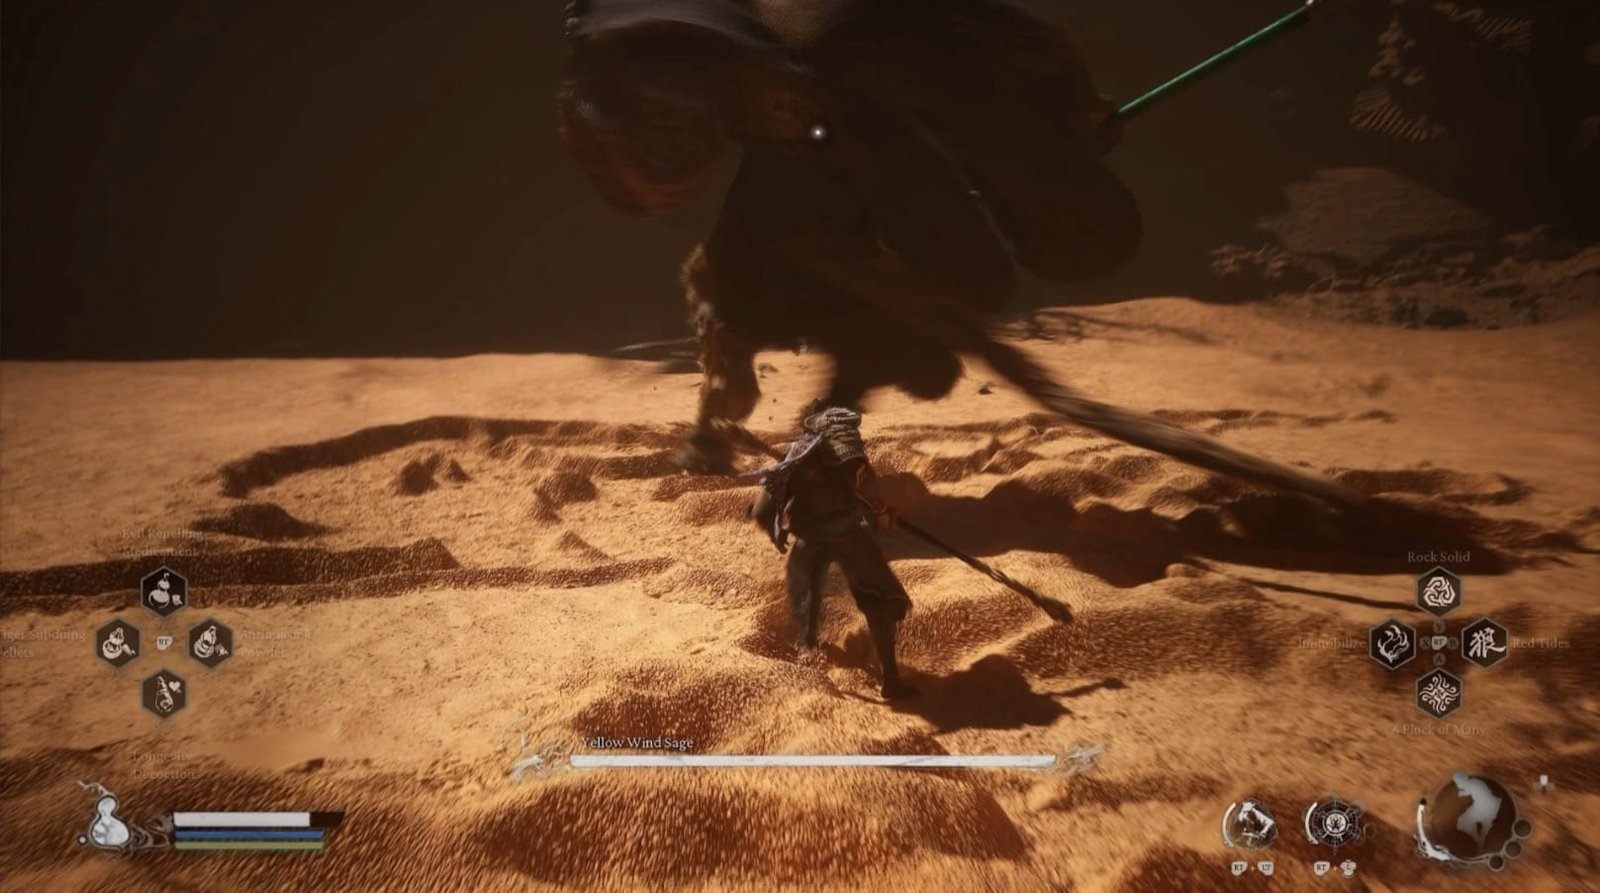
After you are prepared, enter the sand tornado, you will be taken to the arena of Yellow Wind Sage.
Yellow Wind Sage’s Attacks
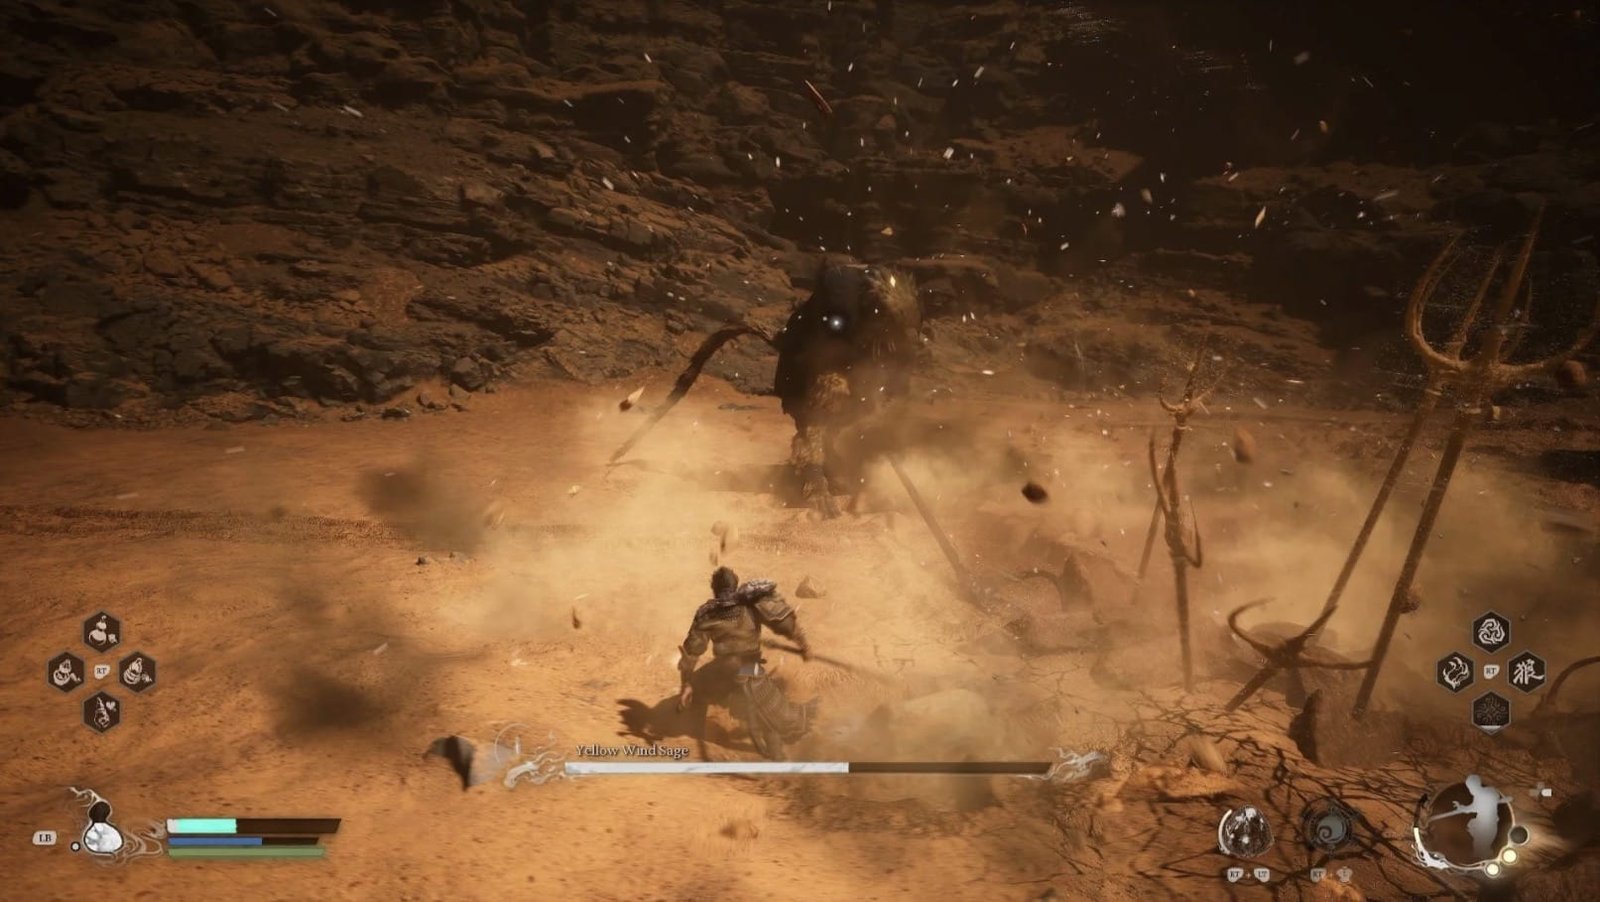
Spear Slam: He slams his spear to the ground, creating a row of sand spikes that rush towards you. Dodge to the sides to avoid.

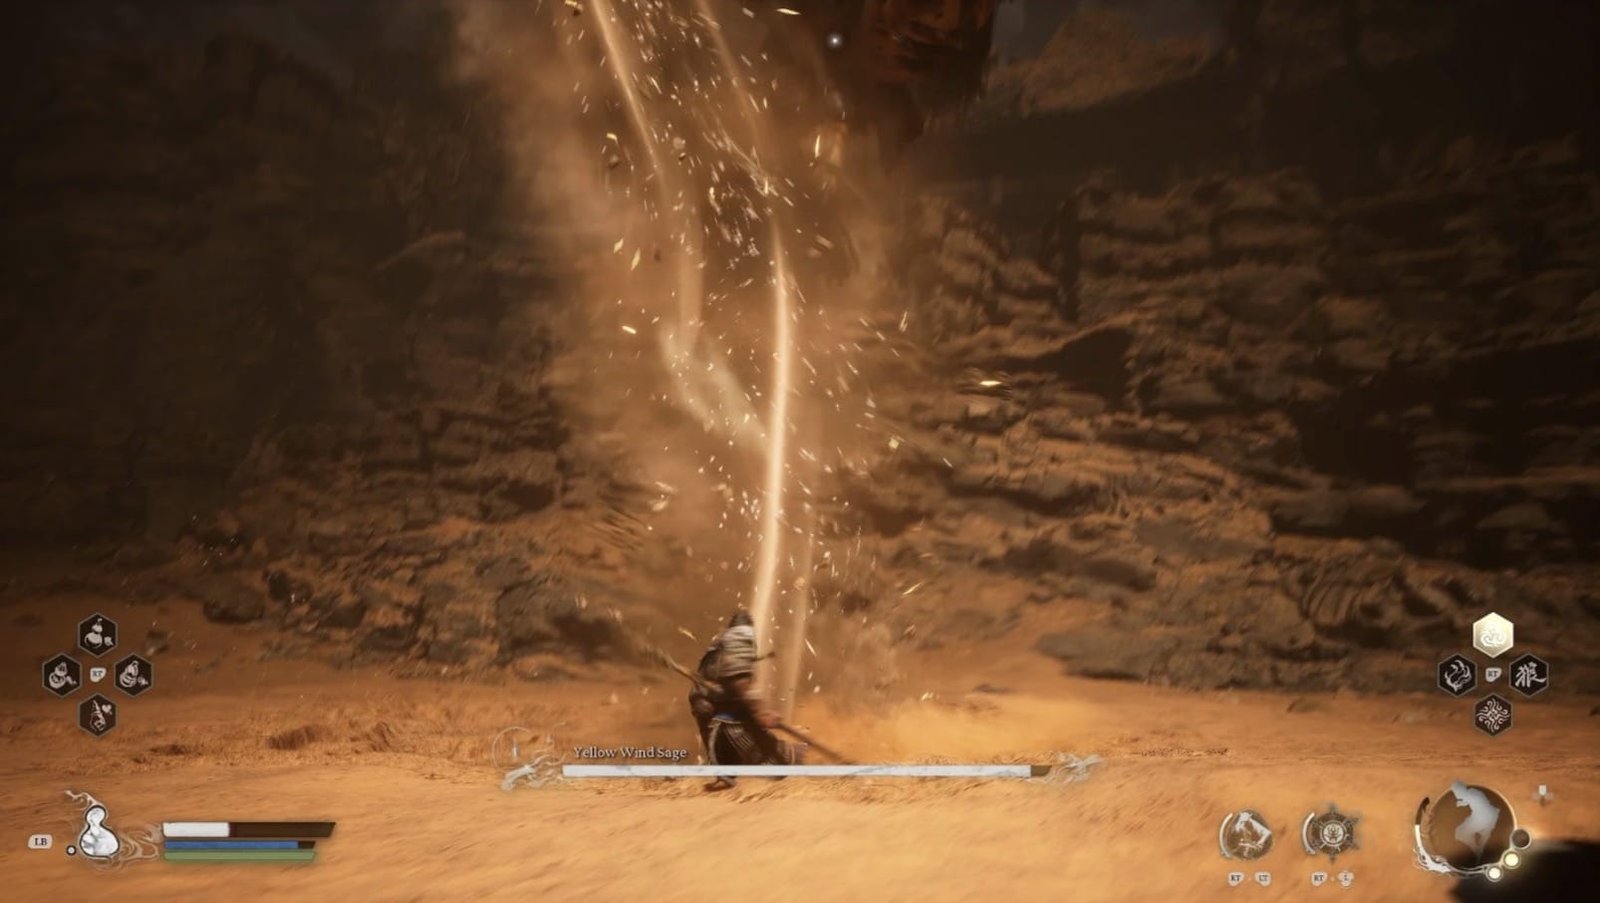
Wind Blades: He swings his spear and launches wind blades. Usually three consecutive attacks: vertical slash, horizontal slash, then vertical slash. Dodge to the sides with the vertical slash and jump to avoid the horizontal slash.
Normal Spear Attacks: Basic attacks with the spear, including slashes and stabs.
Foot Stomp: He stomps his foot on the ground, creating a shockwave. In the later stages of the battle, this attack also creates sand spikes.
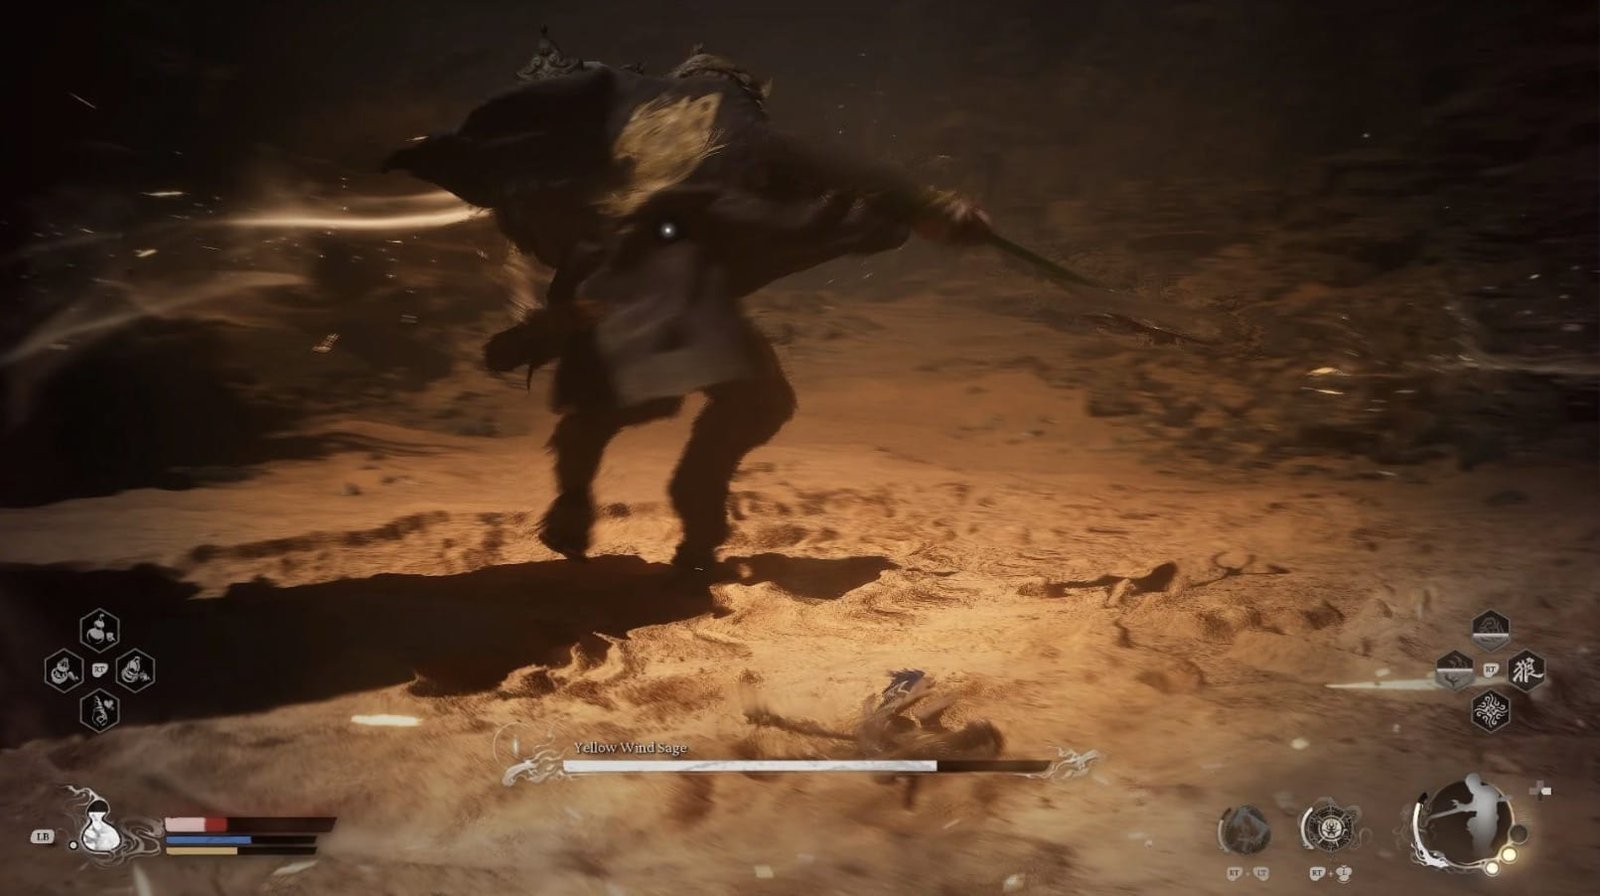
Dashing Attack: He dashes towards you, then jumps over your head and slashes from above, then jumps back and slashes to the ground. This is a very fast and dangerous combo.
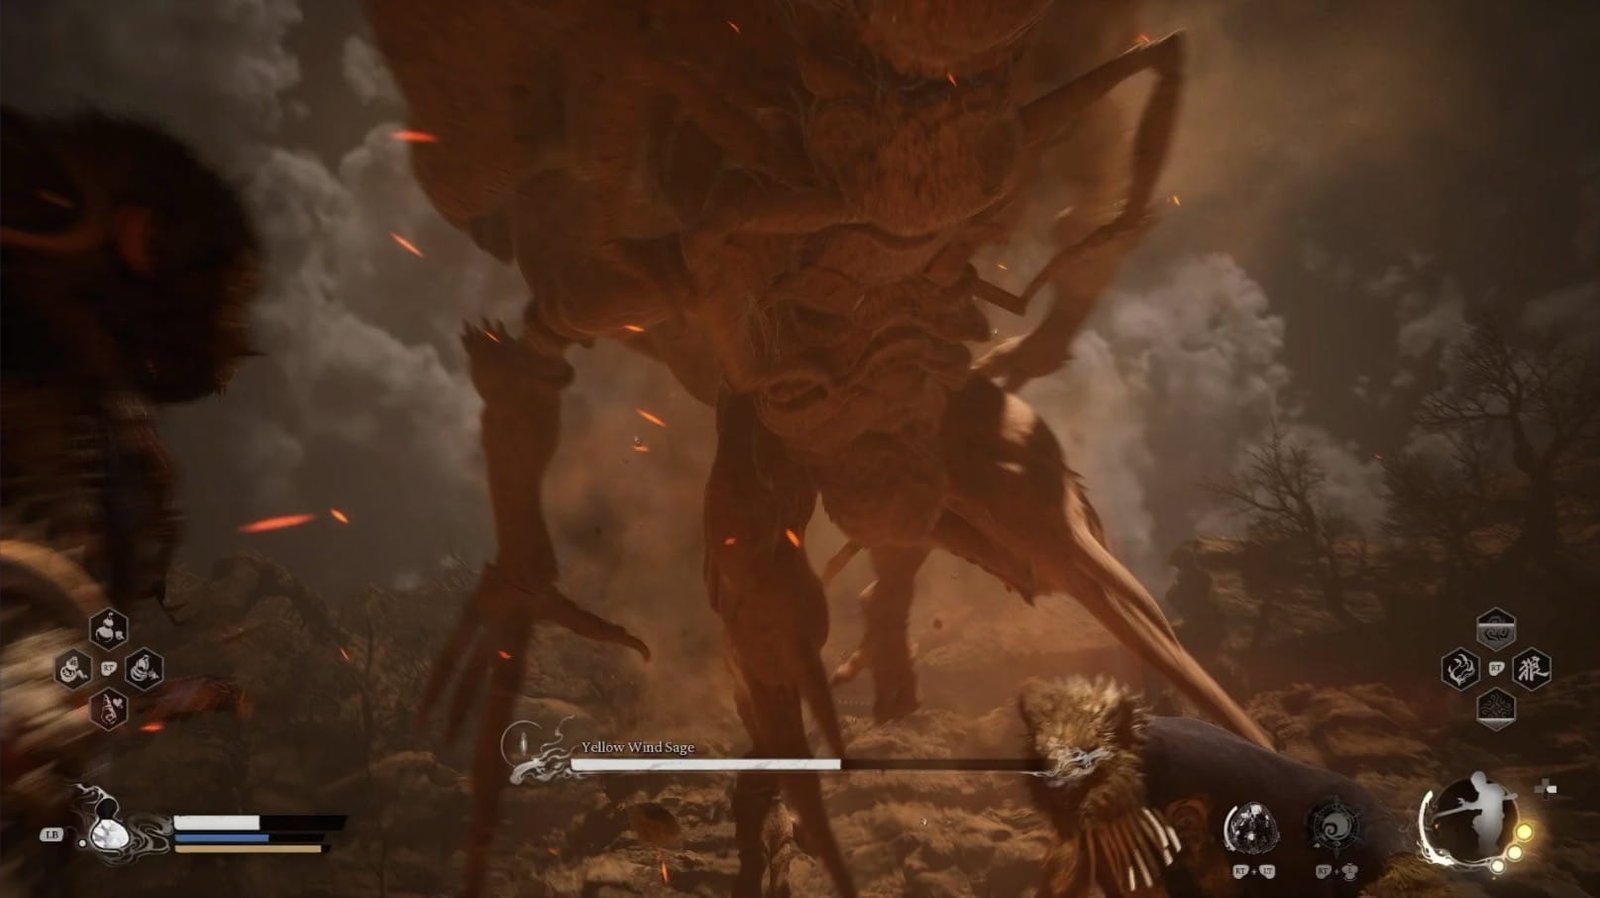
Summon the Beetle: He summons the beetle Fuban the Scarab Guai (from the secret area Kingdom of Sahali) to fall like a meteor. Dodge at the right time.
Spear Twirl: He spins his spear around him, creating a large area of damage. Step back or use Immobilize to interrupt this attack.
Dive into the Sand: He burrows into the ground, then emerges from below and attacks you with his claws.
Special Scene 1: He will kick you, then use his spear to pin you to the ground and stomp on you.
Special Scene 2: You are caught in the whirlwind, then he kicks you into the air and attacks you continuously.
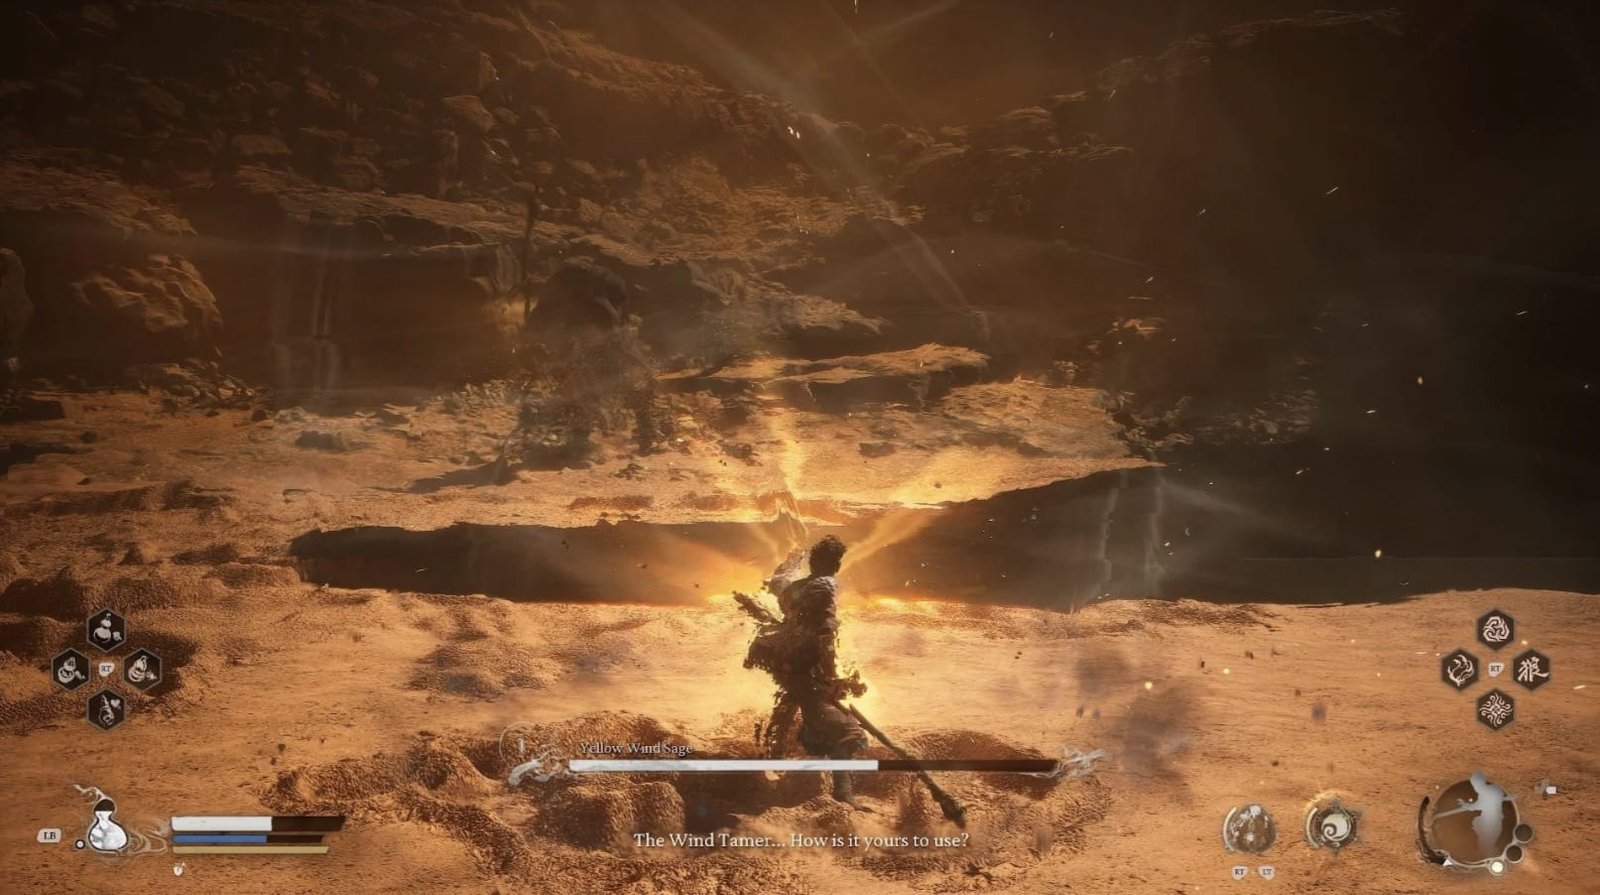
Use Wind Tamer to dispel tornadoes.

After defeating Yellow Wind Sage, you will enjoy an epic cutscene, revealing many secrets about the game’s plot.
Congratulations on successfully conquering the Yellow Wind Formation – one of the most challenging areas in Black Myth: Wukong! Through this journey, you must have collected a lot of valuable items, upgraded your character, and accumulated valuable combat experience.