
Destined Ones, the Pagoda Realm – a spectral domain fraught with untold dangers – now throws open its gates. Within, the “Beguiling Chant” echoes endlessly, and Lantern Wardens drift, ever ready to cast the unwary into the abyss.
This article shall serve as your martial guide, leading you through each tower level, helping you vanquish fiends and seize precious treasures. Take heed: collect all 9 Lantern Wardens to receive the Auspicious Lantern, and explore the Warded Cells to find the Ashen Slumber Transformation and many other treasures.
Lower Pagoda (Level 1)
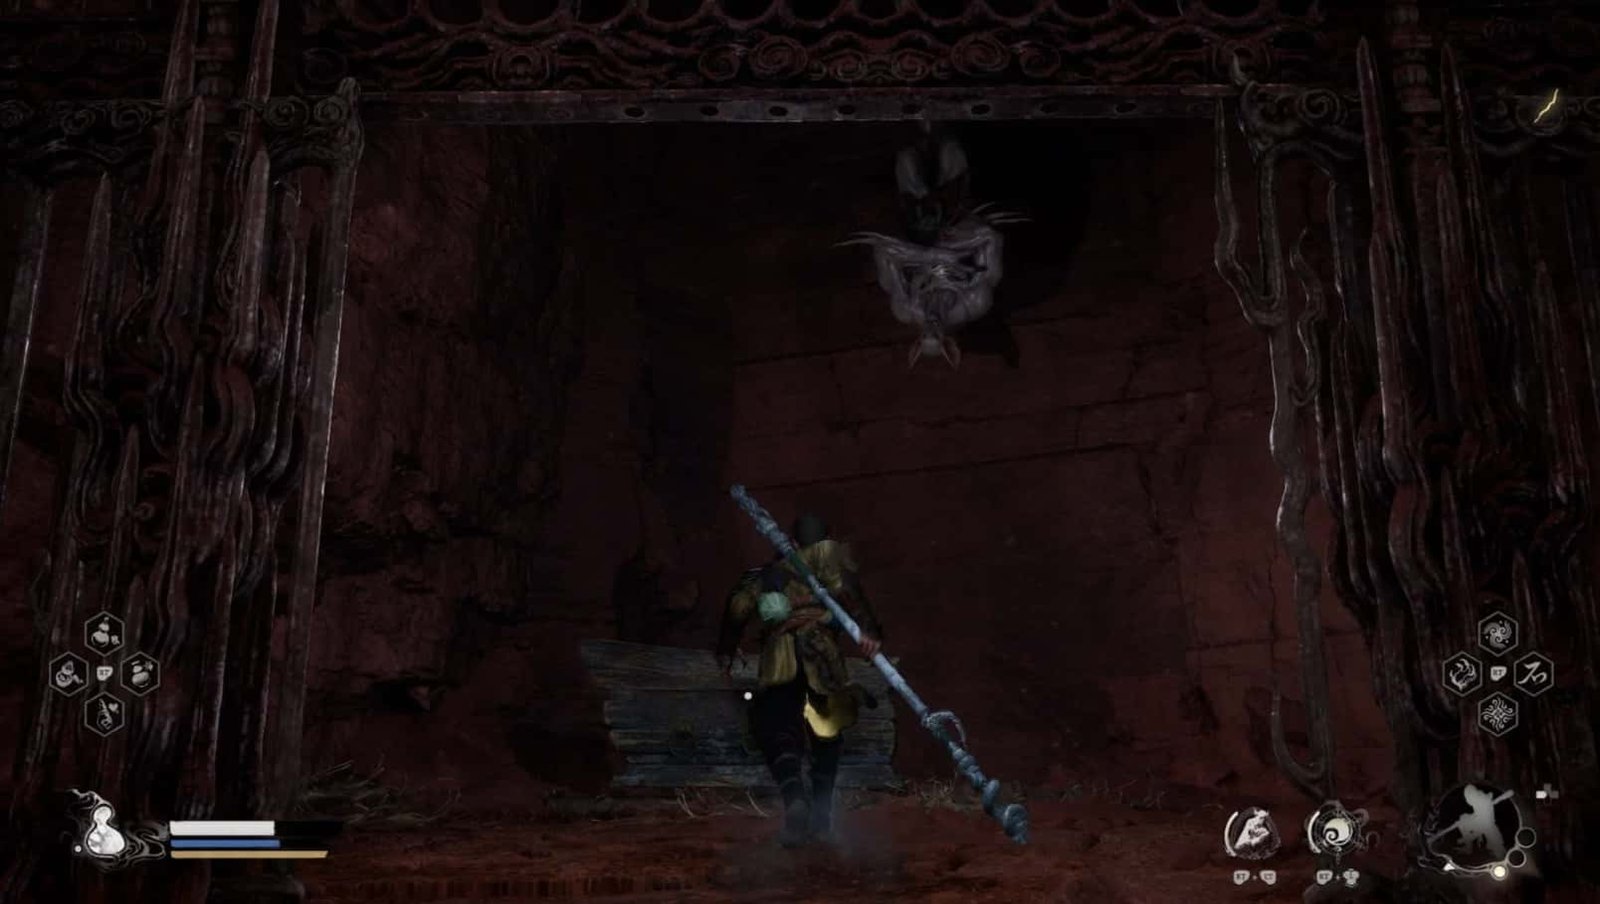
After the upheaval, the Destined One awakens, finding themselves confined within a dark prison cell of the Pagoda Realm. Fortunately, the prison bars are not locked. Stepping out of the cell, the Lower Pagoda (Level 1) – The First Level of the Lower Tower – is revealed, dimly lit and foreboding.
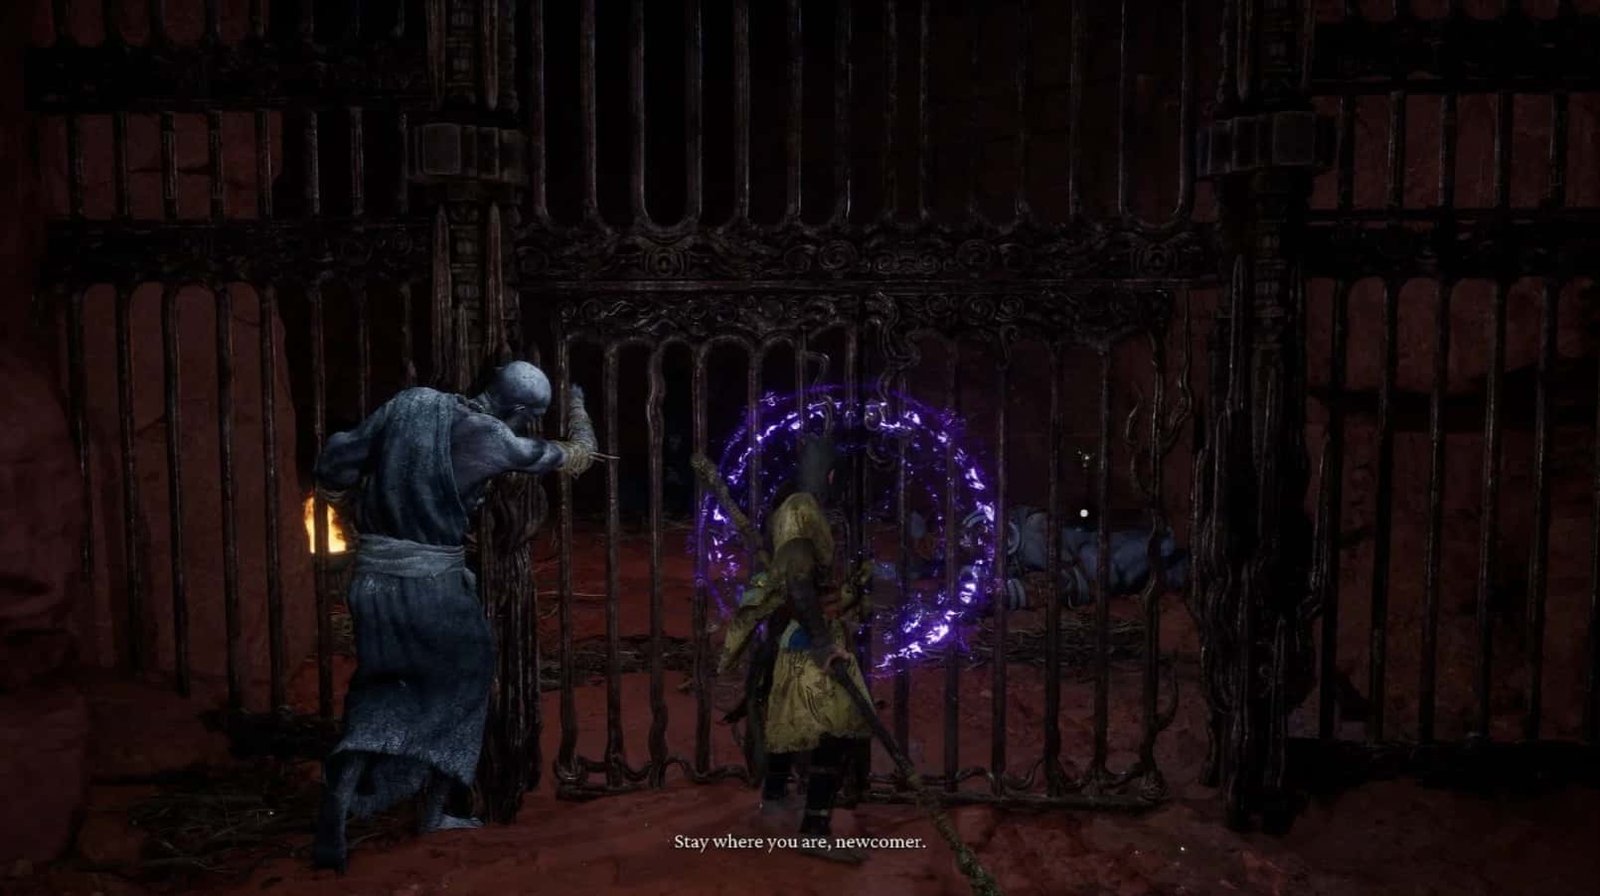
Immediately beside the cell, a prison chamber sealed by a purple sigil, the lamentations of a prisoner can be heard. Approach and converse, and the Destined One will take on a task that will surely be etched in the annals of the martial world: to eliminate the four Captains (Four Great Malefactors) – the brutal guardians of this place. It is also from here that the Destined One first hears of the “Beguiling Chant” – a dreadful curse that pervades the Pagoda Realm.
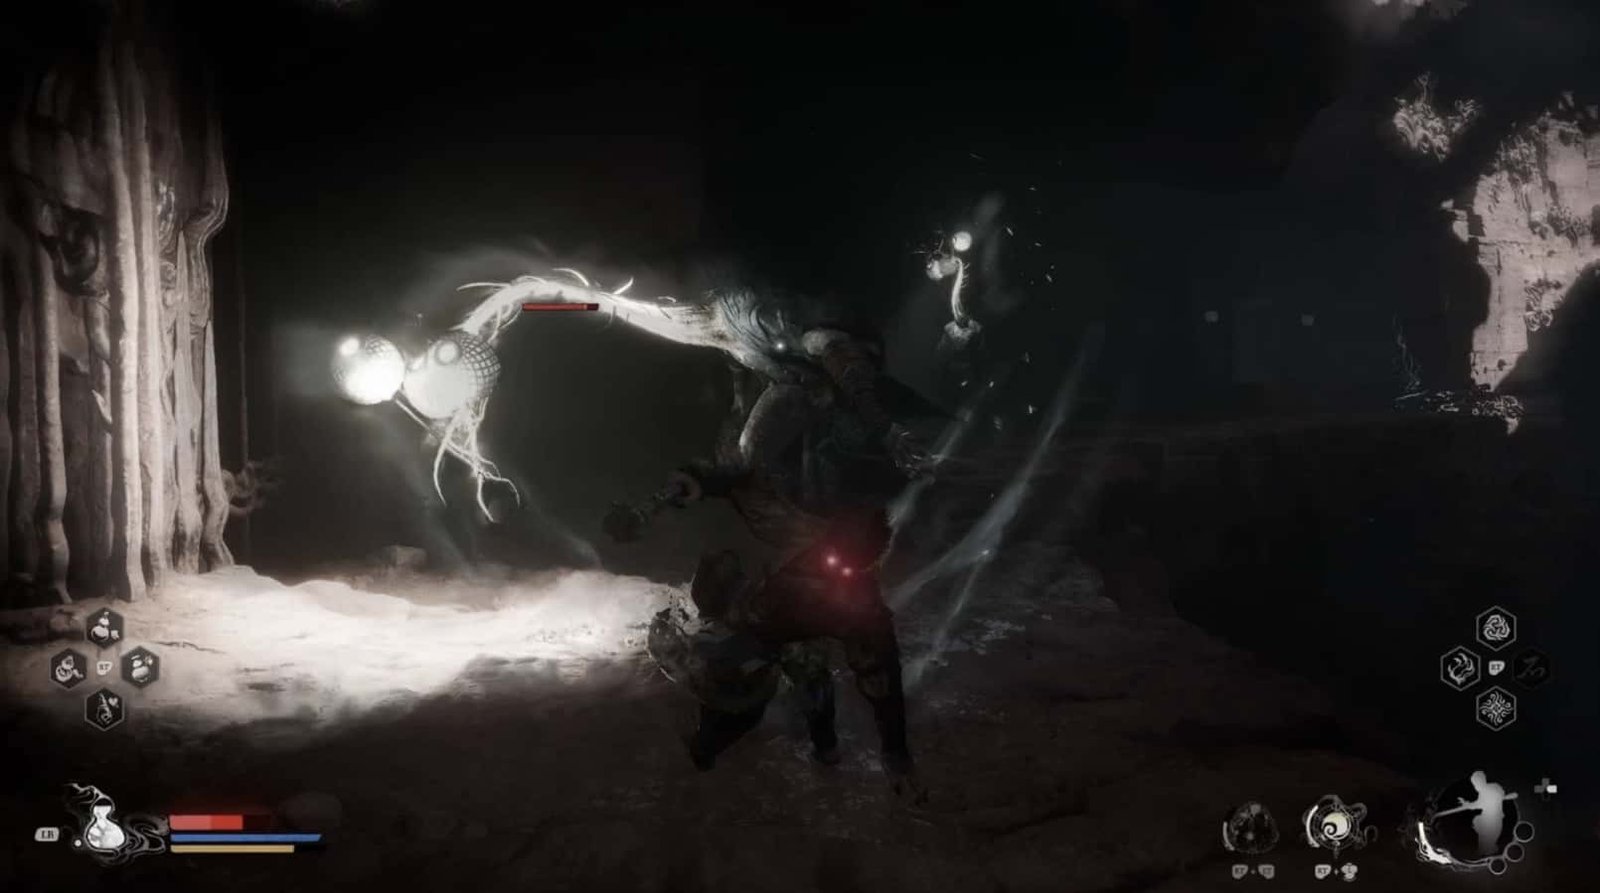
Every 3 minutes, the chant will sound for 1.5 minutes, draining half of one’s life force. During this time, apart from the Lantern Wardens, all enemies will emit an eerie red glow, easier to detect, but also becoming much more ferocious and powerful.
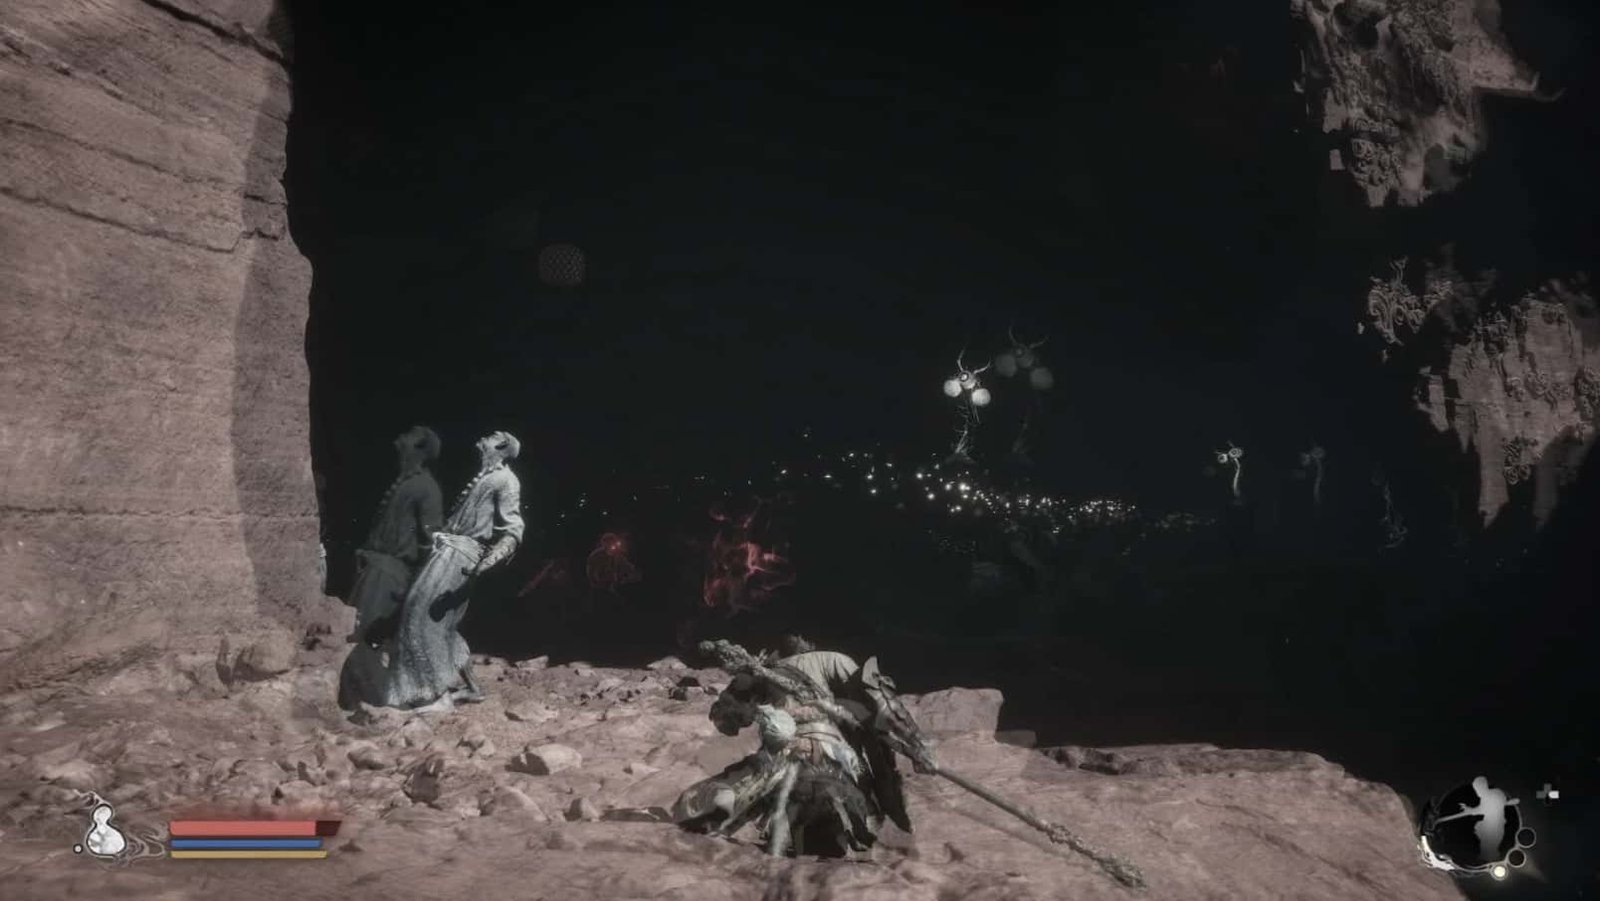
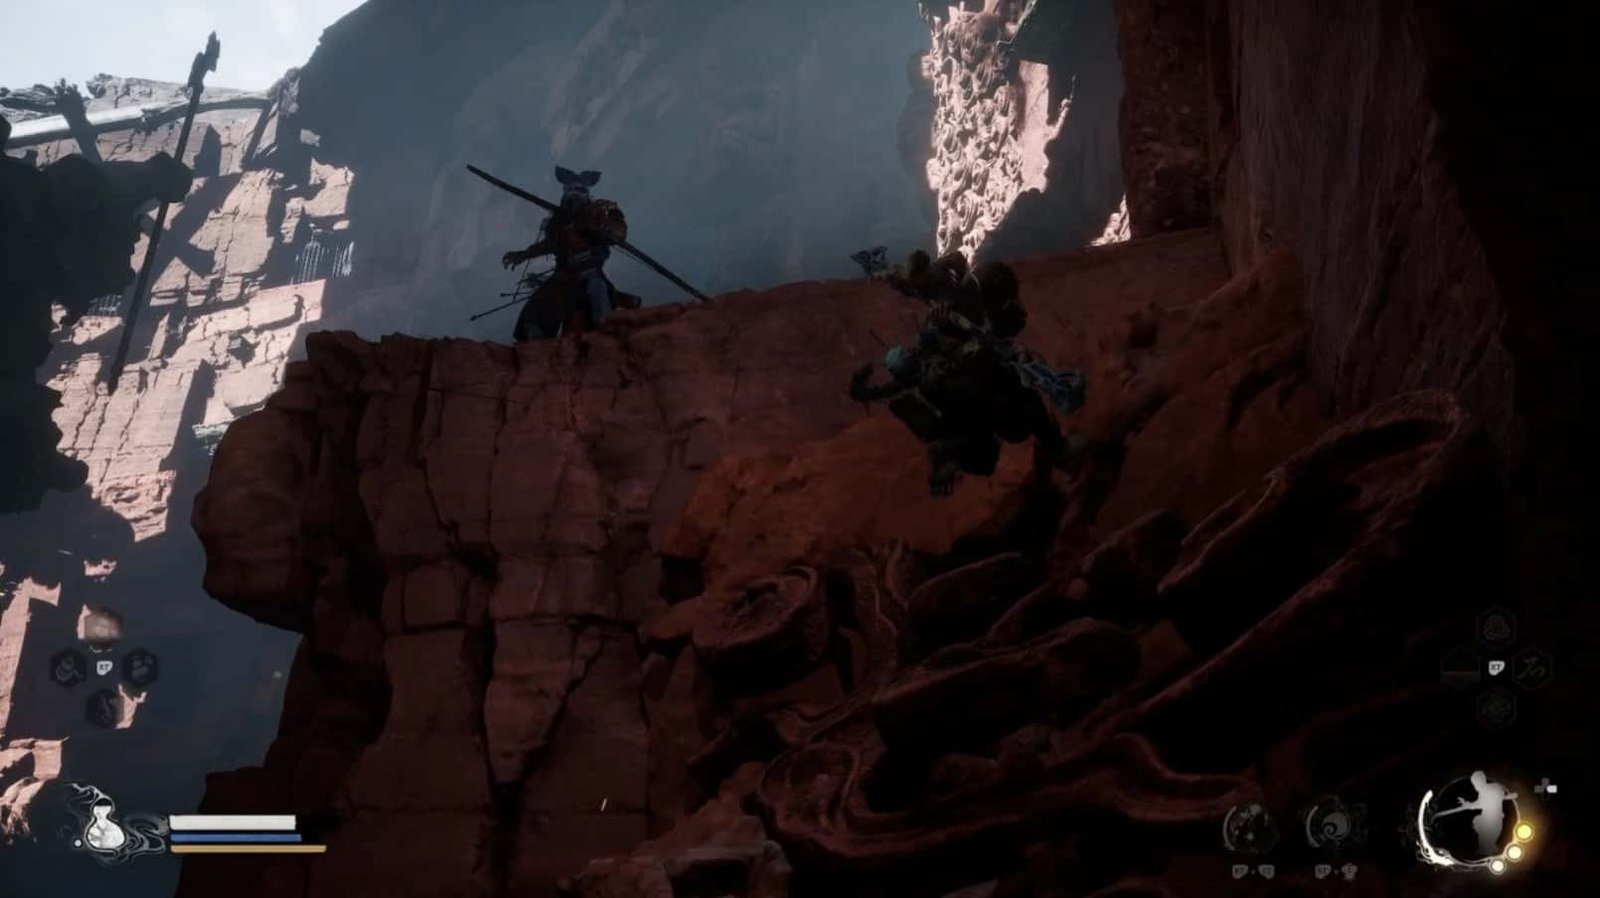
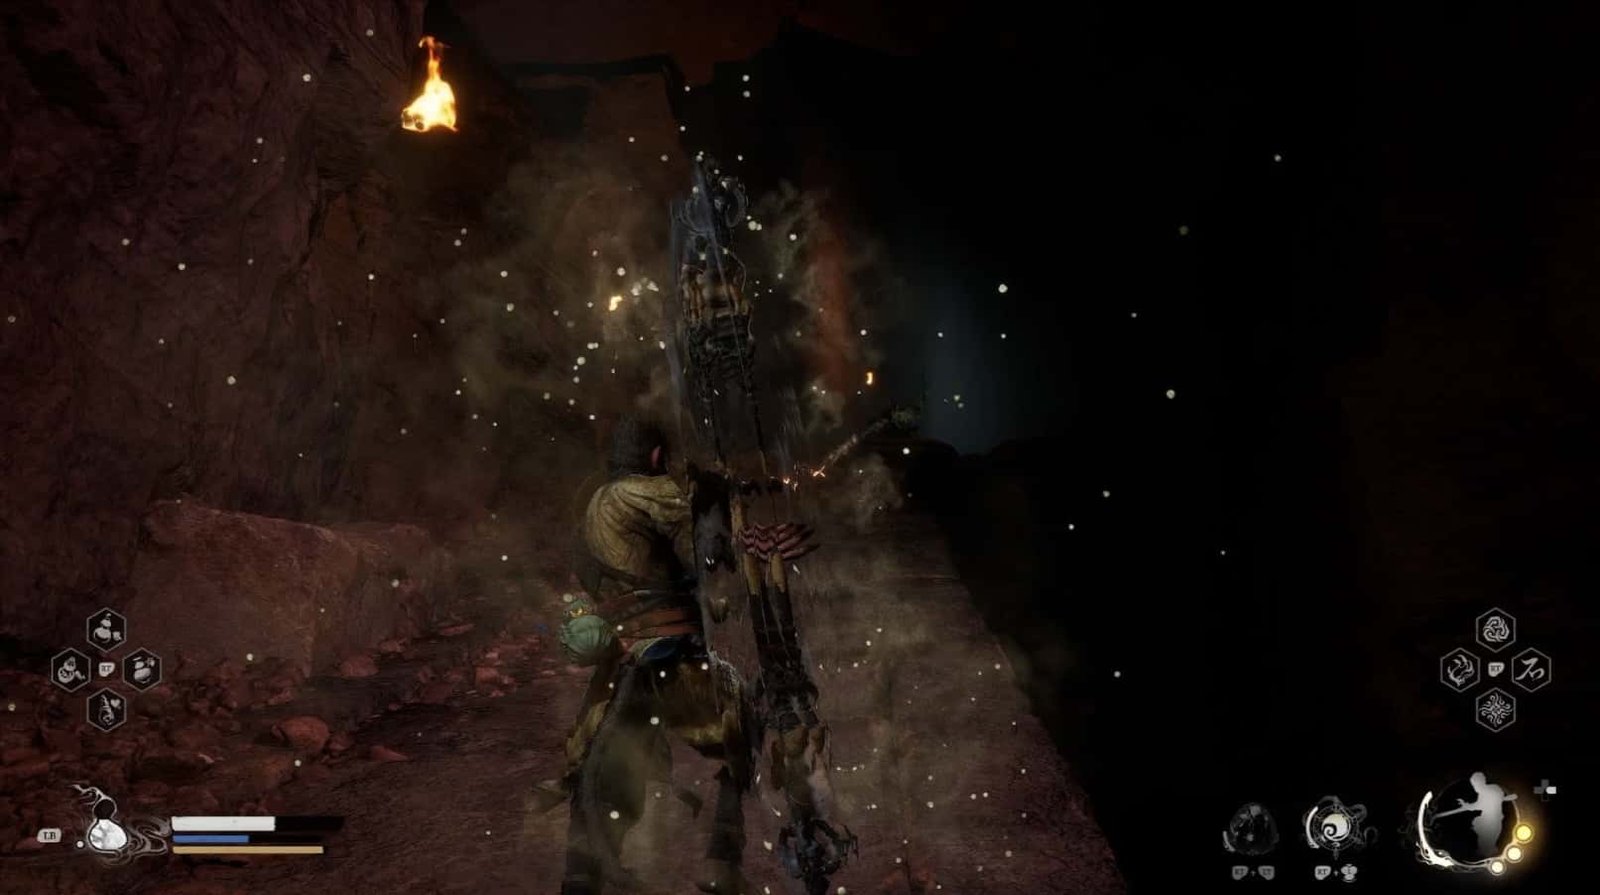
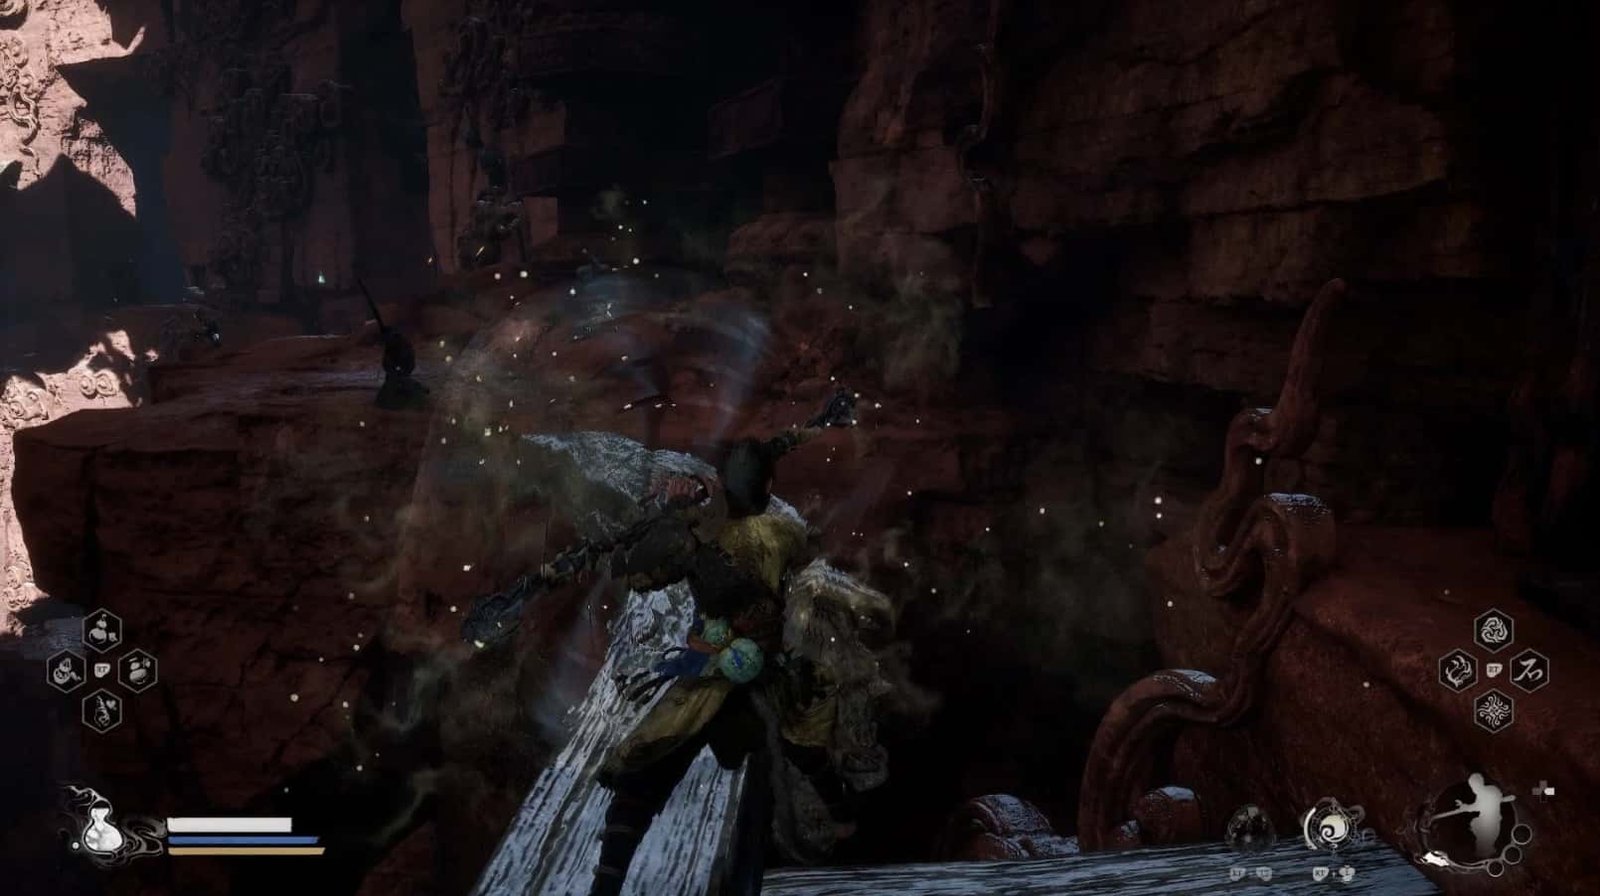
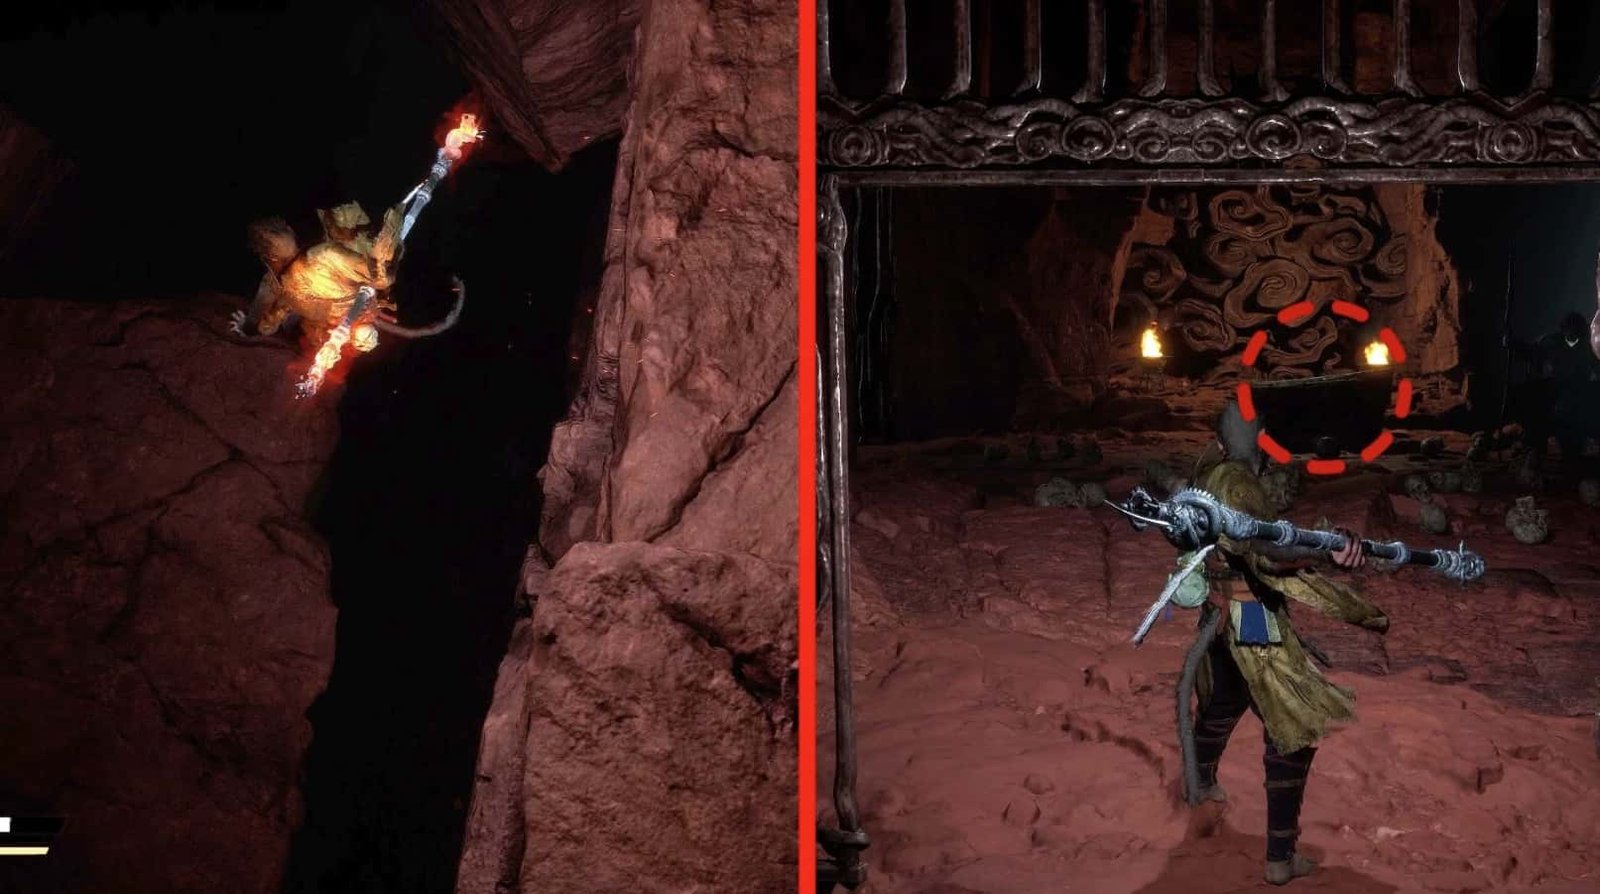
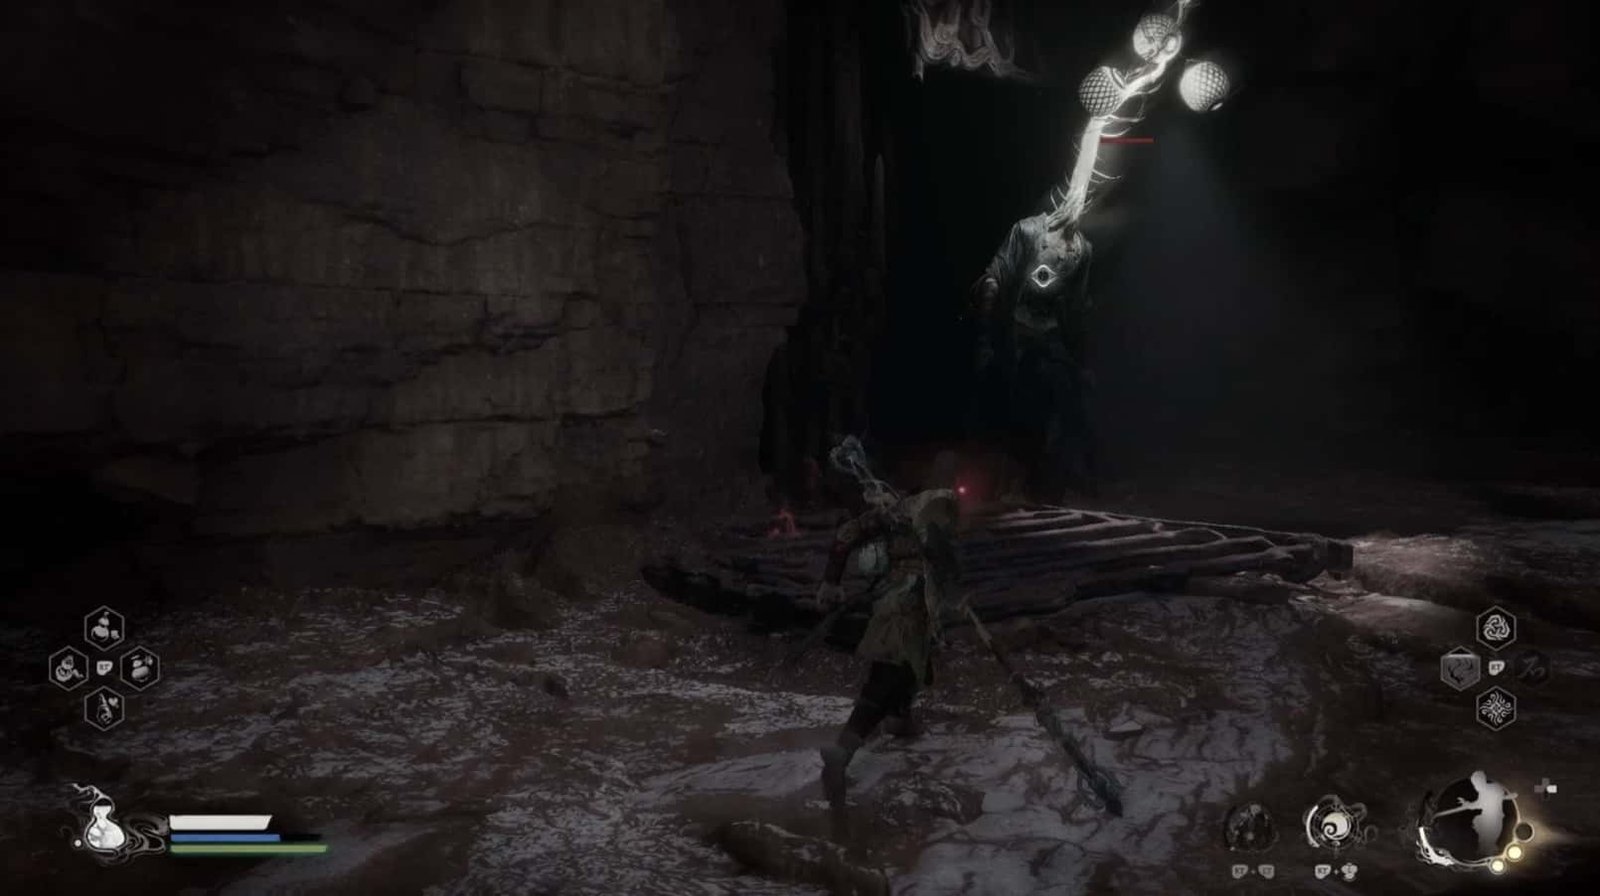
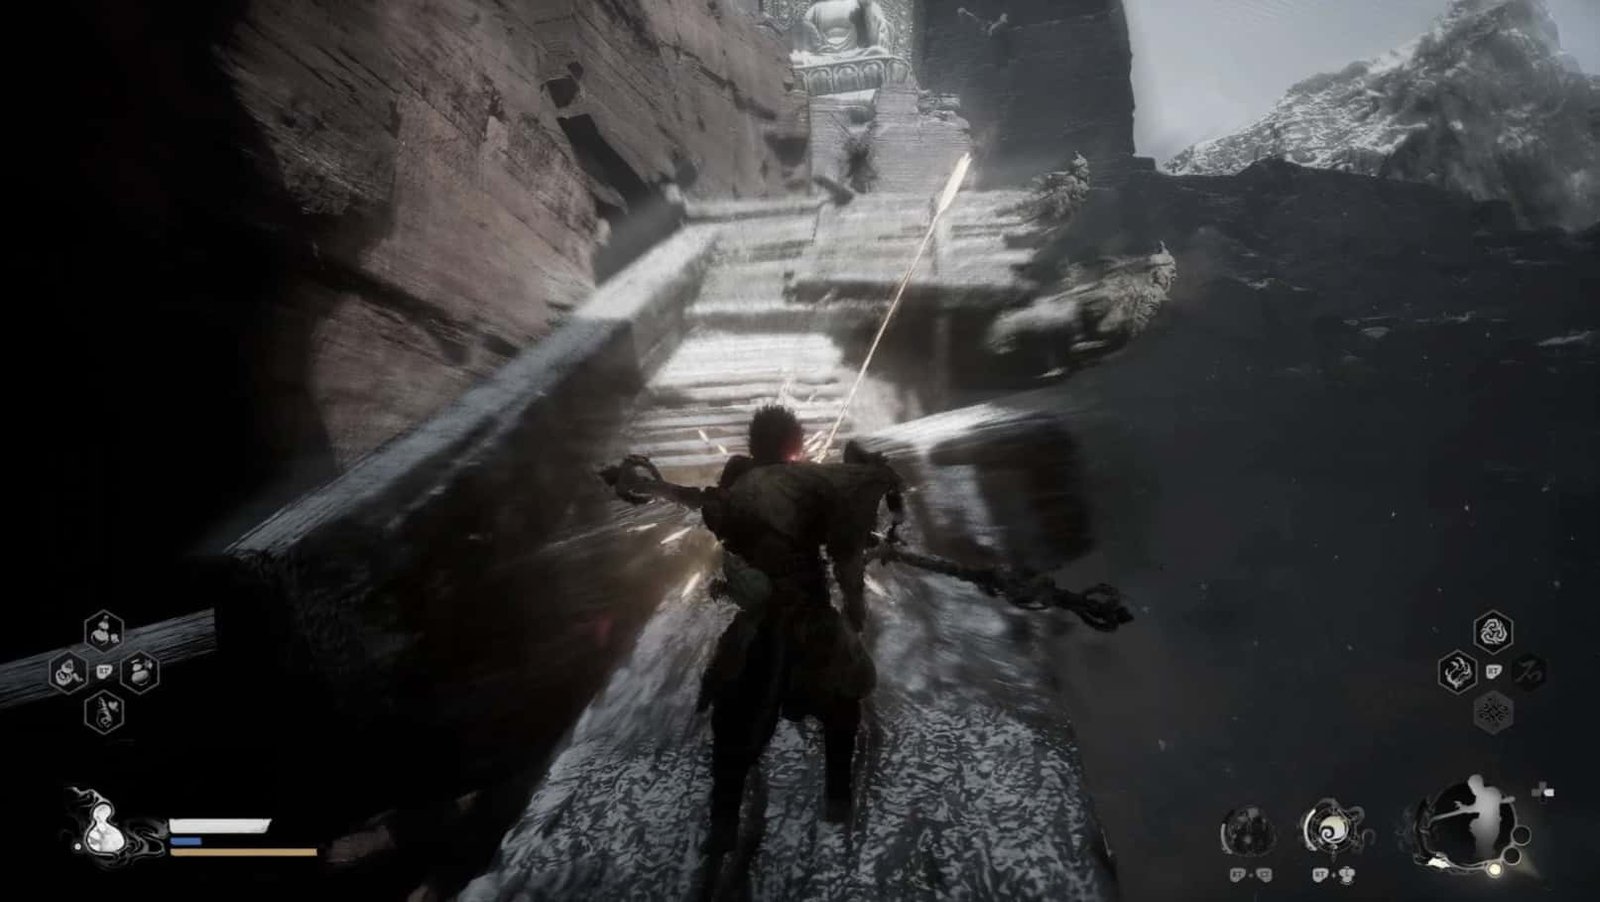
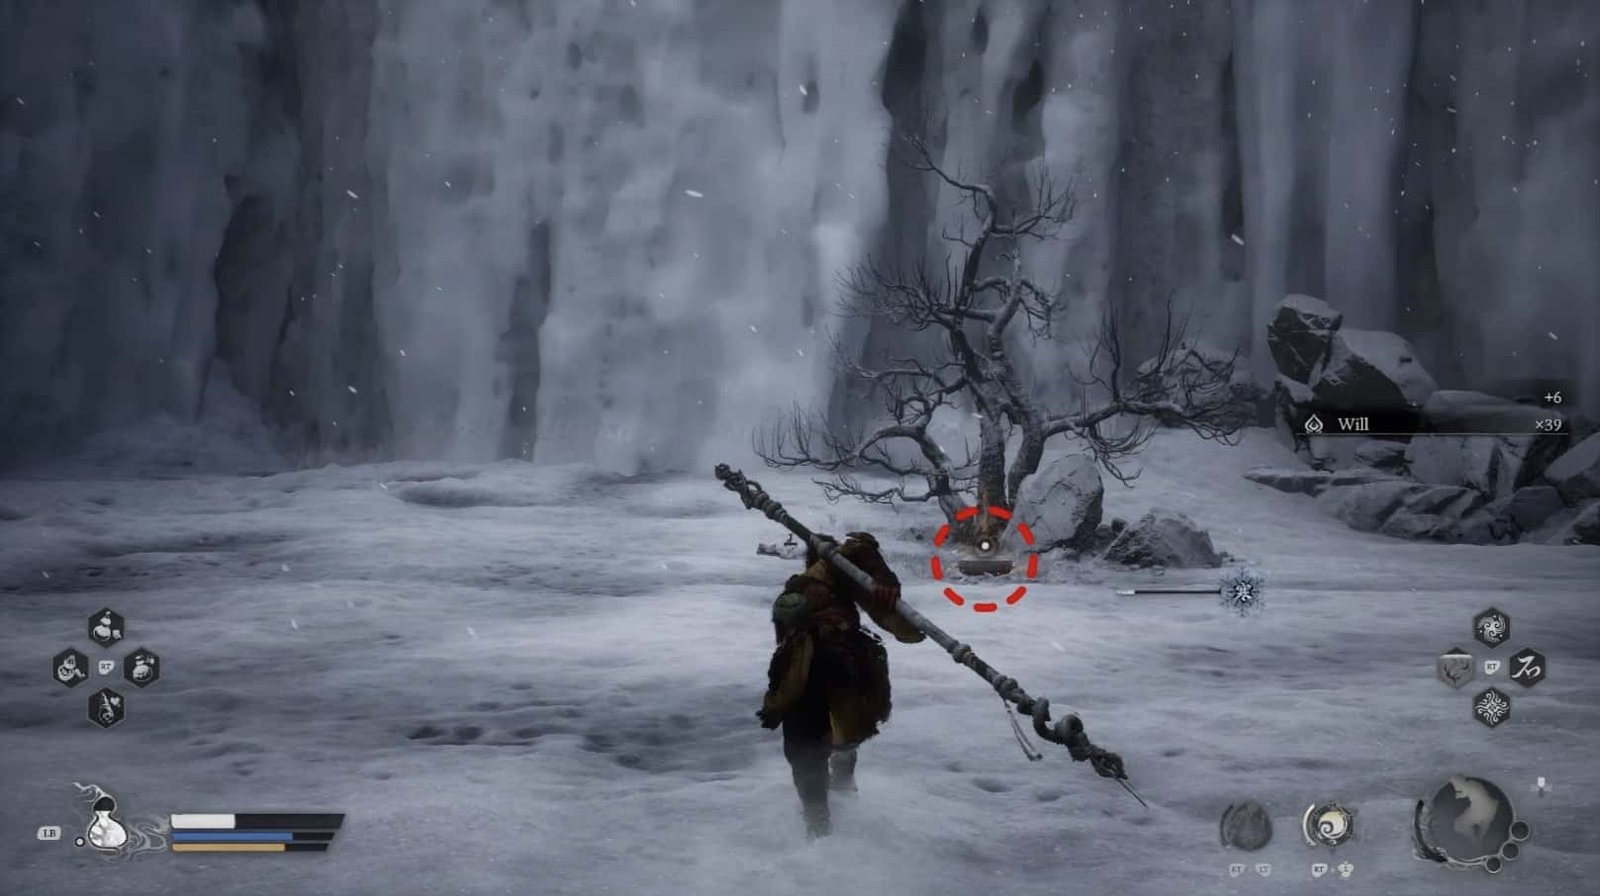
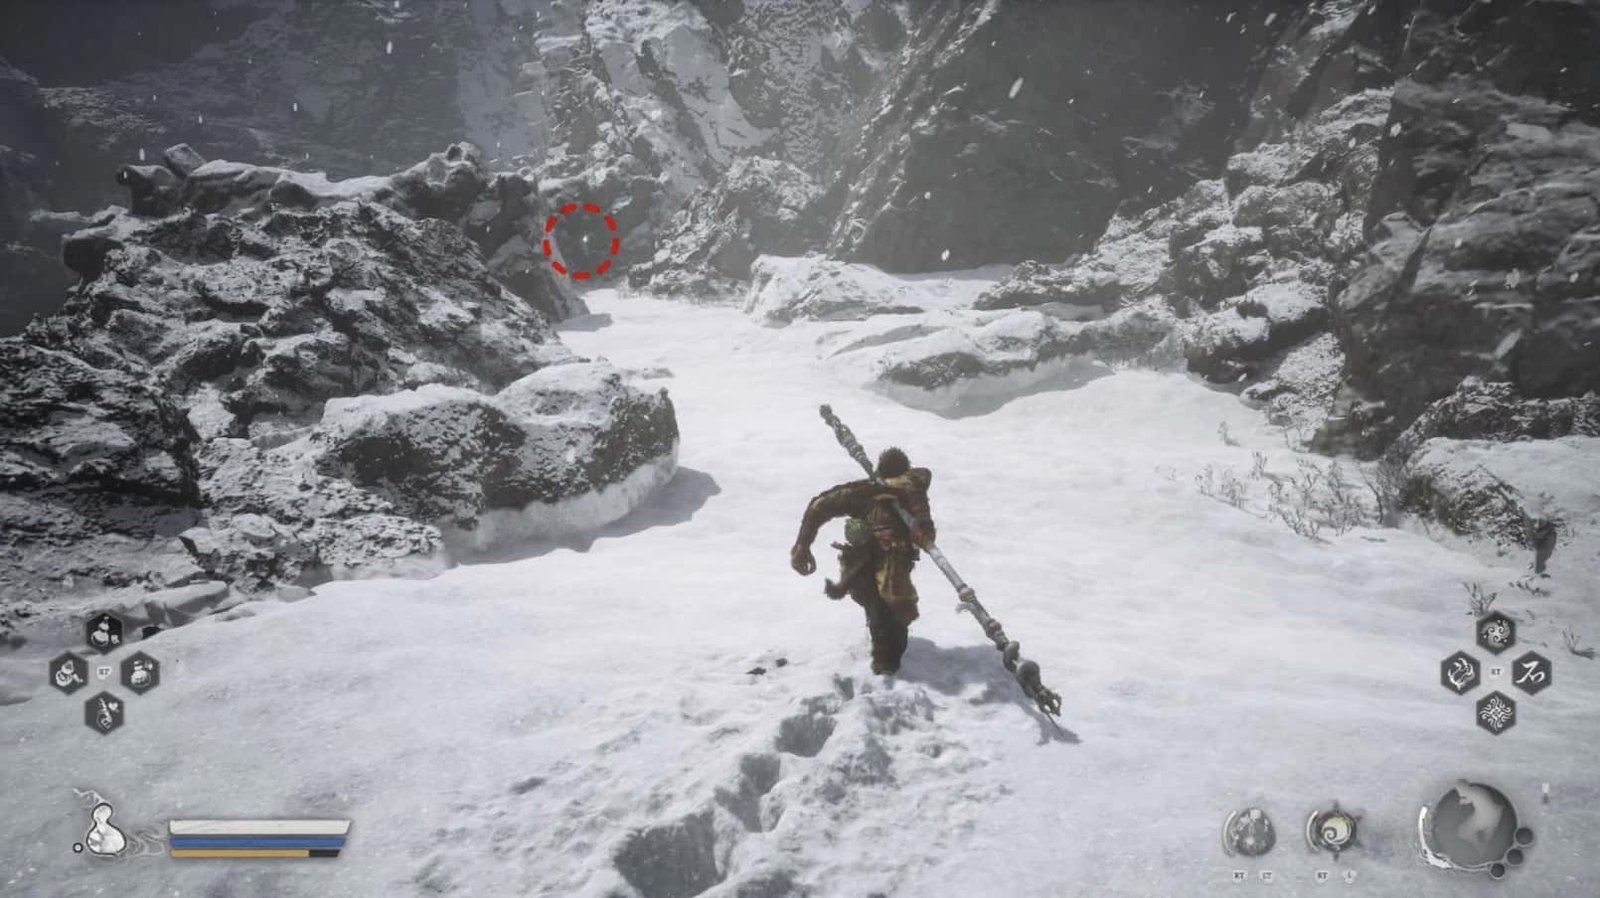
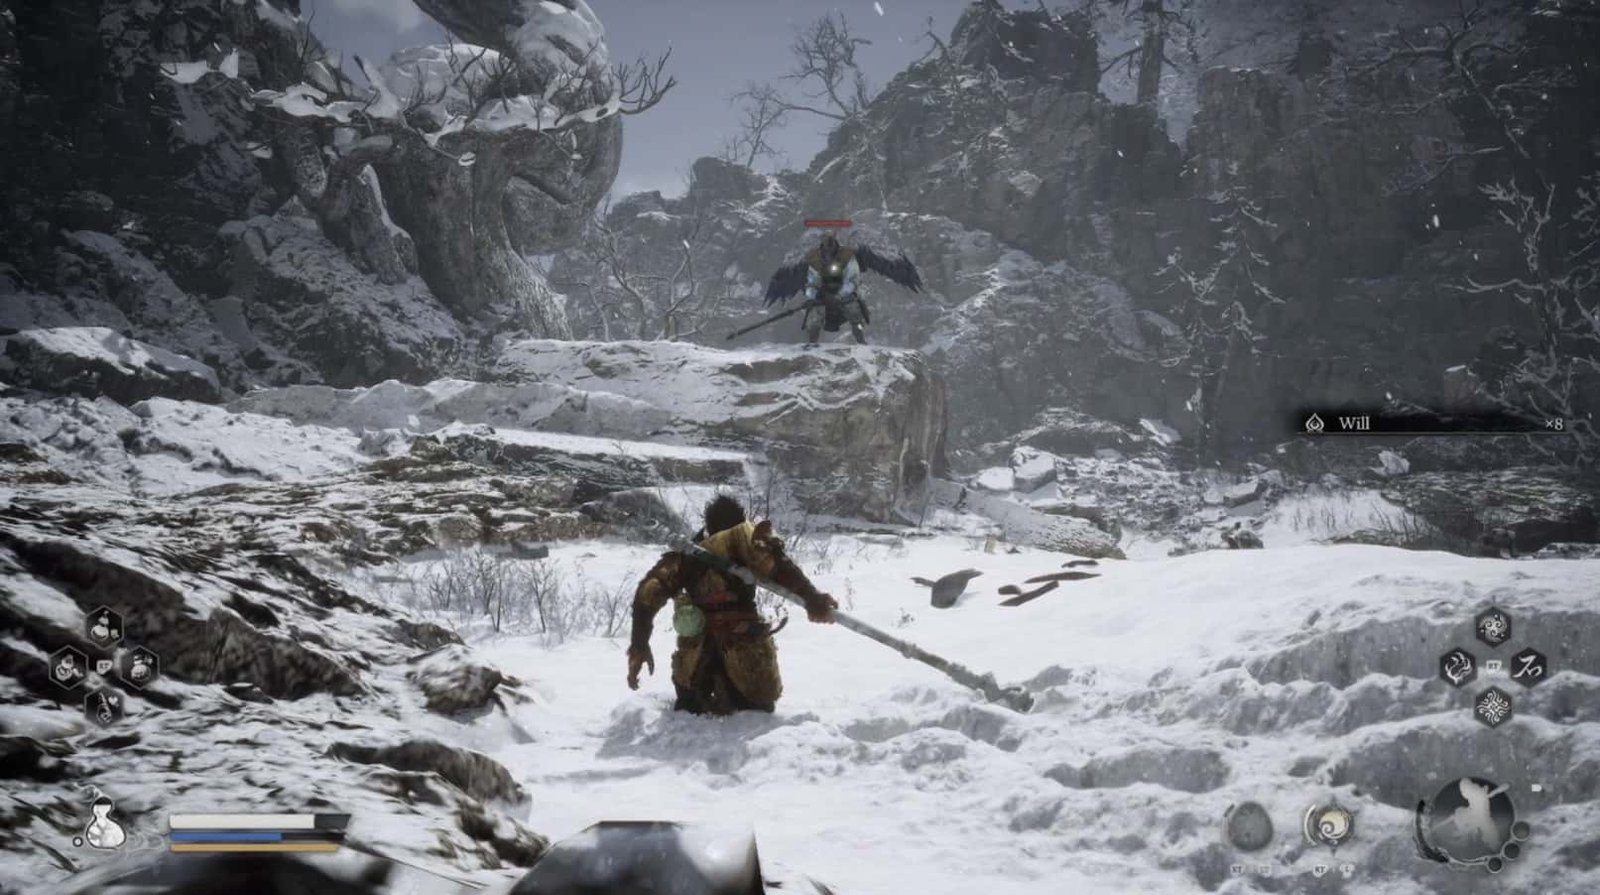
Amidst the looming dangers, the Lantern Wardens present an opportunity. These specters with their lantern heads, though slow, possess the power to hurl their adversaries into the abyss
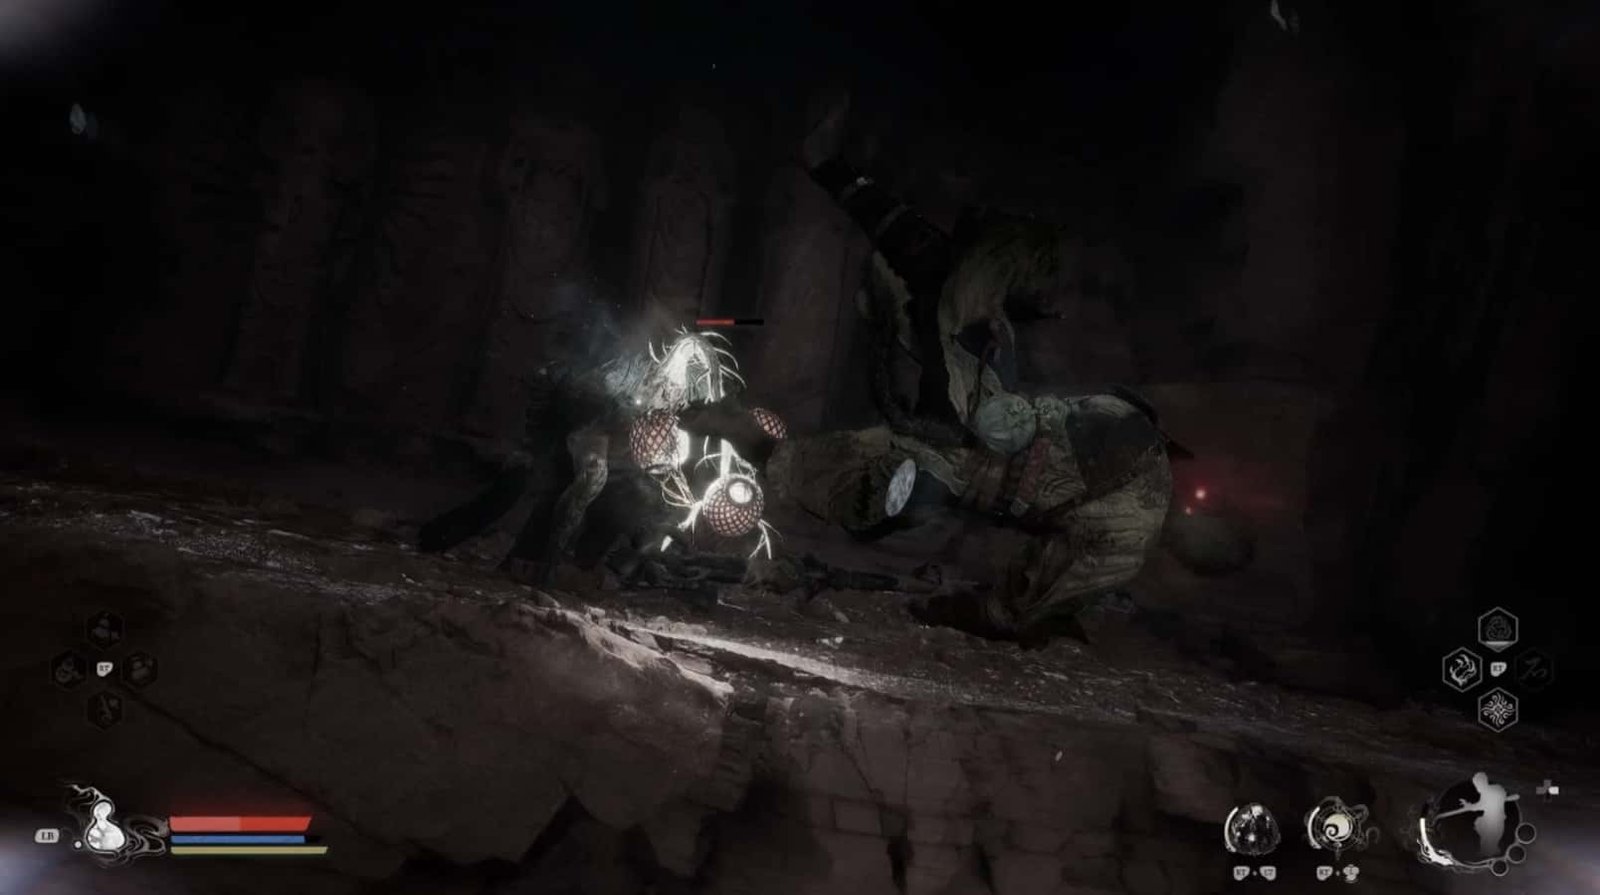
Be cautious of their ghostly light, and evade their perilous attacks.
It is whispered throughout the martial world that, defeating nine Lantern Wardens within the Pagoda Realm will bestow upon you the Auspicious Lantern, a Curio (Rare and Exotic Treasure) said to contain mystical powers.
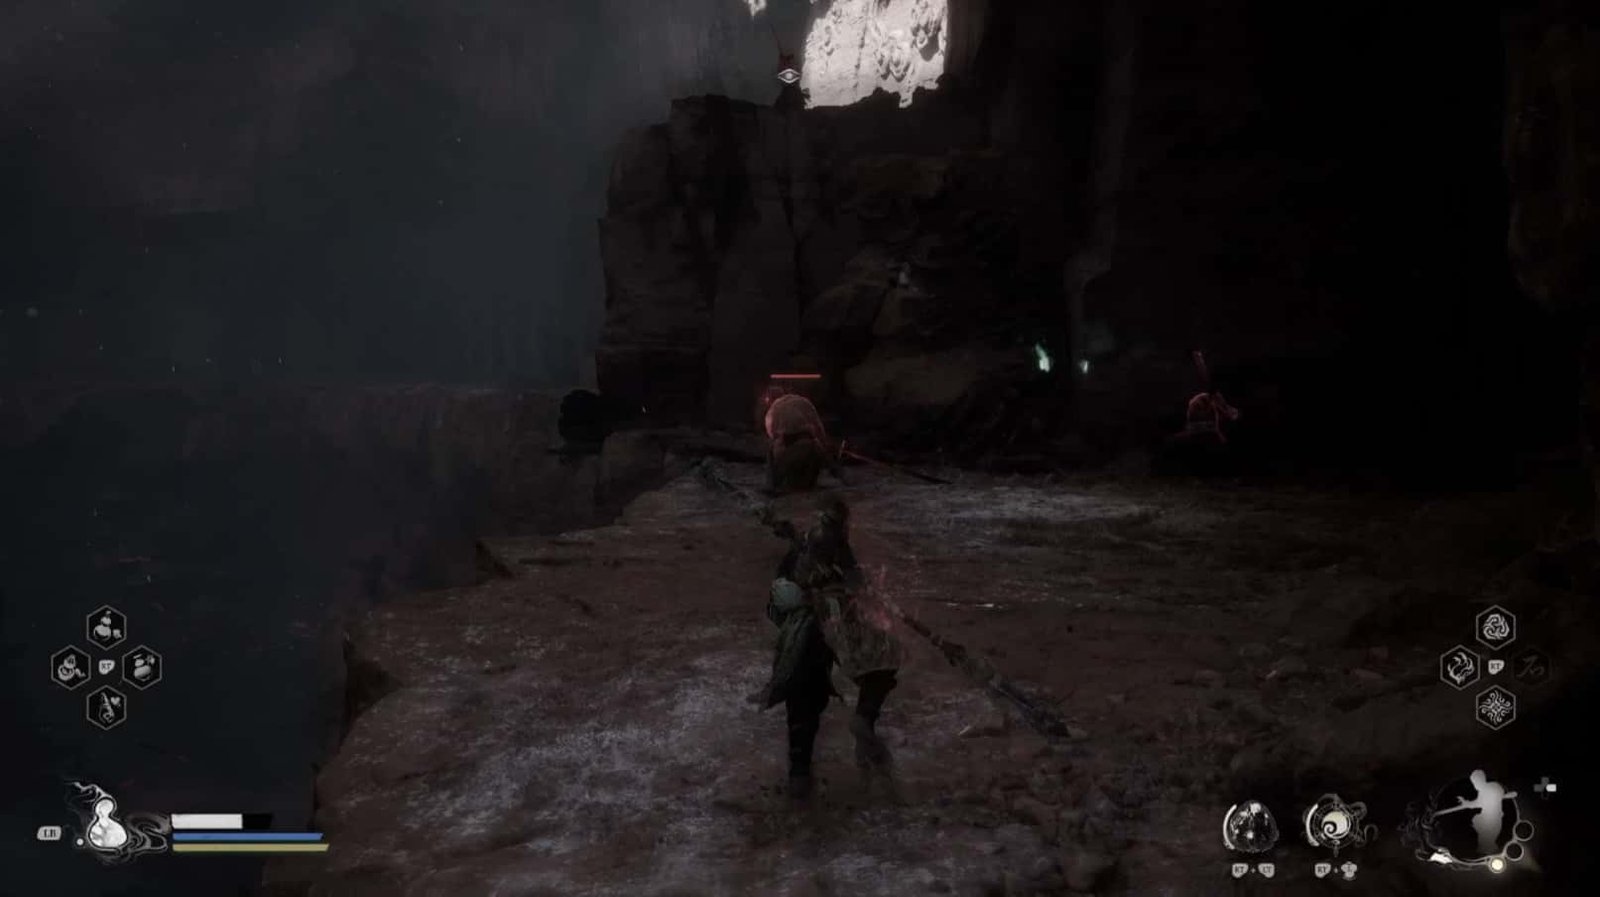
As you tread along the prison corridors, the Destined One will face the Cyan Bats that cling to the ceiling. They will suddenly swoop down to self-destruct when their prey draws near. Evade and finish them swiftly. Along the way, do not overlook the Wisps – the azure glows that replenish Focus and the first Snake-Head Mushroom – a precious ingredient for concocting elixirs.
Focus your efforts on eliminating Lantern Wardens when they appear. Nine Lantern Warden spirits will be exchanged for the Auspicious Lantern – a treasure coveted by every Destined One.
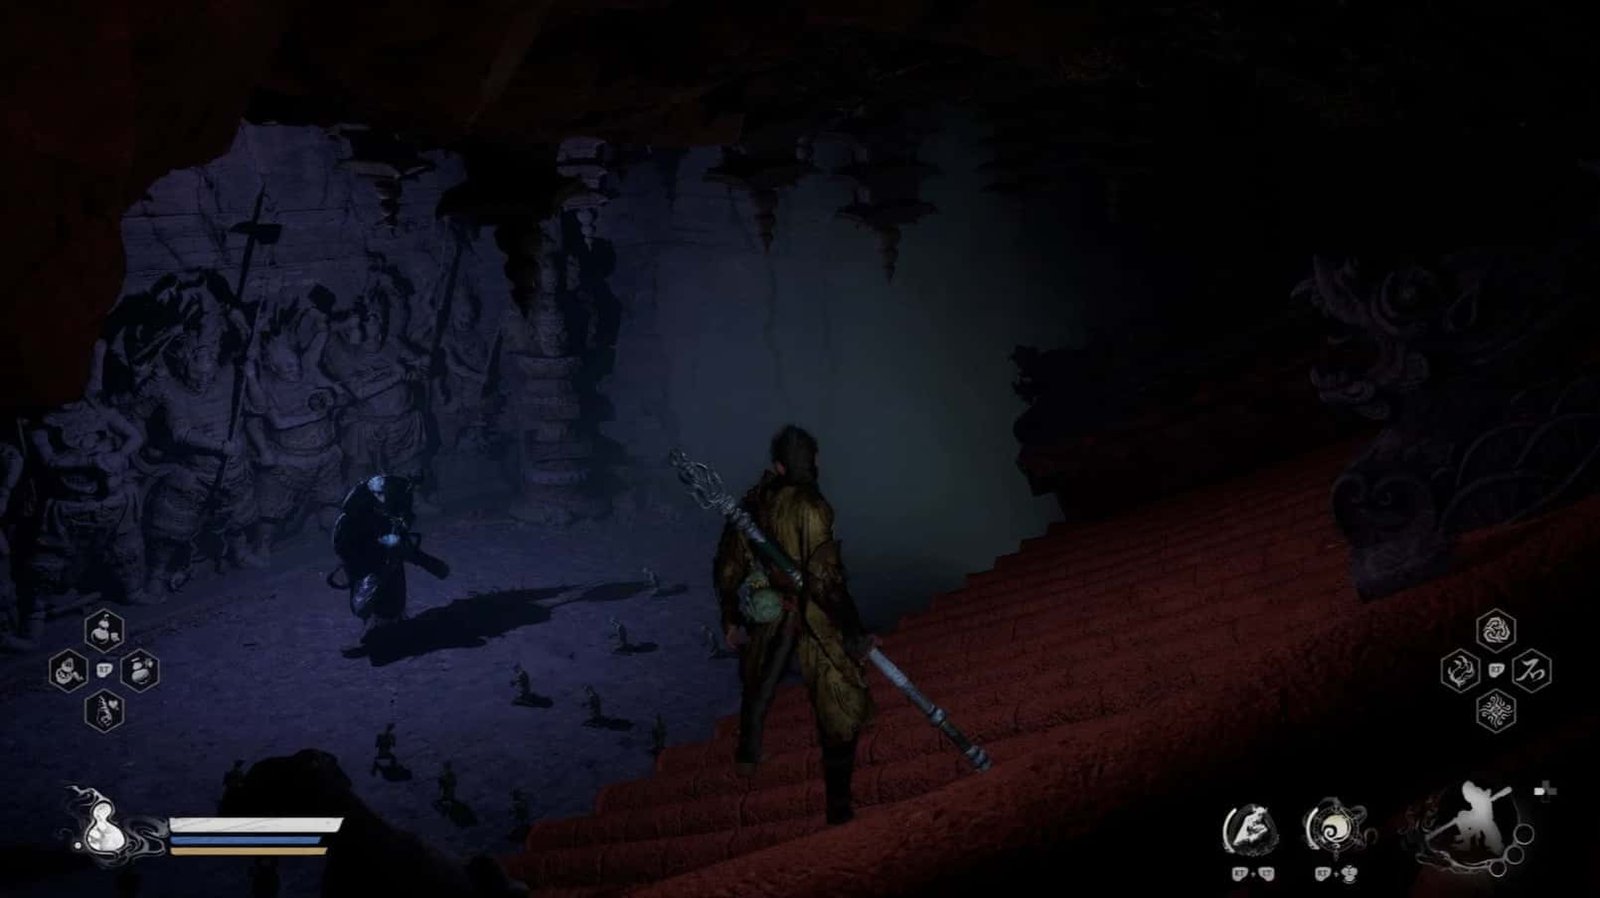
Having grasped the initial harshness of the Lower Pagoda (First Level of the Lower Tower), the Destined One should follow the only path, advancing towards the Keeper’s Shrine: Lower Pagoda (Sanctuary: Lower Pagoda – Level 1) to rest and recover. The path ahead winds and twists, shrouded in darkness, demanding utmost concentration.
Beware of the Yaksha Archers in the shadows, they will not hesitate to unleash poisoned arrows from afar.

Cyan Bats still lurk, ready to swoop down and attack at any moment.
Near the Keeper’s Shrine, Blade Monks will appear. They move slowly, but each slash carries formidable power.
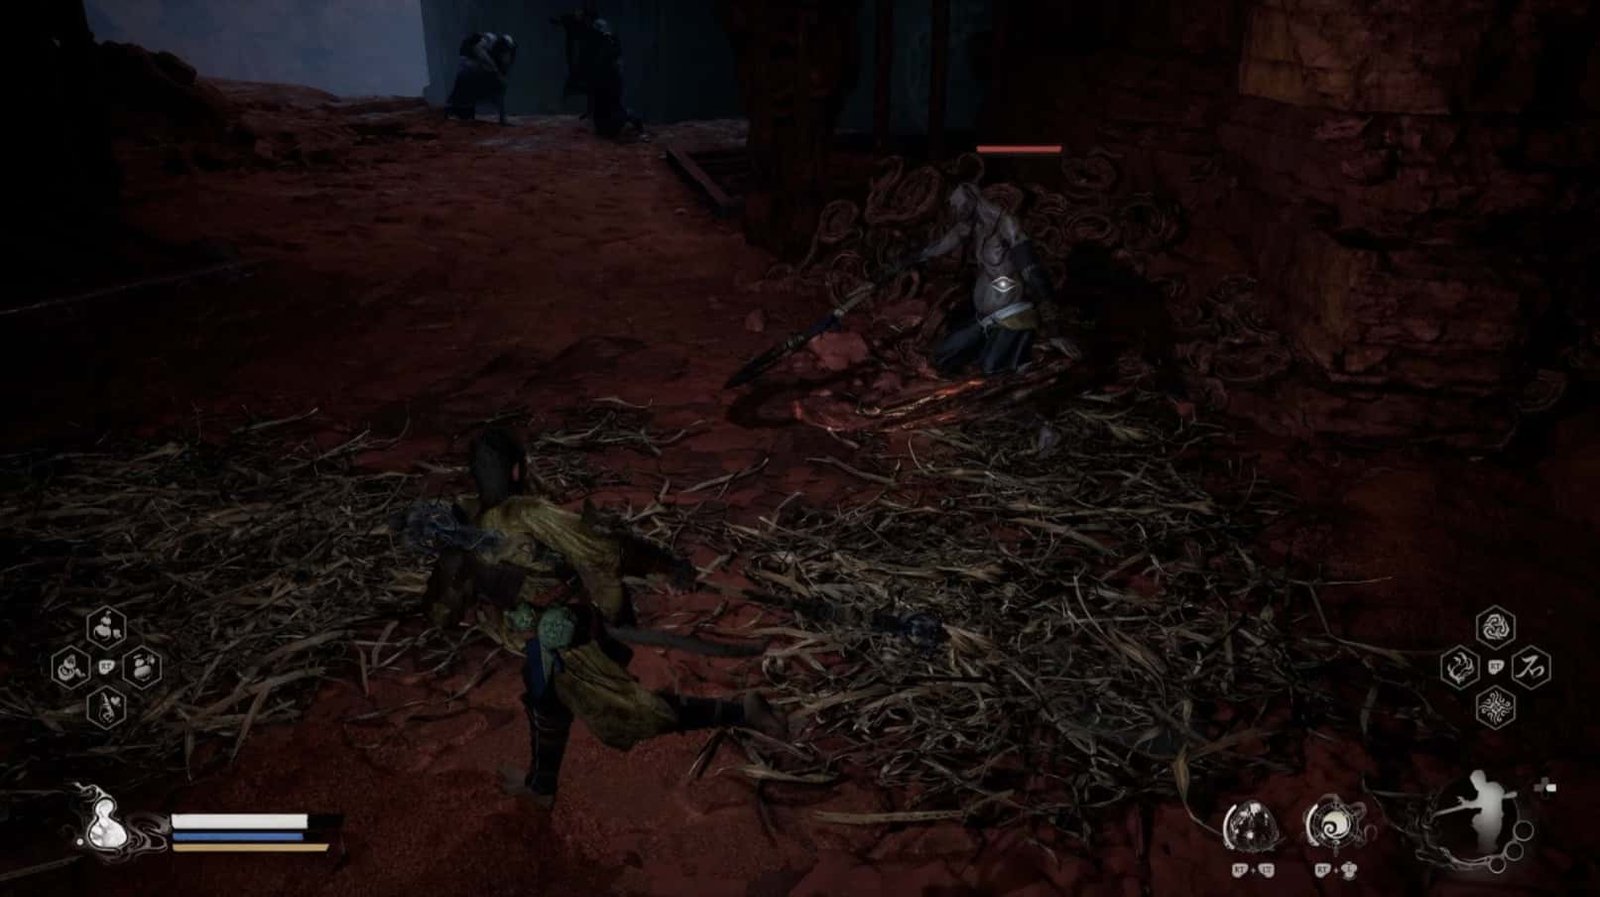
At the end of the corridor, a Starved Abomination, wielding the reaper’s scythe, will be the final challenge before the Destined One reaches the stairs leading to Level 2.
Employ all your combat skills, evade, counterattack, and utilize your techniques wisely to overcome them.
Along the way, do not forget to collect the Wisps and Snake-Head Mushrooms to replenish your vital energy, preparing for the arduous battles ahead.
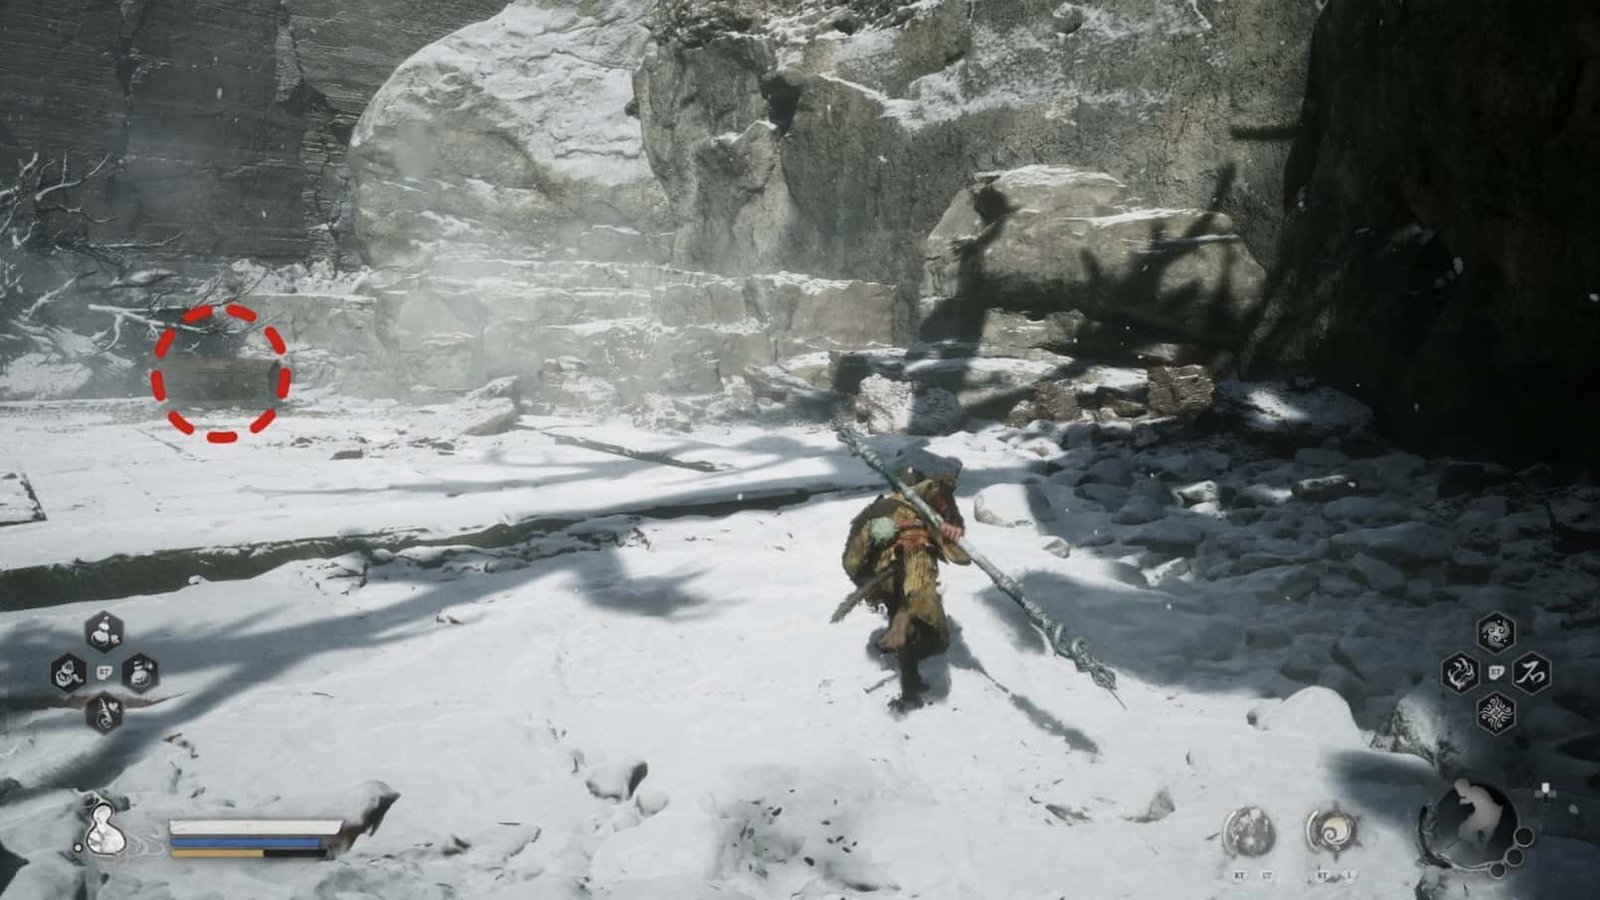
Near the Keeper’s Shrine: Lower Pagoda, there is a Warded Cell – temporarily inaccessible, remember this location. Another Warded Cell is also located on the way, take note, the opportunity to break the seal will come in the future.
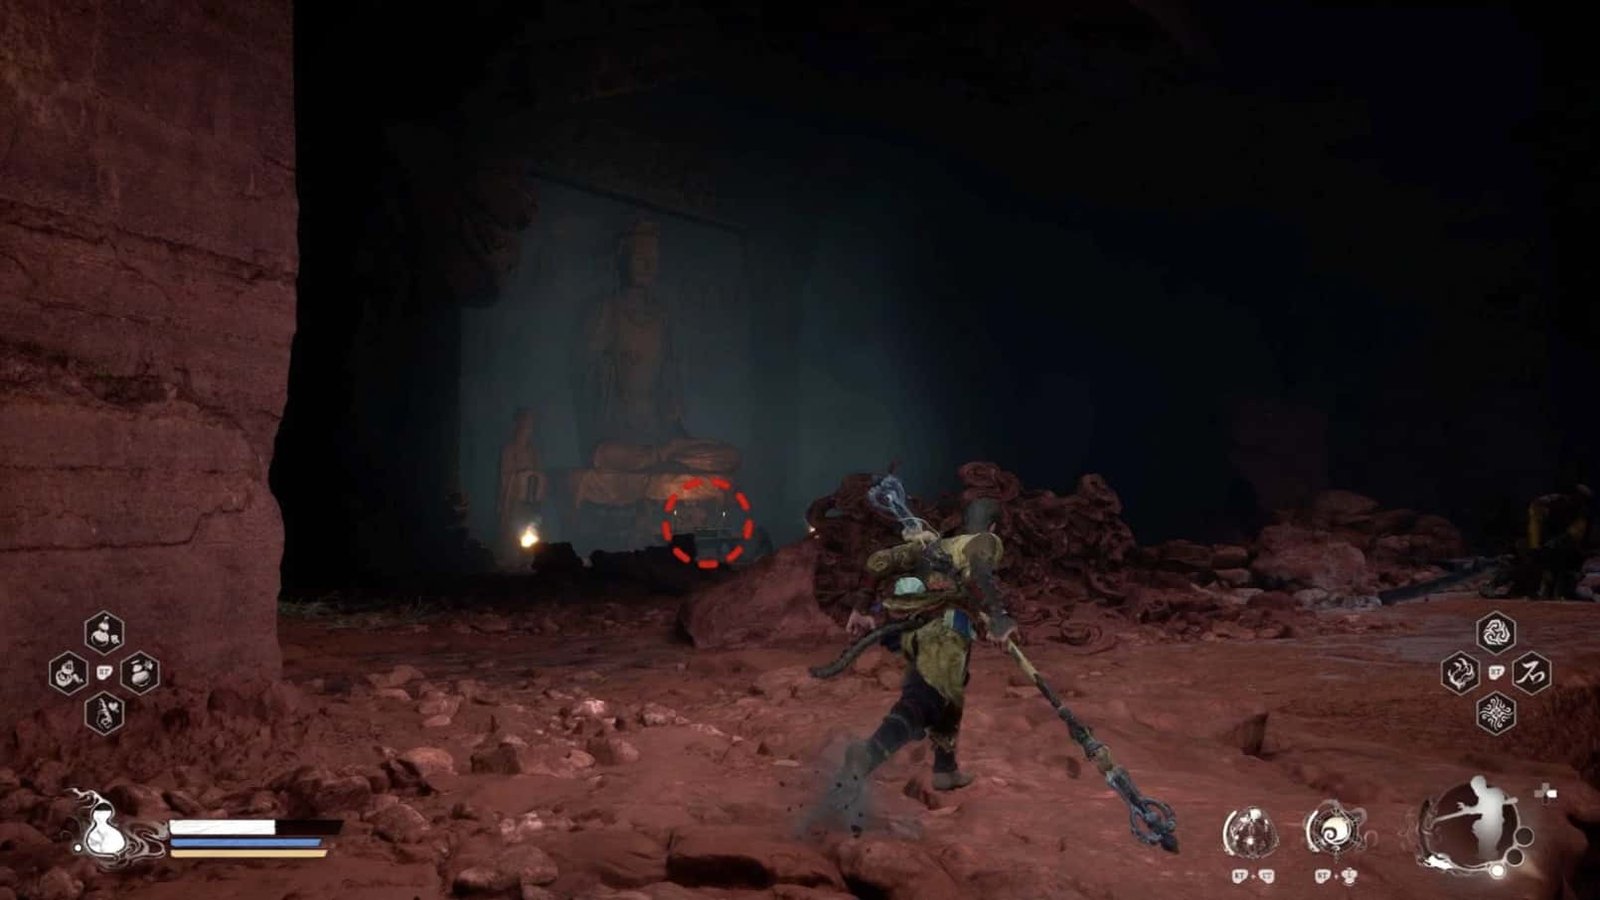
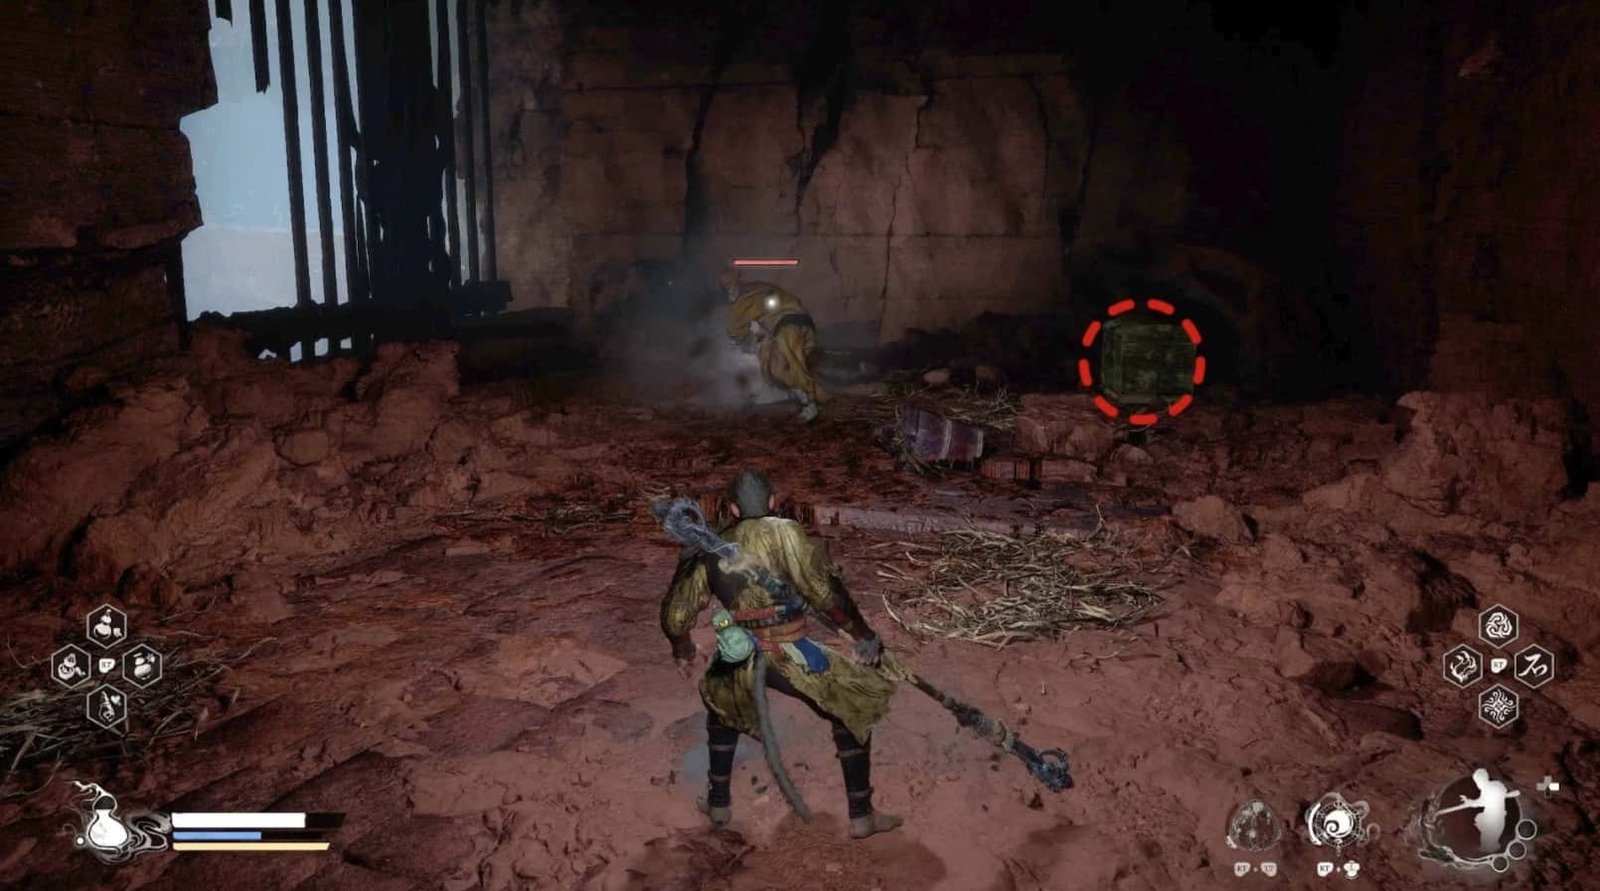
Close to the stairs leading to Level 2, in a hidden corner, a Blade Monk is guarding a Fine China Tea Bowl – a Curio (Rare and Exotic Treasure) that increases Stamina regeneration.
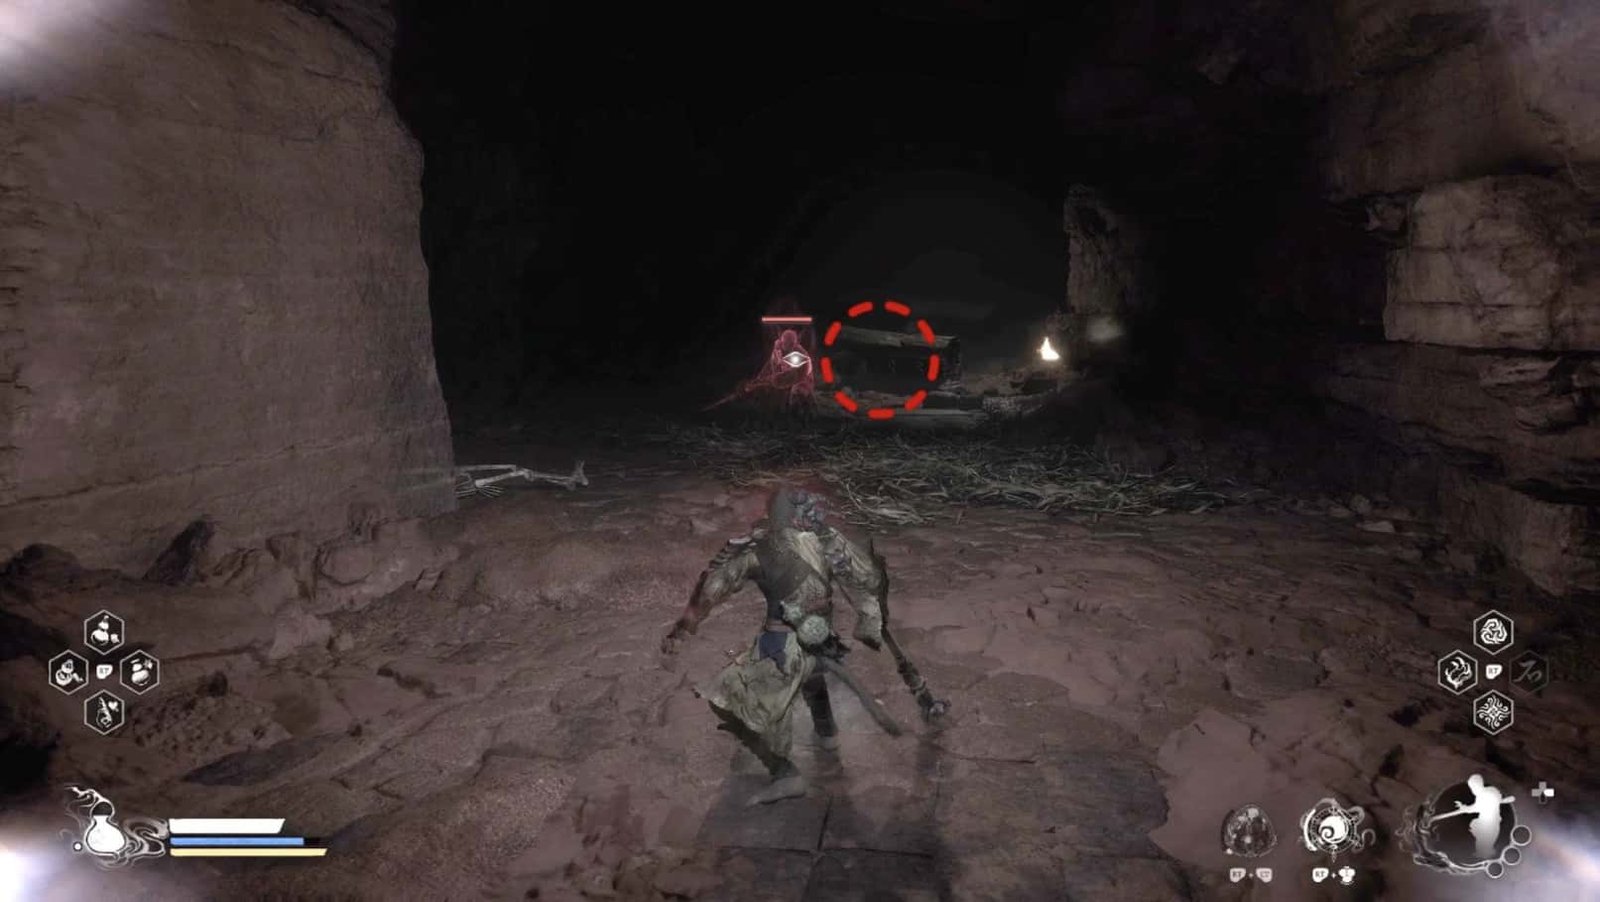
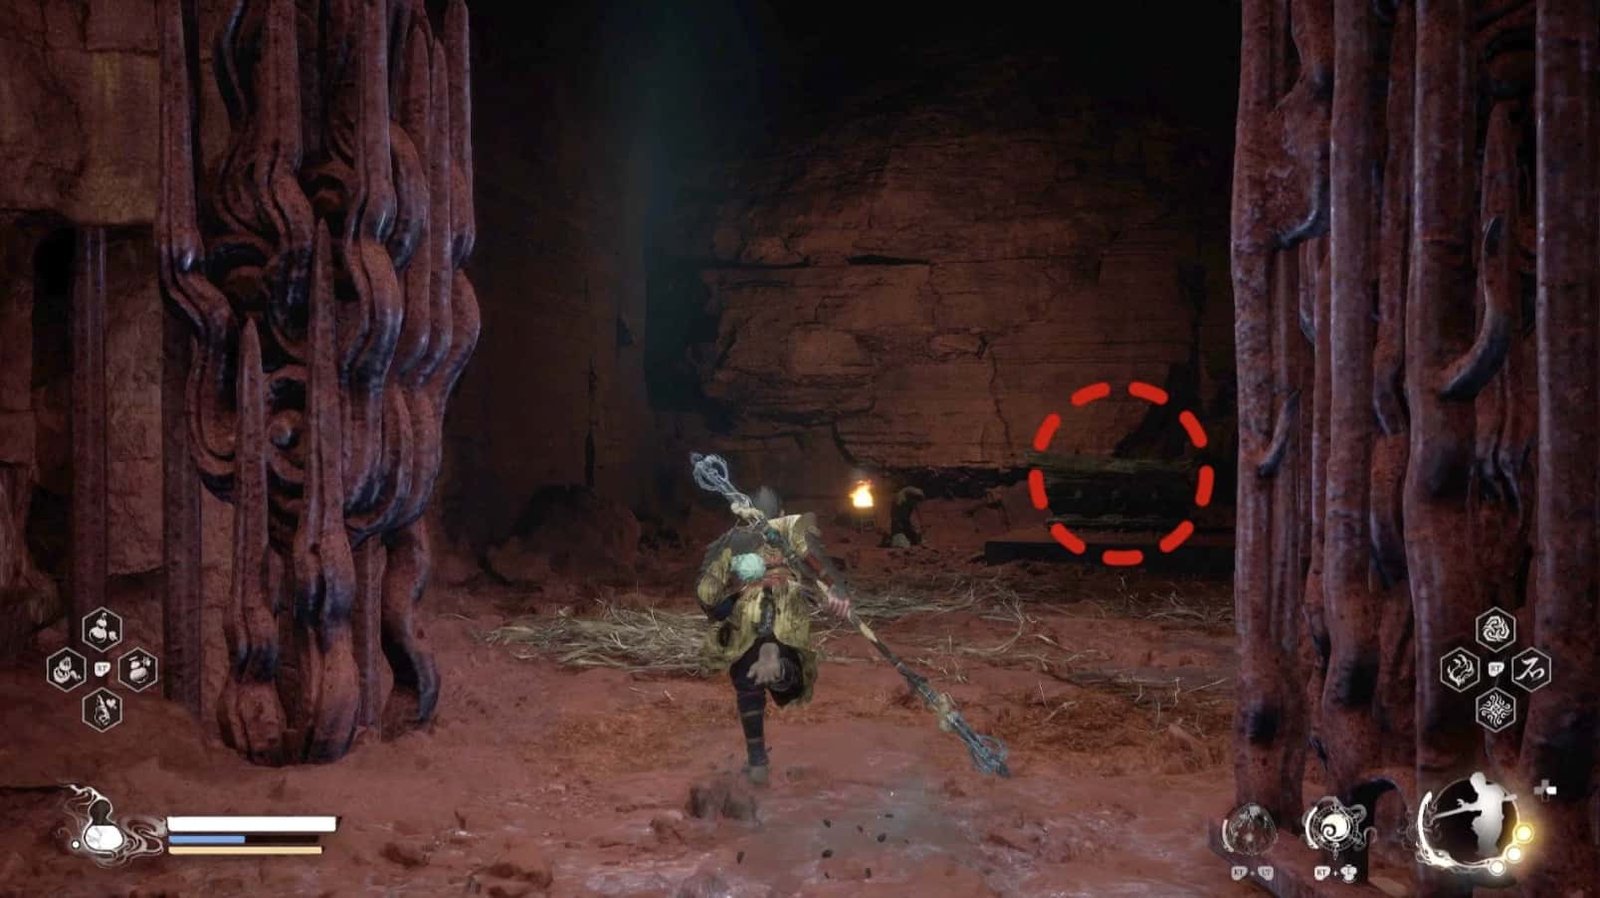
At the end of the tunnel leading to the stairs, a Treasure Chest protected by a Blade Monk awaits, containing useful items, do not miss it!
Lower Pagoda (Level 2)
Ascending to Lower Pagoda (Level 2) – The Second Level of the Lower Tower, the Destined One will immediately face a Yaksha Archer and a Frozen Corpse. Be cautious of the freezing arrows and sudden attacks from these undead. After overcoming them, turn left to explore a side area.
Here, to the left of the exit, a Withered Corpse guards a Treasure Chest containing useful items.
There is a Warded Cell that requires the Destined One to return to Level 1, find a location near the exit (on the left), and drop down to access. Inside, a Red-Haired Yaksha – an extremely fast and dangerous opponent – guards a Treasure Chest containing a Mind Core and precious materials. From here, the Destined One can collect a nearby Spirit and jump down to the starting point of the Pagoda Realm. For now, it is not possible to break the seal, so mark this location and return later.

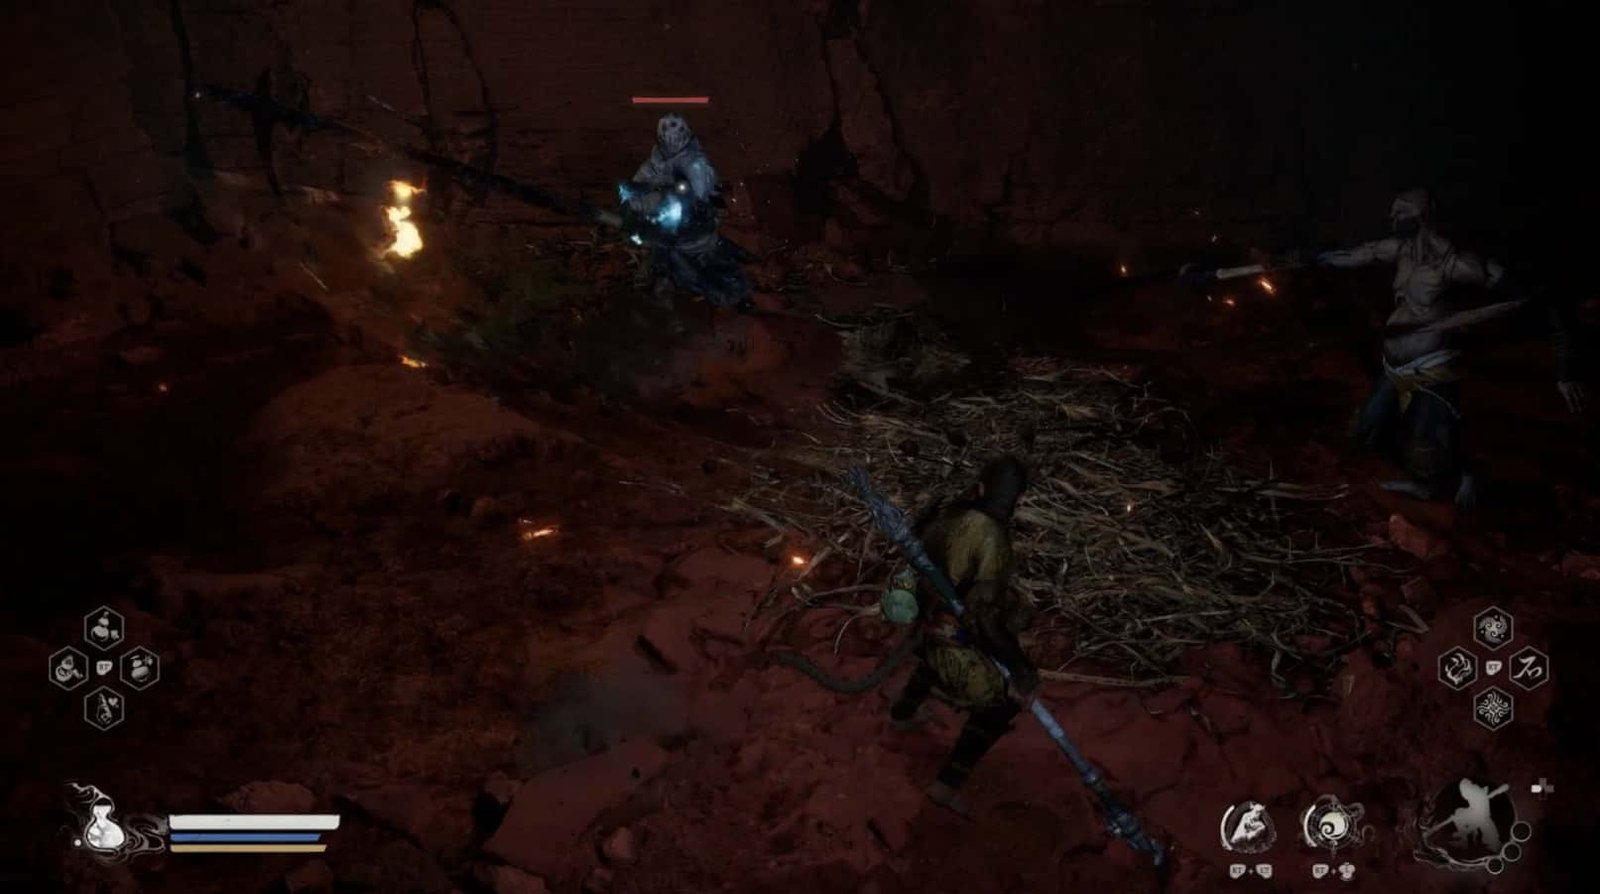
Returning to the main path, the Destined One will continue their journey towards Upper Pagoda (Level 3) – The Third Level of the Upper Tower. As you progress deeper, the corridors become darker, Wisps and materials still appear sporadically, but be highly vigilant. Frozen Corpses, Cyan Bats, Abominations, Enslaved Yakshas, Red-Haired Yakshas, and Yaksha Archers will constantly impede your progress.
Particularly, when approaching the narrow wooden bridge, employ Cloud Step to evade the arrows of the Yaksha Archer who is lying in ambush. Or, the Destined One can move continuously, dodging the enemy’s arrows, quickly closing in and finishing them off.
After ascending the stairs from Level 1, on the right will be a Warded Cell – currently inaccessible.
Going straight, turning left at the Blade Monk, the Destined One will find a Treasure Chest guarded by a Red-Haired Yaksha and a Yaksha Archer. Use Immobilize or Cloud Step to isolate and eliminate the Yaksha Archer first, then focus on dealing with the Red-Haired Yaksha.
Upper Pagoda (Level 3)
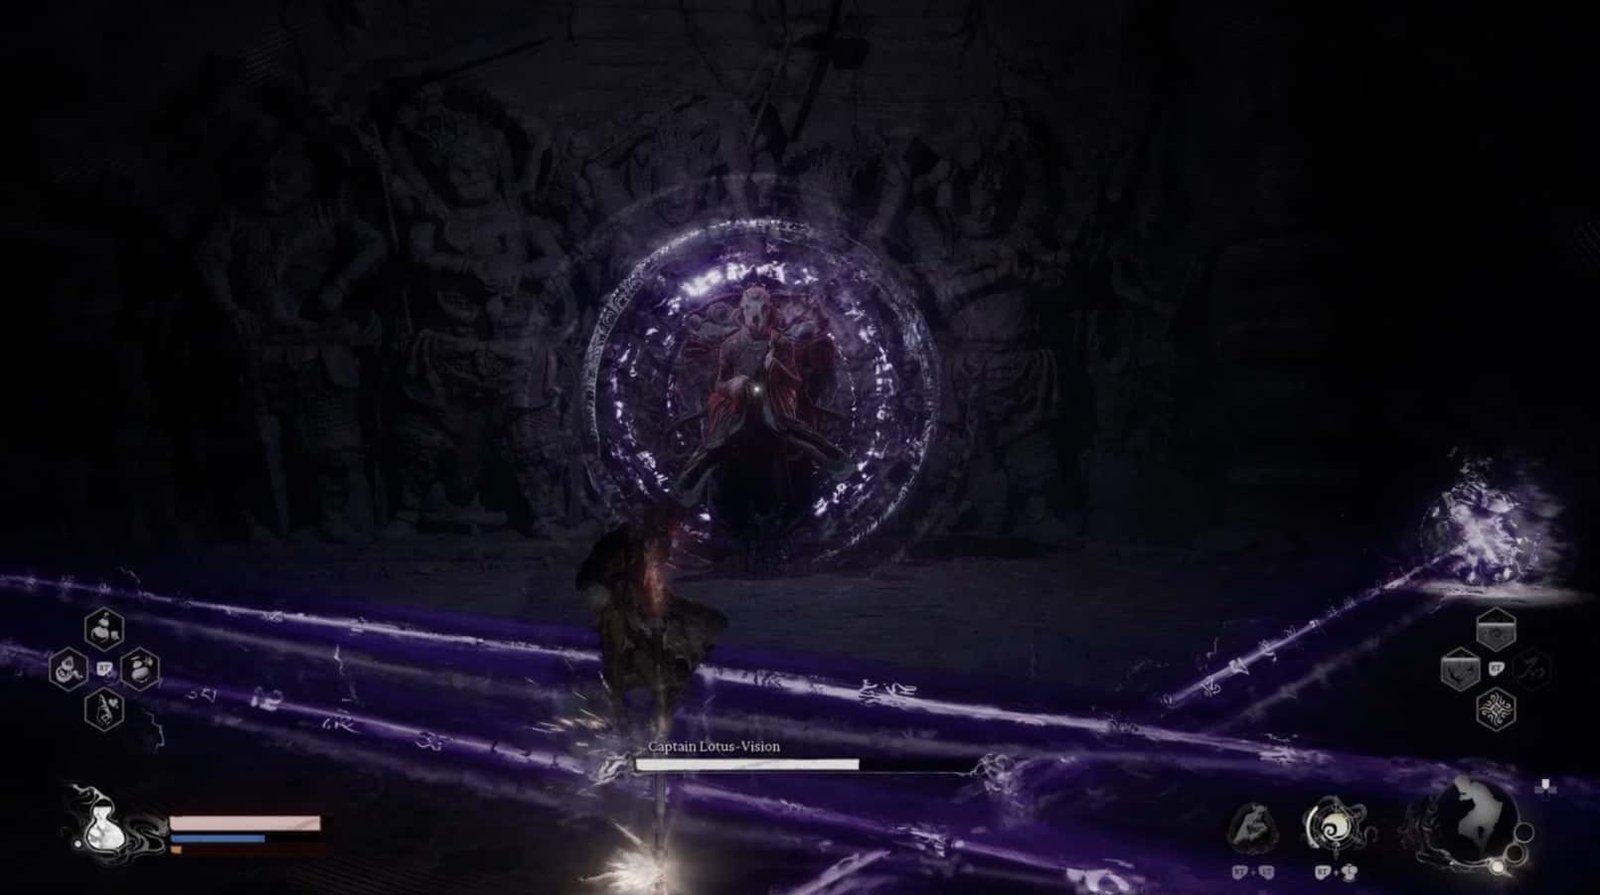
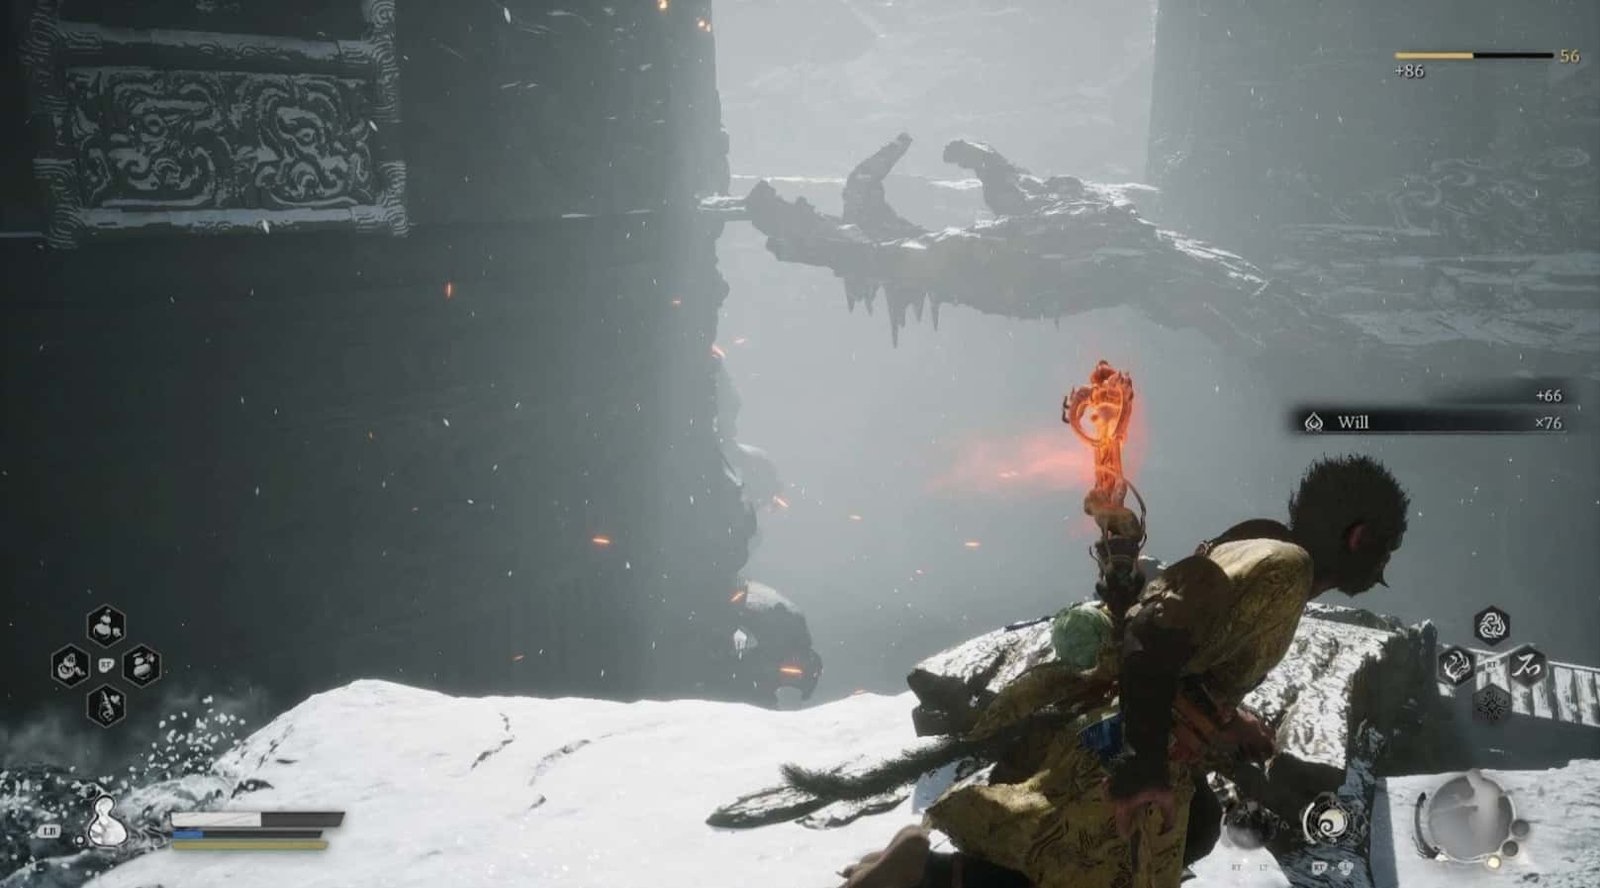
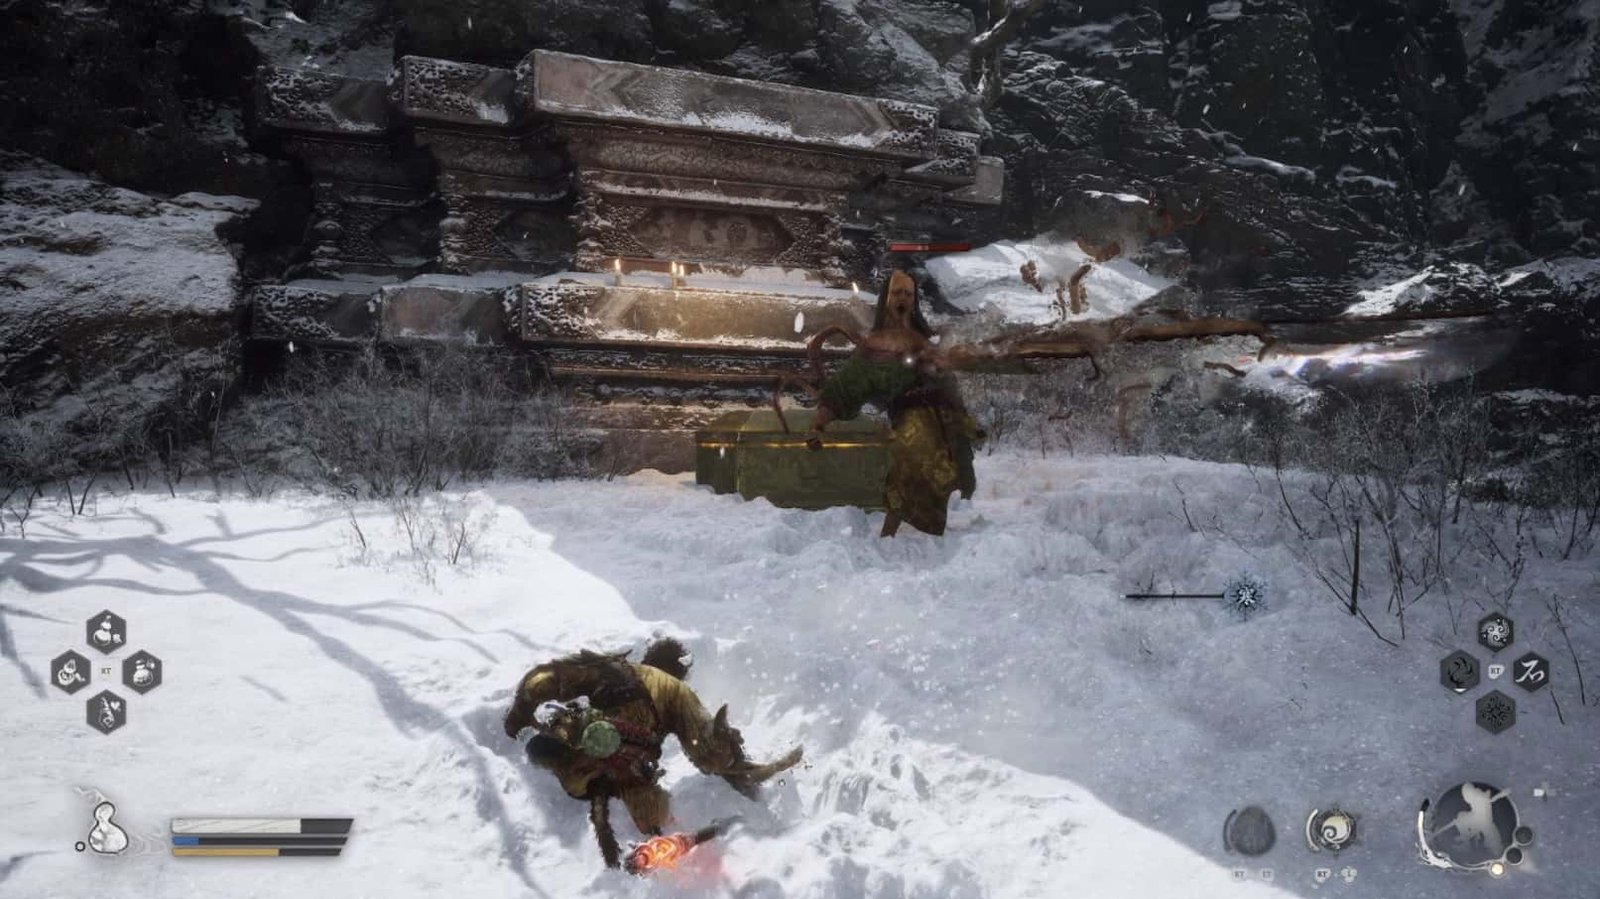
Having crossed the wooden bridge, the Destined One will set foot on Upper Pagoda (Level 3) – The Third Level of the Upper Tower. First, seek out the Keeper’s Shrine: Upper Pagoda (Sanctuary: Upper Pagoda – Level 3) to rest and recuperate. From here, a deep, dark pit will lead the Destined One to the location of Captain Lotus-Vision – the first of the Captains that must be faced.
Mini-Boss Fight – Captain Lotus-Vision
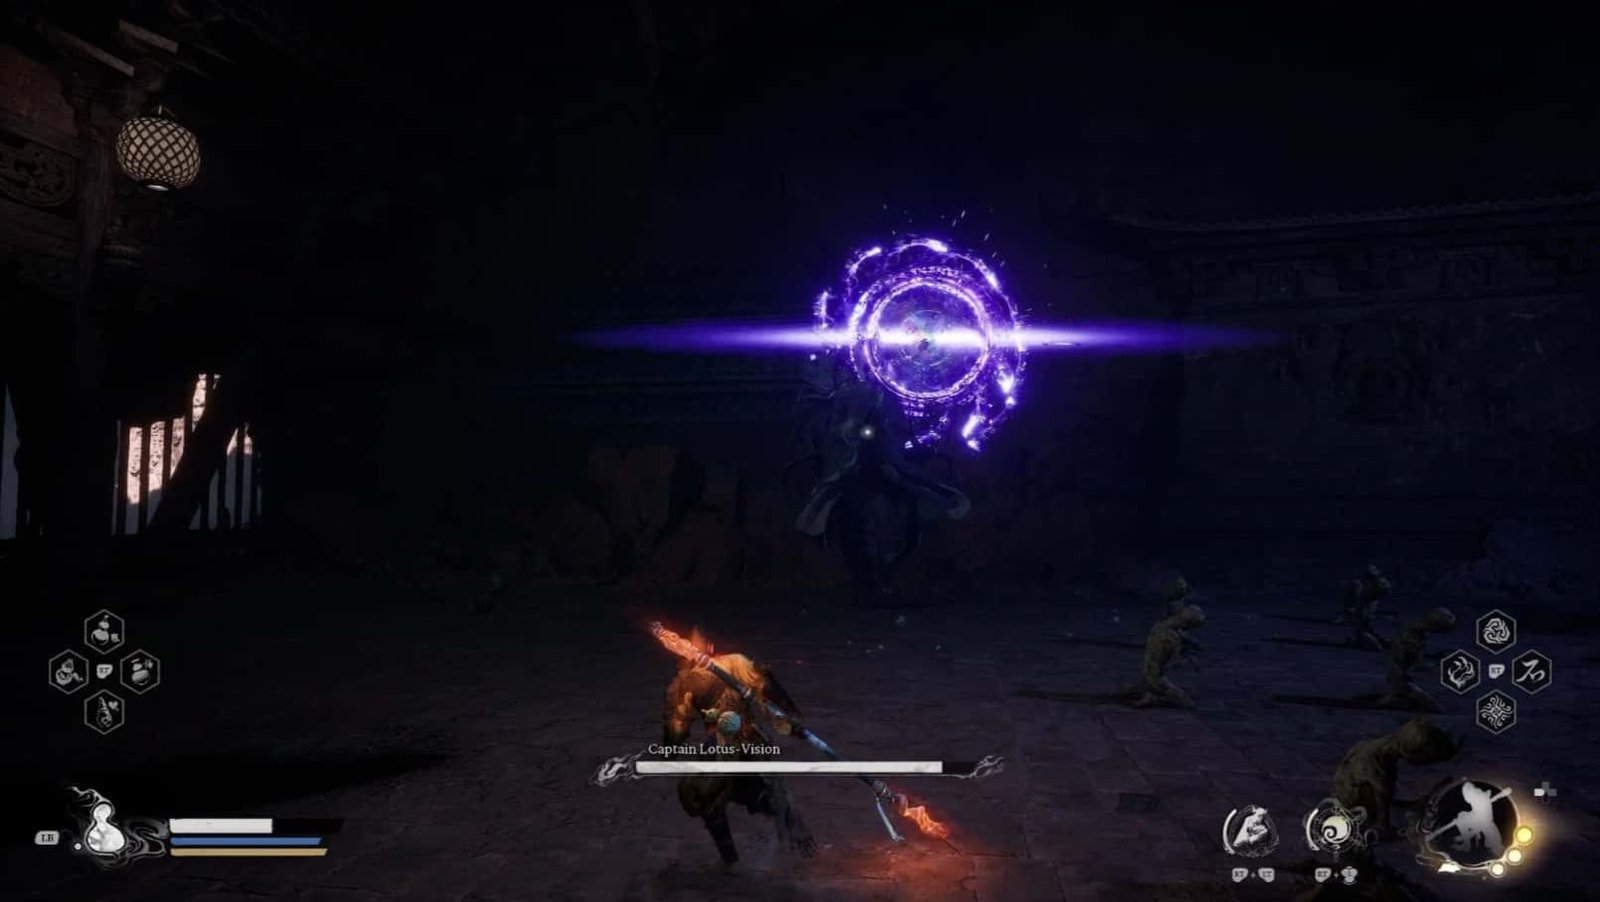
The Battle: From the Keeper’s Shrine: Upper Pagoda, carefully move to the edge of the deep pit. The Destined One must skillfully jump down onto the ledges and rooftops below to avoid taking damage. Captain Lotus-Vision awaits below, amidst a circle of kneeling corpses. He is a powerful sorcerer, employing a variety of unpredictable long-range attacks.
Lotus Beam: Fires an extremely fast laser beam, requiring quick reflexes.

Phantom Magic Circle: Creates a magic circle that fires multiple magic projectiles in various directions.
Netherworld Ground Fire: Creates explosions on the ground, requiring constant movement to avoid.
Combined Attack: Combines laser fire and magic projectiles, requiring intense focus to counter.
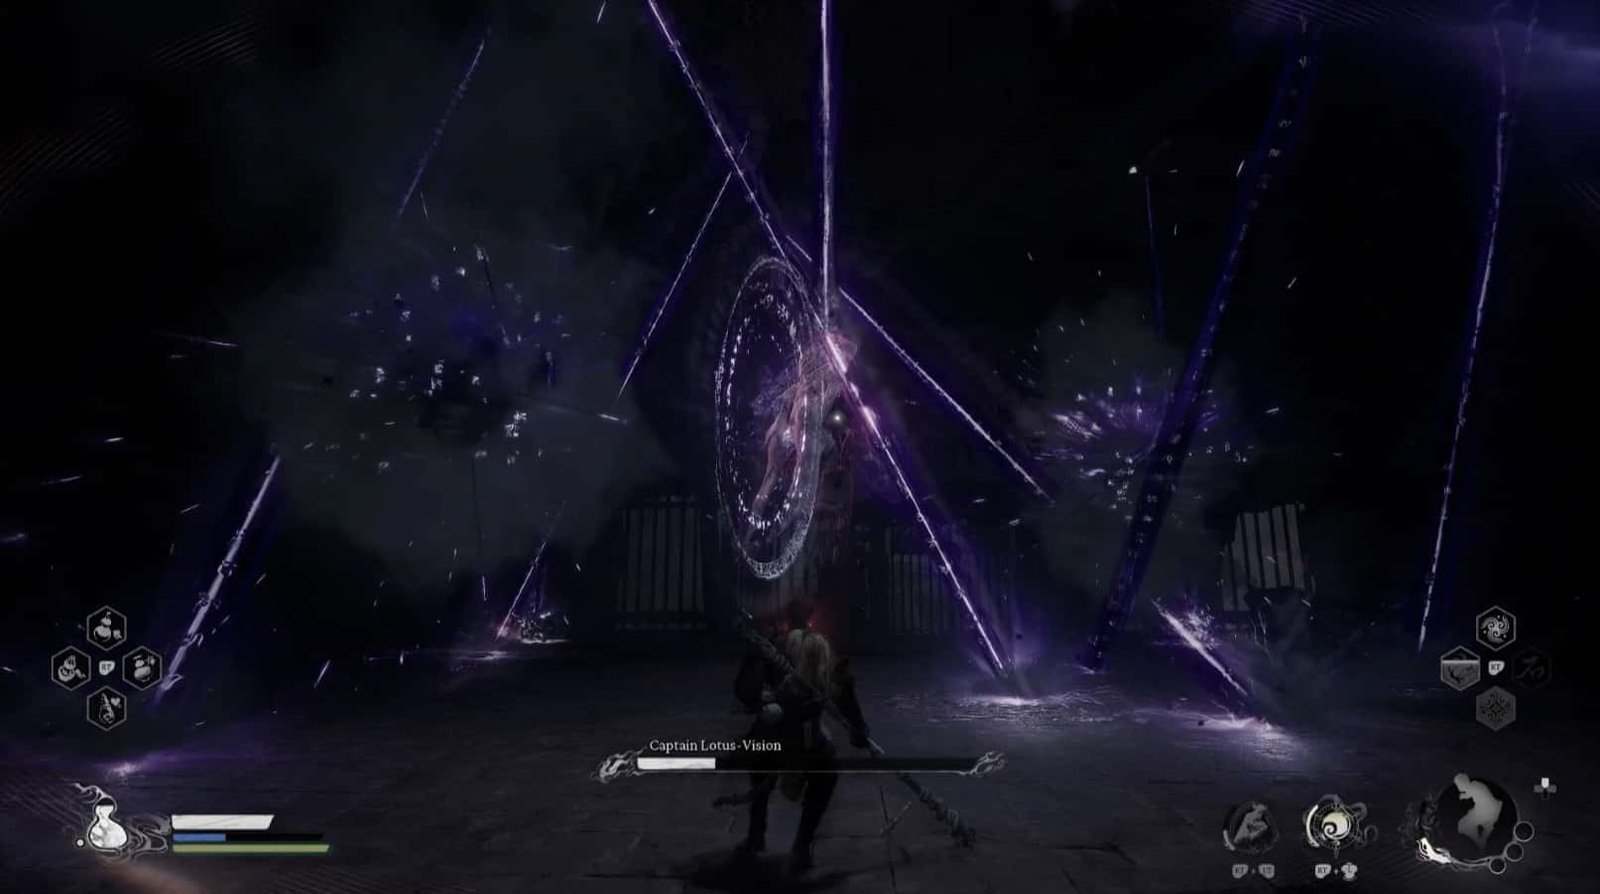
Nine Heavens Thunder Array: Creates a large magic circle, continuously firing laser beams while summoning 4 smaller circles that fire lasers from the 4 corners, culminating in a powerful lightning strike from the center.
Phantom Shift: Teleports instantly, combined with firing a laser beam or magic projectiles.
Falling Sky Strike: Flies up high, creating numerous lightning strikes from the ceiling.
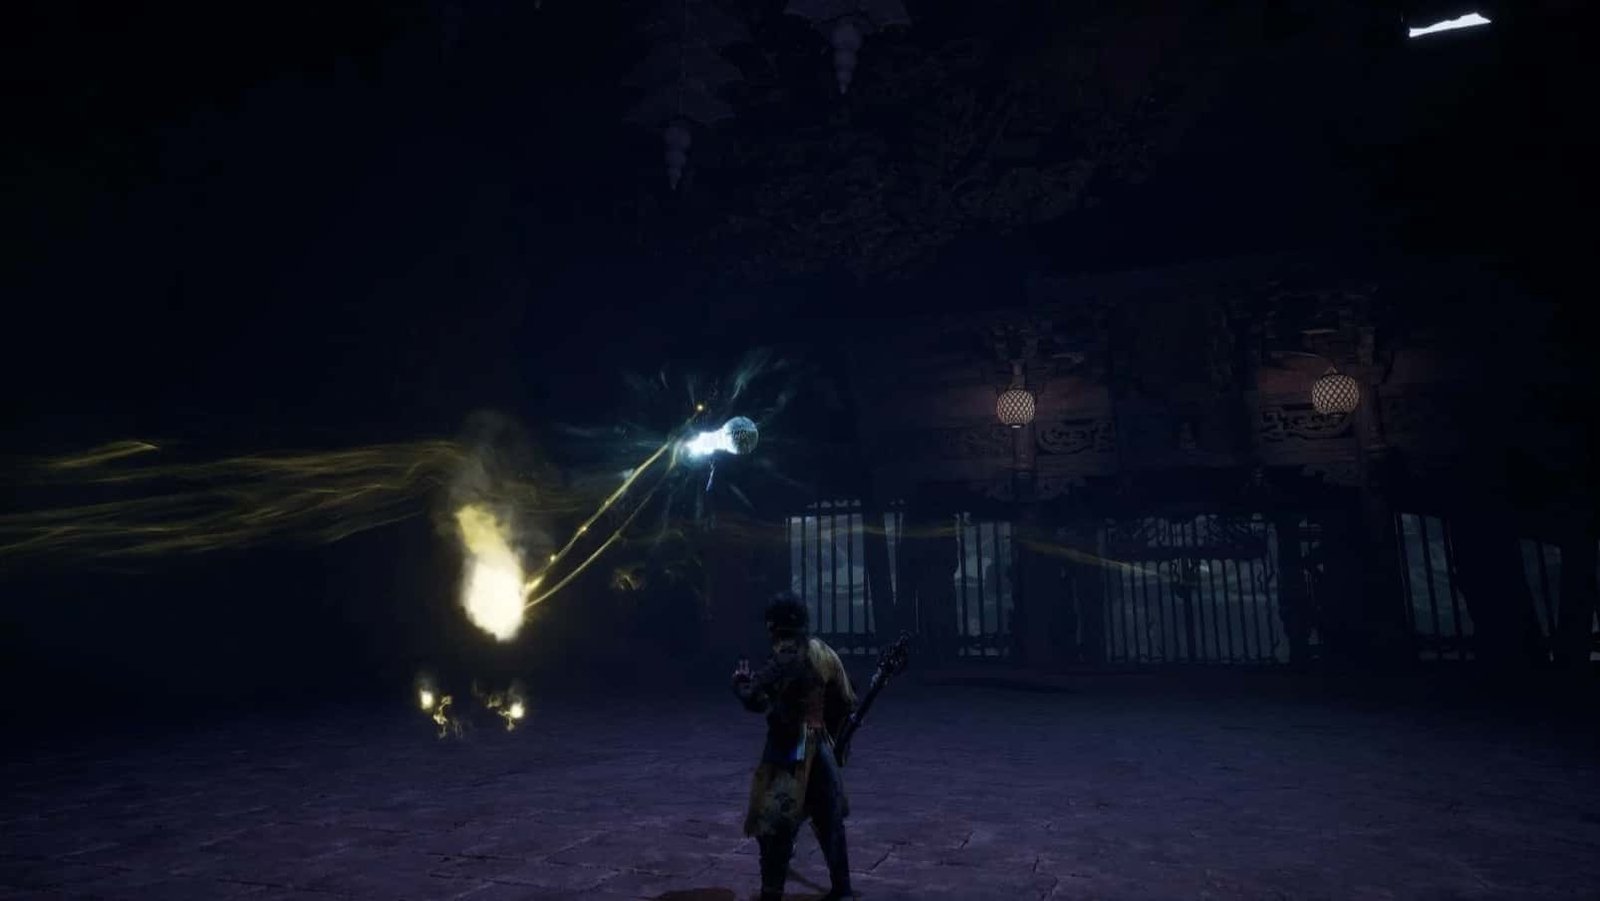
After defeating Captain Lotus-Vision, the Destined One will receive the Frostsprout Twig – a Curio (Rare and Exotic Treasure) and The Spirit of Captain Lotus-Vision. More importantly, the seals on the Warded Cells within the Pagoda Realm will be broken, opening the opportunity to collect the hidden treasures within.
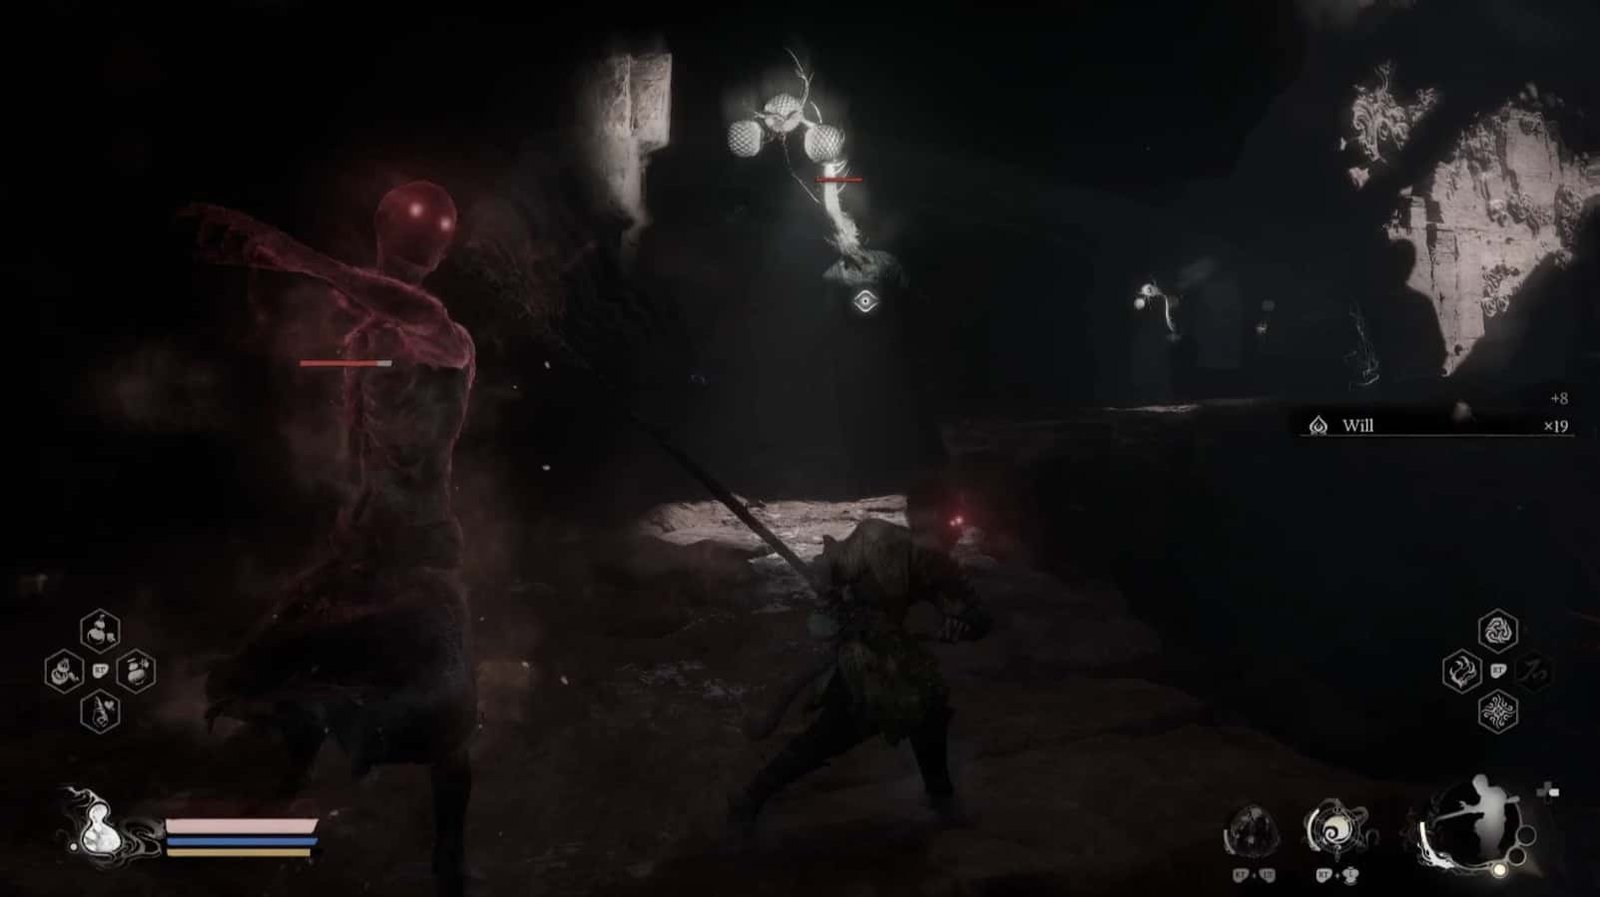
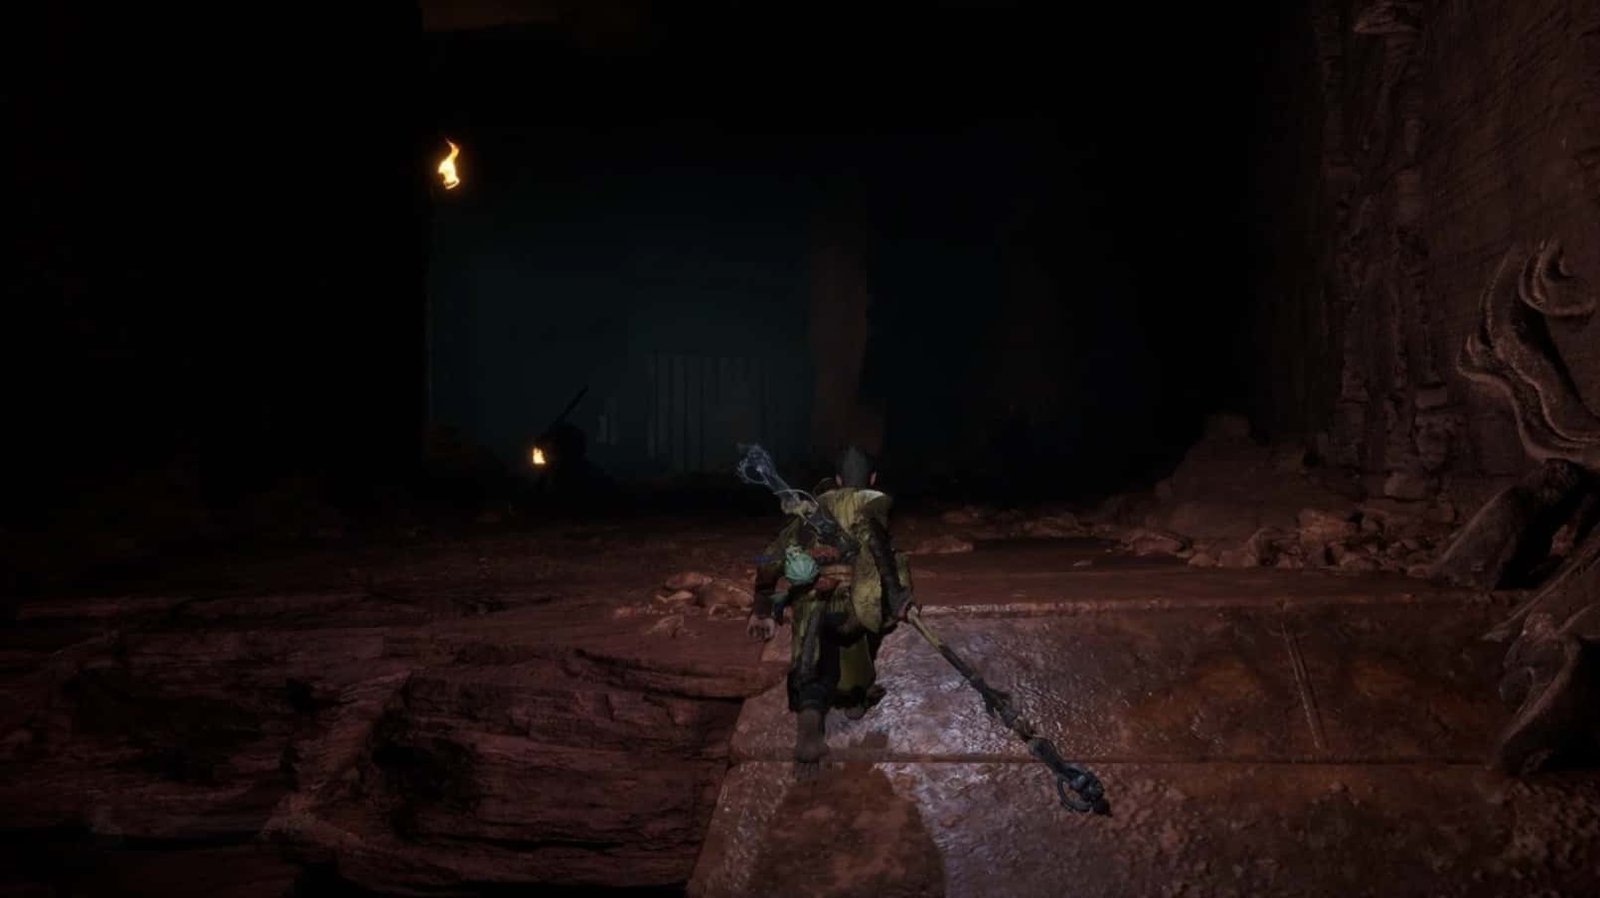
Return to the Keeper’s Shrine: Upper Pagoda, and continue the journey to conquer Upper Pagoda (Level 3). Following the outer corridor, the Destined One will have to confront Swift Bats, Frozen Corpses, Yaksha Archers, Red-Haired Yakshas and a Fungiman – a type of poisonous mushroom demon, stronger than the mushrooms encountered before. Be careful of its poisonous pools, use long-range attacks, and utilize Immobilize to control it.
As soon as you leave the Shrine, the first Warded Cell on the left (now unlocked) contains a Swift Bat and a Treasure Chest with many valuable materials.
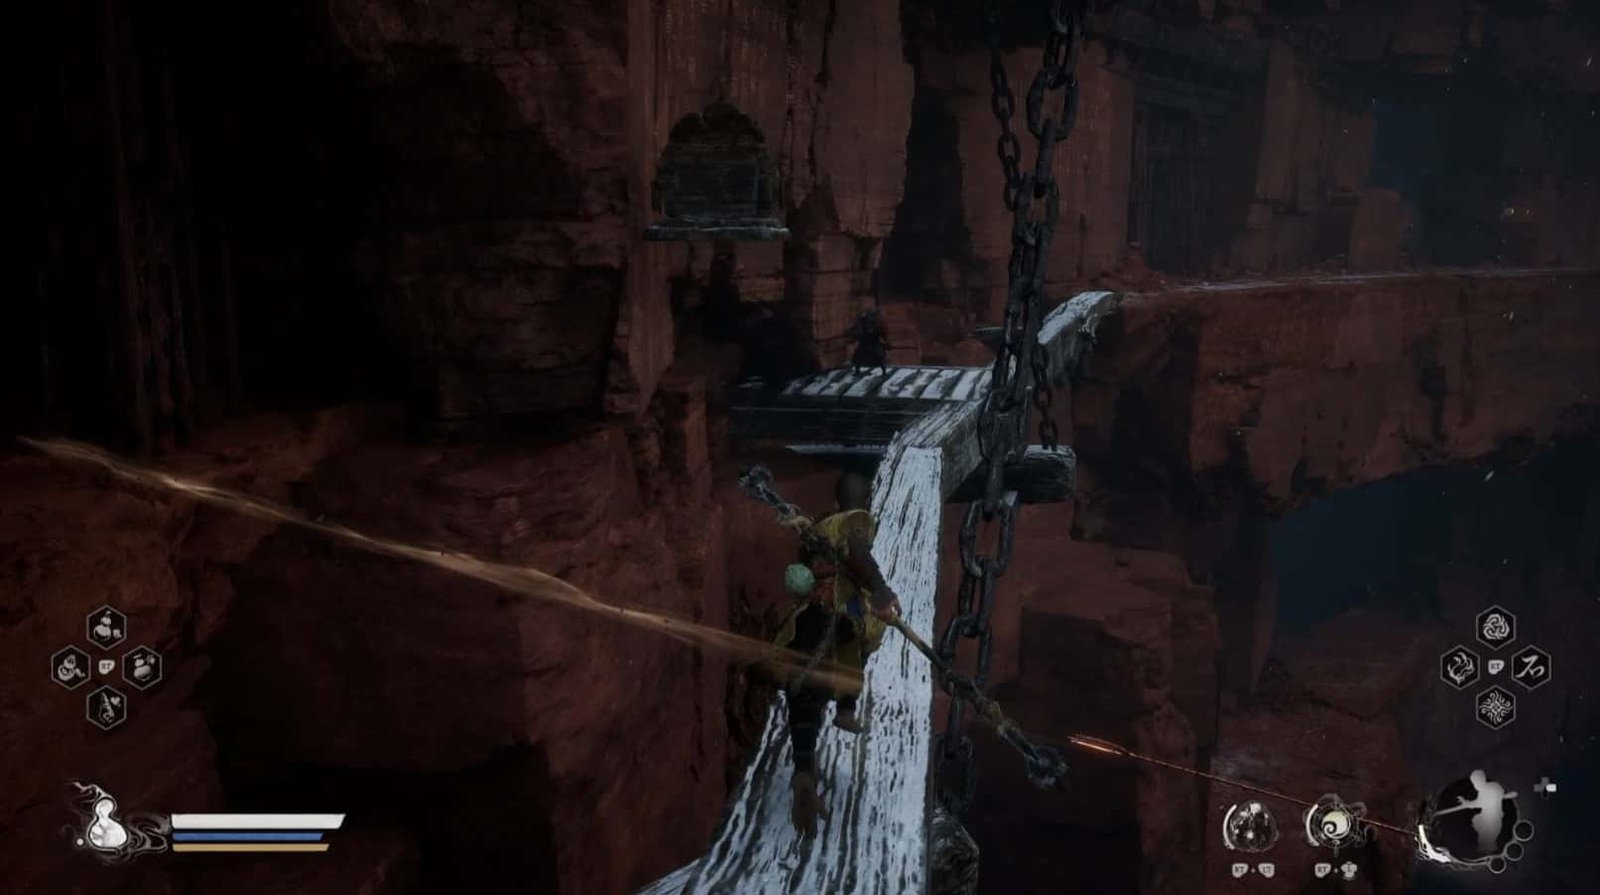
The wooden bridge leading to the next area is a trap. Use Cloud Step to evade the arrows of the Yaksha Archer, quickly defeat him, and then run across the bridge.
A Fungiman Spirit is hidden behind a Snake-Head Mushroom near the stairs leading to Level 4. Be careful, this is a battle with a Fungiman!
Now that the seals are broken, the Destined One should return to those Warded Cells that were previously inaccessible, to collect the treasures hidden within:
Lower Pagoda (Level 1)
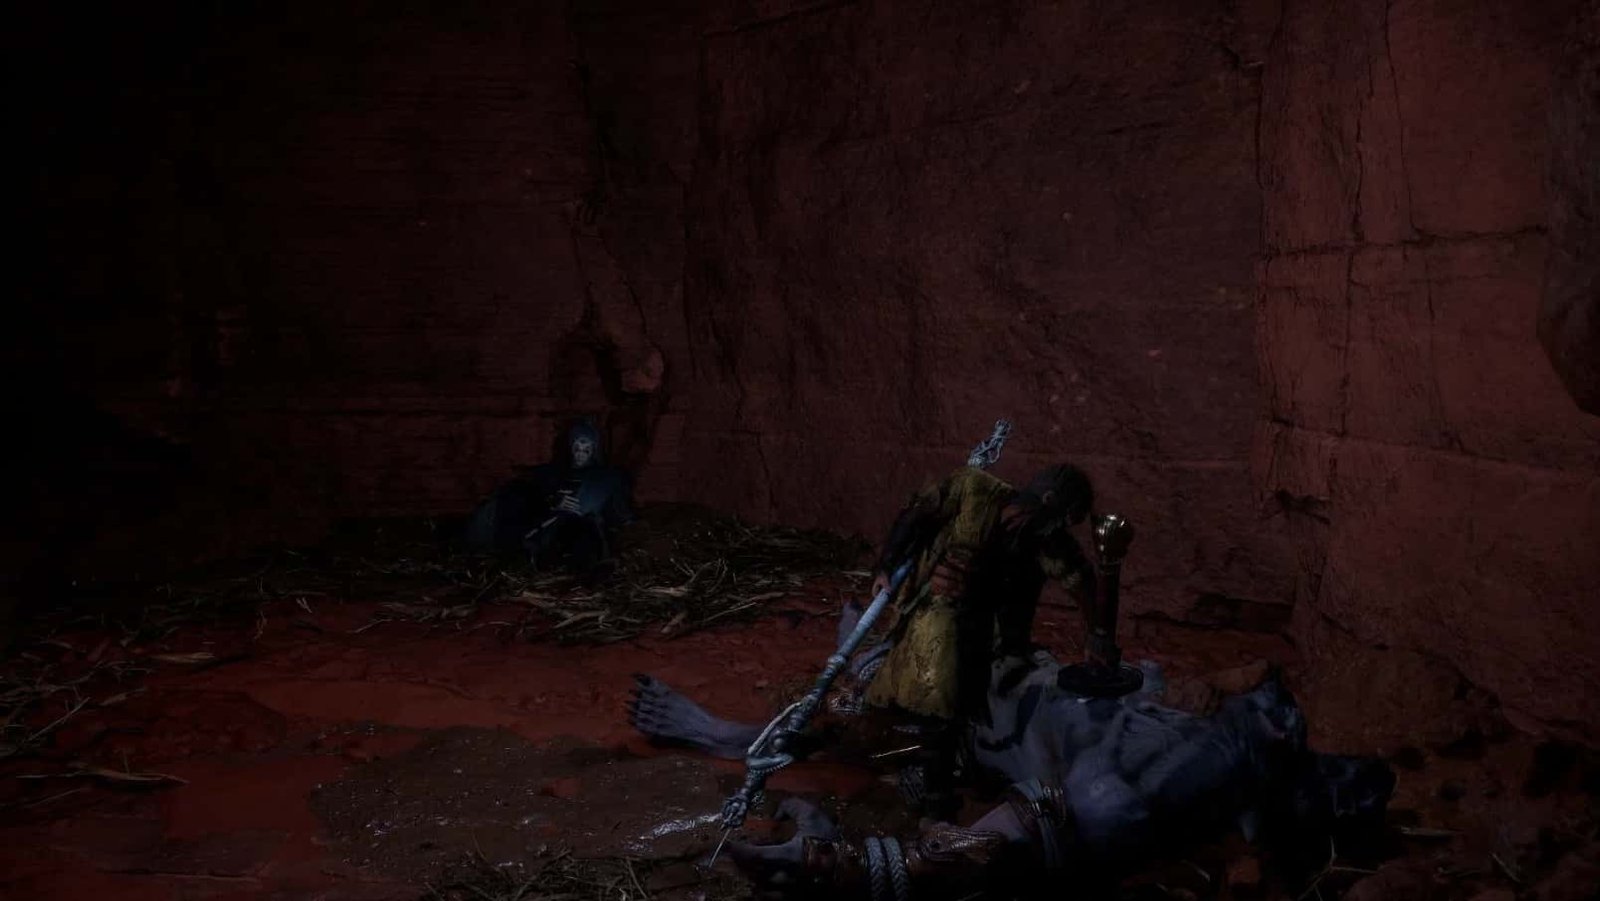
First Warded Cell: Right near the starting point, the Destined One will meet the prisoner again and receive the Ashen Slumber Transformation – the secret art of transforming into a Rat Captain (Rat Captain). If the Destined One completed the side quest in Chapter 2 involving the two Rat Captains in the village and spoke to the 2 NPCs, the secret art will be taken from the corpse of a Rat Captain. If not, the Destined One will have to defeat the Rat Captain here to obtain the art.

Second Warded Cell: Near the Shrine, it contains a Bandit Chief and a Treasure Chest containing Will and Cold Iron Leaves.
Lower Pagoda (Level 2)
Warded Cell: From the stairs to Level 2, turn left, find a place to drop down to Level 1 (near the exit), it contains a Red-Haired Yaksha (Red-Haired Yaksha) and a Treasure Chest containing Will, Mind Core (Wisdom Core), and Cold Iron Leaves.
Upper Pagoda (Level 3)
Warded Cell (on the right after taking the stairs from Level 2): Contains an Abomination, an Enslaved Yaksha – defeat it to obtain the Enslaved Yaksha Spirit – and a Treasure Chest containing Will, Mind Core, and Refined Iron Sand.
Upper Pagoda (Level 4)
Ascending to Upper Pagoda (Level 4) – The Fourth Level of the Upper Tower, the Destined One will face the final level of the tower.
The path ahead remains fraught with dangers, including Blade Monks, Red-Haired Yakshas, Frozen Corpses, and Falcon Fan-Makers – airborne foes wielding deadly fans, creating sharp gusts of wind. Be wary of their knock-up attacks.
Immediately upon reaching Level 4, inside the cell on the right, a Blade Monk is guarding a Treasure Chest. Exercise caution when approaching.
After defeating the Falcon Fan-Maker, look to the right; a secret path leads to the other side of Level 4.
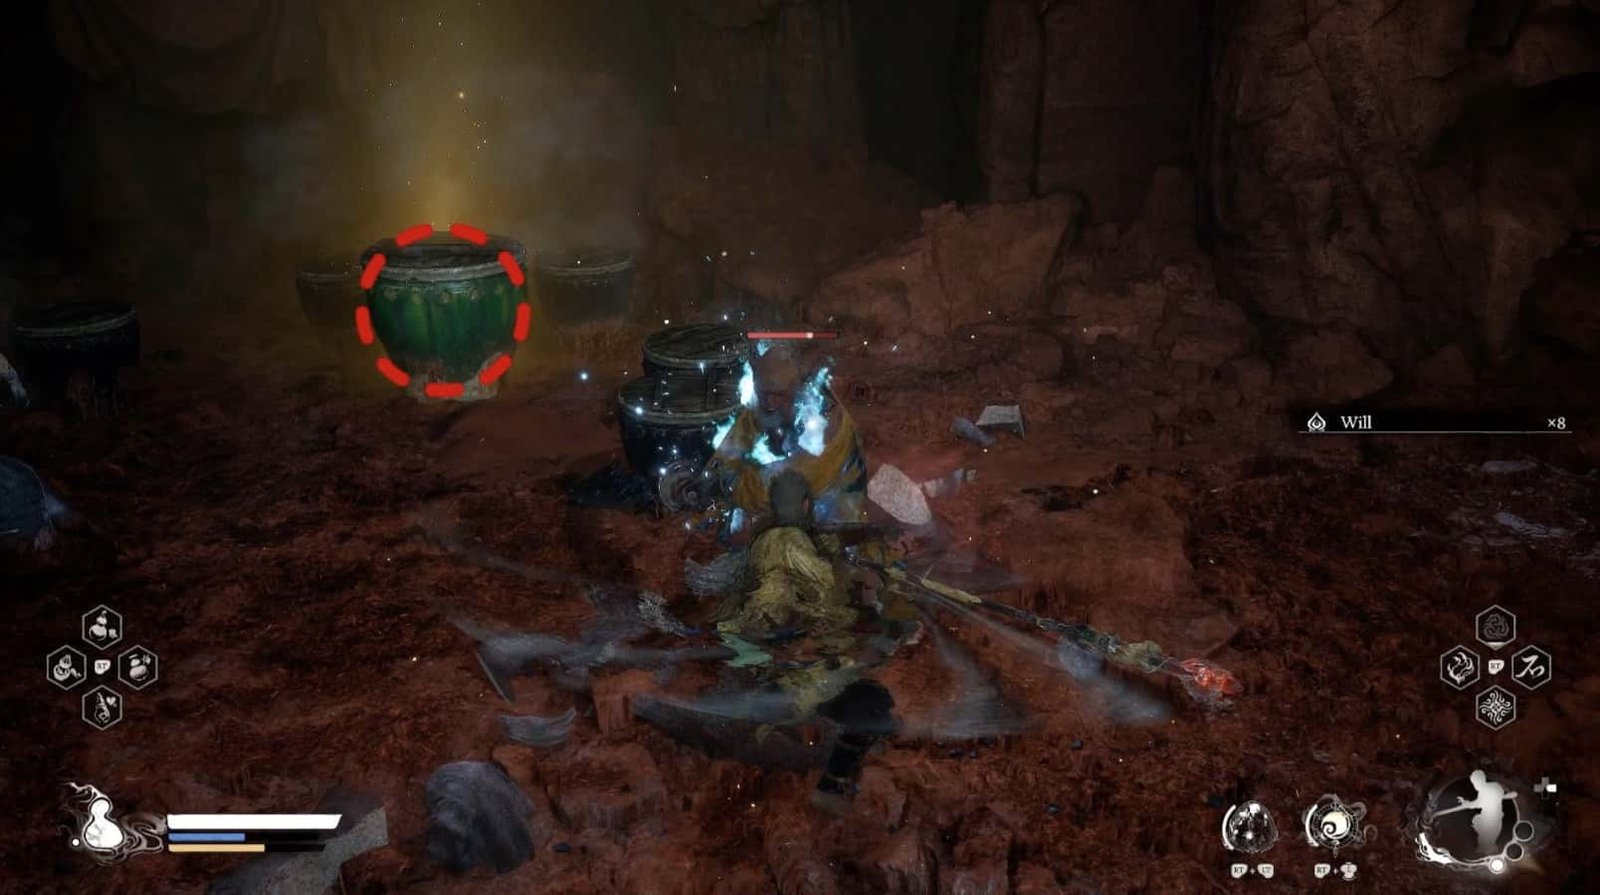
Near the area with many corpses, a Blade Monk Spirit glows blue, holding the power of the Blade Monk. Nearby, inside a pot, the Destined One will find an Awaken Wine Worm – a rare treasure that enhances one’s power.
To receive the Auspicious Lantern, the Destined One must eliminate all Lantern Wardens within the Pagoda Realm, including the final Lantern Warden in the secret area on the other side of Level 4.
After completing everything on Upper Pagoda (Level 4), follow the path, crossing the wooden bridge to reach the Keeper’s Shrine: Mani Wheel – a resting point before facing Captain Wise-Voice.
Mani Wheel
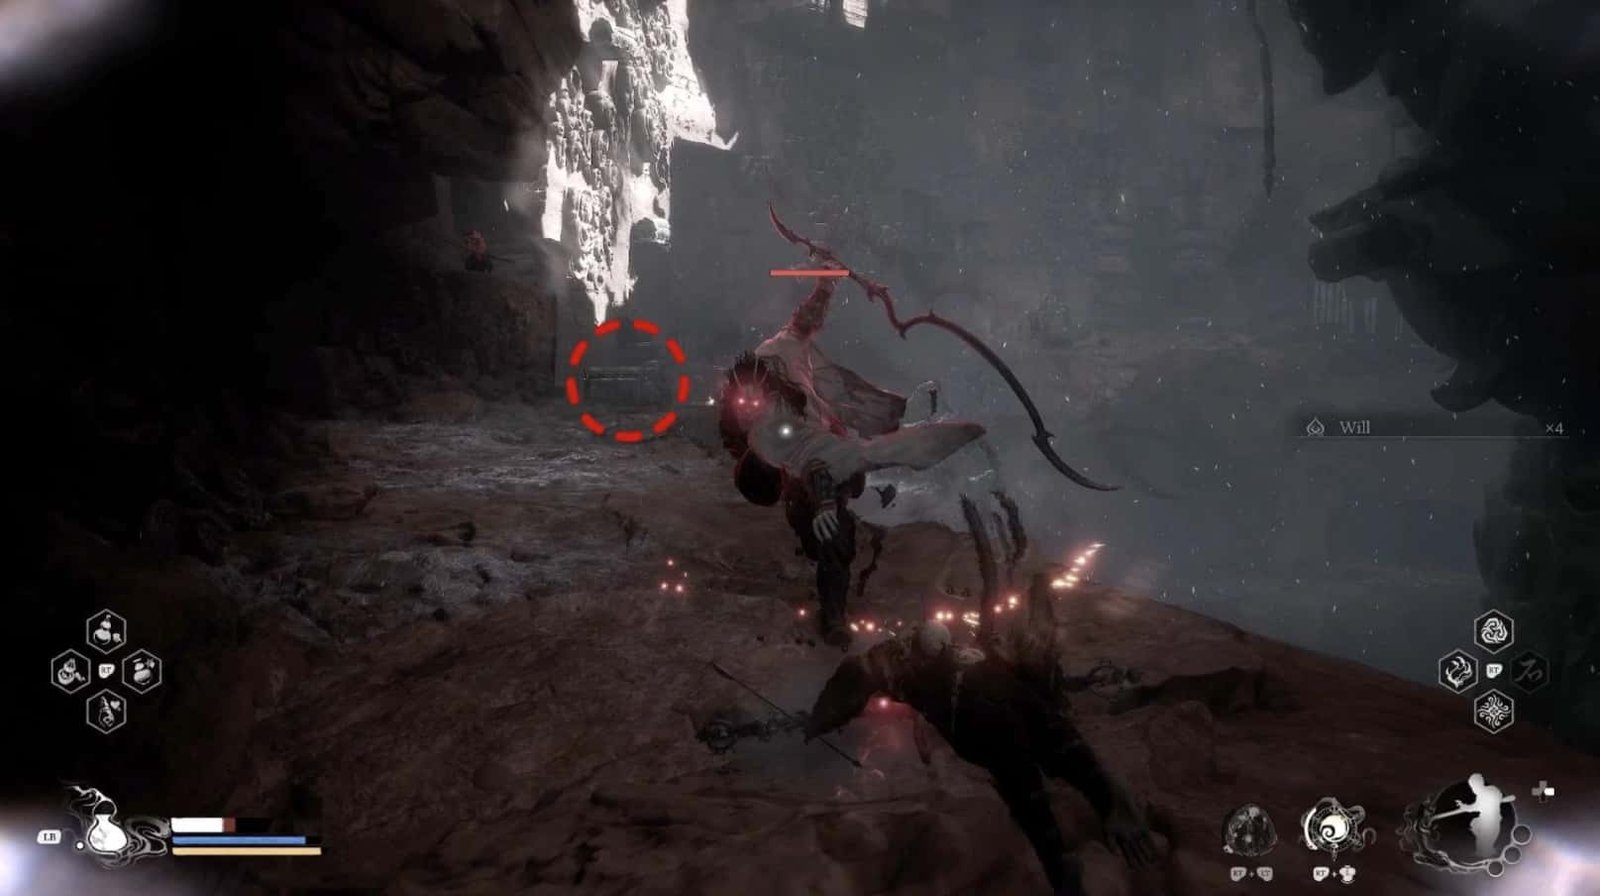
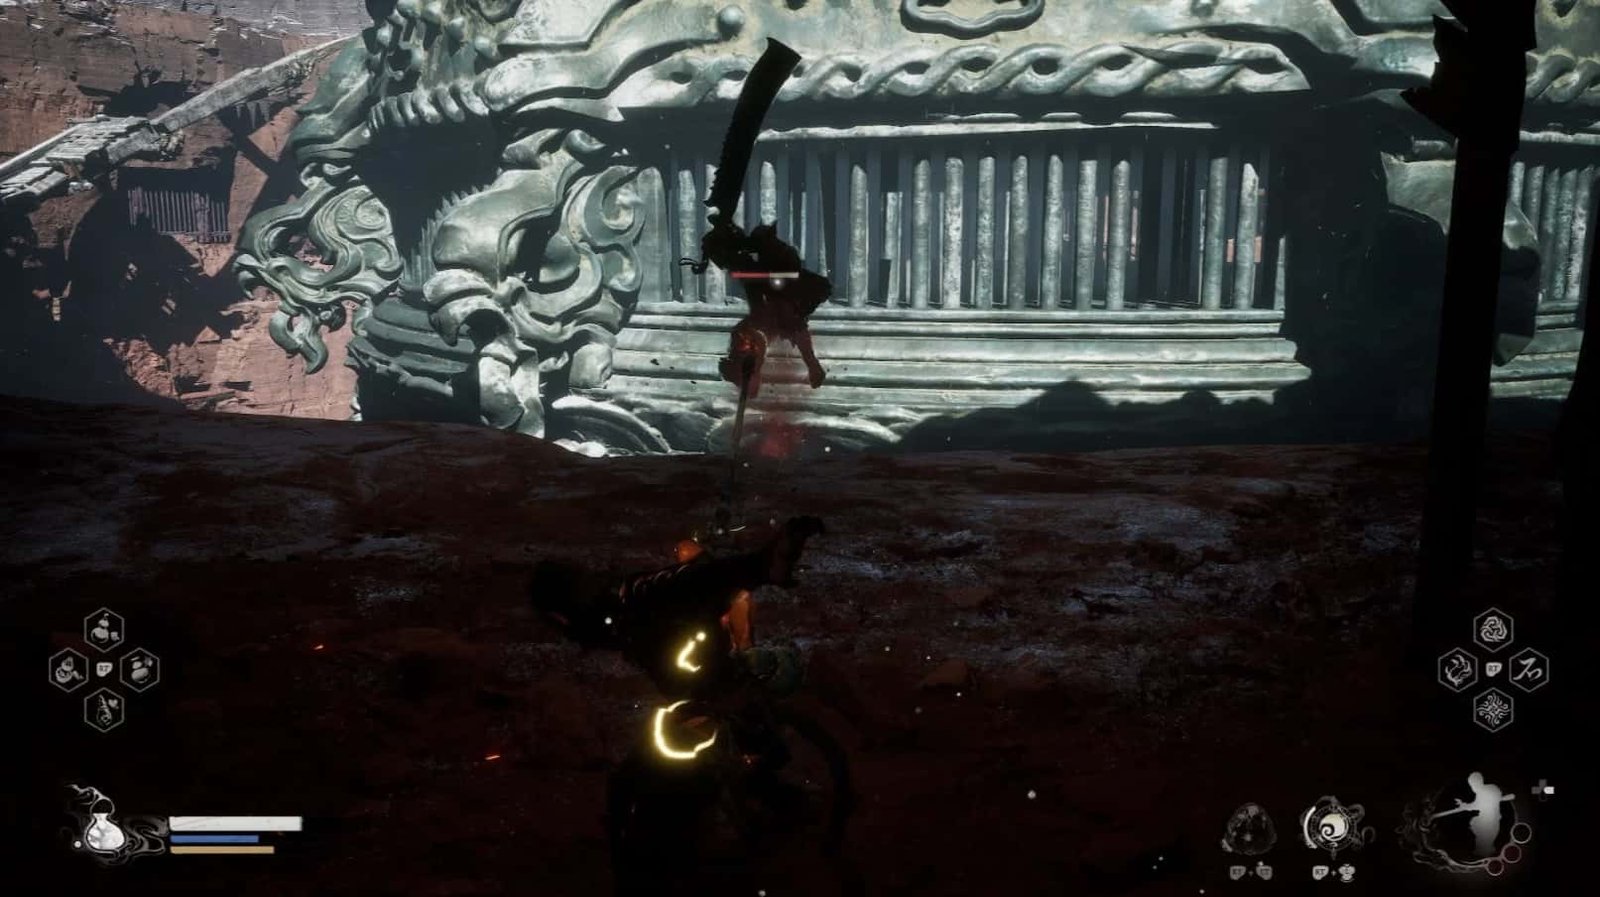
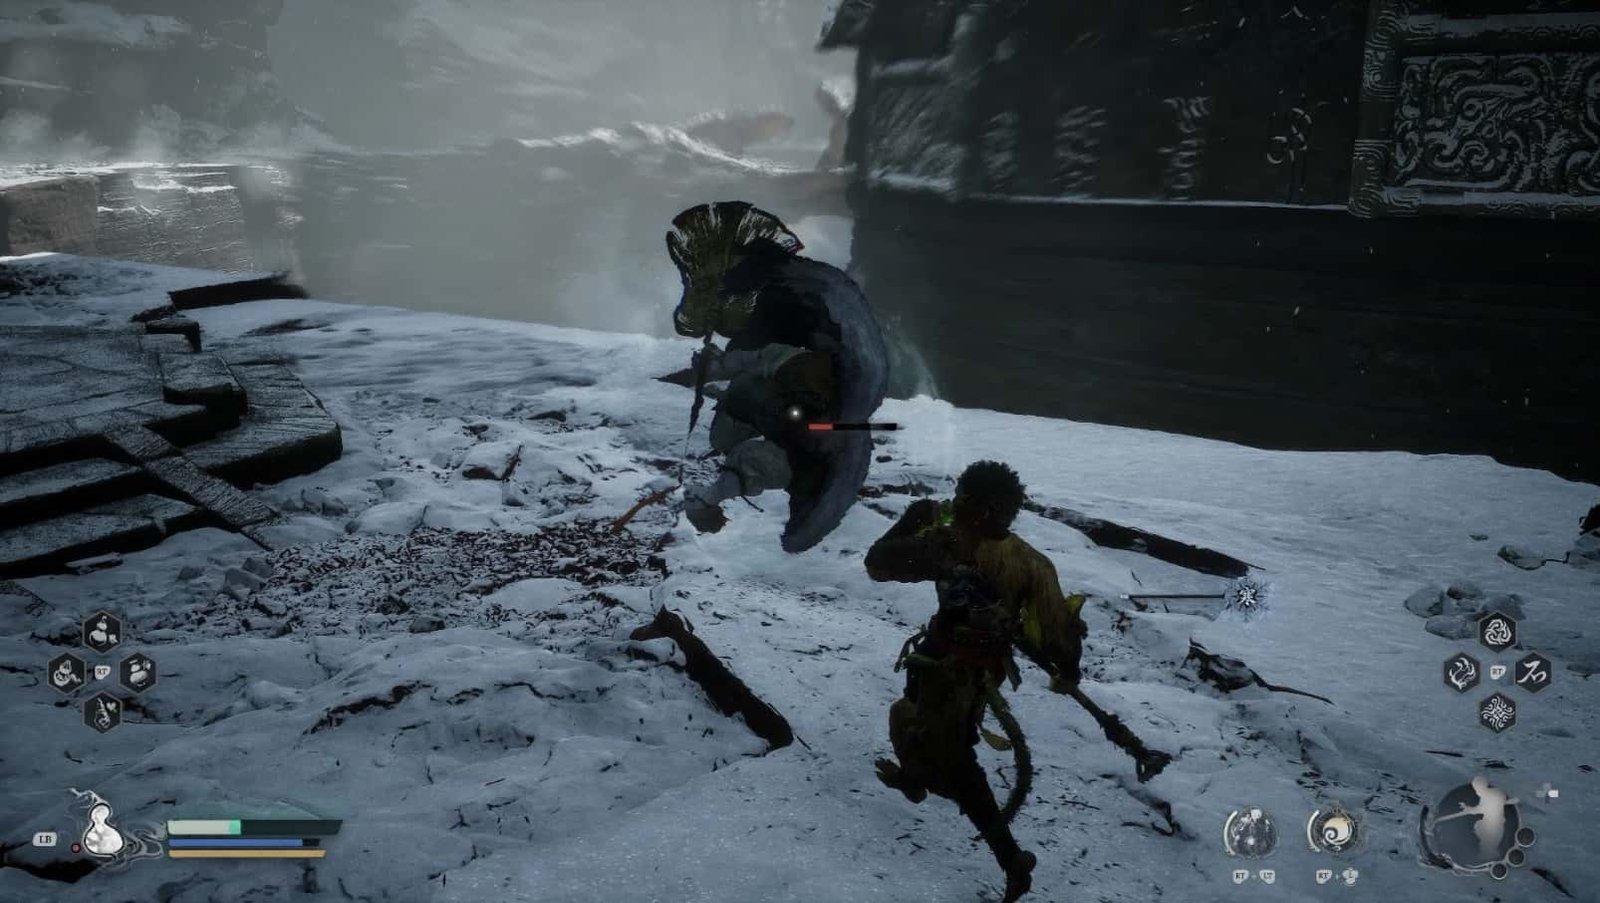
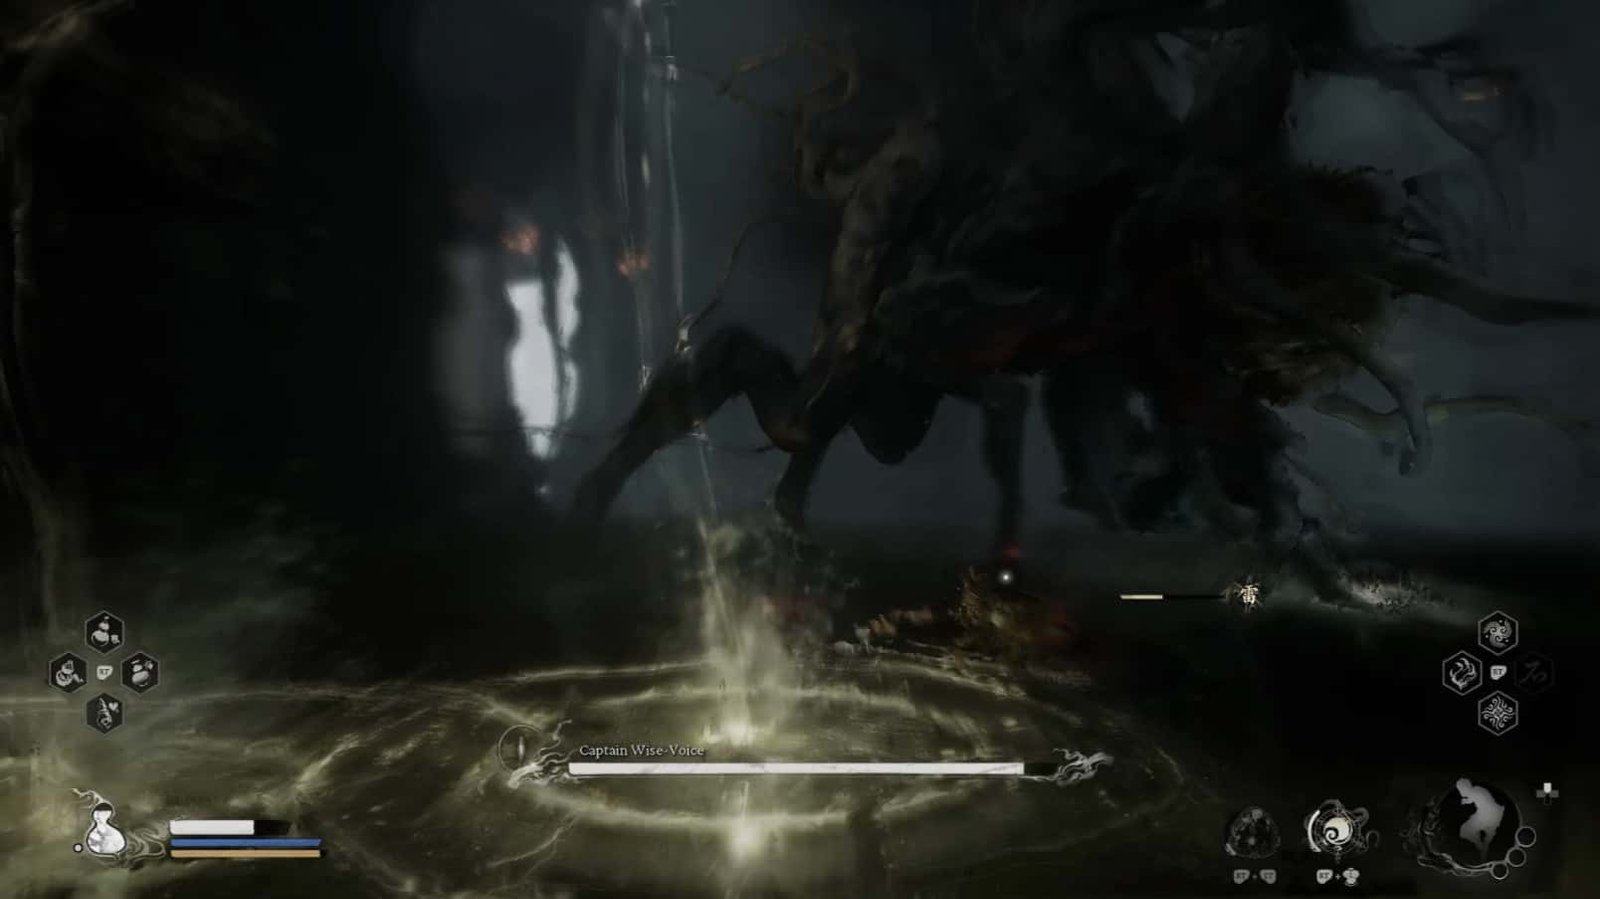
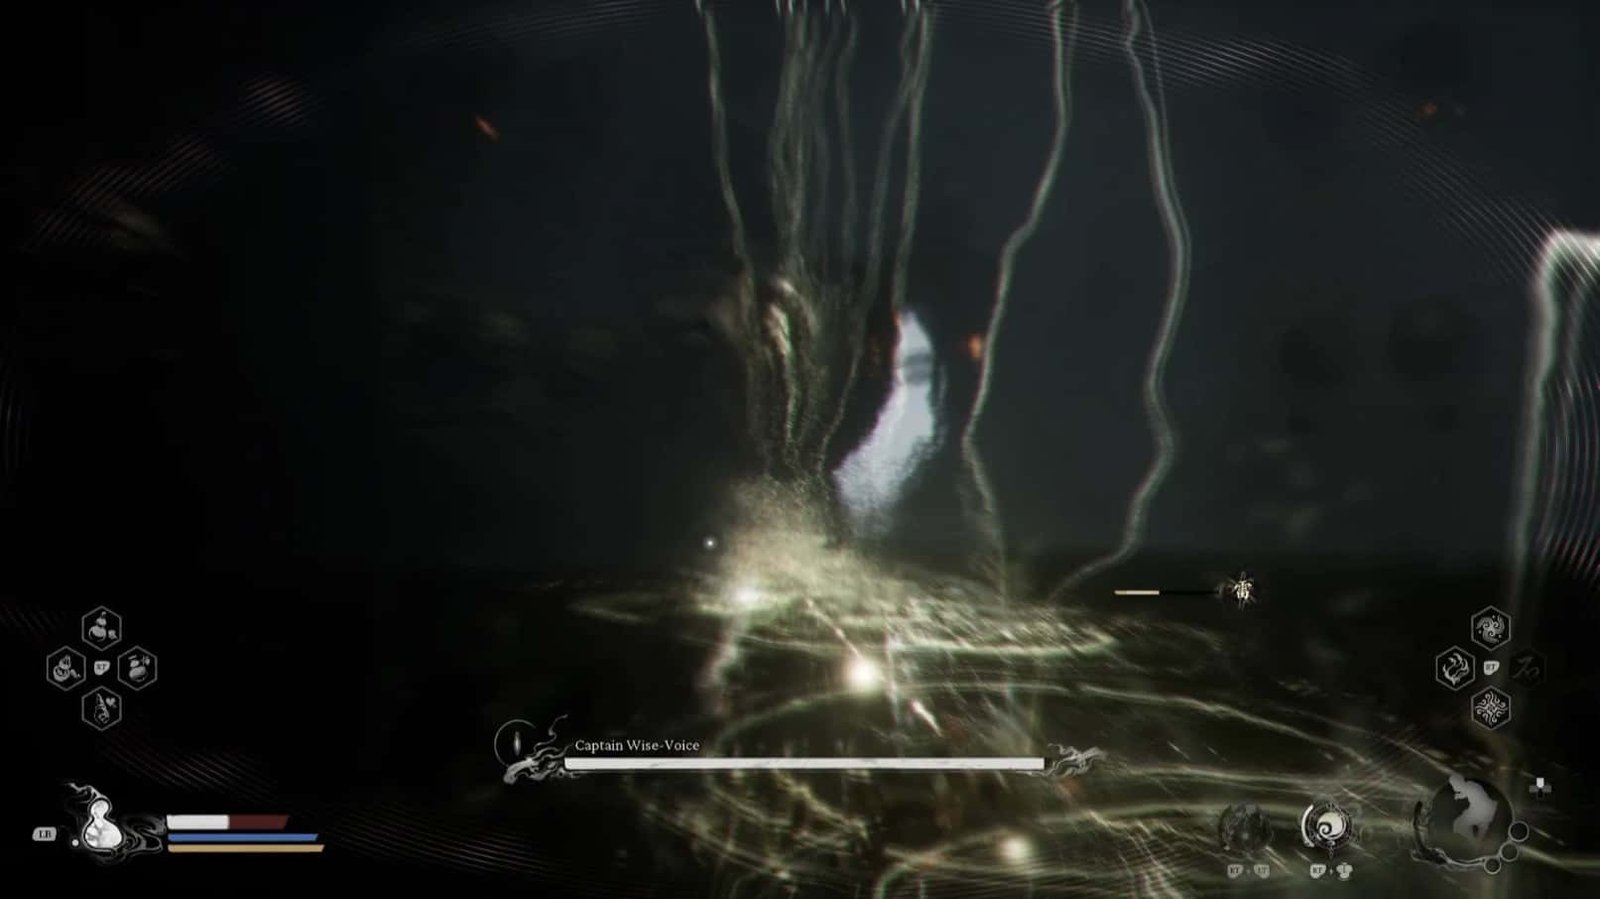
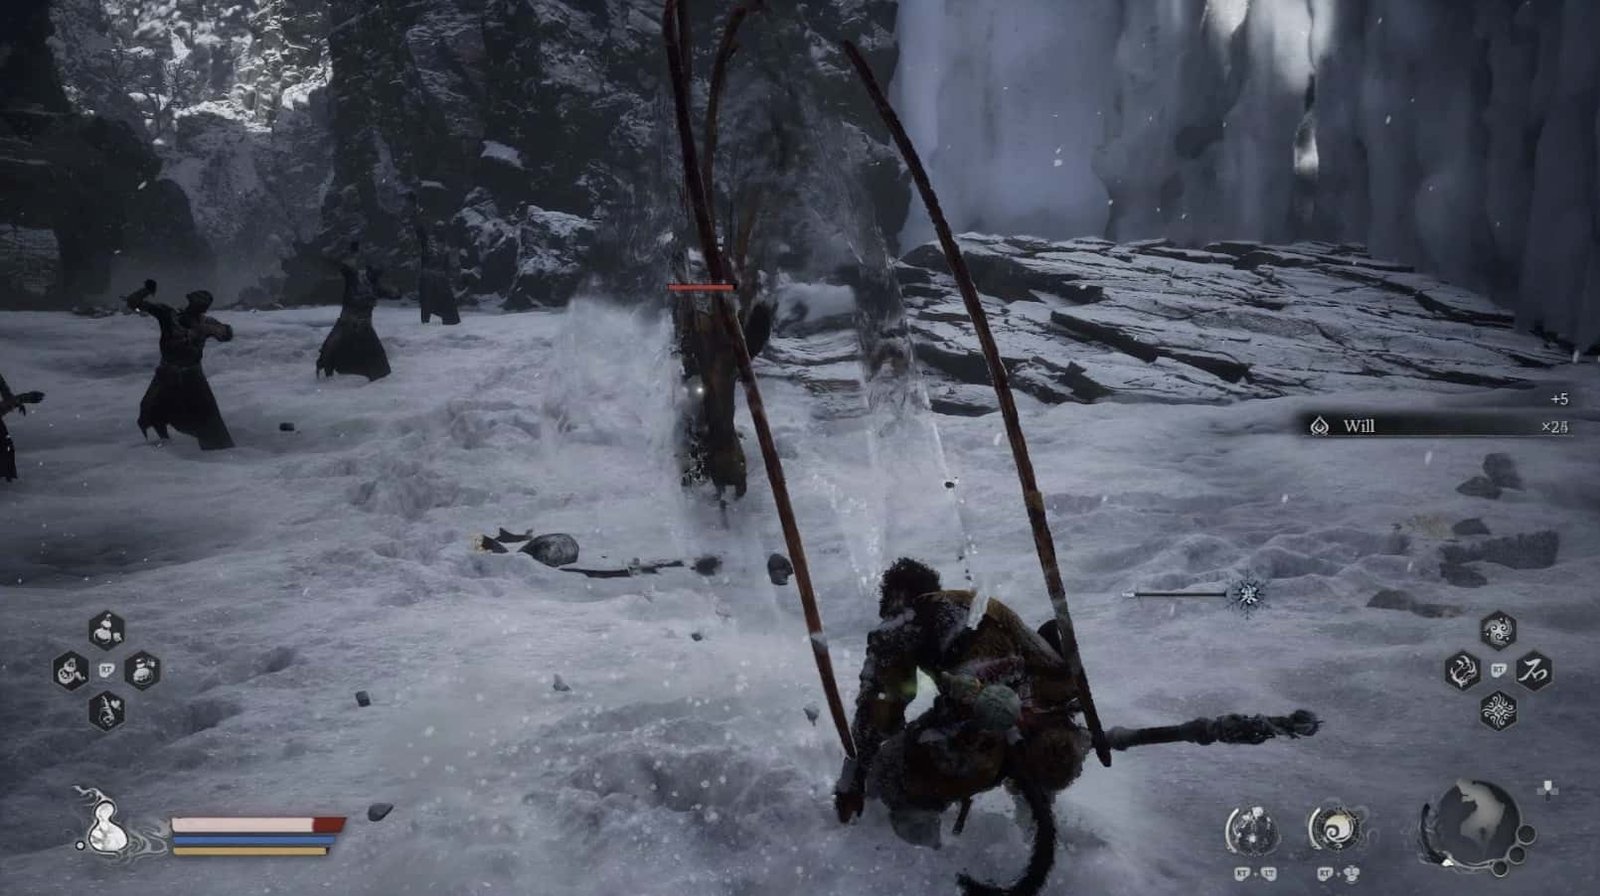
From the Keeper’s Shrine: Mani Wheel (Sanctuary: Wheel of Law), the Destined One will enter the main hall, where Captain Wise-Voice – one of the Four Great Villains – awaits.
Defeating Captain Wise-Voice
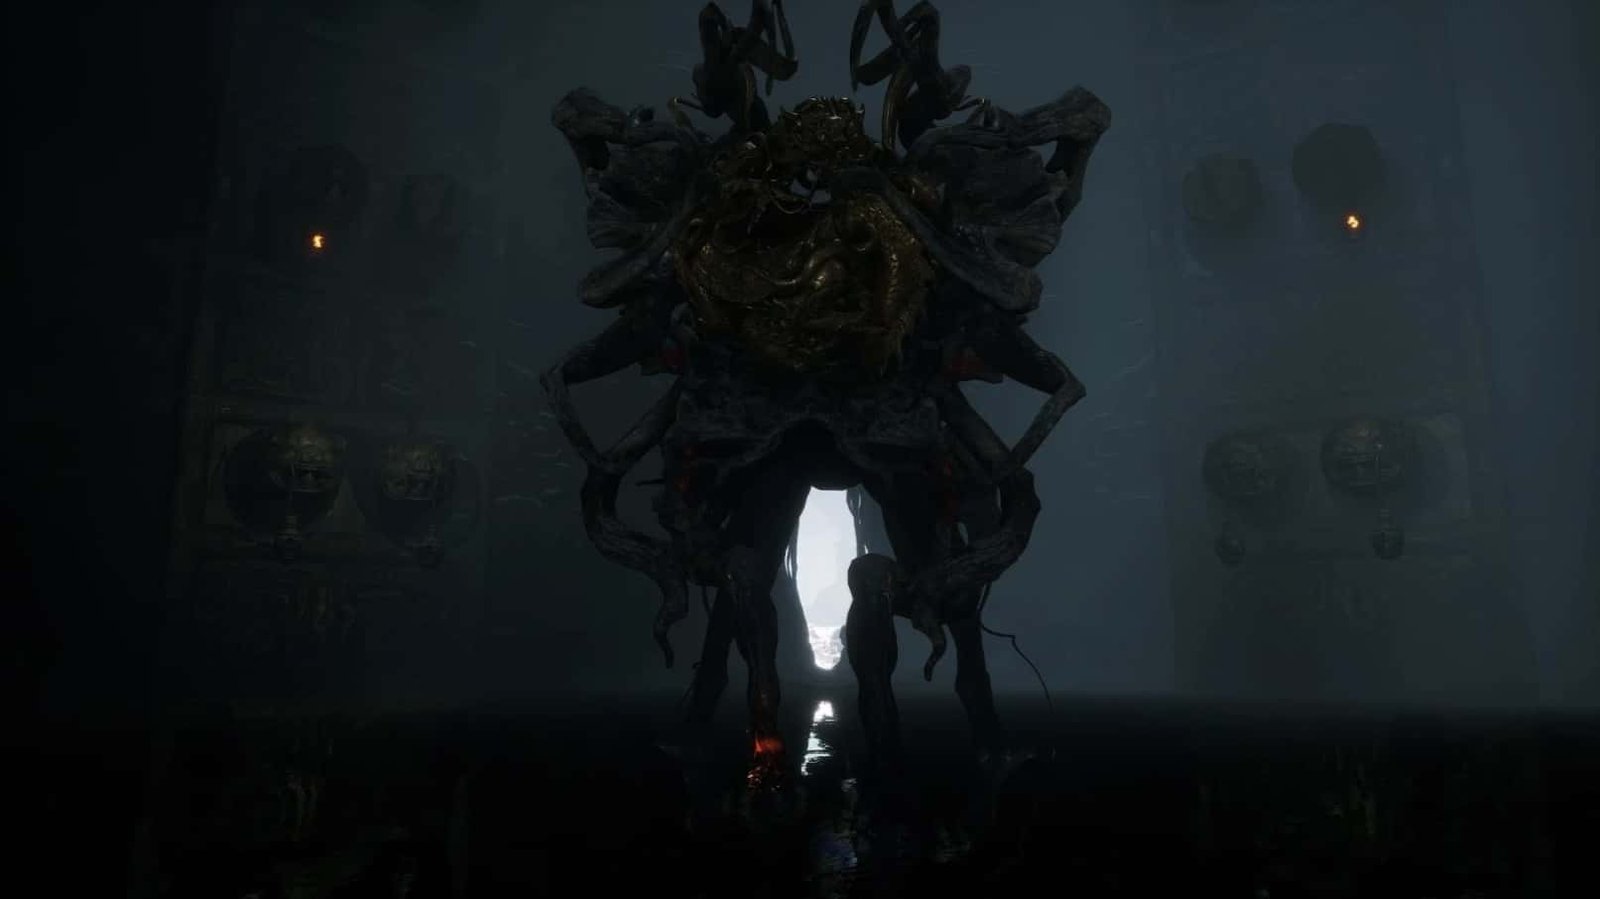
Captain Wise-Voice is a gigantic war machine, with sturdy limbs and an energy sphere at the center of its head. He uses electrical attacks, combining melee and ranged attacks.
Thunder Claw: Slams his front leg down, creating a spreading electric arc. Can be jumped over or avoided with Pillar Stance.
Thunder God’s Roar: Repeatedly stomps, creating random lightning strikes on the ground. Keep moving to avoid being struck.
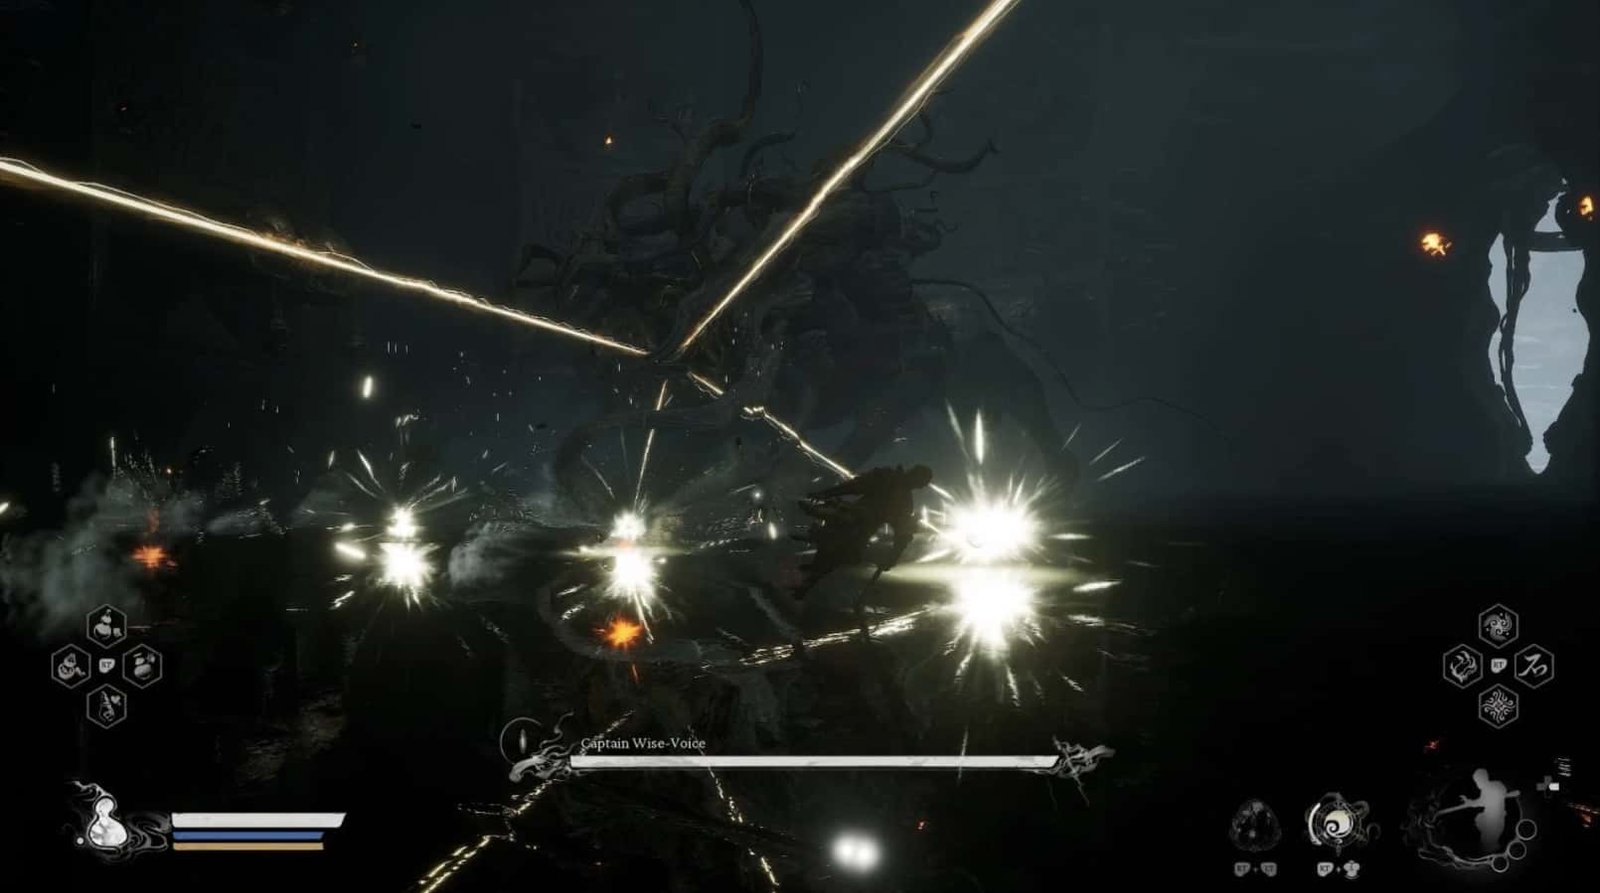
Radiant Blast: Fires a laser beam from the energy sphere, which can sweep across the area or create electrical explosions.
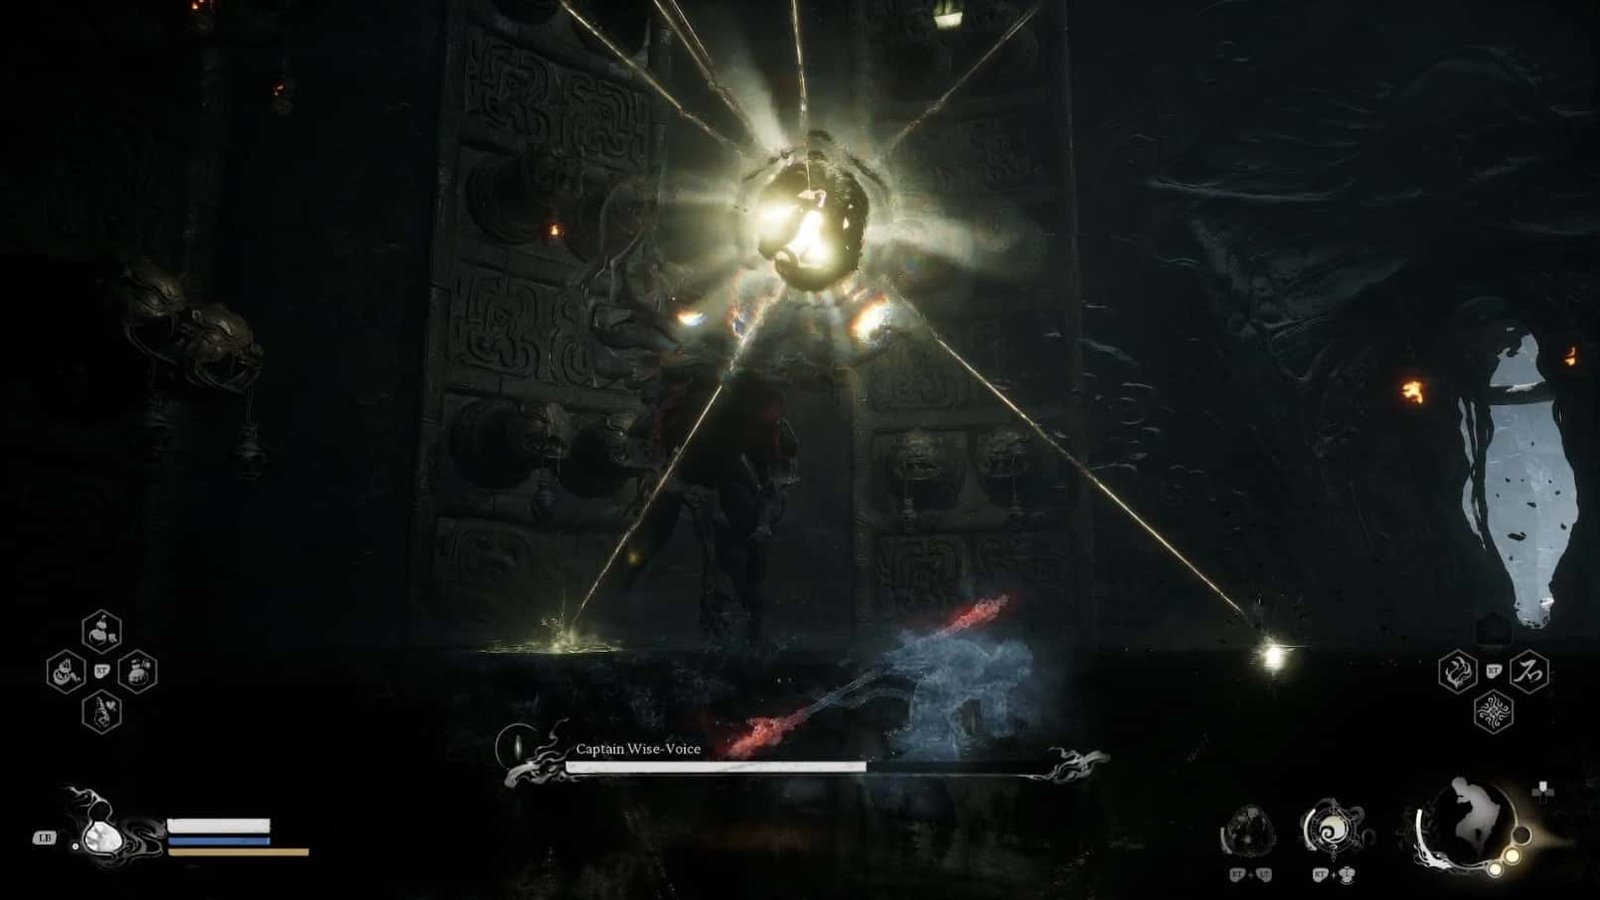
Limitless Universe: When near death, Captain Wise-Voice will detach the energy sphere from his body. The sphere will fly up, spin, and unleash numerous lightning strikes.

After that, the entire ground will glow, signaling a massive explosion. Use Cloud Step to evade the lightning strikes, then quickly use Pillar Stance to avoid the explosion.
After victory, the Destined One will receive The Spirit of Captain Wise-Voice. Most importantly, the “Beguiling Chant” will permanently disappear from the Pagoda Realm.
After the battle, leave the array, heading towards the exit. On the left cliffside, the Destined One will find a Treasure Chest filled with valuable items.
Outside the Wheel
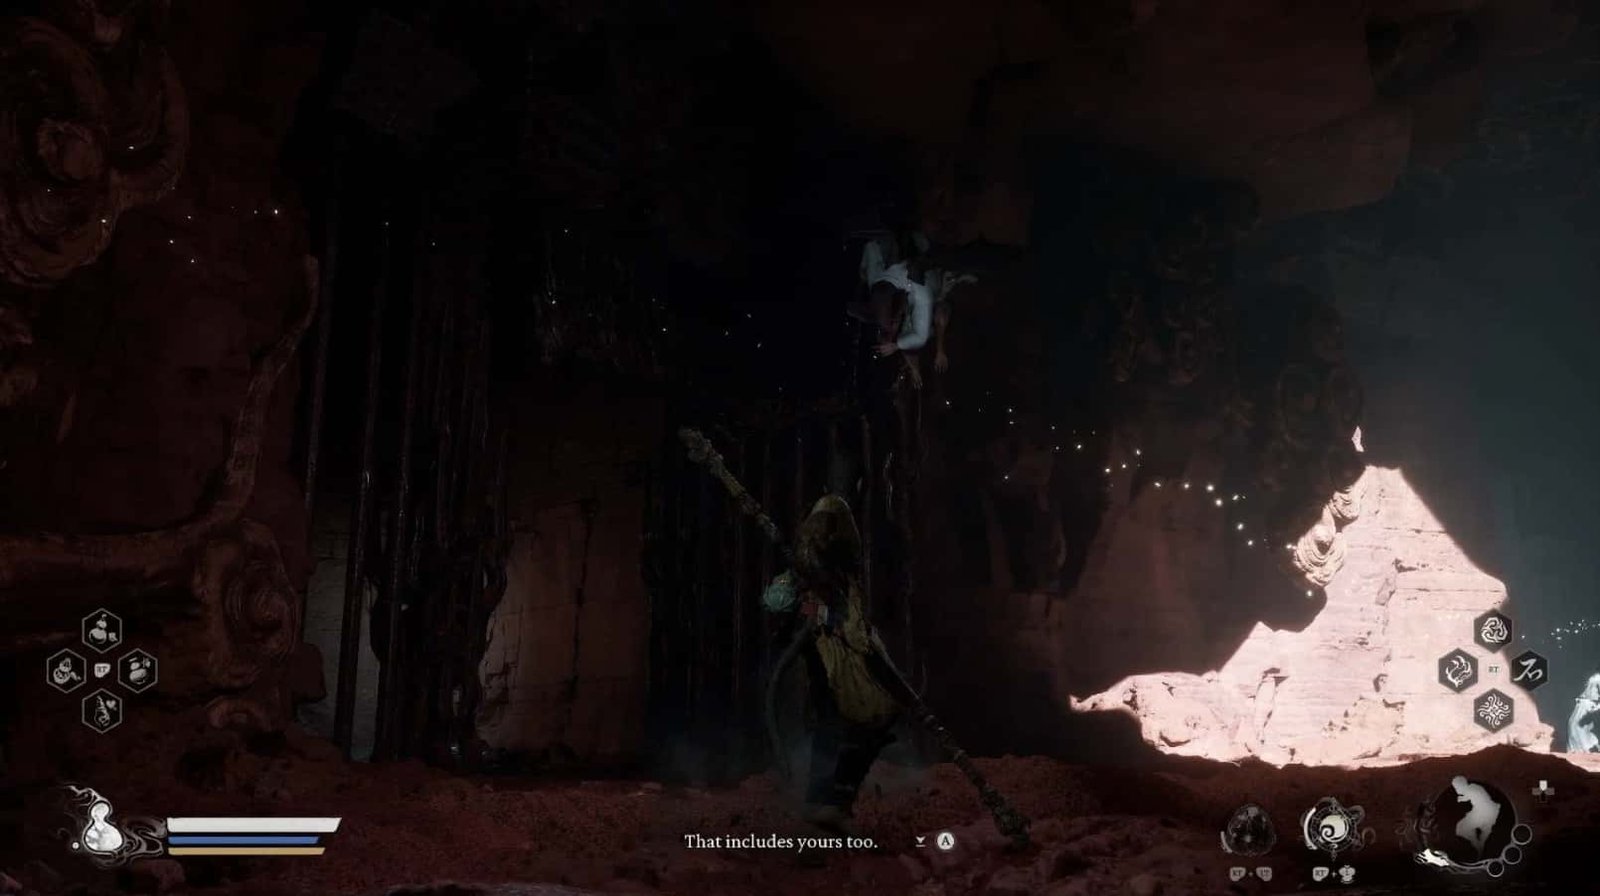
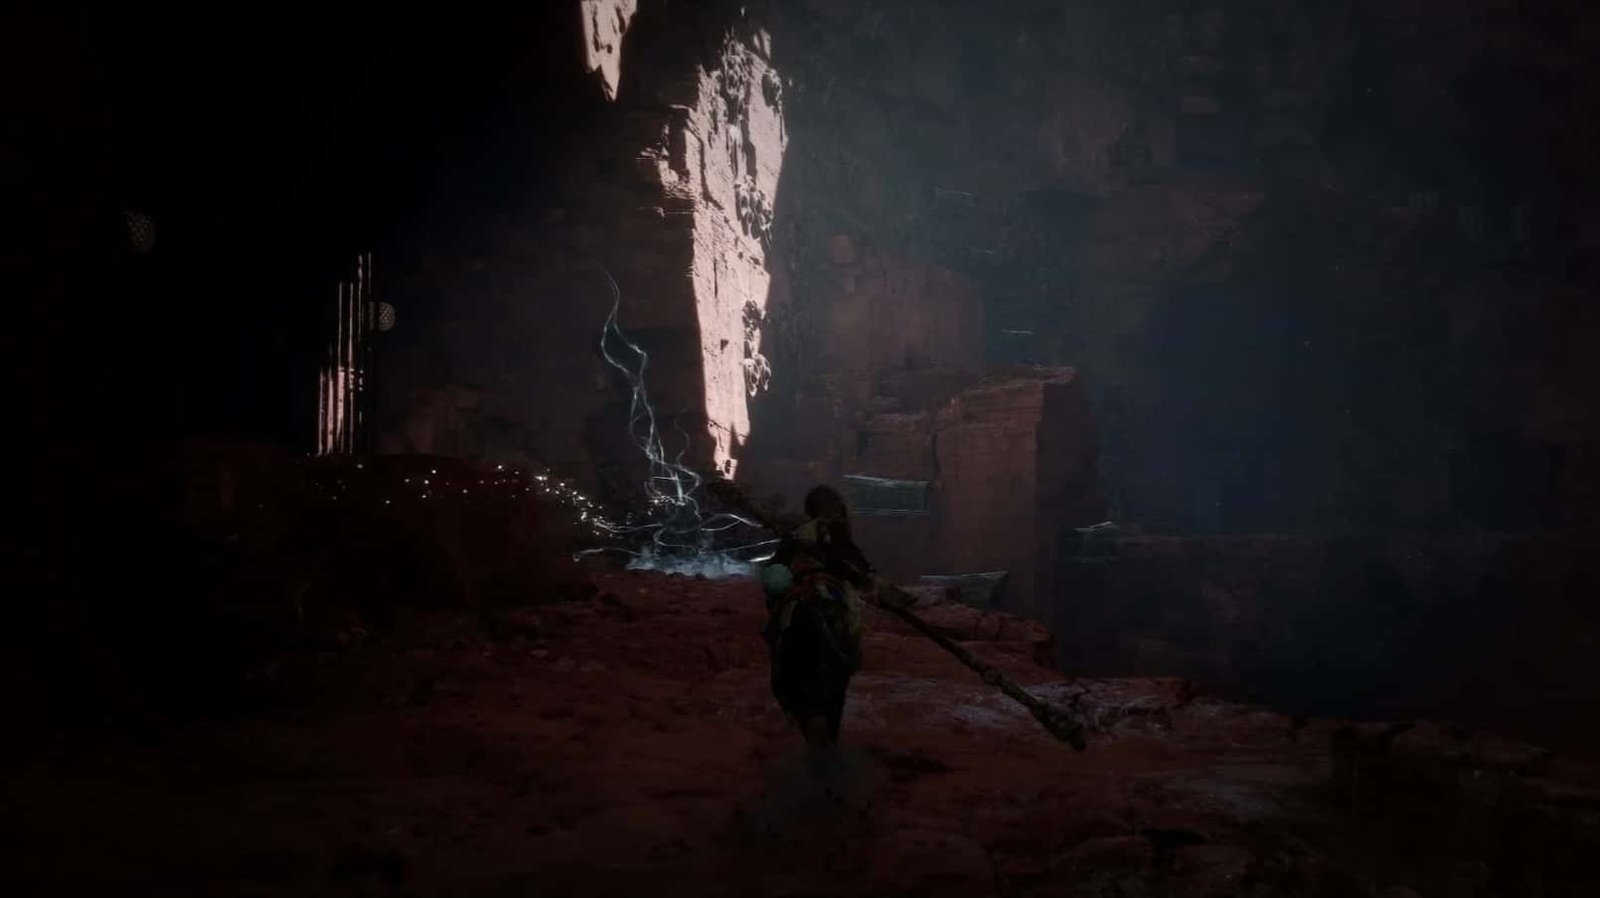
Emerging victorious from the battle with Captain Wise-Voice and dispelling the “Beguiling Chant”, the Destined One can now leave the Pagoda Realm. From Keeper’s Shrine: Outside the Wheel (Sanctuary: Outer Array), a new path unfolds. Following the trail, you’ll pass through a cavern.
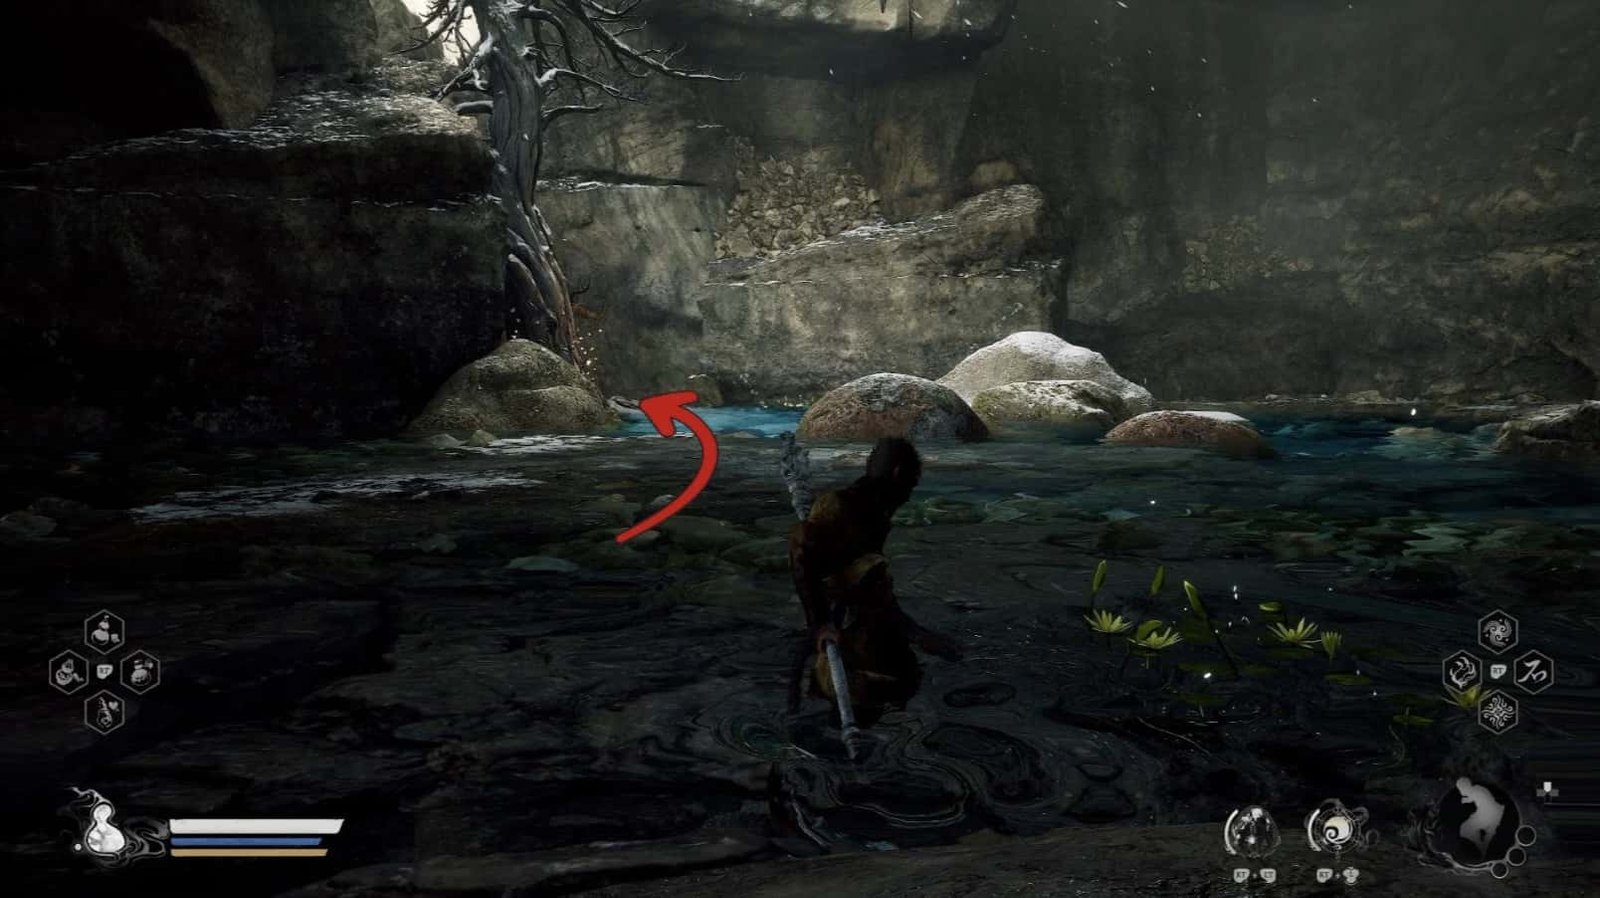
Within the cavern, on the left, the Destined One will find a Luojia Fragrant Vine – a rare medicinal herb, growing beside a lone tree in a pool of water. Use it to upgrade the Gourd at Shen Monkey’s later.
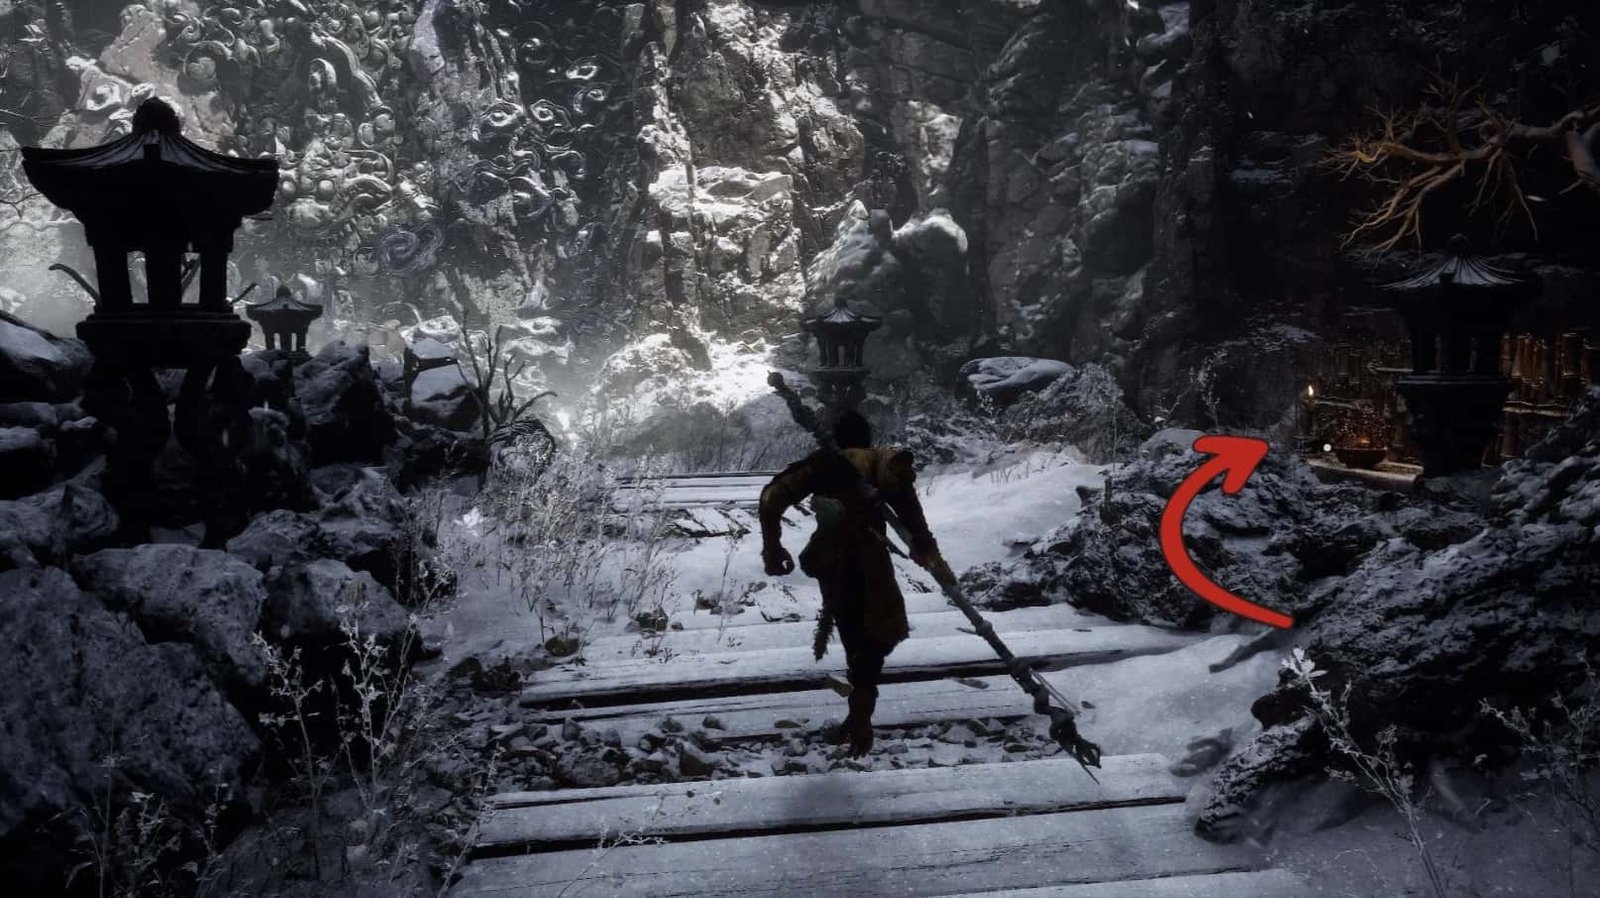
Exiting the cavern, continue along the path, and you’ll come across a small tunnel. Go through the tunnel, and on the right will be an area with a few stone lanterns, marking the location of a Celestial Taiyi Pill – a divine elixir that increases Mana.
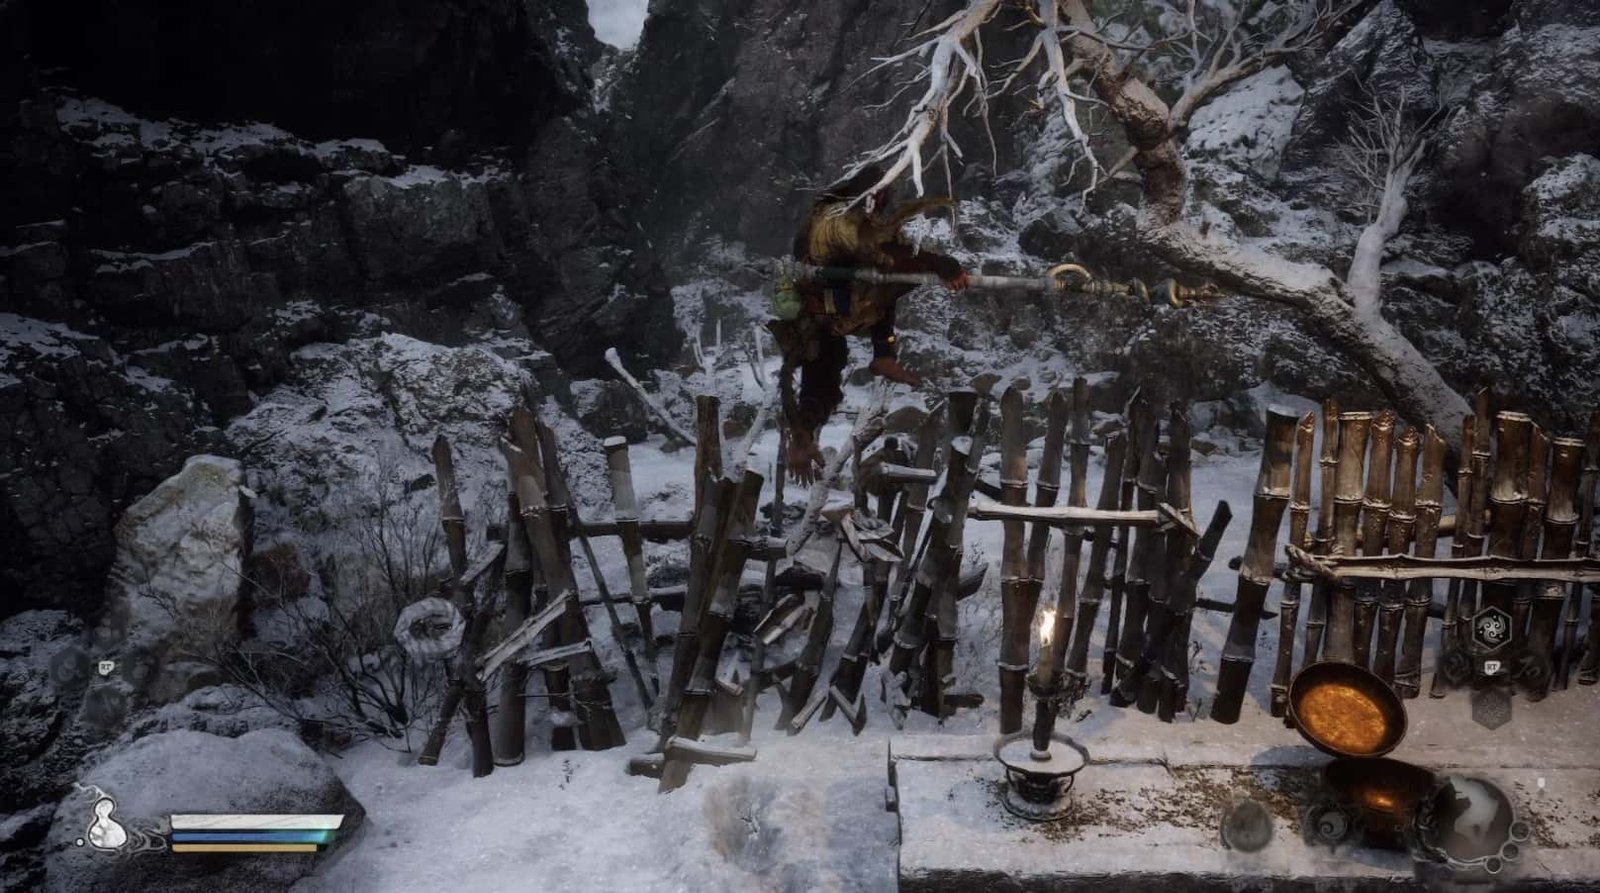
Behind where you found the Celestial Taiyi Pill, there is a wooden fence. Destroy it to open a path leading to a majestic frozen waterfall.
At the base of the falls, near a small tree, the Destined One will find The Bottom Meditation Spot – a place where one can cultivate their martial arts.
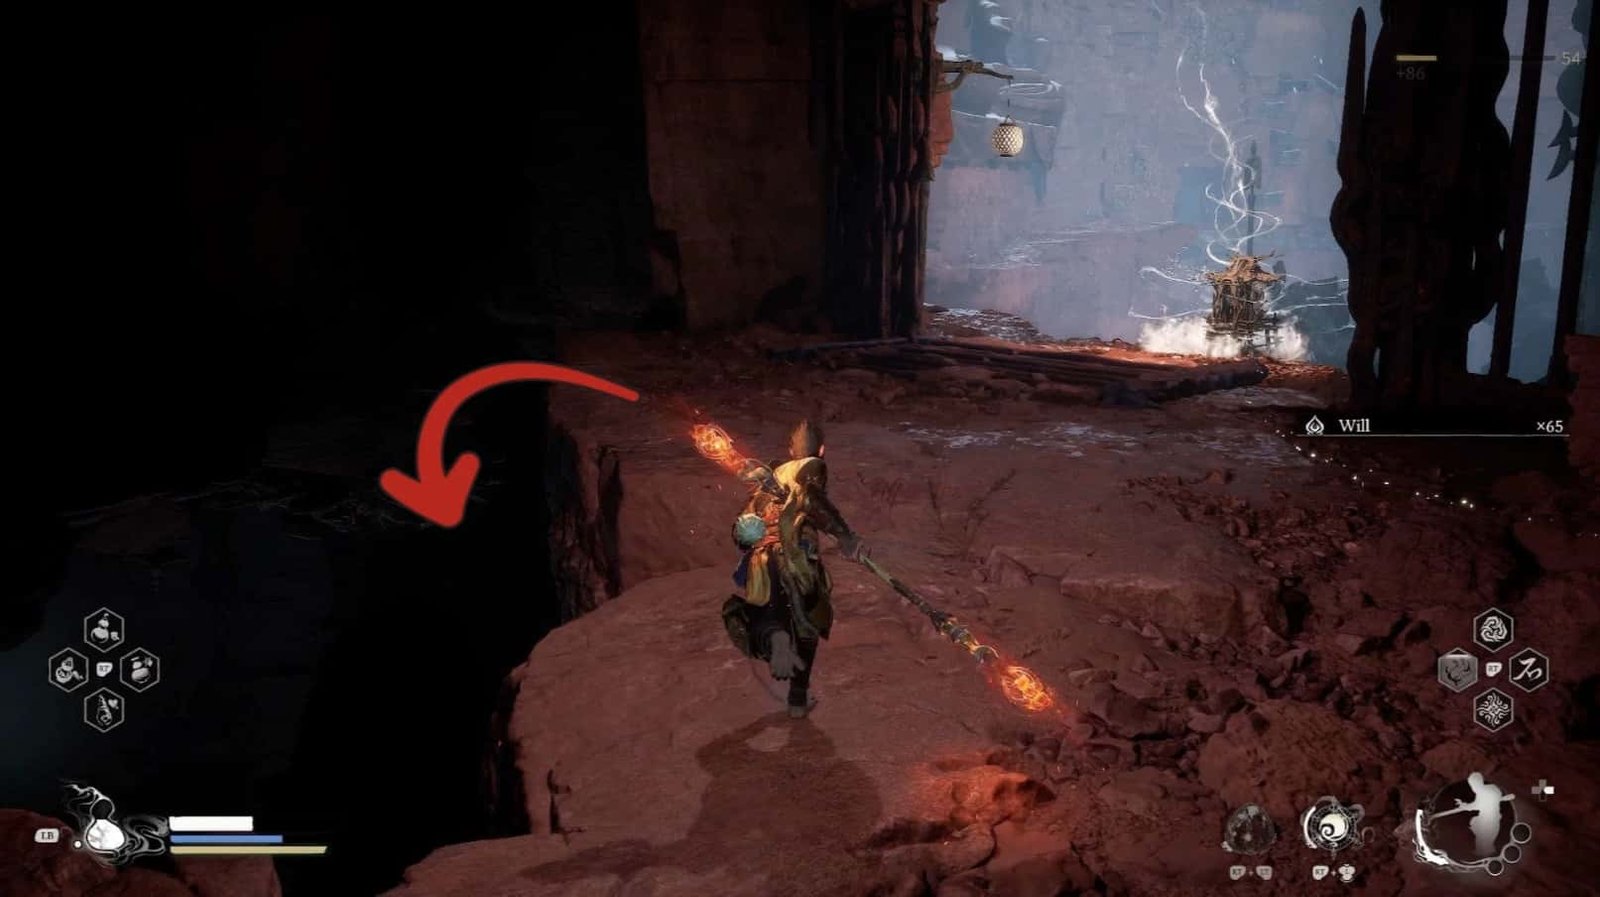
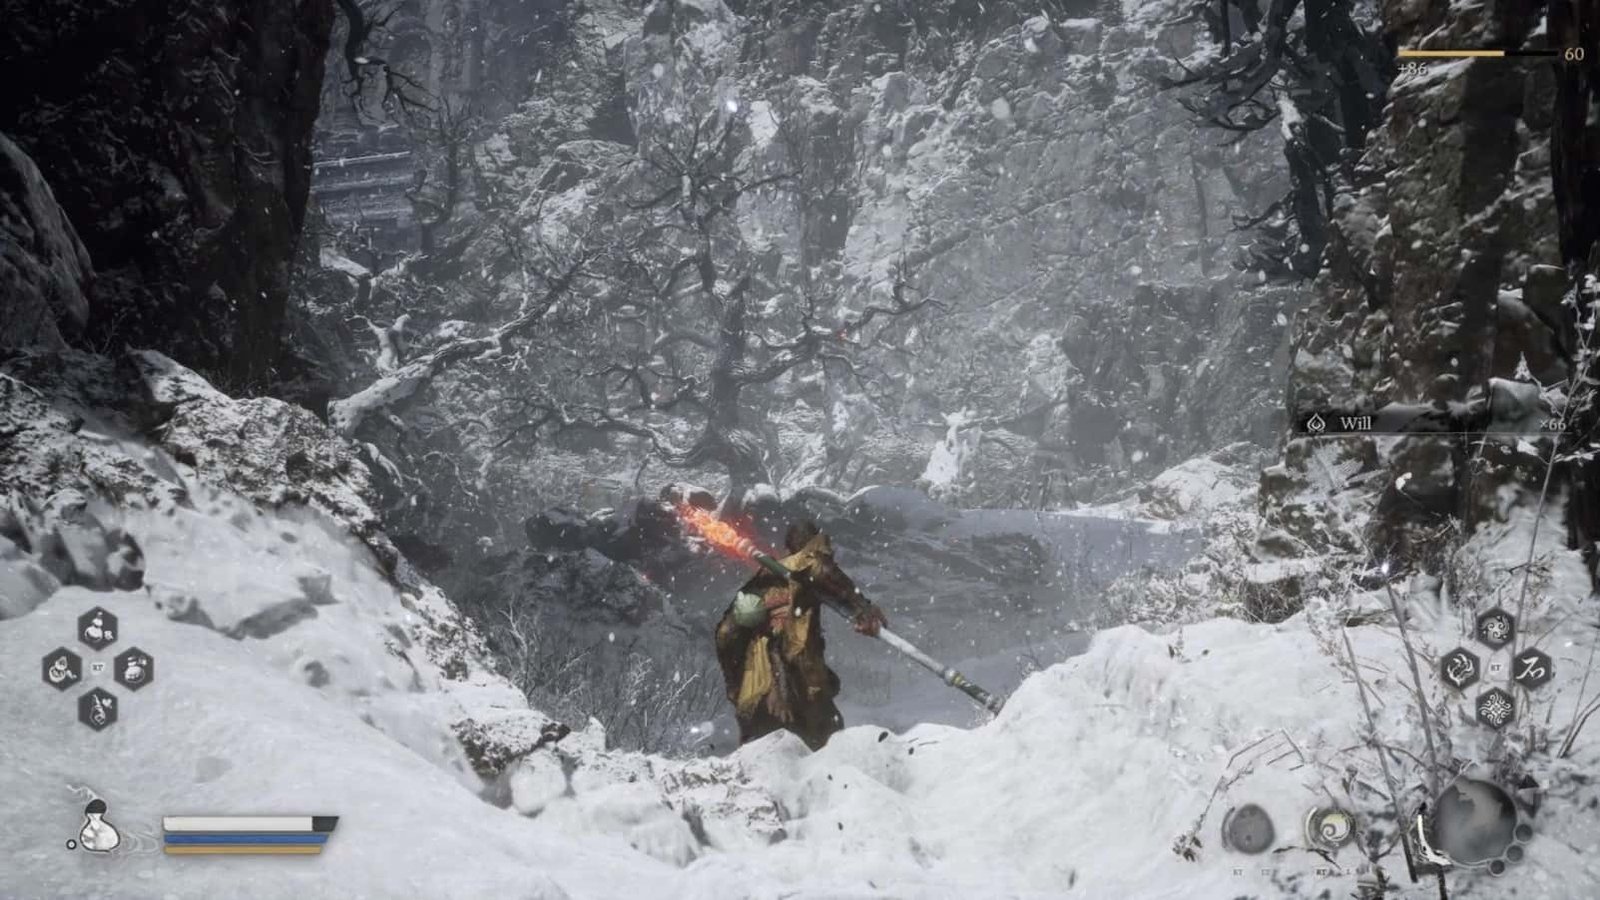
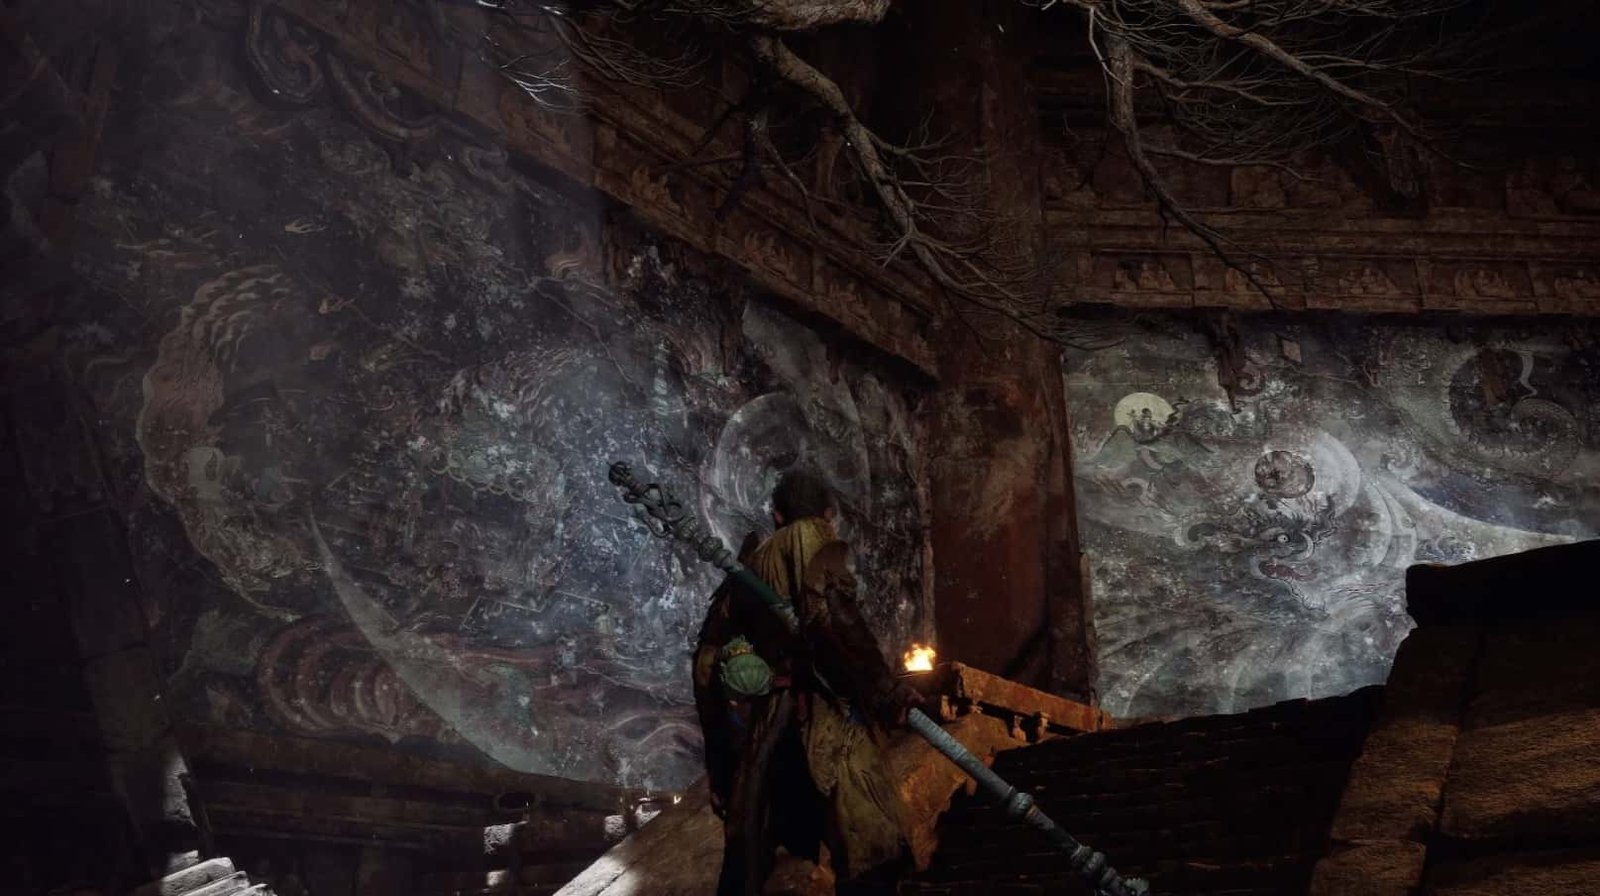
The main path will lead the Destined One to a gorge. Passing through the gorge, a magnificent view will open up ahead, with a gigantic Pagoda (Precious Pagoda) in the distance – a grand yet mysterious sight. Be cautious of the Frozen Corpses and a new enemy, the Tentacle Abomination, along the way.
Snow-Veiled Trail
Continuing the journey, the Destined One will reach the Keeper’s Shrine: Snow-Veiled Trail (Sanctuary: Snow-Hidden Ancient Path). From here, the path forks in two directions.
The path to the right: Leads down to a wooden bridge, connecting to a snow-covered land.
Visibility is poor, making it difficult to discern direction. Be cautious of the Frozen Corpses hidden in the snow. Here, the Destined One can turn right to find a Tree Pearl, or turn left to find a Wisp.
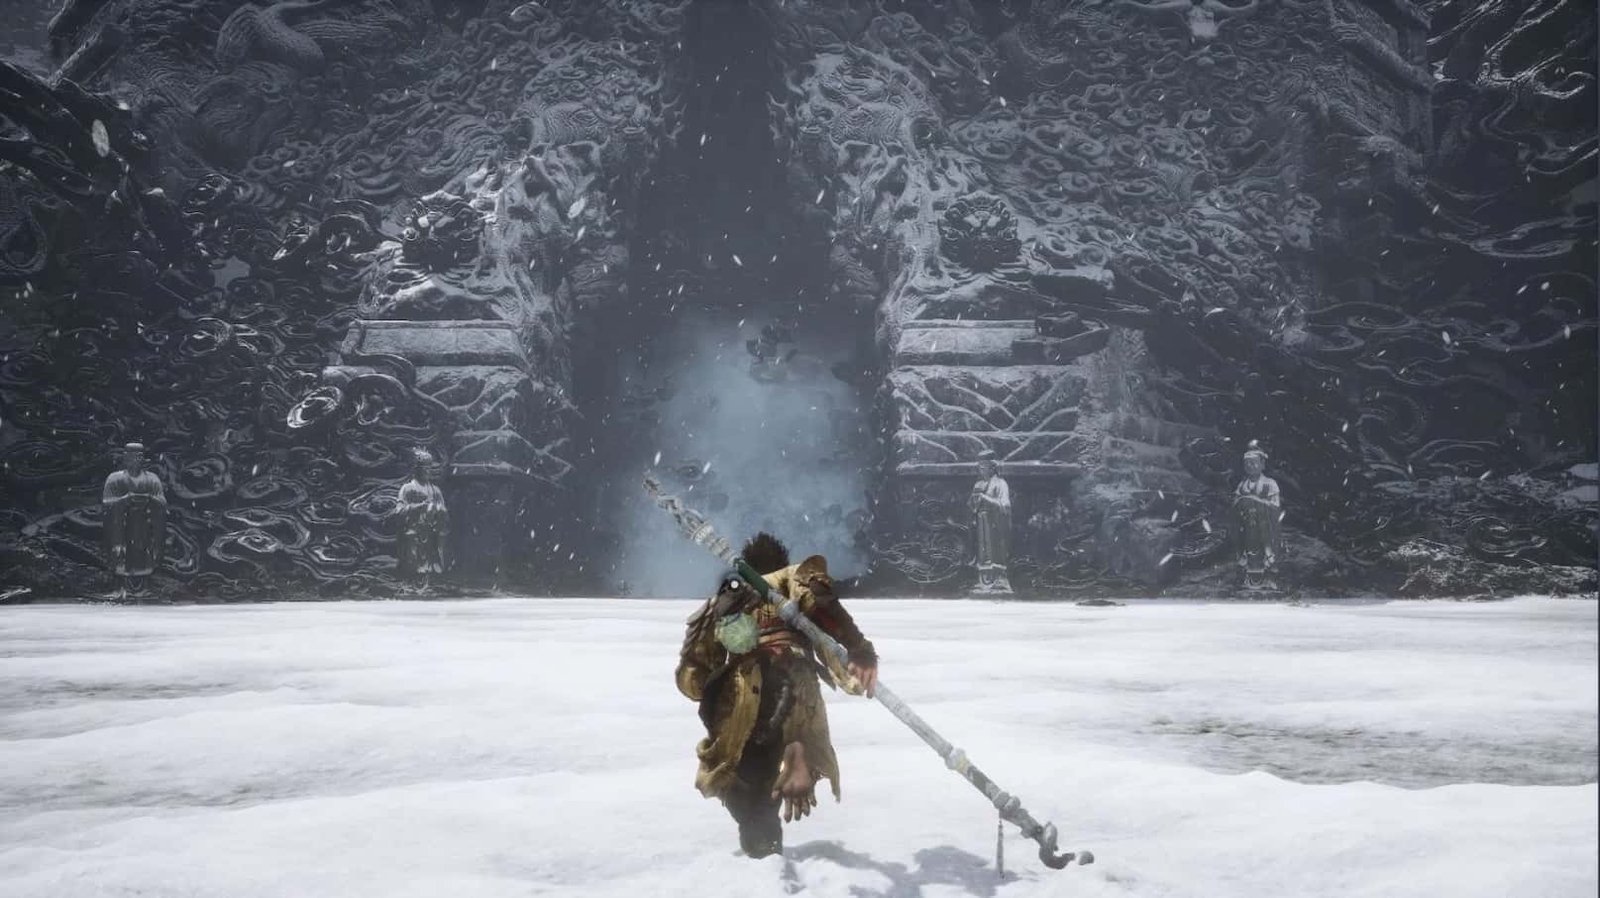
Advancing further into the snowy expanse, the Destined One will reach the foot of a gigantic Pagoda.
The entrance leads to the Keeper’s Shrine: The Great Pagoda (Sanctuary: The Great Pagoda). Currently, there isn’t anything of note here, but remember this location, for it holds a secret related to the game’s hidden ending.
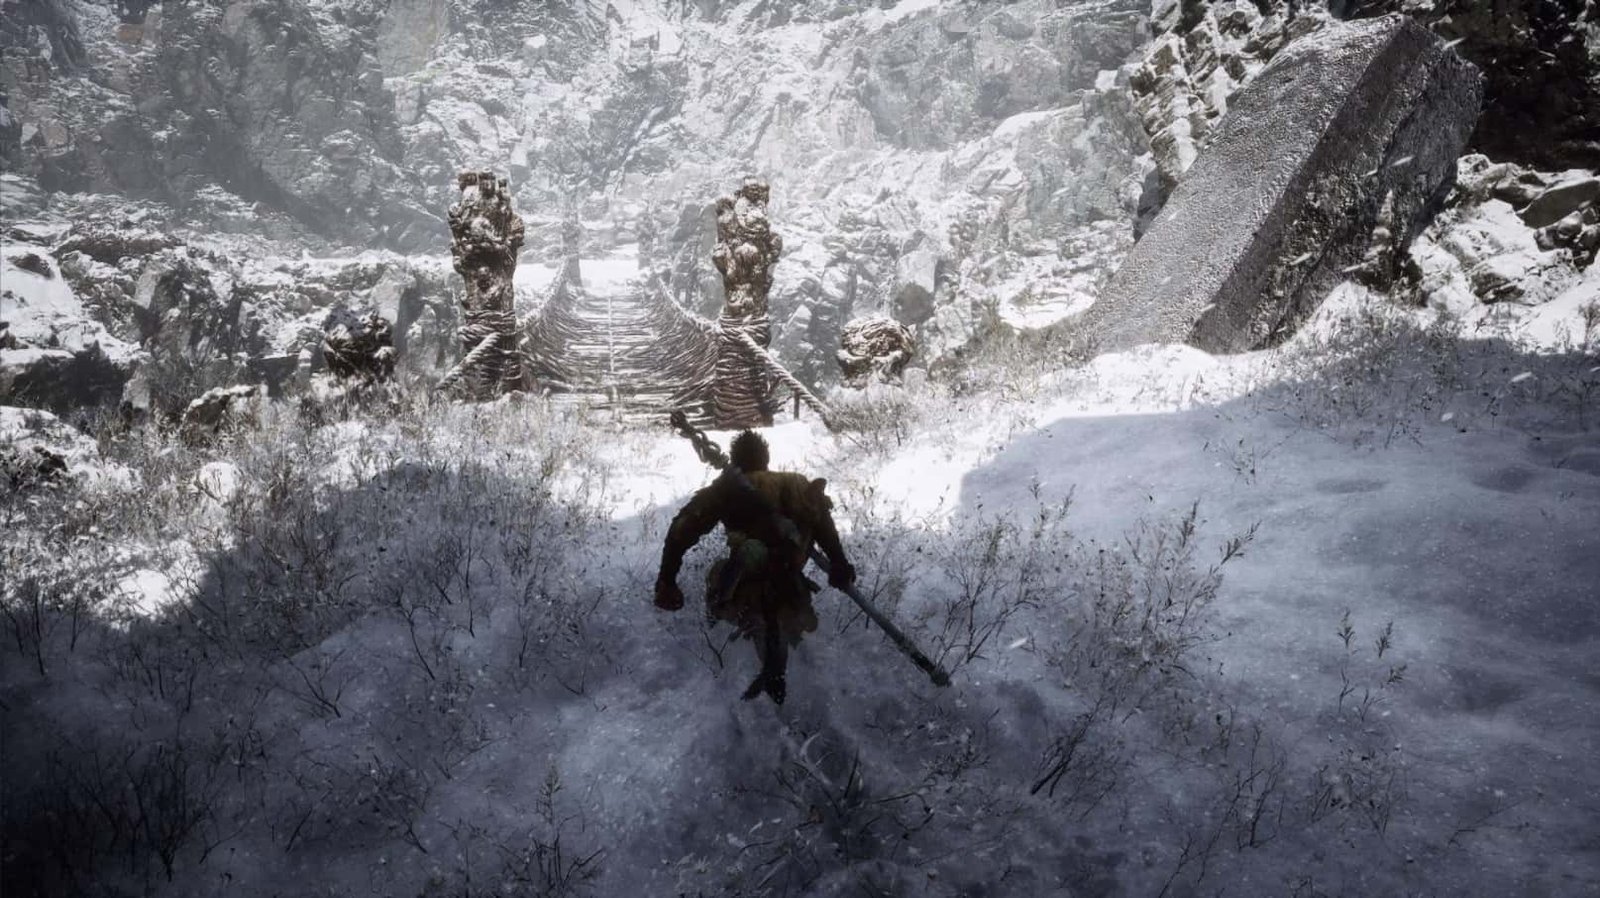
The path to the left: Leads up a mountain slope, towards the Warding Temple. This is the main path to continue the journey.
Hidden Mysteries of the Martial World, Hiding a Wealth of Treasures
The Great Pagoda: This location holds a secret about the hidden ending. Return here after completing the secret areas in Chapters 1, 2, 4, and 5 (Ancient Guanyin Temple, Kingdom of Sahali, Purple Cloud Mountain, and Bishui Cave) to unlock the secret area of Mount Mei. Completing this area will help the Destined One achieve the hidden ending.
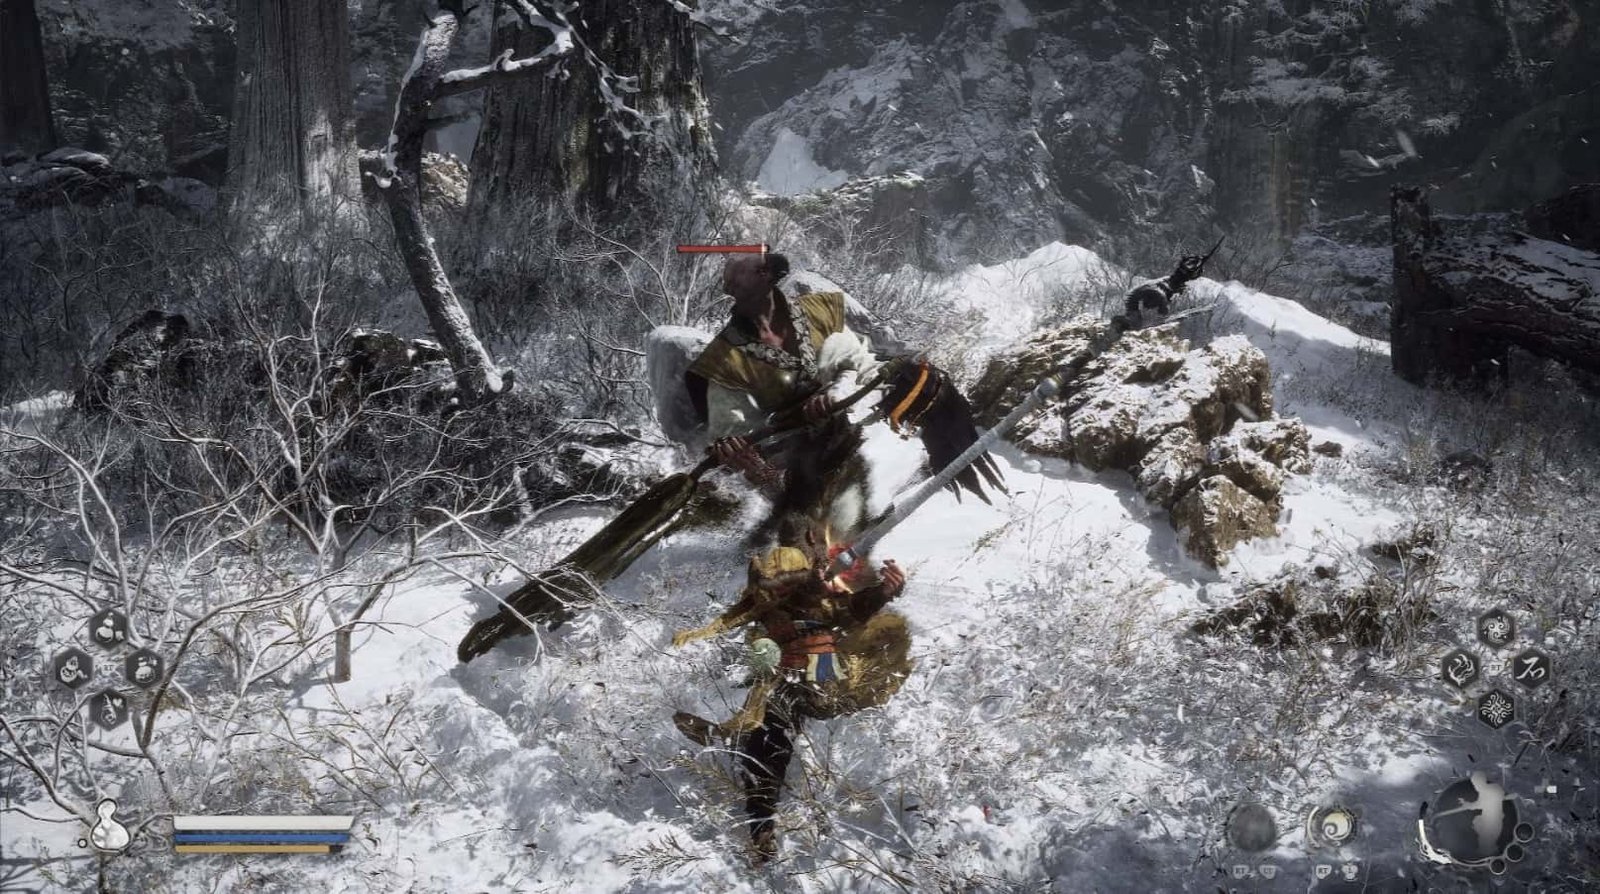
The Snow-Covered Forest: From the Keeper’s Shrine: Snow-Veiled Trail, going up the left path, the Destined One will enter a vast forest with snow-covered rocks. This area is the domain of Frozen Corpses, Yaksha Patrollers, Golden Lotus Guai, and two Falcon Fan-Makers. Be cautious, move slowly, and observe carefully to avoid being ambushed.
At the end of the valley, behind the forest, the Destined One will face a special Falcon Fan-Maker. Defeat him to obtain the Falcon Hermit Spirit and Blood of the Iron Bull.
Treasure Chest: Located at the end of the valley, near a stone pillar, guarded by a Tentacle Abomination – a new type of monster that uses its tentacles to attack. Be mindful of their long-range and sweeping attacks. The chest contains a Mirage Pill, a Knot of Voidness, and Blood of the Iron Bull.
After exploring the forest, follow the trail leading upwards, crossing the wooden bridge to reach a higher ledge. Here, the Destined One can collect a Celestial Pear. Continuing along the trail, you will return to the area near the Warding Temple.
Warding Temple
From the high ledge, the Destined One will see the Keeper’s Shrine: Warding Temple (Sanctuary: Demon-Warding Temple) situated at the foot of the Warding Temple. Before entering the temple, explore the surrounding area.
Hidden Mysteries of the Martial World, Hiding a Wealth of Treasures
From the Keeper’s Shrine: Warding Temple, descend the stairs, then turn right and follow the narrow path. Passing through a tunnel, the Destined One will reach a cliff edge, overlooking the magnificent Grand Pagoda in the distance. Here, on the left side of the cliff, the Destined One will find a Wisp guarded by a Frozen Corpse.
Returning to the fork in the path, following the opposite direction, the Destined One will encounter a Tentacle Abomination guarding a Treasure Chest. Be cautious of its sweeping tentacle attacks.
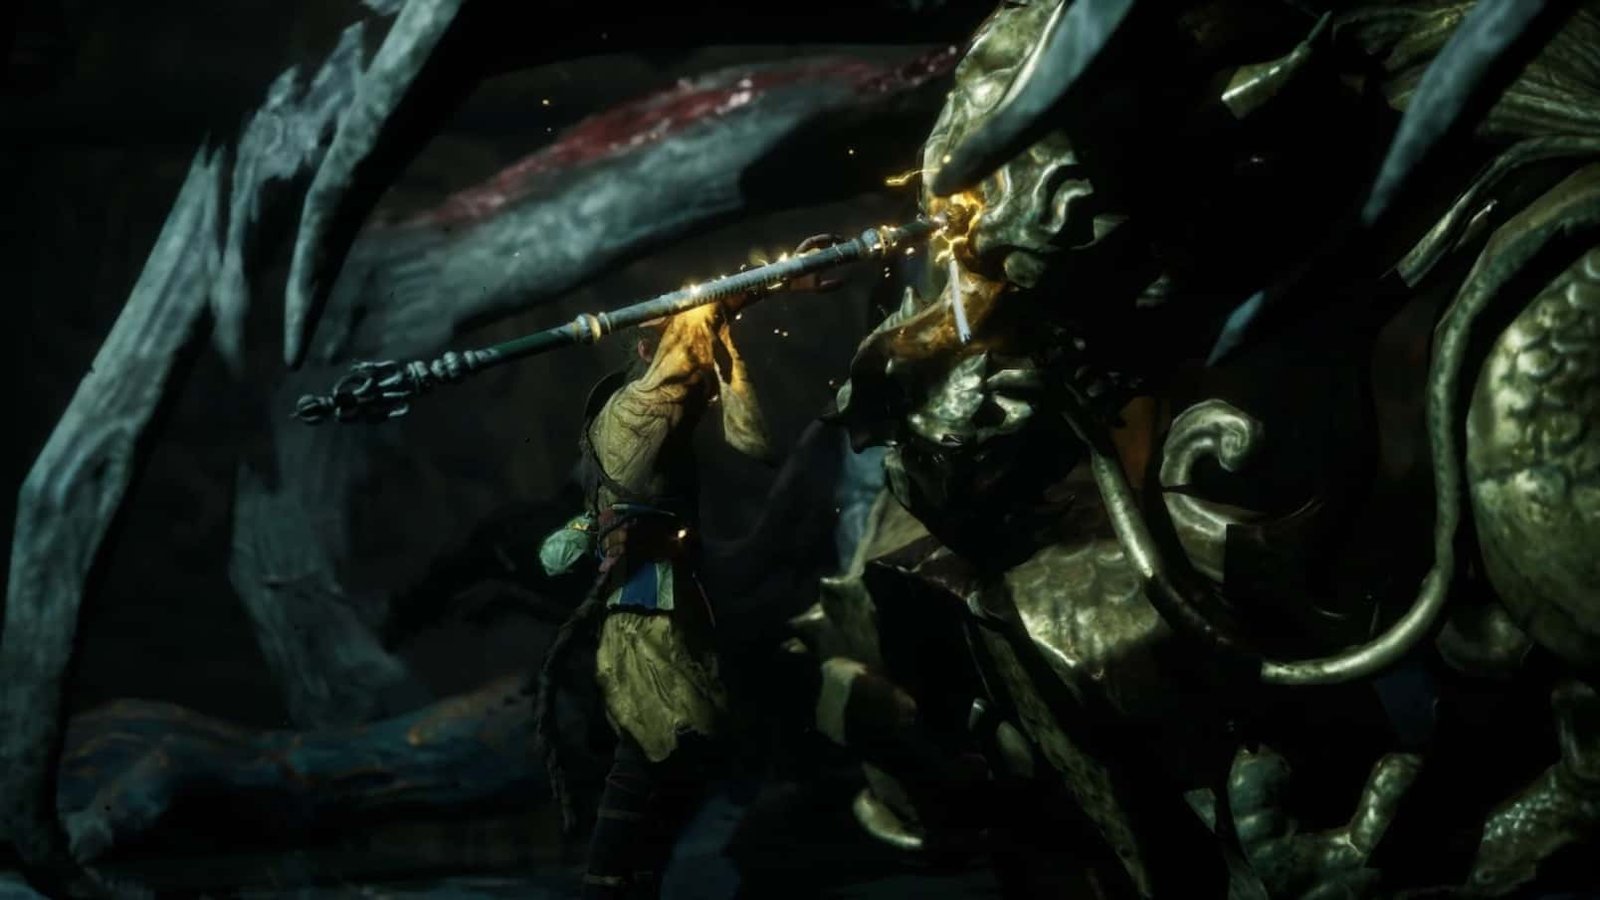
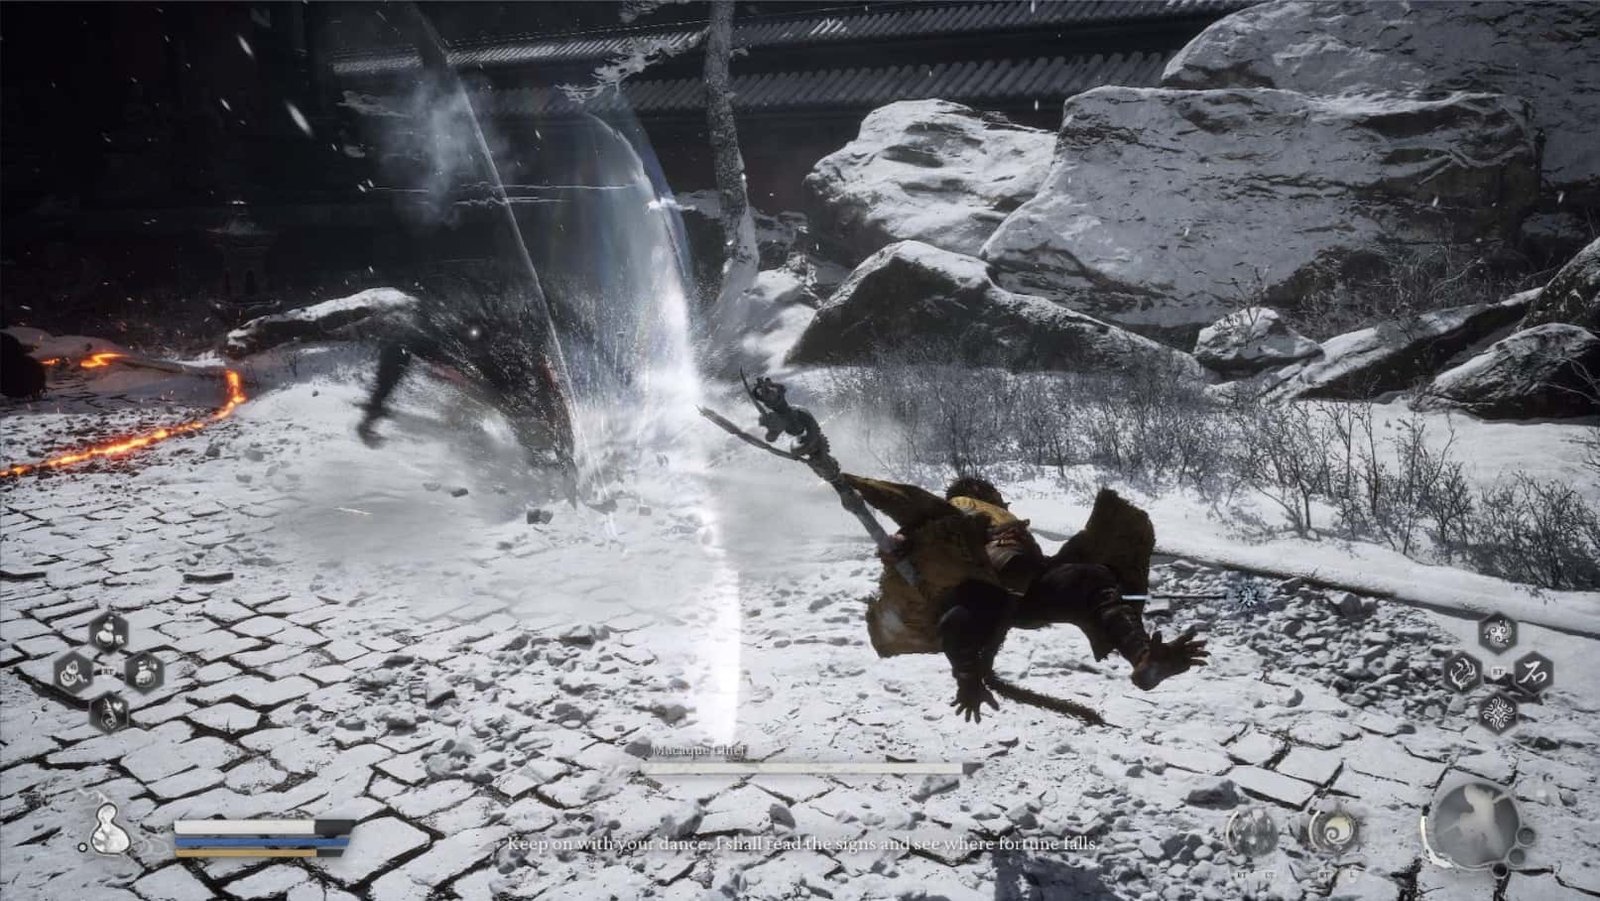
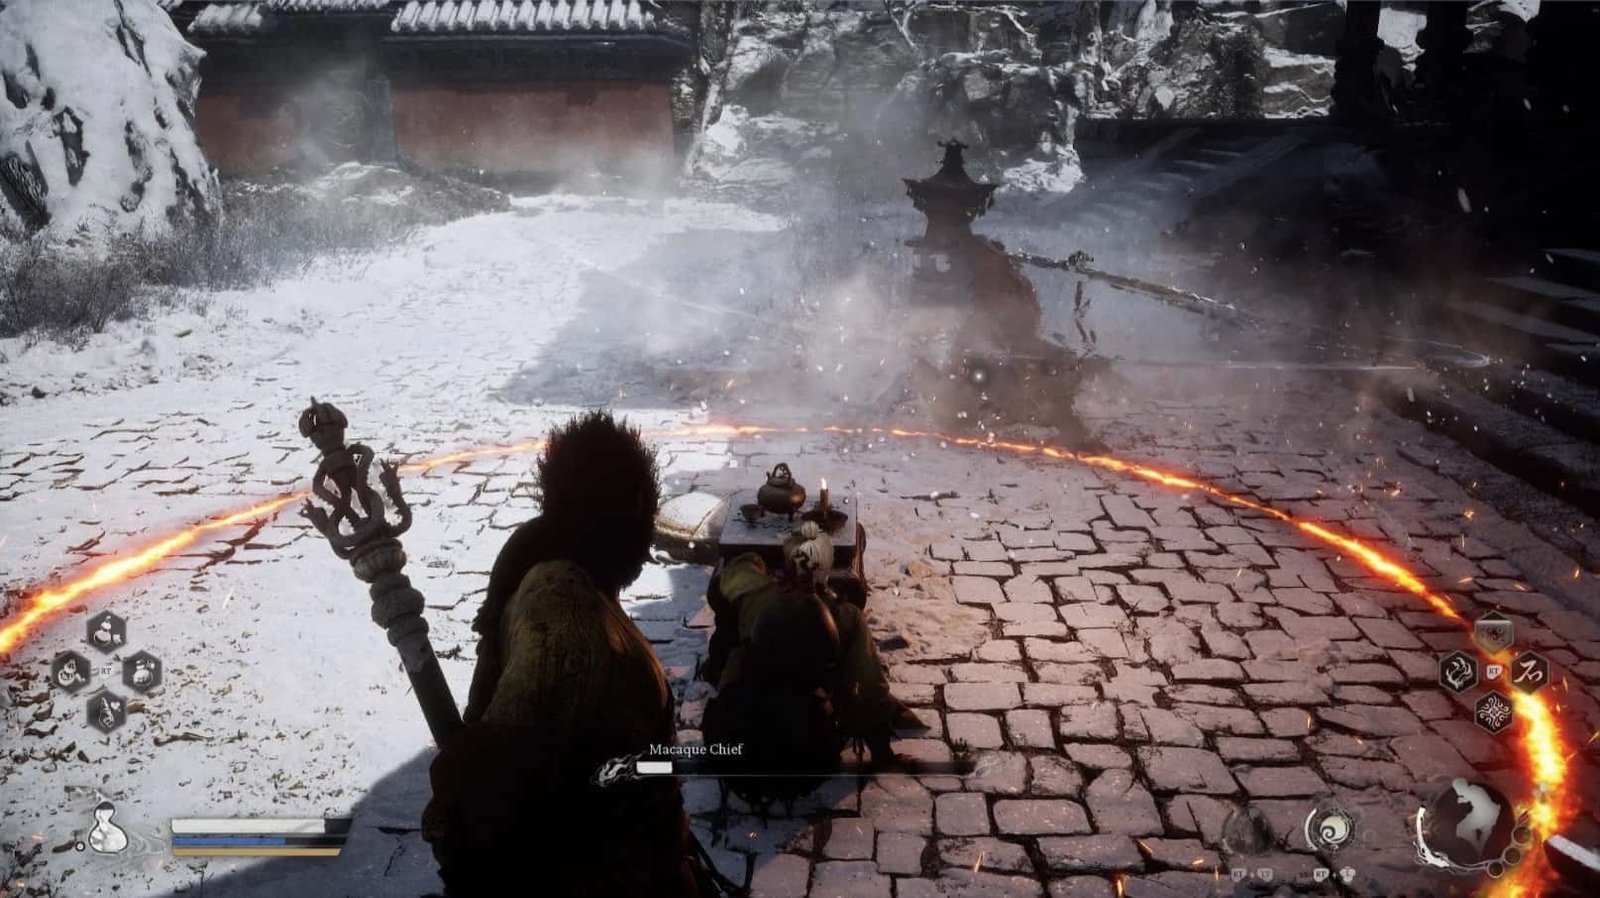
After exploring the area, proceed to the Warding Temple. Here, the Destined One will encounter the Macaque Chief – a familiar foe with a scheme to break the seal of Yuan Shoucheng.
Ascend the stairs, and enter the temple gate. A cutscene will play, followed by the battle with the Macaque Chief.
Defeating the Macaque Chief (Second Encounter)
This time, the Macaque Chief is stronger, utilizing both ice and poison in his attacks. However, the Destined One has also accumulated much combat experience.
Wind Blade: Fires a blade of wind from a distance.
Chain Slash: Dashes forward with a series of slashes, then uses his leg to fling his saber into the air before landing with a powerful slash.
Poisonous Dragon Wave: Spews a stream of poison, dealing damage and inflicting the poison status effect.
Ice Palm: Charges power and strikes with an ice-infused palm, dealing damage and slowing movement.
Ice Array: Leaps into the air, creating an ice ring around himself, then slams down, dealing area-of-effect damage.
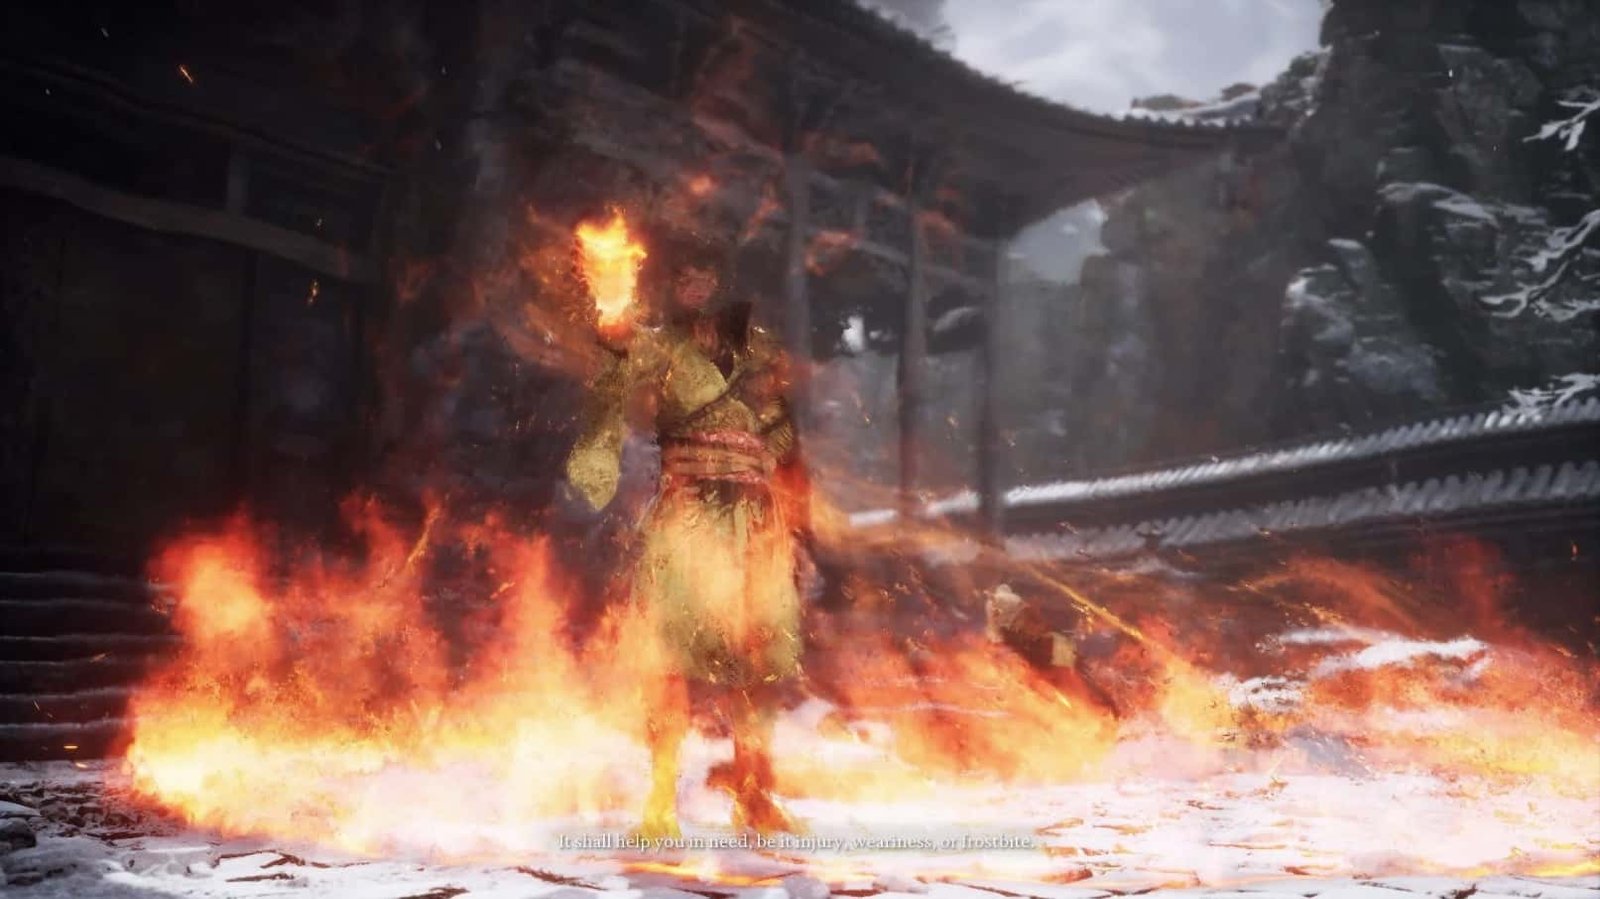
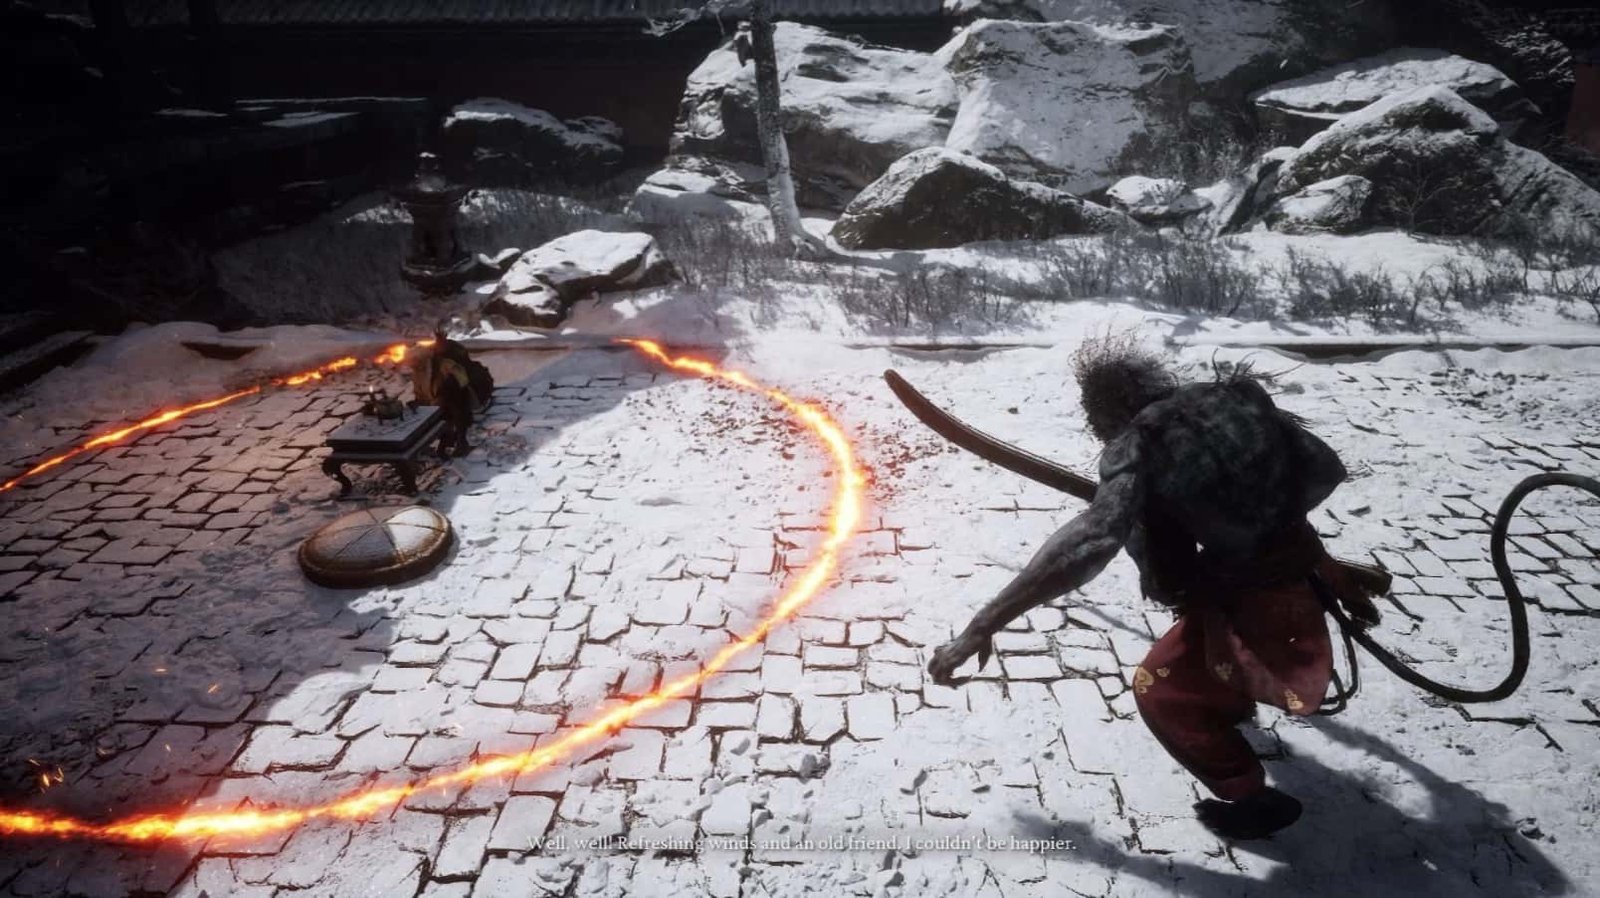
After the Macaque Chief flees, Yuan Shoucheng will impart a secret art to the Destined One. The Ring of Fire creates a protective fire ring, preventing enemies from approaching and removing the frozen status effect.
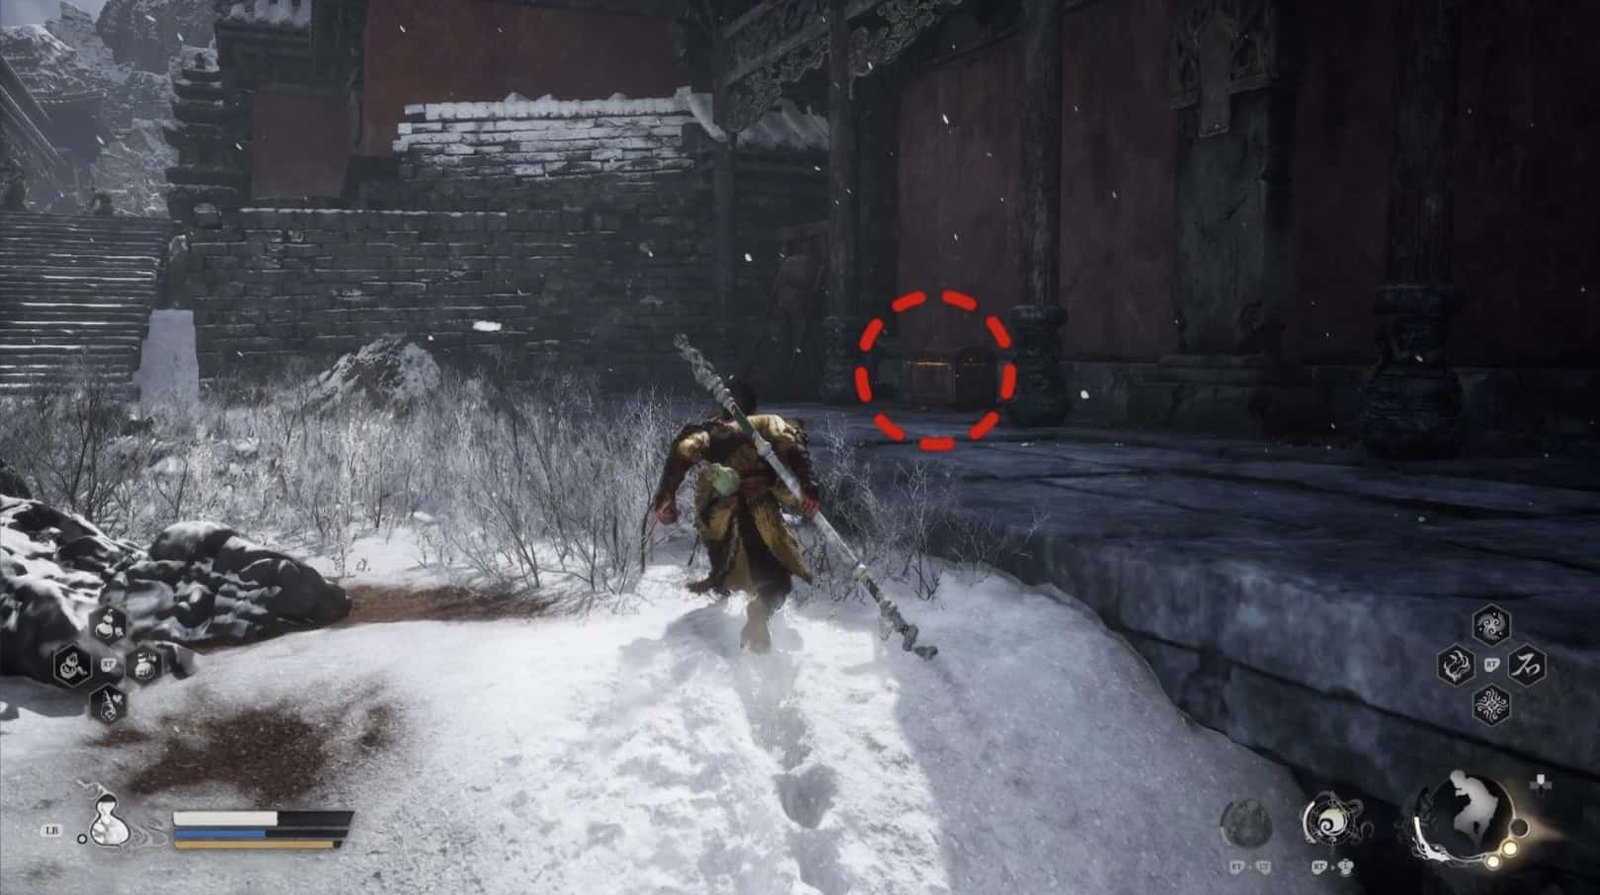
Treasure Chest: Located on the side of the temple, after defeating the Macaque Chief, containing useful items.

After defeating the Macaque Chief, follow the path on the side of the temple, ascend the stairs, and you will encounter a group of Frozen Corpses. Continue along the path, and the Destined One will slide down a slope, officially entering the Bitter Lake area and beginning a new chapter in the journey.
Congratulations, Destined One, on conquering the Pagoda Realm (Precious Pagoda Domain) – a challenge filled with trials and tribulations! Through countless battles, overcoming numerous traps, the Destined One has defeated the Four Great Villains, dispelled the Beguiling Chant, gathered countless rare treasures and martial arts manuals, and most importantly, proven their tremendous growth.