
Remember, every step, every breath must be taken with caution. Follow Old Sun, explore every nook and cranny of this Black Myth: Wukong version of the Spider Cave. The light of Wisdom and Courage will guide you through this dark Labyrinth!
Verdure Bridge
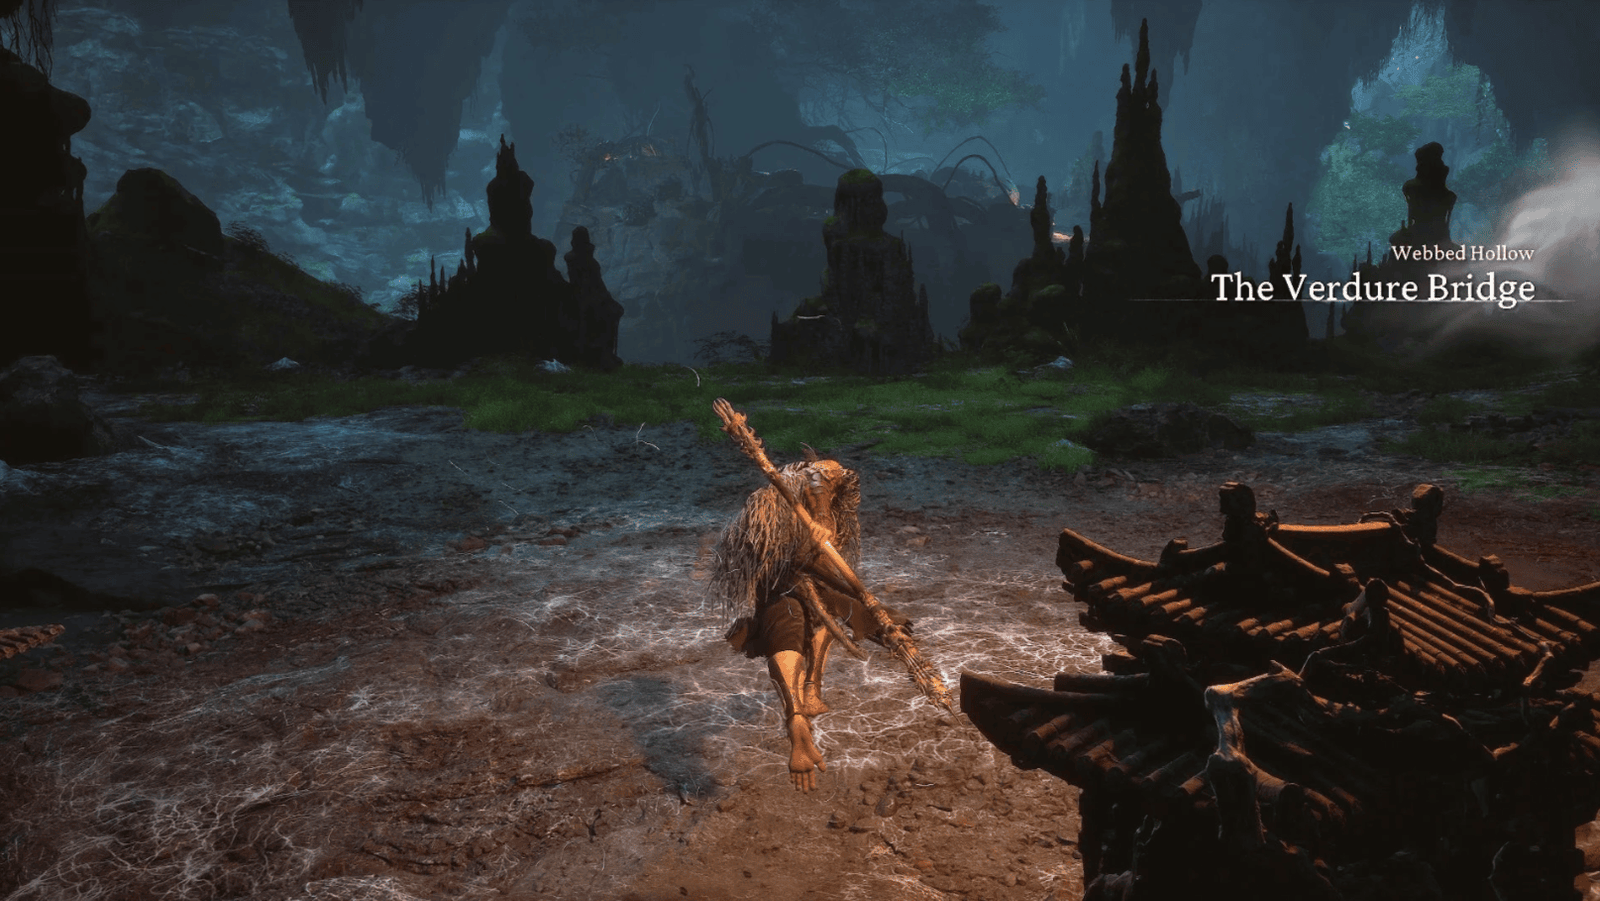
From the Shrine (point to save the game and recover) in the Lower Hollow, follow the trail faintly scented with demonic energy to reach Verdure Bridge. This bridge, like the Naihe Bridge crossing the River of Forgetfulness, is the first gateway leading to the Middle Hollow.
As soon as you arrive, be extremely cautious! Spider Demons have set traps everywhere, and two paths appear before you, one leading to the Upper Path, the other turning down to the Lower Path. I advise you to turn left and follow the Upper Path. This path is a bit dangerous, but it hides a secret that will allow you to get to the final battle with the Elder Amourworm.
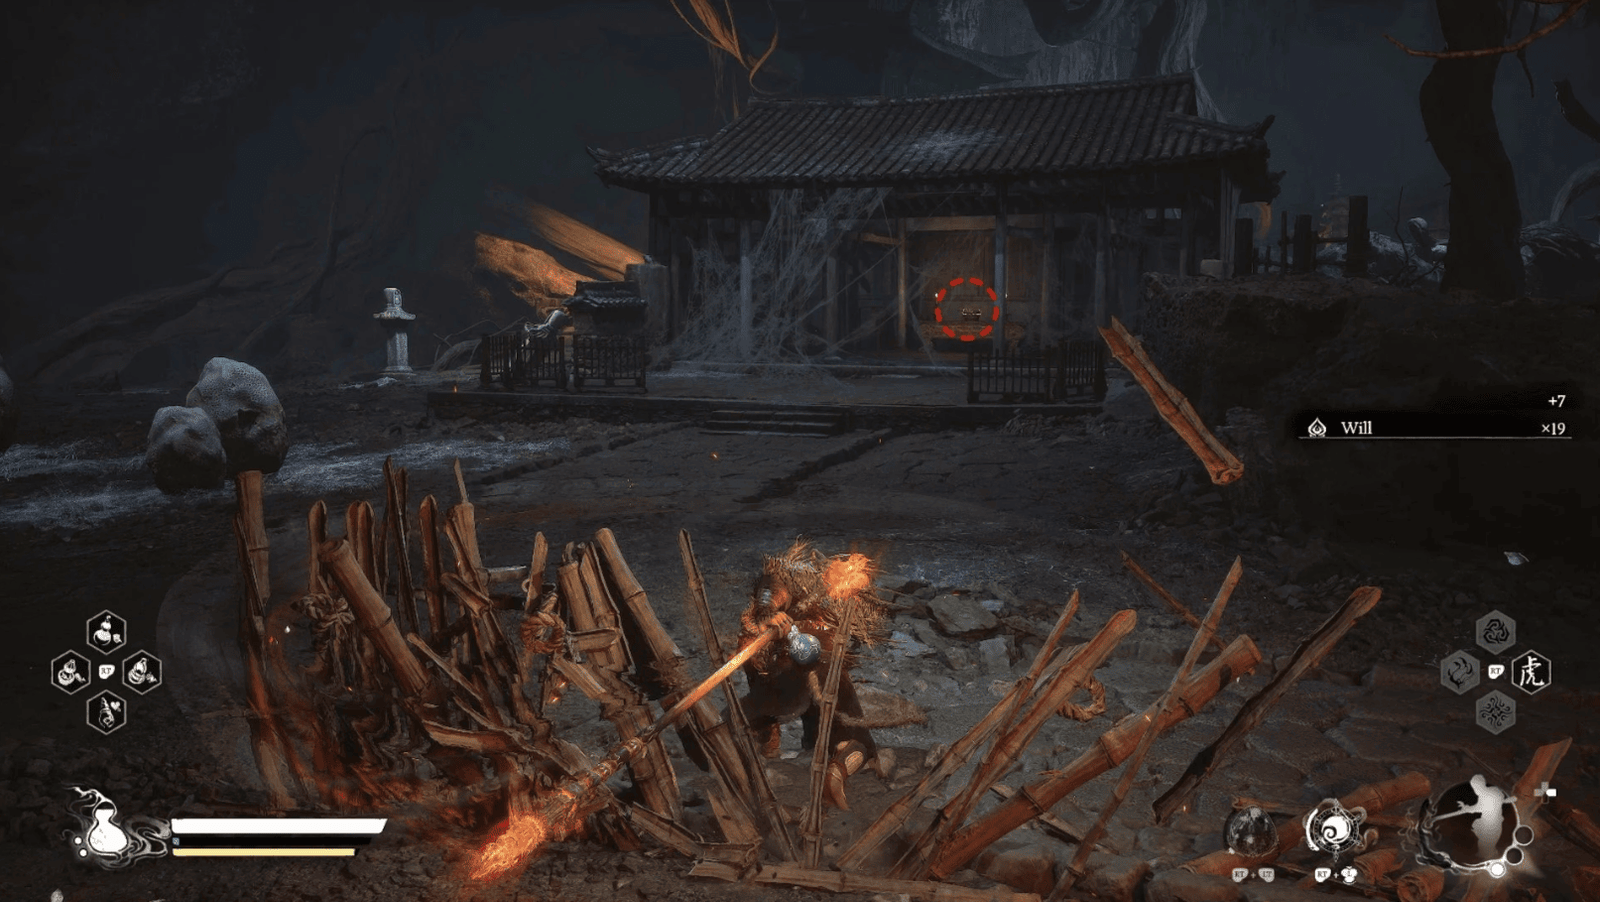
After a while, you will see two strange Ghost Lanterns muttering “Great Event! Great Event!”. Approach, and you will encounter the Mysterious Woman who previously eliminated demons at the beginning of Chapter 4. She will give you a hint about a treasure located right behind the stone gate.
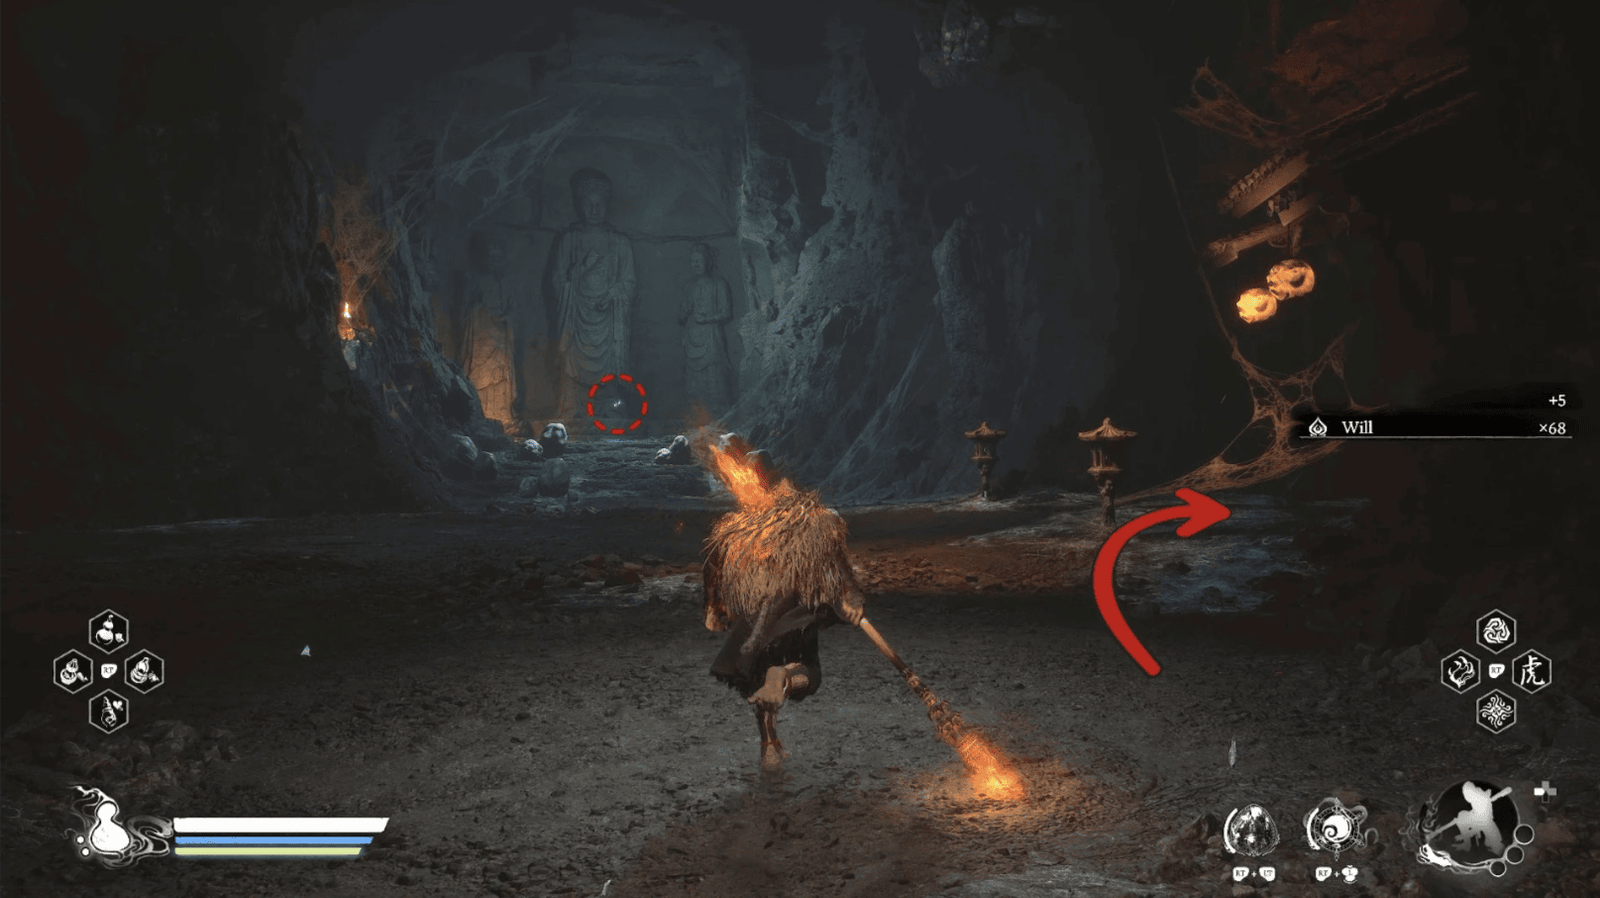
Don’t hesitate, go inside. The scene that appears will dazzle you! Five treasure chests sit in the middle of the room. I will help you take inventory: Xiang River Goddess Gourd (increases recovery ability), Enhanced Ginseng Pellet Formula (crafting recipe for high-grade elixirs), Gold Ridge Beast (golden beast armor), Purple-Veined Peach Pit Soak (medicine), and Fine Gold Thread (high-quality golden thread), along with many other rare materials.
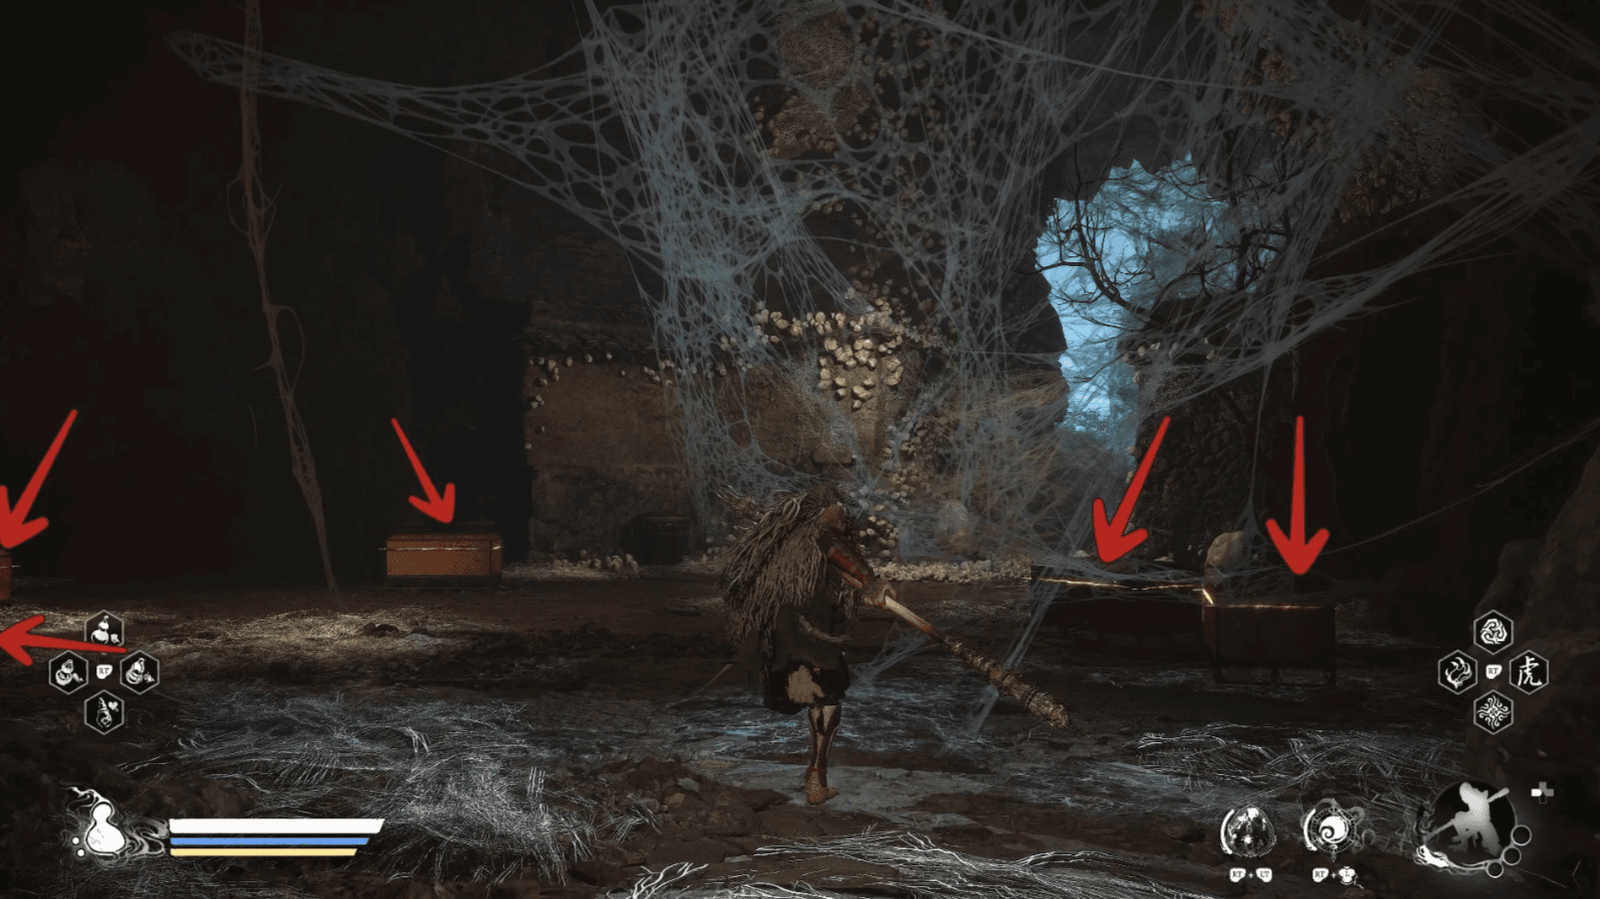
But don’t celebrate yet, behind the treasure is a narrow passage leading to the lair of the Elder Amourworm. Before facing this demon, prepare Antimiasma Medicine (protection against poison) and activate Pillar Stance (stance on wooden pillars, helping to avoid low-level attacks and negative ground status effects).

The Elder Amourworm, though not agile, is extremely tough and possesses powerful Poison Techniques. He will spit out webs to bind and poison to cause the poisoned status effect. Carefully dodge and use Pillar Stance to stay steady. When he falls, quickly finish him off and collect the Proto-Amourworm.
Here’s the secret I want to reveal: This larva can be exchanged for the mighty soul of Elder Amourworm. Take it to Chen Loong in Zodiac Village, then return at the appropriate time. You will need to feed the larva three Rice Cocoons (items dropped from small spider cocoons in the Webbed Hollow). Fulfill its wish, and you will be rewarded handsomely.
After the battle, leave the lair of Elder Amourworm. Look to the right, and you will see an ancient Stone Talisman and a Green Wisp (containing Will, a type of experience point) floating. Collect them, then follow the path on the left to go down under the bridge.
So you have completed the first part of the Middle Hollow. Rest and regain your strength before entering the Middle Hollow, which is full of demons!
Middle Hollow
From Verdure Bridge, follow the path below, through the slimy Clawed Cocoons, you will reach the territory of Middle Hollow. Beware of Dragonfly Guai and Puppet Tick that flit in and out of the darkness.
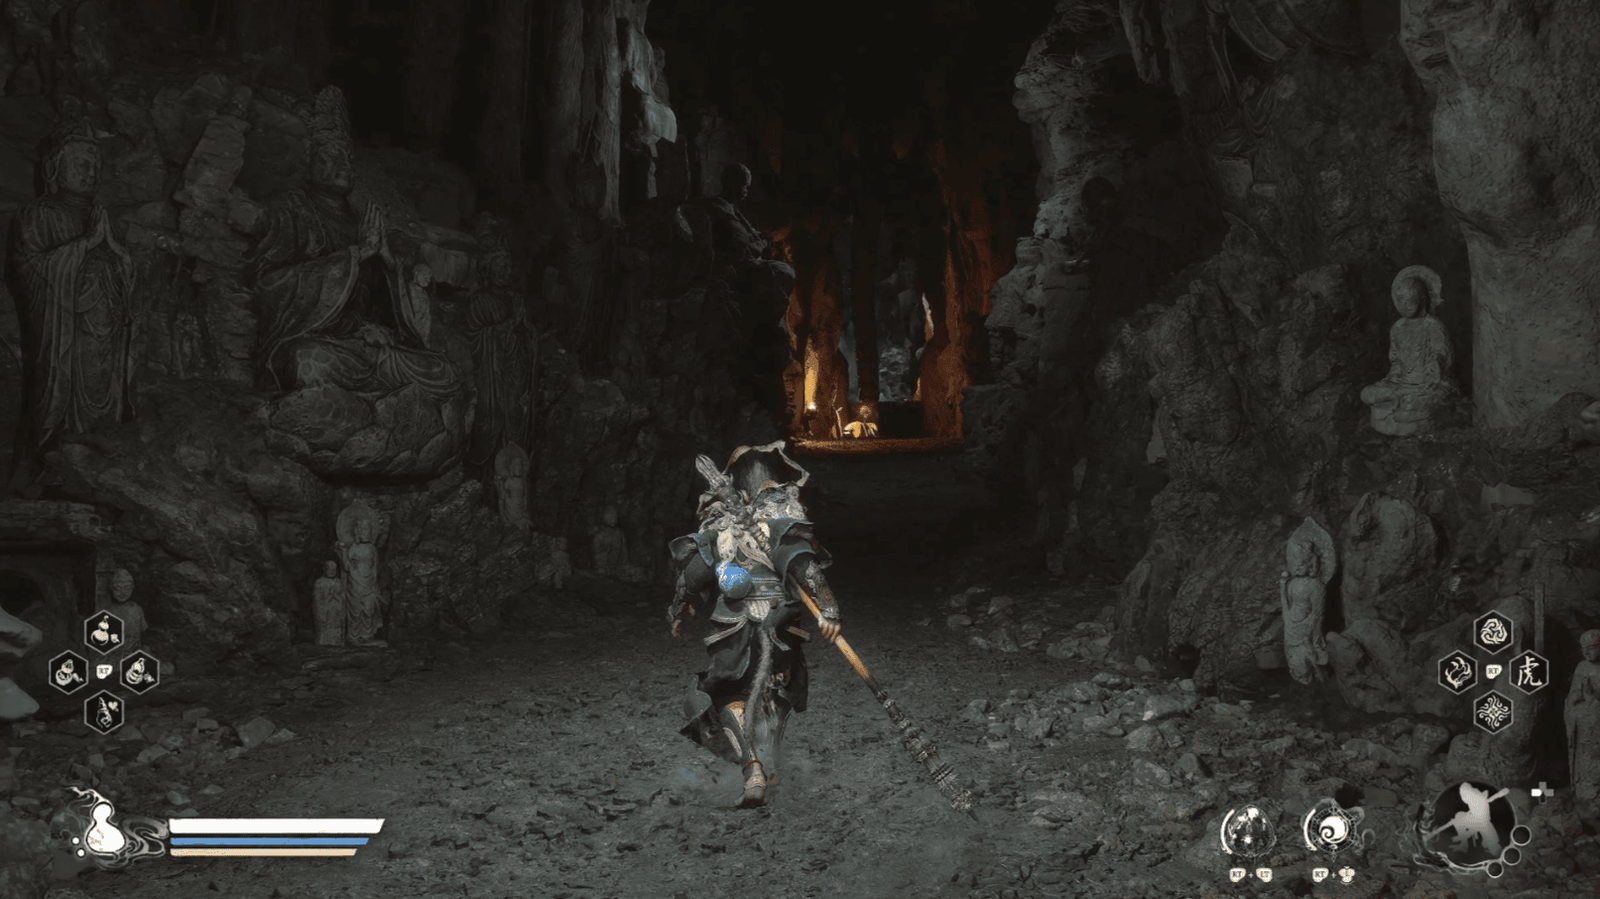
At the fork, two paths appear again. To the right is the Front Hall leading to the Spider Village, but Old Sun advises you to turn left, follow the Back Path. This path will lead you to a Secret Chamber with a Green Wisp and a Lantern Holder guarding it. Defeat him, you will enter the Spider Village.
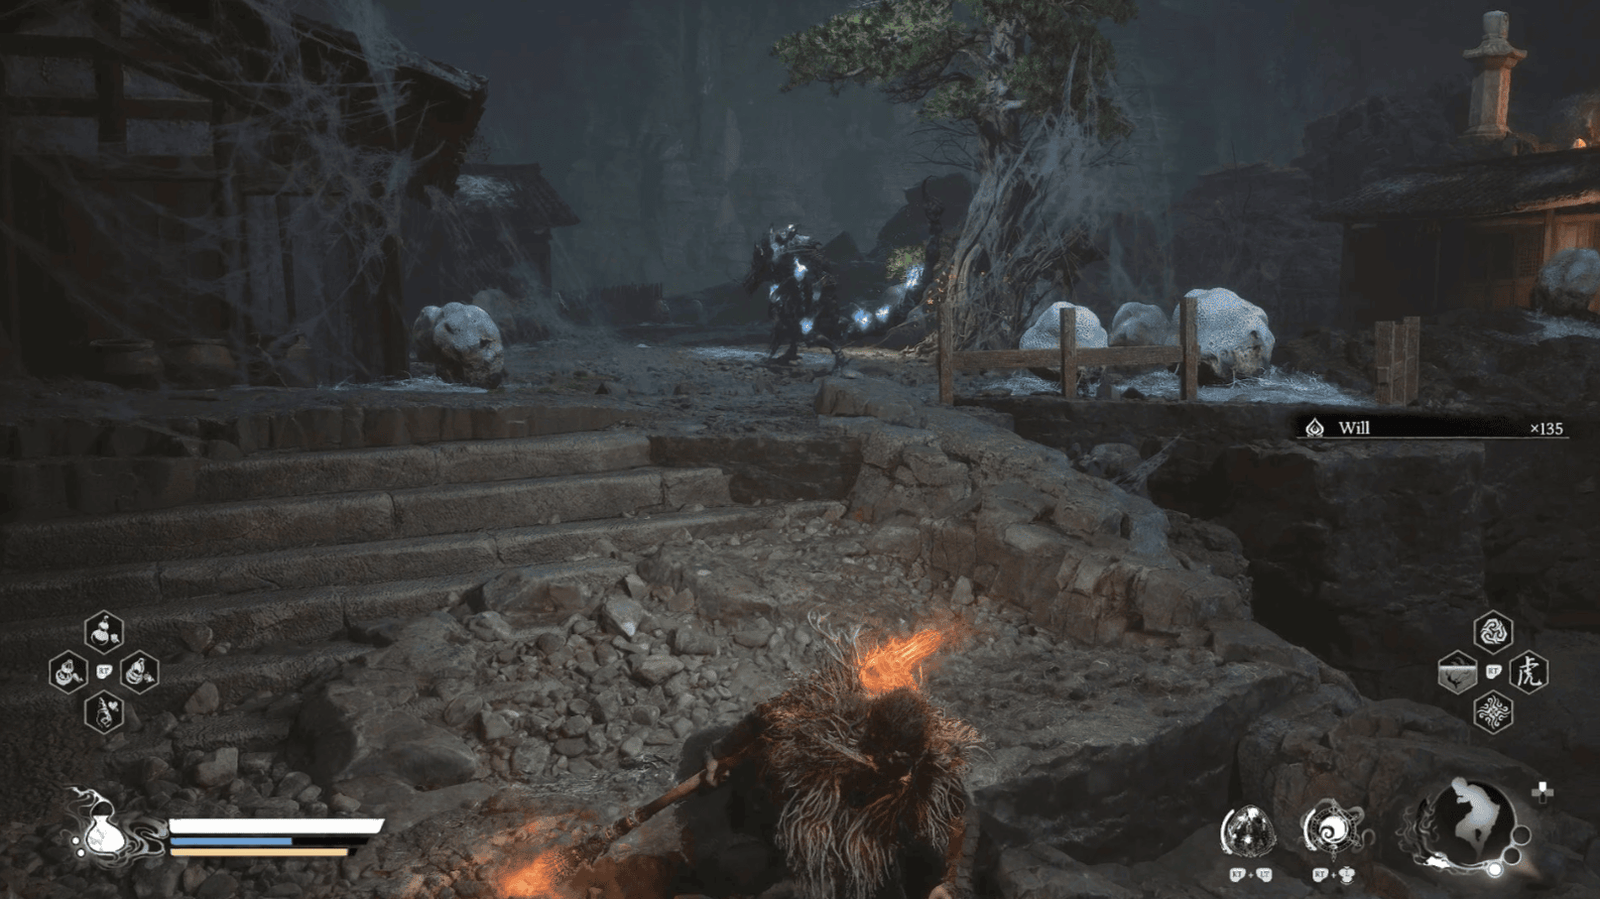
In the middle of the village is an ancient tree, where the fierce Scorpion Prince is guarding. He is an Empowered (stronger than normal enemies, enhanced by spiritual power), much stronger than the Scorpion Demons you encountered in Upper Hollow. Be cautious, around him are also Puppet Spiders hiding in large cocoons.
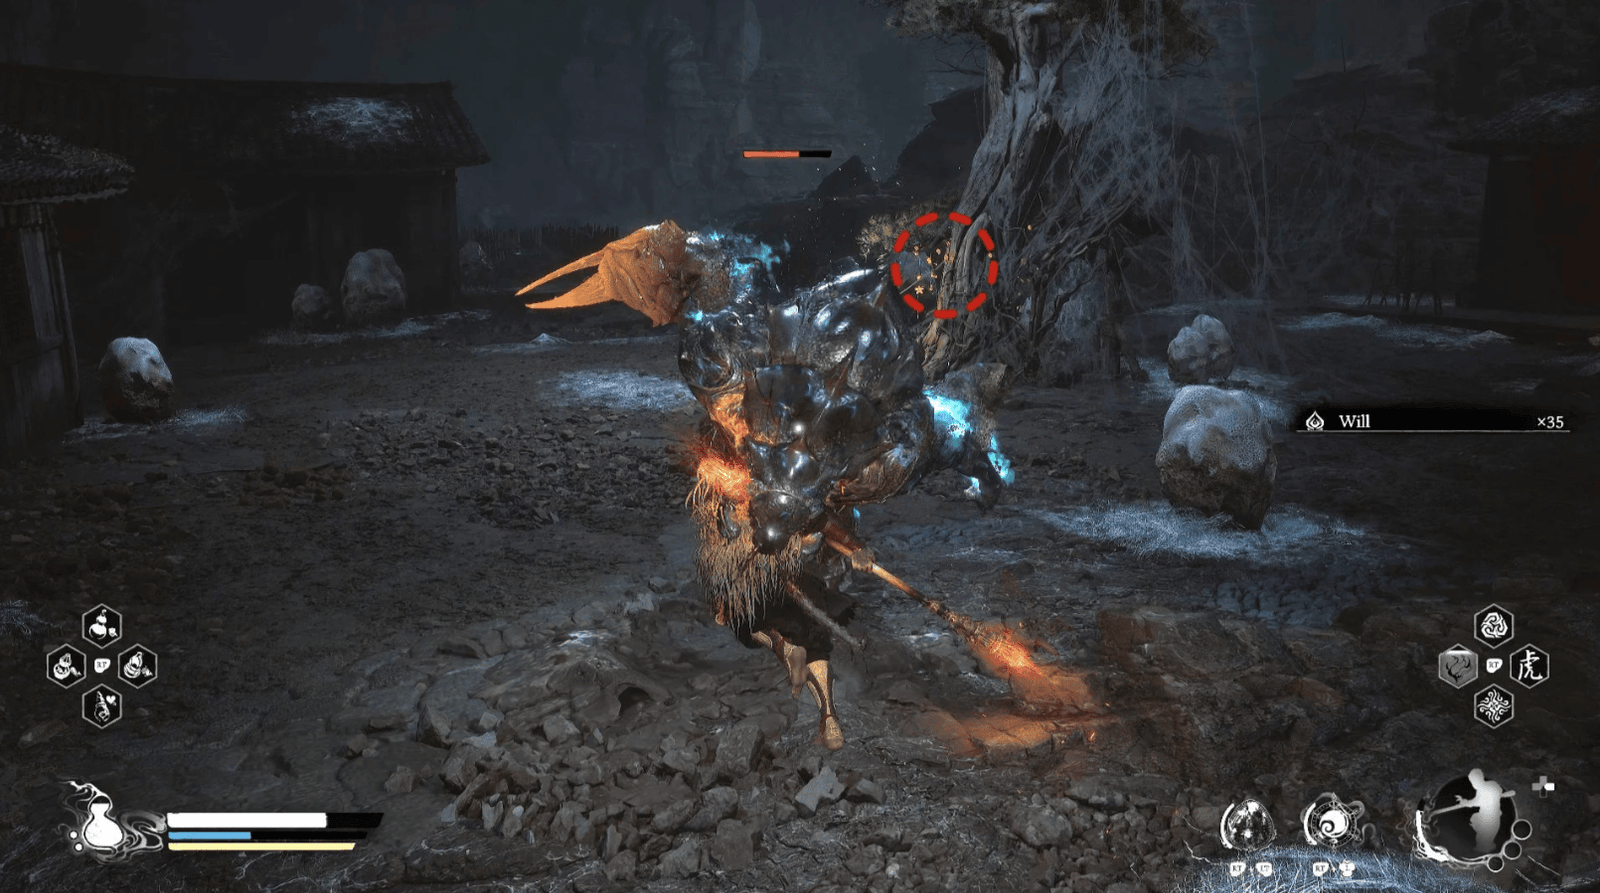
Keep your distance, take advantage of the terrain to avoid the Scorpion Prince‘s Tail Stinger attacks. Smash Attack is the optimal choice to break his defense. When he falls, take the Luojia Fragrant Vine on the ancient tree and the Scorpion Prince Spirit.
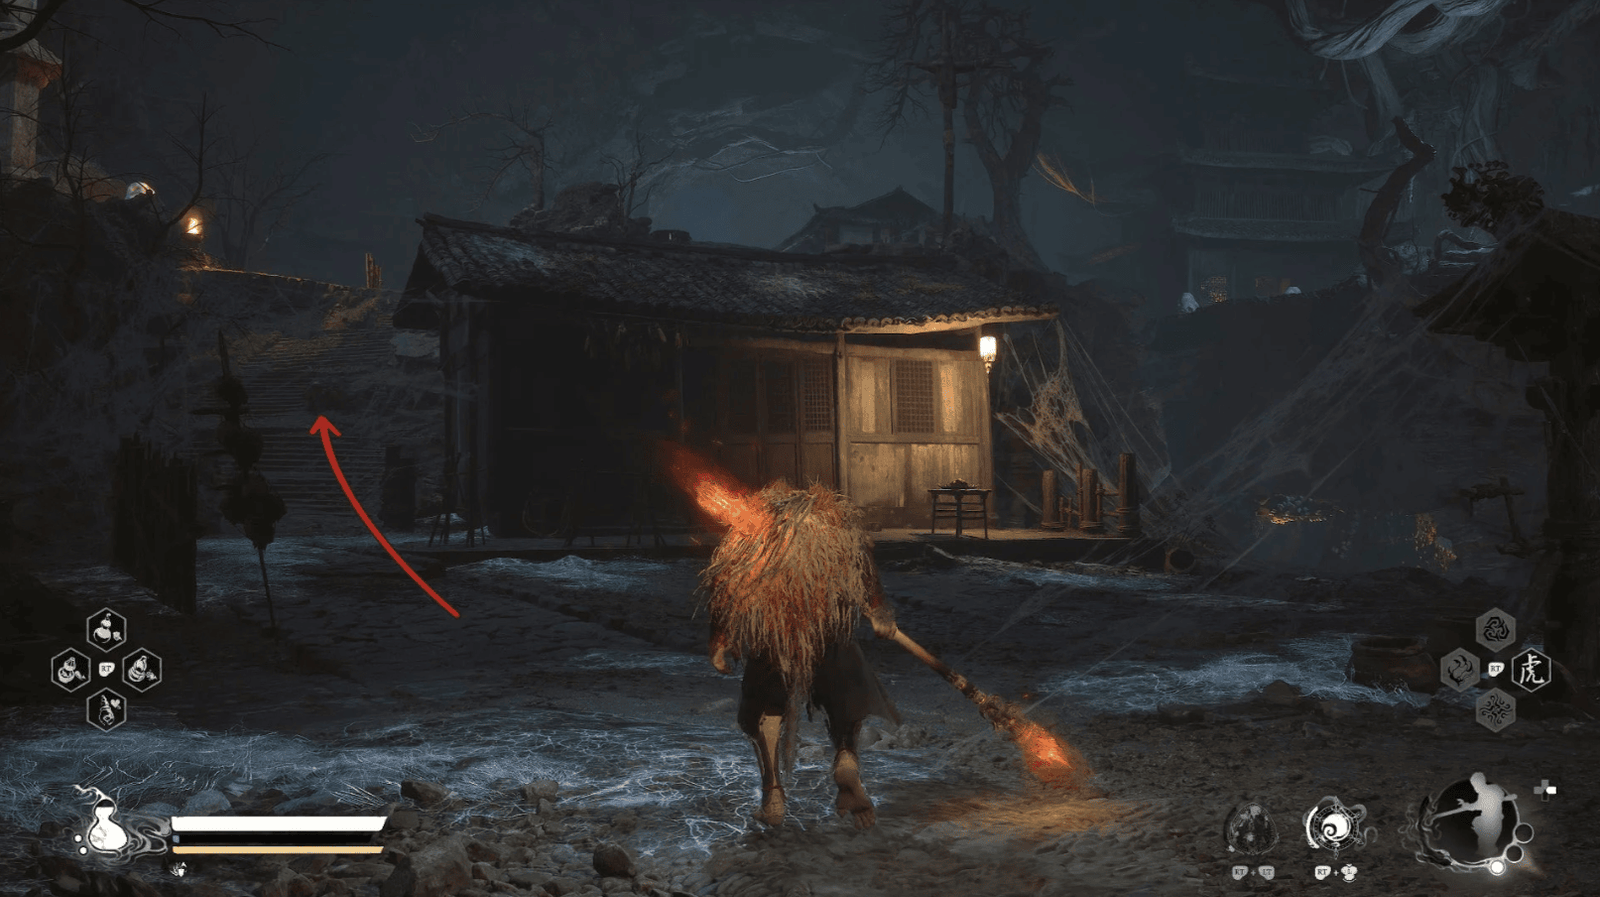
From here, two paths open up again: the Left Path leads up the hill, the Right Path leads down the cliff. Both lead to Bonevault where the second Sub-Boss is waiting. But first, follow the Left Path up the hill.
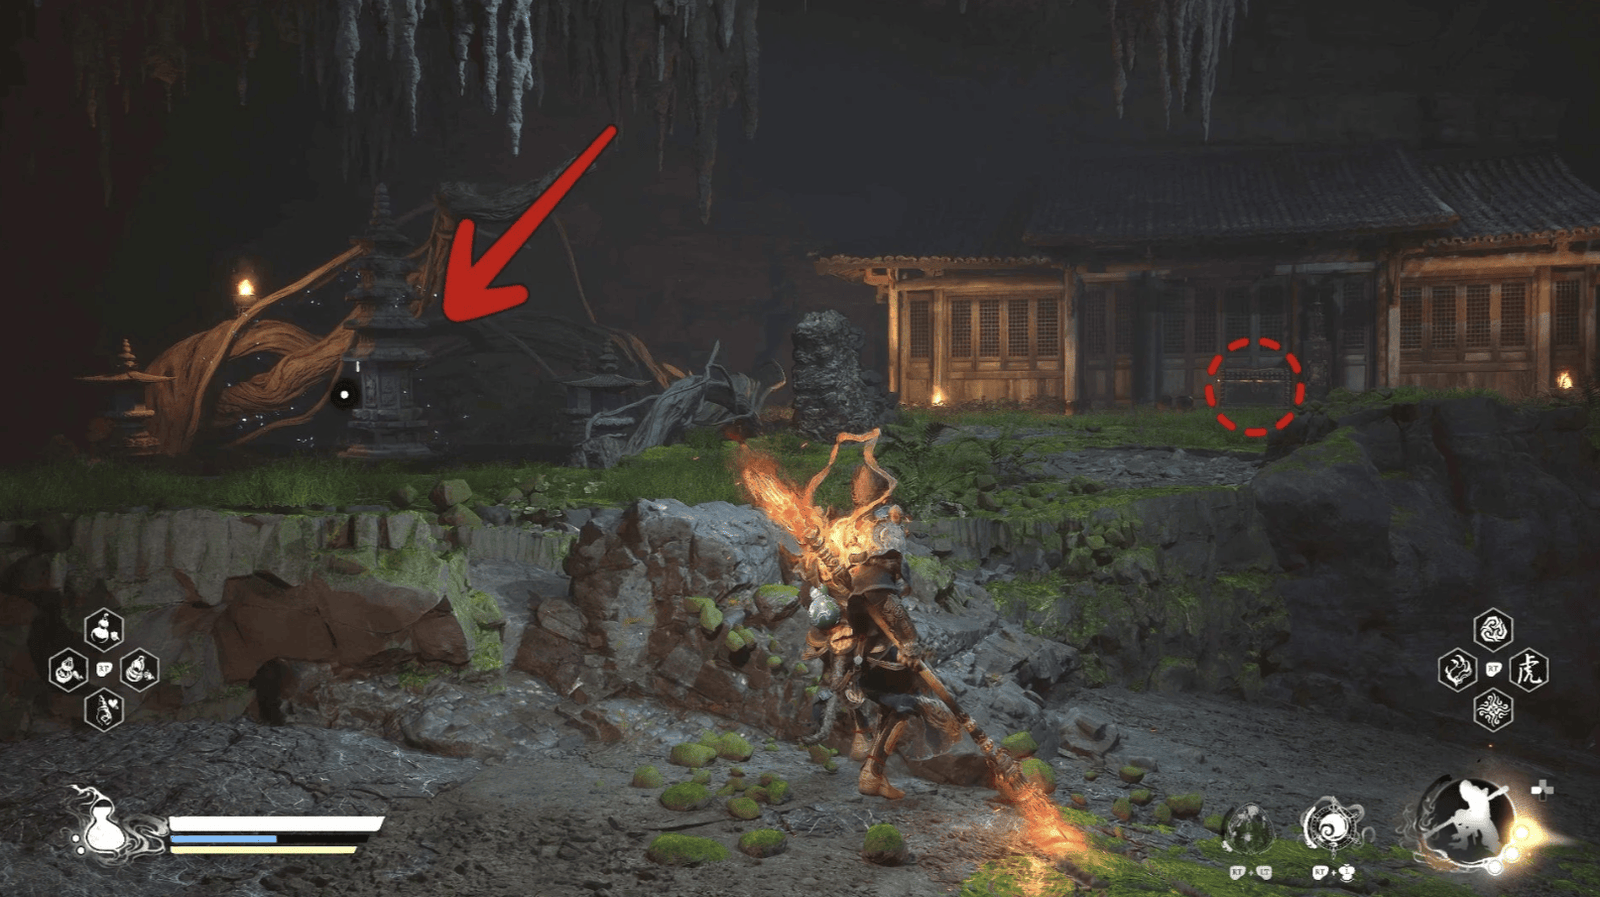
At the top of the hill, you will encounter a Lantern Holder and some Spider Demons emerging from cocoons. Defeat them, find the Green Wisp behind the house on the left, and open the Treasure Chest in the house on the right to get the Mirage Pill Formula.

Go across the bridge, you will see a large house with Worryfree Brew placed on the stove. Collect it, this is a Divine Medicine that increases recovery when you are in critical condition.
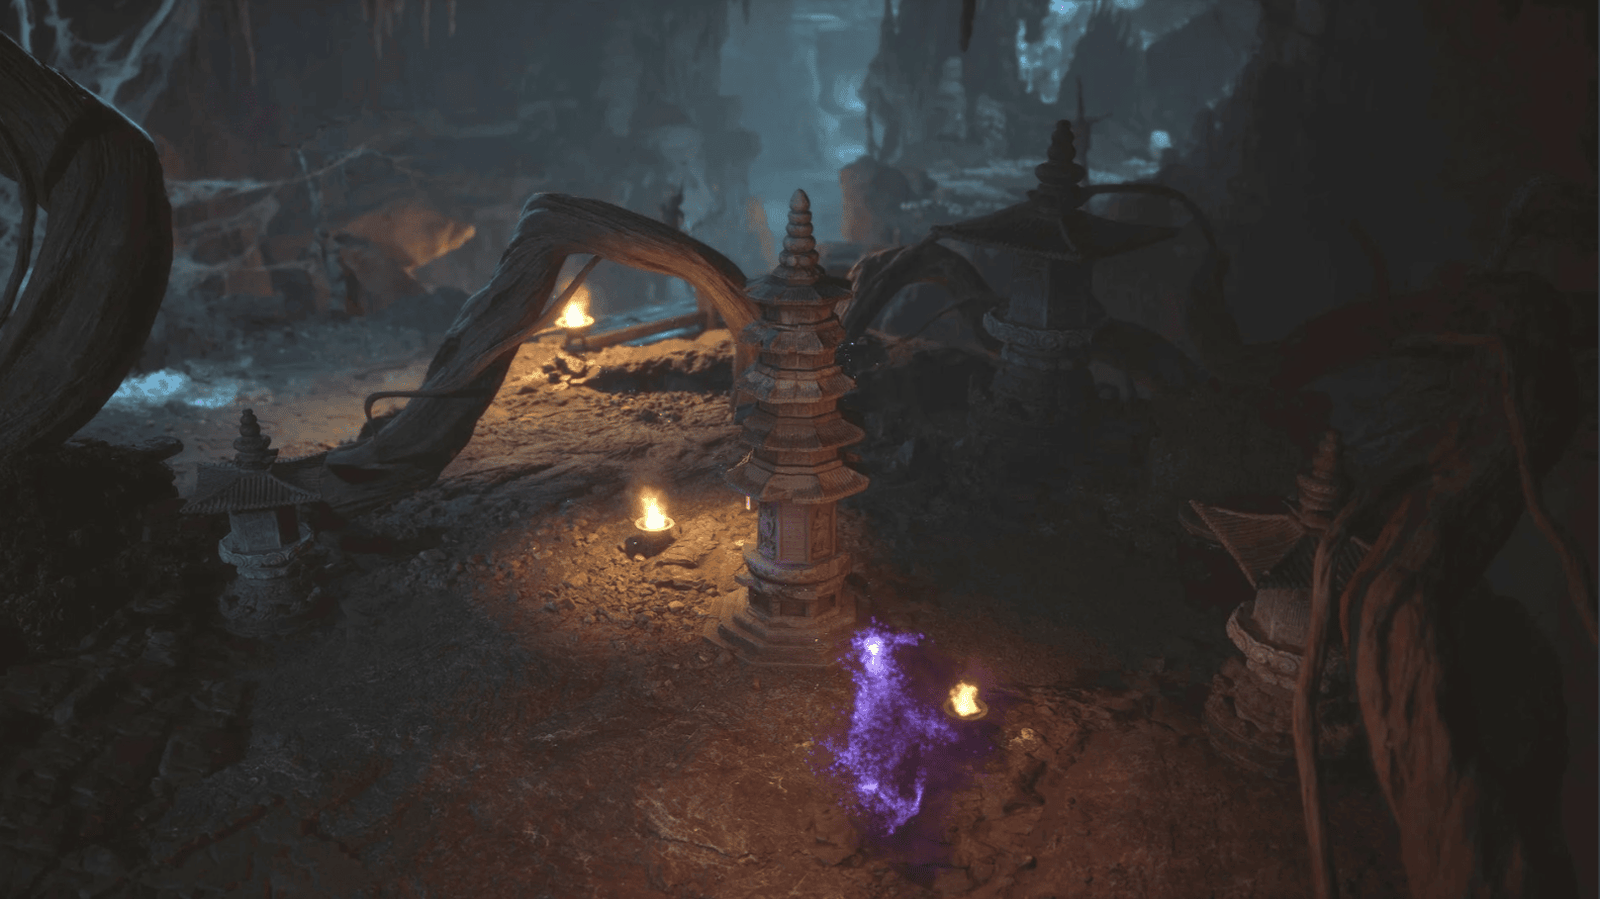
Outside the house, you will see a Purple Talisman Altar emitting an eerie light. The Mysterious Woman will appear again, warning you not to touch it. But ignore her, collect the first Talisman, which will unlock the Secret of Webbed Hollow. Remember, you need to find four Talismans in this area.
Continue on, you will come to a bridge, where a Dragonfly Guai is stealthily firing Poison Arrows. Finish him off, then follow the path to the area with many Amourworms. Be careful with Fungiman, a Demon disguised as a poisonous mushroom.
After that, you will reach The Tree, Middle of the Hollow, a Meditation Spot, and the Middle Hollow Shrine. Rest and prepare, because Bonevault is right in front of you.
Bonevault
From the Middle Hollow Shrine, follow the Right Path (the path on the right at the ancient tree in the village), you will return to the path leading down to Bonevault. Be cautious, Grasshopper Guai, Puppet Spider, Wasp Guai, and Stone Spiders are ambushing everywhere.
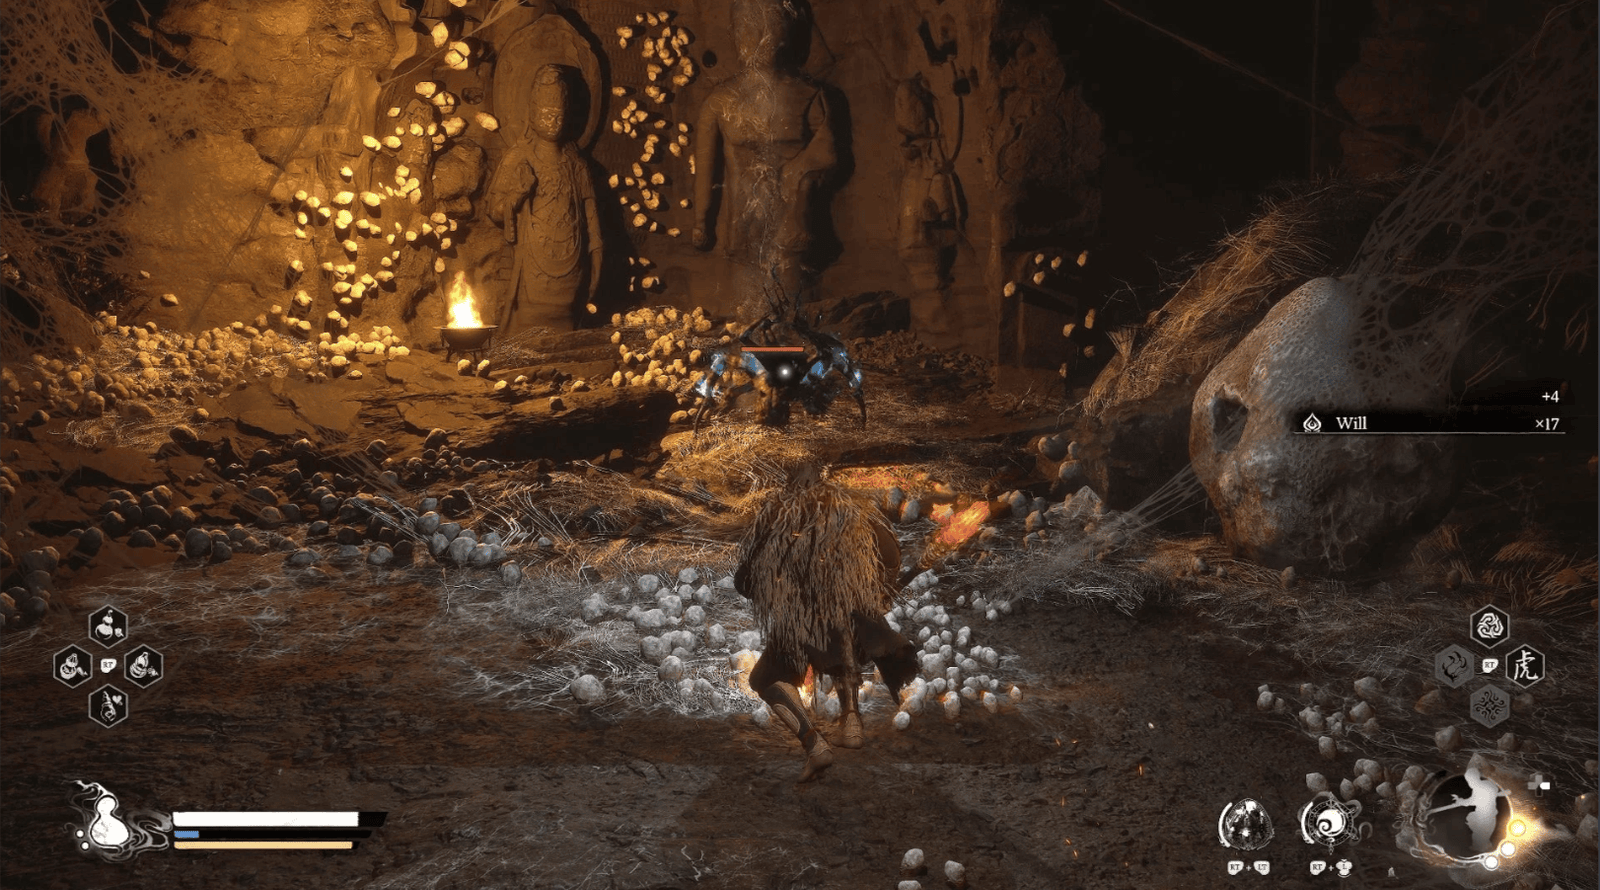
Crossing the bridge, you will see an Empowered Puppet Spider and a few Amourworms emerging from cocoons. Defeat them, especially the Empowered Puppet Spider, to collect the Puppet Spider Spirit. Continue on, you will reach the Bonevault Shrine. Rest here, because the Sub-Boss of this area is waiting.
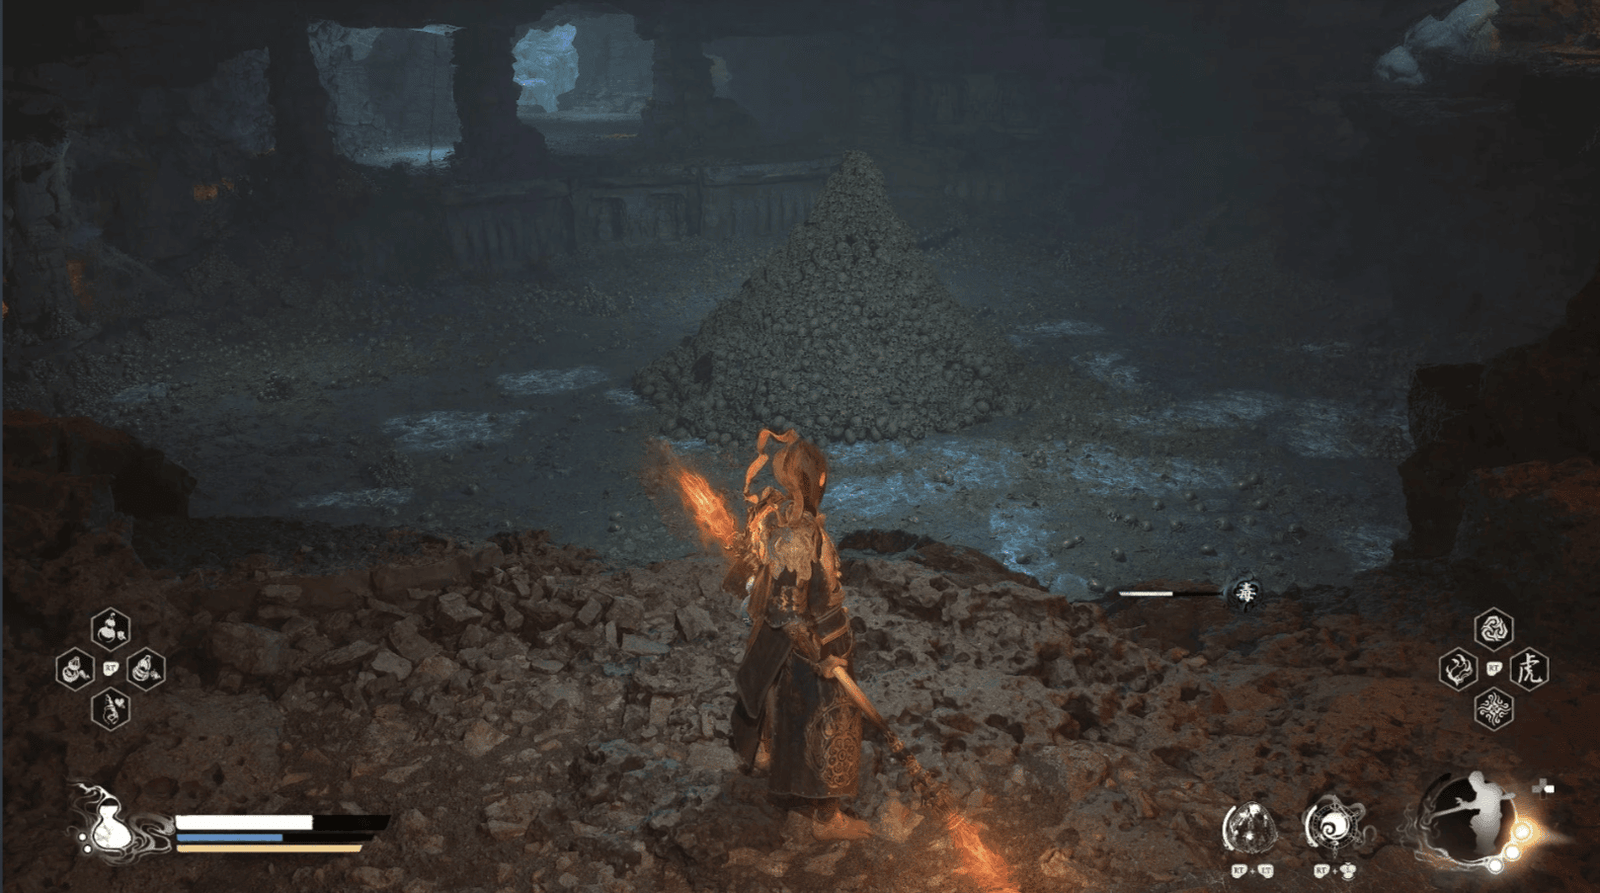
In the middle of Bonevault is a deep pit, where Centipede Guai resides. He is a ferocious Demon with a hard shell and powerful attacks.
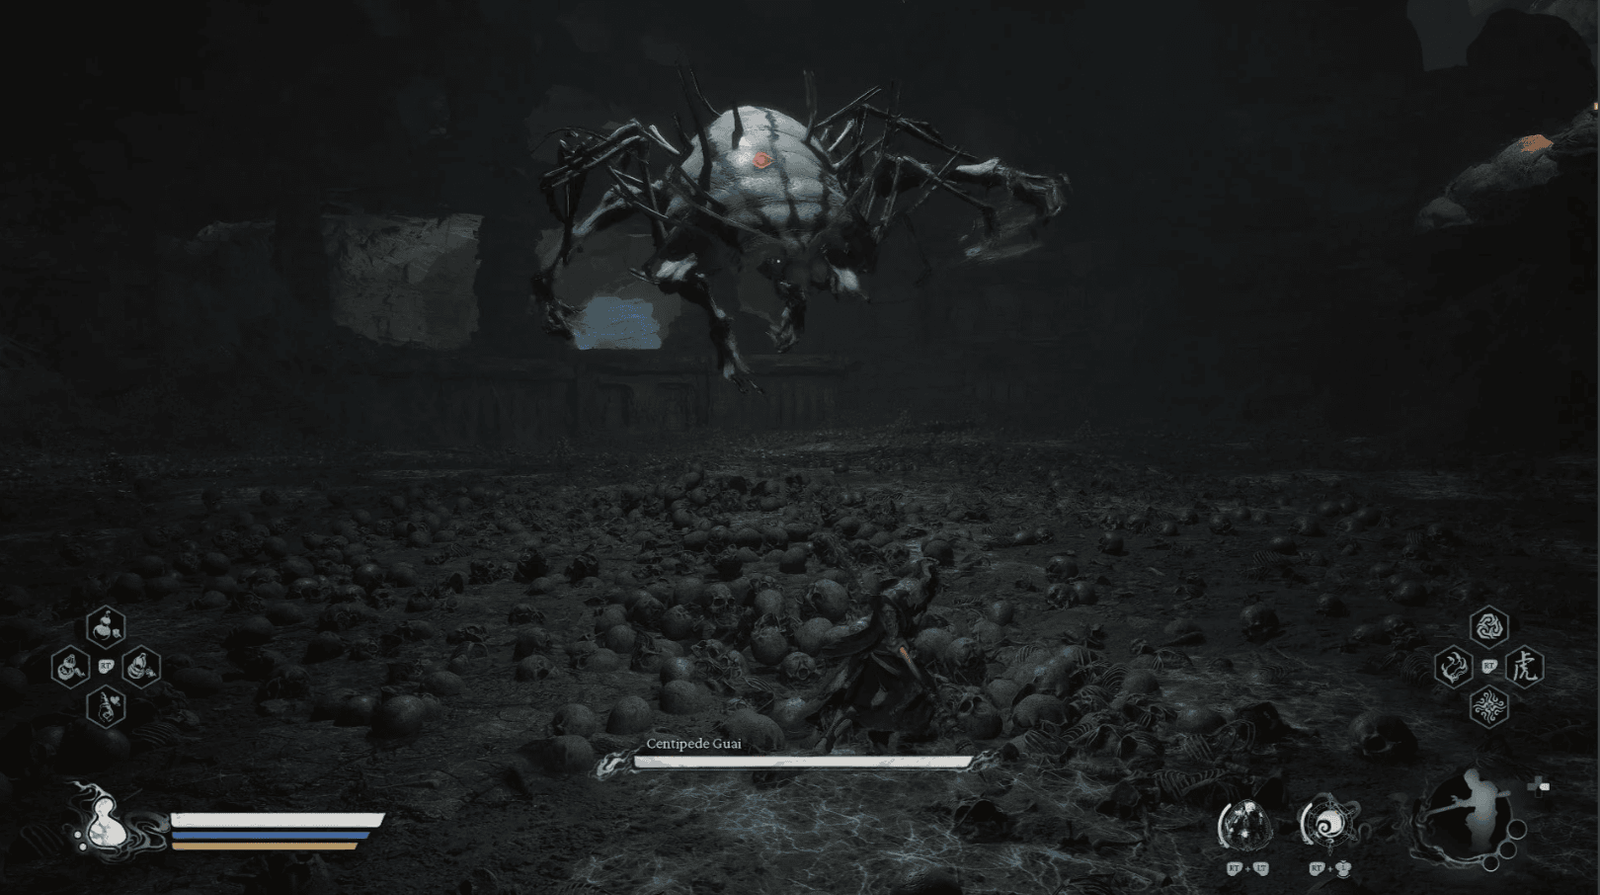
Centipede Guai often moves very quickly, closing in and attacking in combos.
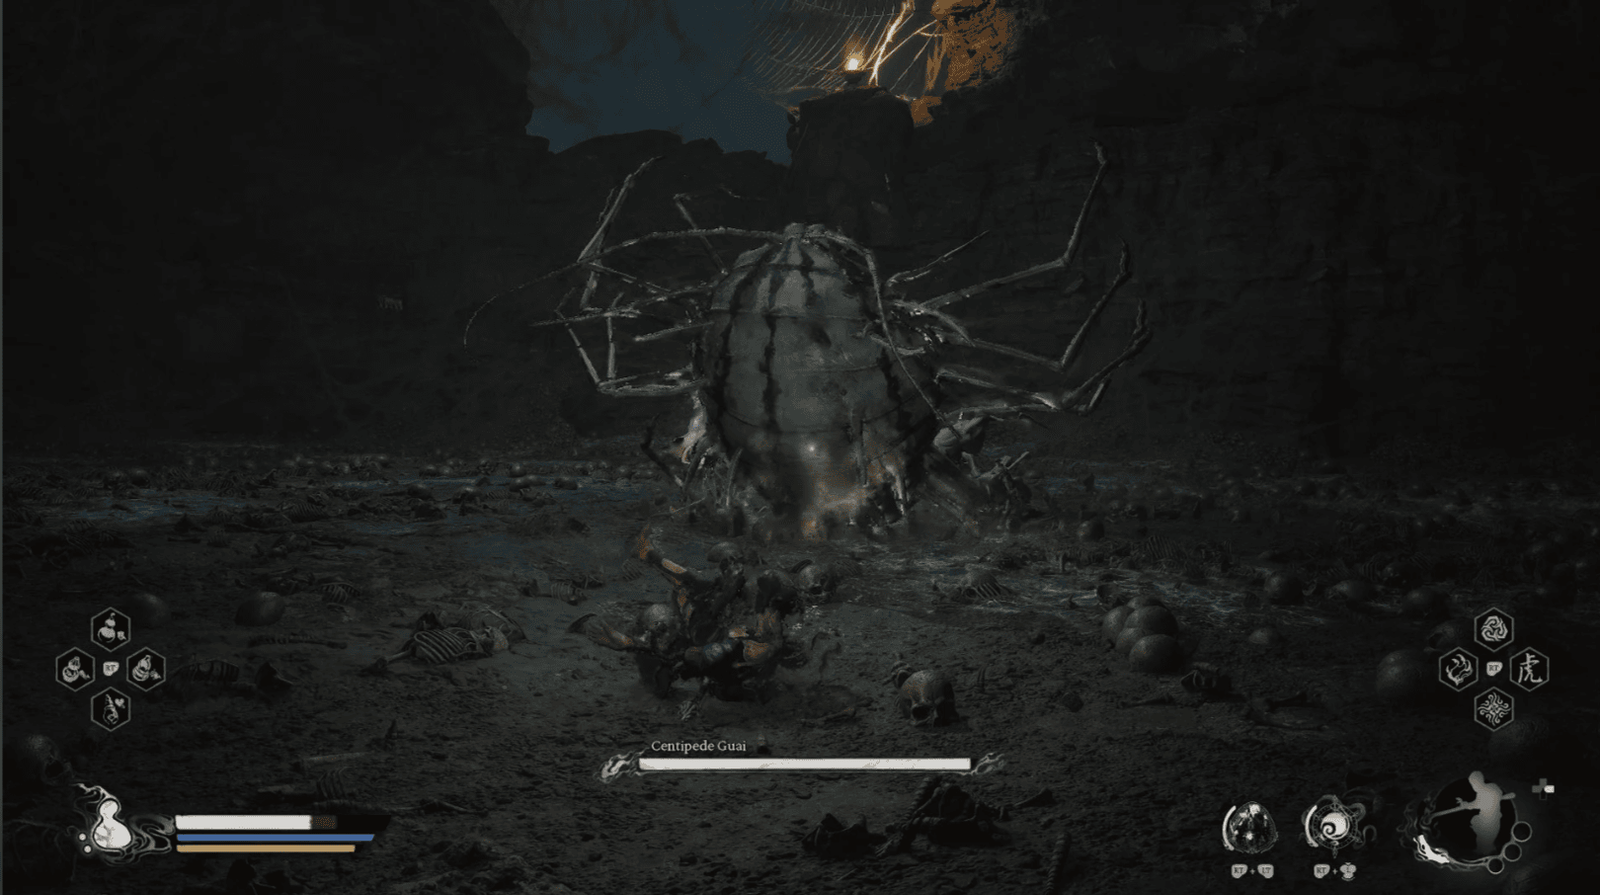
Focus on dodging and use Rock Solid Deflection to block his Tumbling attacks.
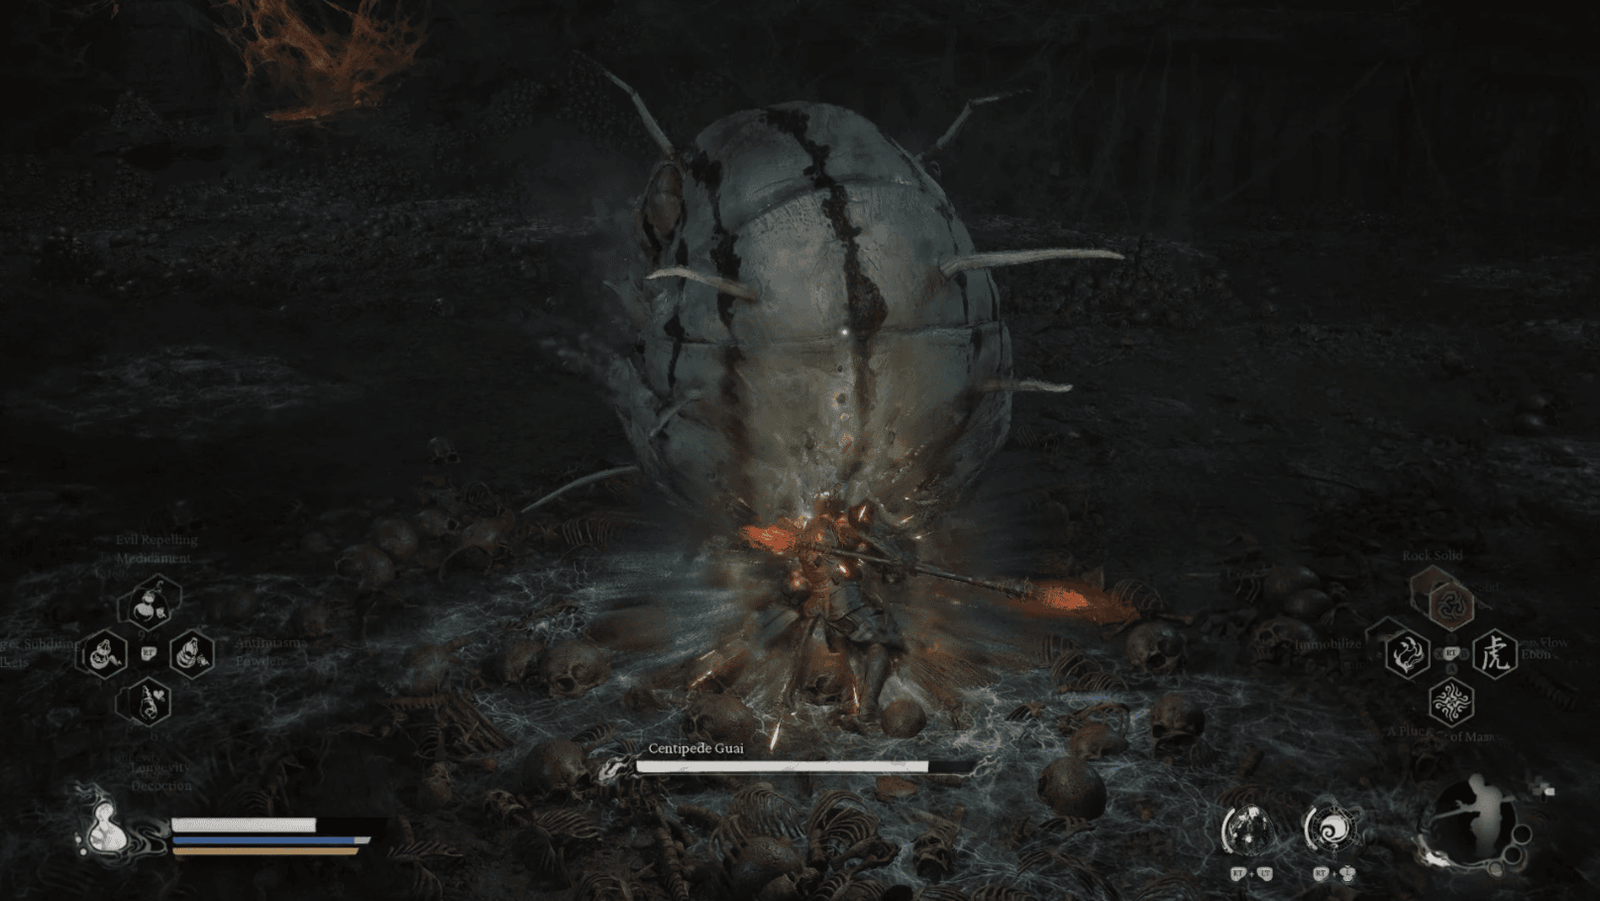
When he is stunned, unleash your full power to attack. Beware of the Poison he spits out, as well as the small Centipedes that will appear when he is at half health. Run out of the Poison Circle and wait for an opportunity to counterattack.
Defeating Centipede Guai, you will obtain the Centipede Guai Spirit, Knot of Voidness, and Gold Tree Core.
Cliff of Oblivion

From Bonevault, follow the tunnel behind, you will reach the Cliff of Oblivion. Be careful with Skeletal Snakes that flit in and out of the darkness.
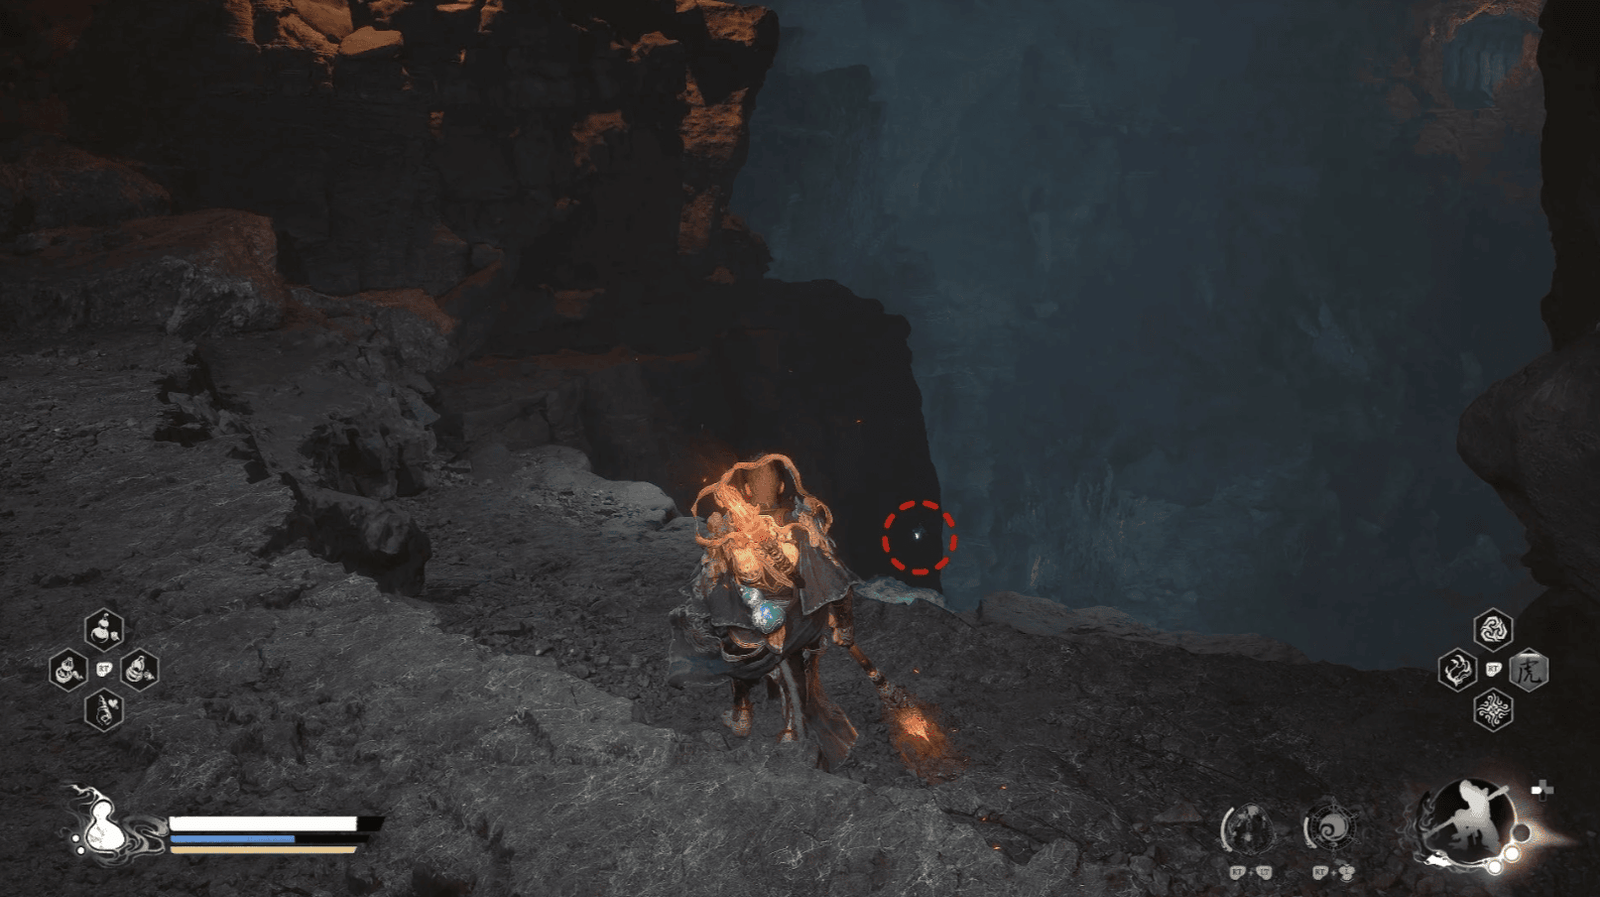
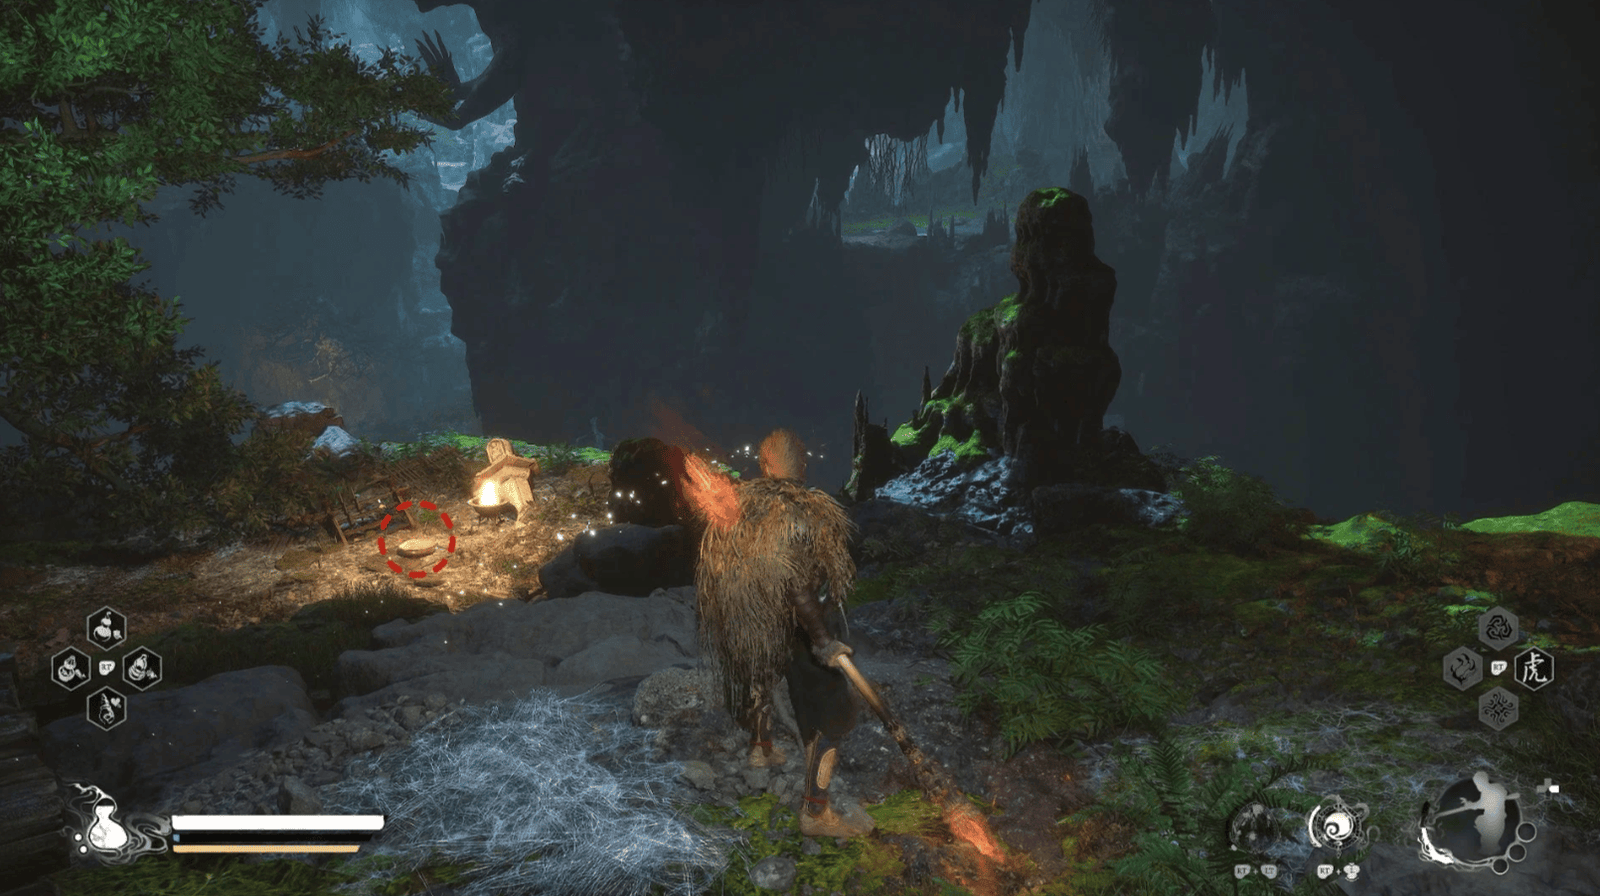
Going down the slope, you will find a Green Wisp on the edge of the cliff.
Collect it, then climb up, you will see a field full of Spider Cocoons. Be cautious, among them is a strange cocoon, where Horse Guai is imprisoned.

Rescue him, you will hear more about the story of Webbed Hollow.
Continue on, you will reach the Cliff of Oblivion Shrine. Before resting, go back and find the second Purple Talisman Altar. Collect the second Talisman, you only need two more Talismans. Near the Shrine, you will see a small house with a Treasure Chest in front. Open it to collect Blood of the Iron Bull and other Materials.
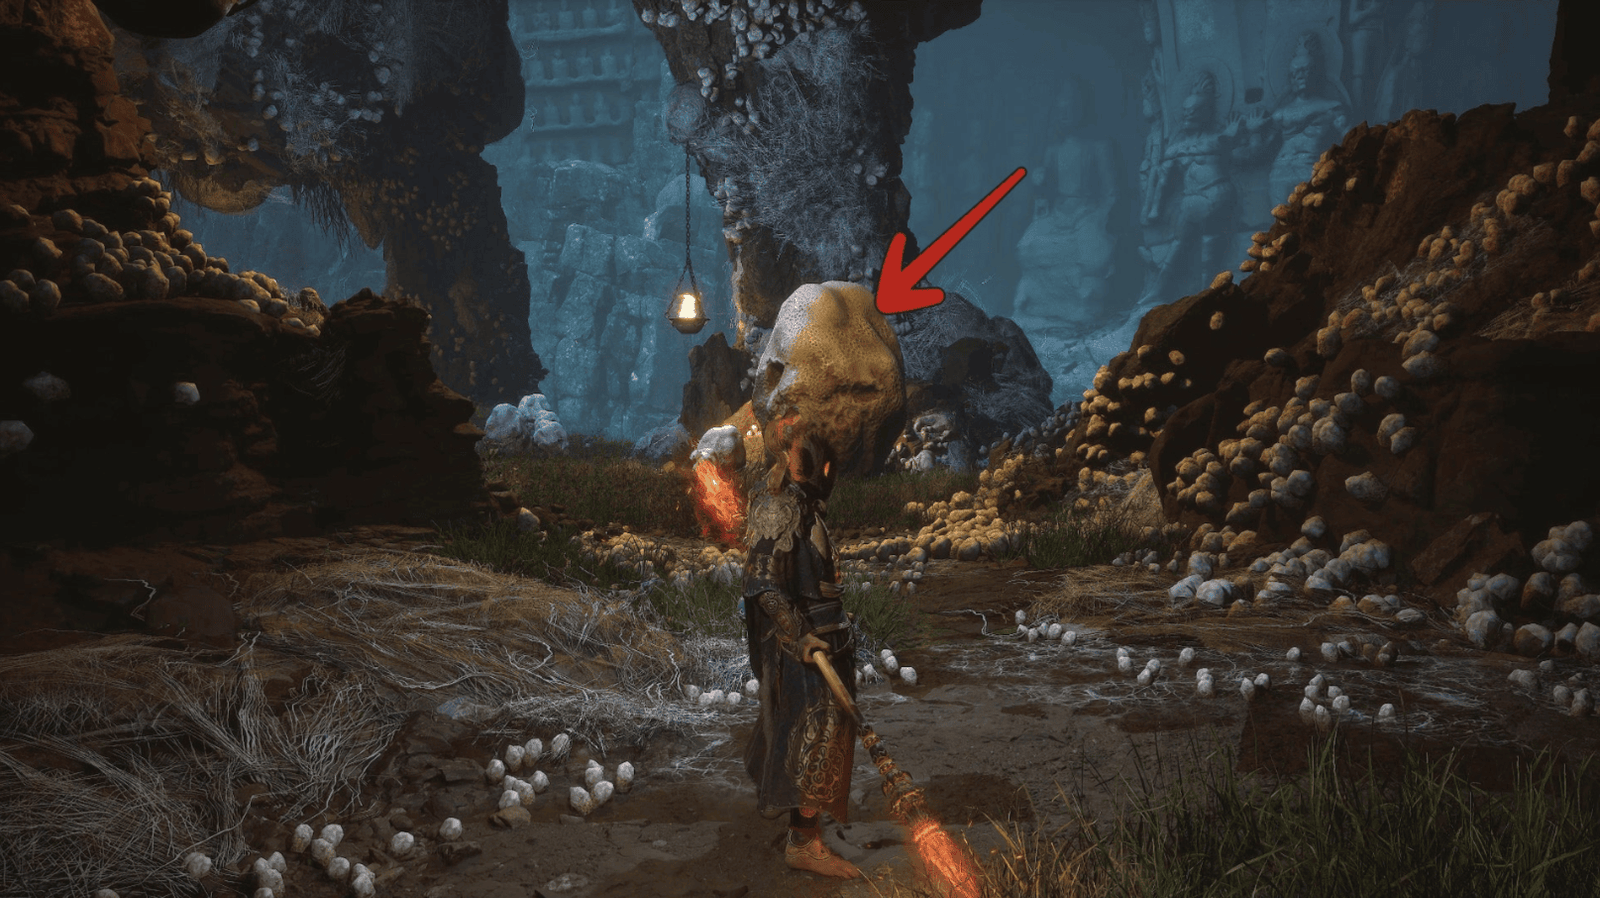
From the Shrine, go into the narrow passage, you will face Buddha’s Right Hand – a bizarre Demon in the shape of a giant hand.
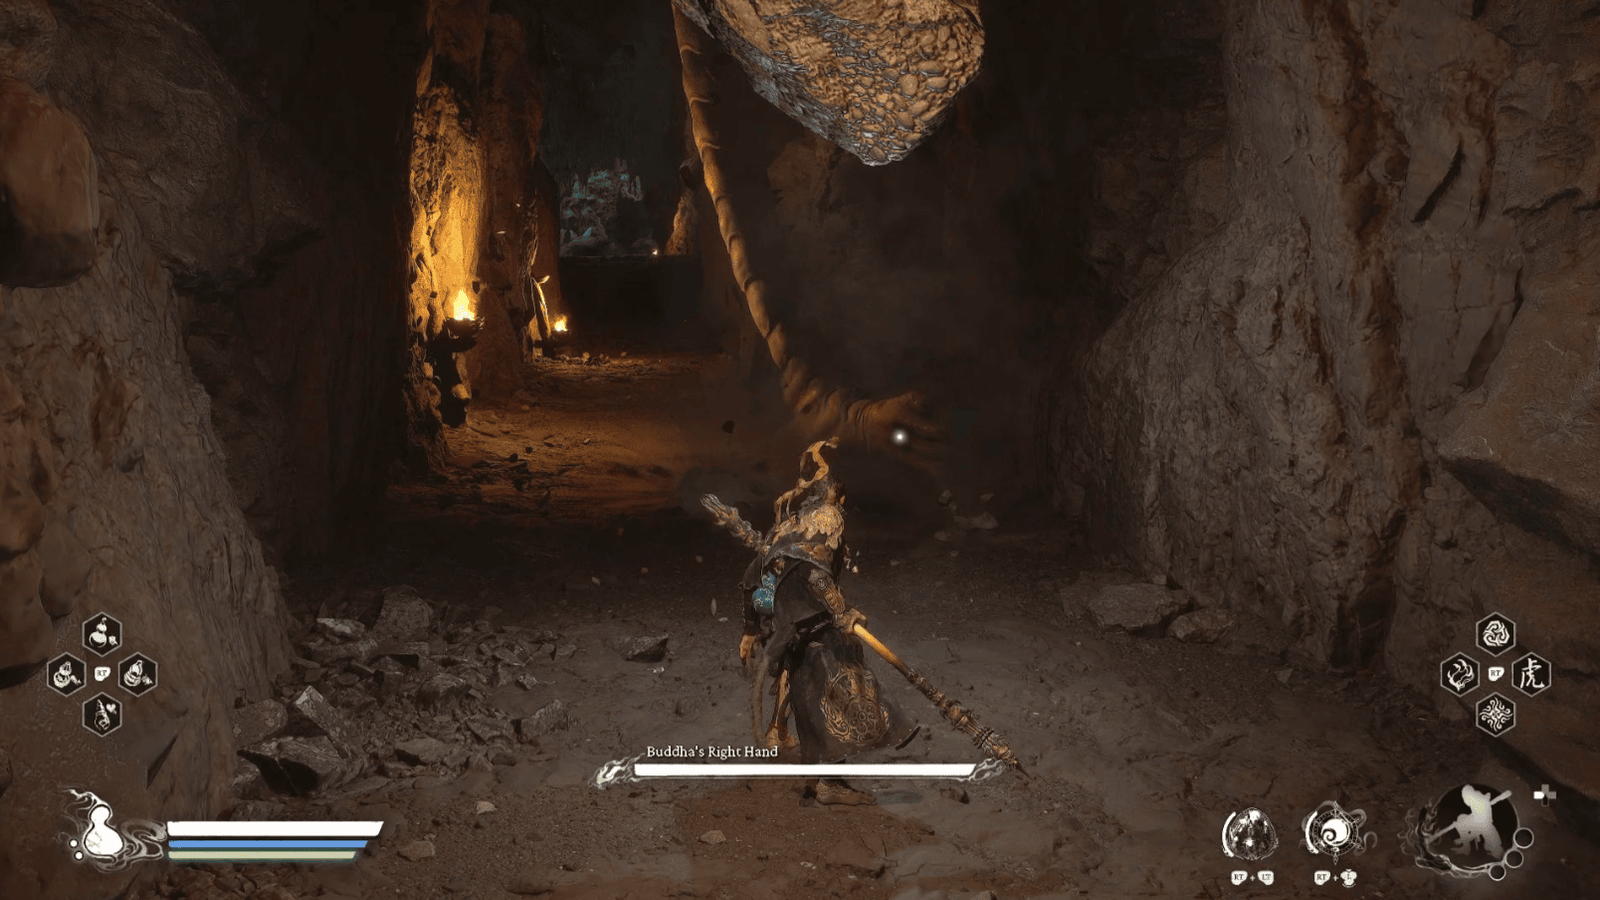
Buddha’s Right Hand will attack from a distance with Palm Strikes and Falling Rocks.
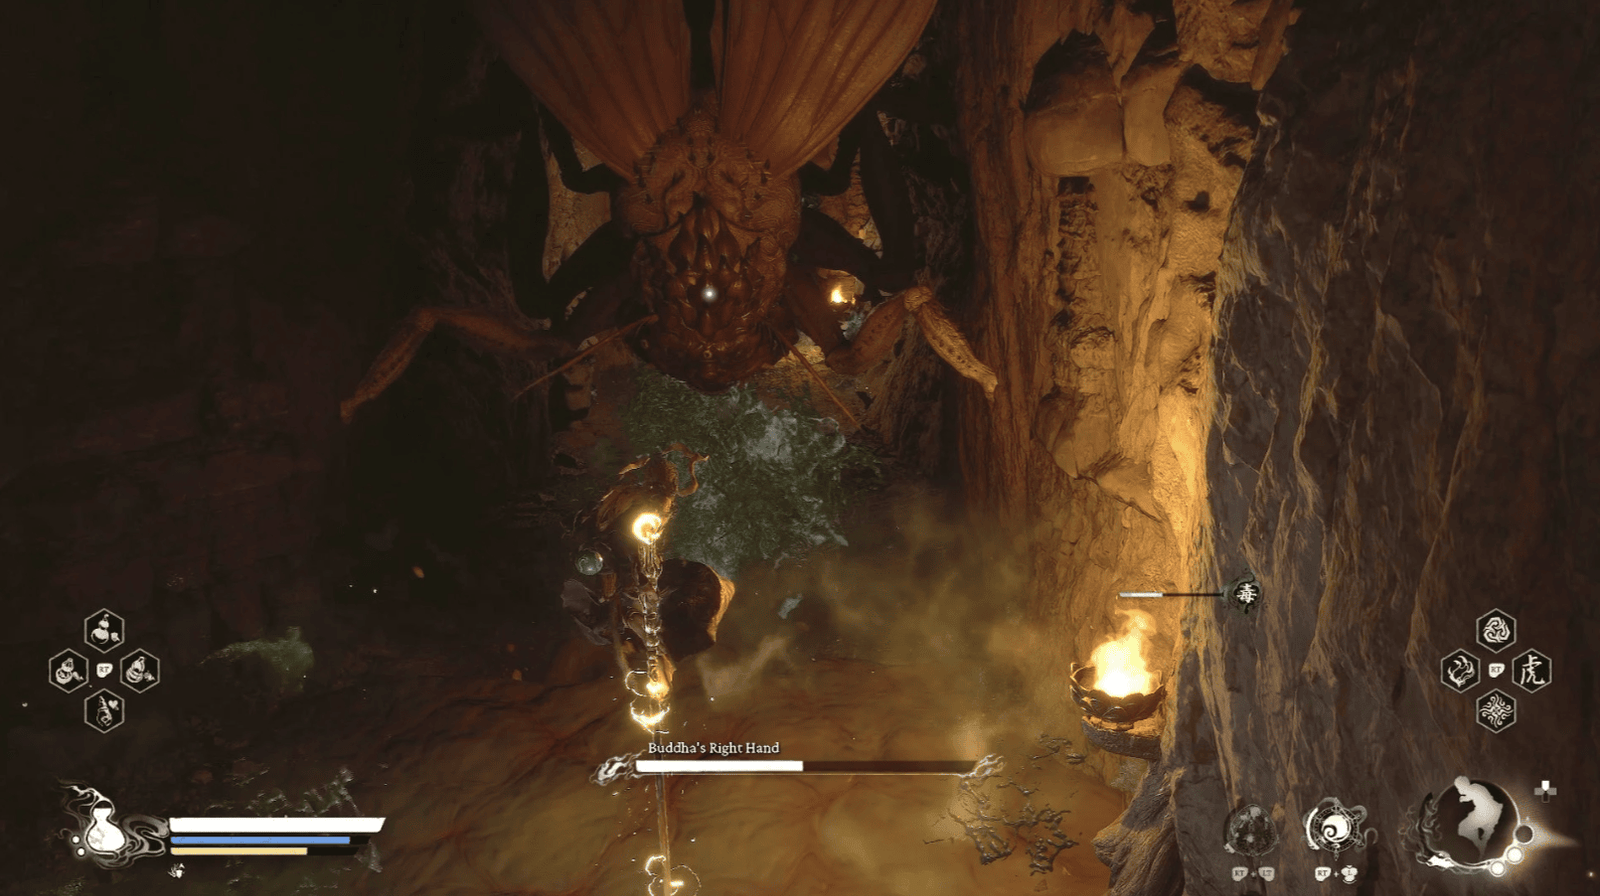
Dodge and approach him. When he Lunges, use Pillar Stance to avoid the Poison River he spits out. When his true form – a monster with a caterpillar body and a giant right arm – is revealed, focus on attacking his head and arm. Beware of his Stomps and Uppercuts.
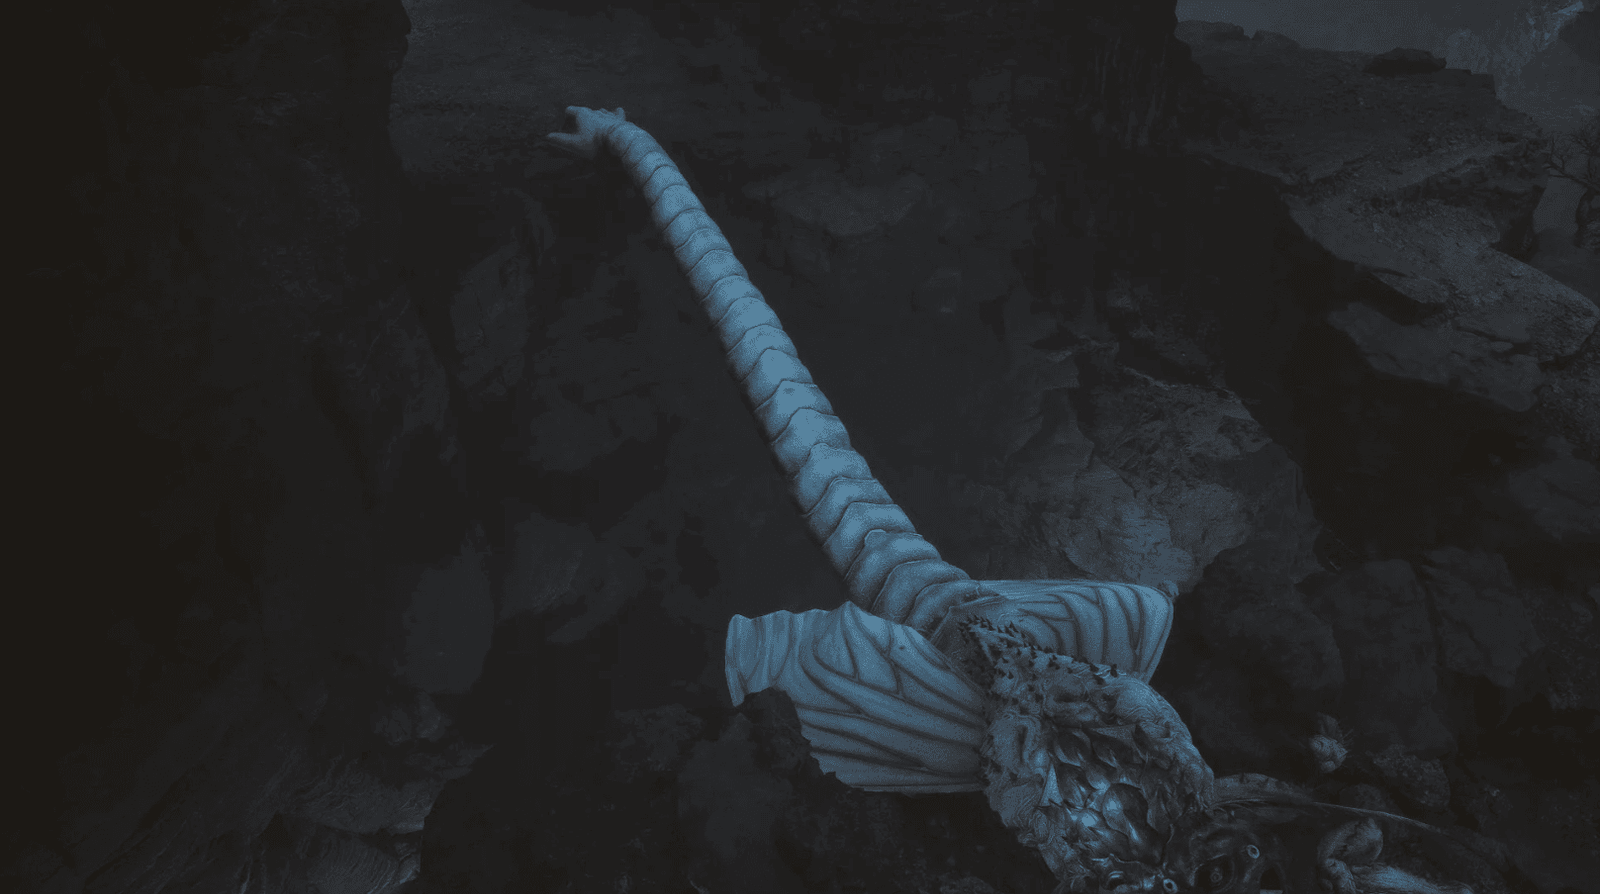
Defeating Buddha’s Right Hand, you will obtain Past-Echo, Buddha’s Right Hand, and the bridge leading to Lower Hollow will appear.
Now, the door to Lower Hollow has opened. Prepare yourselves, because even greater challenges await you ahead. The Demon Queen is very close, and the fate of Webbed Hollow rests in your hands.