
Destined Ones, this Spider Cave, shrouded in mist and brimming with demonic energy, now leads us astray to Purple Cloud Mountain, a mystical mountain veiled in purple clouds, concealing many secrets within the Webbed Hollow of Chapter 4. Having long heard its name, I, Old Sun, a seasoned veteran, humbly offer to guide you through this perilous place. This text is a handbook, a guide for you to conquer Purple Cloud Mountain, where demons run rampant and traps are plentiful.
How to Access Purple Cloud Mountain
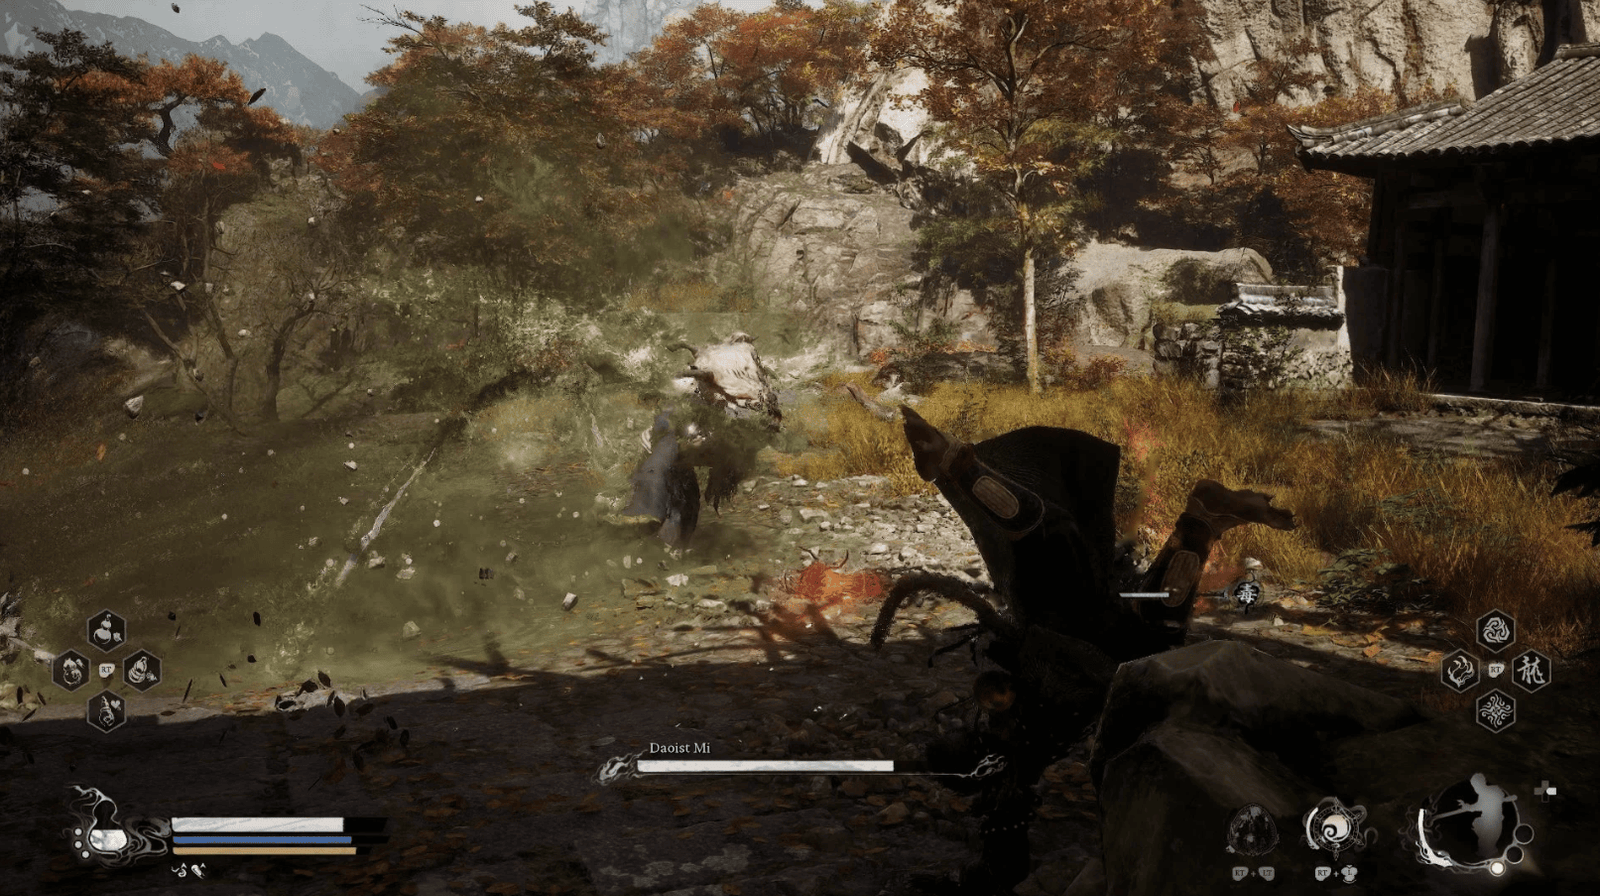
To reach Purple Cloud Mountain, you must first pass the trial of the Venom Daoist. This Daoist, with extraordinary agility, profound poison skills, appears and disappears in a flash, and is not easy to deal with.
Step 1: The First Battle – Upper Hollow
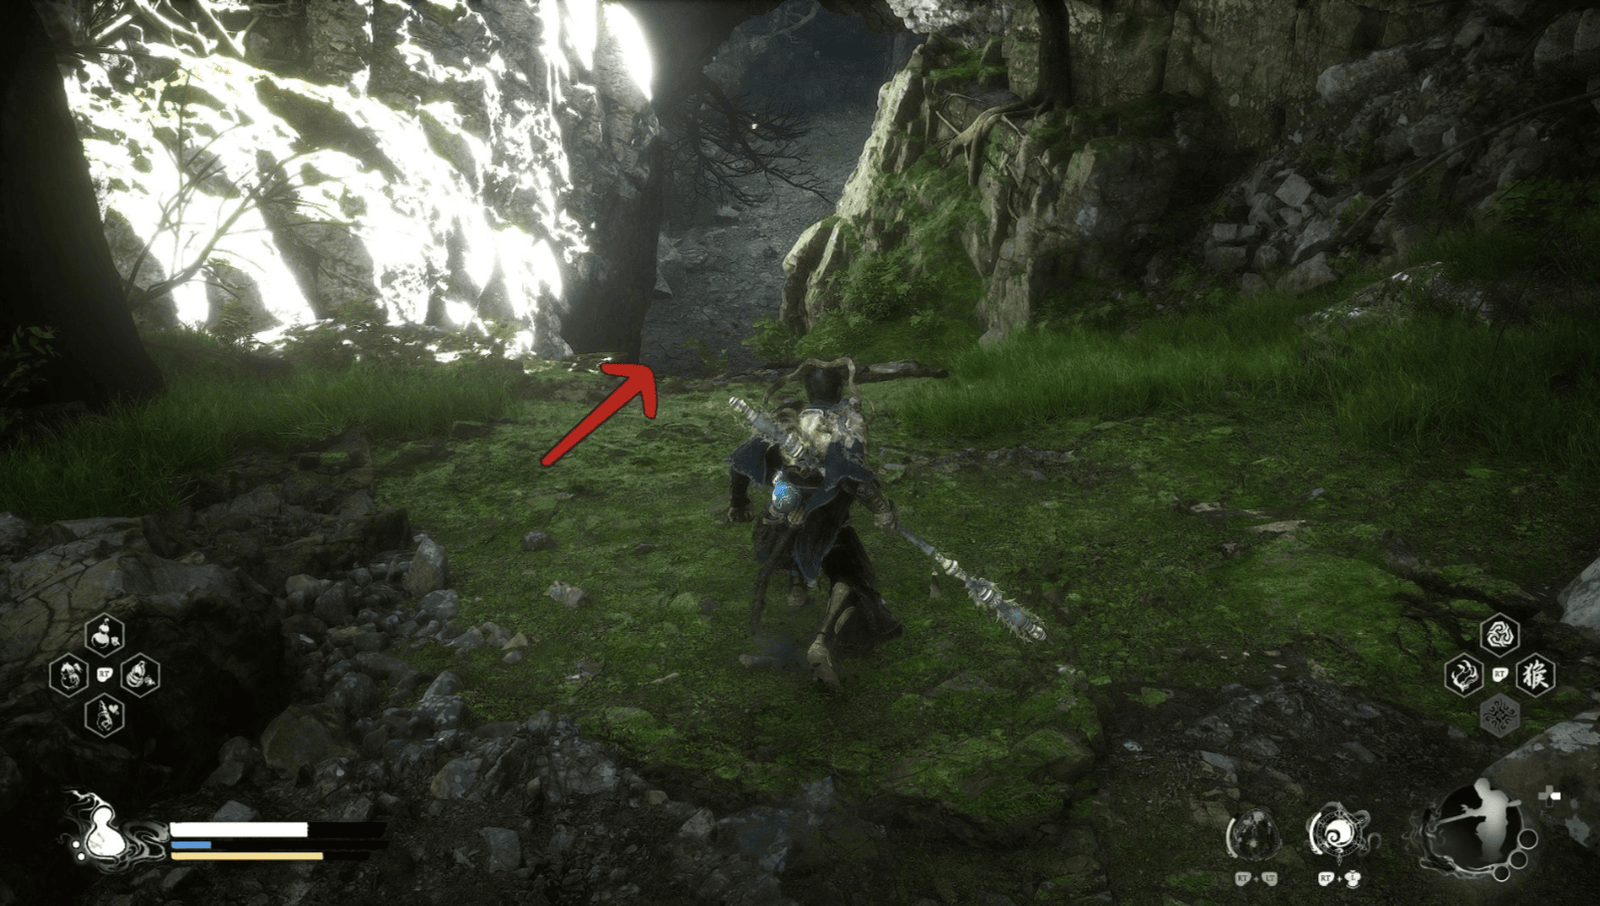
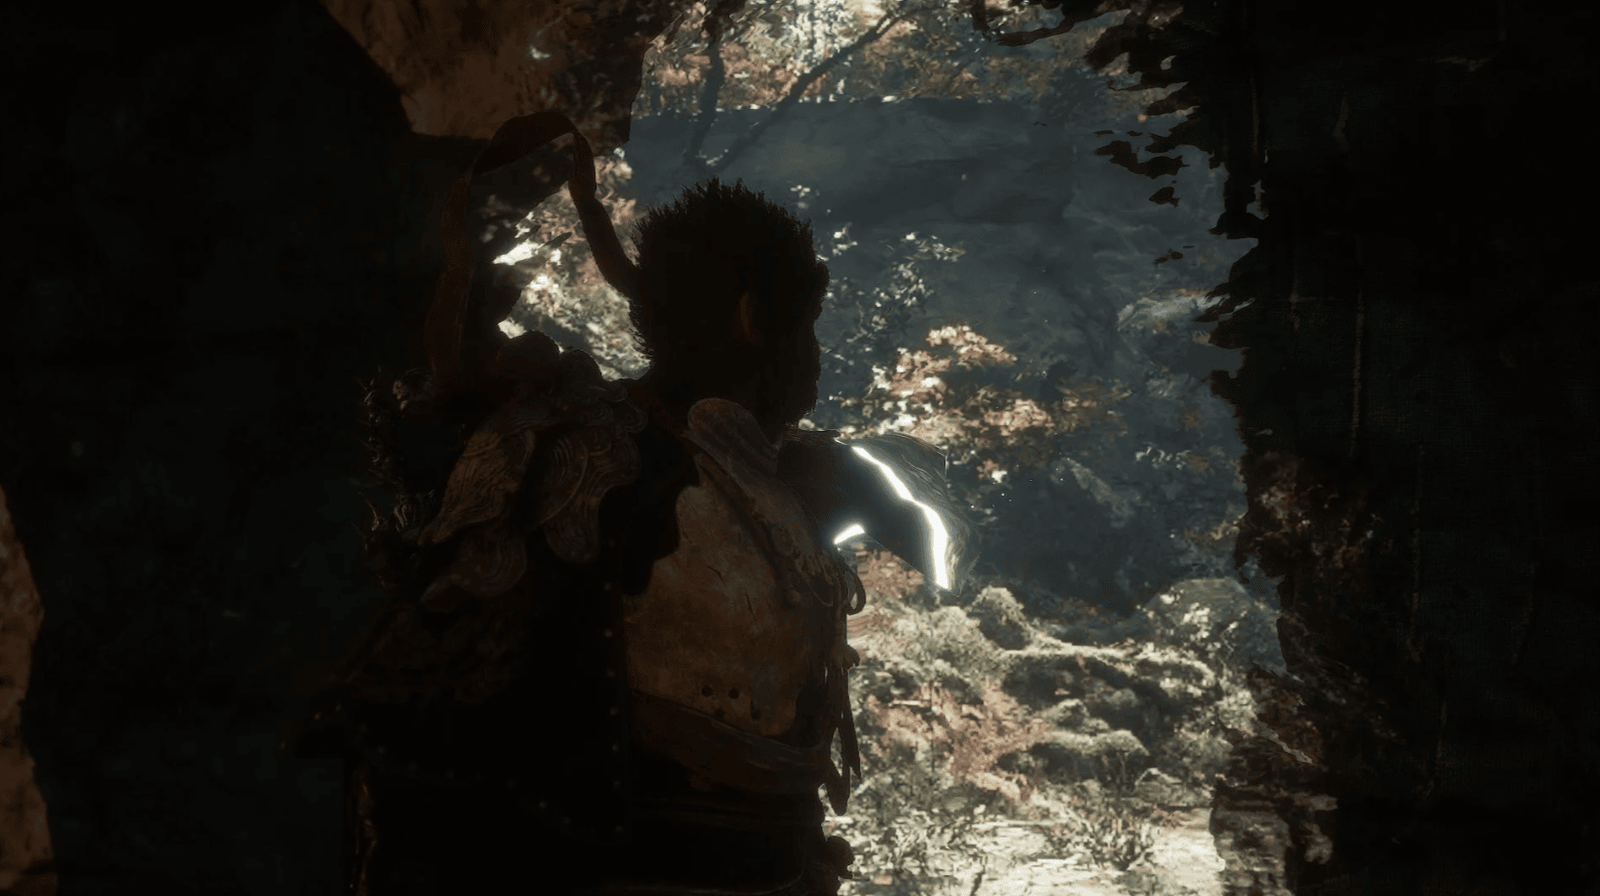
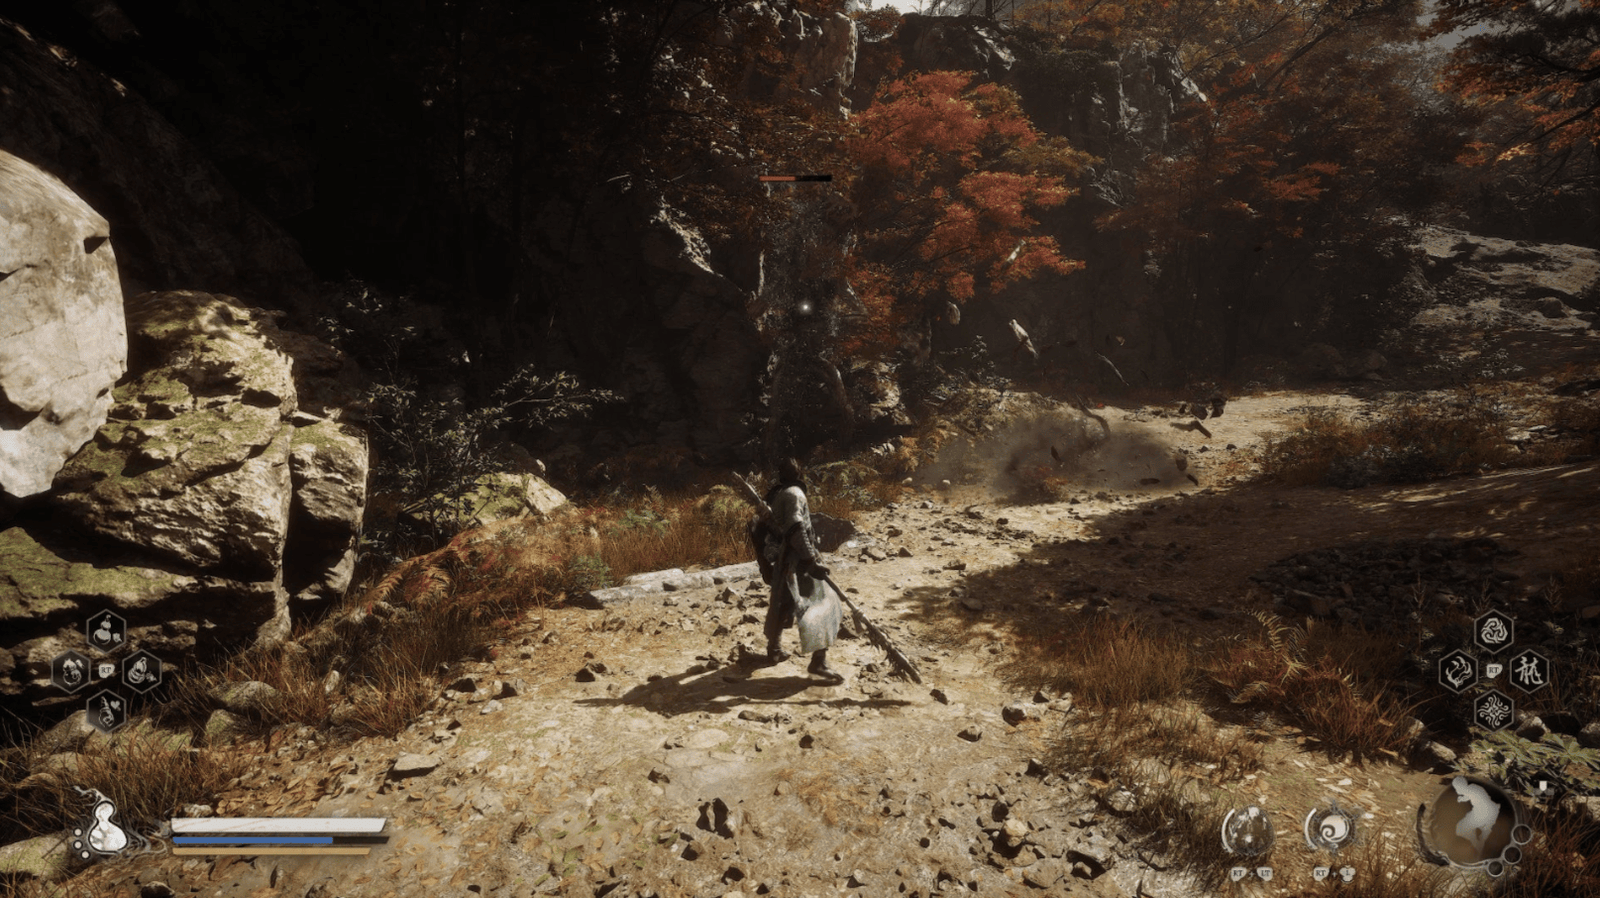
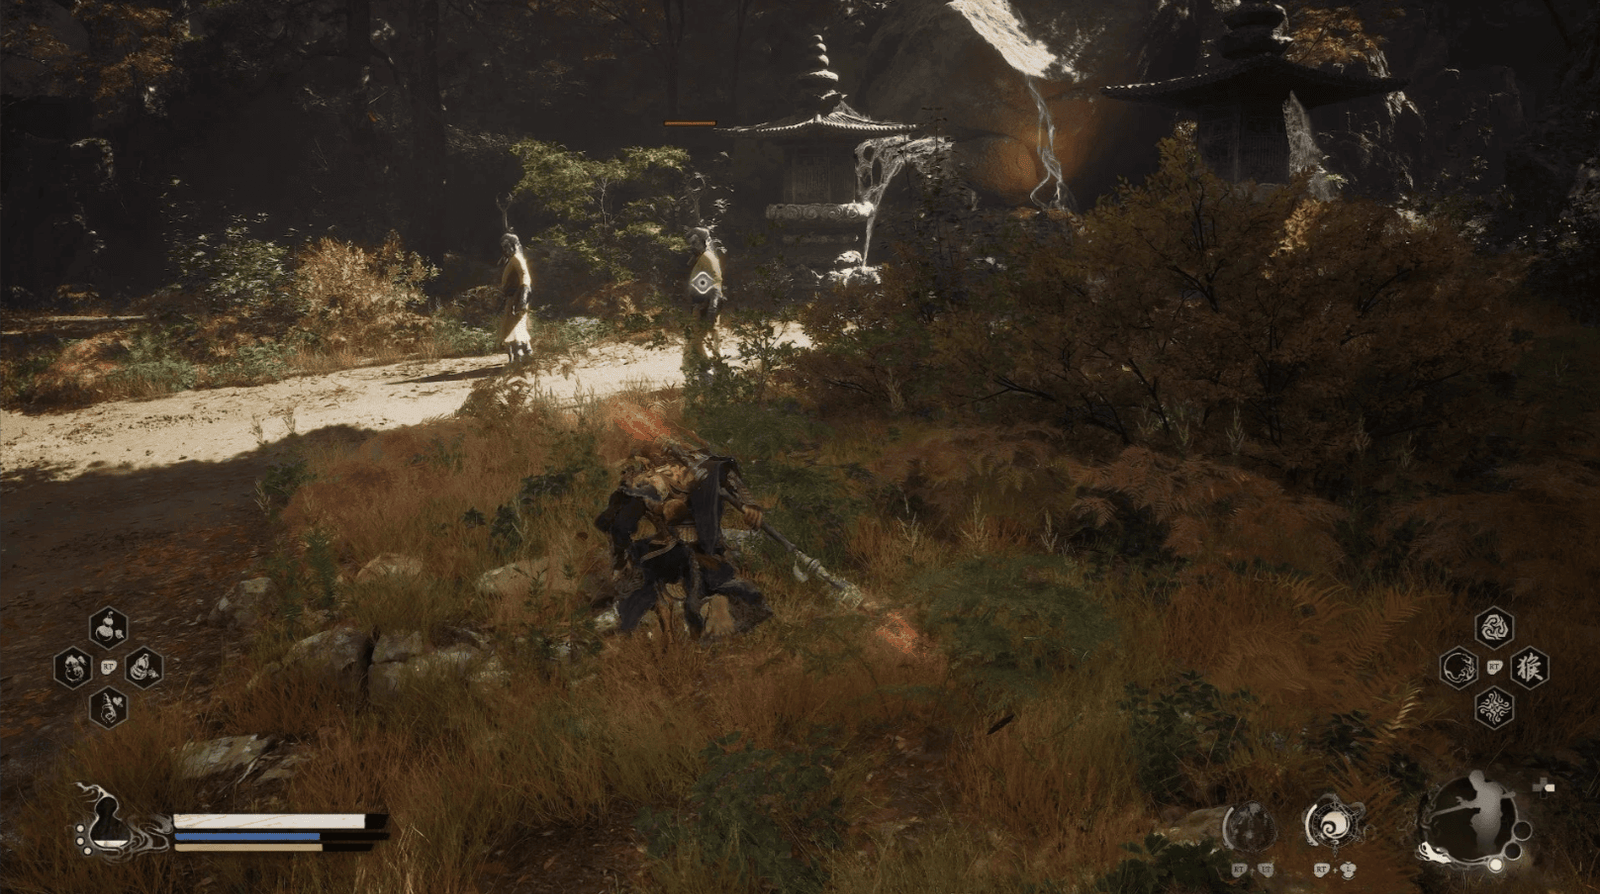
The first encounter with the Venom Daoist is at the Upper Hollow. From the starting point of Chapter 4, turn right, you will see a deep pit, like the abyss leading down to the Spider Cave of old. Jump down there, follow the dark tunnels, be careful with the giant spider cocoons hanging overhead, they are like the eyes of demons watching. Going through the cocoons, you will reach the Pools of Shattered Jade Shrine.
Right after the Shrine, in the dark room, the Venom Daoist will hide in a large cocoon. Break the cocoon, and the battle begins! Attack his back, where his demonic energy is concentrated, and destroy his hideous extra arms. Defeating him for the first time, the Venom Daoist will swear revenge and escape, like a poisonous spider retreating to its lair.
Step 2: The Second Battle – Temple of Yellow Flowers
The second encounter with the Venom Daoist is at the Temple of Yellow Flowers. Passing through the Webbed Hollow, you will reach this temple. Go straight through the temple, to the fork with an ancient tree and a large rock – this place has a heavy atmosphere, like the Spider Cave of old.
Turn right, follow the winding mountain path. At the top of the stairs, look to the left, you will see a slope leading down to the arena.
Here, the Venom Daoist will ambush you. He is stronger, but still no match for Old Sun. Destroy his two extra arms to quickly move to the second phase. In this phase, he is more frantic, his poison techniques are more sinister, but if you are careful to dodge, you will win.
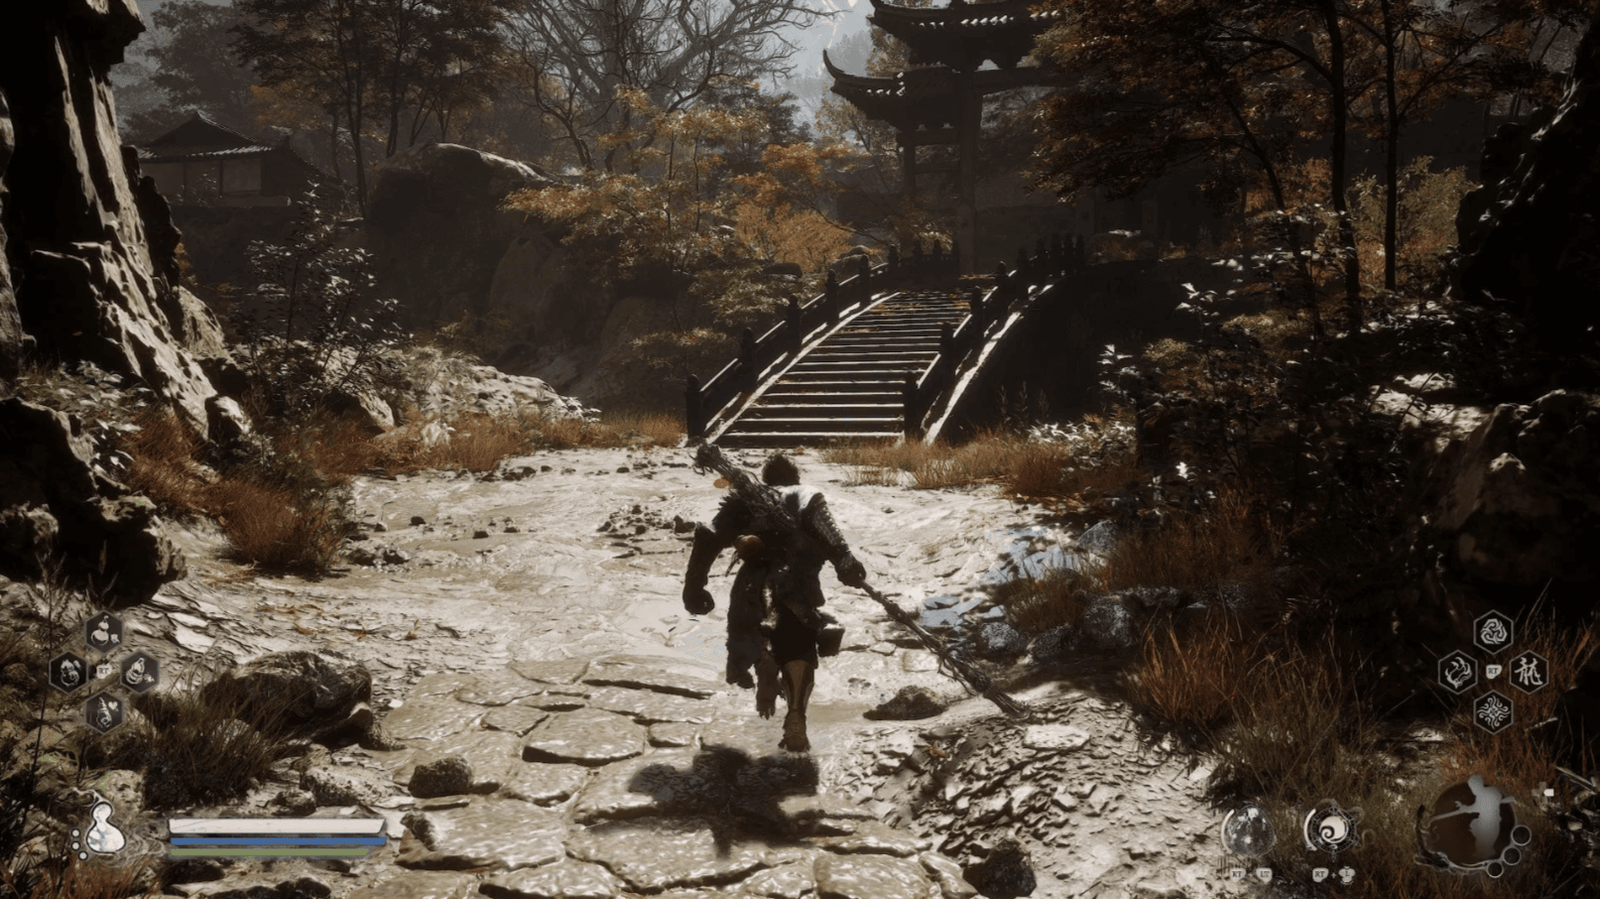
Defeating the Venom Daoist, a mysterious painting will appear on the stone wall, opening the gate to Purple Cloud Mountain – a mountain range shrouded in purple clouds, where demonic energy surges, awaiting your exploration.
Purple Cloud Mountain (Area Introduction)
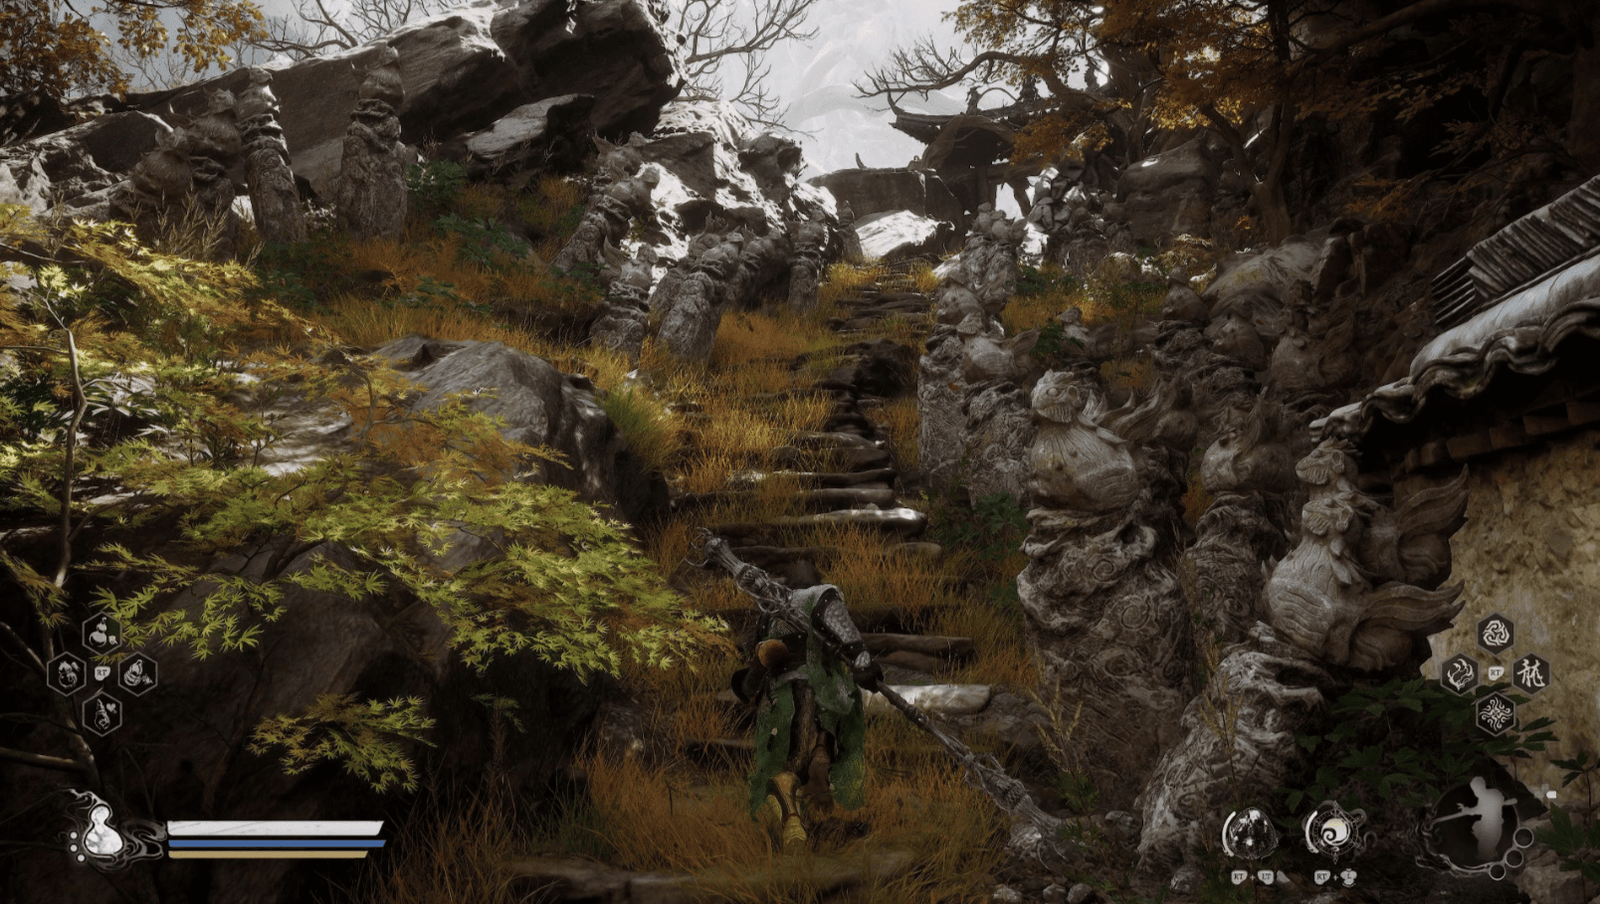
Stepping through the gate, Purple Cloud Mountain appears before you, majestic yet gloomy, unlike ordinary mountains. Here the demonic energy is thick, the fog covers the paths, like a miniature Spider Cave, extremely dangerous. Unlike previous secret areas, Purple Cloud Mountain is vast, containing not just one, but three Yaoguai Kings. Be careful, two of them can be missed if you are too hasty!
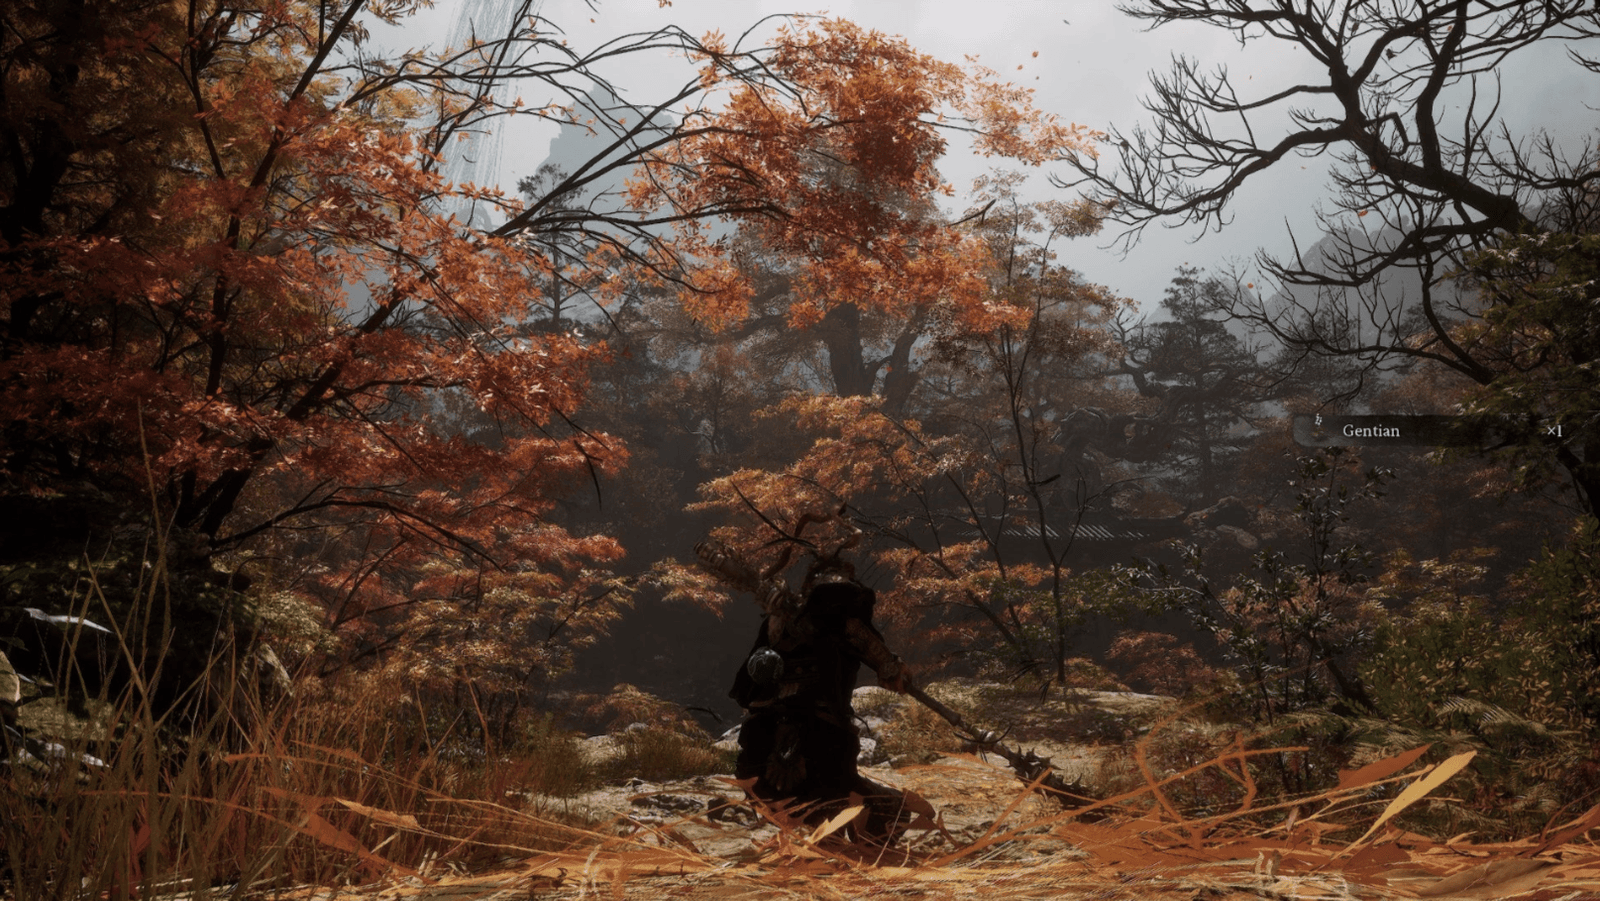
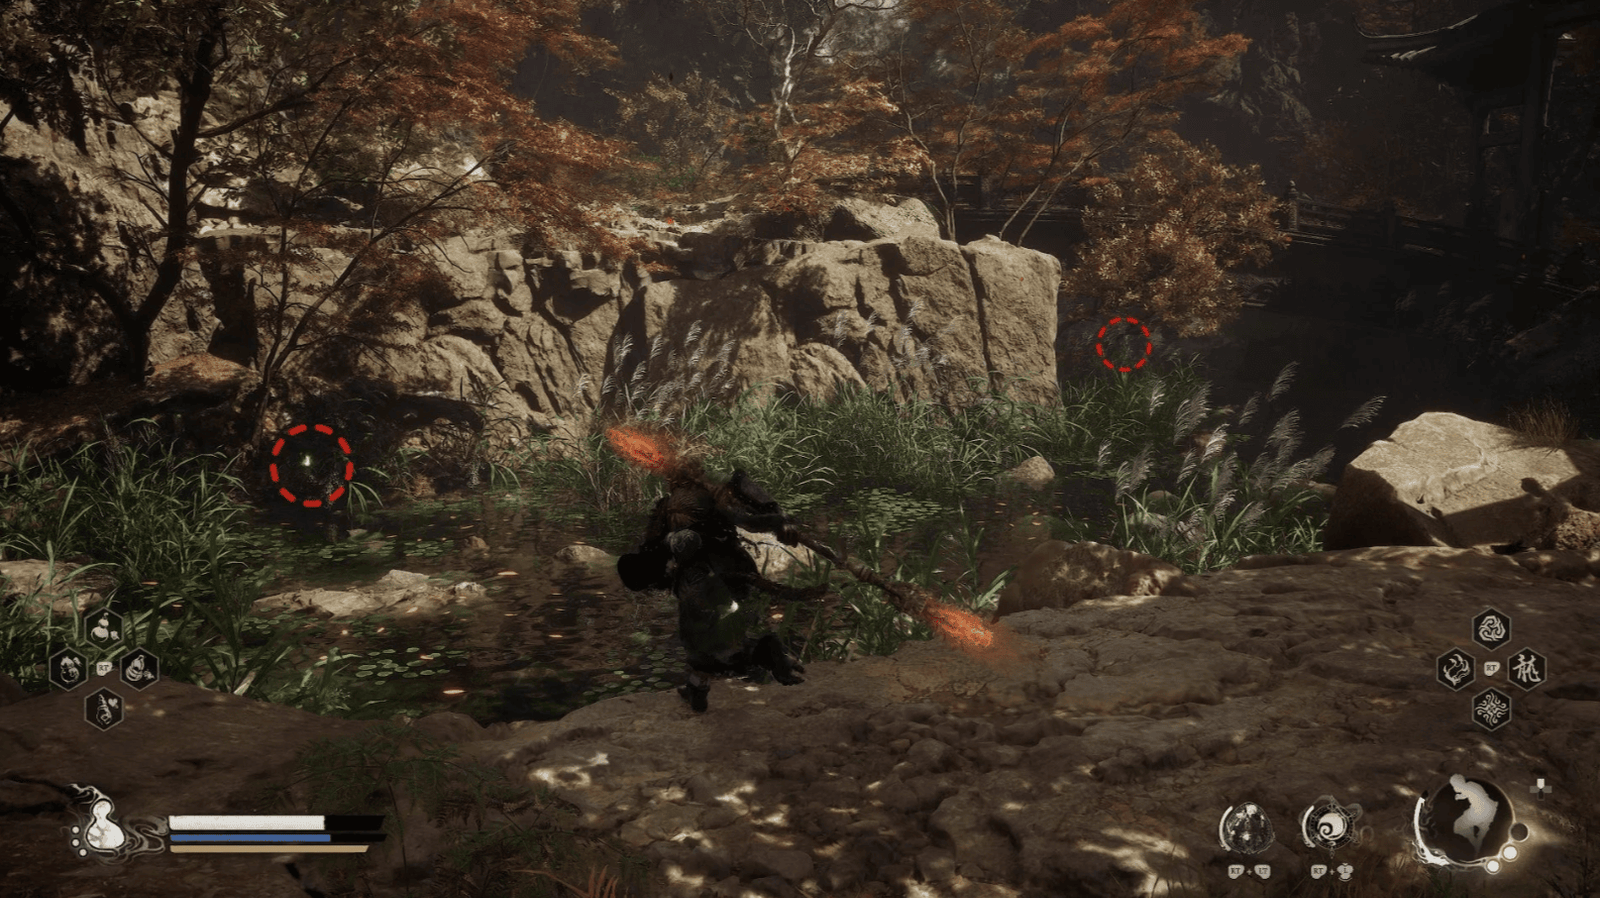
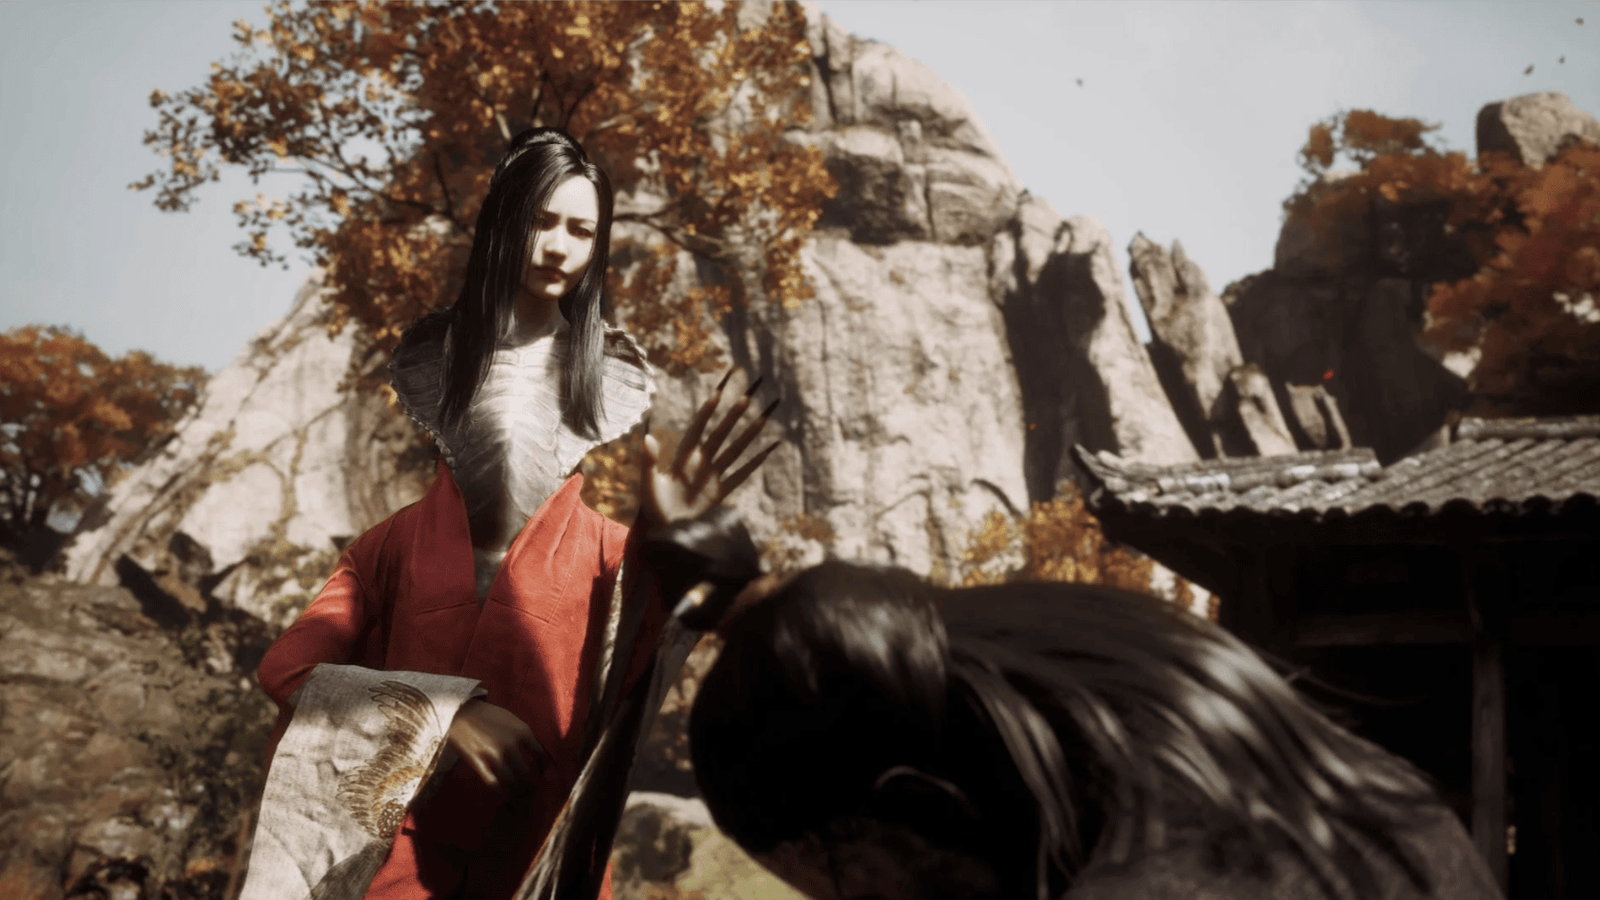
Follow the mountain path in front of you, picking up rare materials along the way. Soon, you will hear mournful cries. It is Hong Yi, a snake spirit in the form of a beautiful woman, lamenting her tragic fate. Her husband was murdered by the Scorpion Lord, the village on the mountain was occupied, and she cannot even retrieve her deceased husband’s memento.
Hong Yi will warn you about the terrible venom of the scorpion demons. Take the 3 bottles of Antimiasma Powder from the nearby chest – they will be your lifesaver when facing the Scorpion Lord. She will also ask for your help, accept it, this is an important hidden quest, don’t miss it!
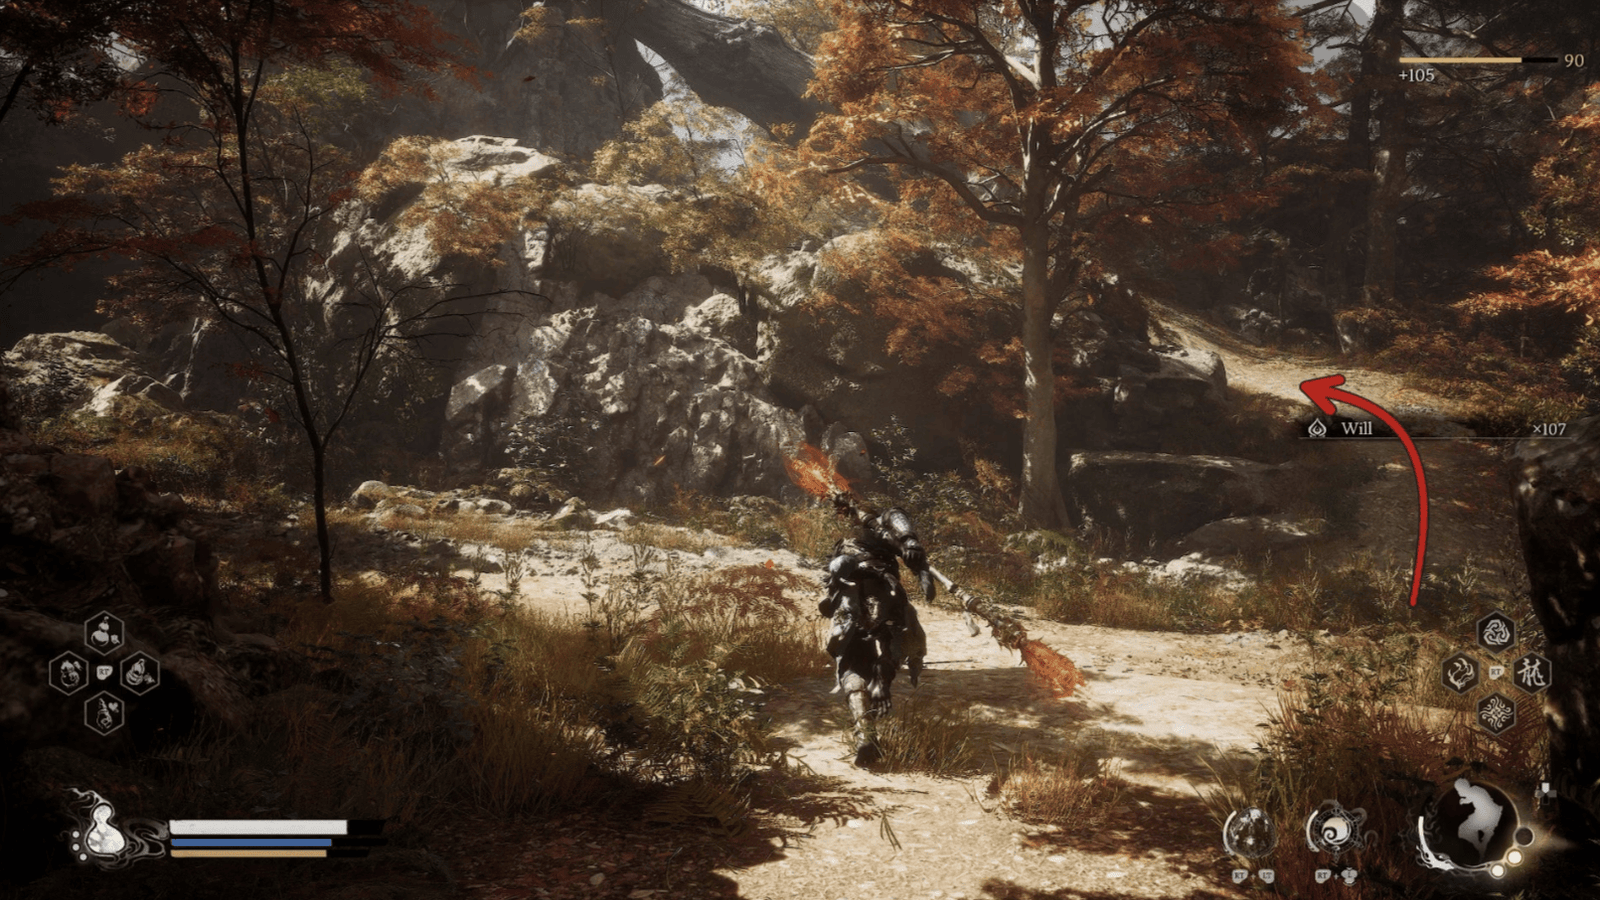
Cross the stone bridge, absorb the Green Wisp floating in the air, and enter the next area – the Valley of Blooms.
Valley of Blooms
Entering the Valley of Blooms, the scenery seems more peaceful, but don’t be fooled, the demonic energy is still lurking, just waiting for an opportunity to attack.
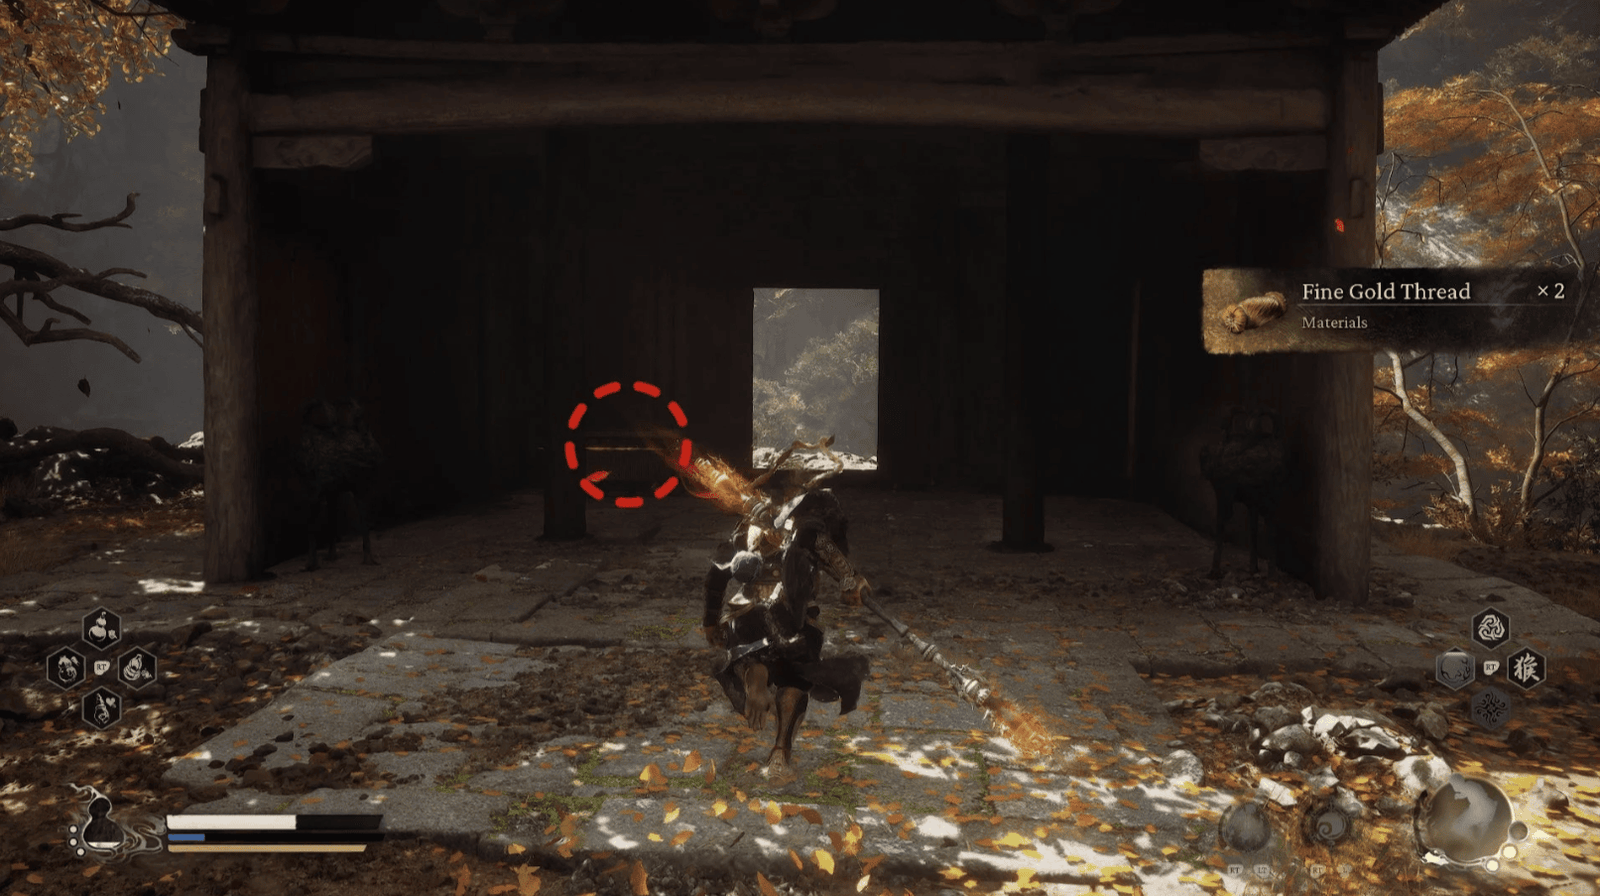
Following the path on the right, you will reach the Valley of Blooms Shrine. Here, unlike the dark Spider Cave, there is a special shop. Buy the necessary items, especially Tiger Subduing Pellets (increase strength), Antimiasma Powder (antidote), Cold Iron Leaves (material), Fine Gold Thread (material), Refined Iron Sand (material), and Gold Tree Core (material) – they will be very useful in the arduous journey ahead.
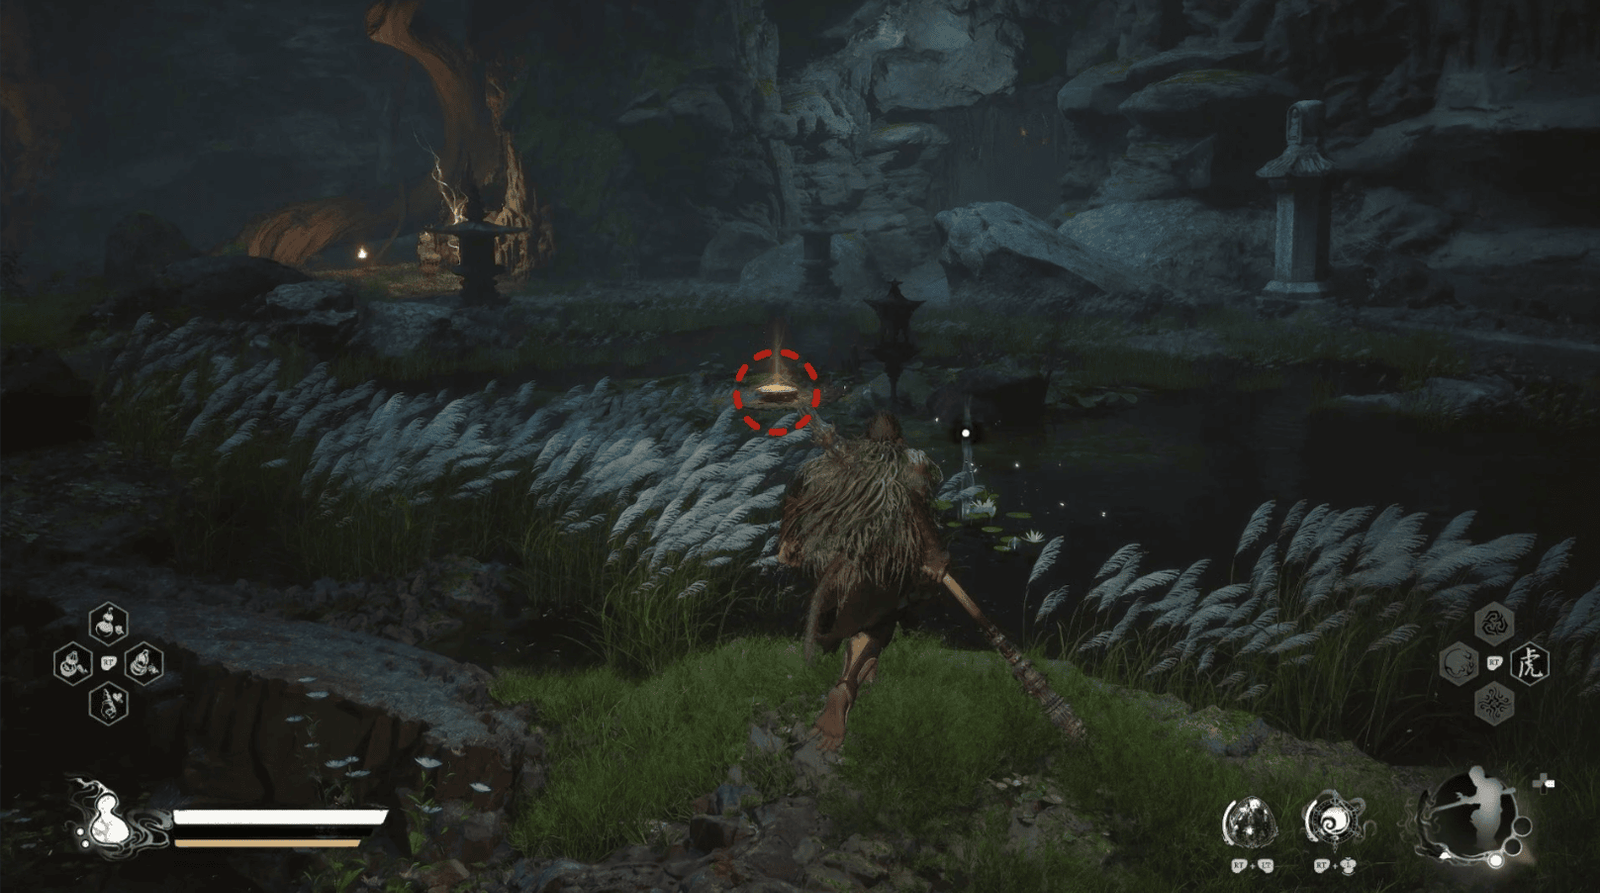
At the foot of the bridge near the Shrine, there is a small pond. Jump down, pick up the Green Wisp under the bridge and on the right. Don’t forget to collect the materials underwater, especially the Jade Lotus.
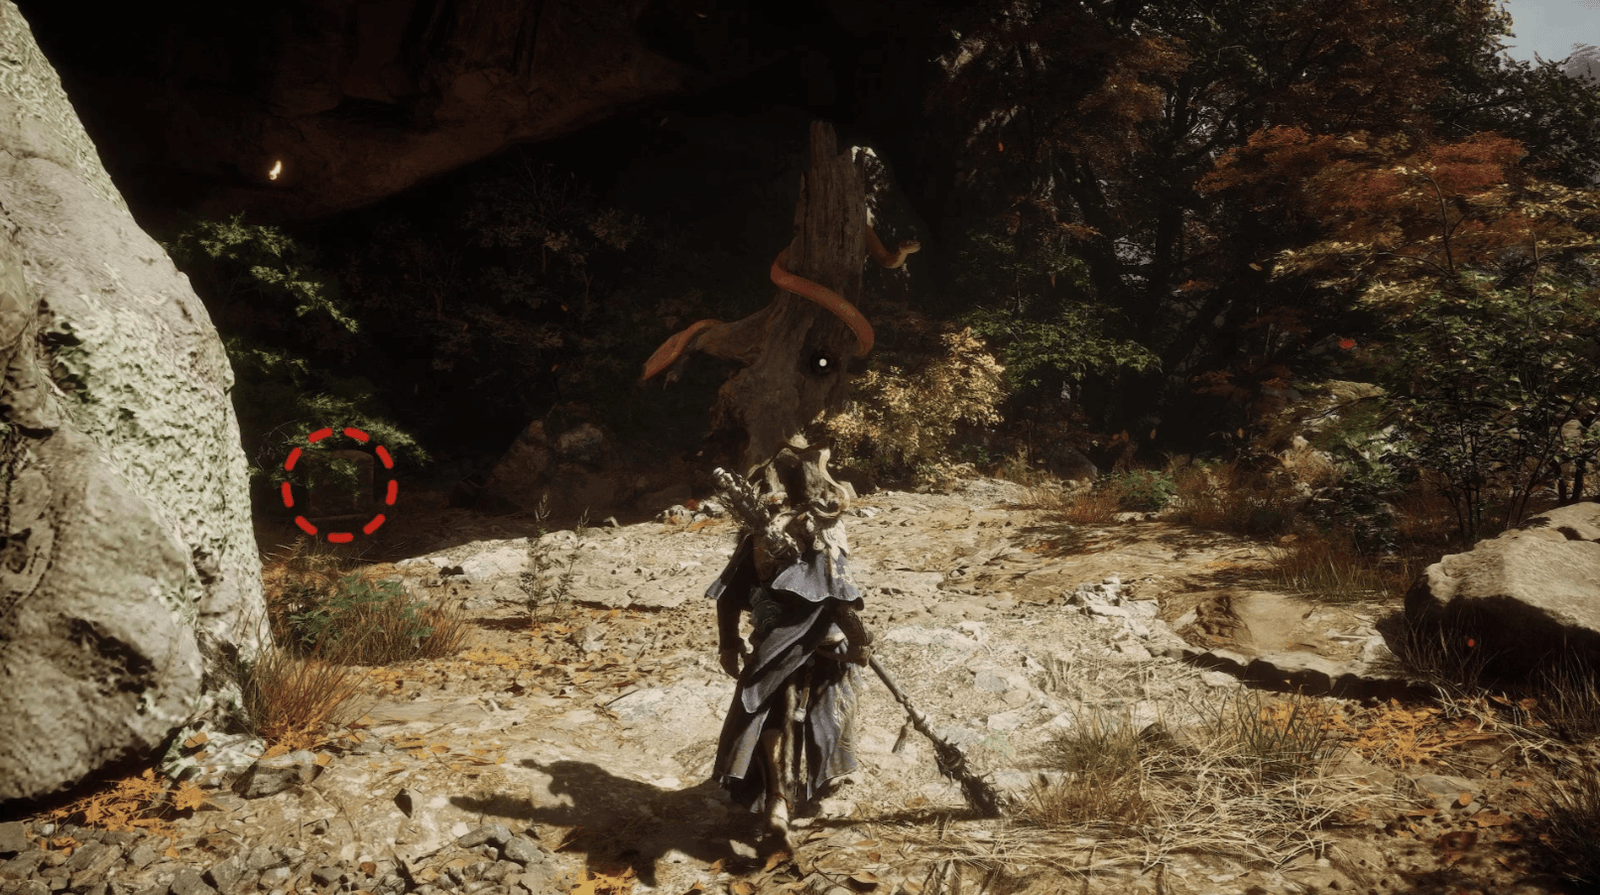
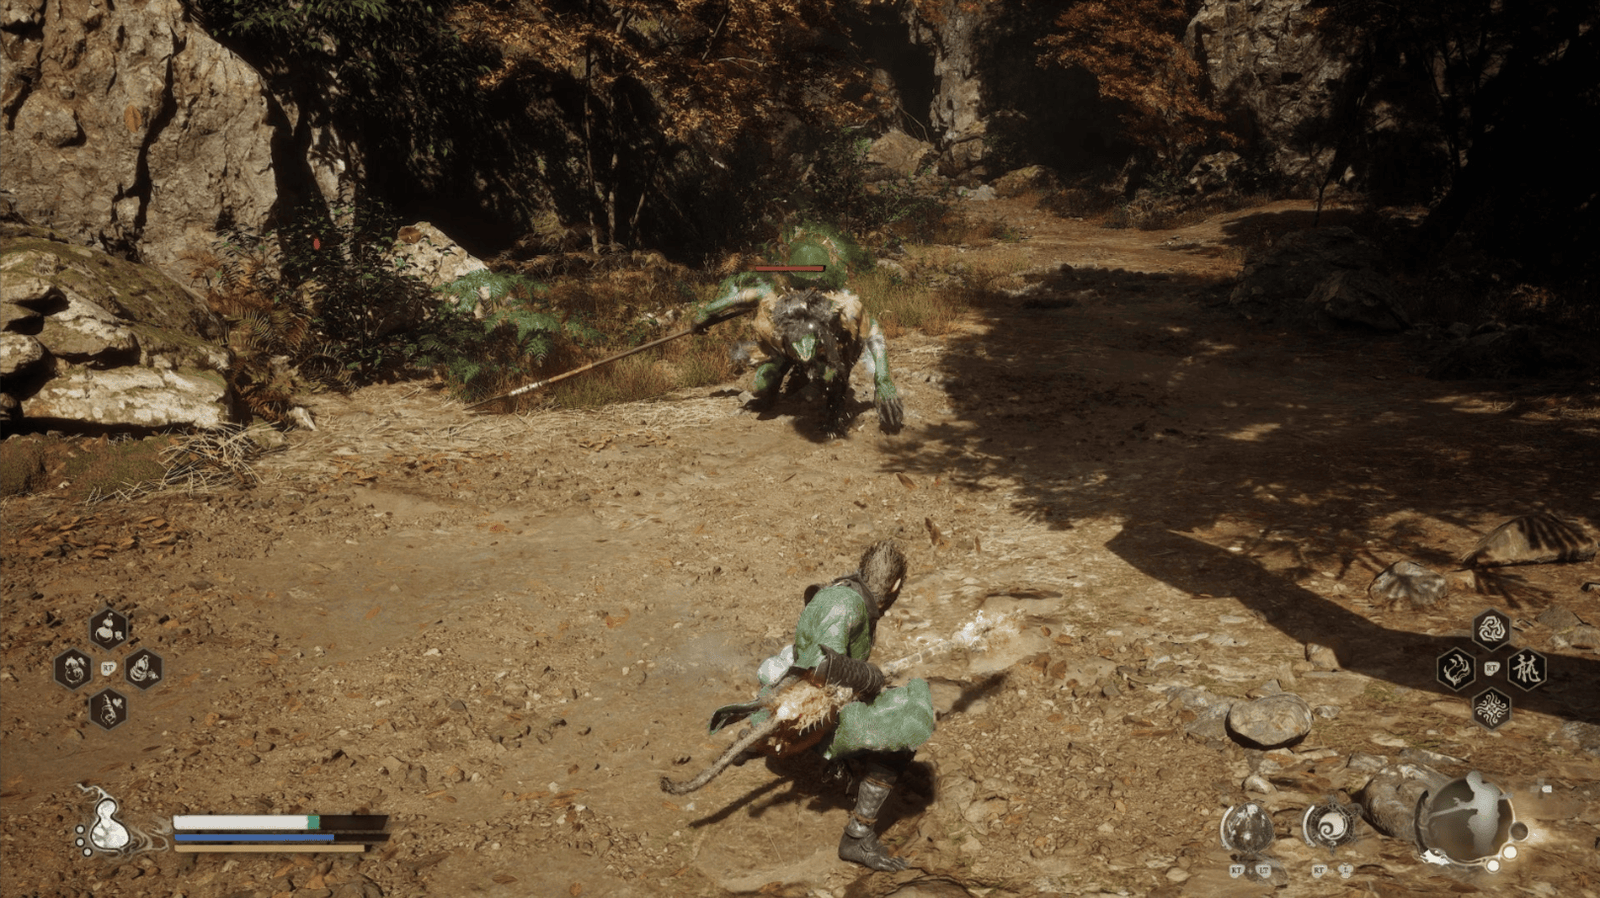
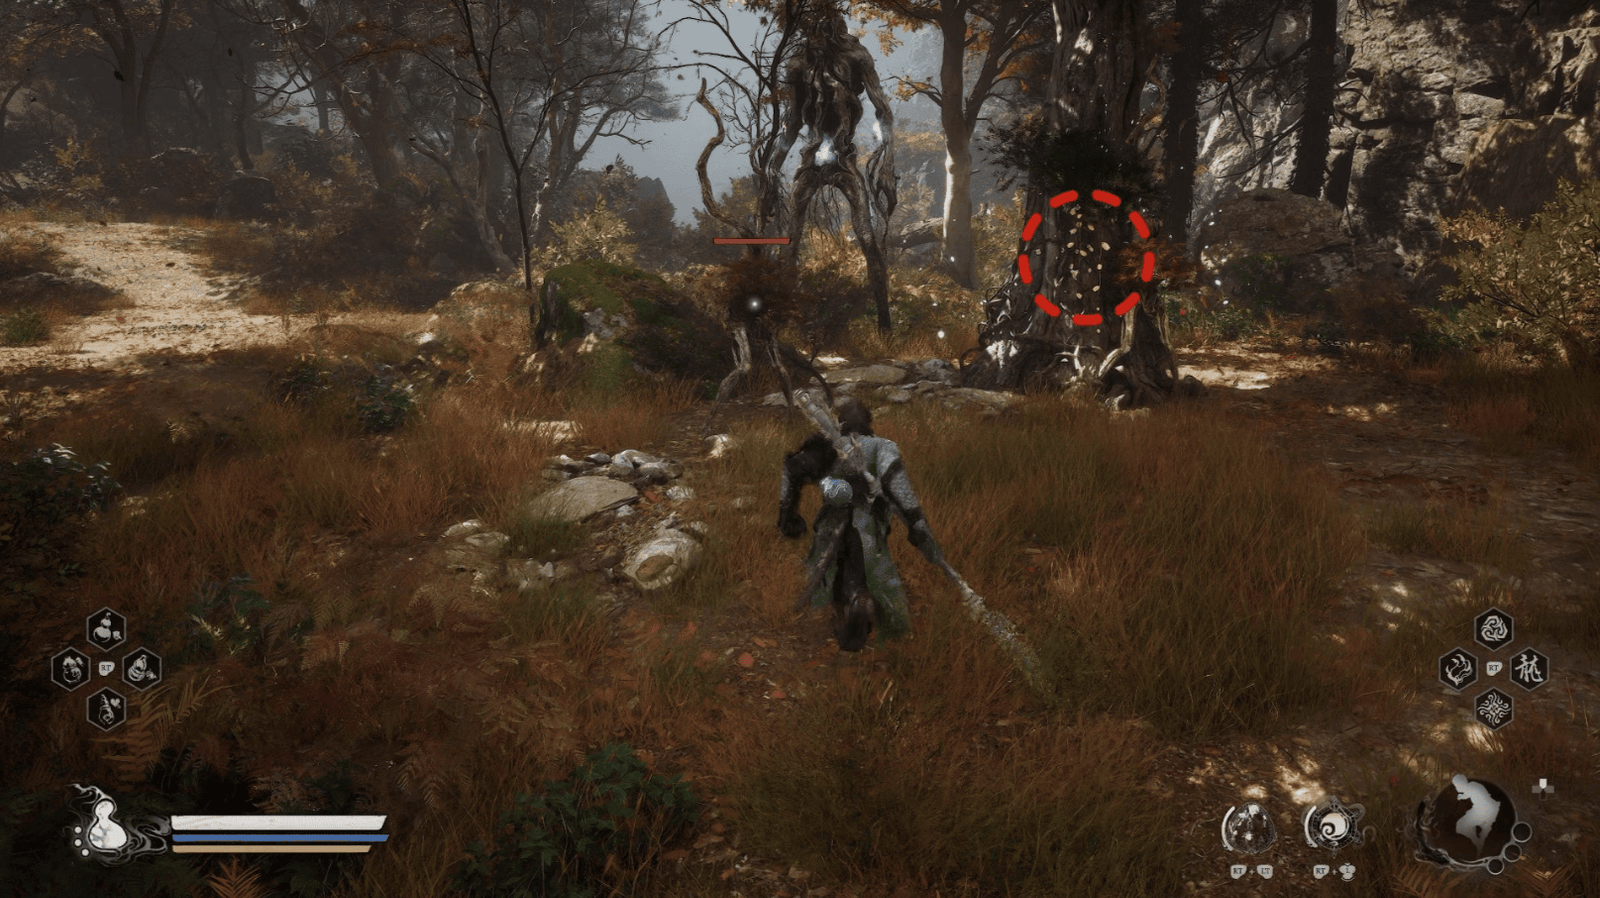
Going over the bridge, turn left, you will see a Tree Pearl. Be careful, a Lushleaf will suddenly attack. He moves slowly, but his attacks are very strong, dodge and counterattack. Lushleaf can also summon two small tree monsters, destroy them first. Pay attention to his hand movements, that is the sign he is about to use a skill. Defeating Lushleaf, go on, you will see a Dragonfly Guai hiding in the wall niche on the left, defeat him. Going through the archway, a Snake Herbalist is guarding.
Instead of directly confronting the Snake Herbalist, find the secret path to the right of the archway.
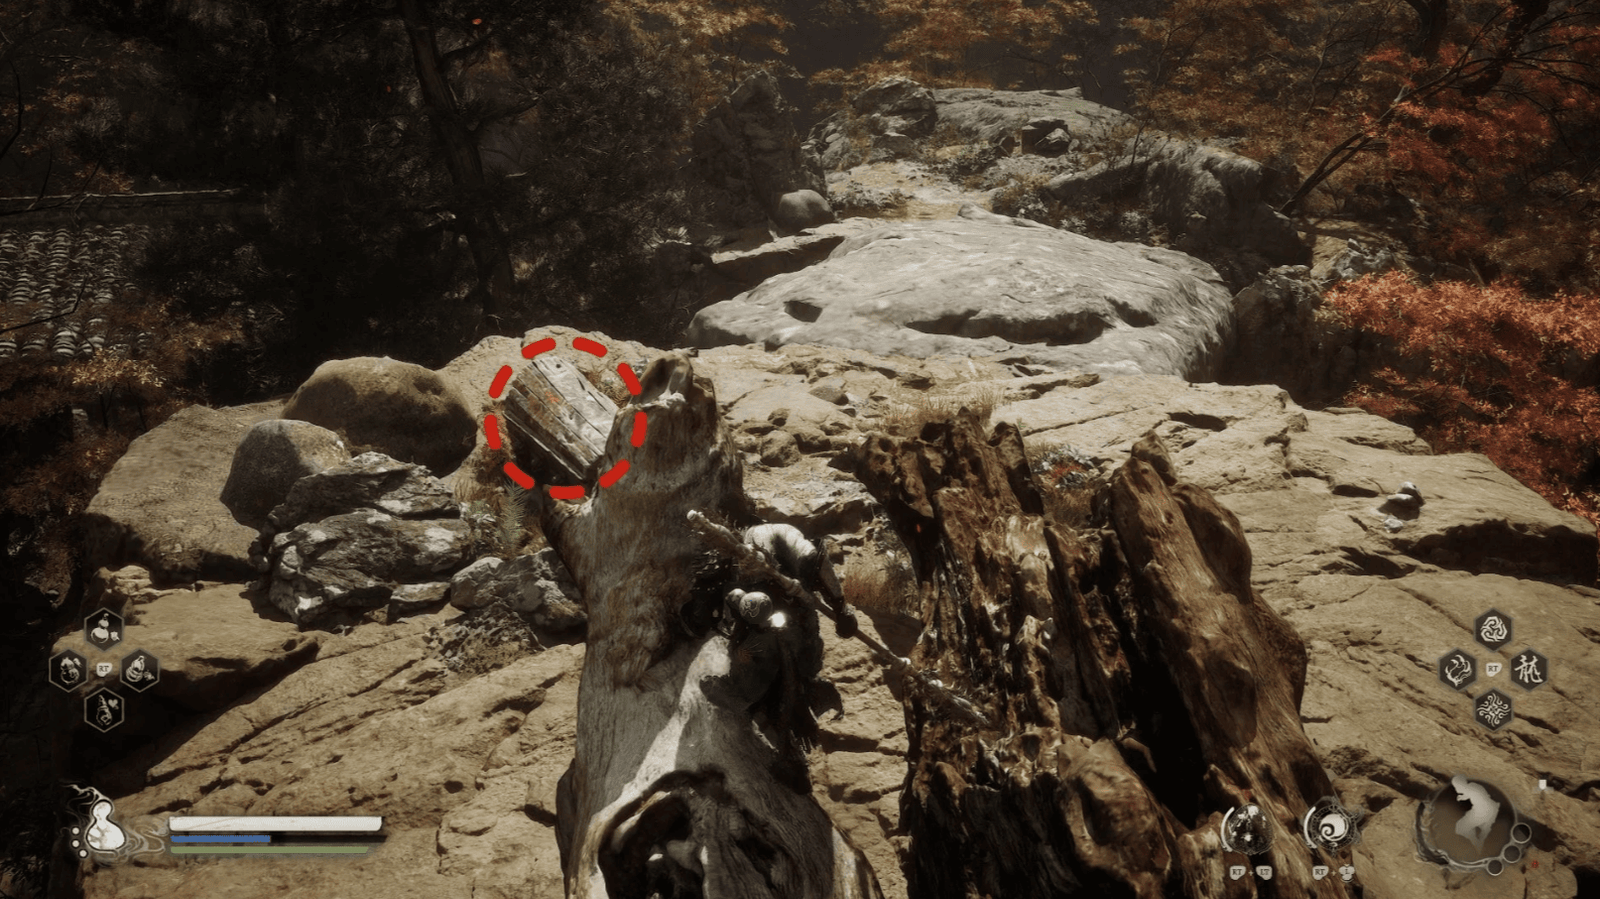
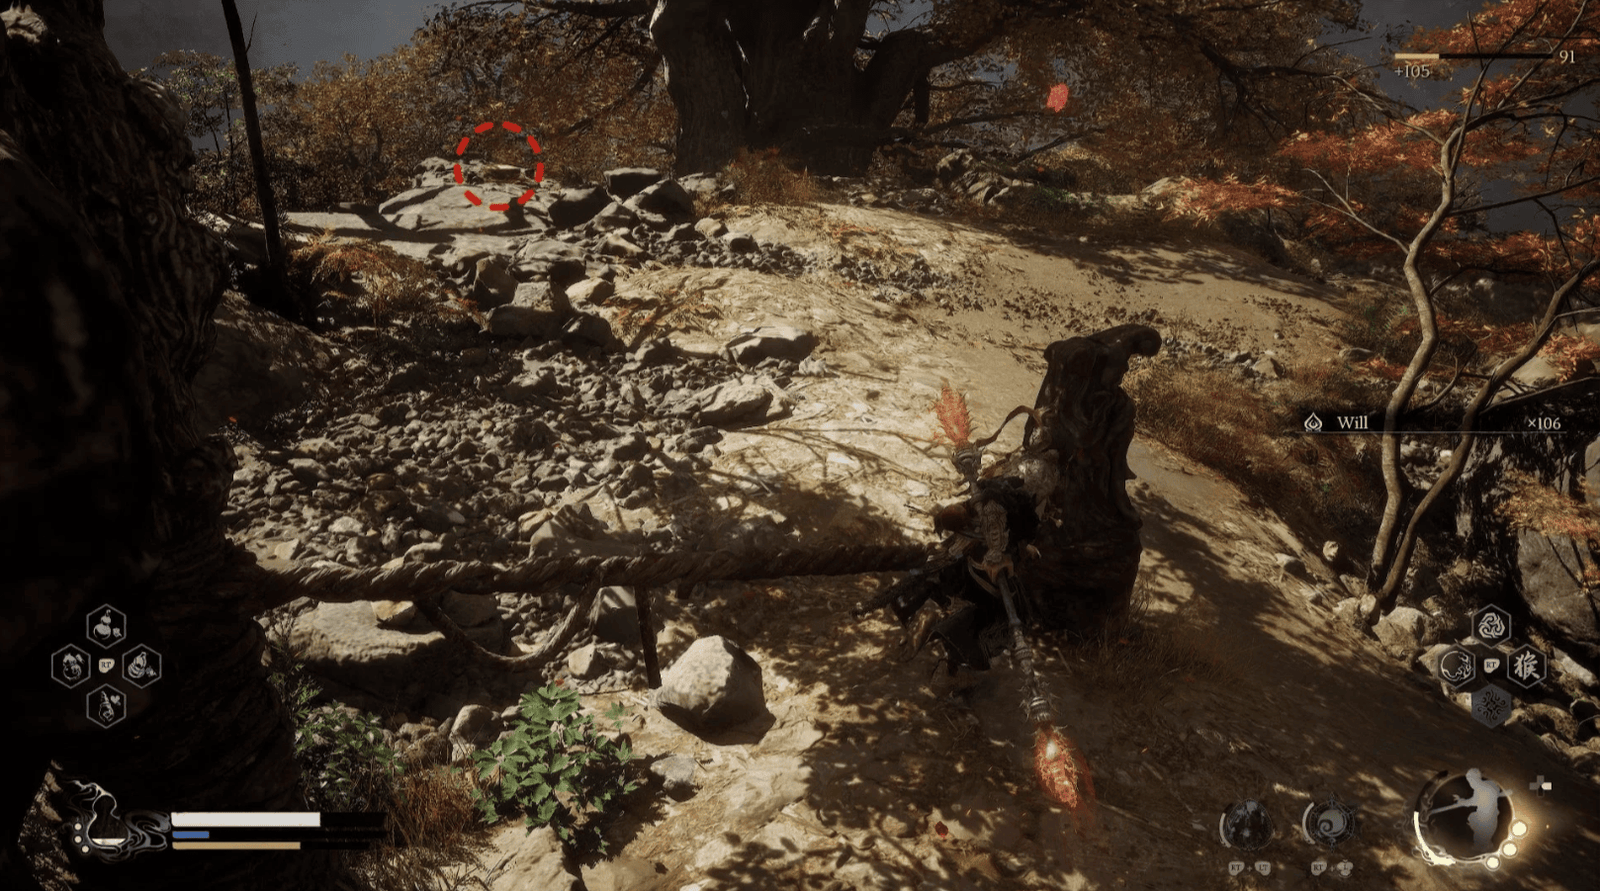
This path leads up, past another Dragonfly Guai, across a fallen tree trunk, you will reach the highest peak of this area. Here, open the wooden chest to receive the Gold Sun Crow Curio, combined with the Jade Moon Rabbit Curio will significantly increase your power.
From the peak, you can jump down, ambush the archer, and defeat the Snake Herbalist to receive his Spirit.
Leaving the Shrine, proceed forward, you will see another Lushleaf near the Tree Pearl.
After defeating him, go straight to reach the Bounds of Deity’s Abode Shrine. However, don’t rush, turn right near the initial pond. Here, you will face a stronger Lushleaf, be careful. Use Immobilize then use strong attacks and Spirit Attack, and remember to destroy the small tree monsters he summons, you will win. Defeating him, you will receive the Verdant Glow Spirit – which allows you to heal instead of attacking. Don’t forget to pick up the Luojia Fragrant Vine wrapped around the nearby tree.
Bounds of Deity’s Abode
From the Shrine in the Valley of Blooms, going through the small archway guarded by the Snake Herbalist will lead you to the Bounds of Deity’s Abode Shrine.
This place is gloomy, quiet, with chaotic spiritual energy, like a place of cultivation for demons in the Spider Cave.
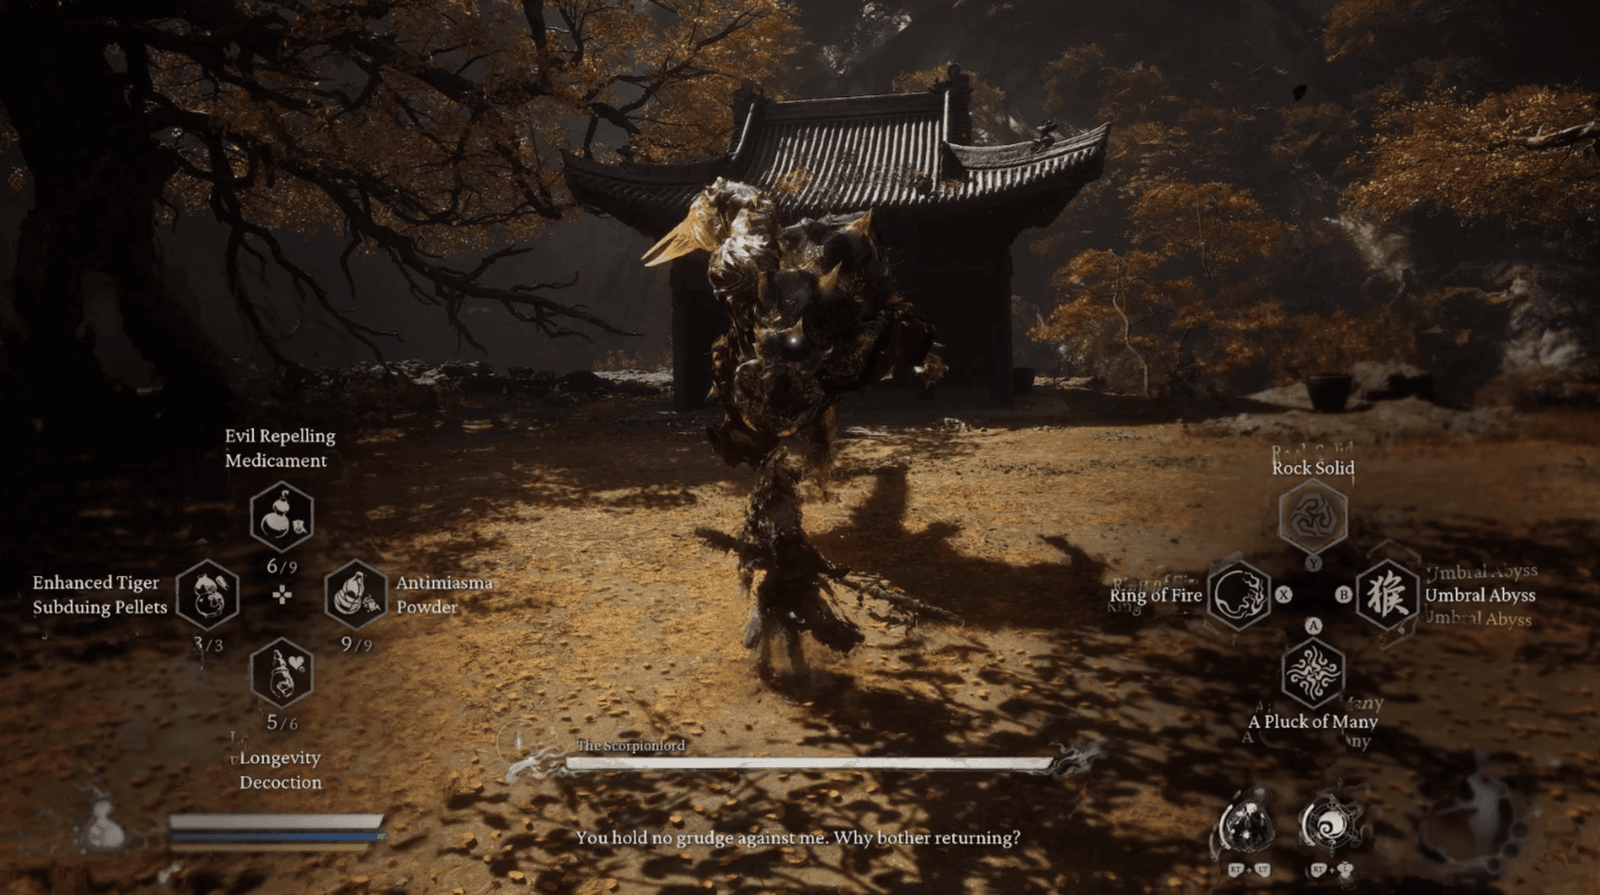
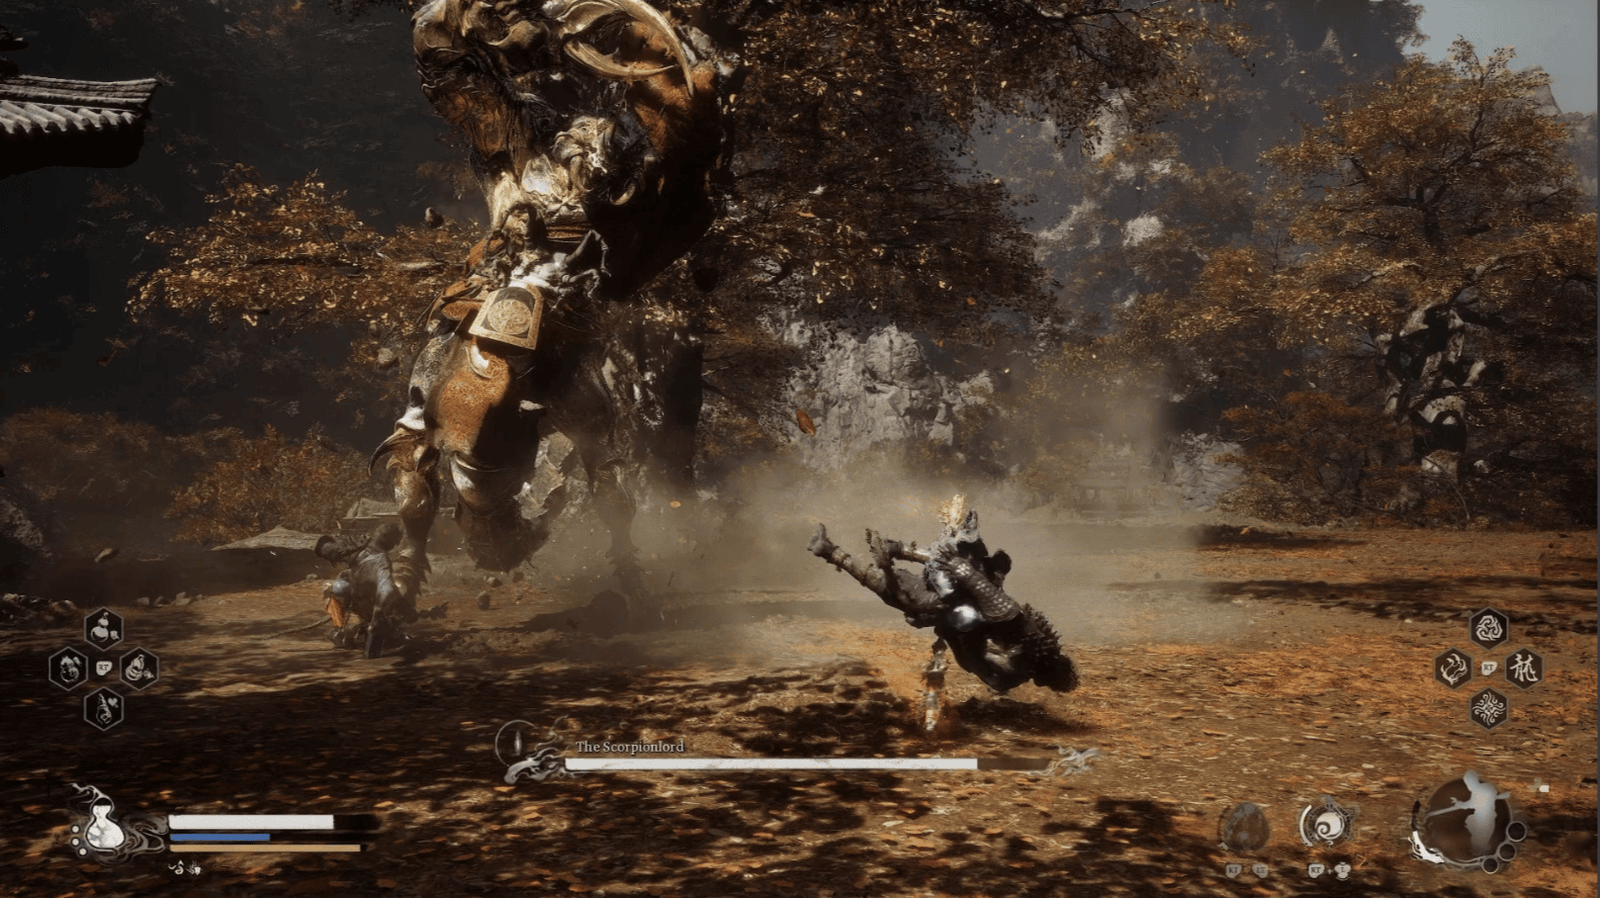
Yaoguai King – The Scorpion Lord is right above, he is one of the strongest enemies you have ever faced. Don’t be careless, prepare yourself for a life-or-death battle!
The Scorpion Lord Boss Fight
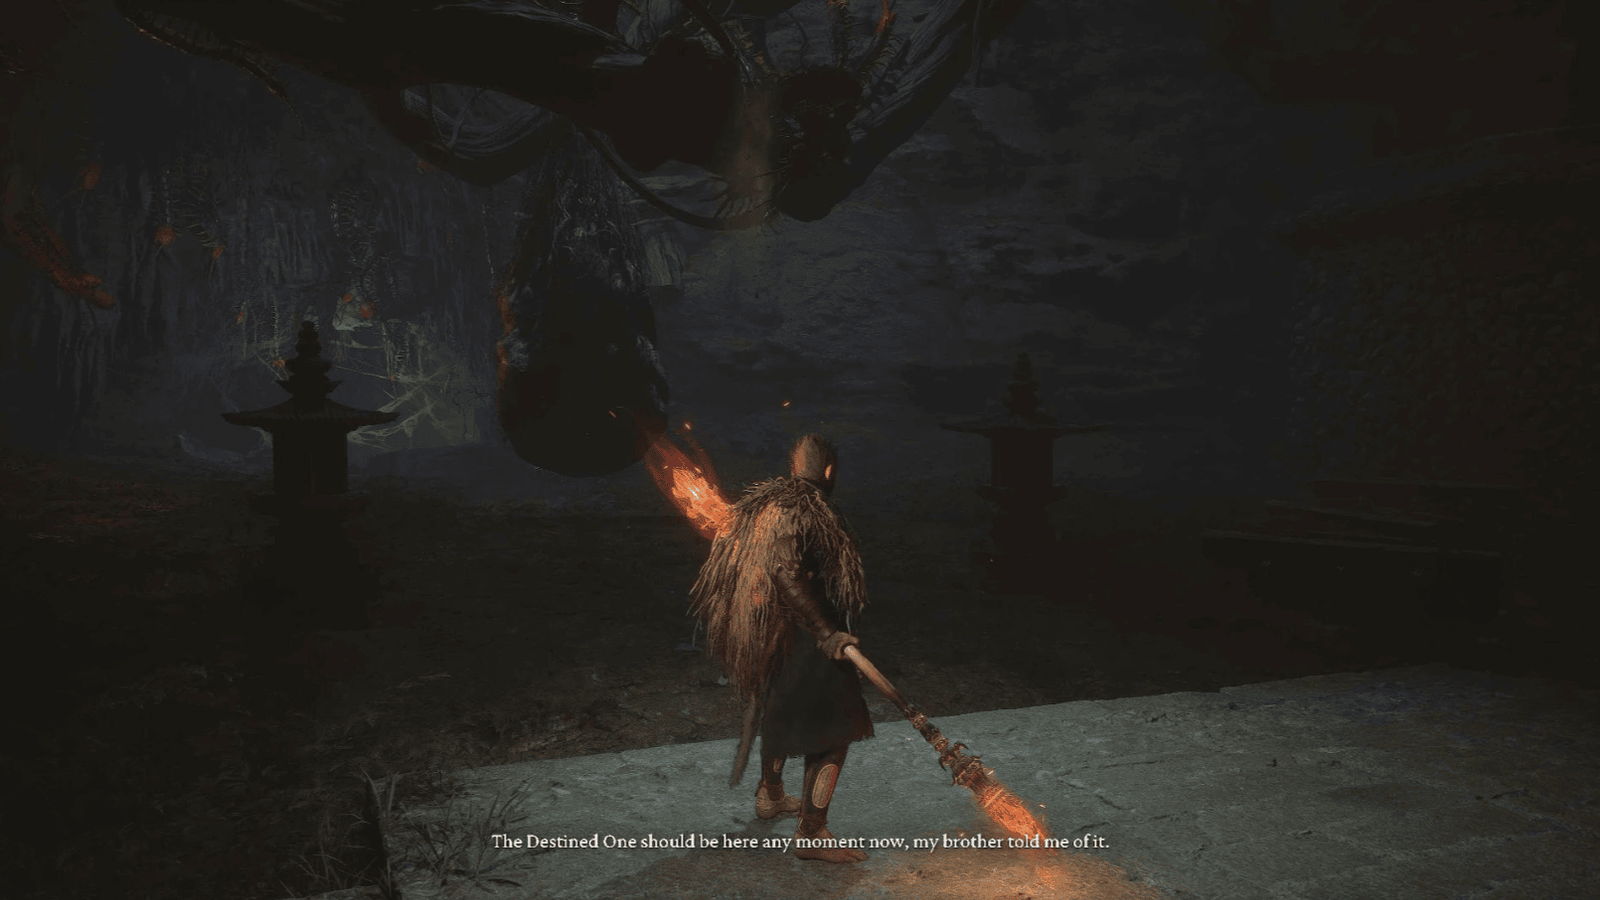
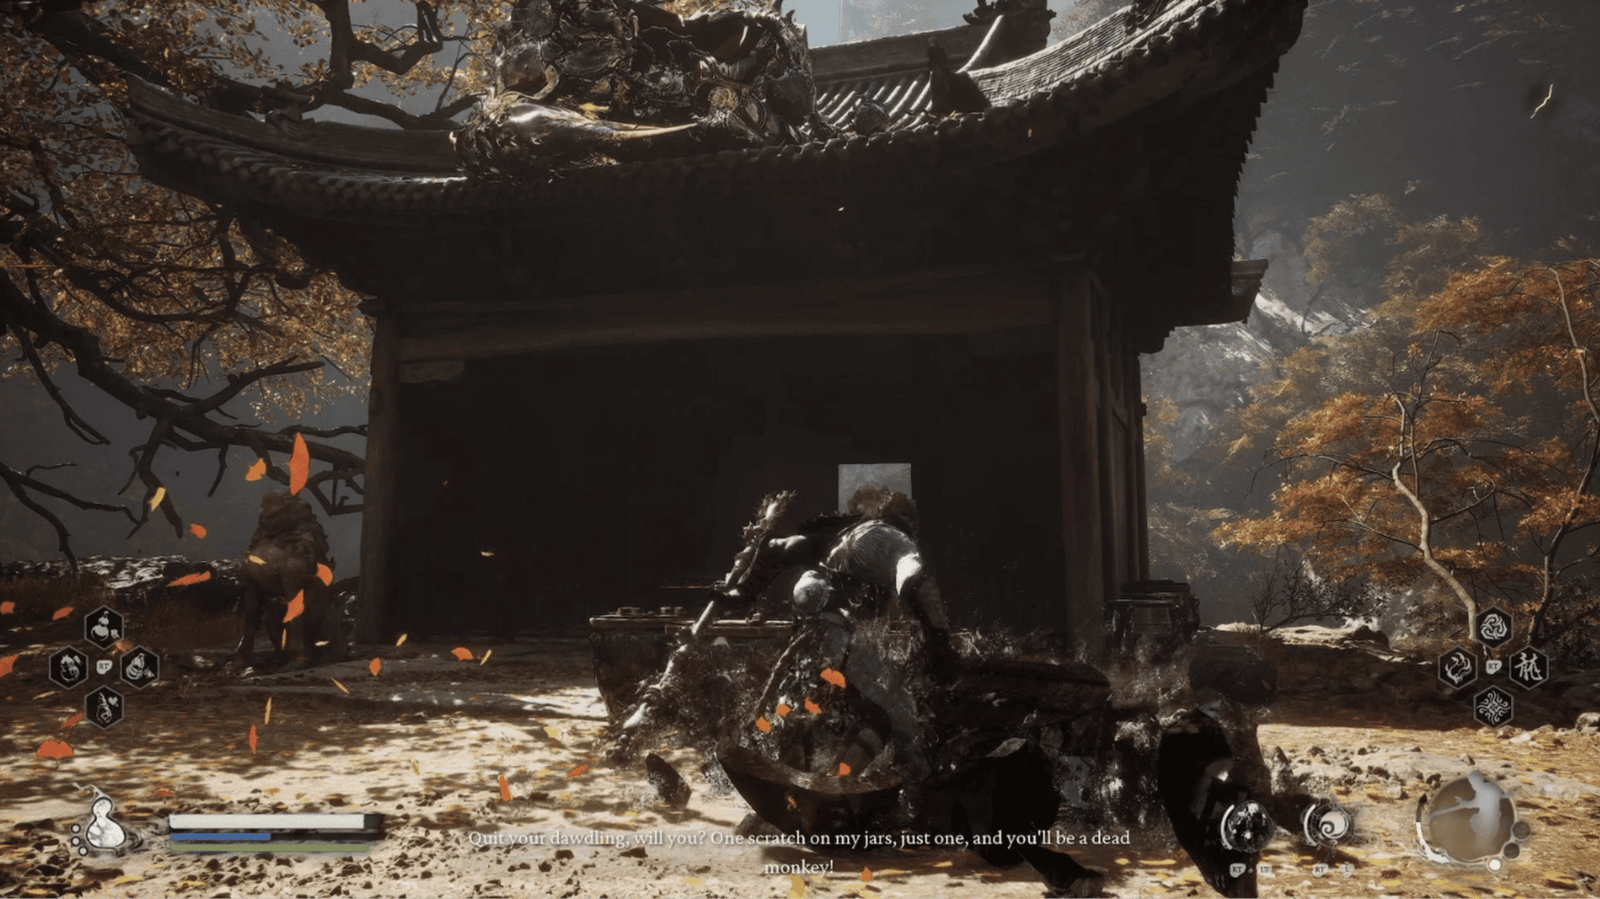
From the Shrine, go up the slope, you will reach a large area. The Scorpion Lord is sitting arrogantly on the roof, looking down on you. He will taunt you, telling you to scram. To challenge him, break the wine jars at his feet.
This is an extremely difficult battle. The Scorpion Lord is very strong, has extremely high damage, and also has poison. He uses claws and a poisonous tail to attack continuously, with long and unpredictable combos that become stronger as the battle progresses. Equip the Cuo Jin-Yin Belt Hook (increases defense), Bronze Buddha Pendant (increases strength), and bring plenty of Antimiasma Powder to cure poison.
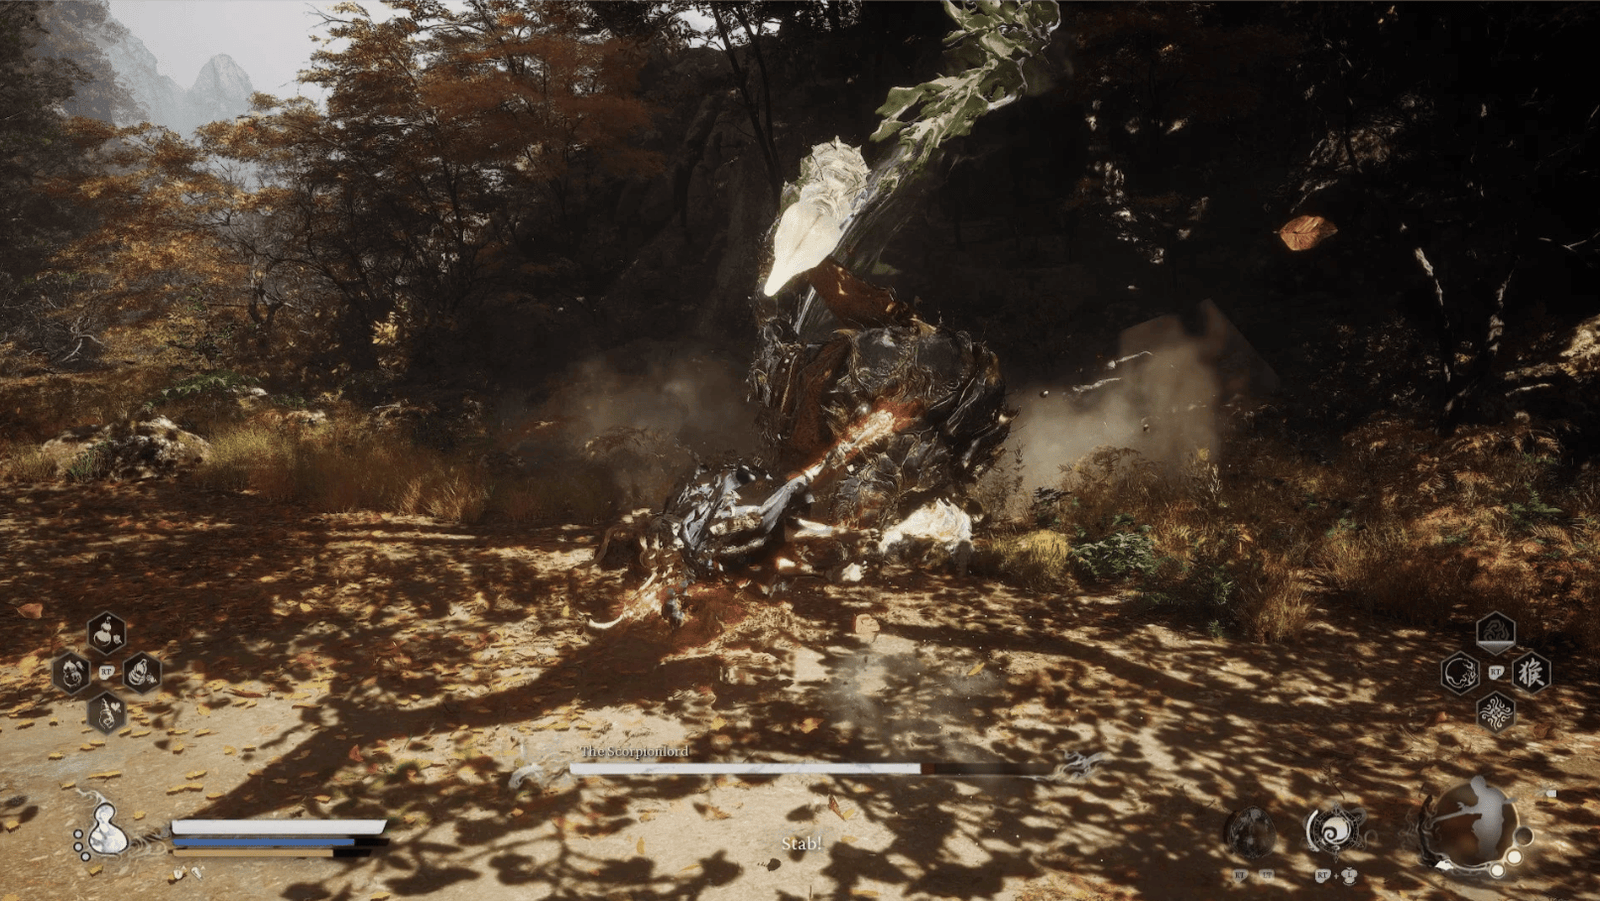
Maintain a close-to-medium distance to limit him from using his tail to stab from afar.
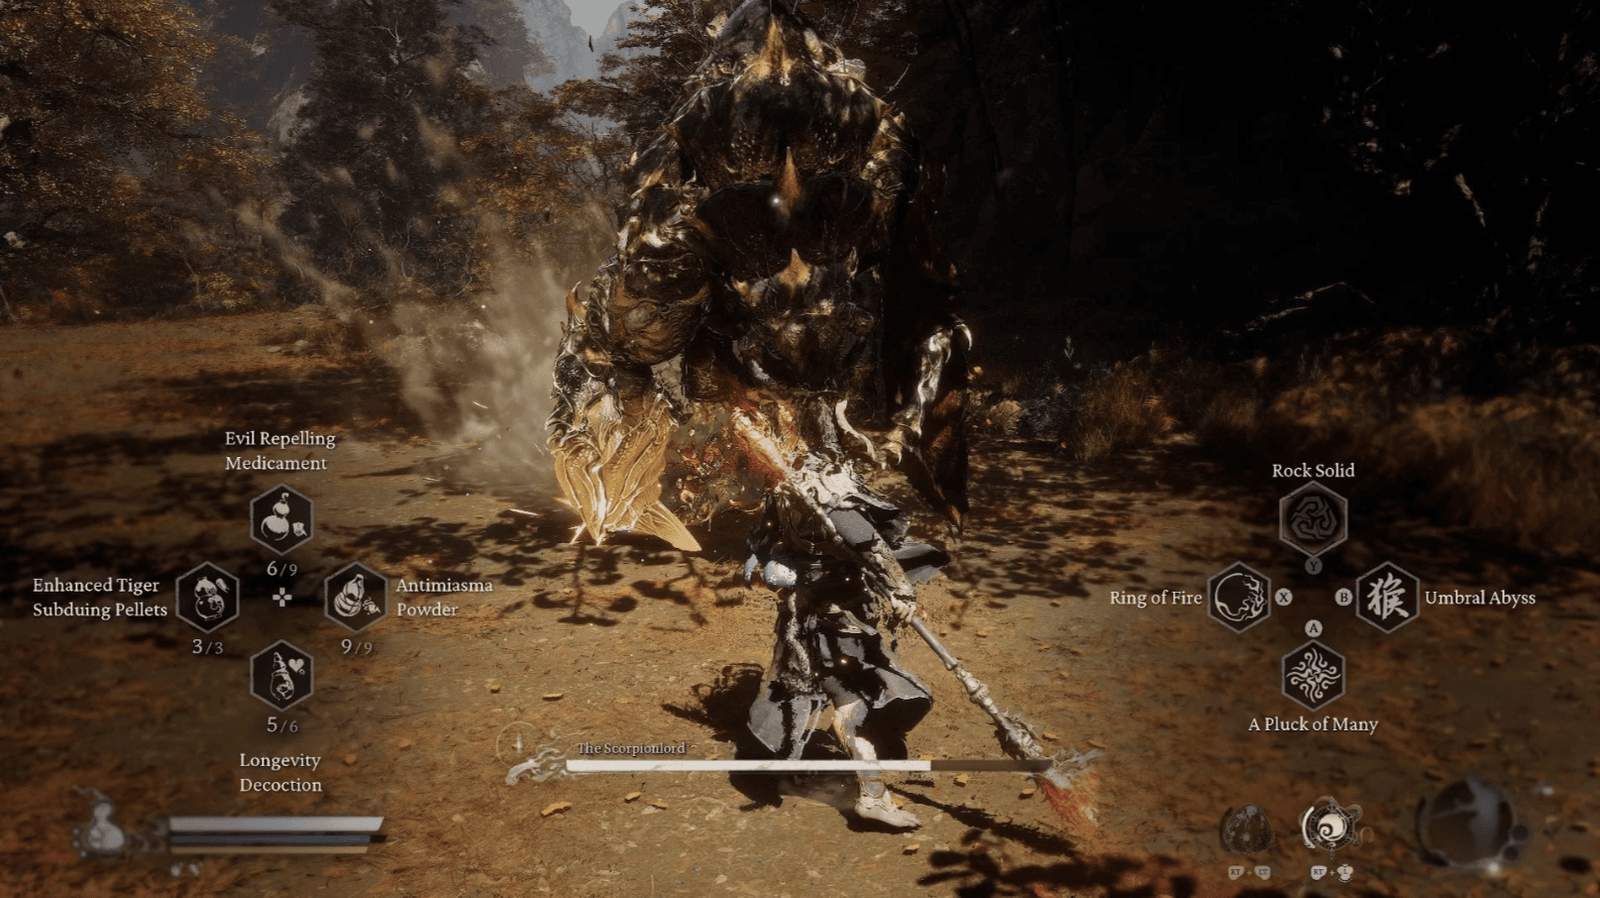
Use Wind Tamer (stuns) and Immobilize to create opportunities to attack.
Use A Pluck of Many (creates clones) at the end of the battle to maximize damage. Cloud Step will help you dodge his combos and recover when needed. Use a Spirit with high damage like Wandering Wight to finish him off.
He will use claw slashes, tail stabs, create poison pools, lunge and grab, tail slams, tail sweeps, spin attacks, and especially Deathsting – an extremely powerful series of tail strikes that must be perfectly dodged.
Focus on dodging, learn his attack patterns, and patiently wait for opportunities.
After defeating the Scorpion Lord, you will receive many valuable items: Stained Jade Gourd (increases the number of healing uses), Sky-Piercing Horn (material), Deathstinger (material), Gold Tree Core, Mind Core, and a Loong Aura Amplification Pellet in the chest he was guarding.
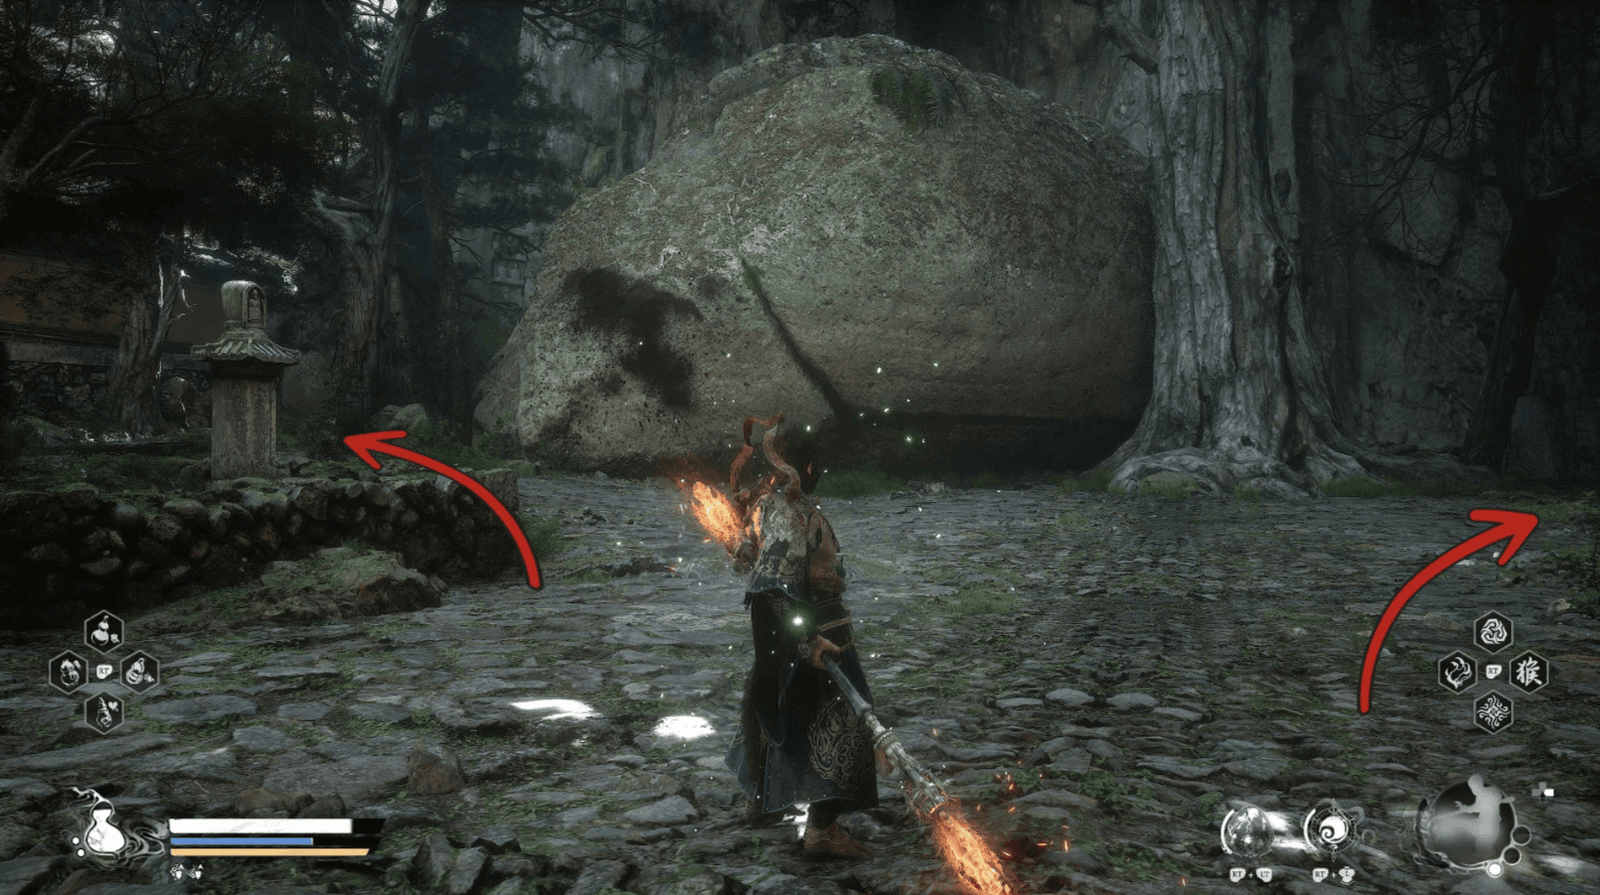
Adjacent Areas (Following the path from where you fought the Scorpion Lord)
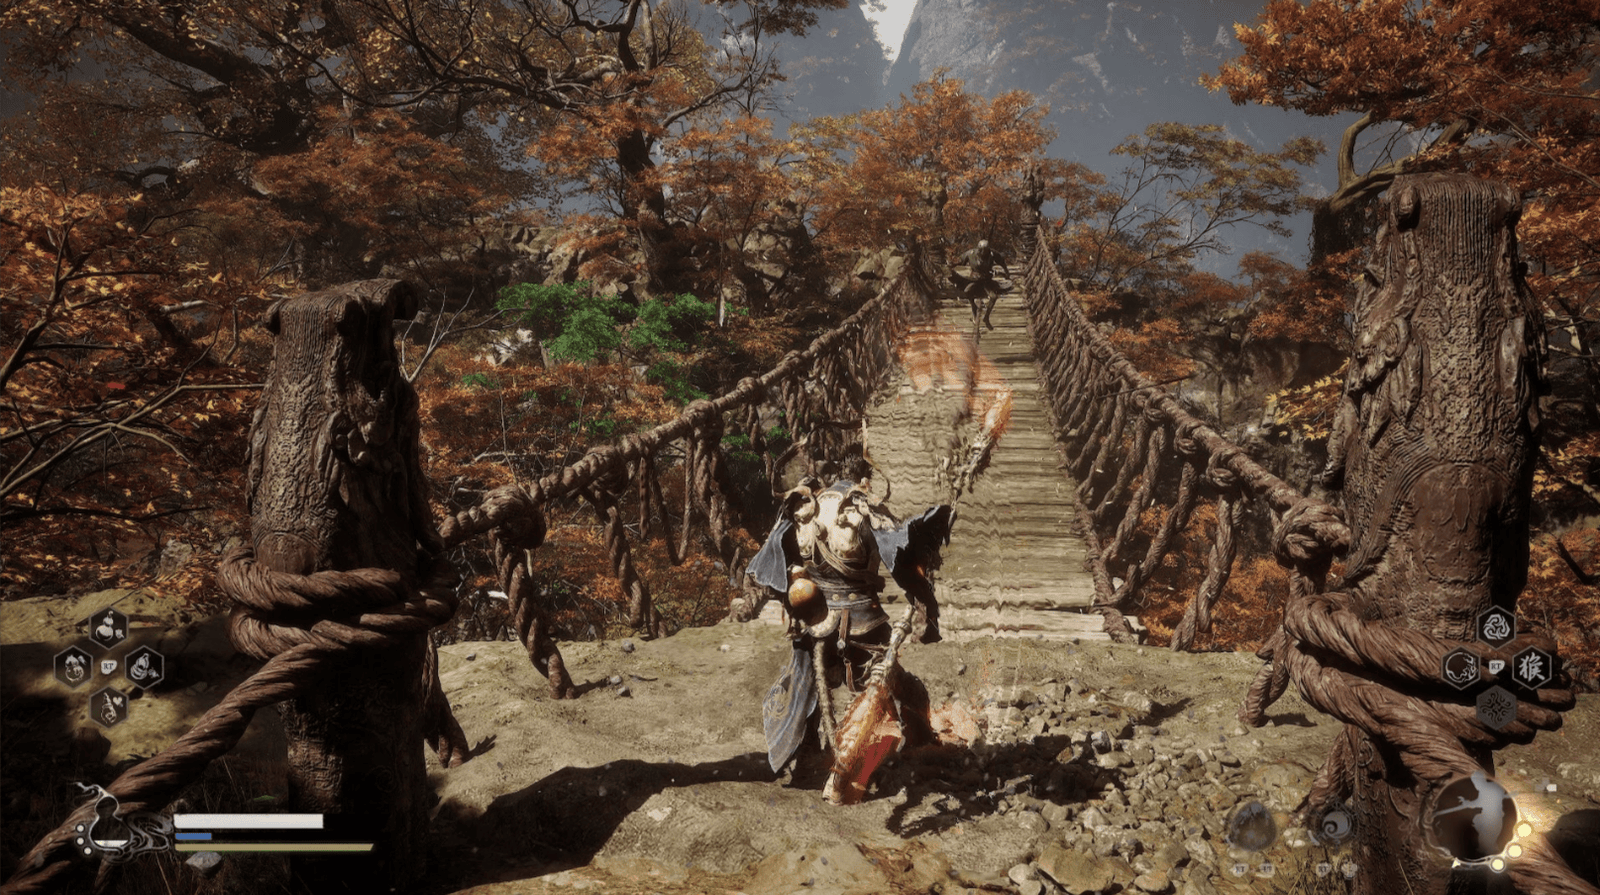
There is a path leading to the second peak. Follow that path, pick up the Green Wisp, defeat the Dragonfly Guai, and cross the rope bridge.
Here, you will find the final Meditation Spot, interact with it to receive a free Skill Point.

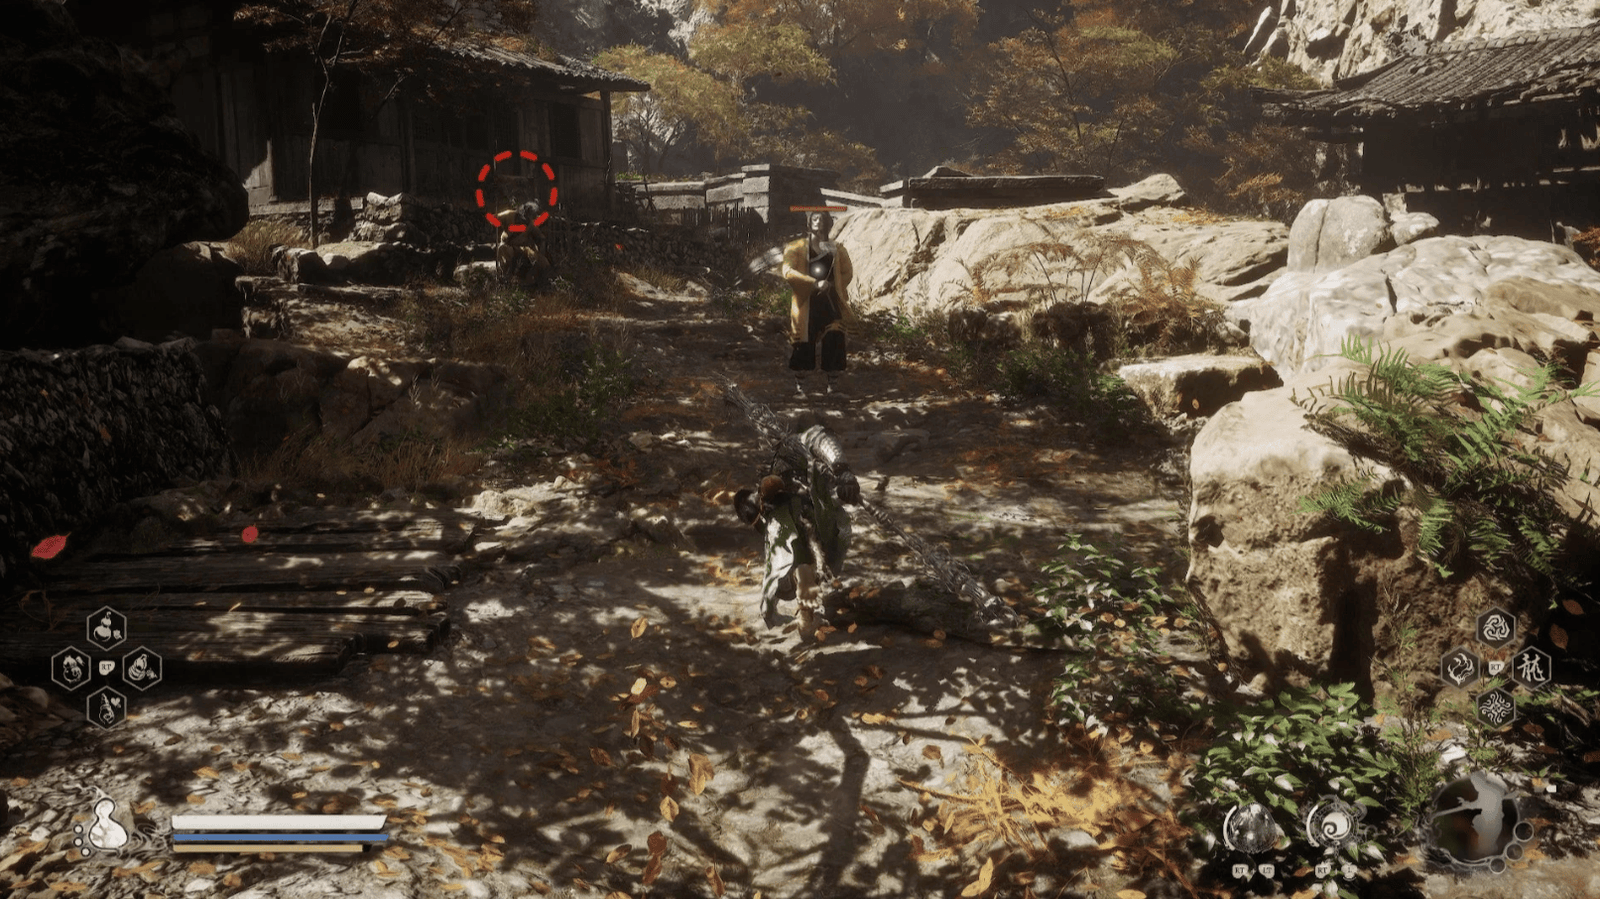
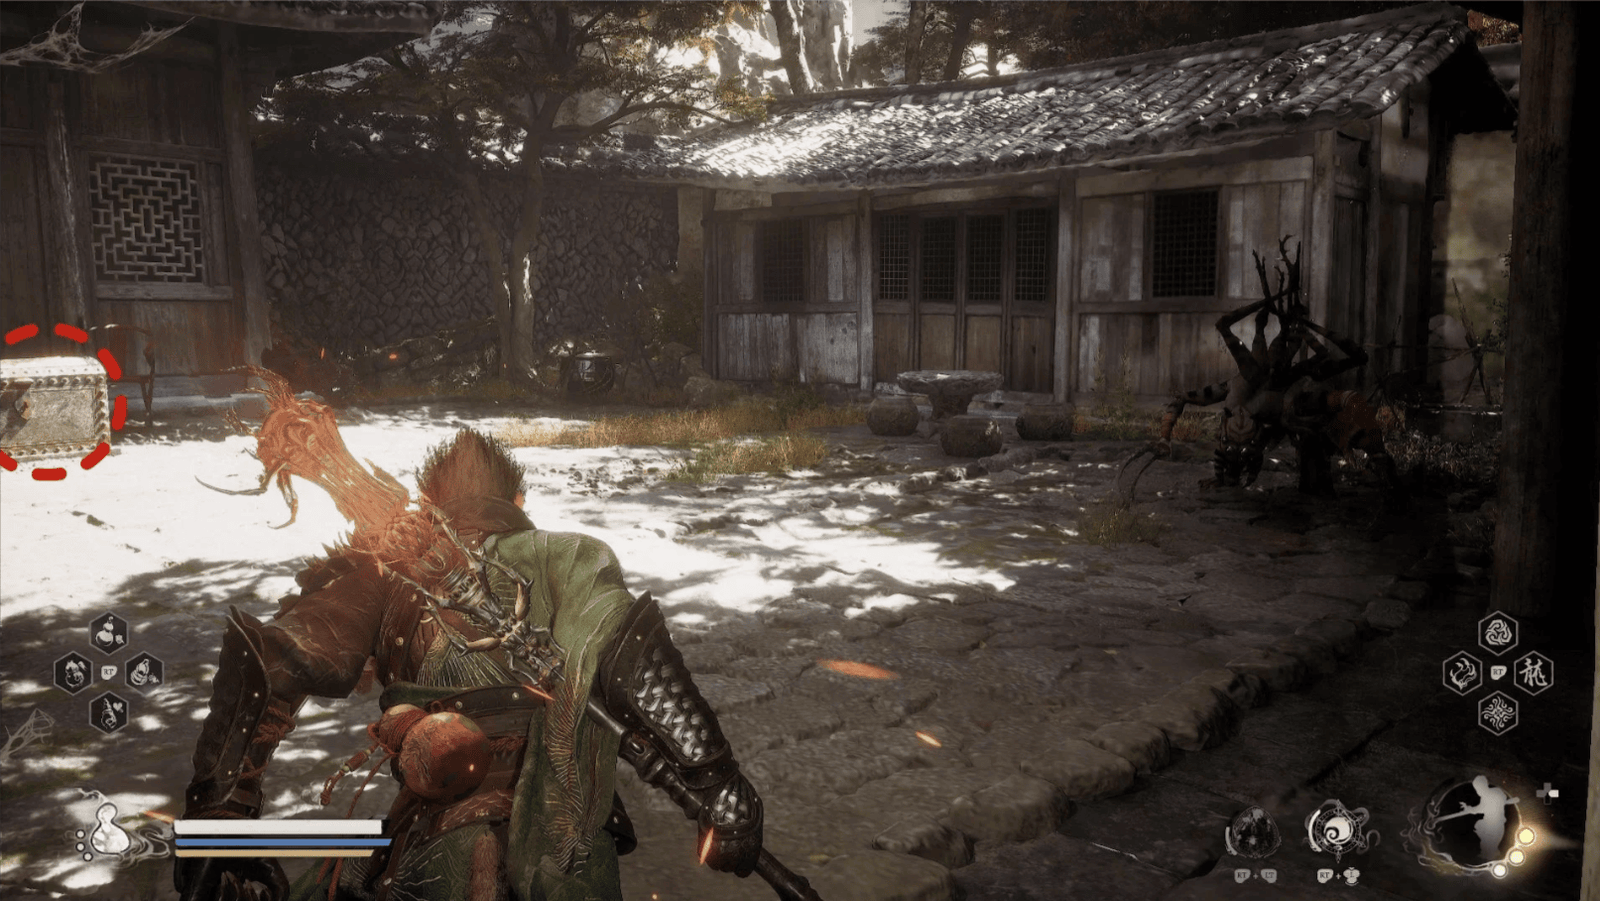
At the foot of the mountain, near where the Scorpion Lord was, there is a Daoist guarding a small pavilion. Defeat him and pick up the Celestial Registry Tablet Curio in the small chest on the table.
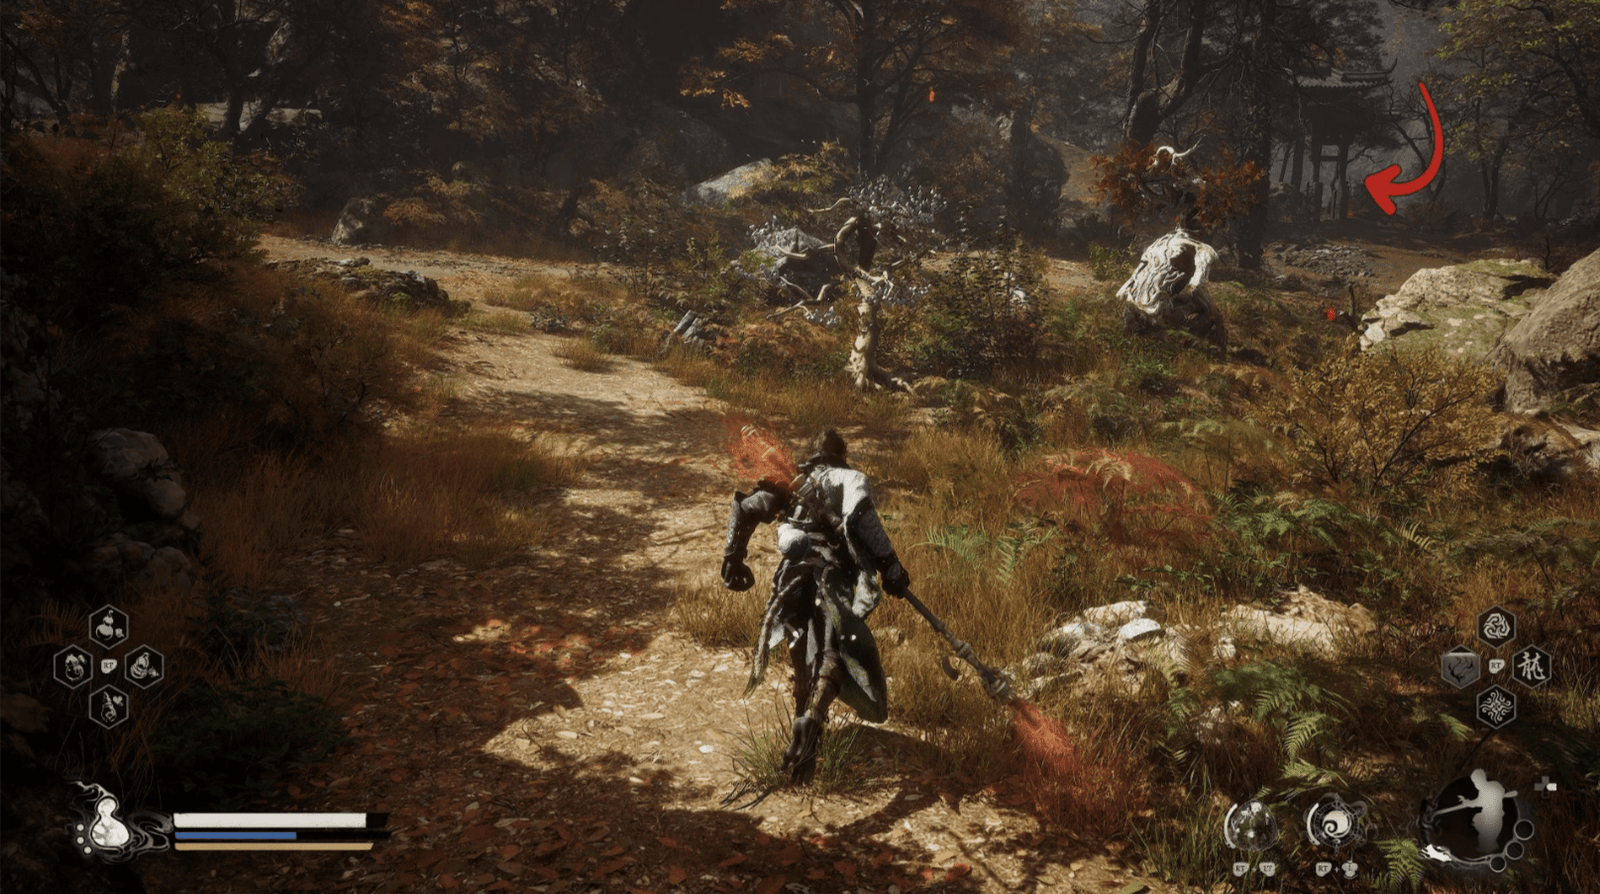
Petalfall Hamlet
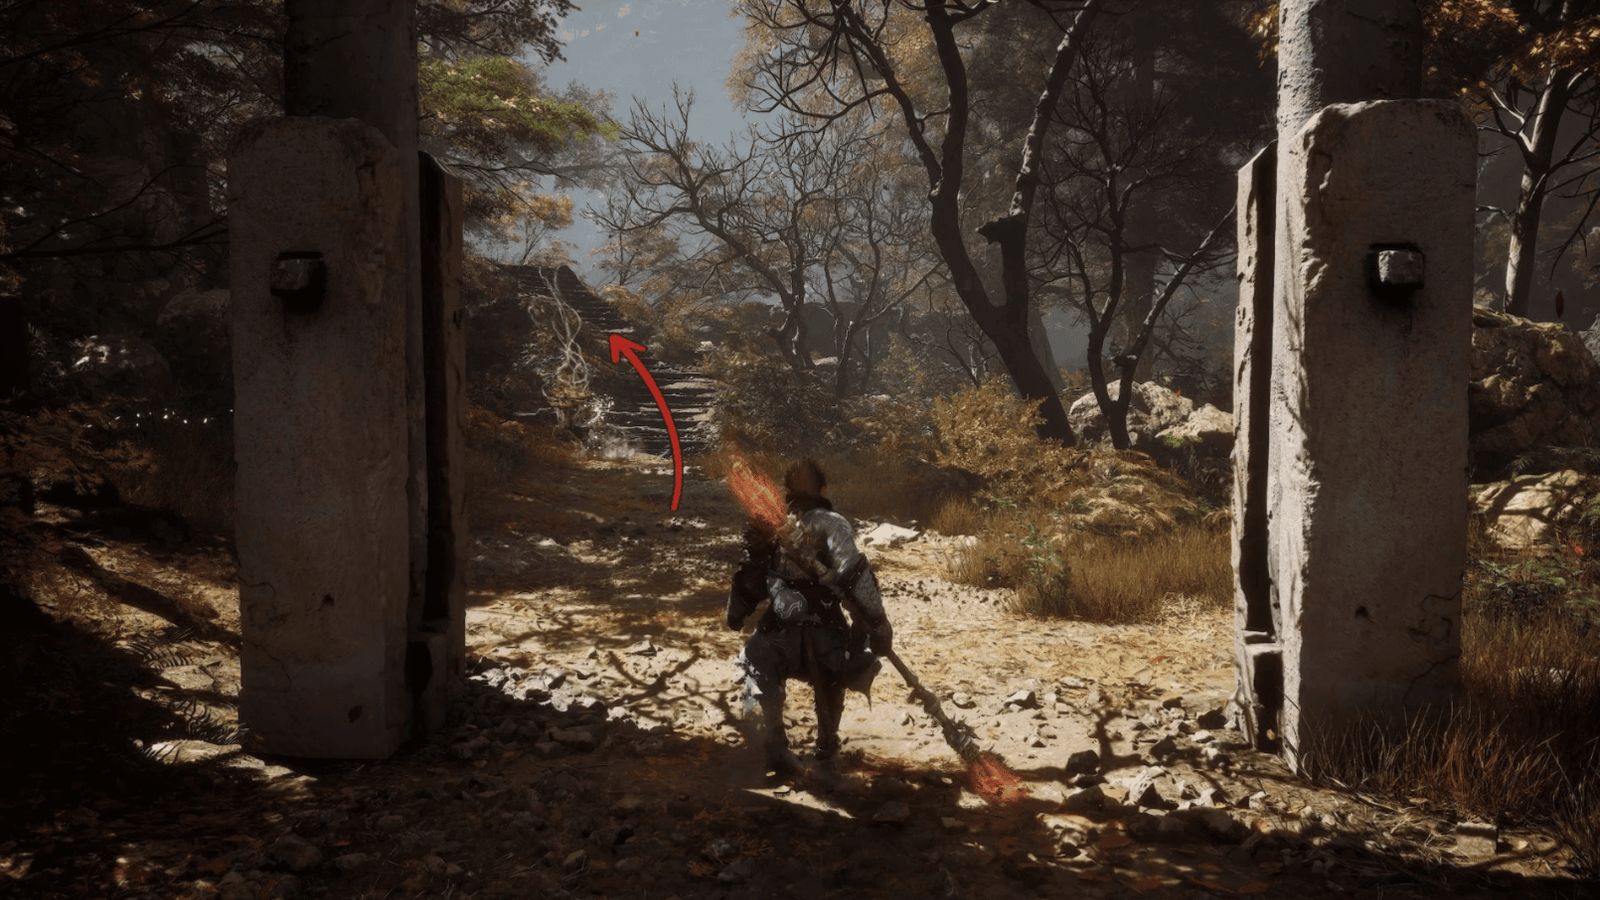
Leaving the Bounds of Deity’s Abode, going through the archway guarded by two Spear Daoists, you will reach the Petalfall Hamlet Shrine.
This village, at first glance, seems peaceful with falling petals, but in reality, it hides evil energy, reminiscent of the Spider Cave of old. Rest at the Petalfall Hamlet Shrine and prepare for the next challenges.
Daoist Mi’s Quest
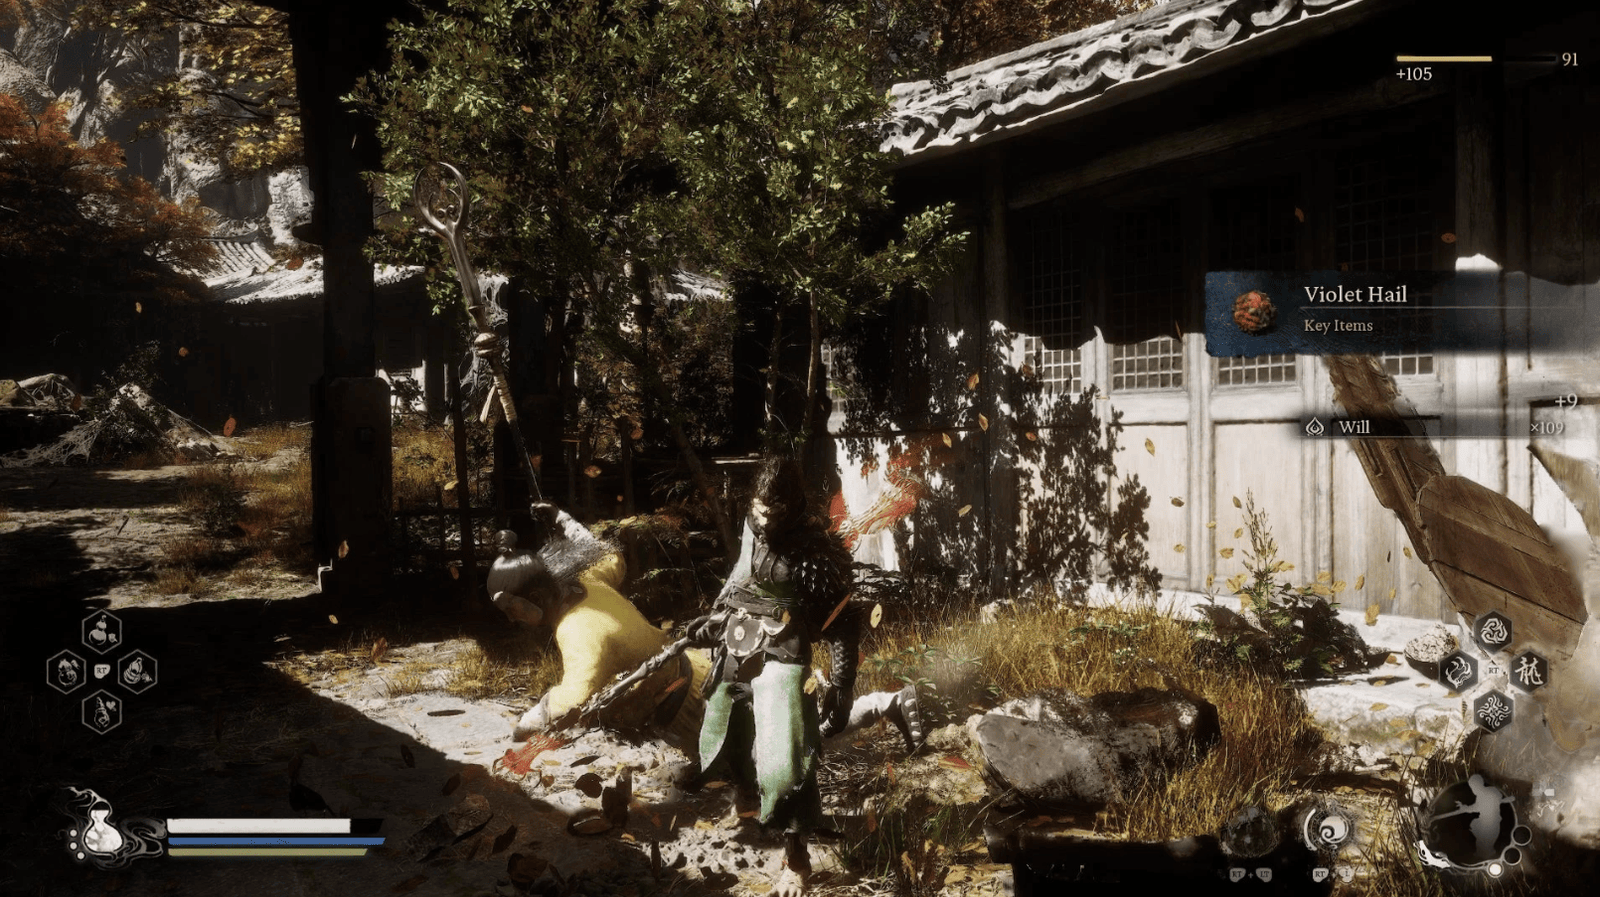
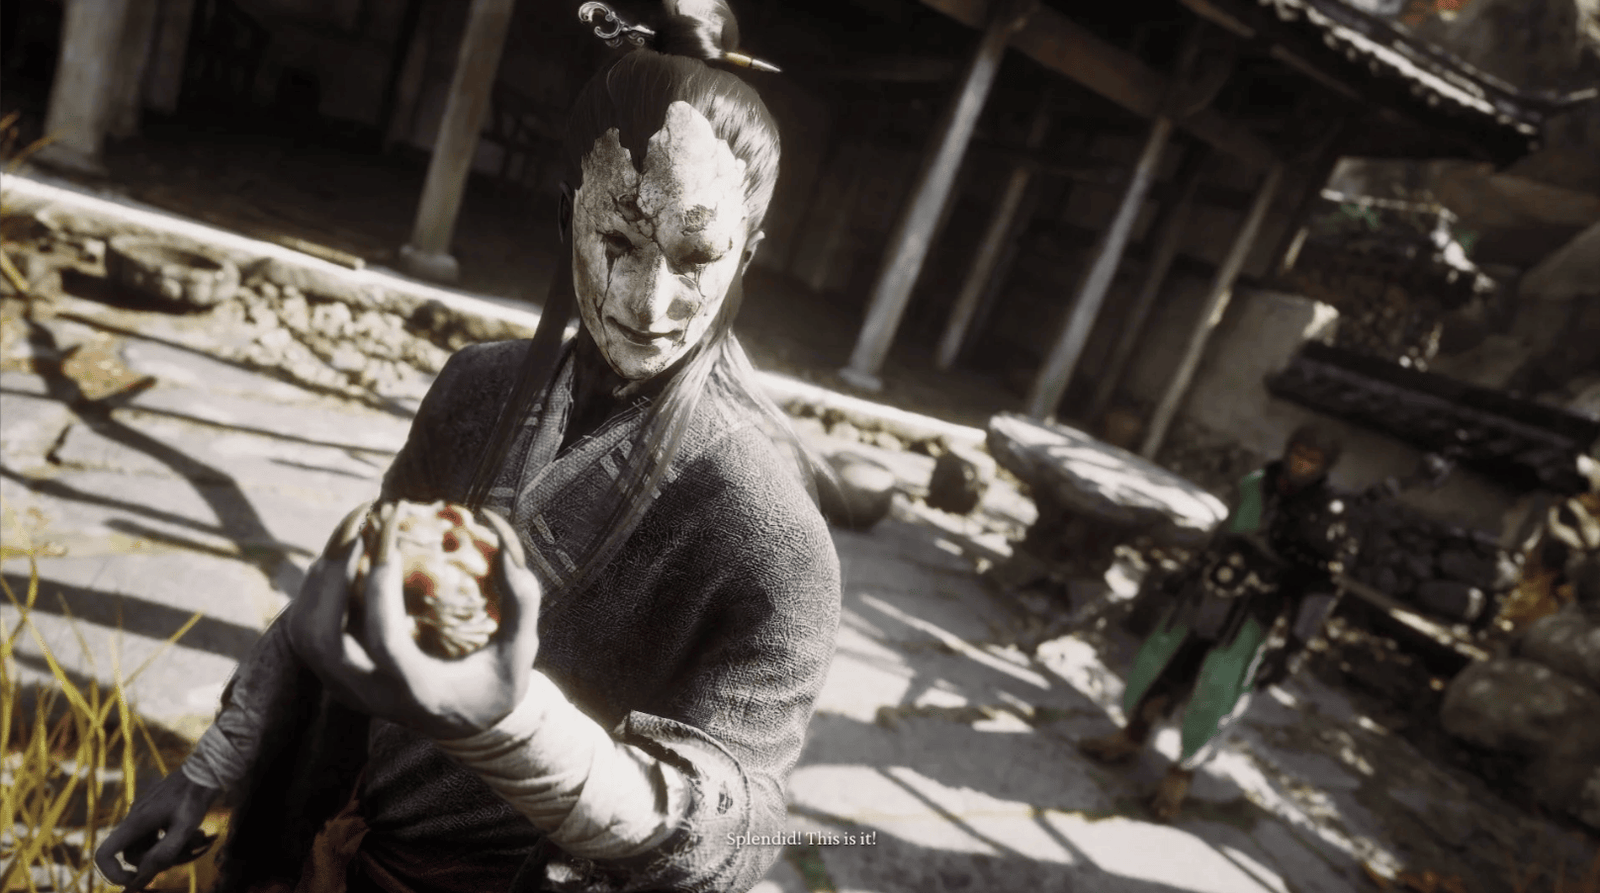
Entering the village, you will meet a strange Sword Daoist playing the flute. He will not attack but will ask for your help. He introduces himself as Daoist Mi, telling of how his fellow Daoists ate the eggs of the Amourworm and turned into immortal zombies. He asks you to find and bring him Violet Hail – which are Amourworm eggs, hoping to find a way to save them.
Any Daoist in the village can drop Violet Hail. Be patient in defeating them.
Pick up the Green Wisp in the house behind Daoist Mi.
Pick up the chest containing random items on the opposite path.
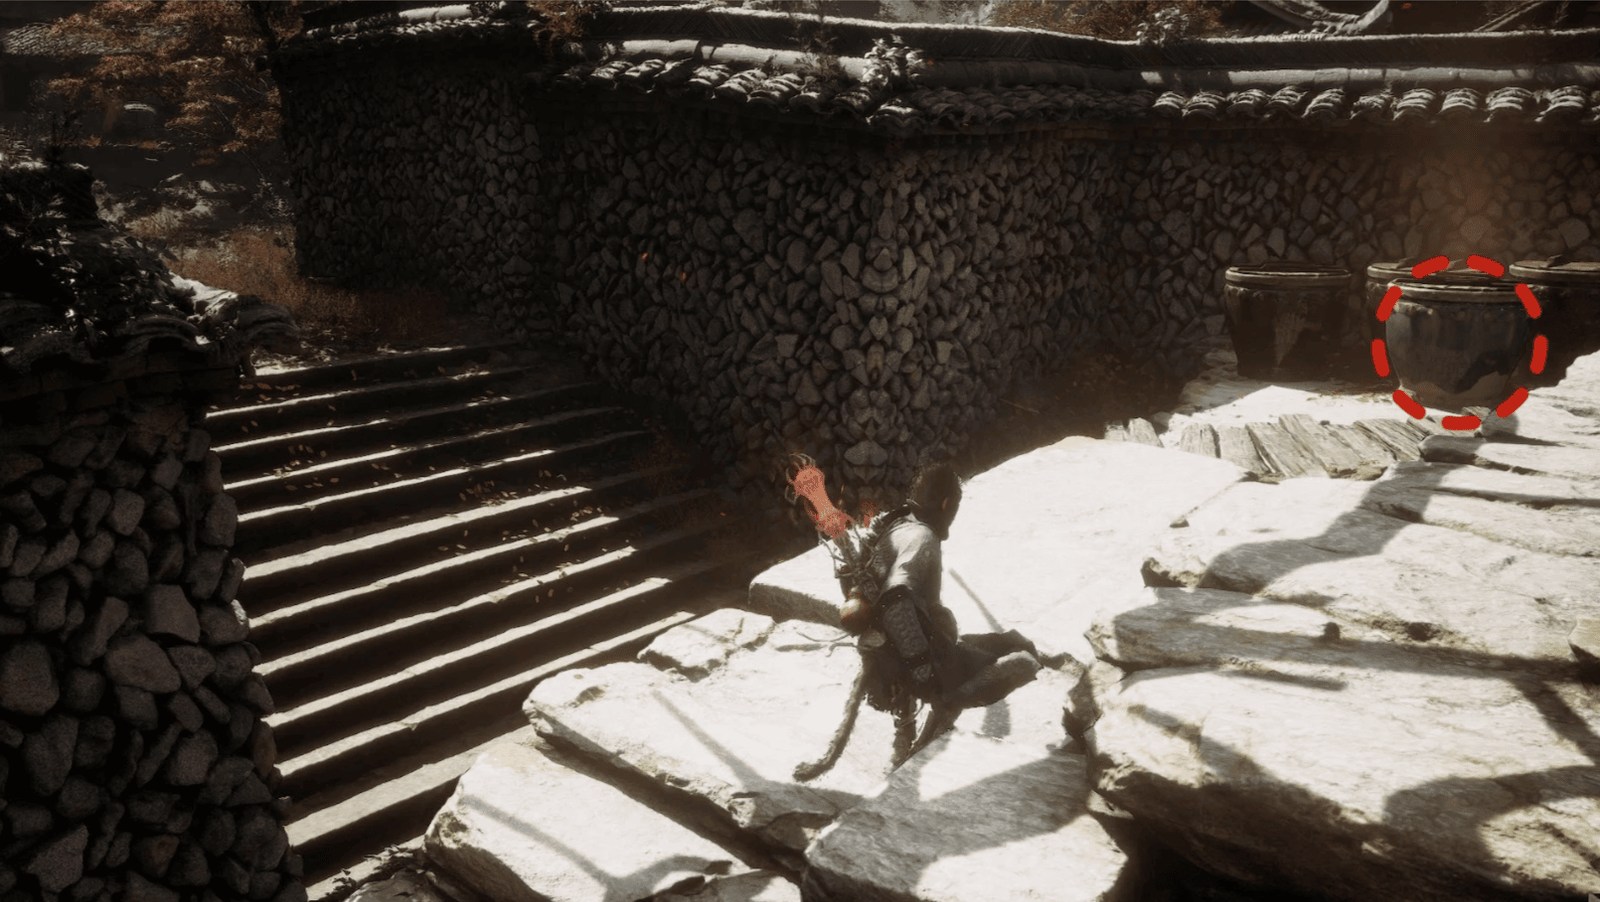
Past the stone wall in the village, immediately turn left, you will see a staircase leading up. At the top of the stairs is a glowing jar, break it to collect the Awaken Wine Worm – an important item.
Moat Area
From the ledge, follow the moat (don’t go across to the other side). There are many Croakies, Green Wisps, and Jade Lotuses here. Collect them.
From the ledge, go to the left to find the Cloudnest Peak Shrine. But before going to the top, go to the right, down the lower path. Here, you will find a Spear Daoist guarding a chest and a Green Wisp.
Absolutely do not go to the top of the mountain and confront The Duskveil at this time, or Daoist Mi‘s quest will fail!
From the Cloudnest Peak Shrine, go straight through the narrow alley into a large courtyard. Carefully defeat the Daoists and Spider Puppet on the tree.
Daoist Mi Boss Fight
After collecting the Violet Hail (you may have to defeat many Daoists), return to Daoist Mi. He will reveal his true face, greedily wanting to seize the power of the Violet Hail and attack you.
This battle is not too difficult, Daoist Mi has two phases: Sword Daoist and Worm Practitioner.
Phase 1 (Sword Daoist)
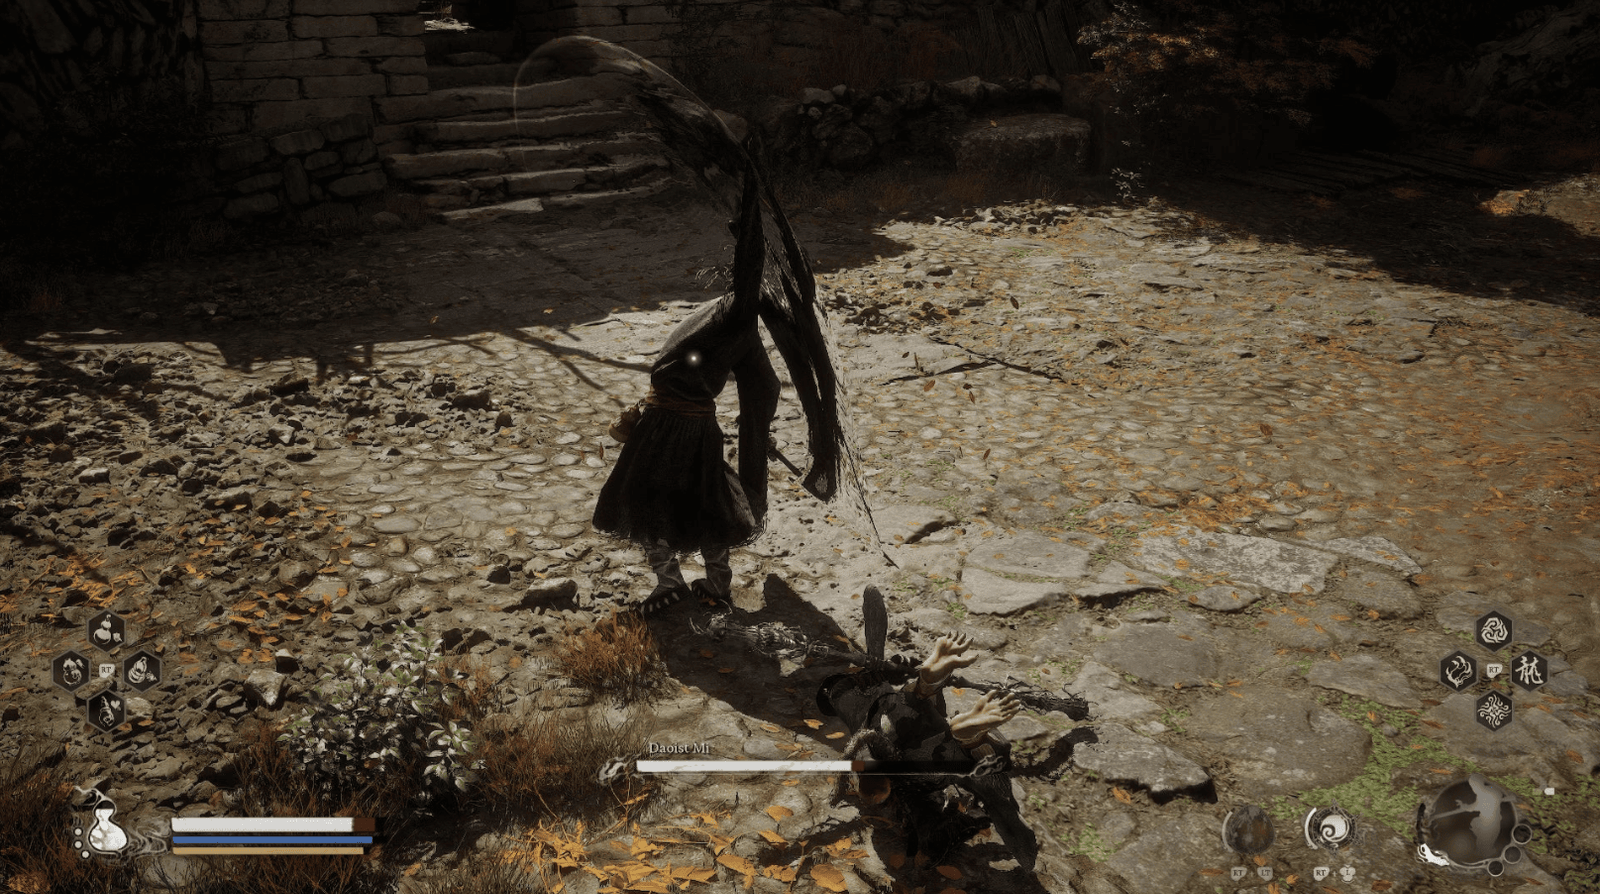
He uses his sword to attack, casting sword waves and kicking. Dodge and counterattack.
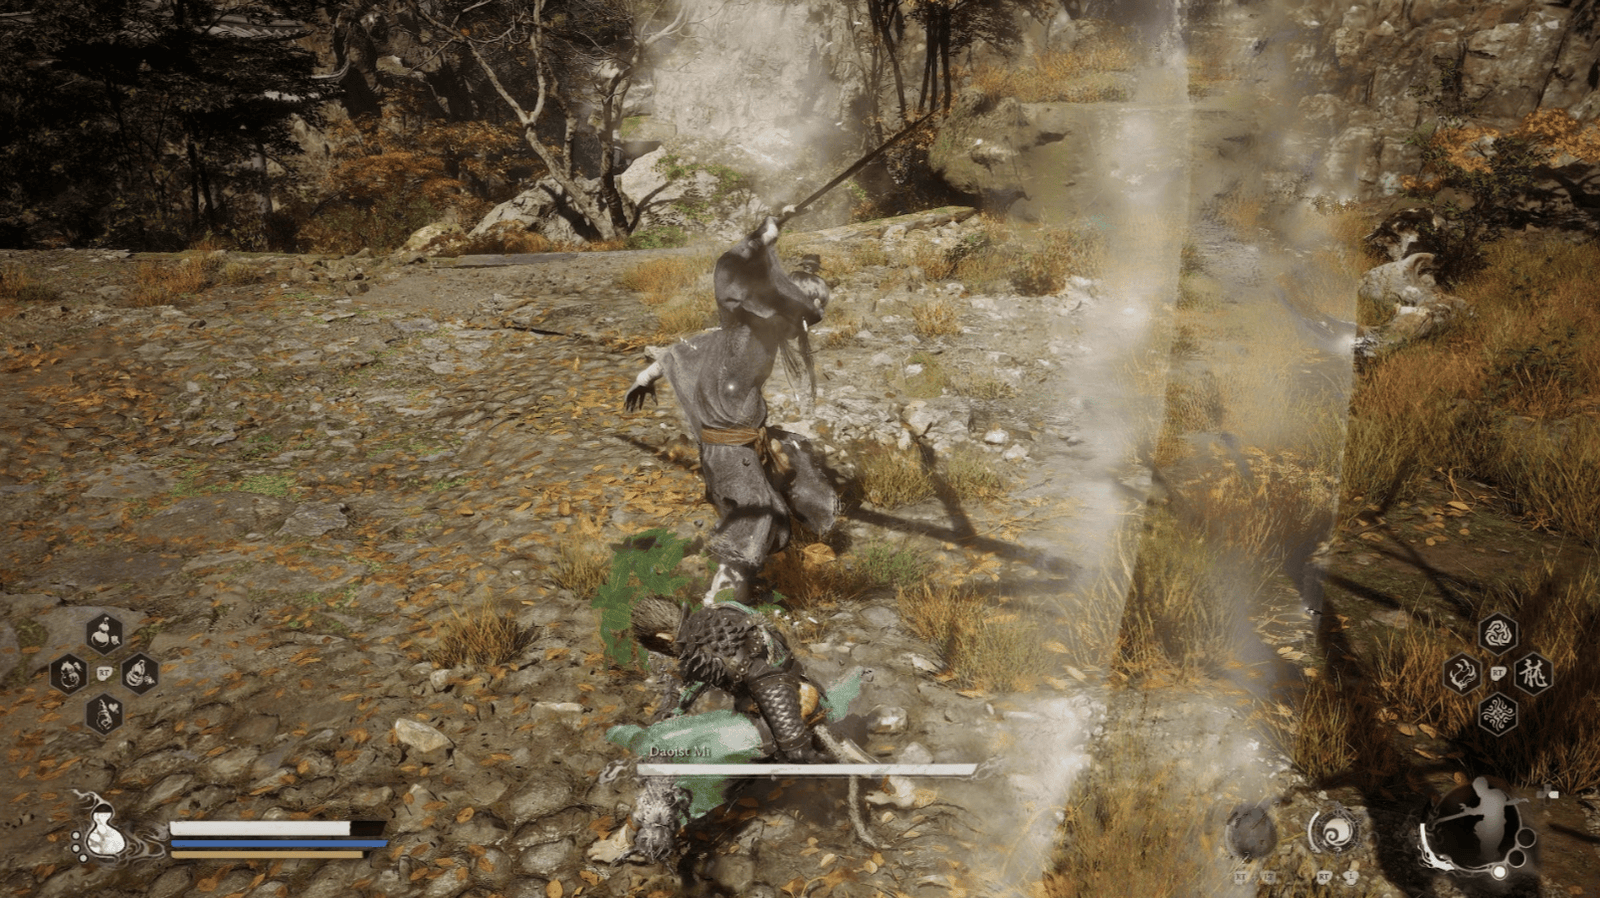
Phase 2 (Worm Practitioner)
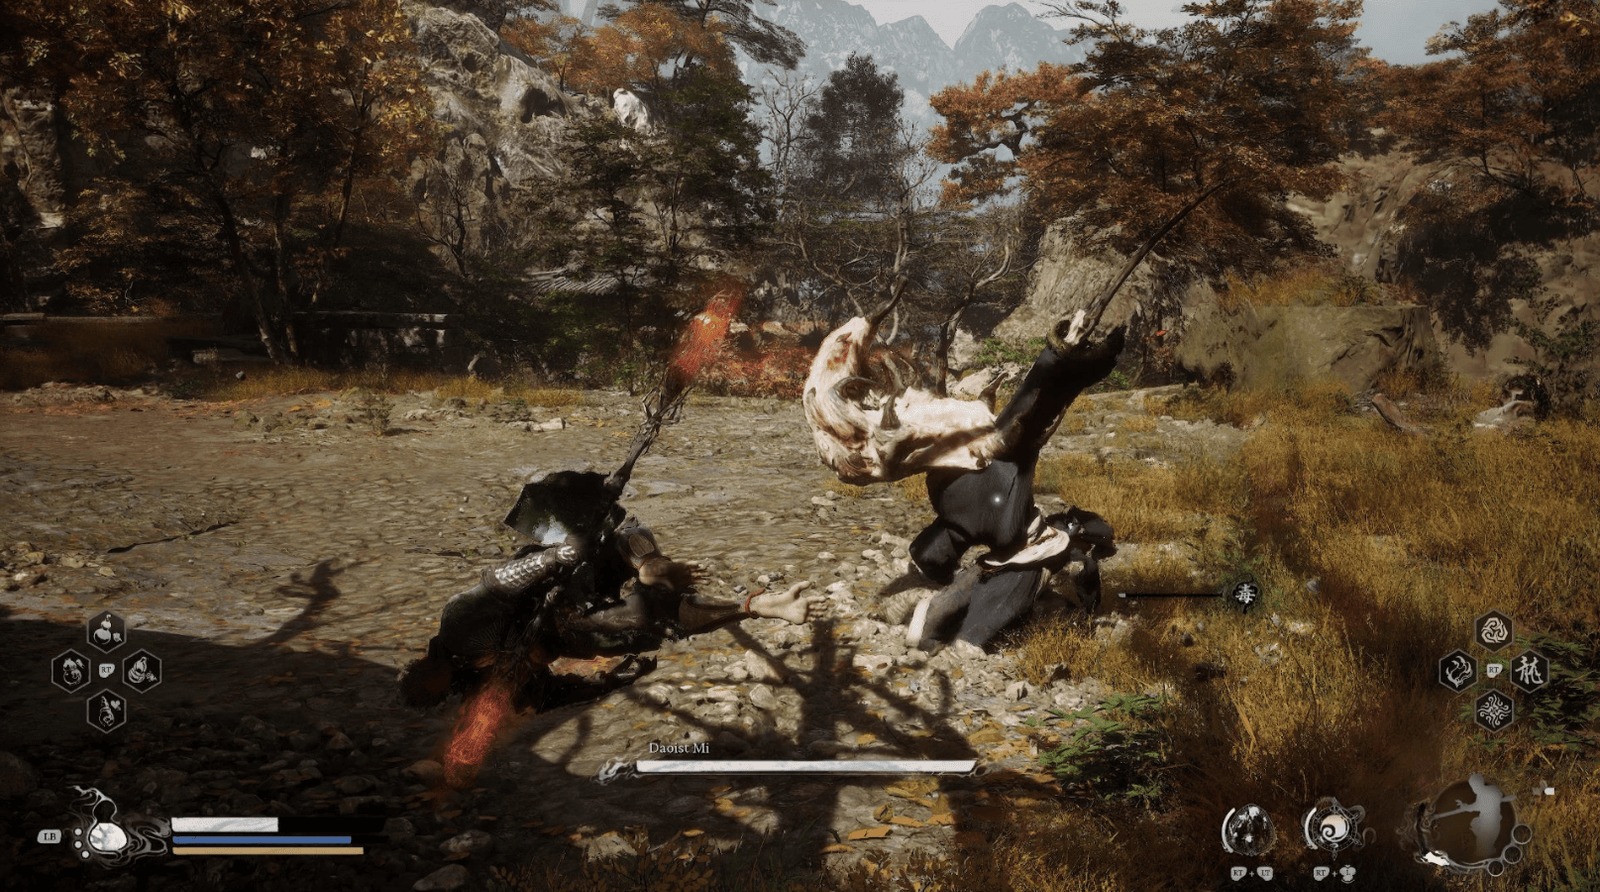
He transforms into a giant worm, using poisonous tentacles and spitting poison.
Be careful of the poison puddles on the ground.
After defeating Daoist Mi, you will receive the Violet Hail Transformation Spell allowing you to transform into a Worm Practitioner and become immune to poison, something that once troubled Old Sun greatly in the Spider Cave. Hong Yi will appear, take back the Violet Hail, and give it to you.
Cloudnest Peak
After defeating Daoist Mi and receiving the Violet Hail Transformation Spell, return to the Cloudnest Peak Shrine. Here, the demonic energy is overwhelming, the fog is thick, like the peak of the Spider Cave of old, signaling that a monumental battle is about to take place. Rest at the Cloudnest Peak Shrine, prepare thoroughly for the final battle.
Remember, make sure you have defeated the Scorpion Lord and Daoist Mi before going to the top of the mountain. Otherwise, you will miss the opportunity forever!
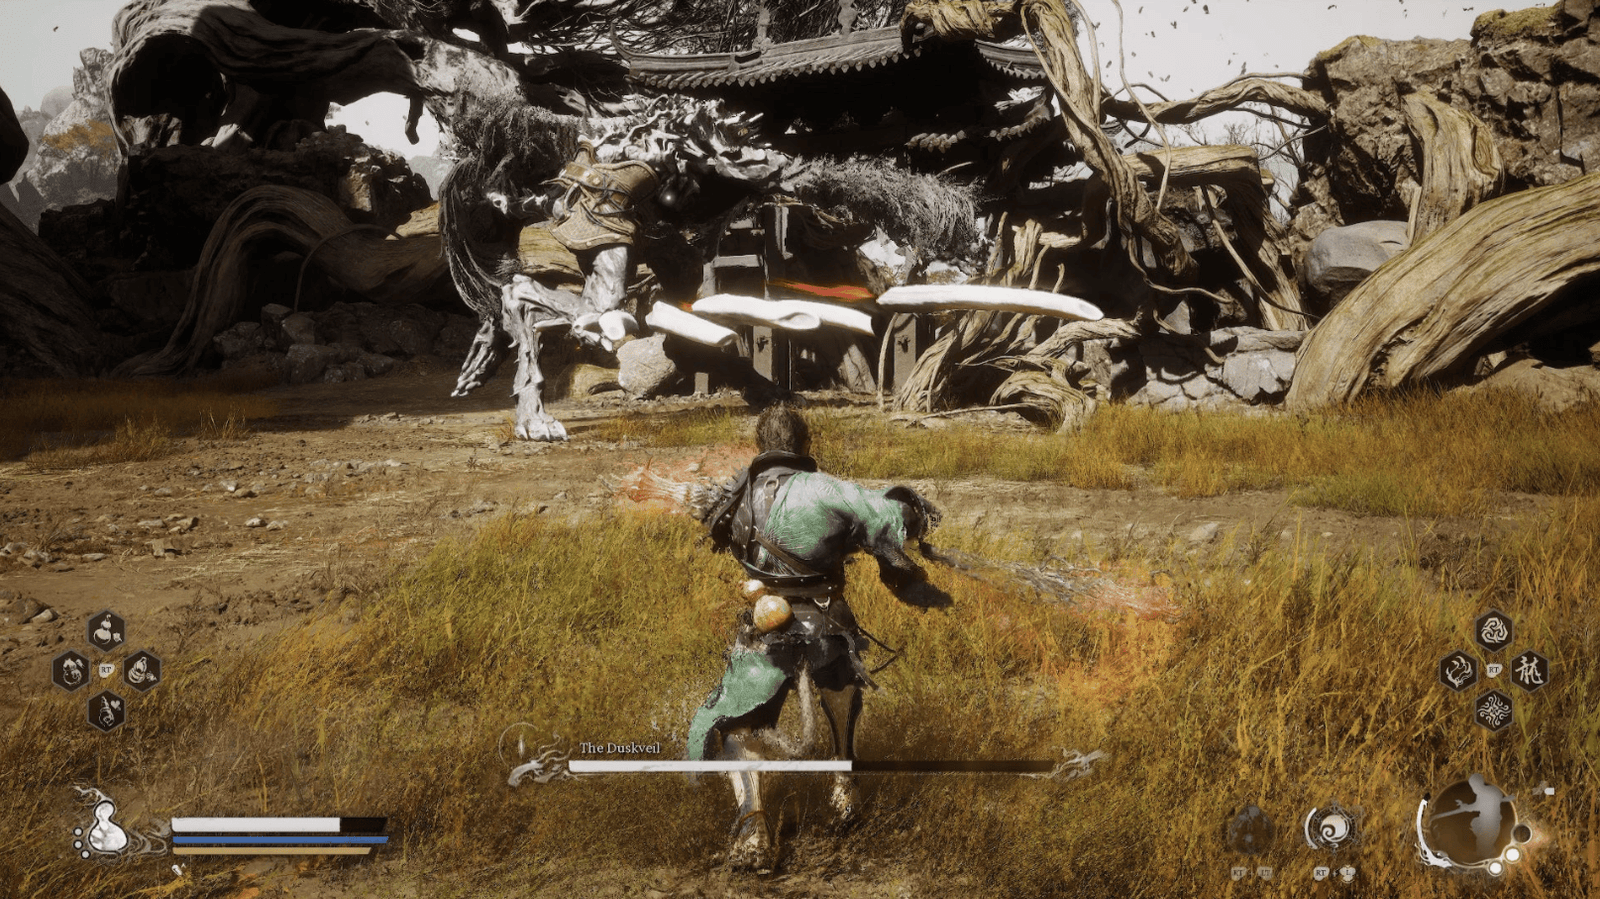
The Duskveil Boss Fight
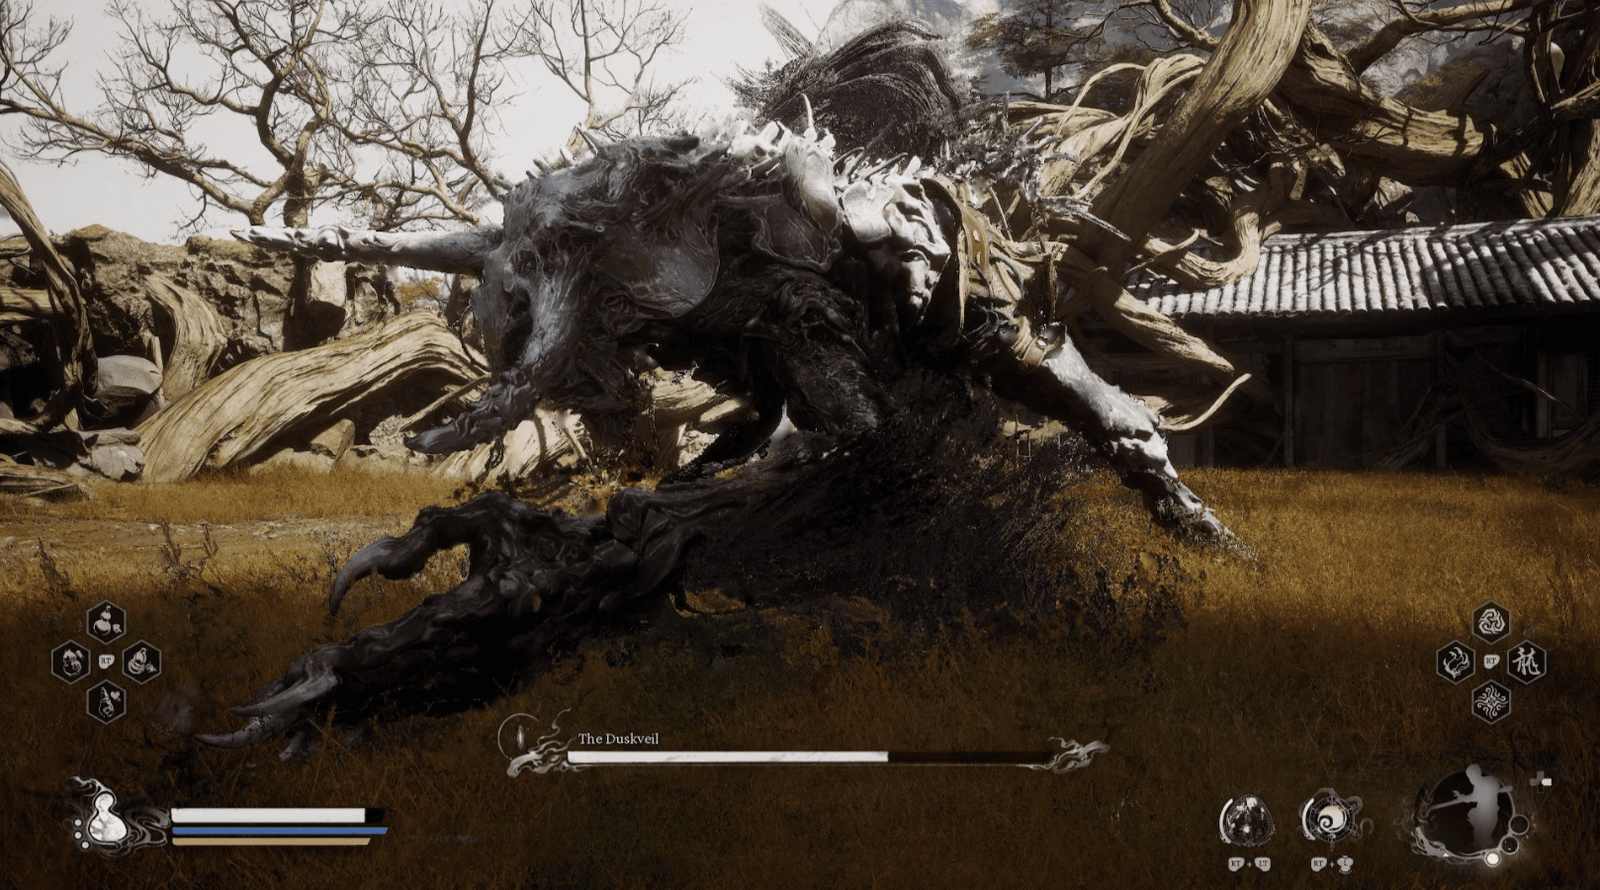
From the Shrine, go up the stairs, you will reach a large arena on the top of the mountain. The Duskveil, a hideous Yaoguai King, half-human, half-beast, with a bizarre form, will emerge from a giant mass of flesh, at first glance similar to a bizarre chicken, indicating that it is also related to the next chapter.
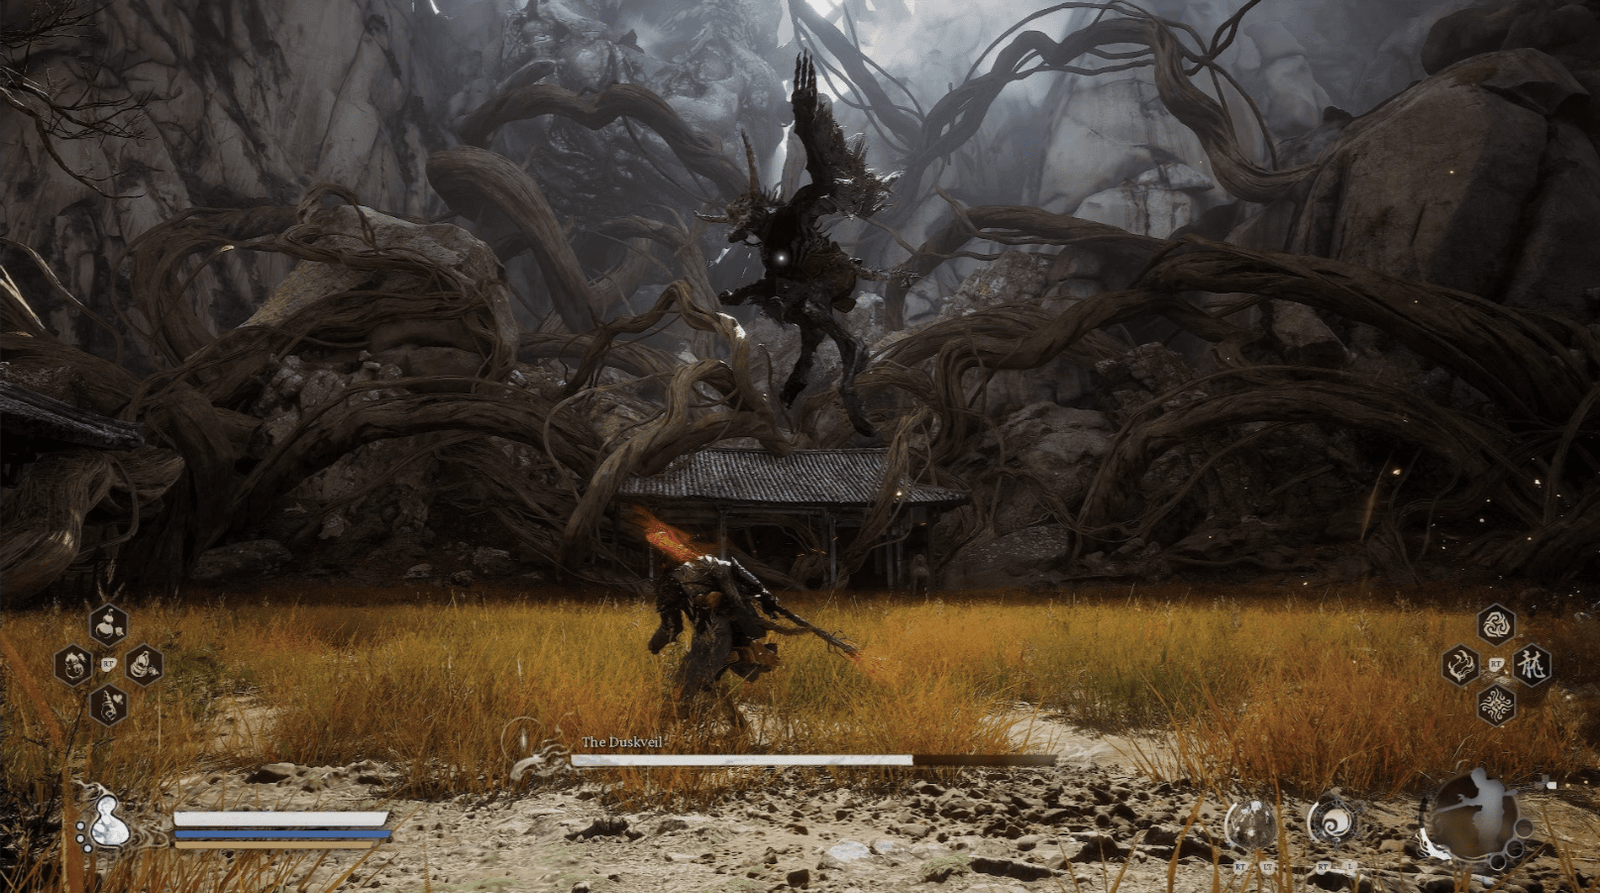
The battle with The Duskveil is not easy, but if you have overcome the Scorpion Lord, you will find him “easier”. He doesn’t have poison, but his attacks are very strong and he has two phases. He starts the battle with 75% health (possibly because the Scorpion Lord attacked him first, if you didn’t miss him).
Phase 1
The Duskveil will use attacks such as Leap and Kick, Projectiles, Stomps, Arm Sweeps, and Charge Attack. Dodge and take advantage of openings to attack.
Phase 2 (Blood Moon)
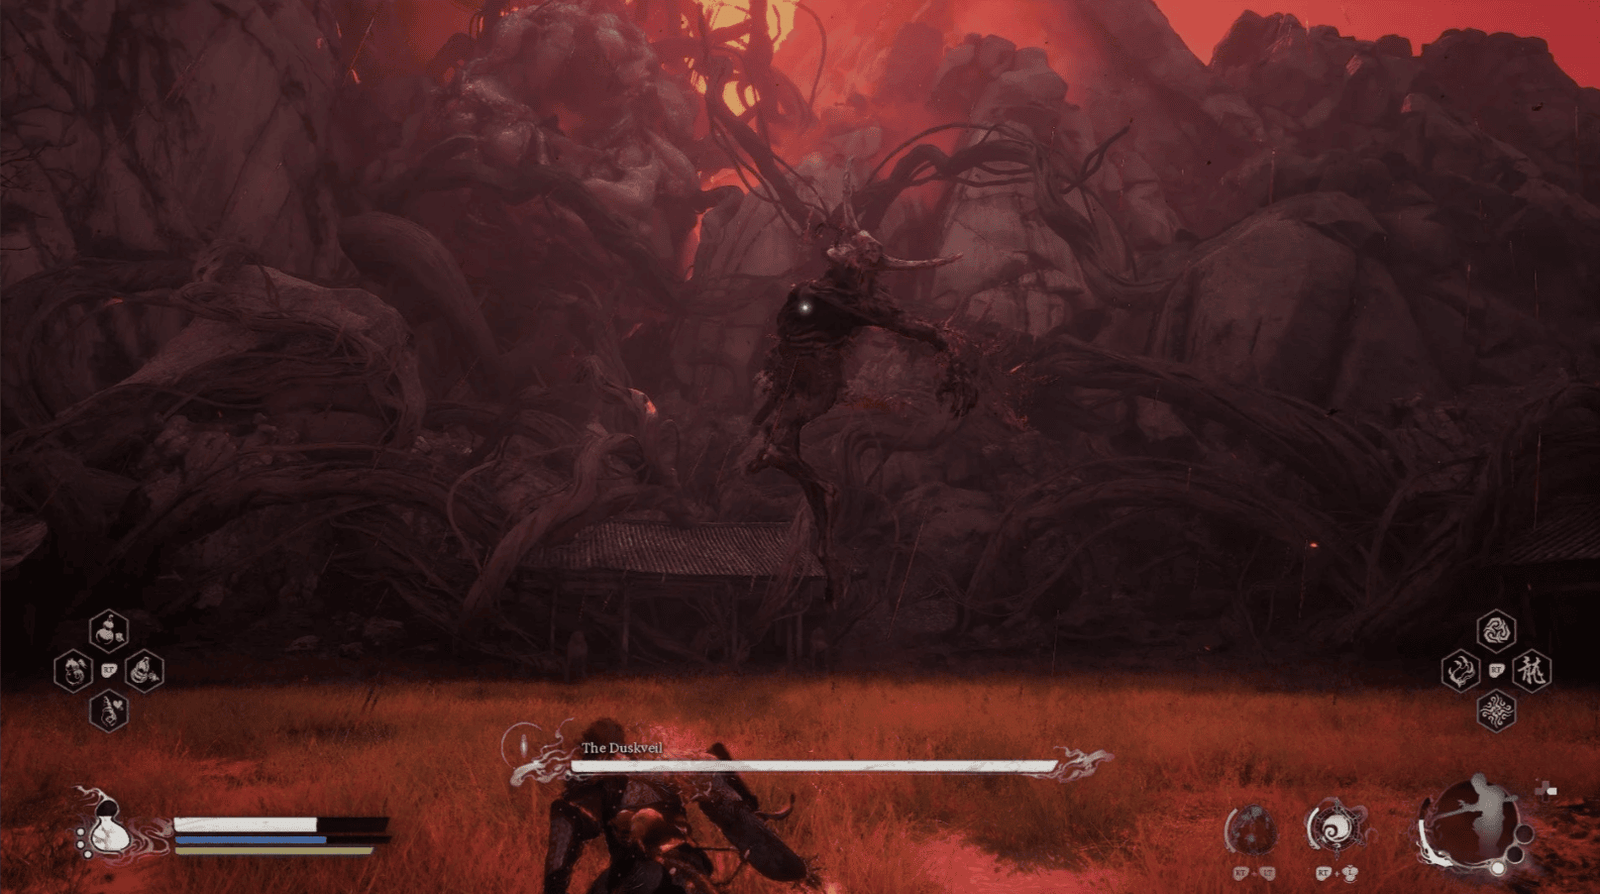
When The Duskveil loses one health bar, the Blood Moon will appear, the scene becoming more terrifying.
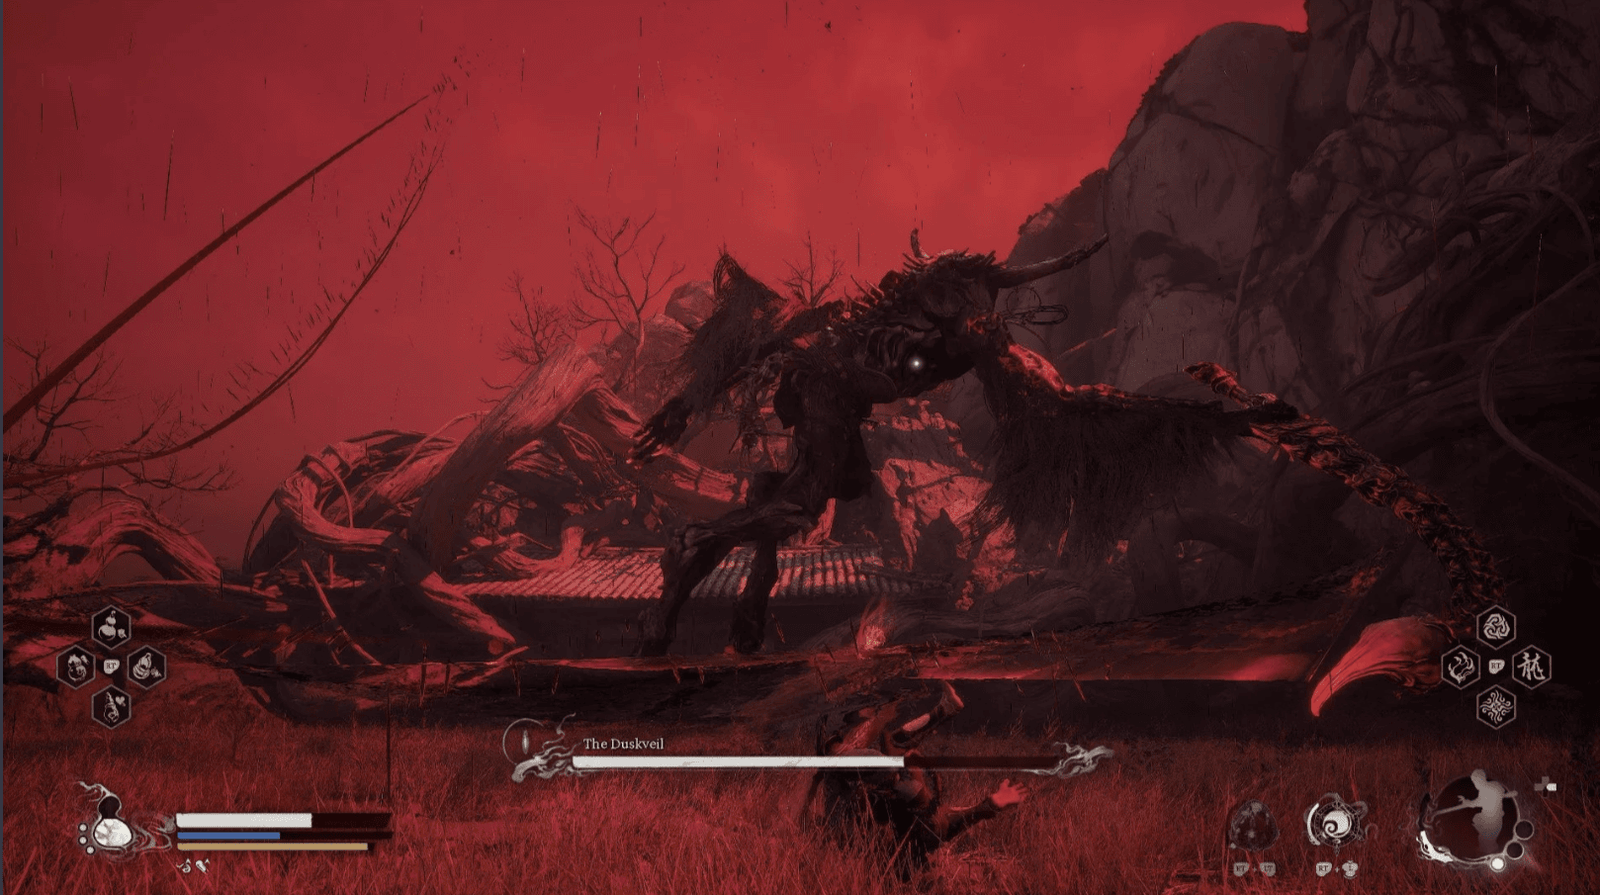
He will become stronger, and most notably, he can pull a bone sword from his mouth.
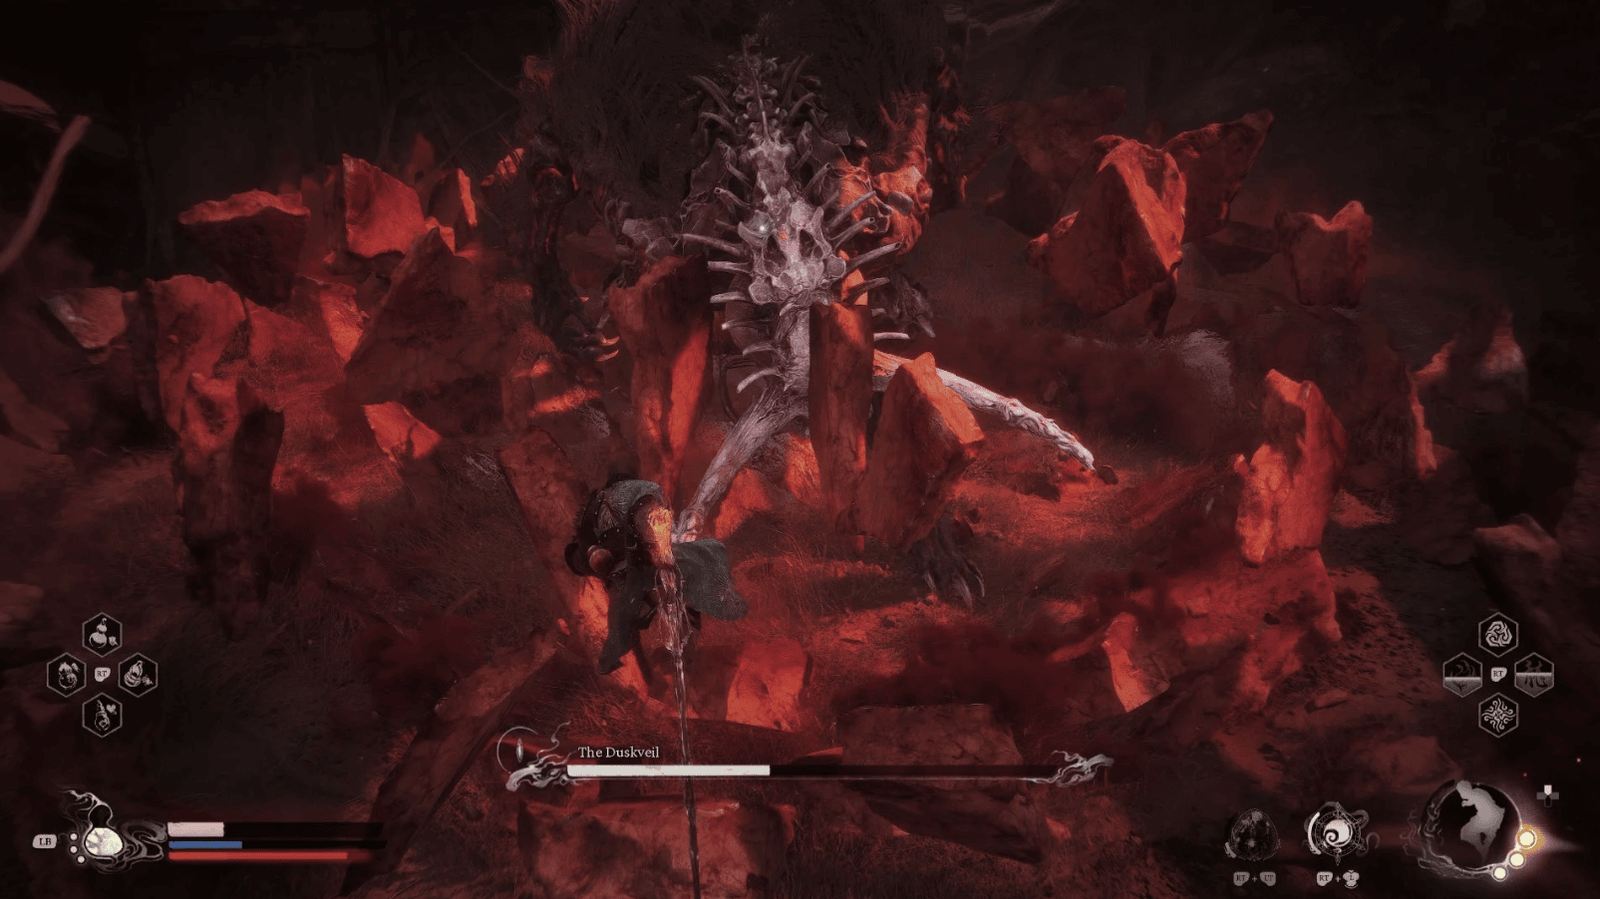
New attacks include Sword Projectiles, Sword Slam, and spewing Blood Mist.
Focus on dodging, especially the sword attacks. Use Spirit Attack and Transformation Spell – especially the Violet Hail Transformation Spell to transform into a Worm Practitioner and become immune to the poison from the Blood Mist. You should also take advantage of Red Tides (fire form), as this is the element that counters The Duskveil.
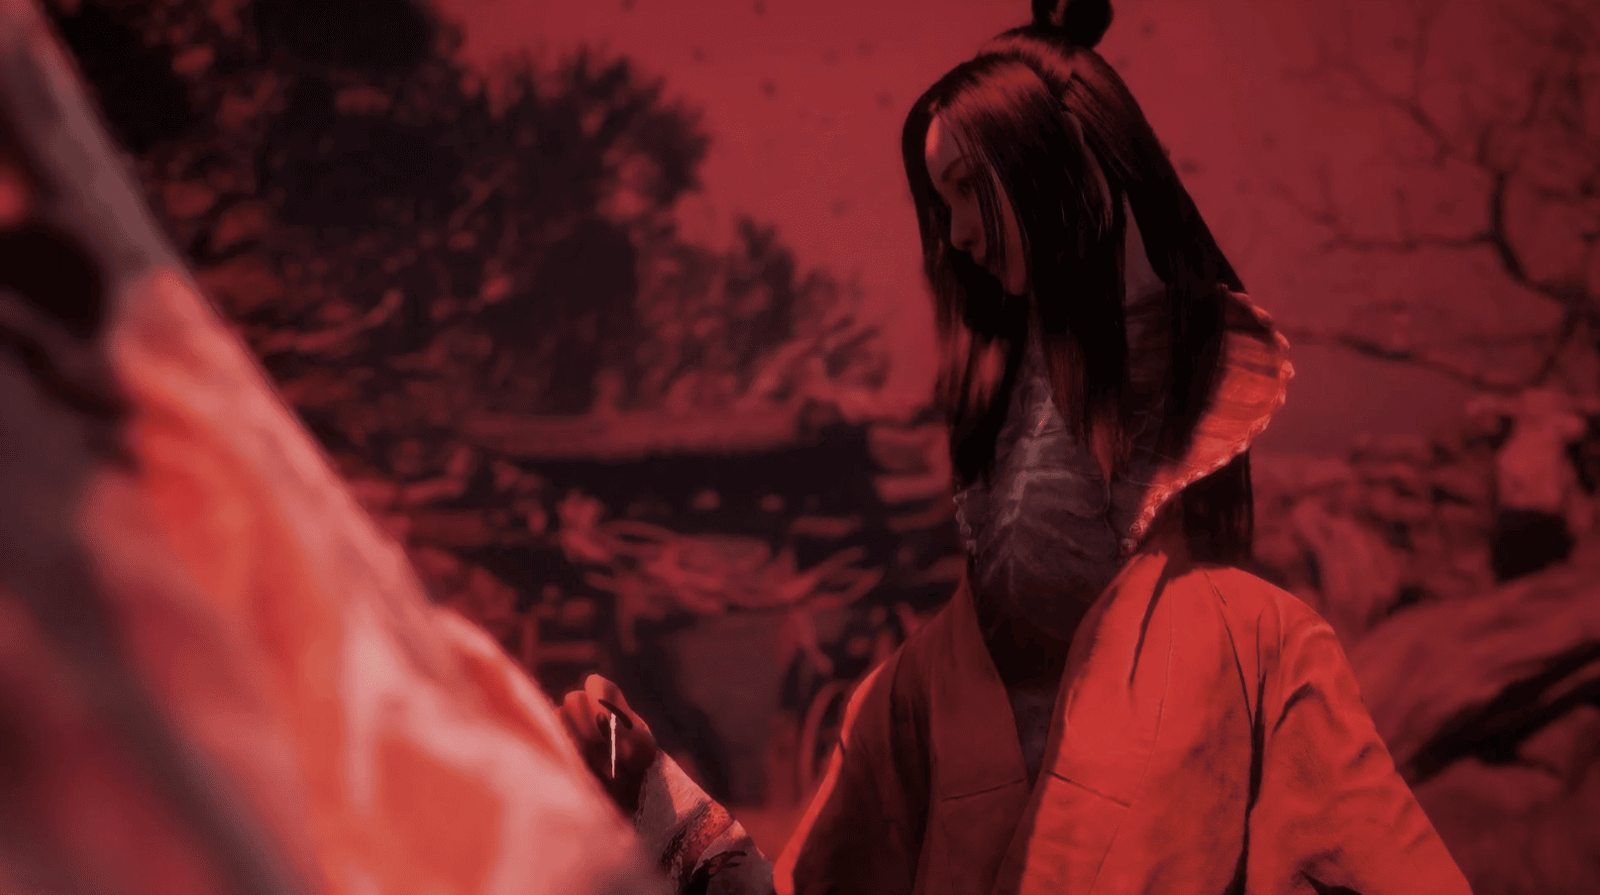
After defeating The Duskveil, Hong Yi will appear and thank you. You will receive the Weaver’s Needle – an extremely important item to confront the final boss of Chapter 4. In addition, you will also receive Double-Combed Rooster Blood Soak, Kun Steel, and The Duskveil’s Horn – materials to complete the Iron-Tough Armor Set and craft the Golden Loong Staff!