
Greetings, heroes! The Destined One has arrived at the fiery Flaming Mountains in Chapter 5: Golden Child, Crimson Blood of Black Myth: Wukong. Before us lies the Woods of Ember, a part of the Flaming Mountains, the first trial, riddled with Revenants and traps. Thorough exploration is the key to survival, collecting all 5 elemental carts, unlocking secrets, and finding the way to Furnace Valley to face the Red Boy.
Ashen Pass I
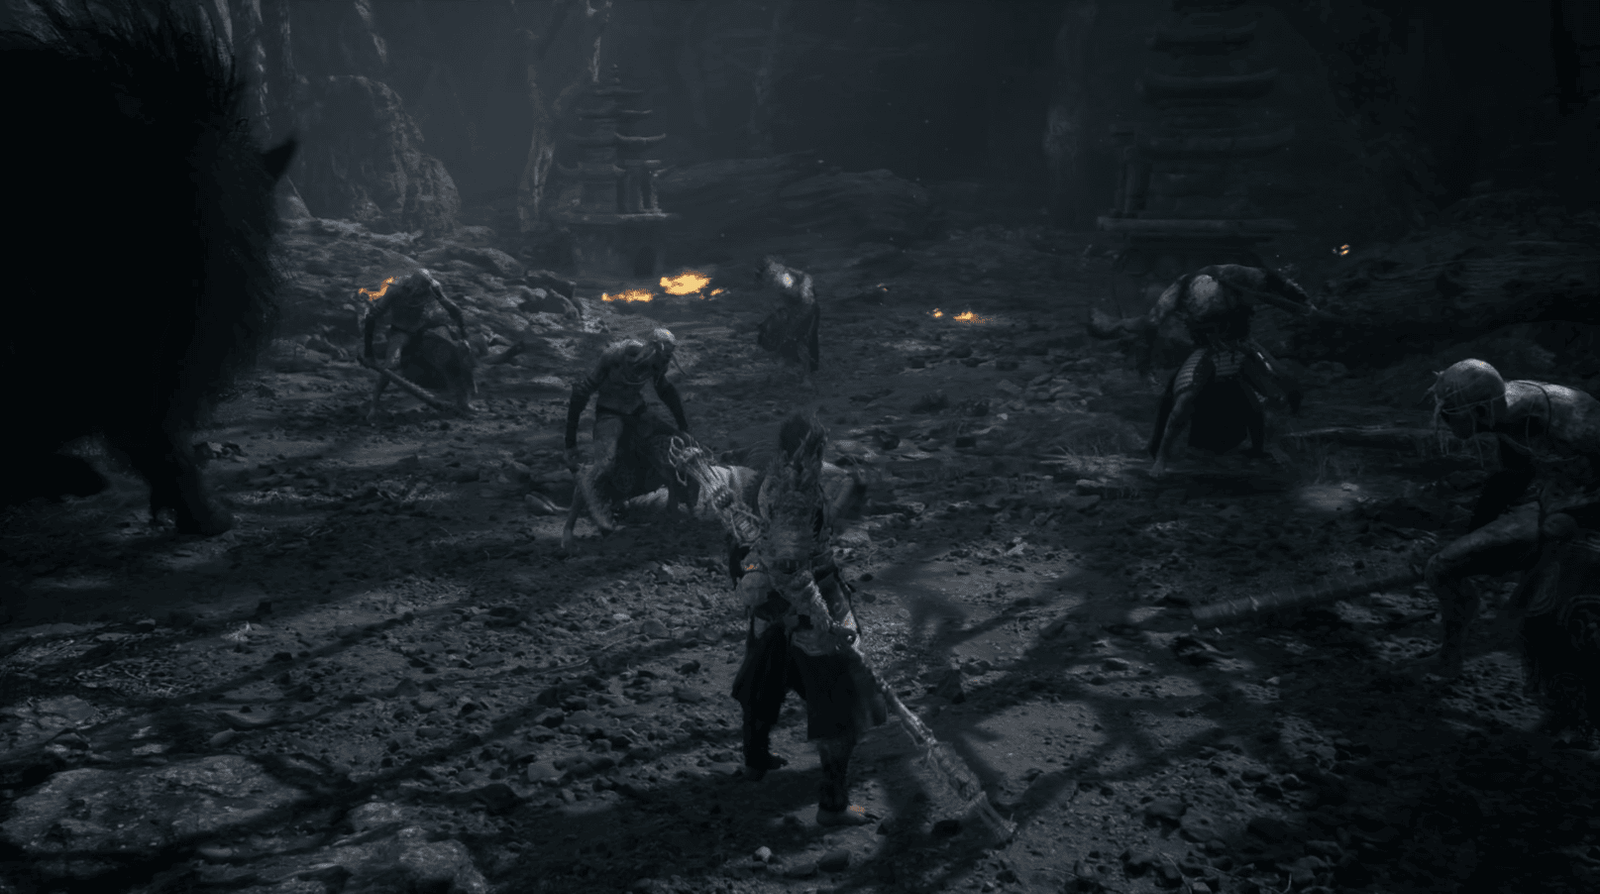
Just entering Ashen Pass I, the entrance to the Woods of Ember, The Destined One is blocked by ferocious Revenants.
Don’t worry, Zhu Bajie has come to help. Heroes, quickly join old Pigsy in destroying them. Be careful, the Revenants are slow but quite tough, and don’t forget to dodge their attacks.
After defeating the minions, heroes, control The Destined One to move forward, opening the large stone door to go deeper into the forest.
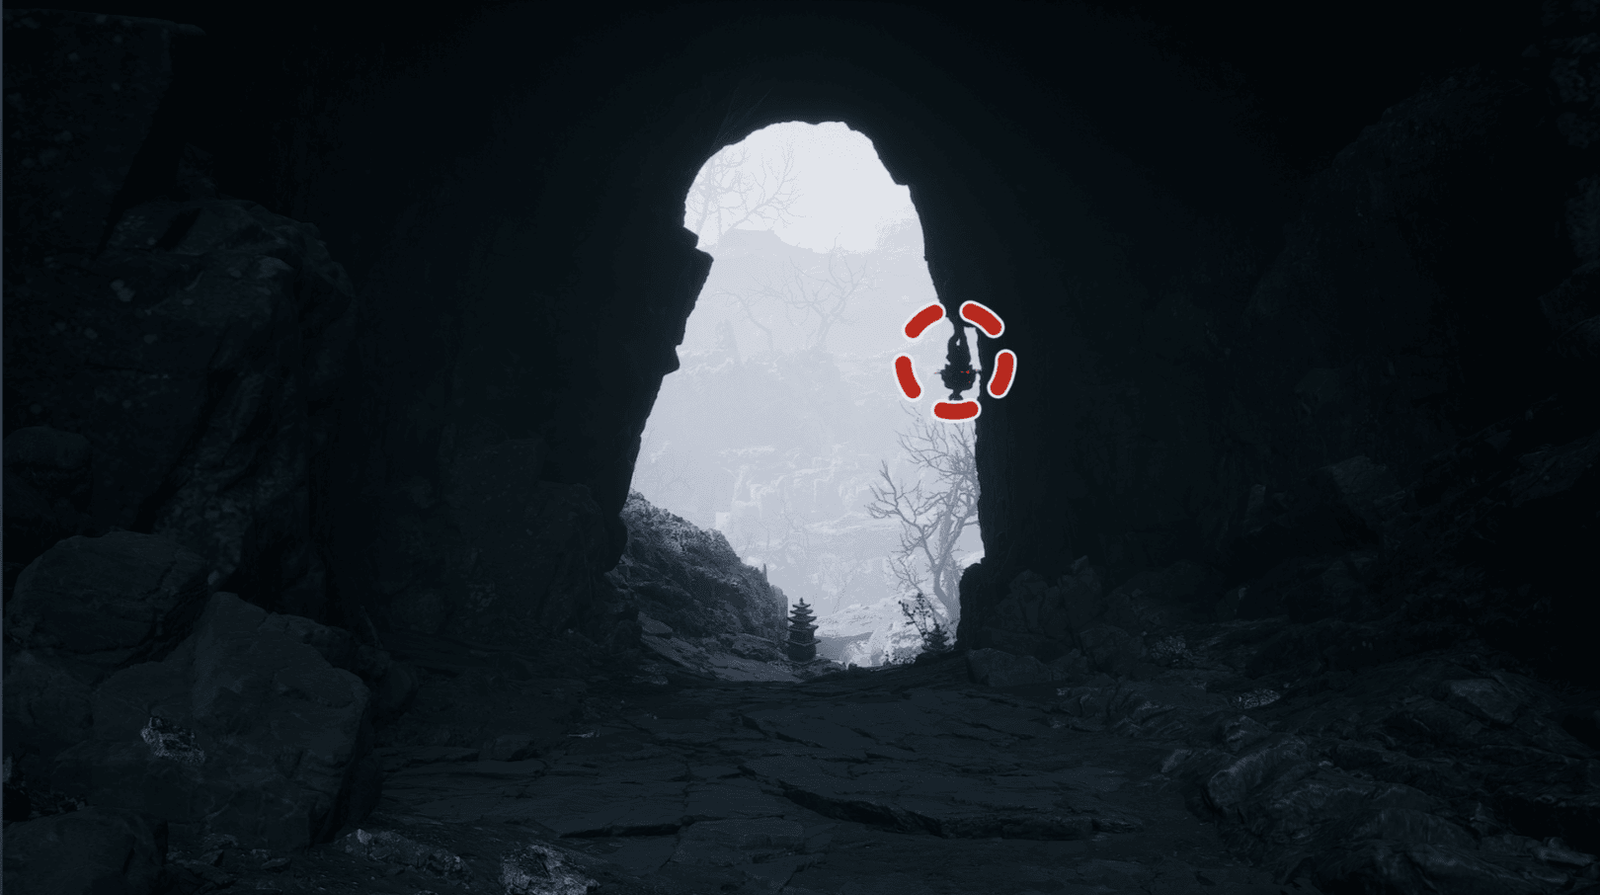
Going through a short tunnel, heroes will immediately see the Ashen Pass I Shrine located in front, this is where heroes can rest and upgrade equipment.
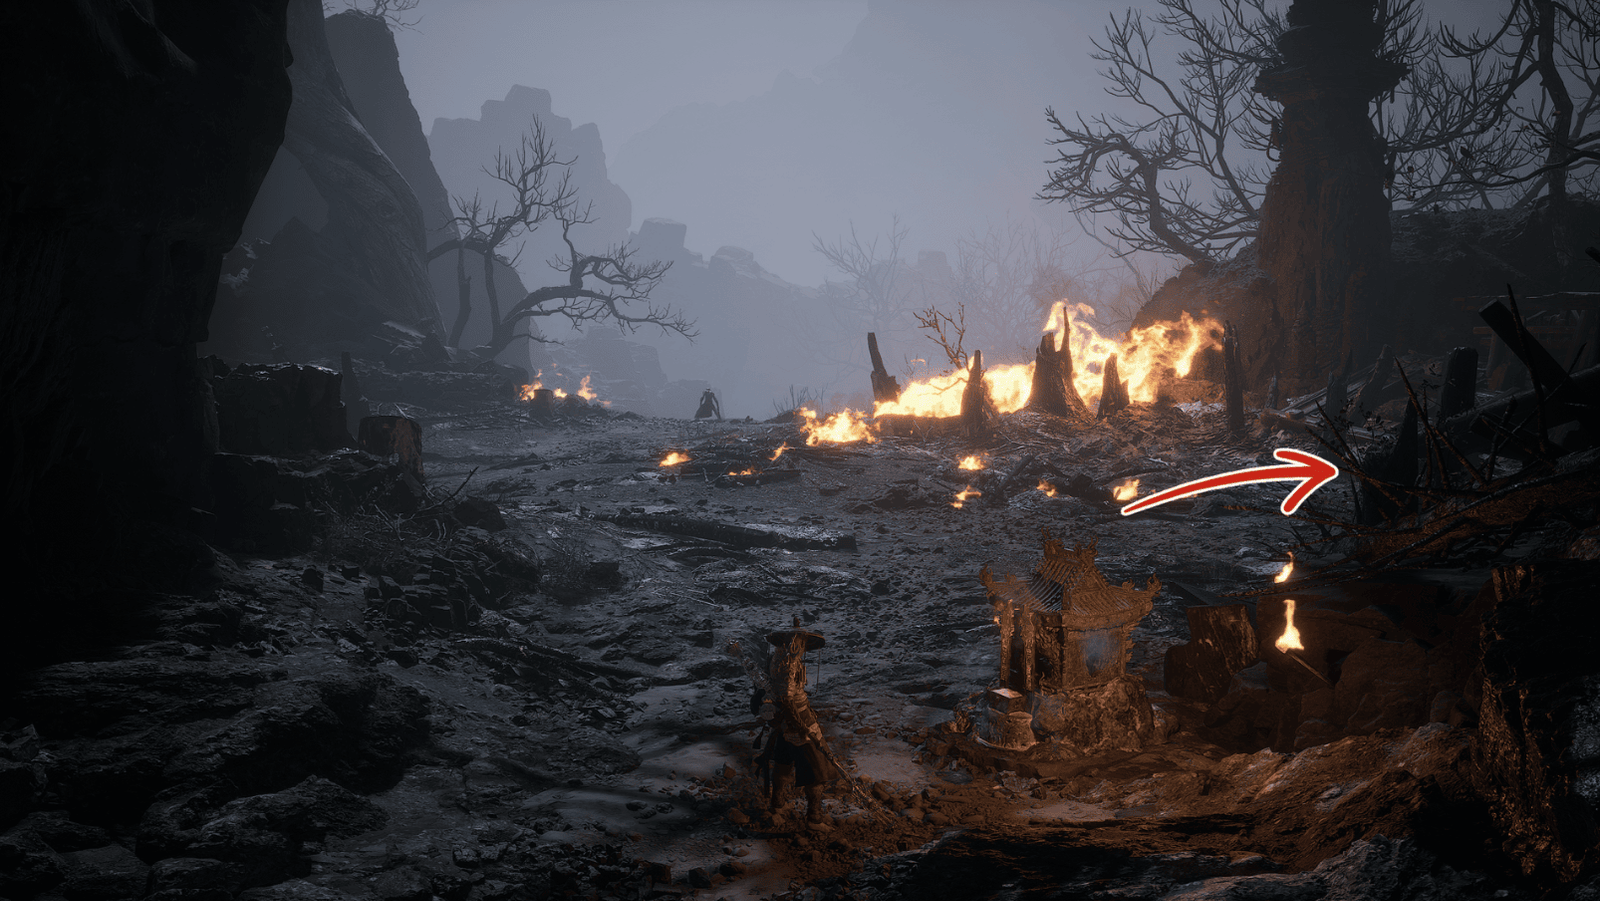
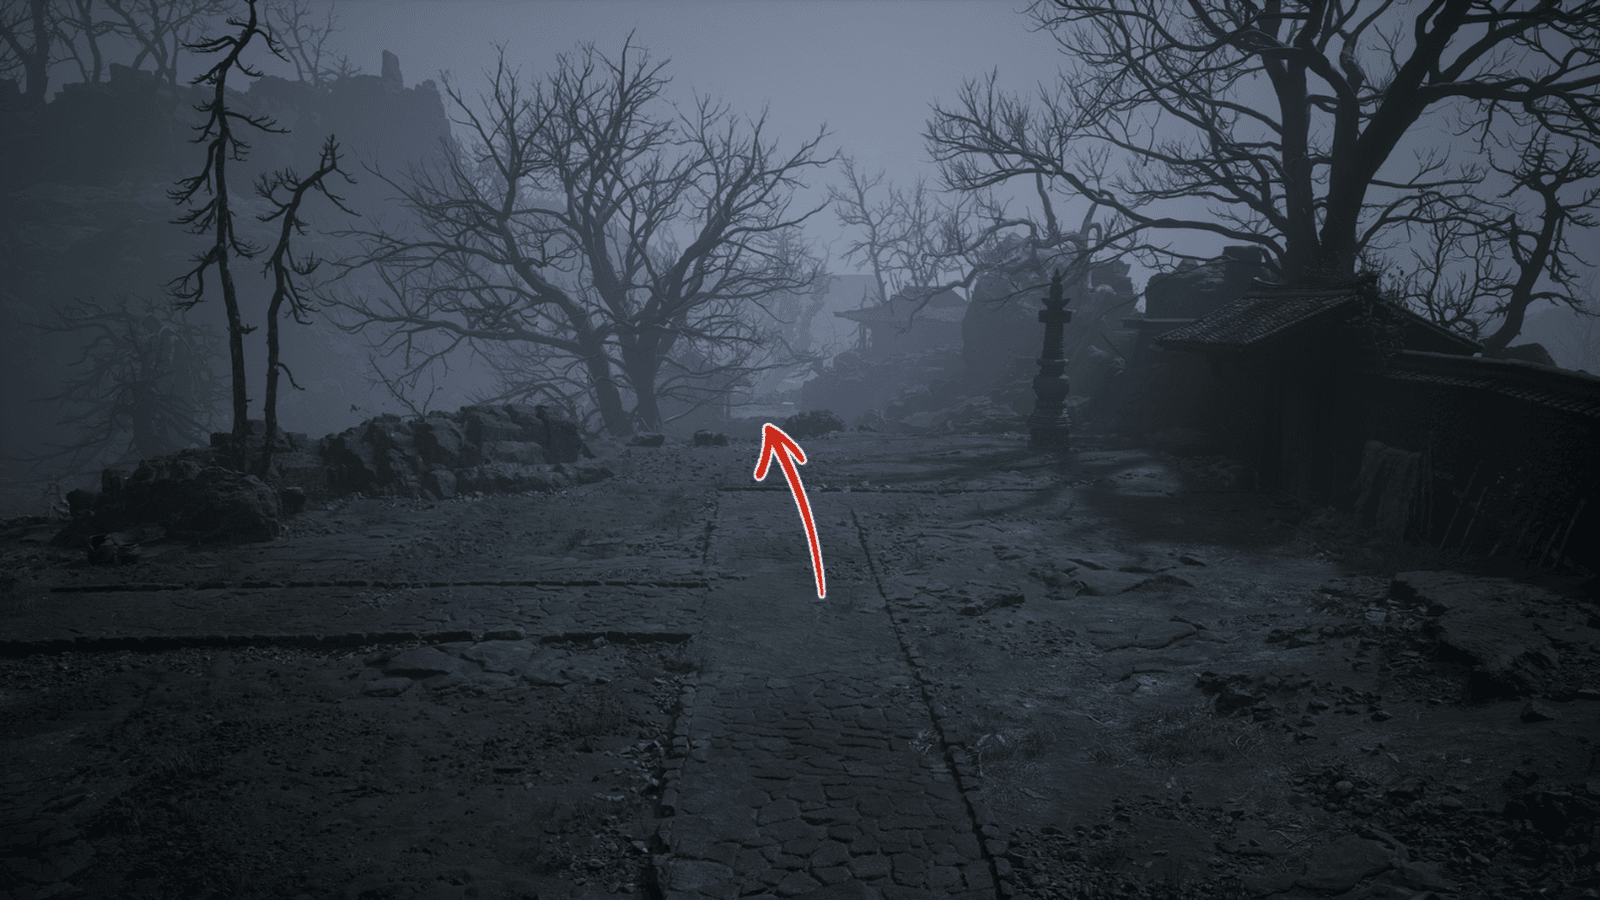
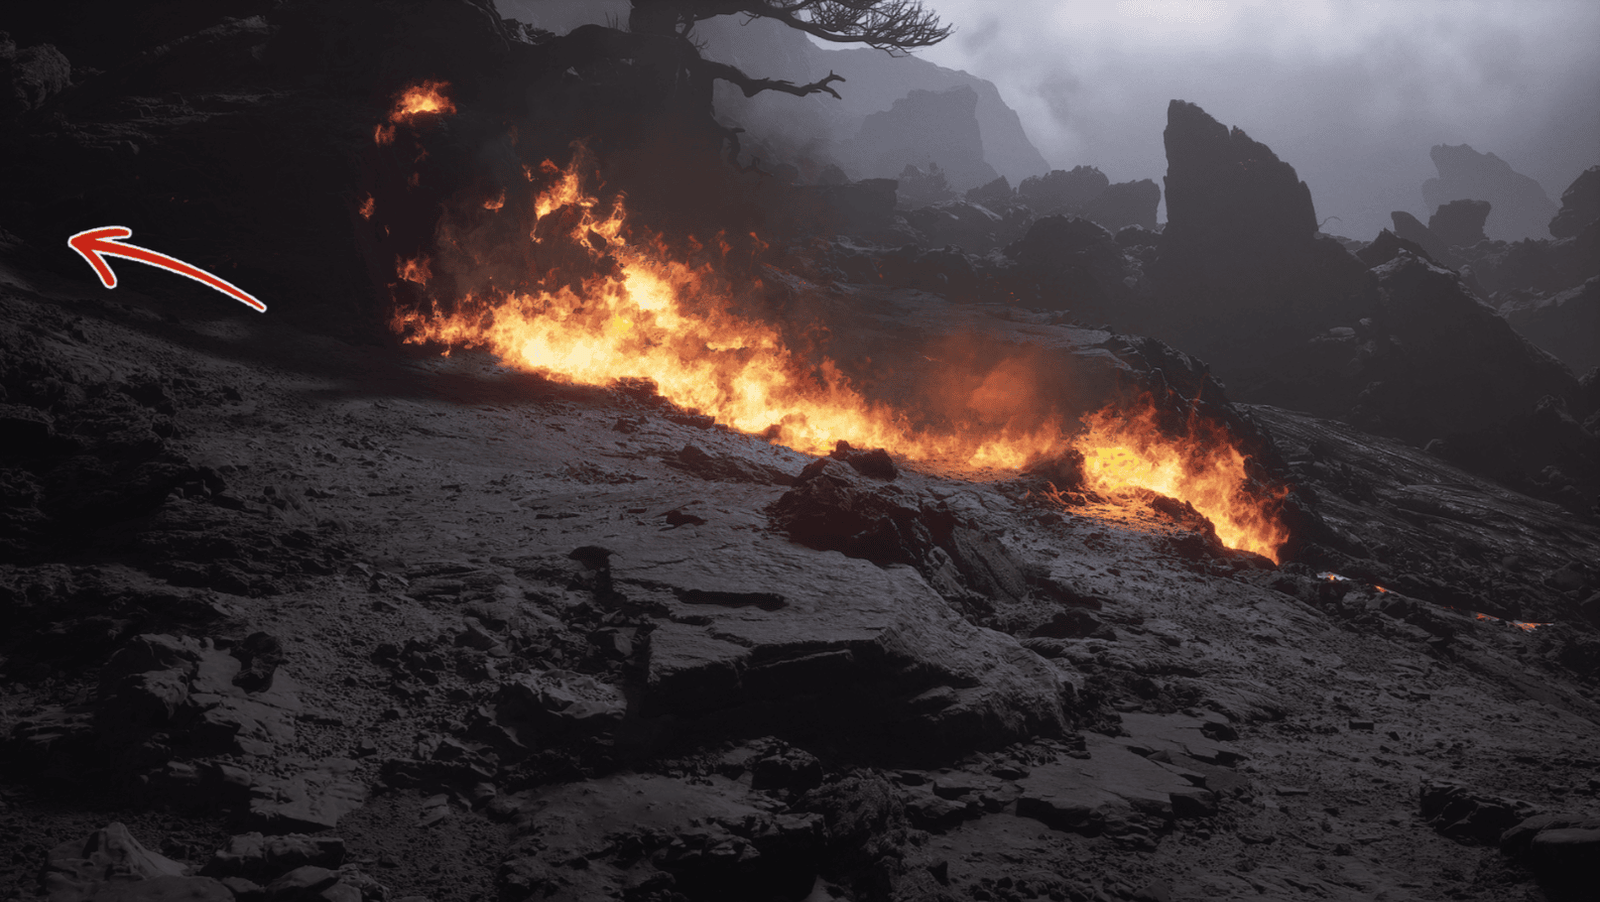
Leaving the Ashen Pass I Shrine, move forward, heroes will see the Woods of Ember area engulfed in flames, with a Revenant guarding it. Be careful, fire will continuously fall from the sky like rain! Heroes, collect the Fire Bellflower on the right, near the Buddha statue, for self-defense.
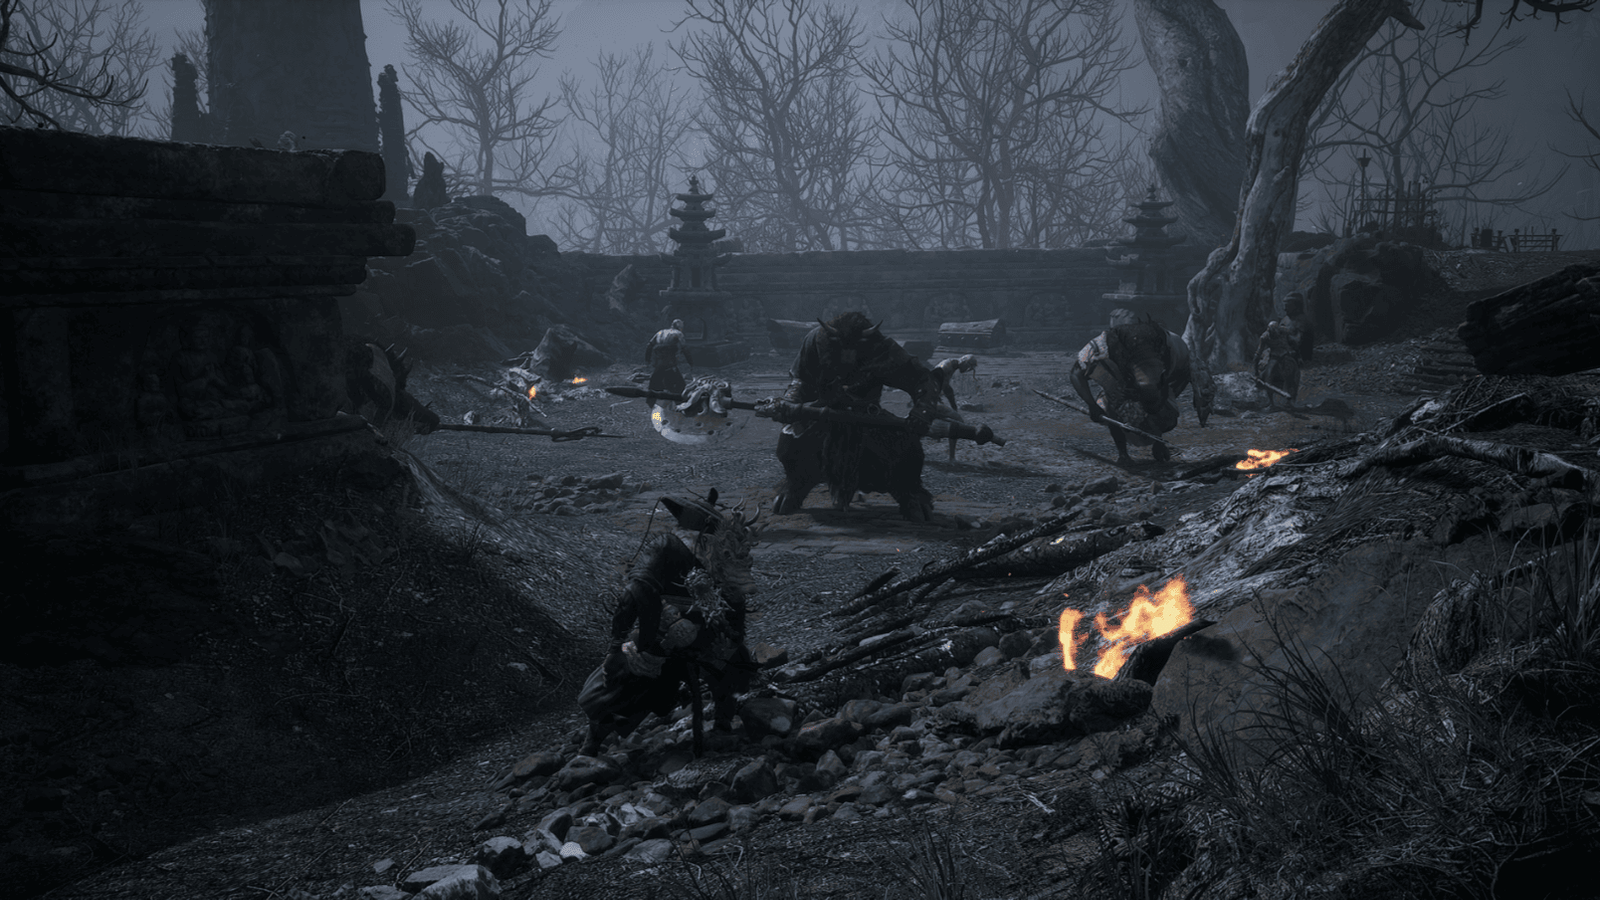
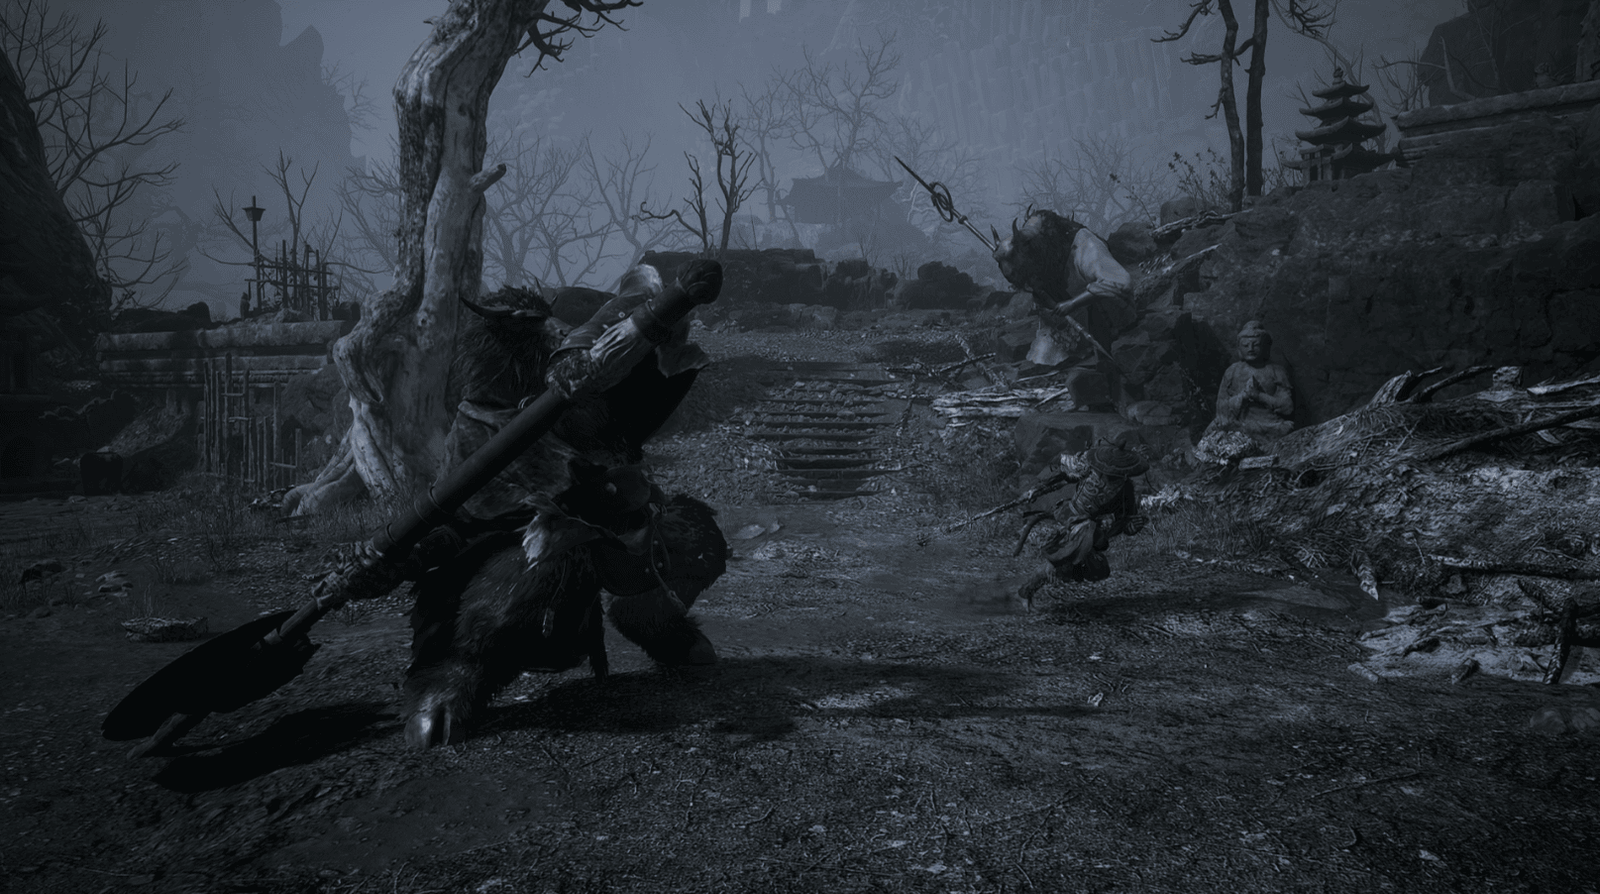
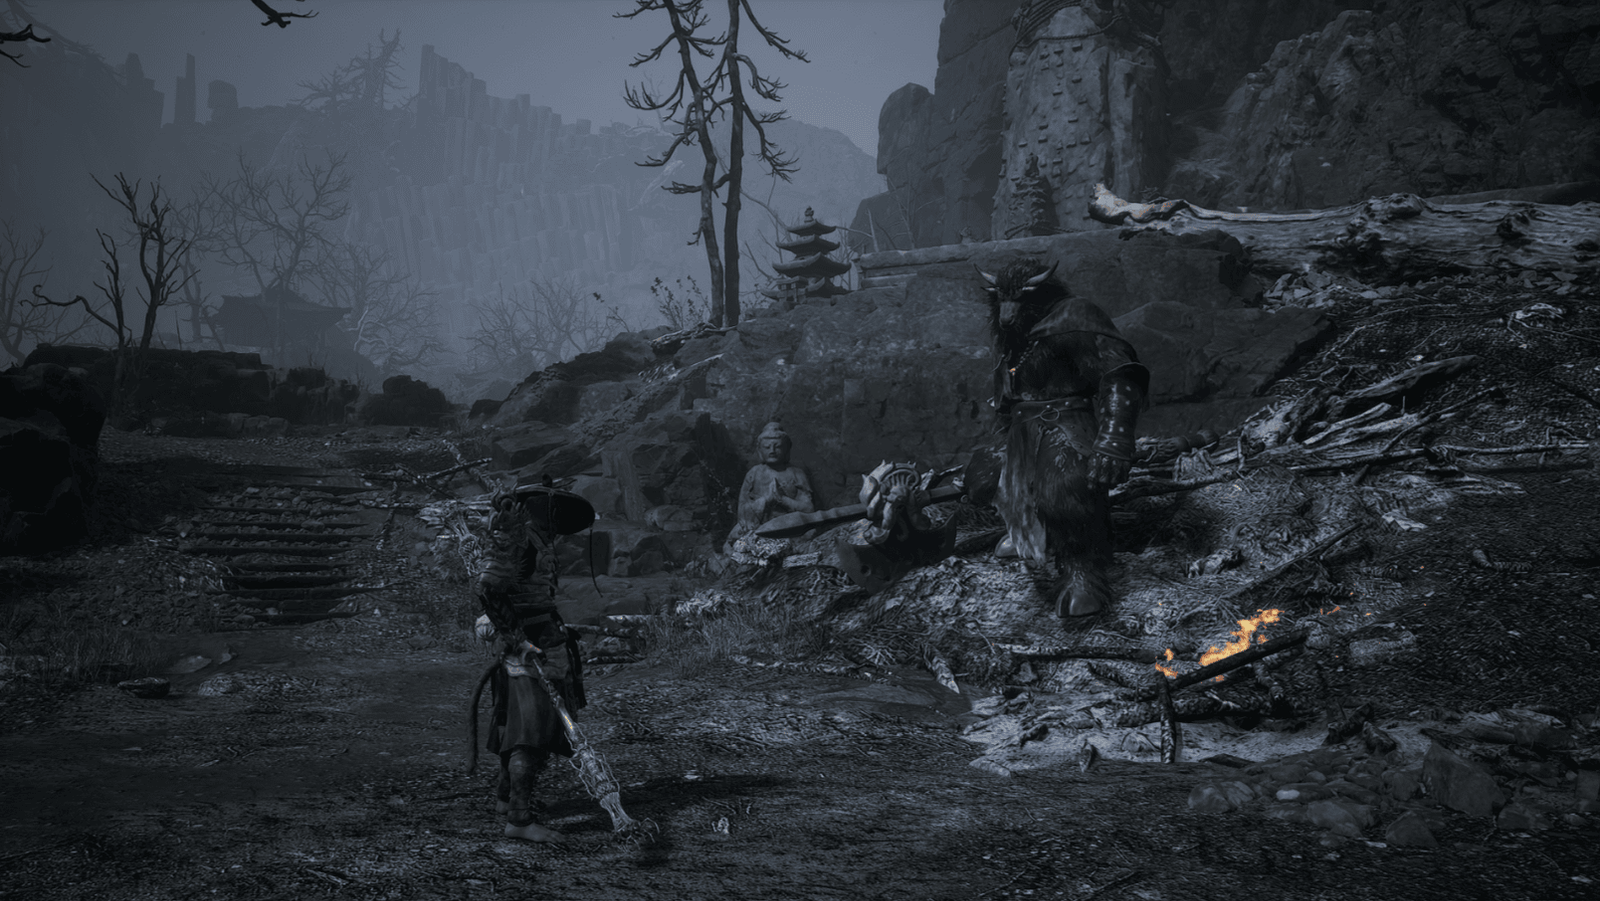
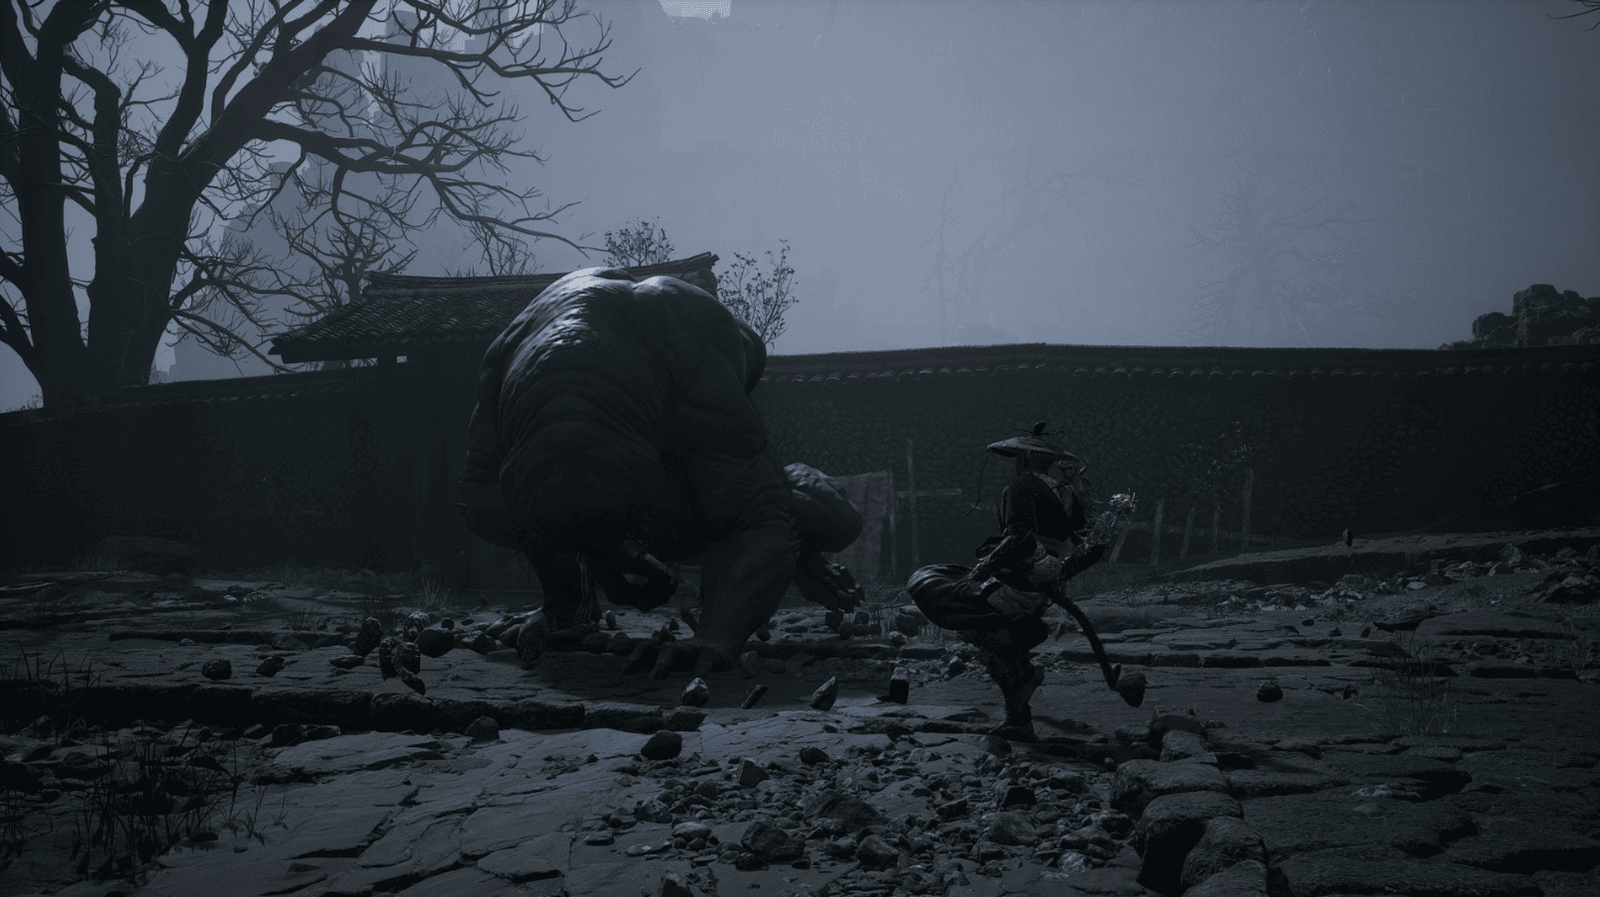
Continuing forward, heroes will encounter the Pale-Axe Stalwart (a mini-boss) along with Revenants and Bull Sergeants. Strategy: Don’t bother with the minions, focus on the Pale-Axe Stalwart. He uses a large axe, his attacks are slow but very strong. Be careful to dodge, especially when he jumps up and slams his axe down. Heroes can lure him into the falling fire area to deal extra damage. Utilize quick attacks and Spells to defeat him. Heroes should equip the Fireproof Mantle to reduce fire damage.
Pale-Axe Stalwart’s Quest
After defeating the Pale-Axe Stalwart, he will kneel, becoming an NPC. Talk to him, and you will learn that he wants you to destroy the five elemental carts that are sealing the way.
Keep talking until he repeats his dialogue, so the quest will be fully activated. He also reveals that these carts hold a bigger secret, which we will find out later.
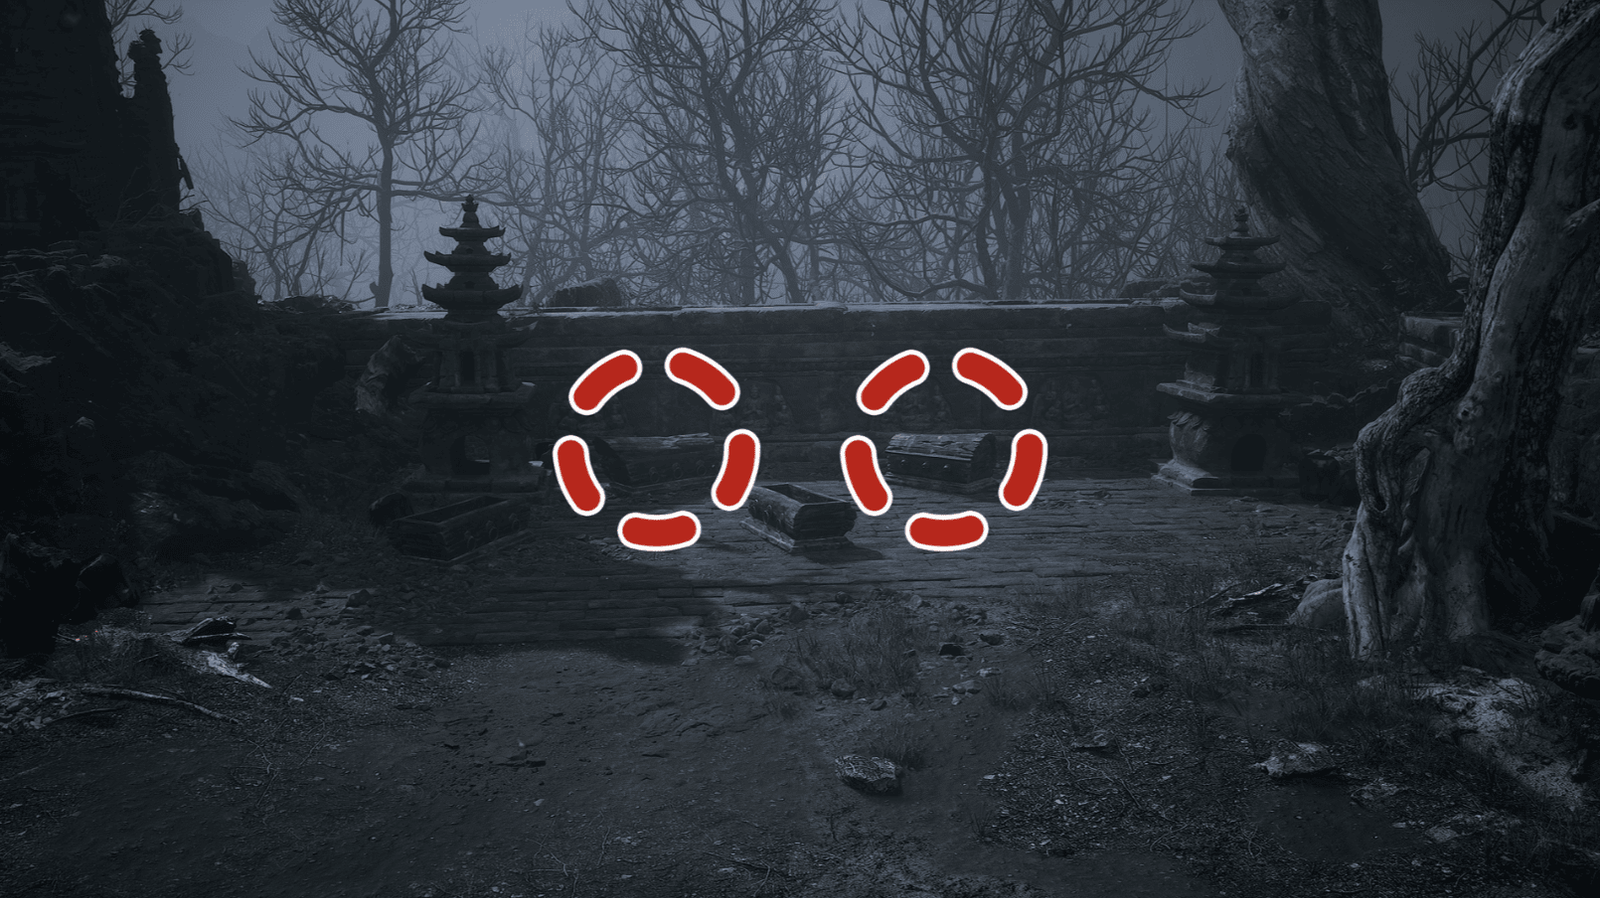
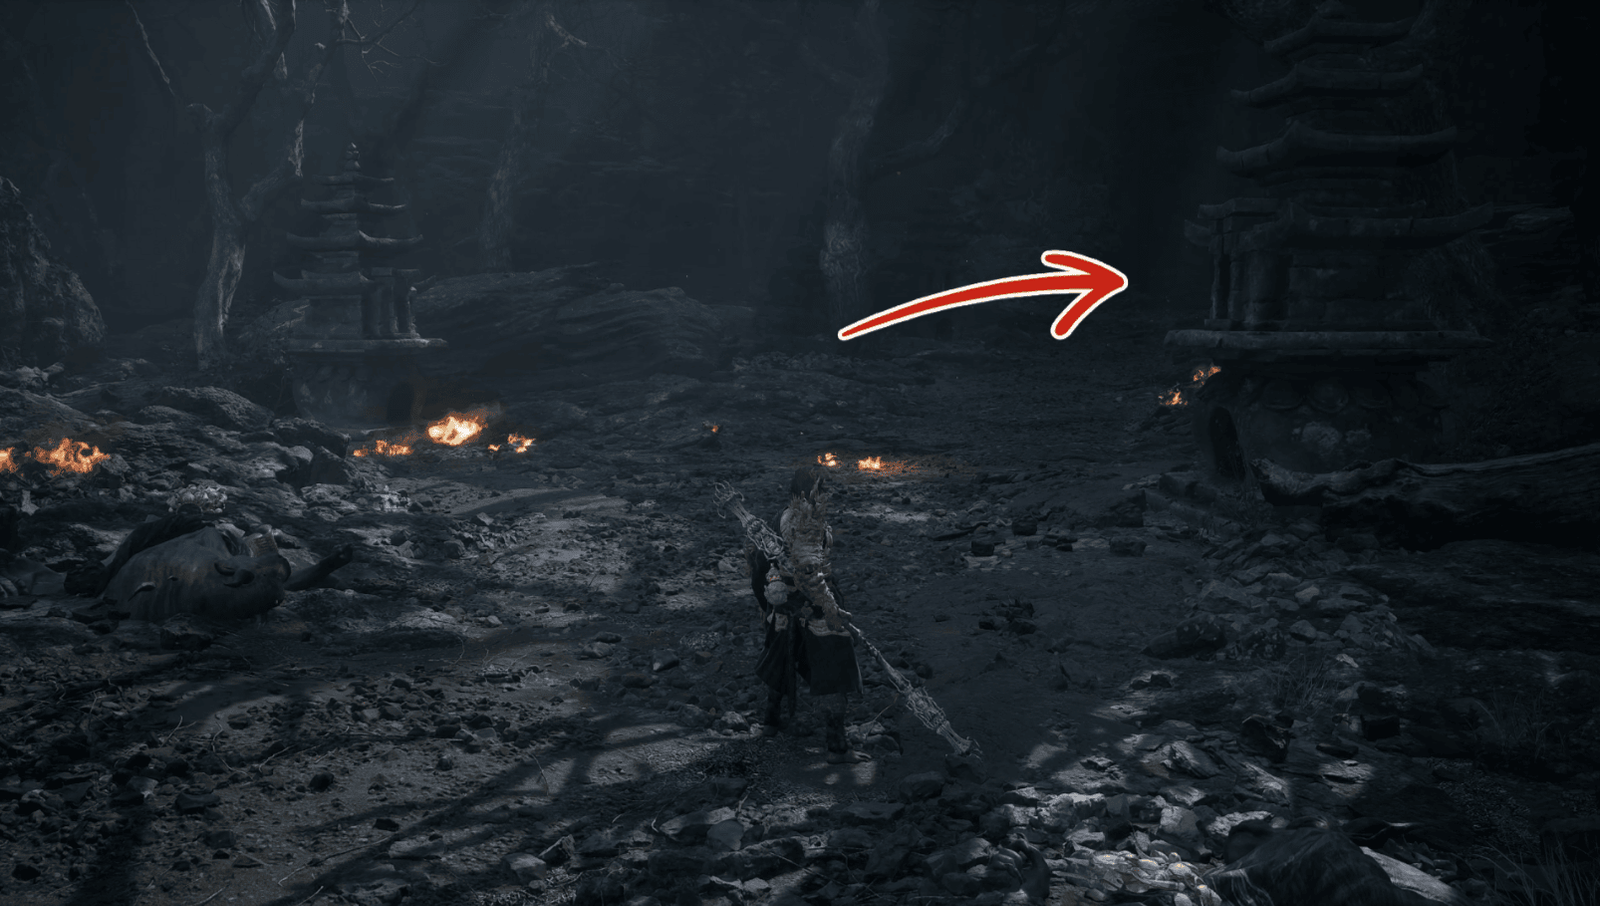
Before leaving, explore this area. There are four treasure chests opposite the entrance, two of which are already open, but the other two contain Cold Iron Leaves, Will (experience points), Mind Core, and Gold Tree Core.
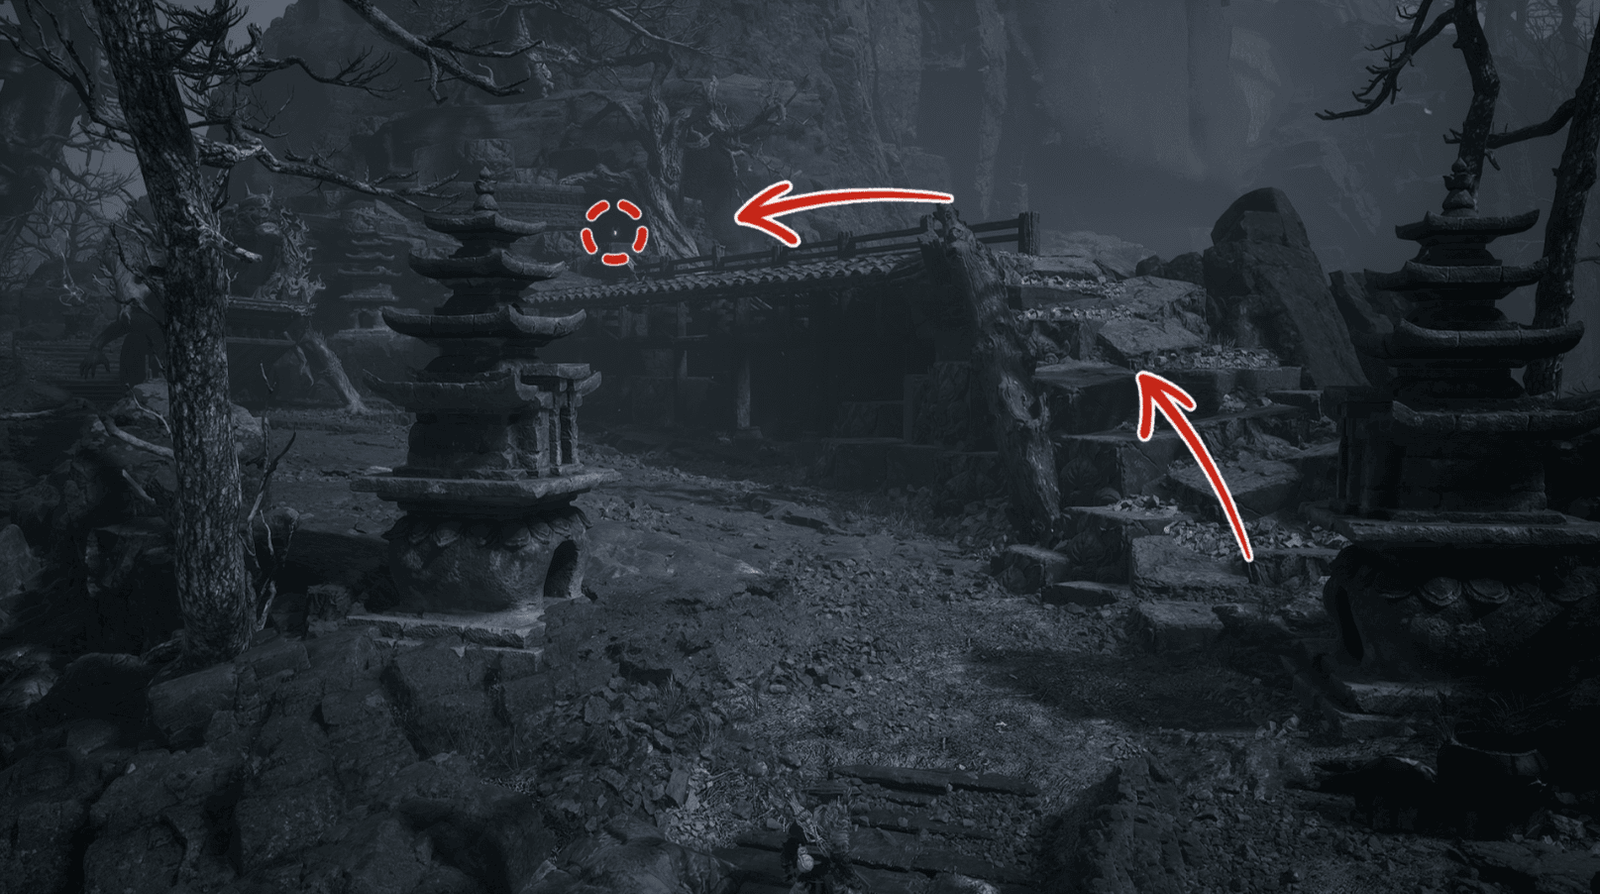
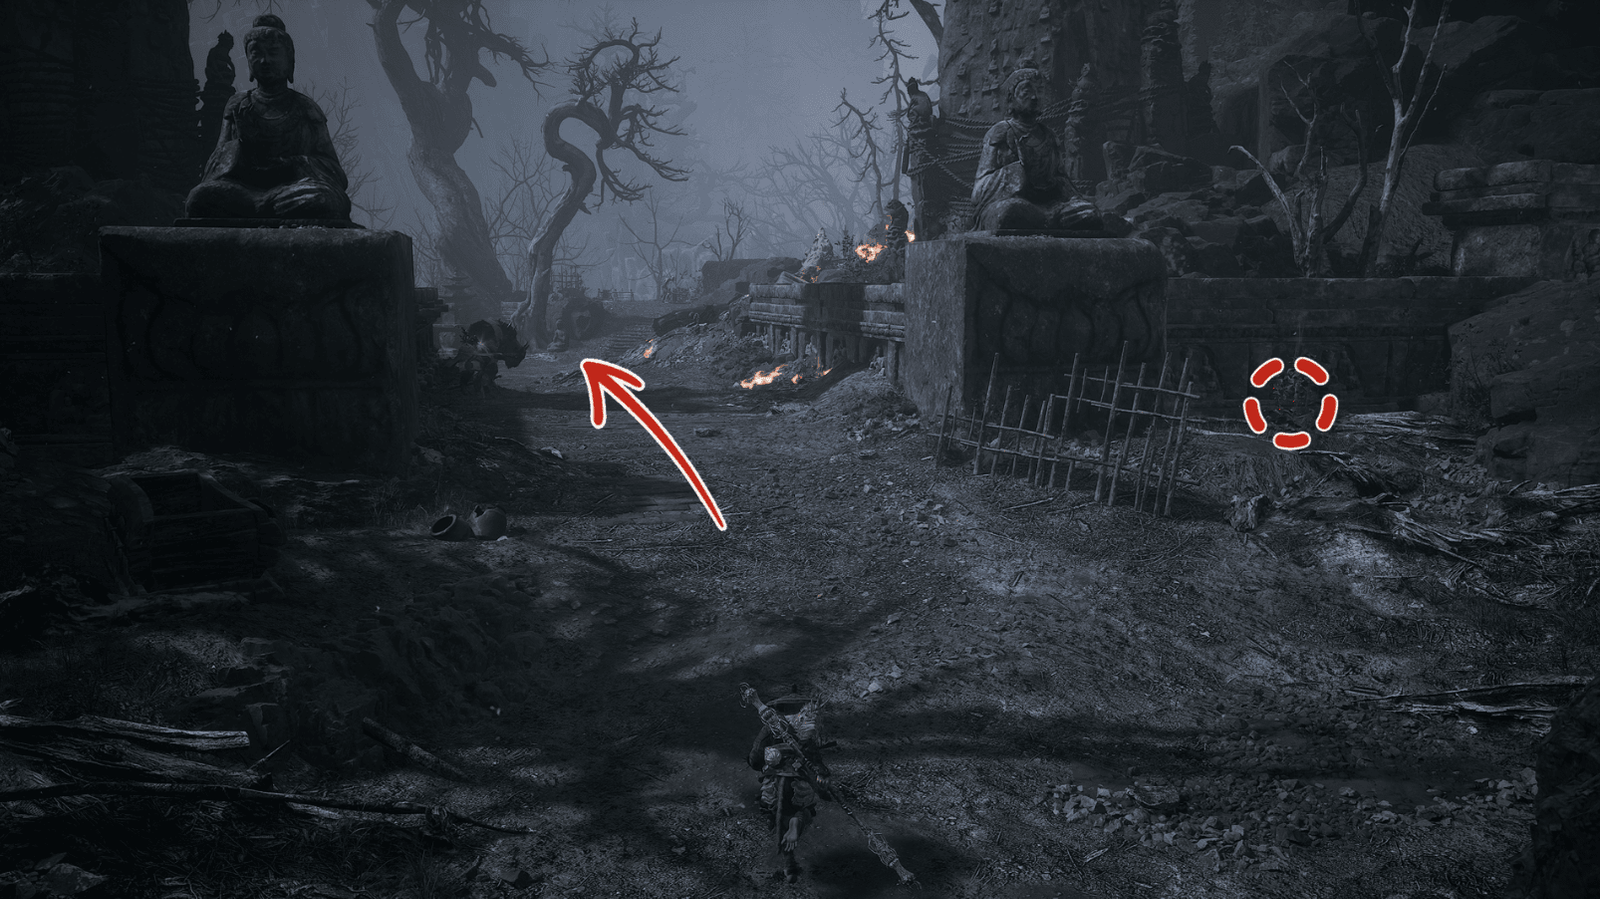
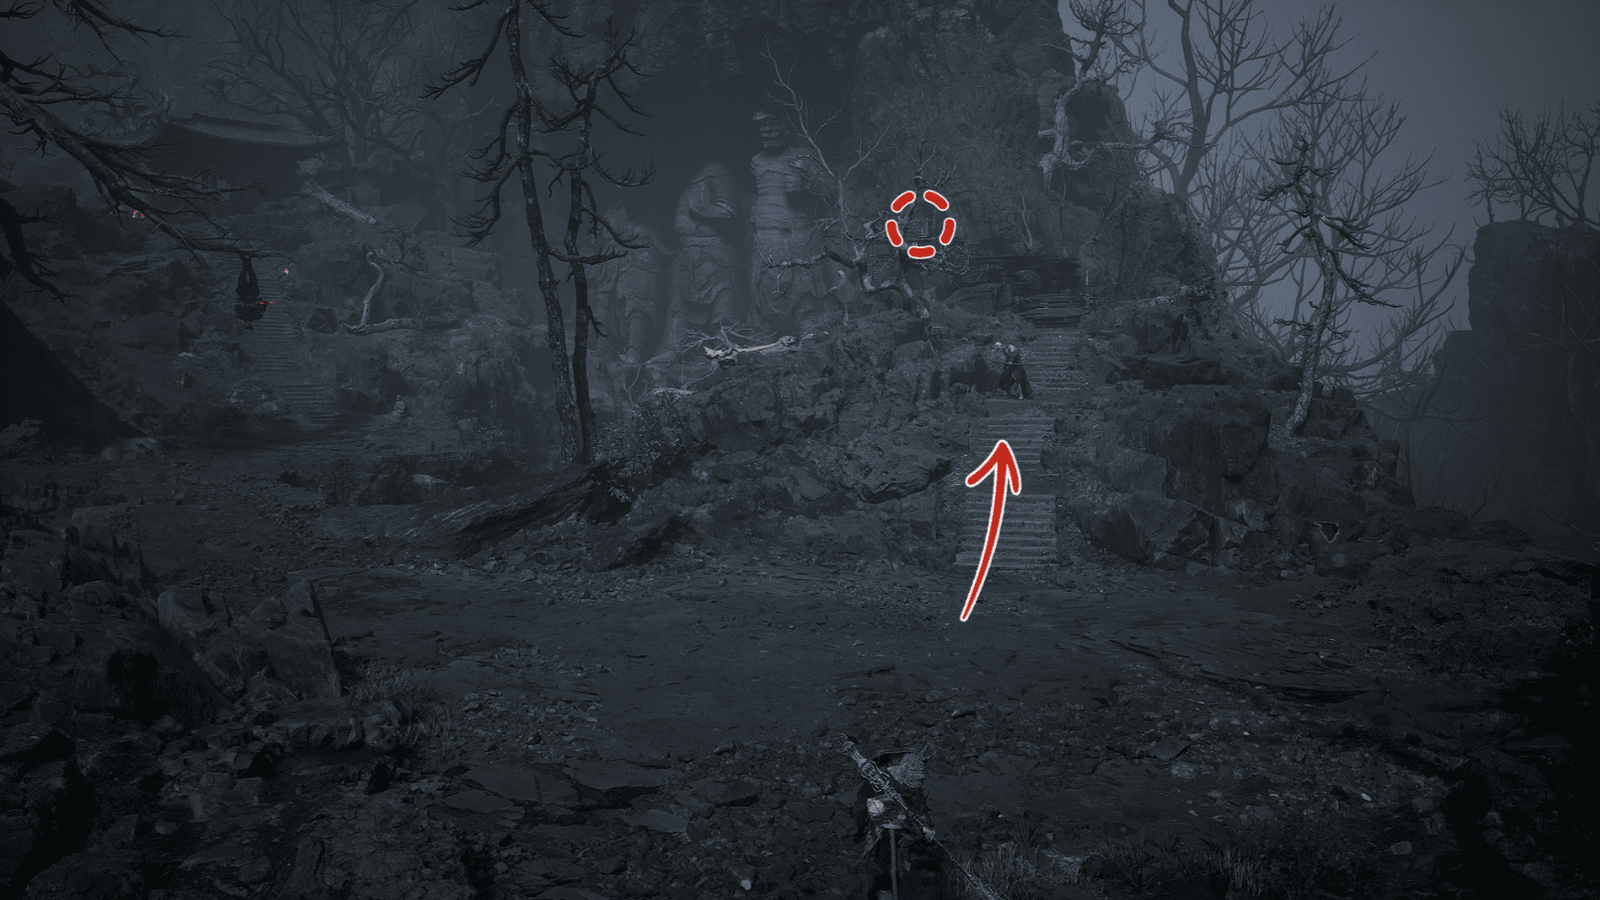
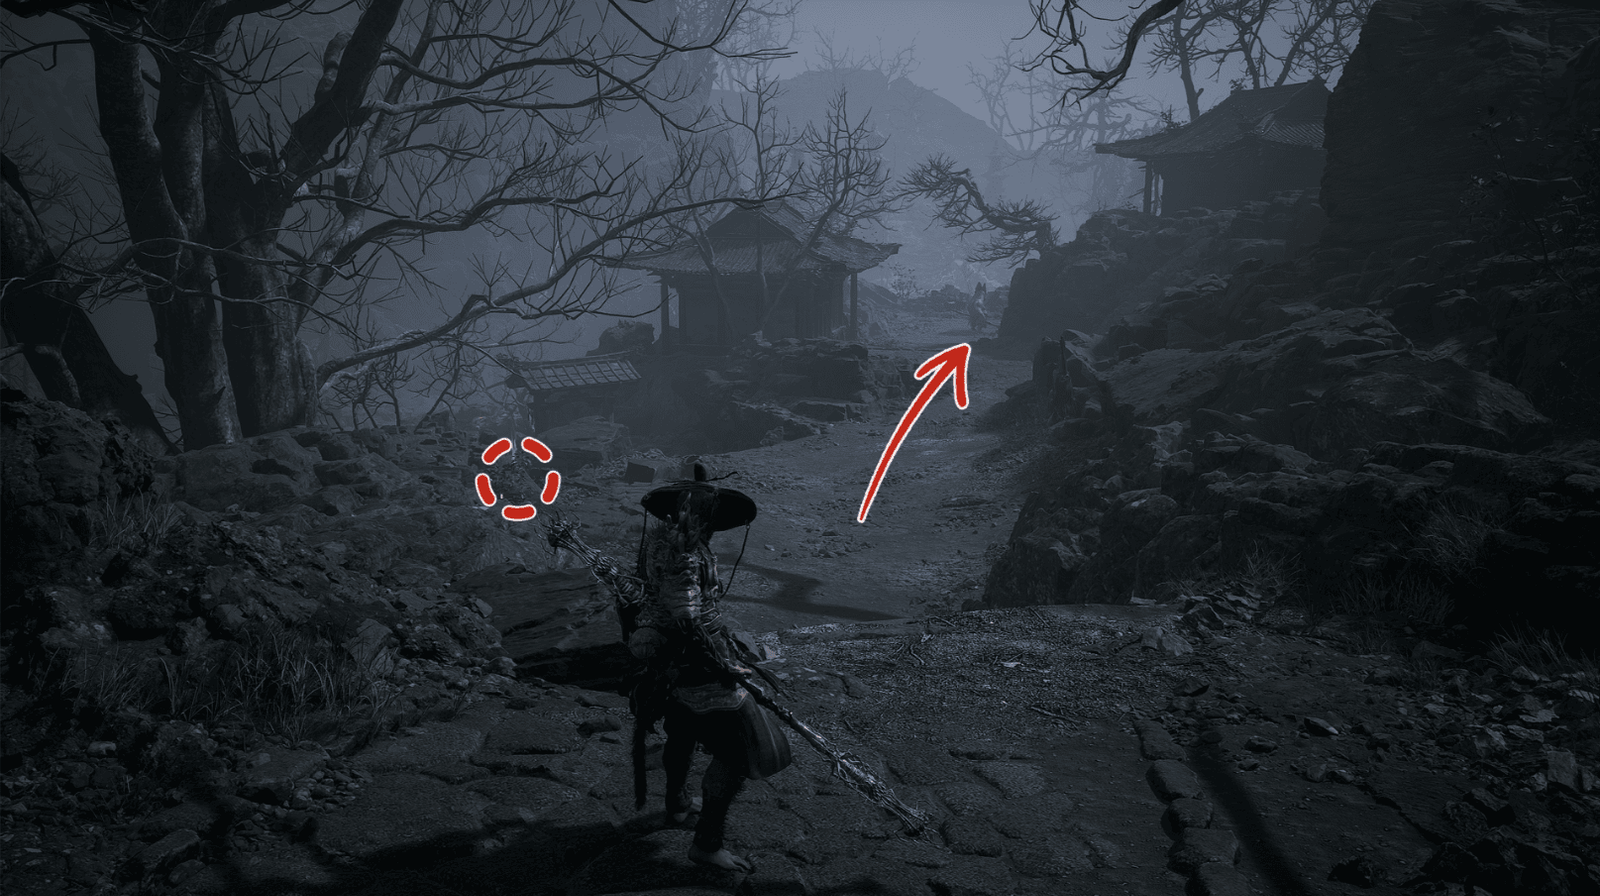
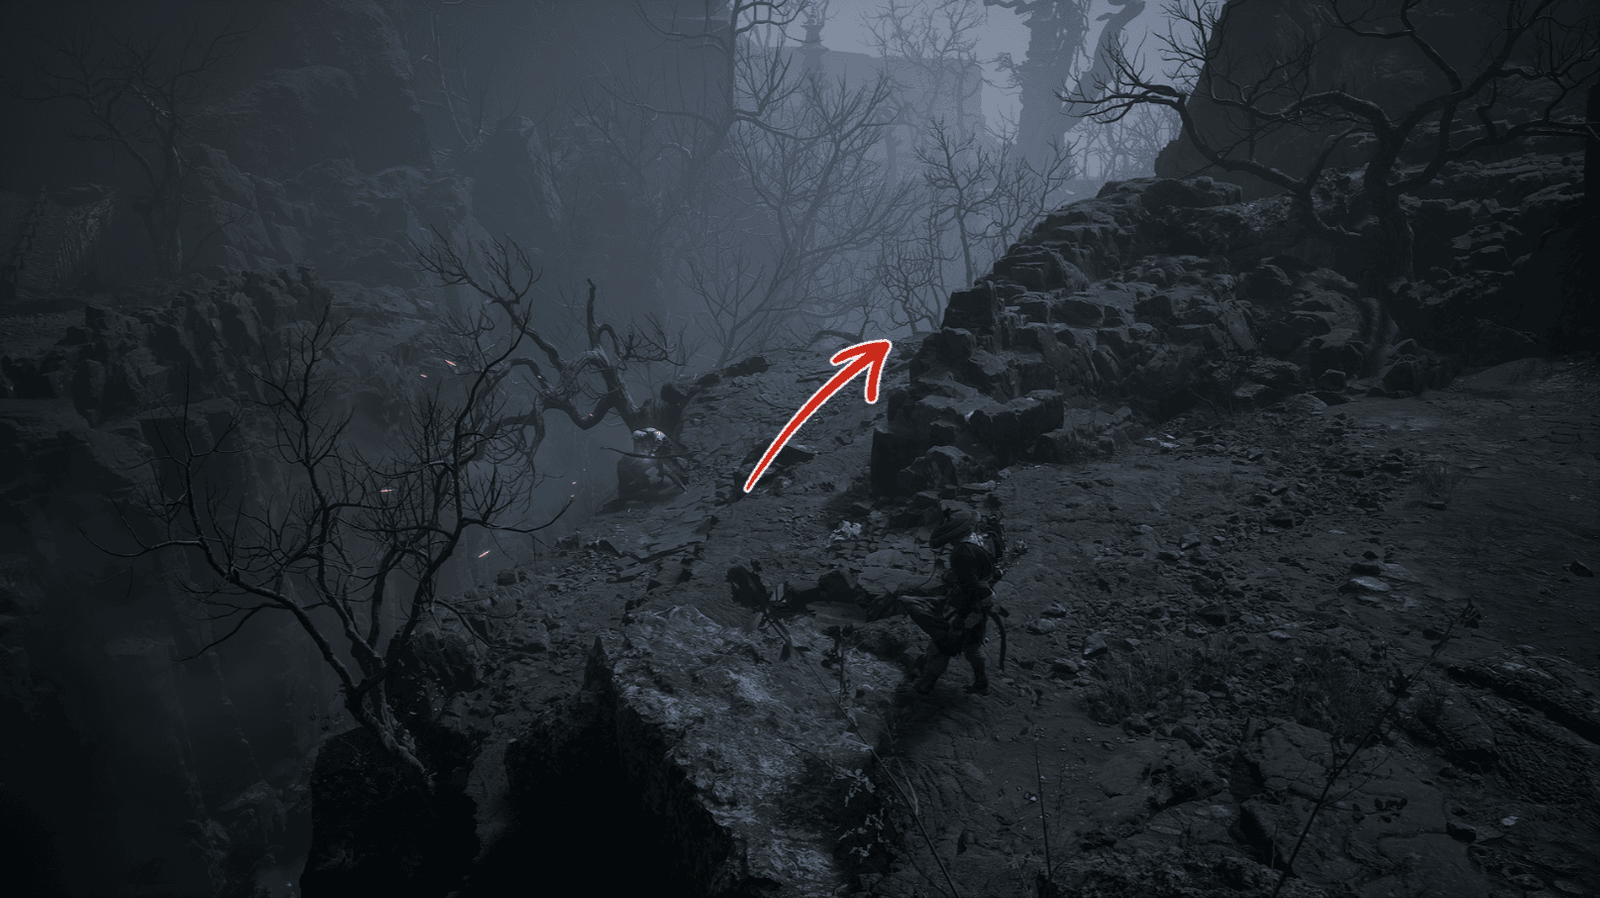
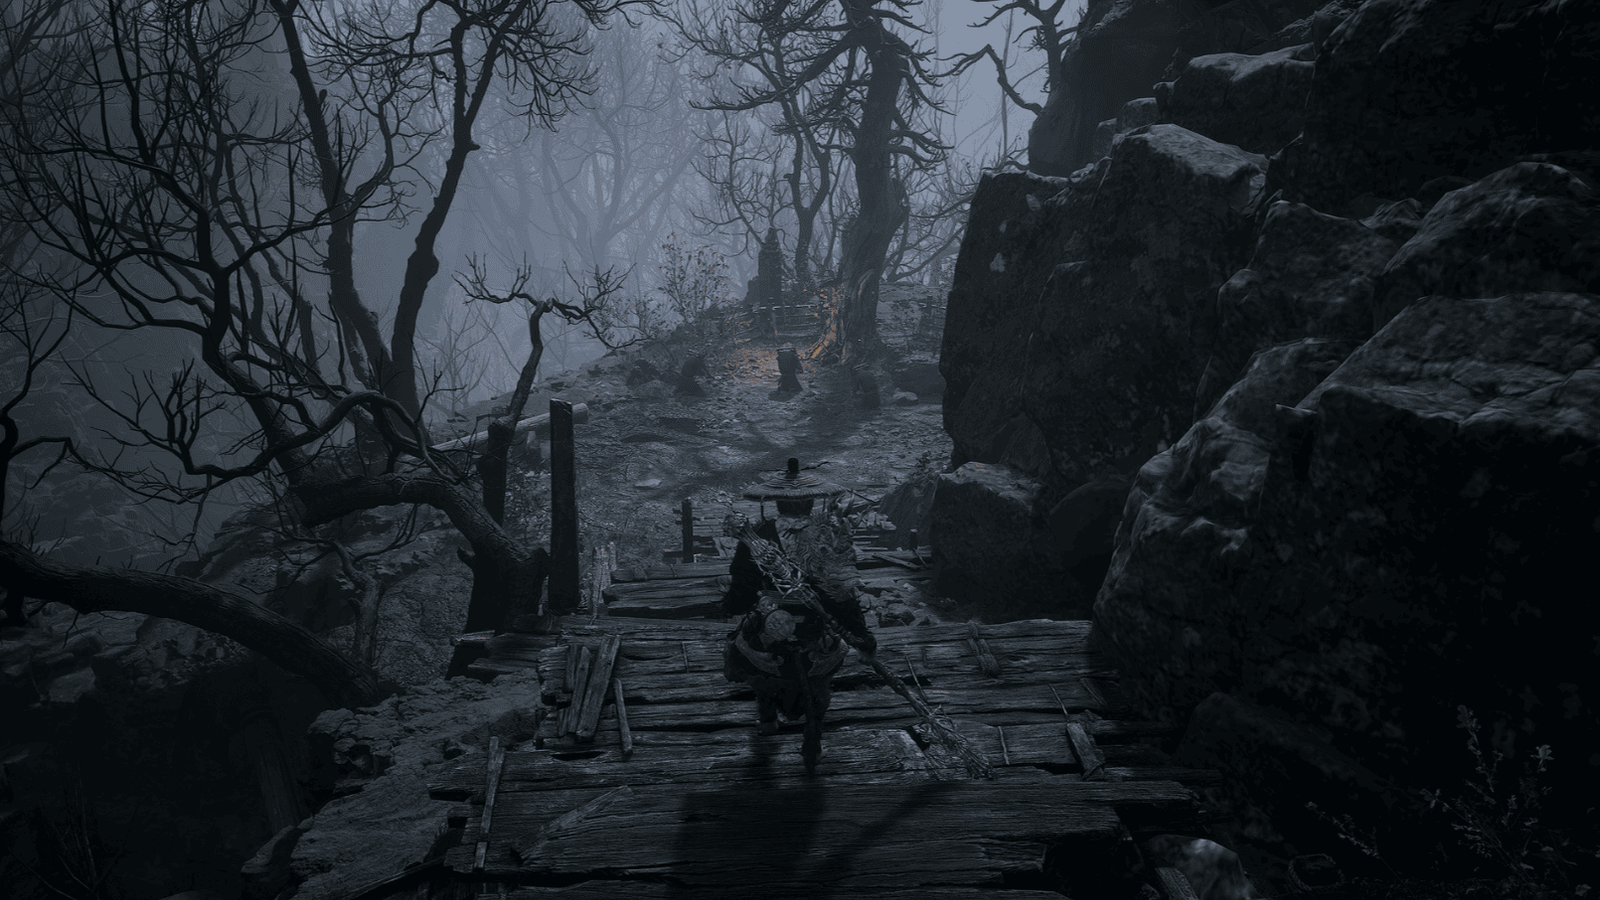
Next, climb the stairs on the right, you will find another treasure chest containing gold and a Fire Bellflower. Secret: At the top of the stairs, there is a Wisp hidden on the roof of the ruined building on the left.
Jump onto the roof to absorb it, this is a shortcut leading to the Brown-Iron Cart and Keeper’s Shrine: Camp of Seasons.
Camp of Seasons
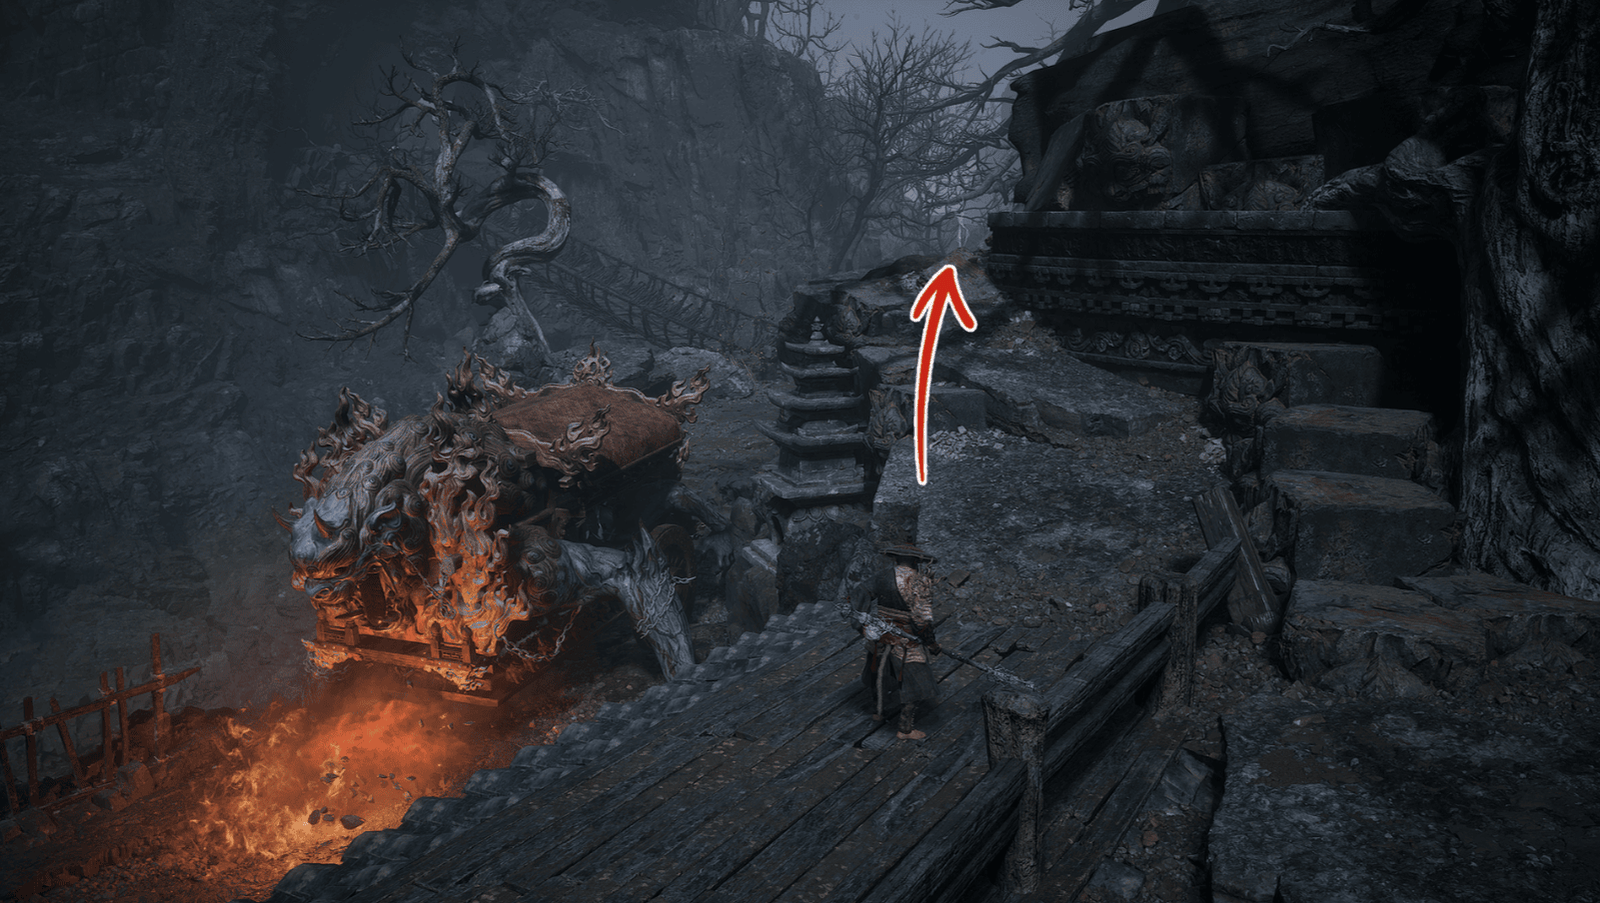
From the Wisp on the roof, heroes can jump down behind the Brown-Iron Cart.
This is the first elemental cart we face, and it has the ability to spew powerful flames. If taking the shortcut from the roof, heroes can ambush the Brown-Iron Cart from behind. This way, heroes only need to worry about its fire-breathing, take advantage of the Fireproof Mantle and jump onto the nearby rock ledge to avoid the fire, then continue to attack until it is destroyed. If not taking the shortcut, be careful of its fire-breathing and punching attacks, dodge and attack.
After destroying the Brown-Iron Cart, activate the Camp of Seasons Shrine nearby.
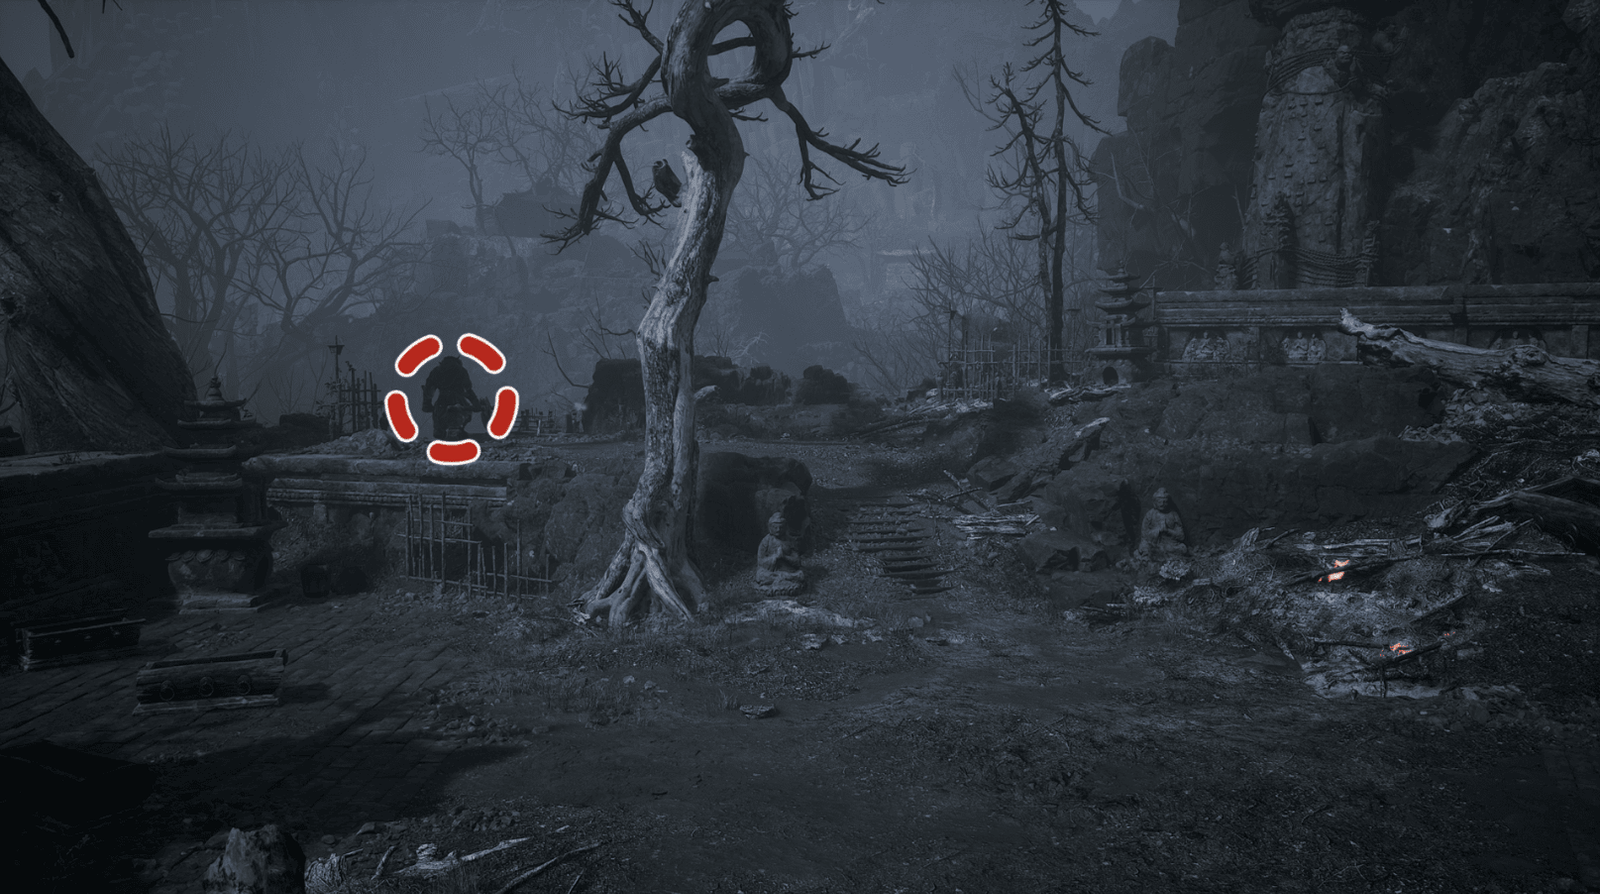
Return to the Pale-Axe Stalwart, he has moved to the cliff, talk to update the quest. You will find him near the stairs, next to the 2 Buddha statues.
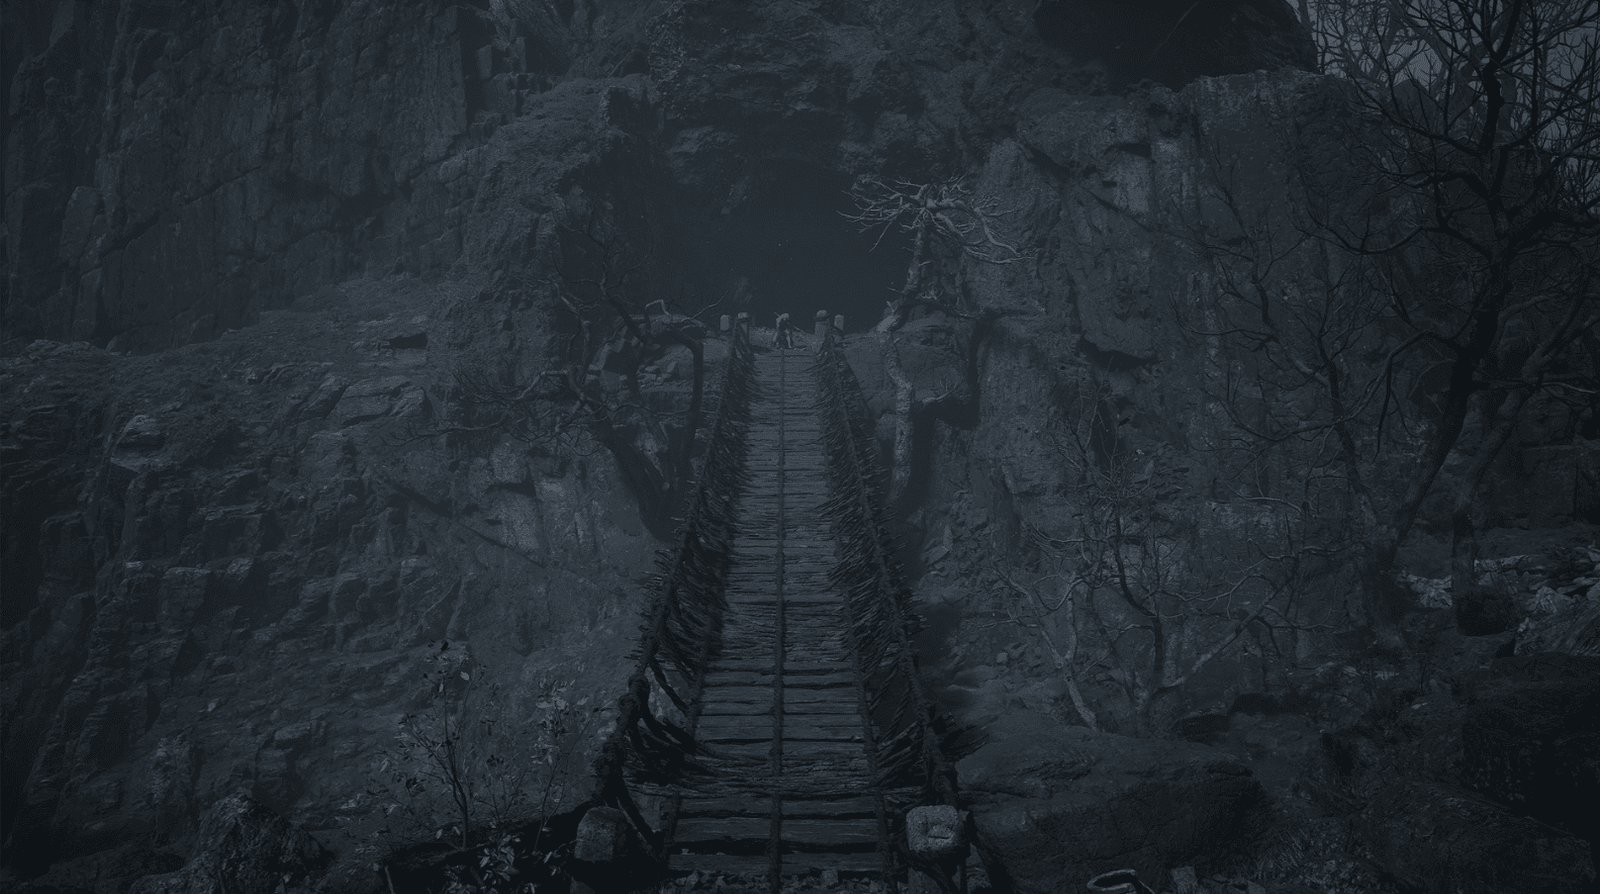
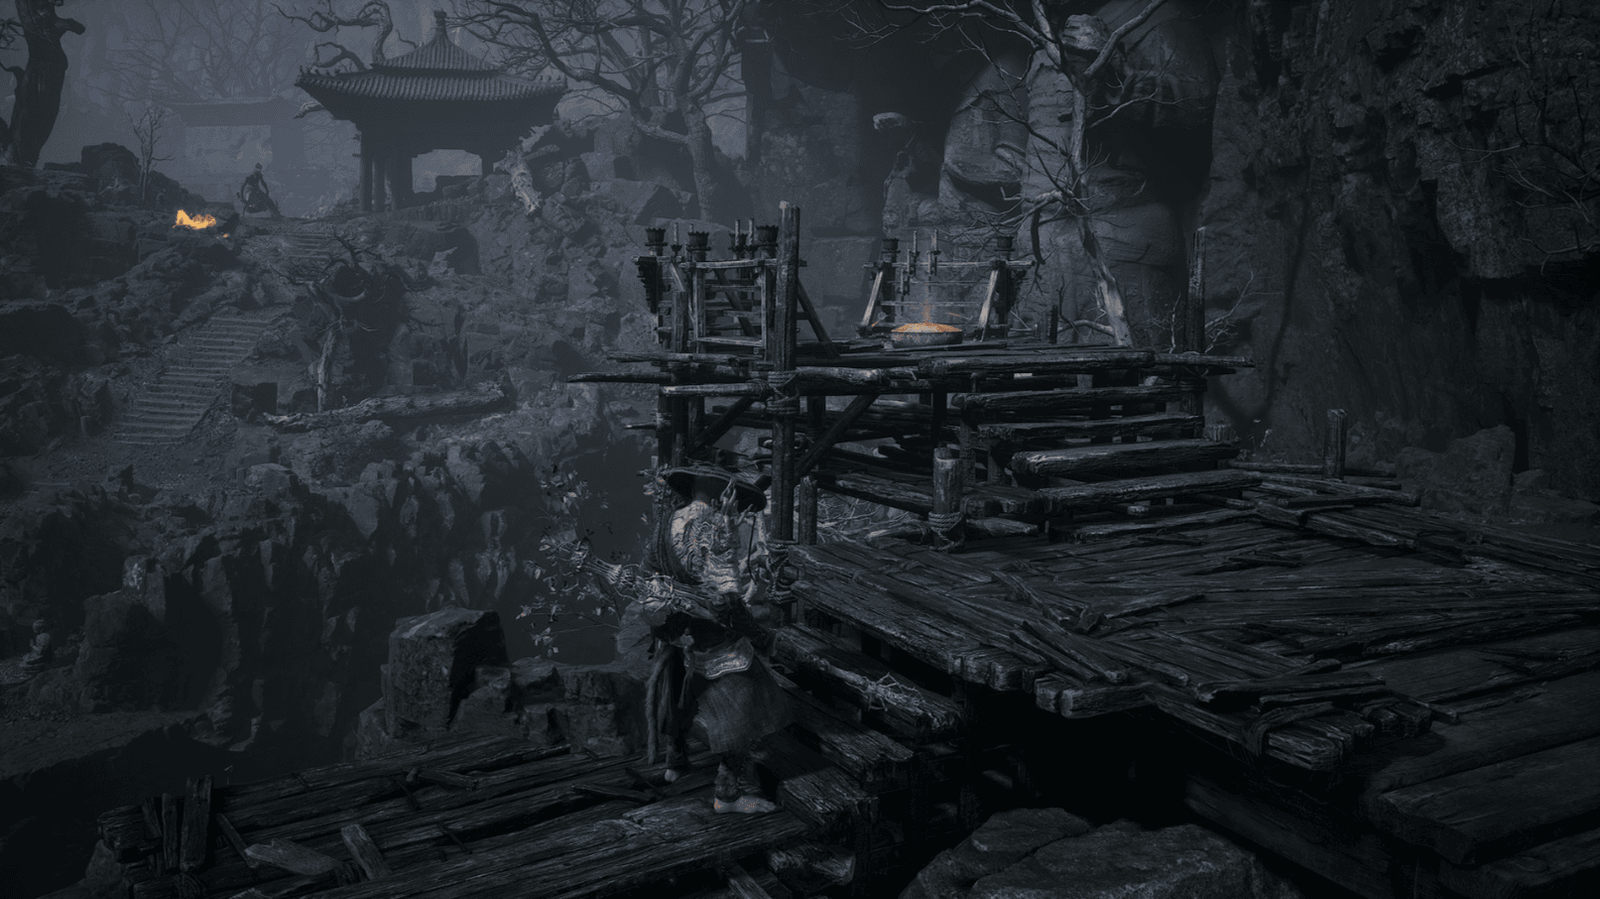
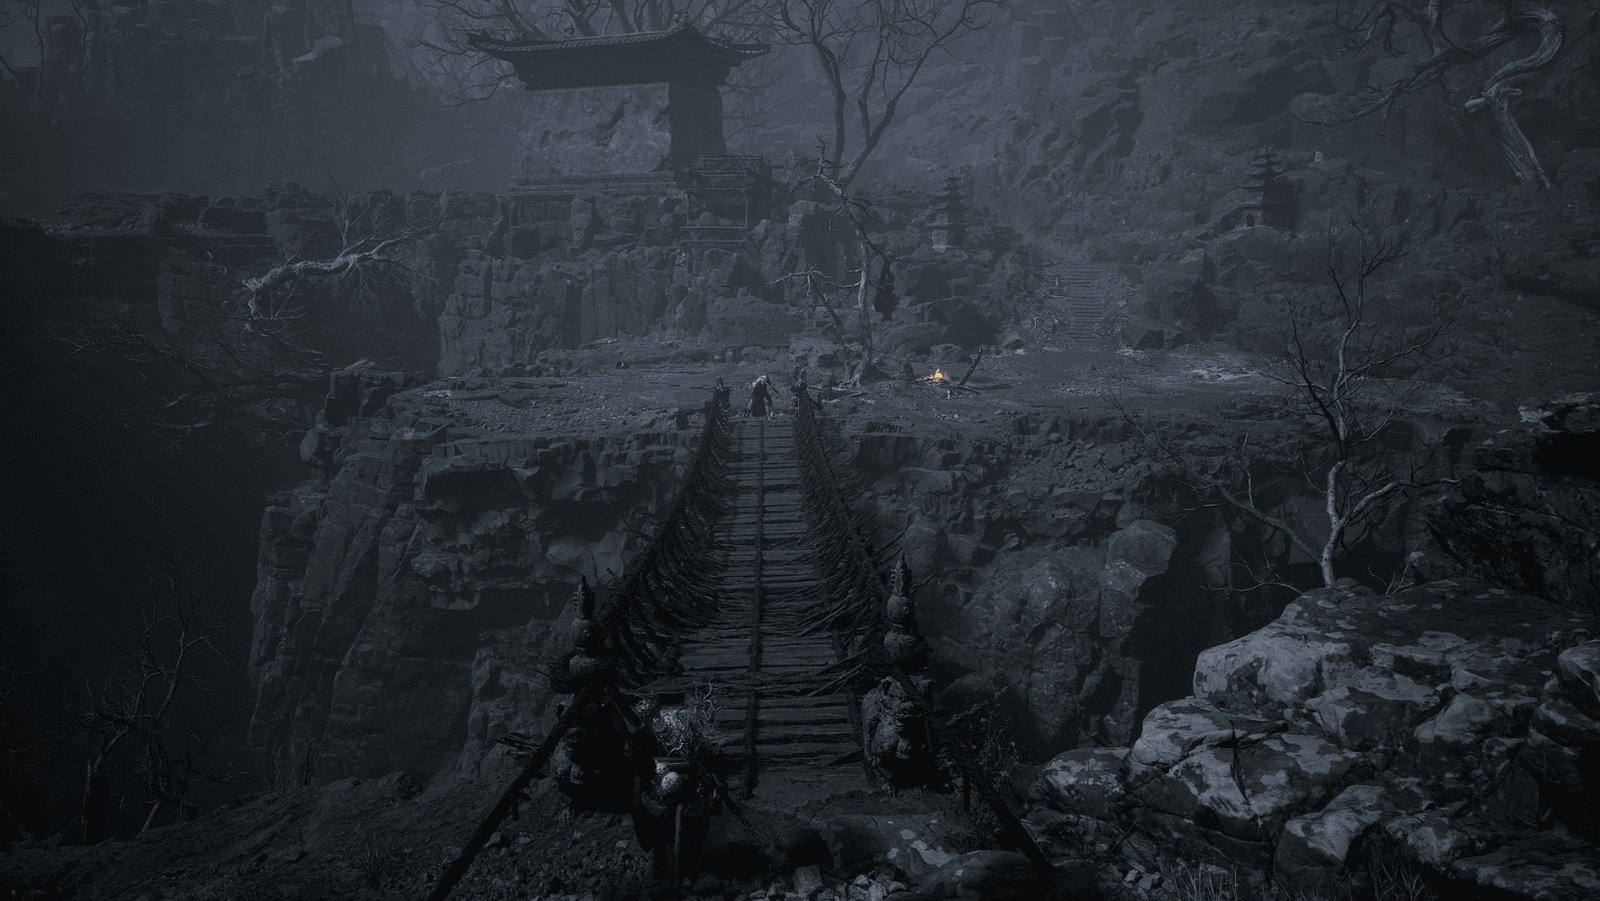
From the Camp of Seasons Shrine, go to the left, cross the bridge, heroes will encounter a Revenant Archer.
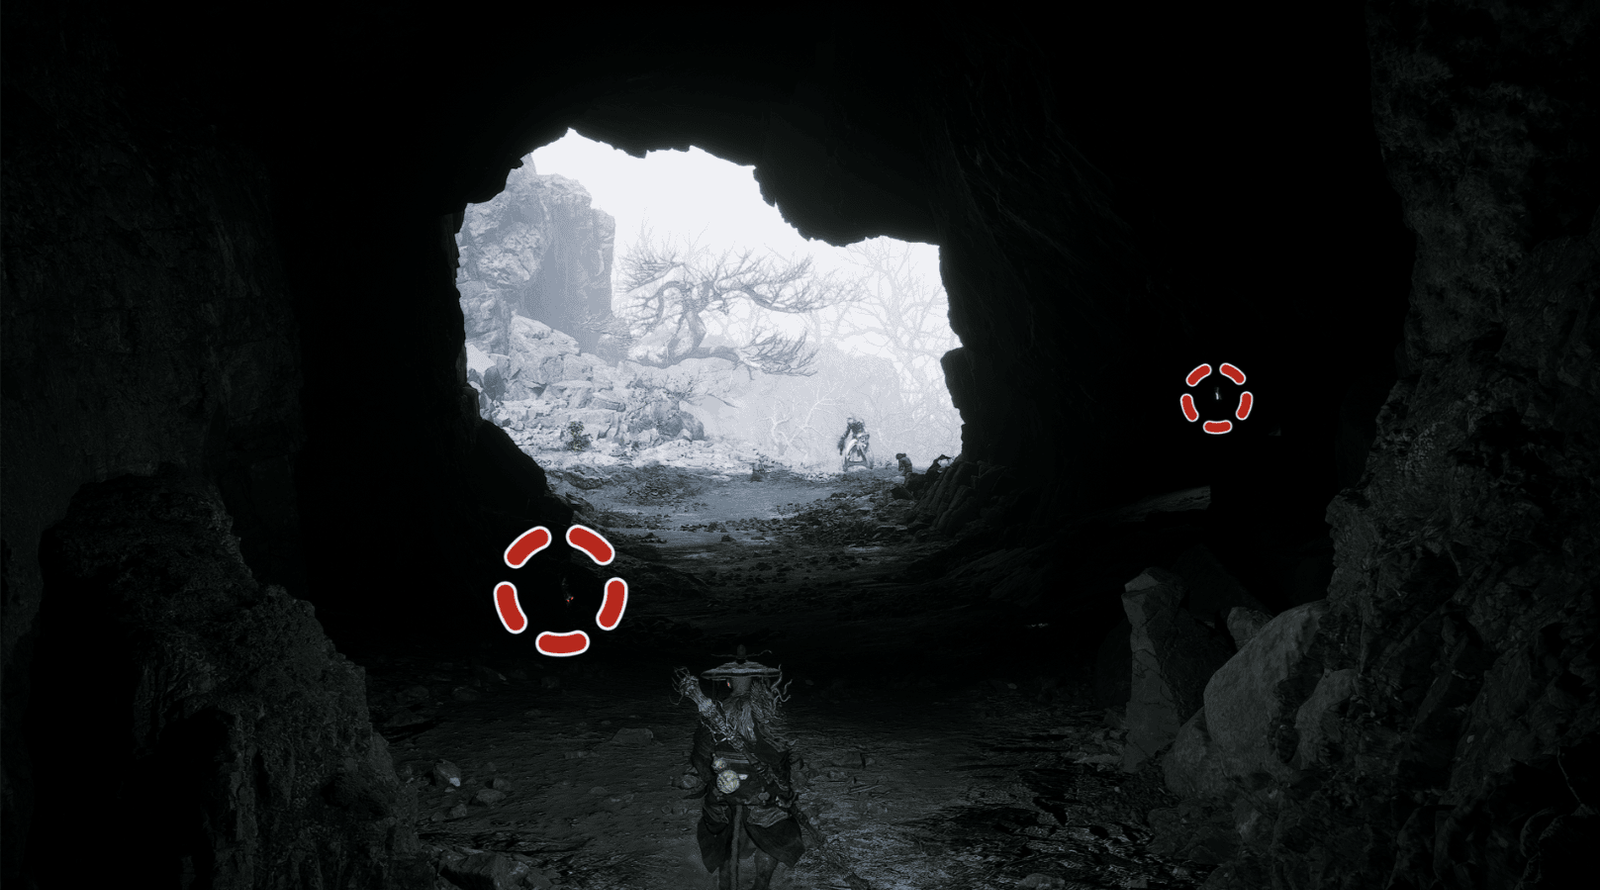
Be careful with his fire arrows, use Cloudstep to dodge and destroy him. Enter the cave, heroes will encounter a Wisp and two Revenant Charbones.
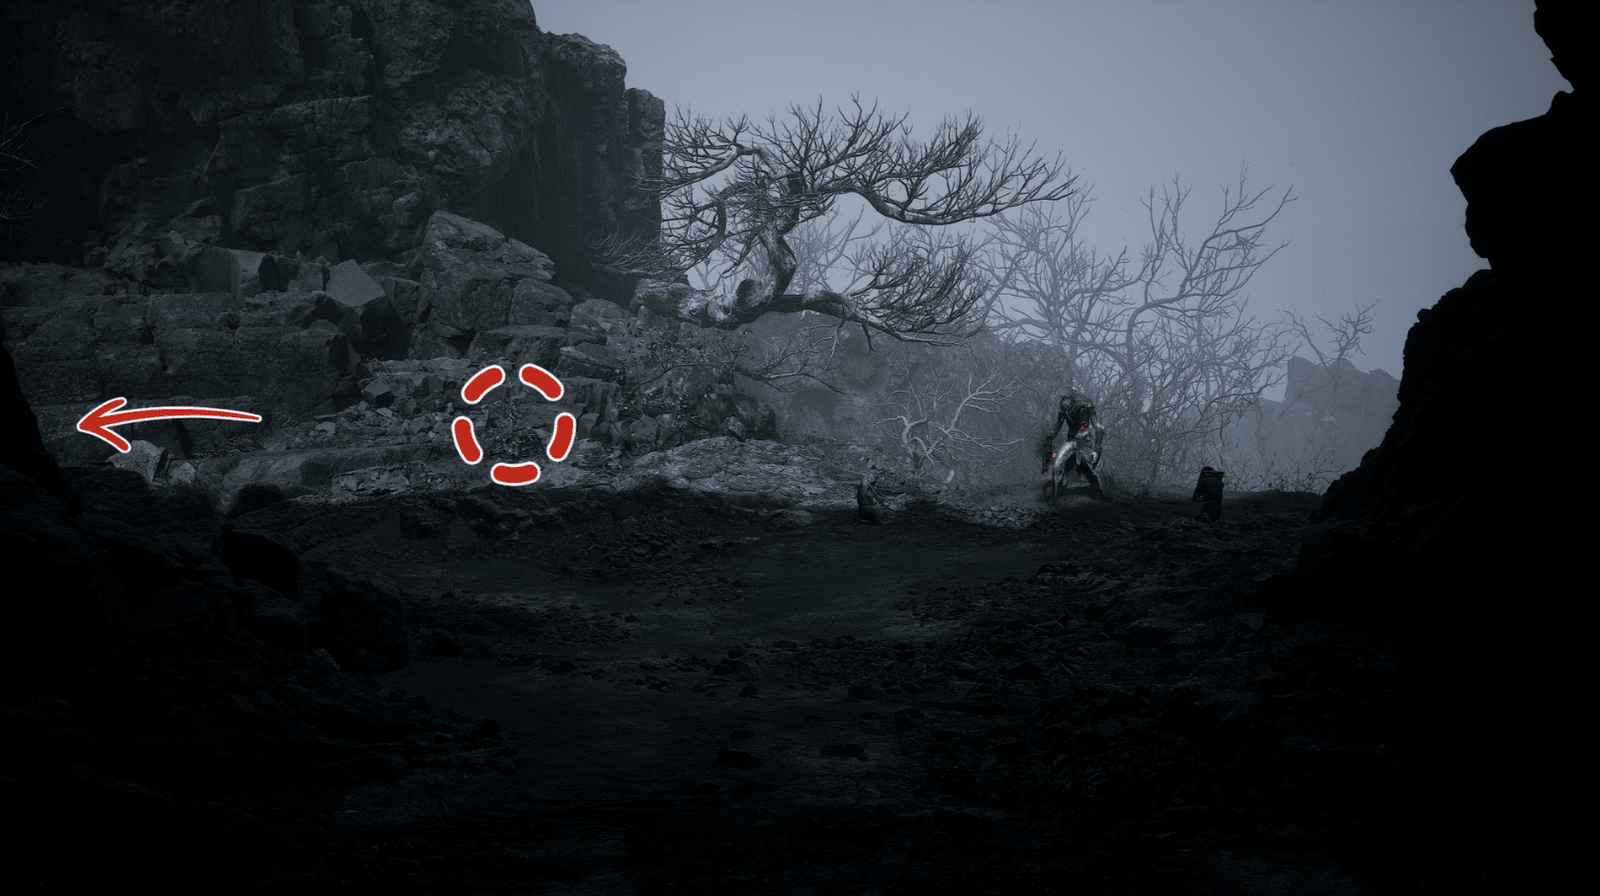
Lure Revenant Charbones close to other enemies and then destroy them, their explosion will damage everyone around them. Exit the cave, continue to clear out Revenant Charbones and Charface (a larger and more aggressive type of Revenant).
Afterward, find a Fire Bellflower nearby. Go through the small stone cave, heroes will face a Lavabat and a Charbone.
Cross the bridge, defeat the Bull Soldier and Charface guarding the treasure chest to get Cold Iron Leaves and Will.
From the bridge, climb the stairs on the right to reach the Meditation Spot – The Relief, Camp of Seasons. Meditation Spots are places that help heroes increase their stats.
Continuing straight down the path, heroes will encounter a Lavabat hanging upside down on a tree, be careful. After defeating it, follow the small path on the right.
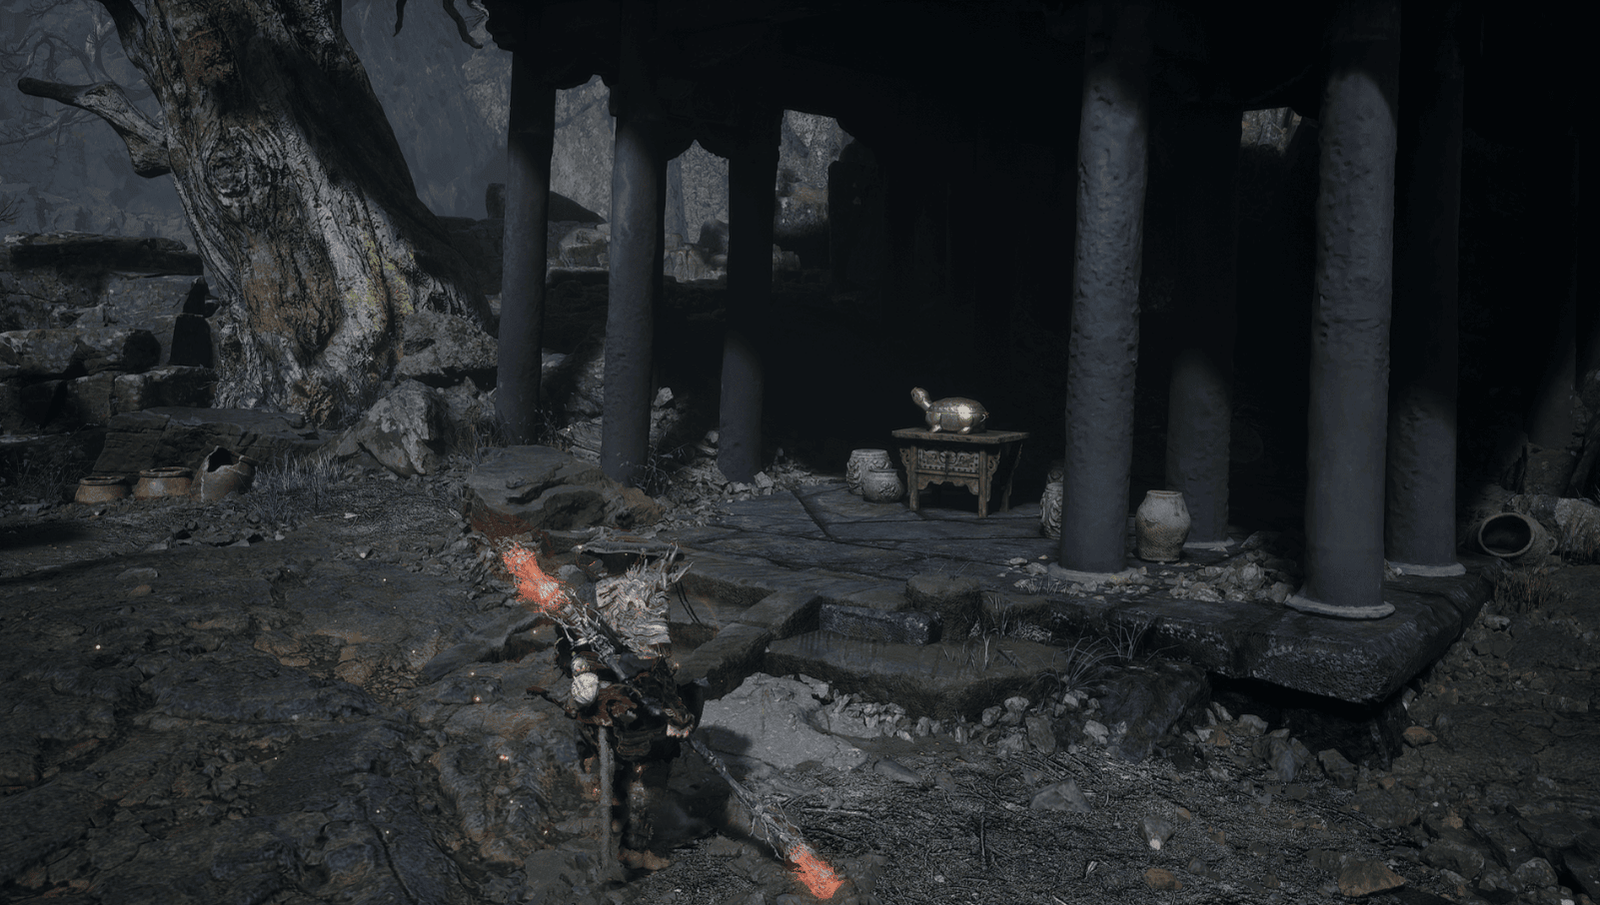
At the top, heroes will encounter another Lavabat, along with a Bull Sergeant and two Revenant Charbones. Nearby, heroes will find a Golden Turtle holding Soak – Mount Lingtai Seedlings. Take this precious item.
Height of Ember
As mentioned above, heroes can find the Height of Ember Shrine after defeating the Bull Sergeant and the Revenant Charbones near the large tree.
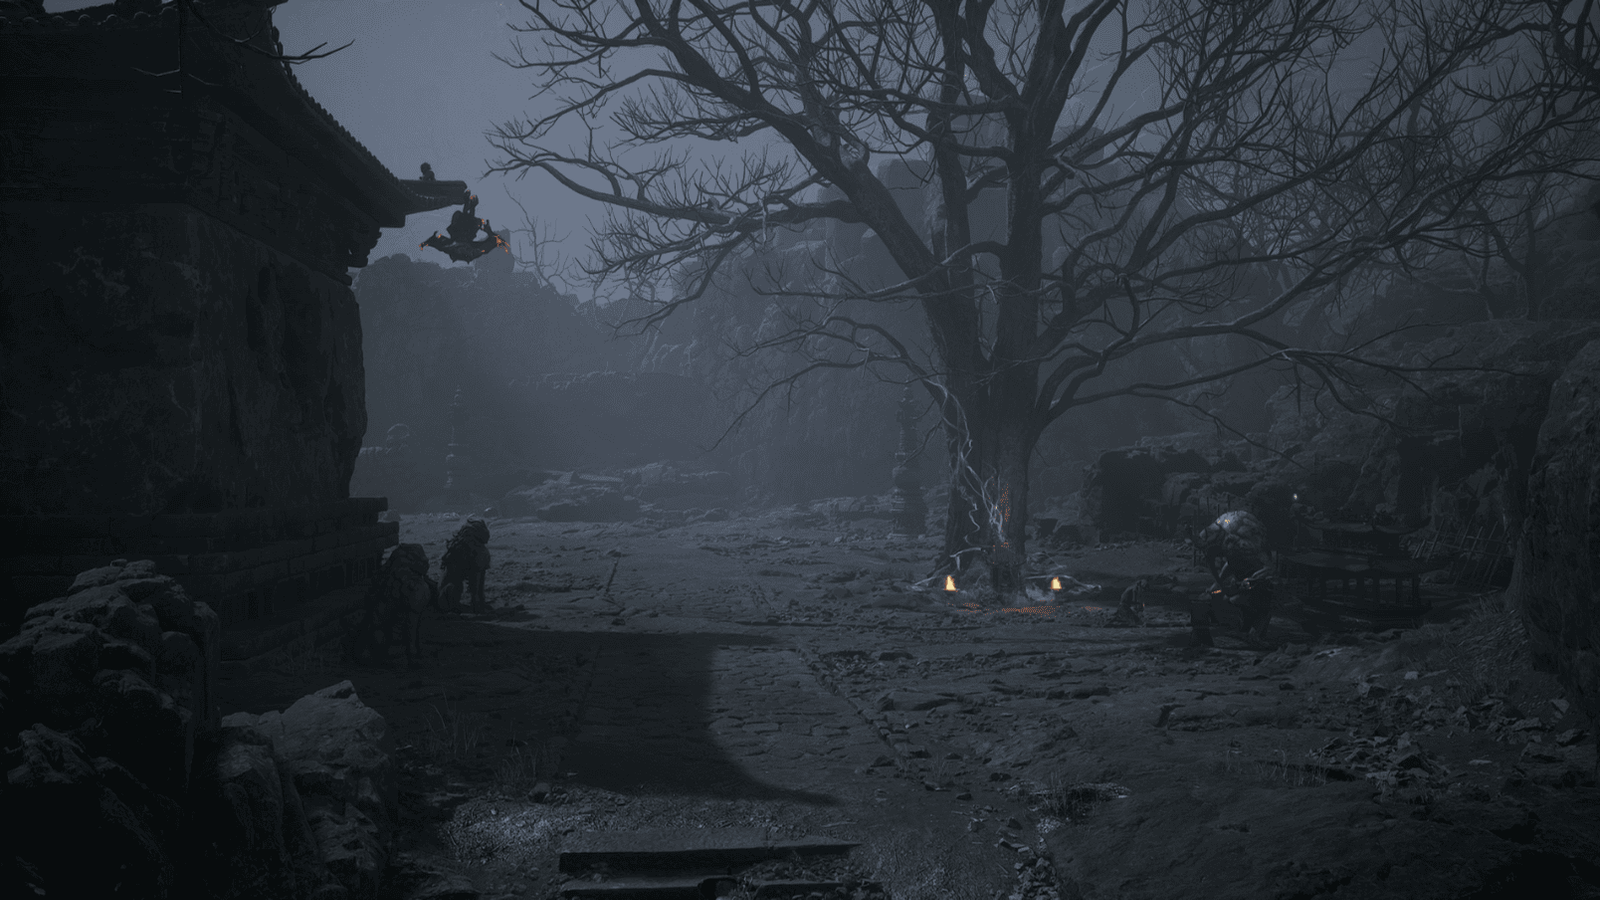
Activate it. There is a Wisp just to the right of the Shrine, absorb it.
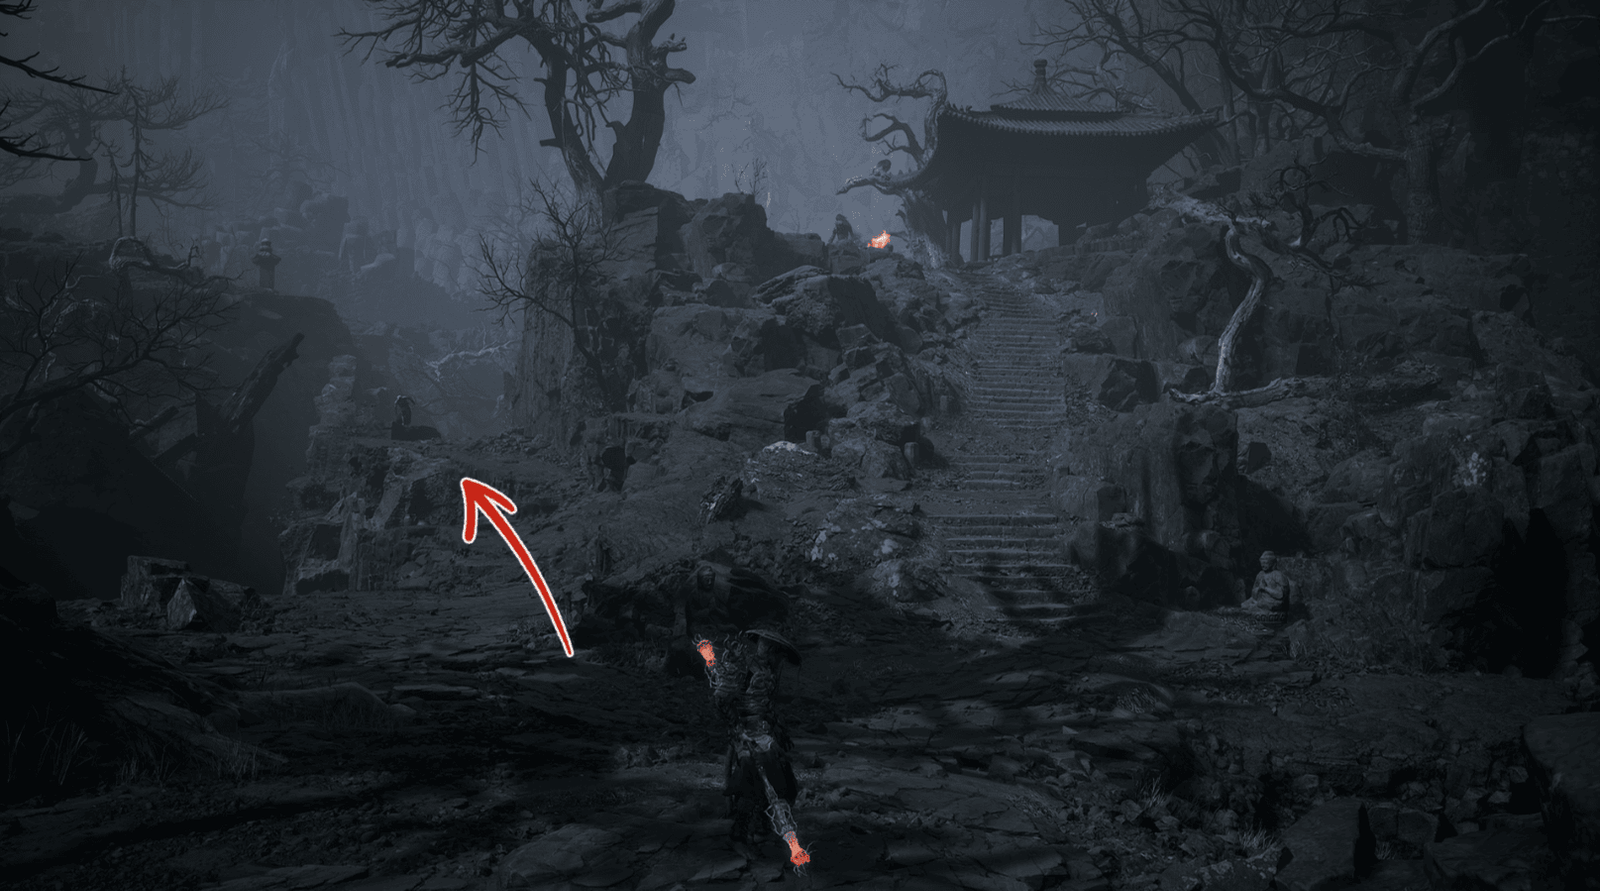
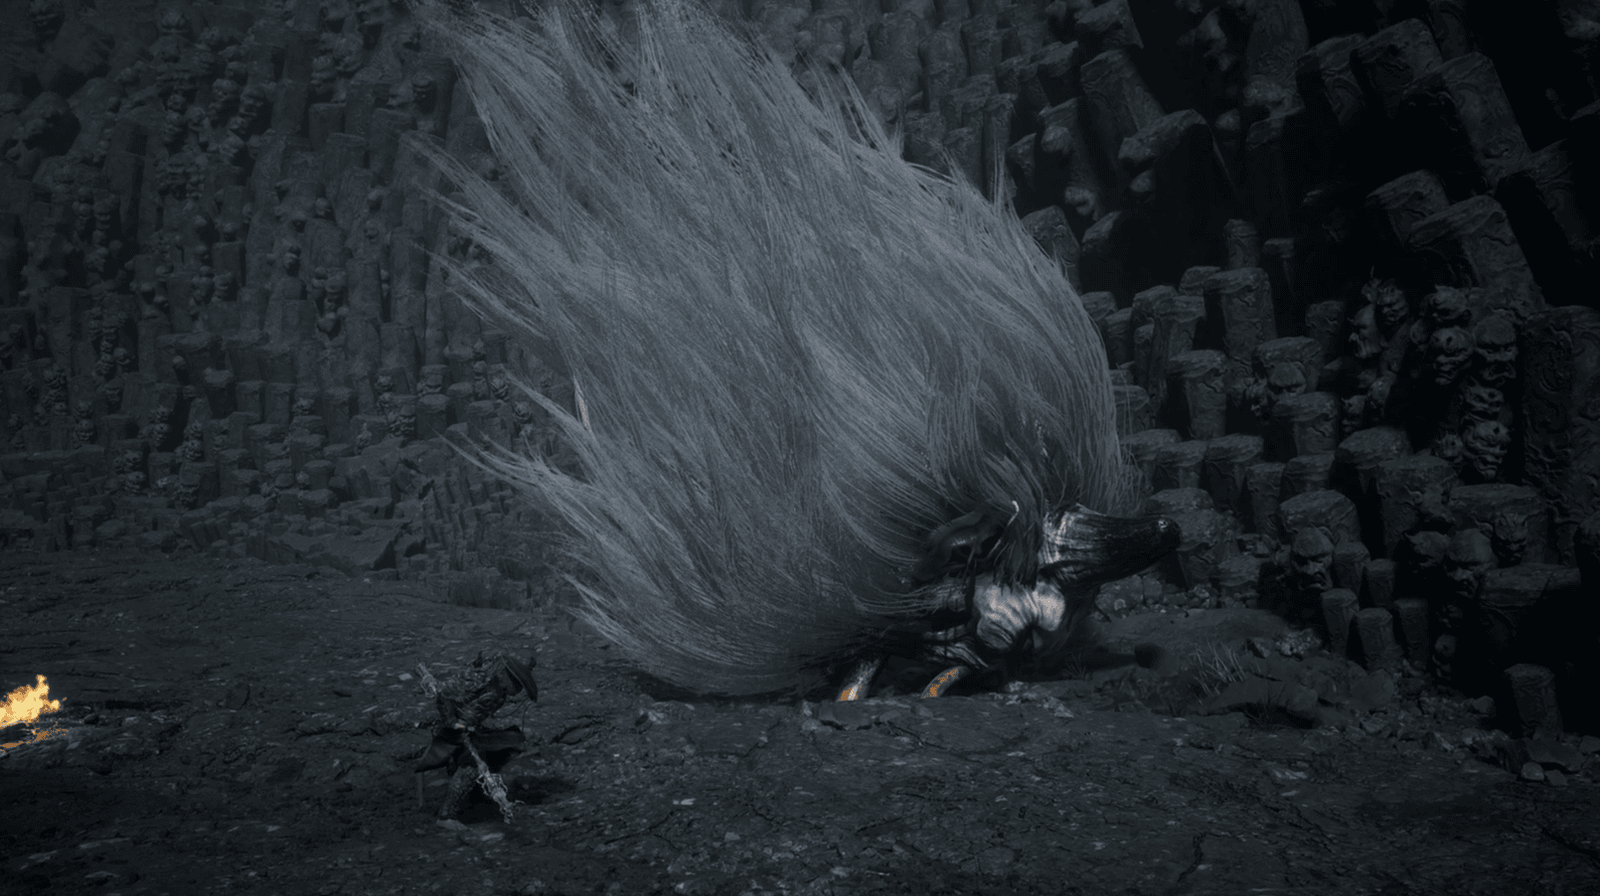
Confronting Father of Stones
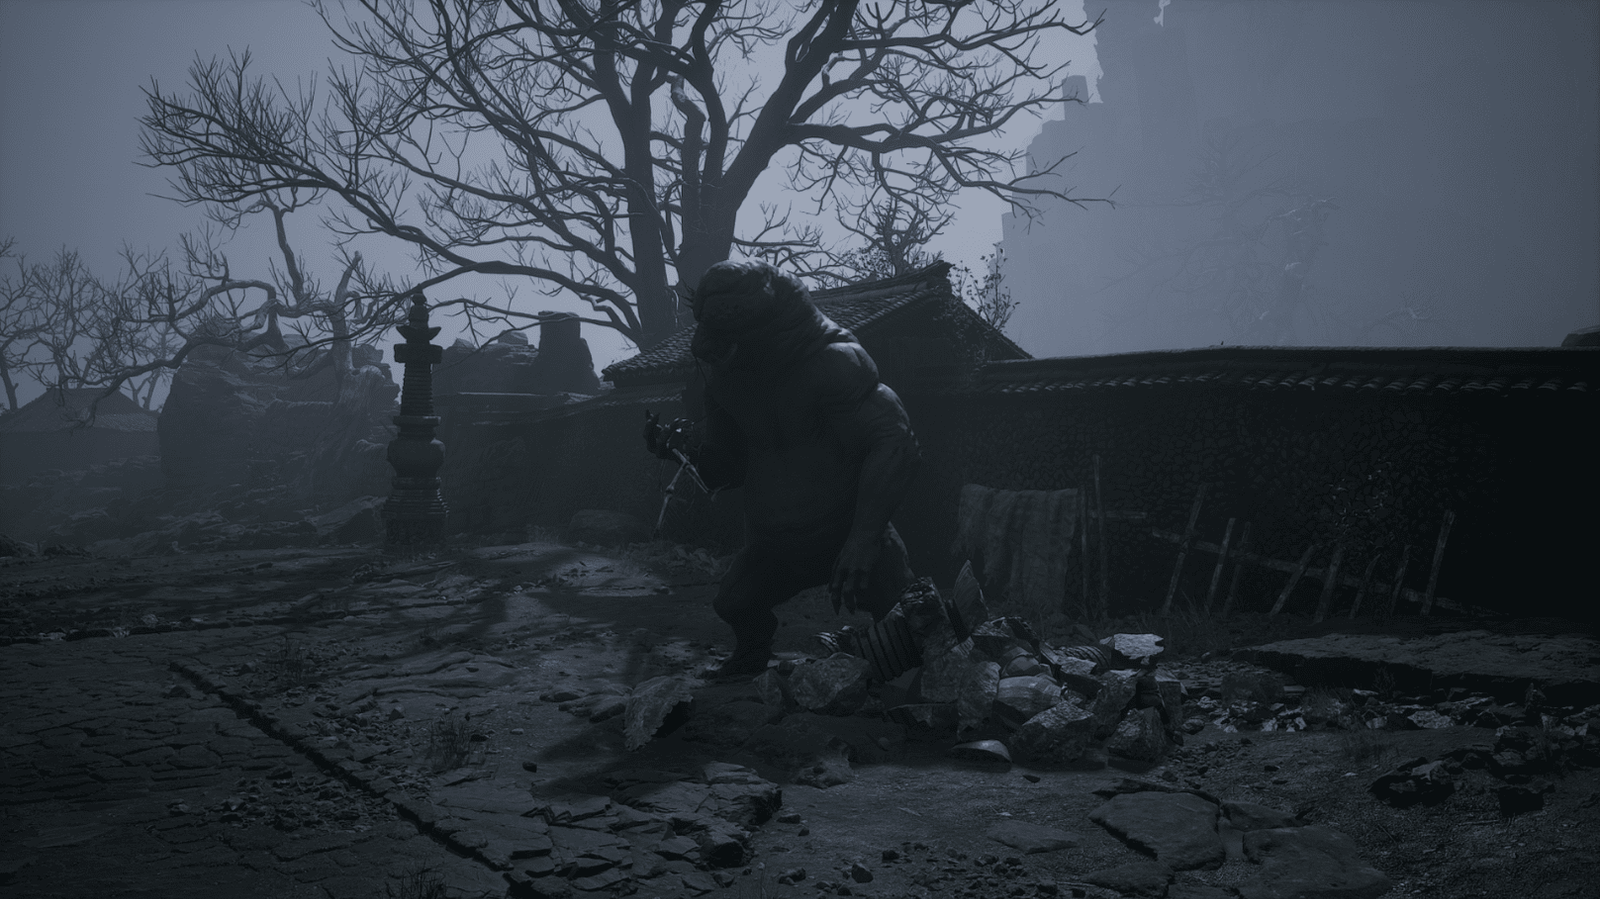
From the Shrine, head towards the open area, Father of Stones will jump out from behind the wall.
He is quite slow but his attacks are very strong, especially his hand slams and stomps.
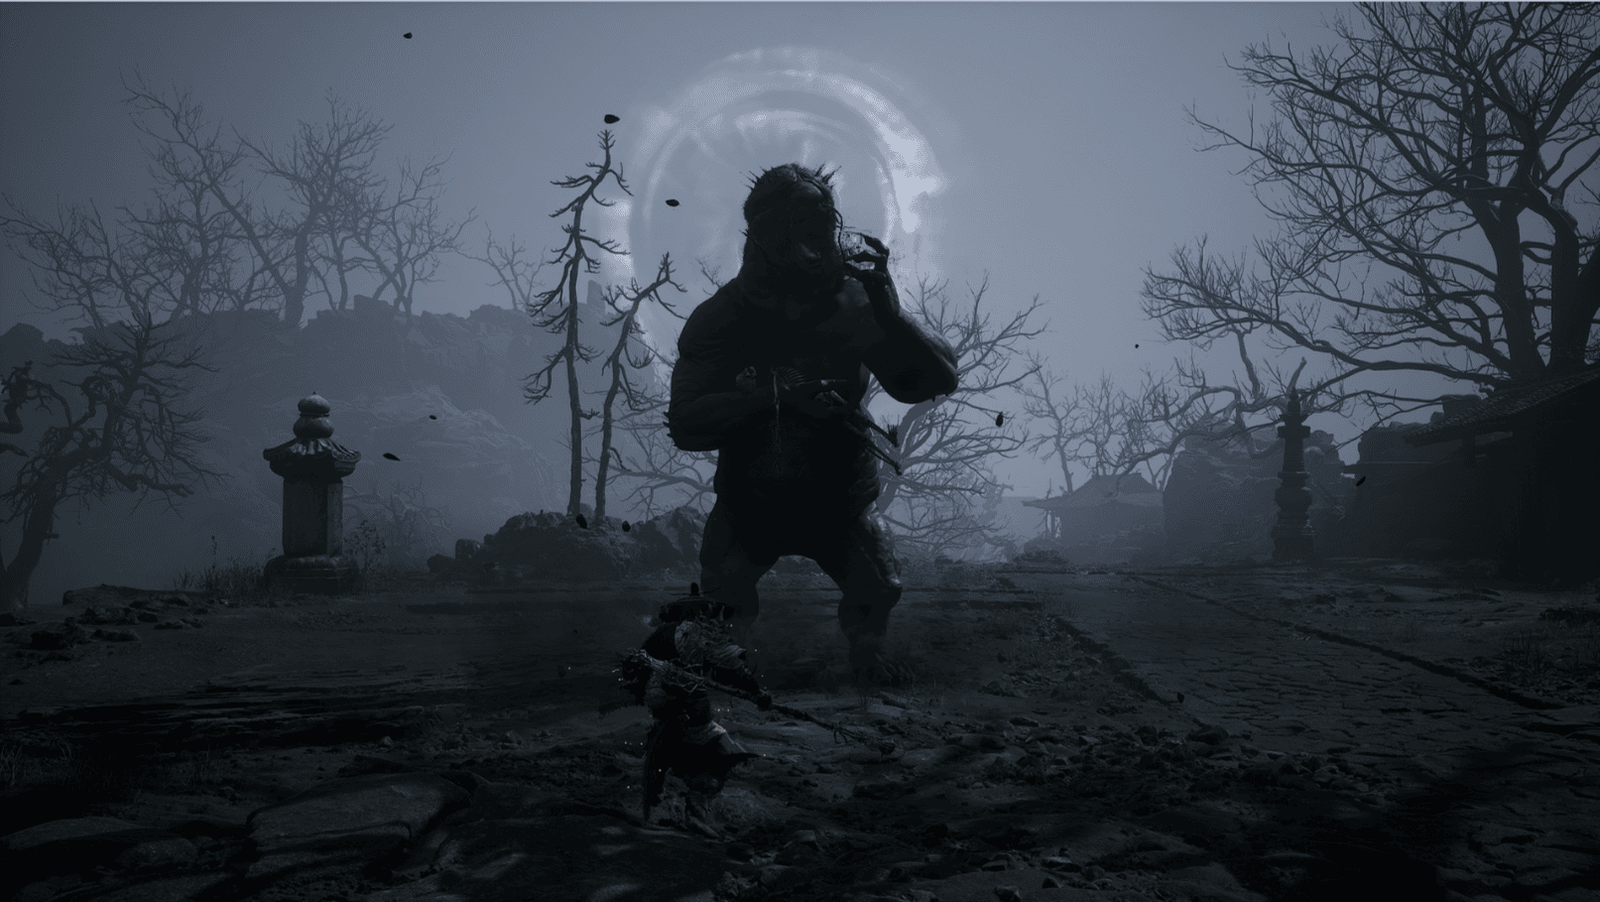
Dodge his attacks, especially when he roars, move away.
Your regular attacks won’t be very effective, use Fire-type Spells or heavy attacks to attack him. When he is stunned, follow up with a finishing blow to deal massive damage.
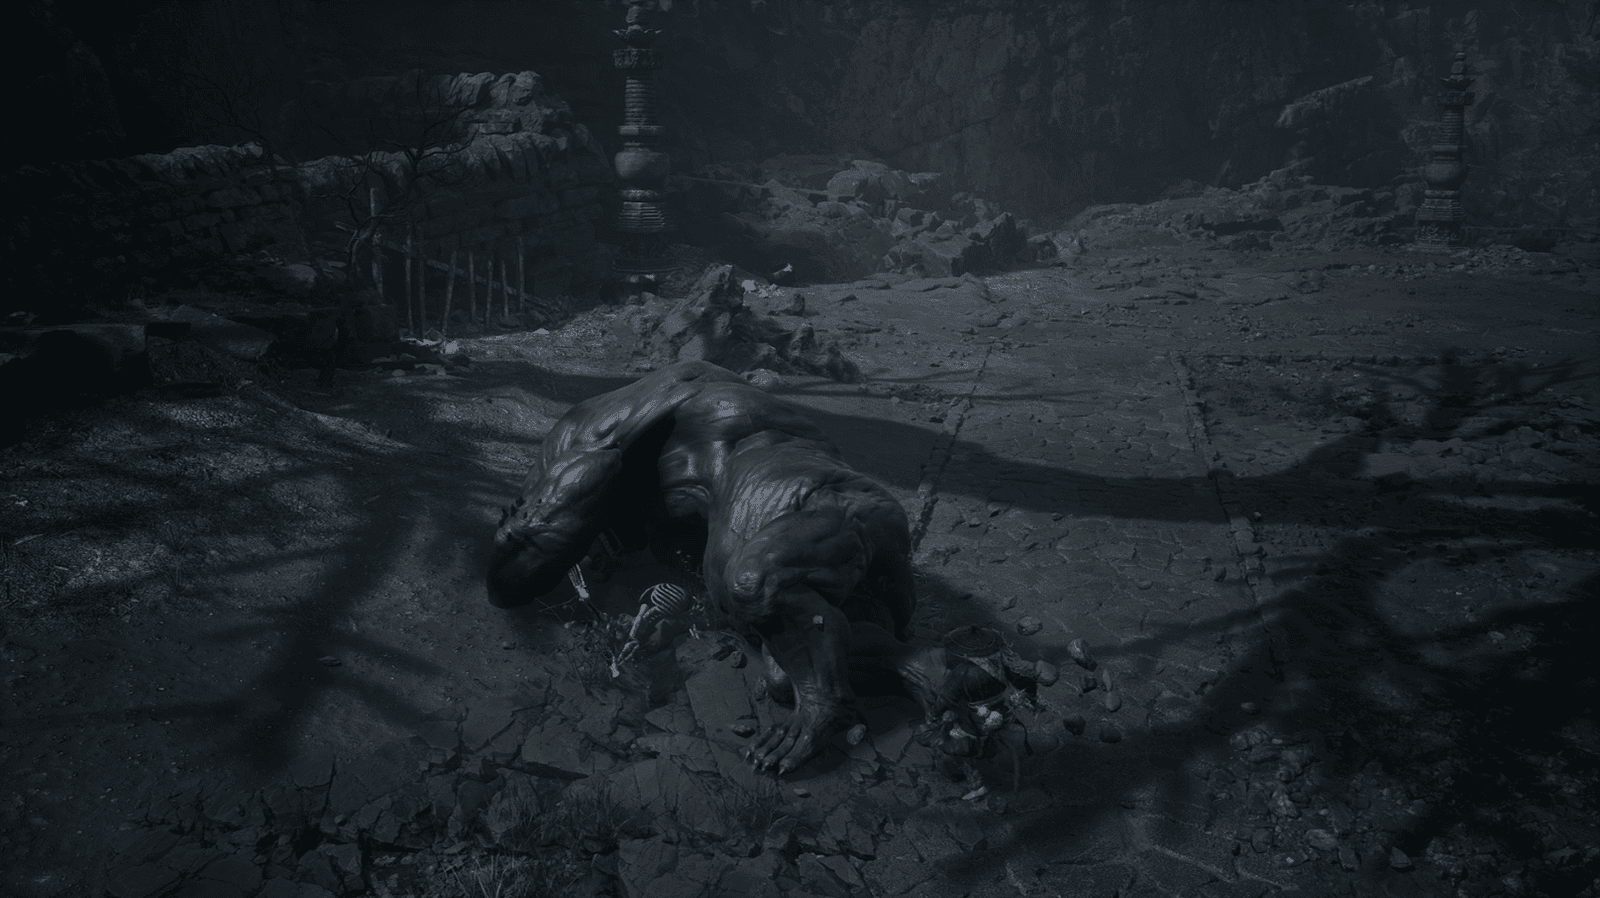
After defeating the Father of Stones, he will drop the Father of Stones Spirit.
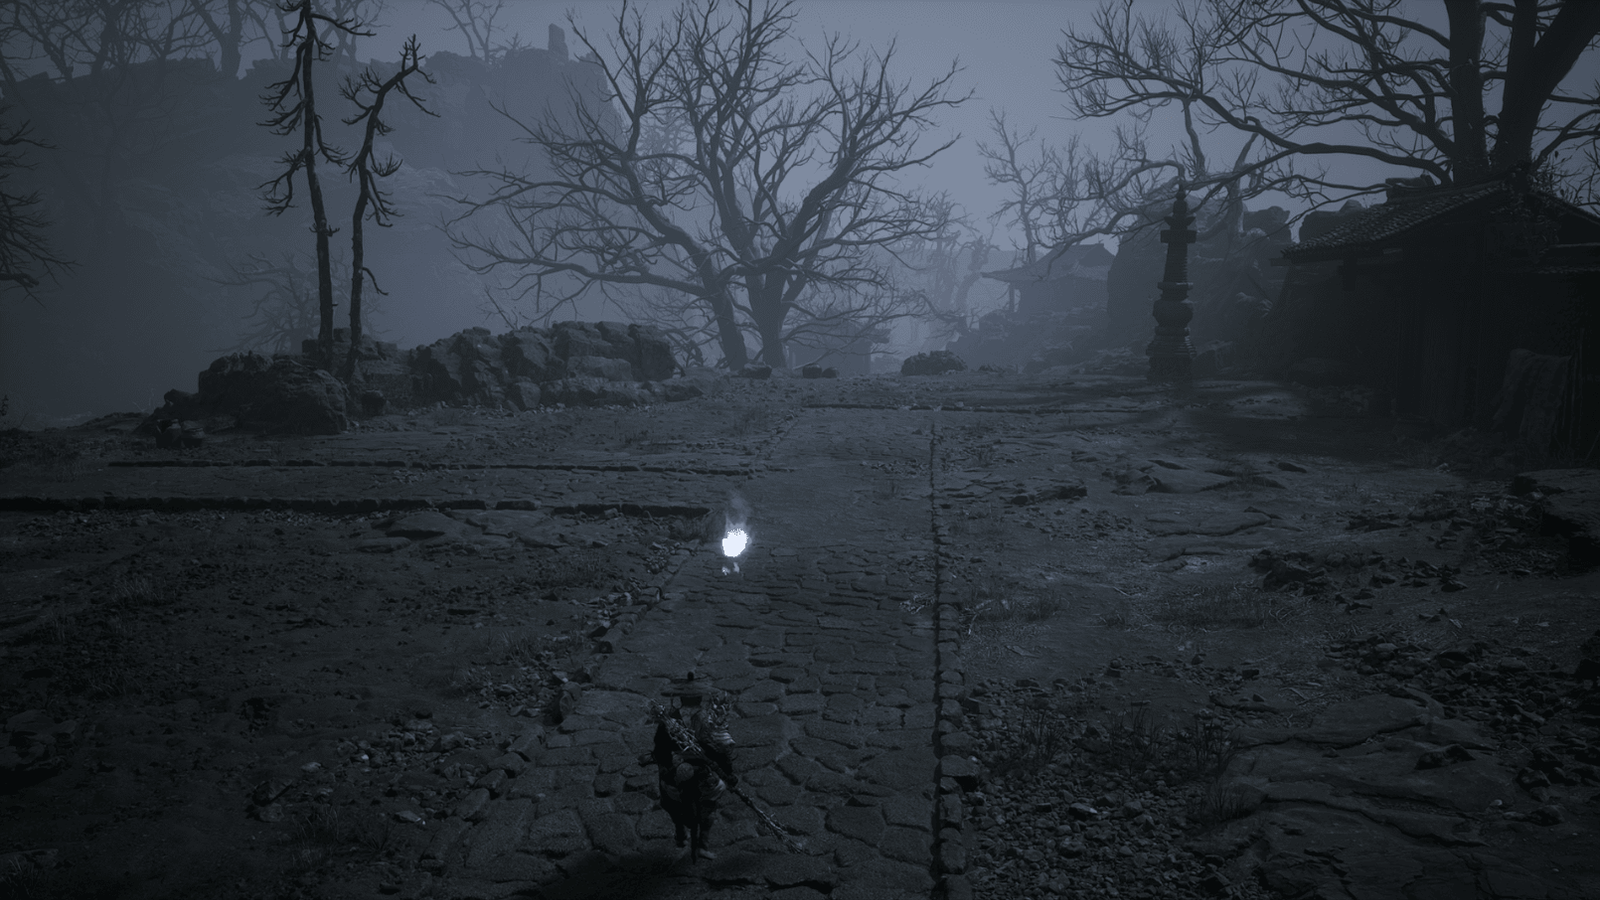
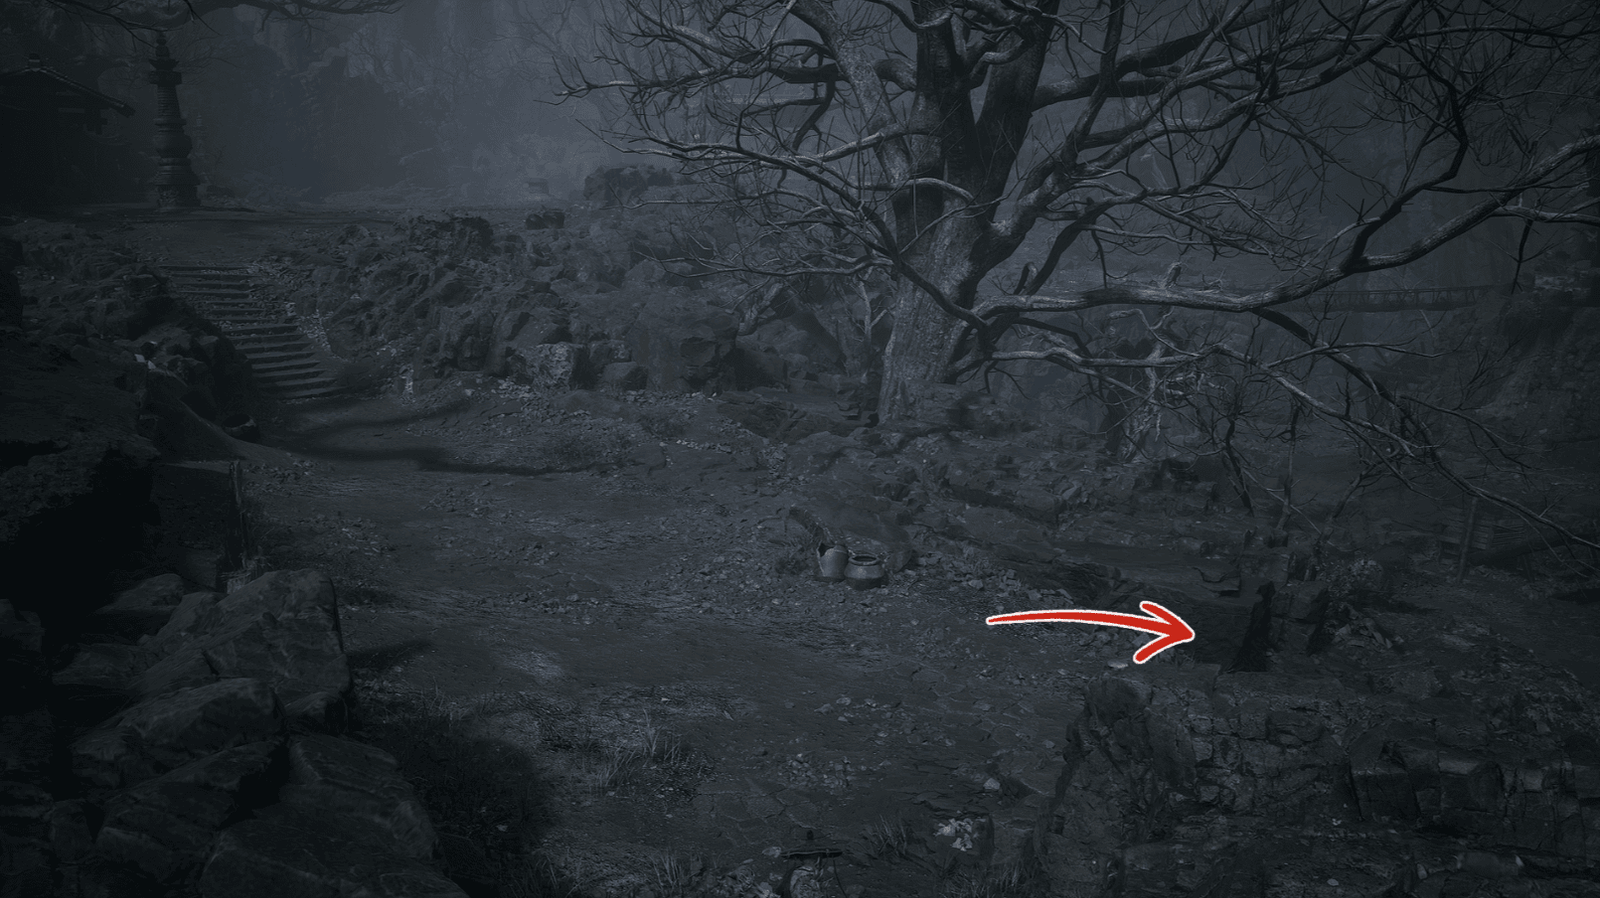
Go down the nearby slope, you will find a Fire Bellflower on the left.
Continue up the slope on the right, you will encounter a Treasure Chest.

Defeat it to open the treasure chest, which contains Enhanced Ginseng Pellets and Knot of Voidness.
From the Father of Stones‘ location, go down the slope, but instead of going straight, turn left and follow the narrow path along the cliff.
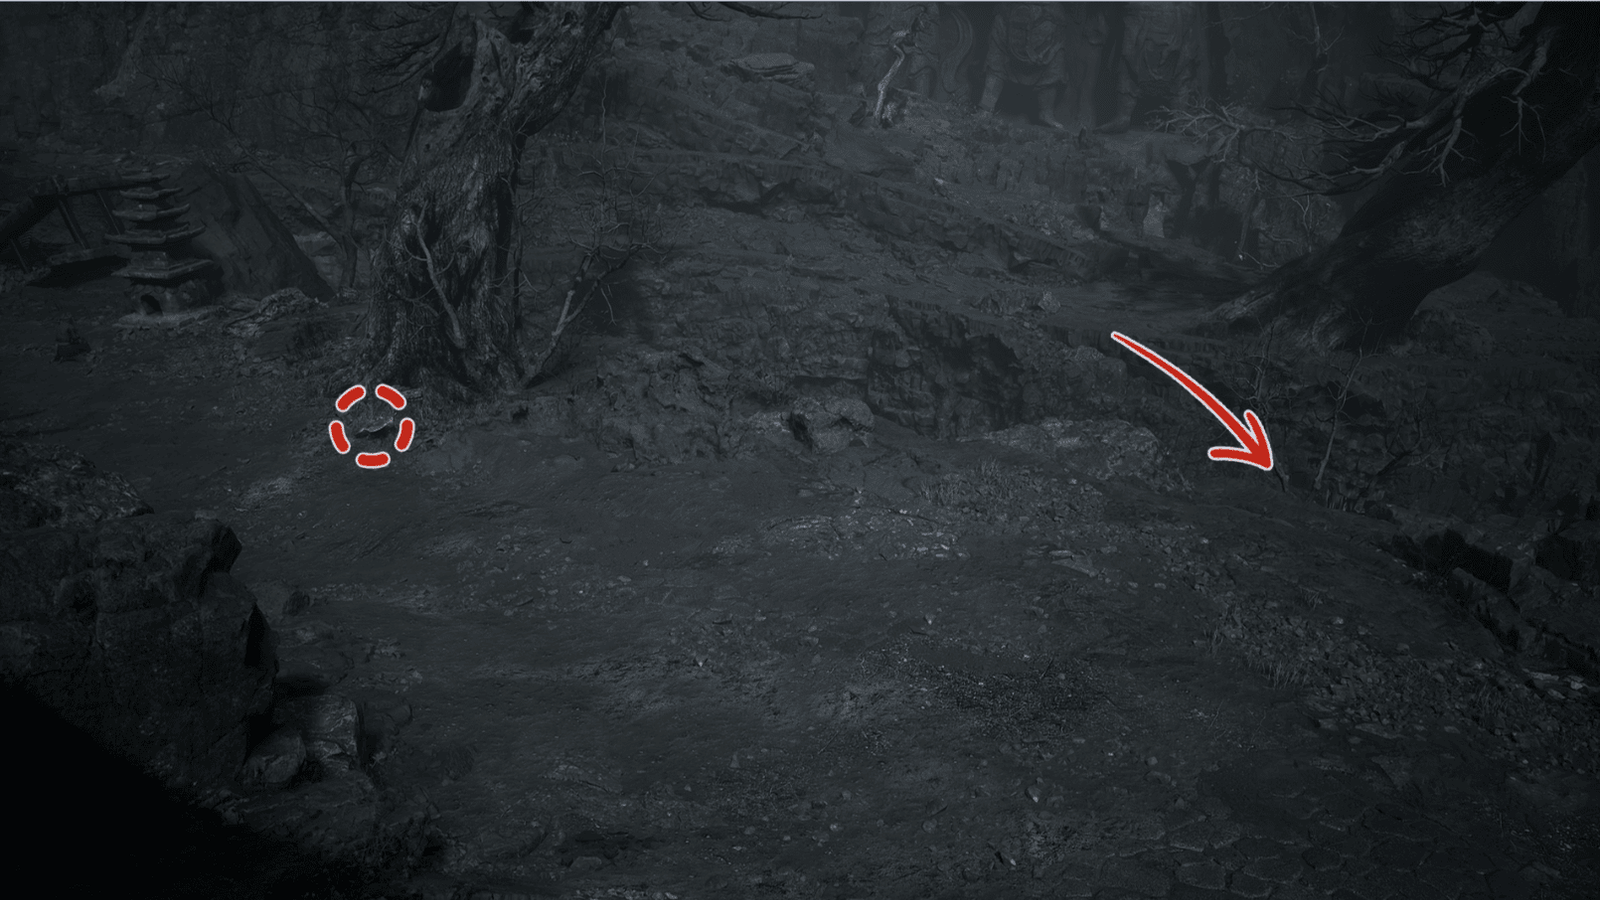
Here, you will encounter a Revenant Archer. Defeat him and go to the end of the path.
You will have to defeat three Revenant Charbones to obtain the Luoija Fragrant Vine (a rare medicinal herb).
Before reaching them, remember to pick up the Fire Bellflower on the left.
Ashen Pass II
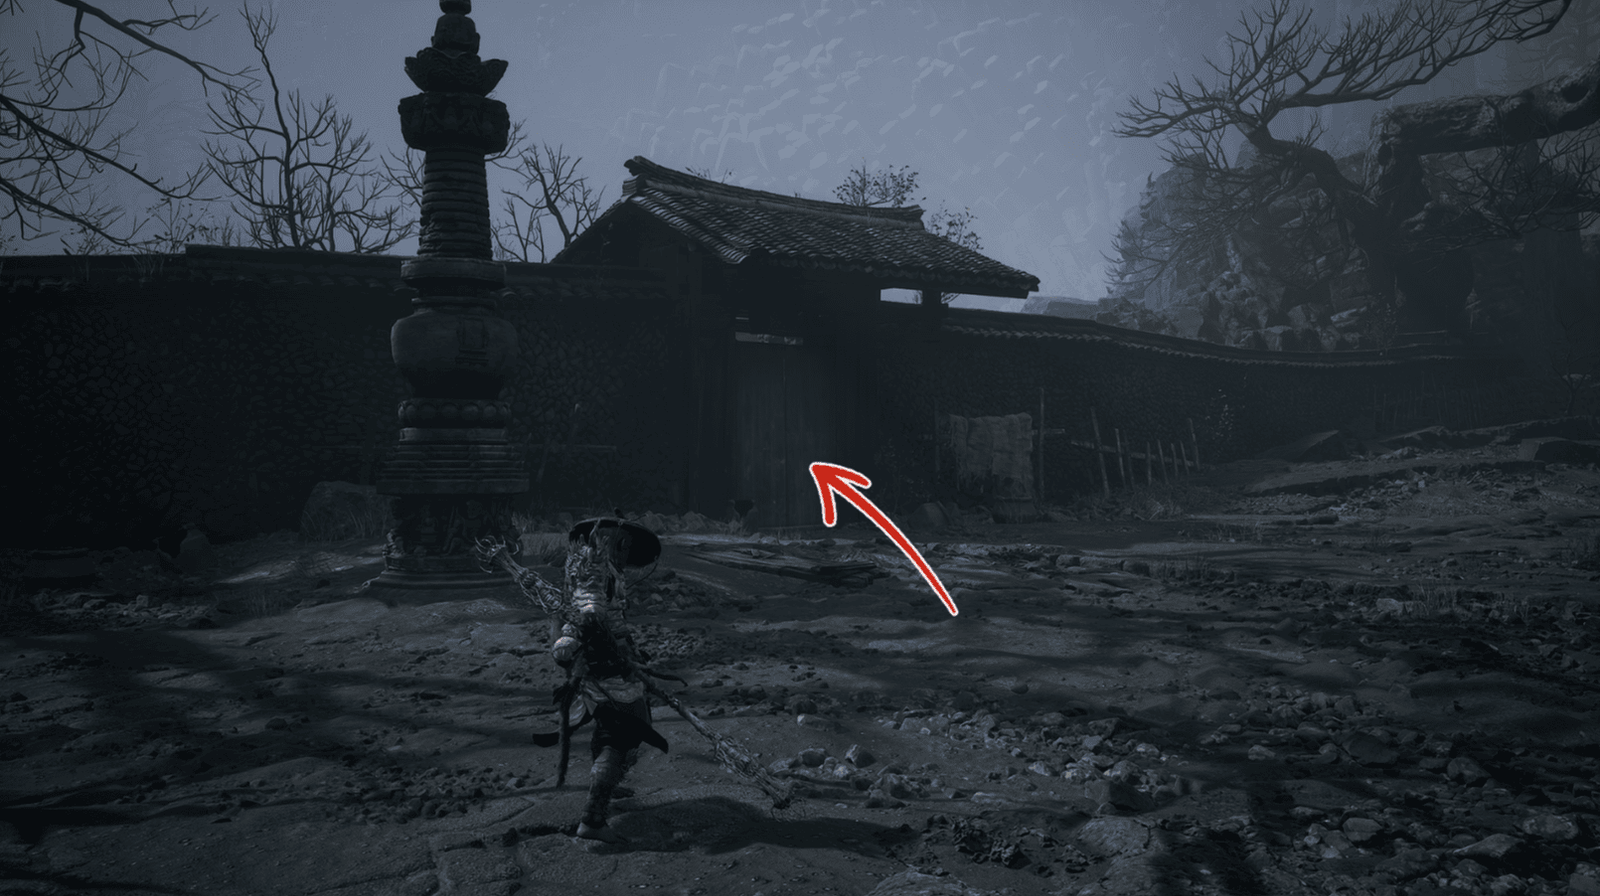
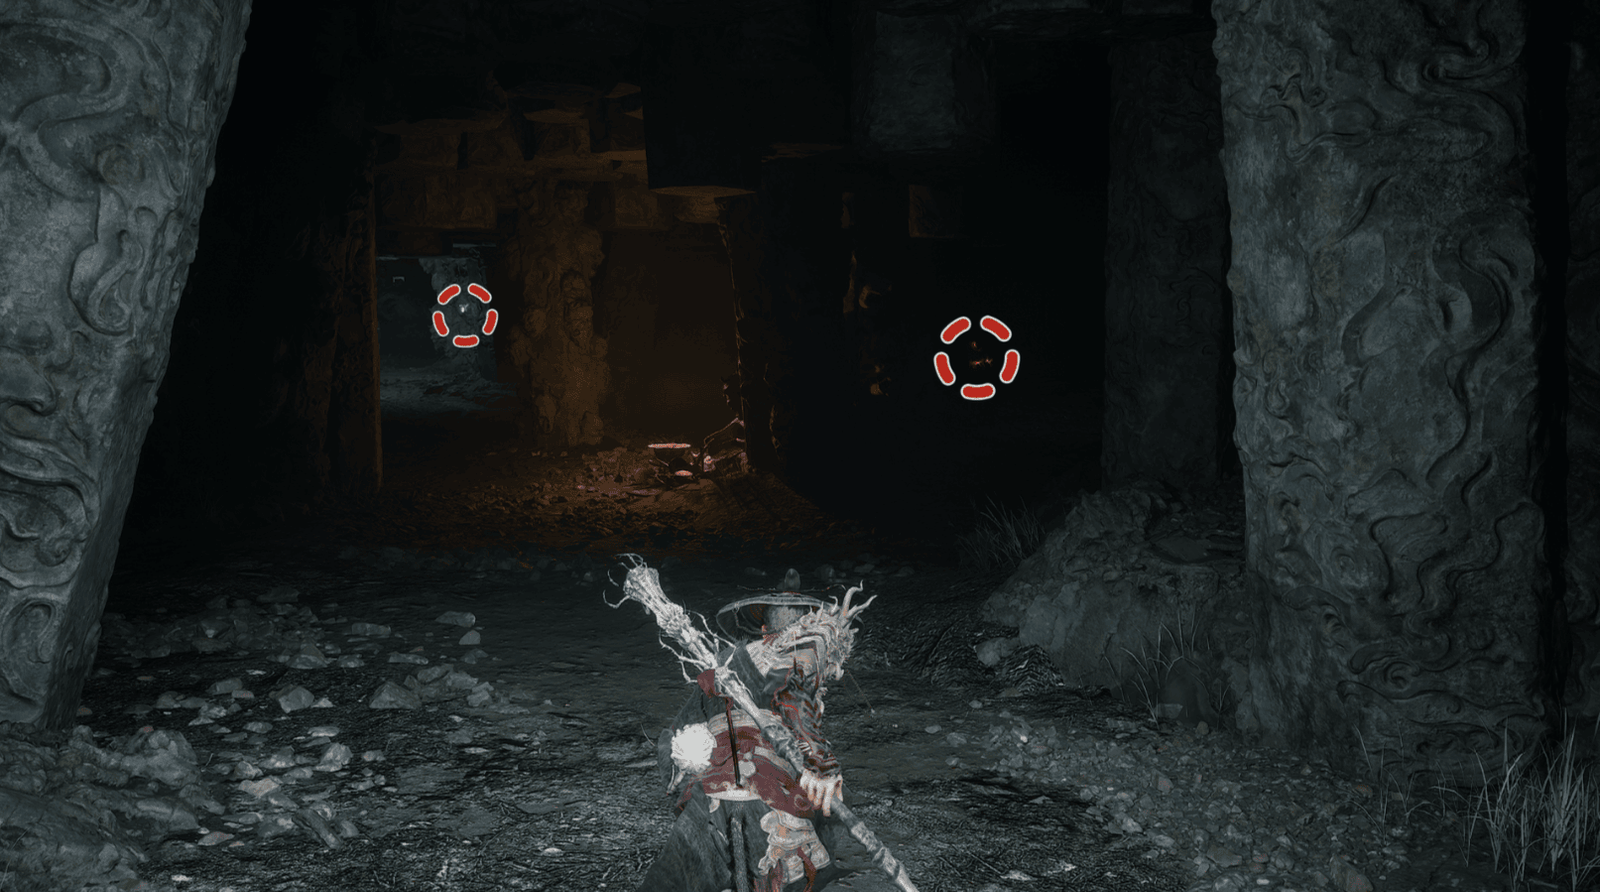
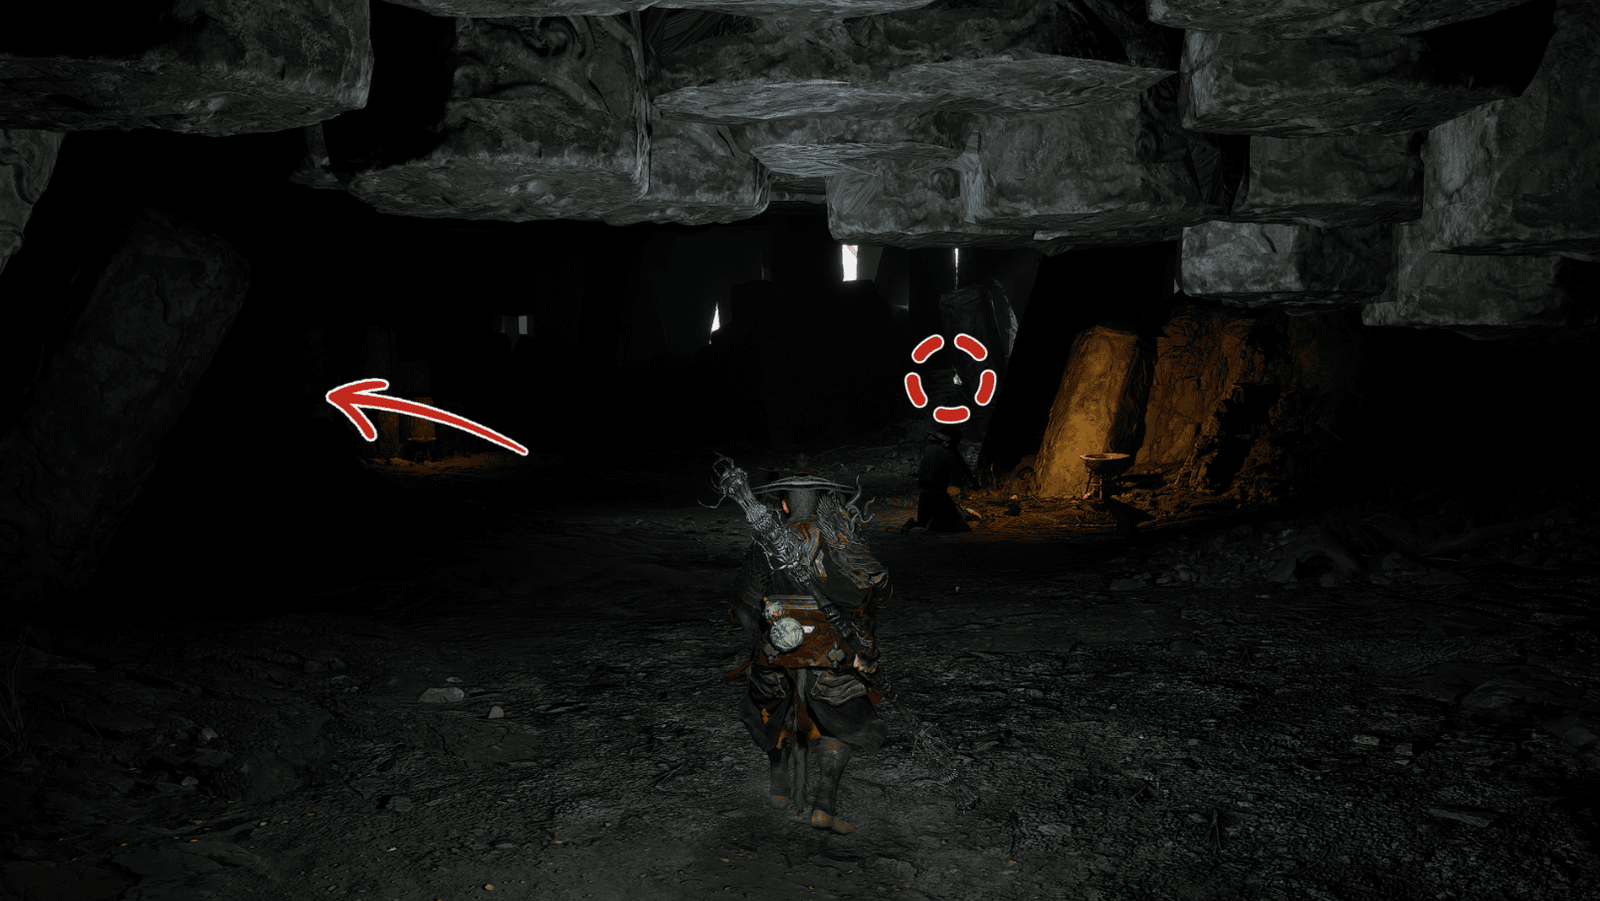
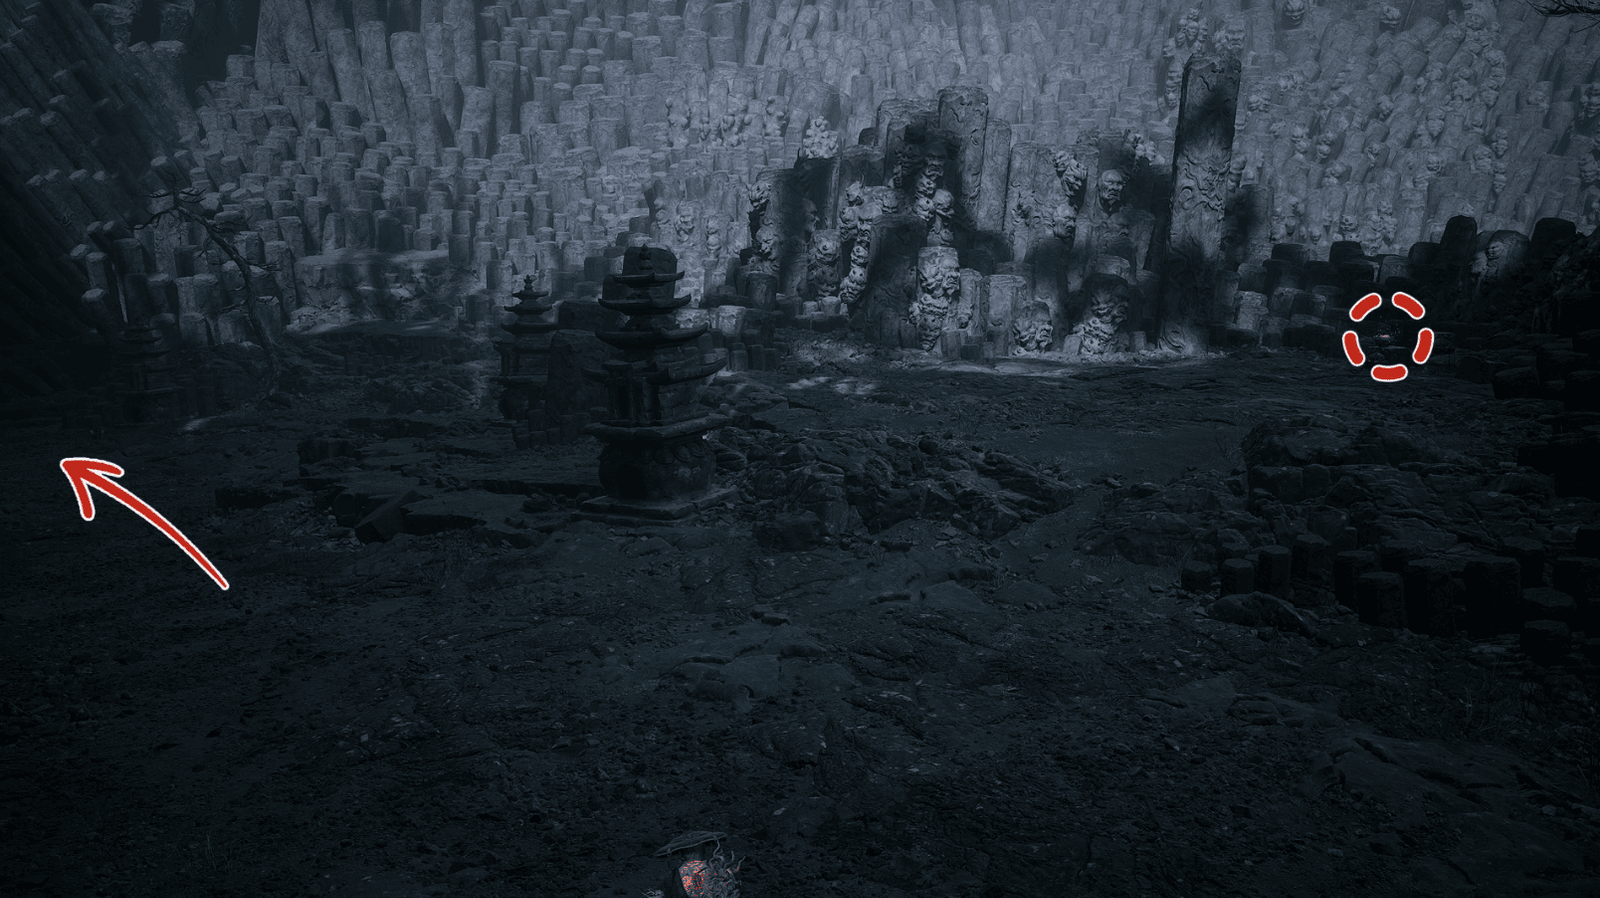
After collecting the Luoija Fragrant Vine, return to the Father of Stones. You will see a door near where he appeared, open it. Go down the stairs, you will encounter a cave, and beyond the main cave is the Gray-Bronze Cart guarding.
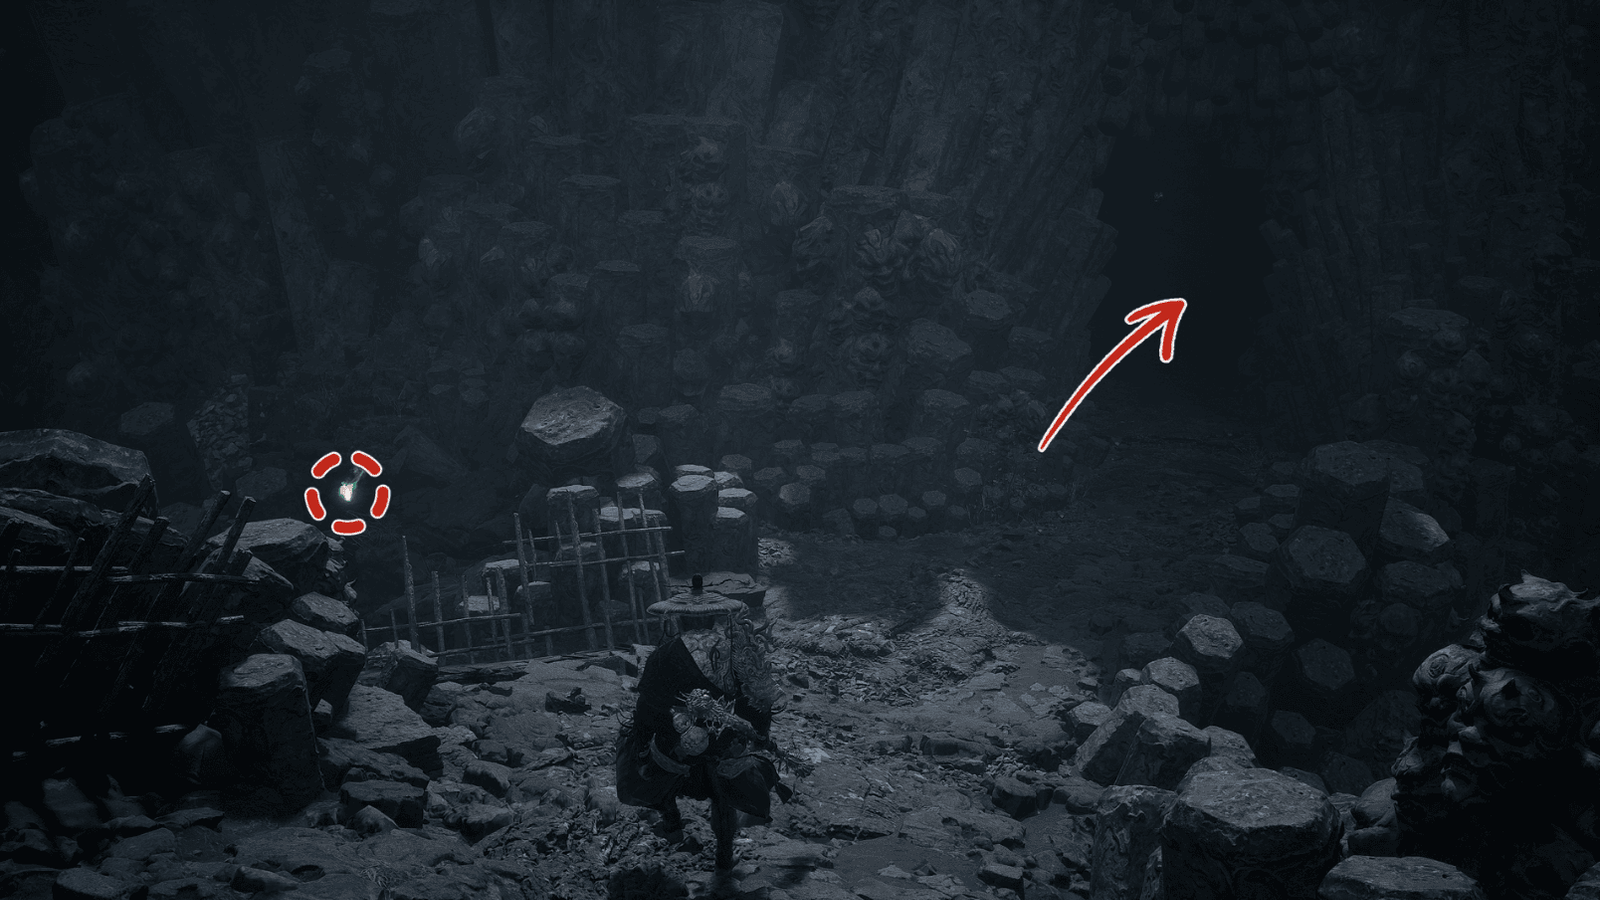
Follow the path on the left into a dark cave. Right before the cave entrance, on the left, there is a Wisp, absorb it.
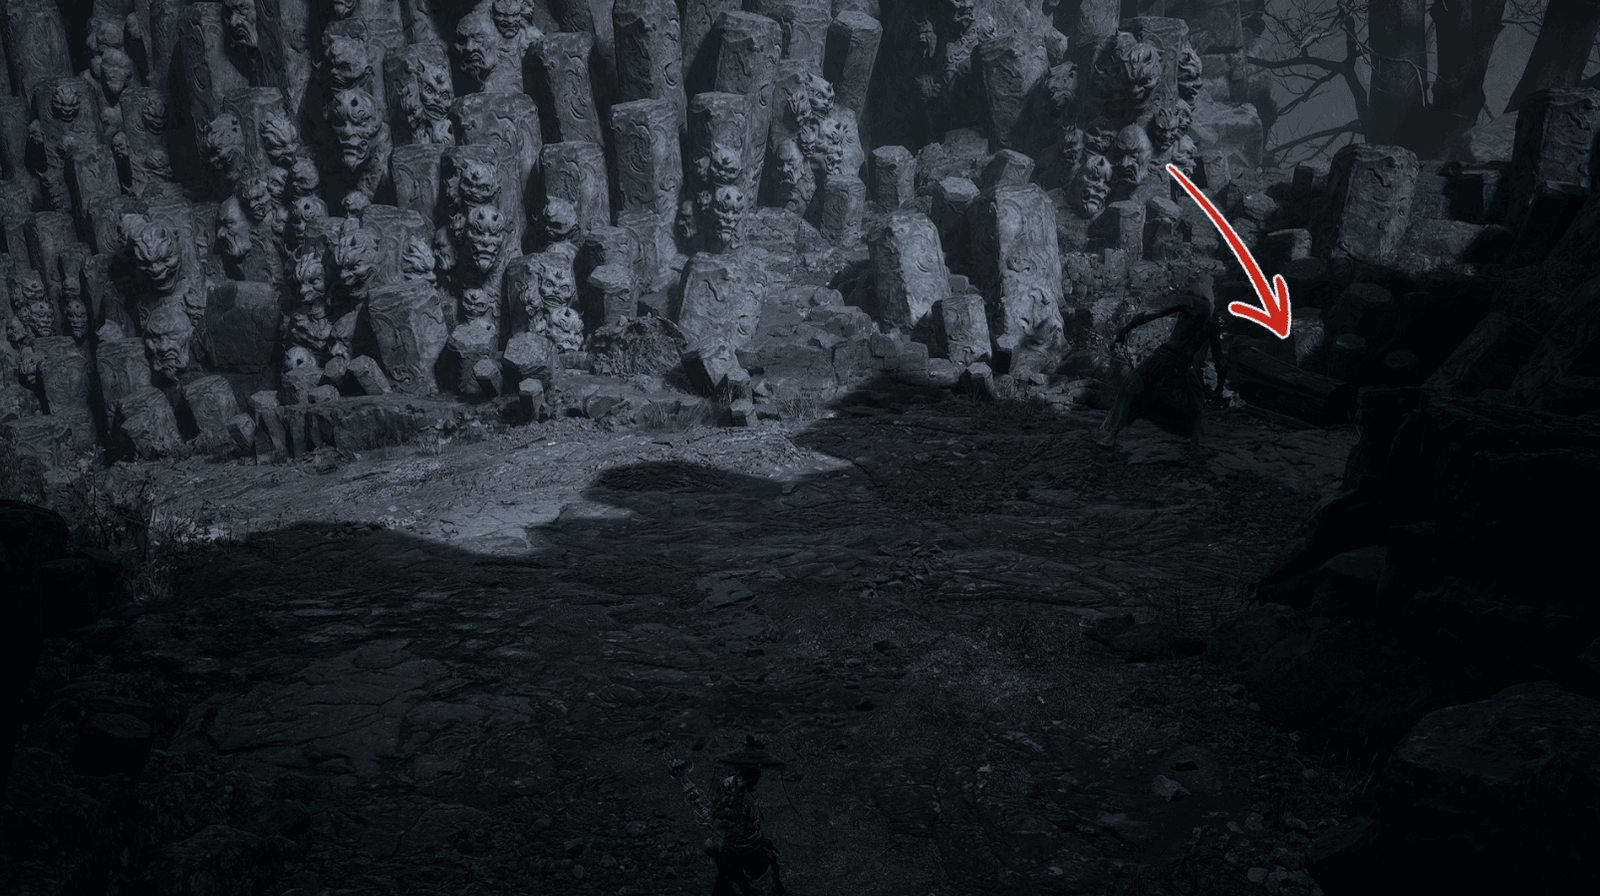
In the cave, follow the firelight to find your way out. You will encounter a Revenant Charbone here.
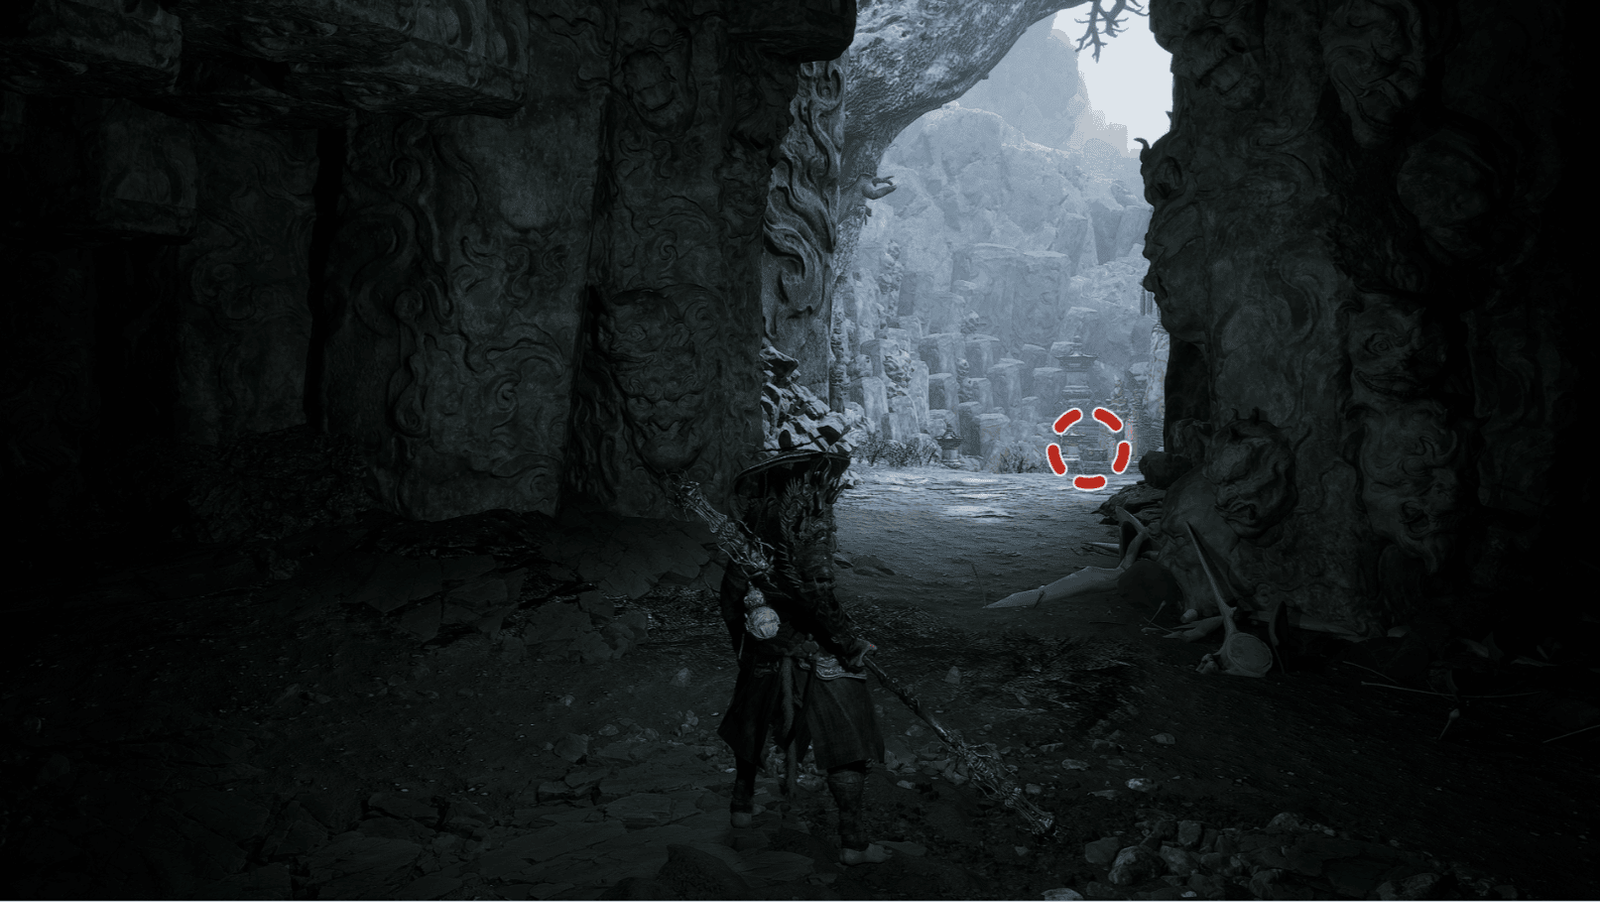
Follow the path on the right, you will exit and find a Curio box containing the Amber Prayer Beads near the statues, open it to receive it, this item helps to recover Focus faster.
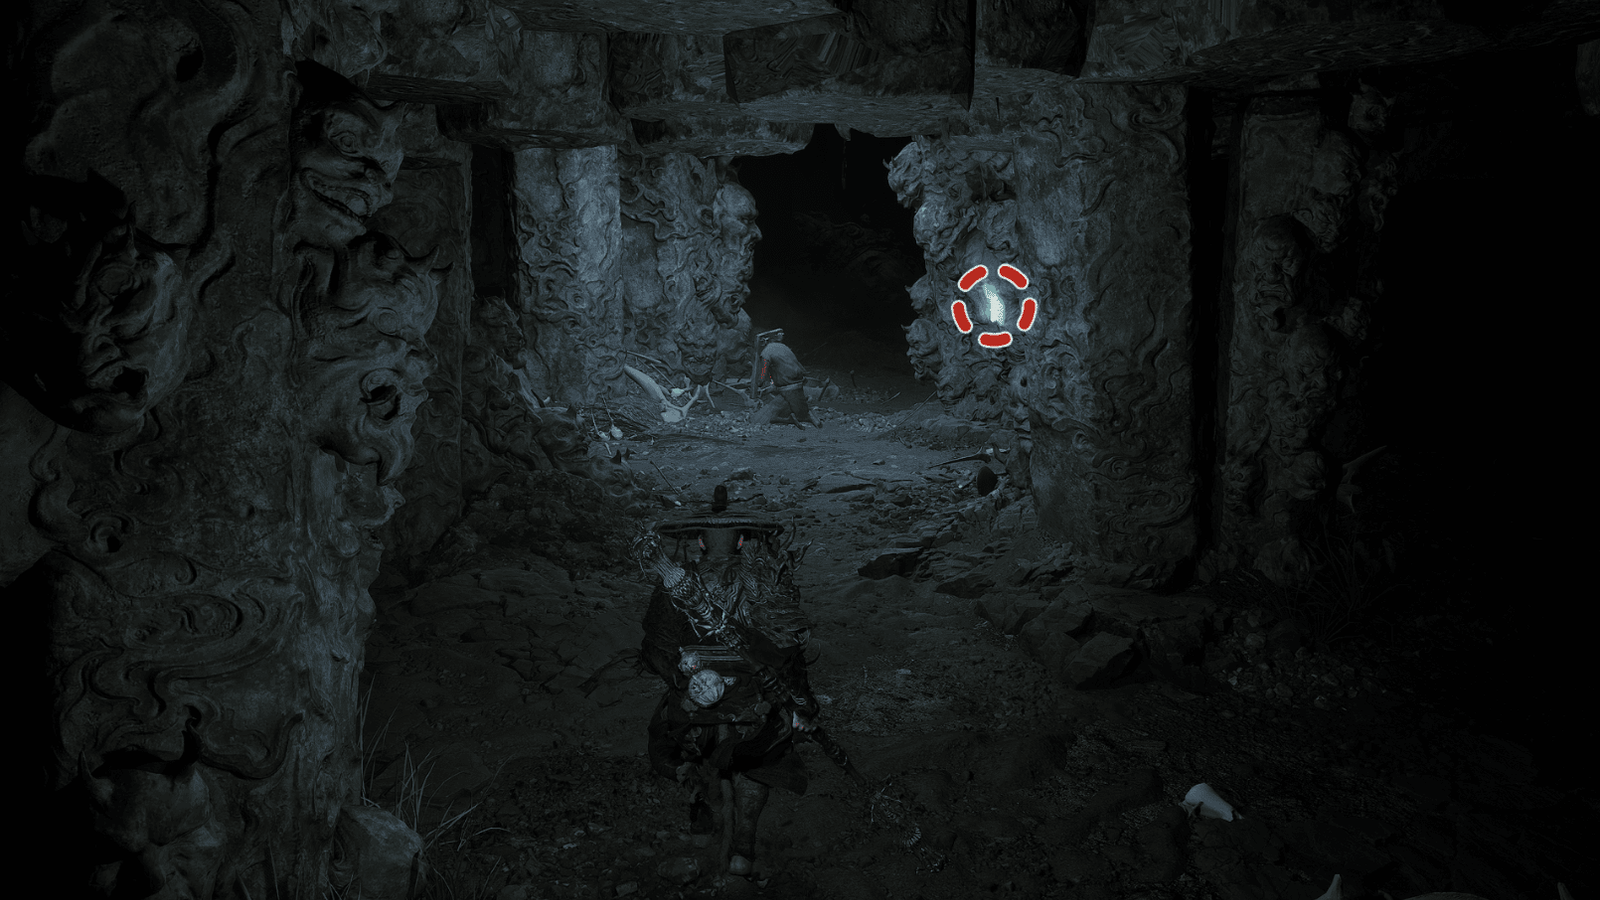
Return to the cave, go to the left to find a Spirit, remember to defeat the nearby Revenant.
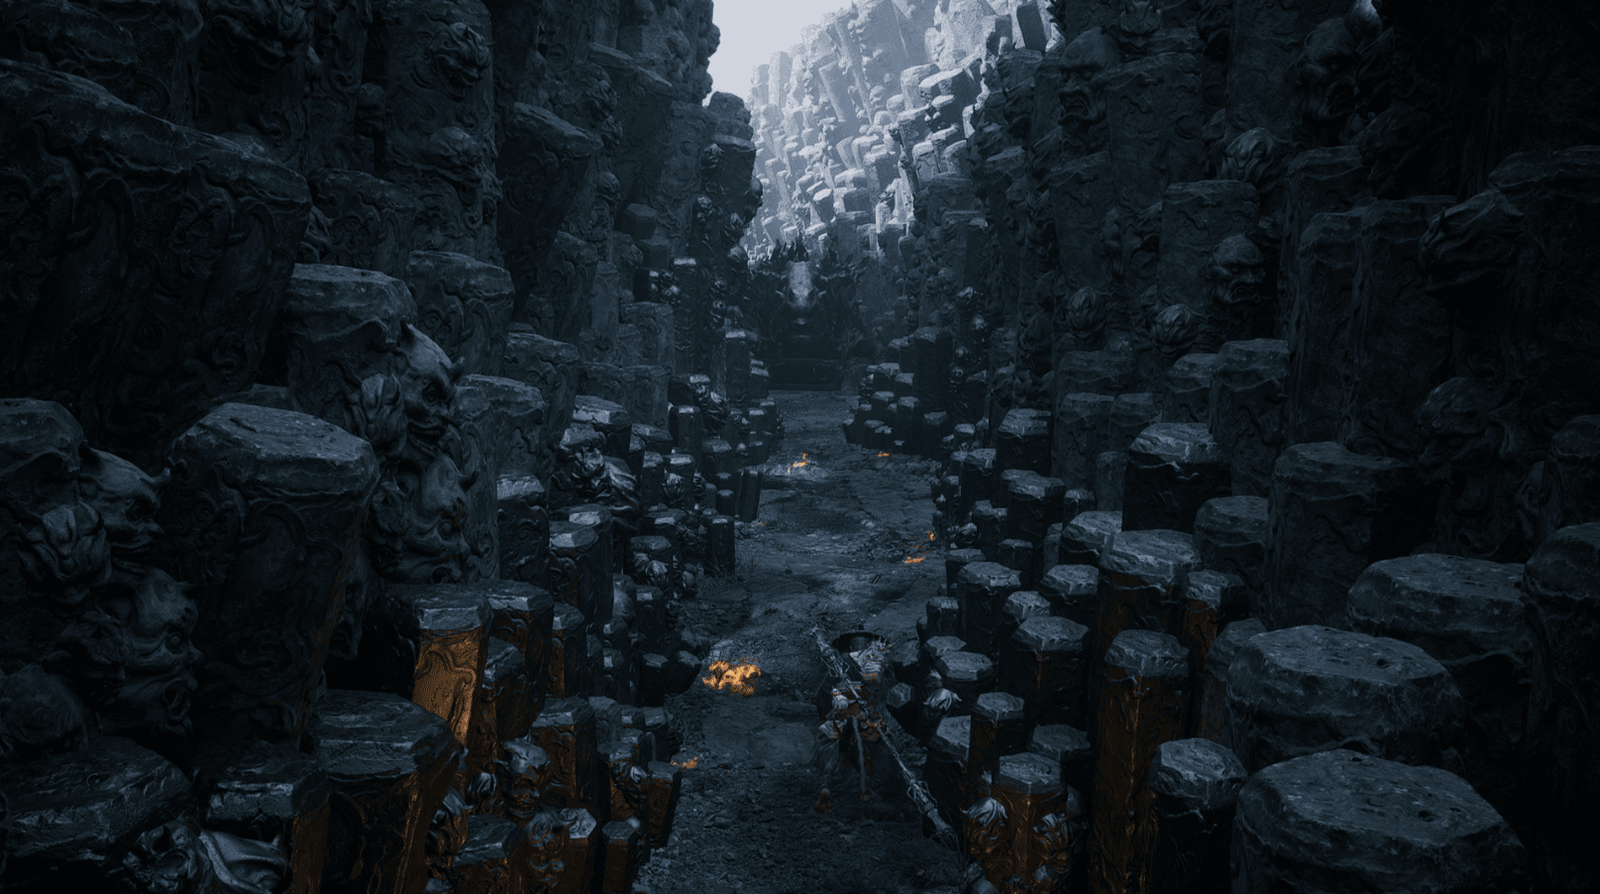
Continuing forward, you will see a Purple Lingzhi on the right, it will transform into a monster, be careful. After defeating it, you will receive an additional Nine-Capped Lingzhi. At the fork, turn right, you will find a Charface guarding Blood of the Iron Bull and Spirit – Charface.
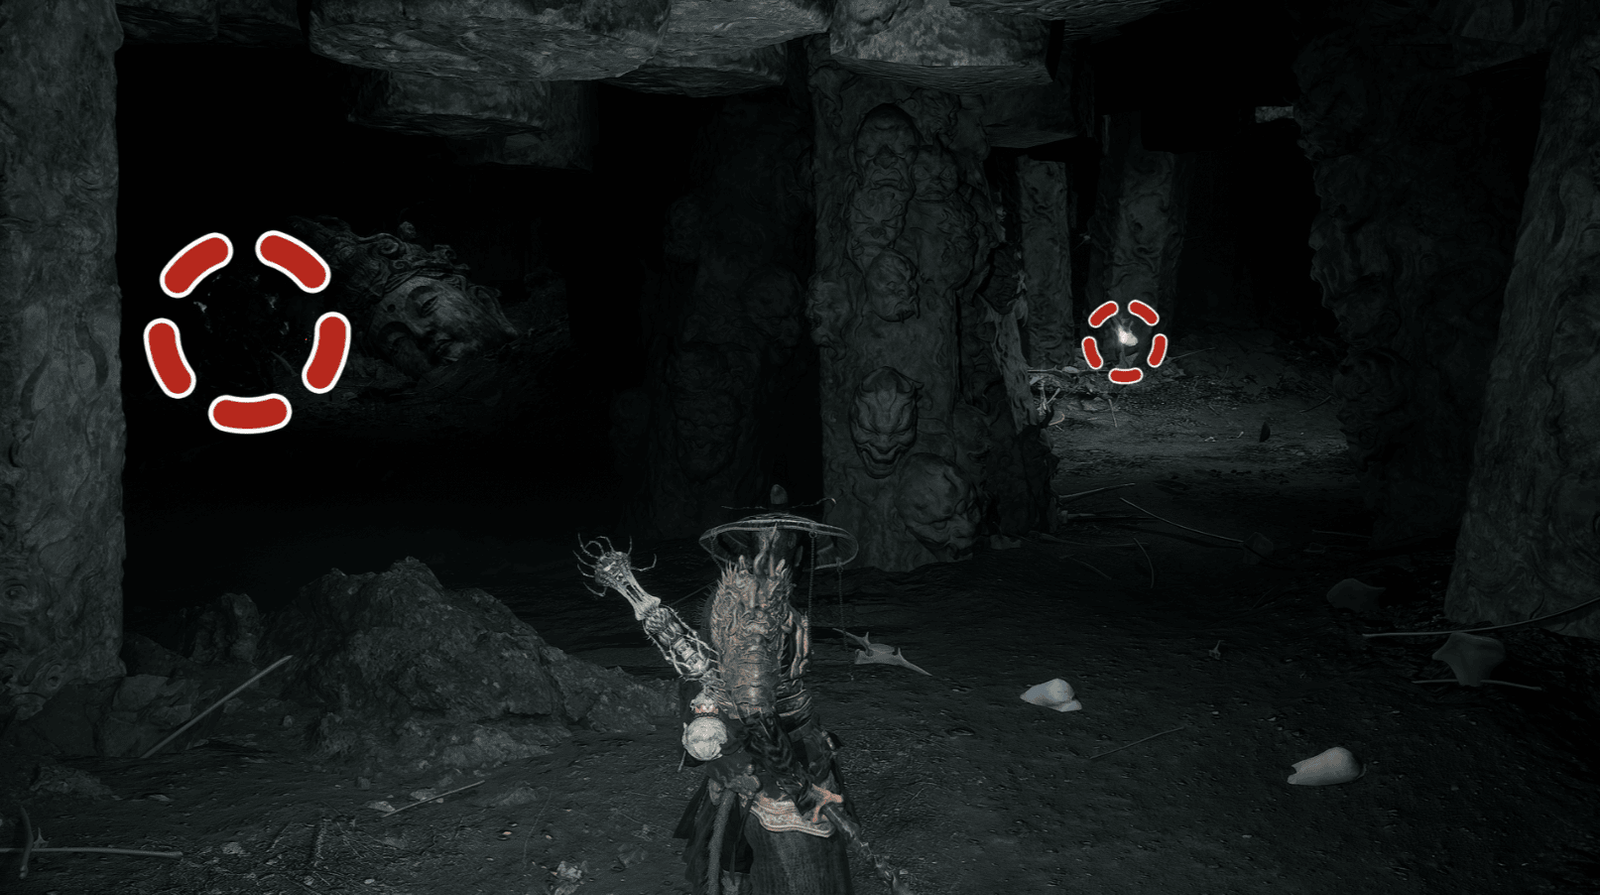
In this area, there are many Revenant Charbones hiding in the dark, be careful as they will suddenly rush out.
Continue along the path, you will find a Spirit on the right and a Charface guarding a treasure chest on the left. Defeat him to get Refined Iron Sand.
Confronting Gray-Bronze Cart
From the treasure chest, go straight up the narrow path, you will encounter the Gray-Bronze Cart.
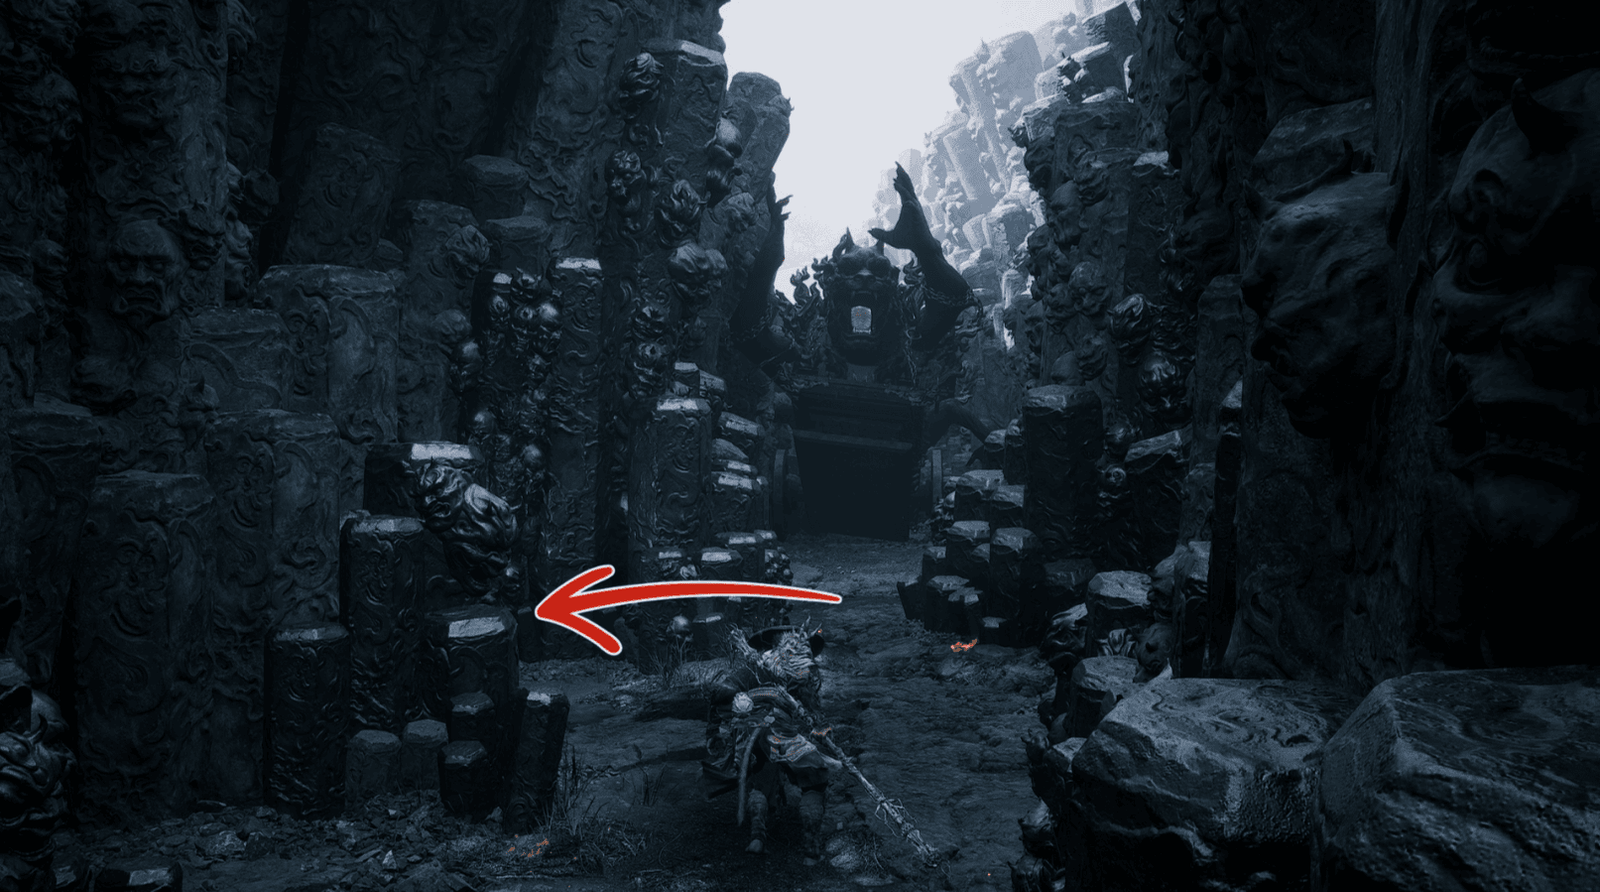
There is a small alcove on the left where you can hide to avoid its fire-breathing attacks and absorb a Wisp.
Similar to the Brown-Iron Cart, take advantage of the Fireproof Mantle and the alcoves to avoid the fire-breathing attacks. Continuously attack the Gray-Bronze Cart when it is vulnerable.
Quick as Fire, Fast as Wind Boss Fight
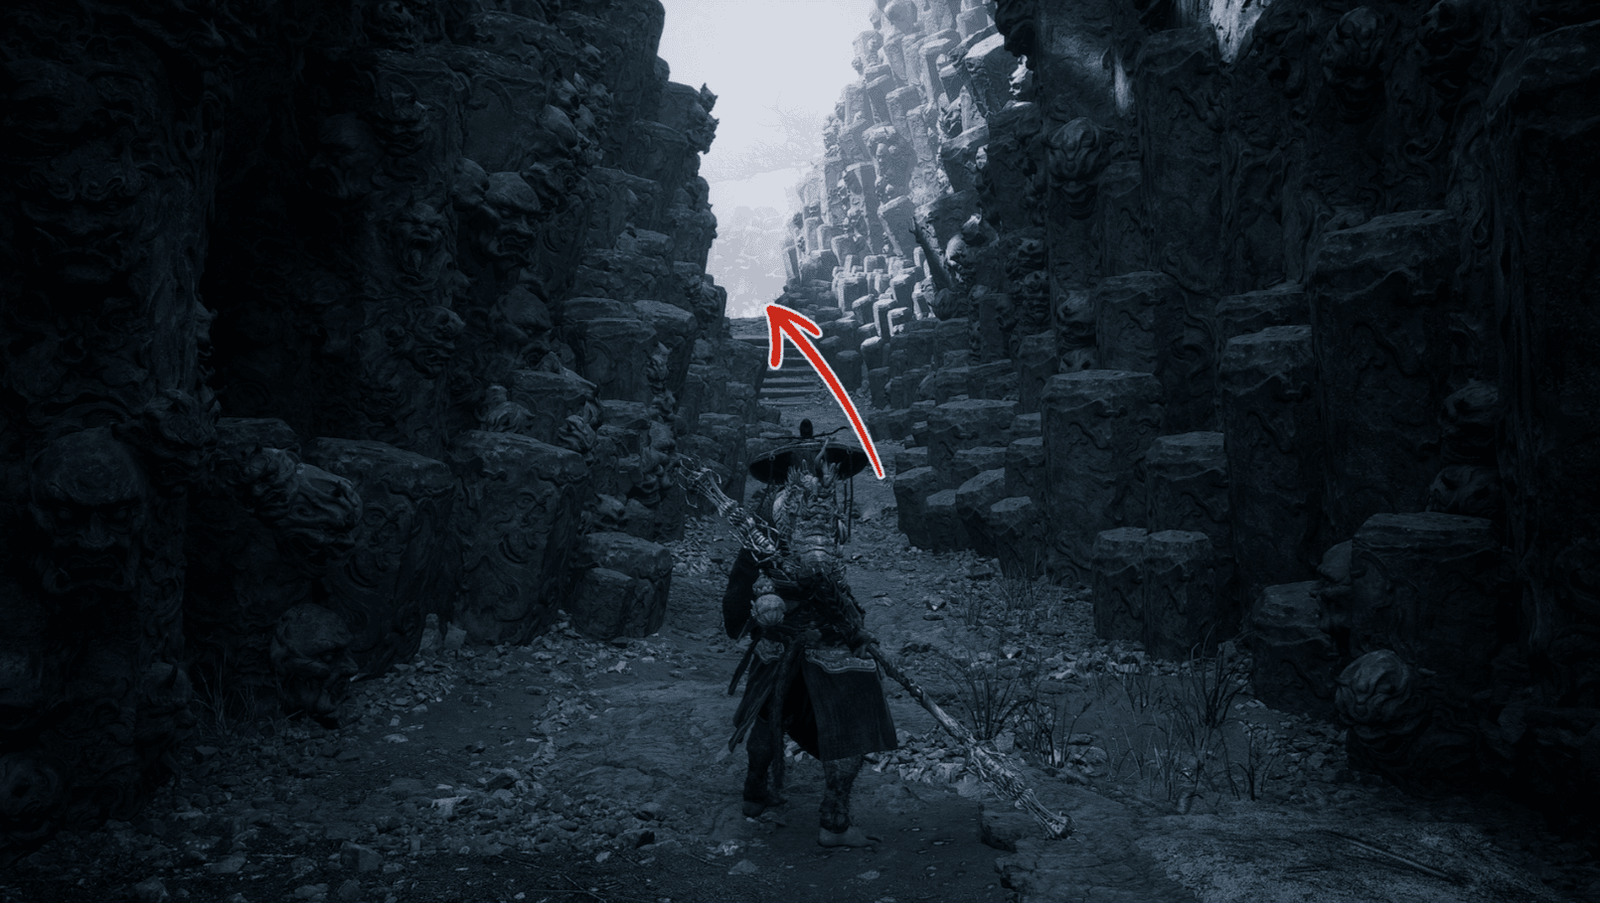
After destroying the Gray-Bronze Cart, continue up the slope, you will hear Pingping‘s cry for help, the daughter of the Bull Demon King.
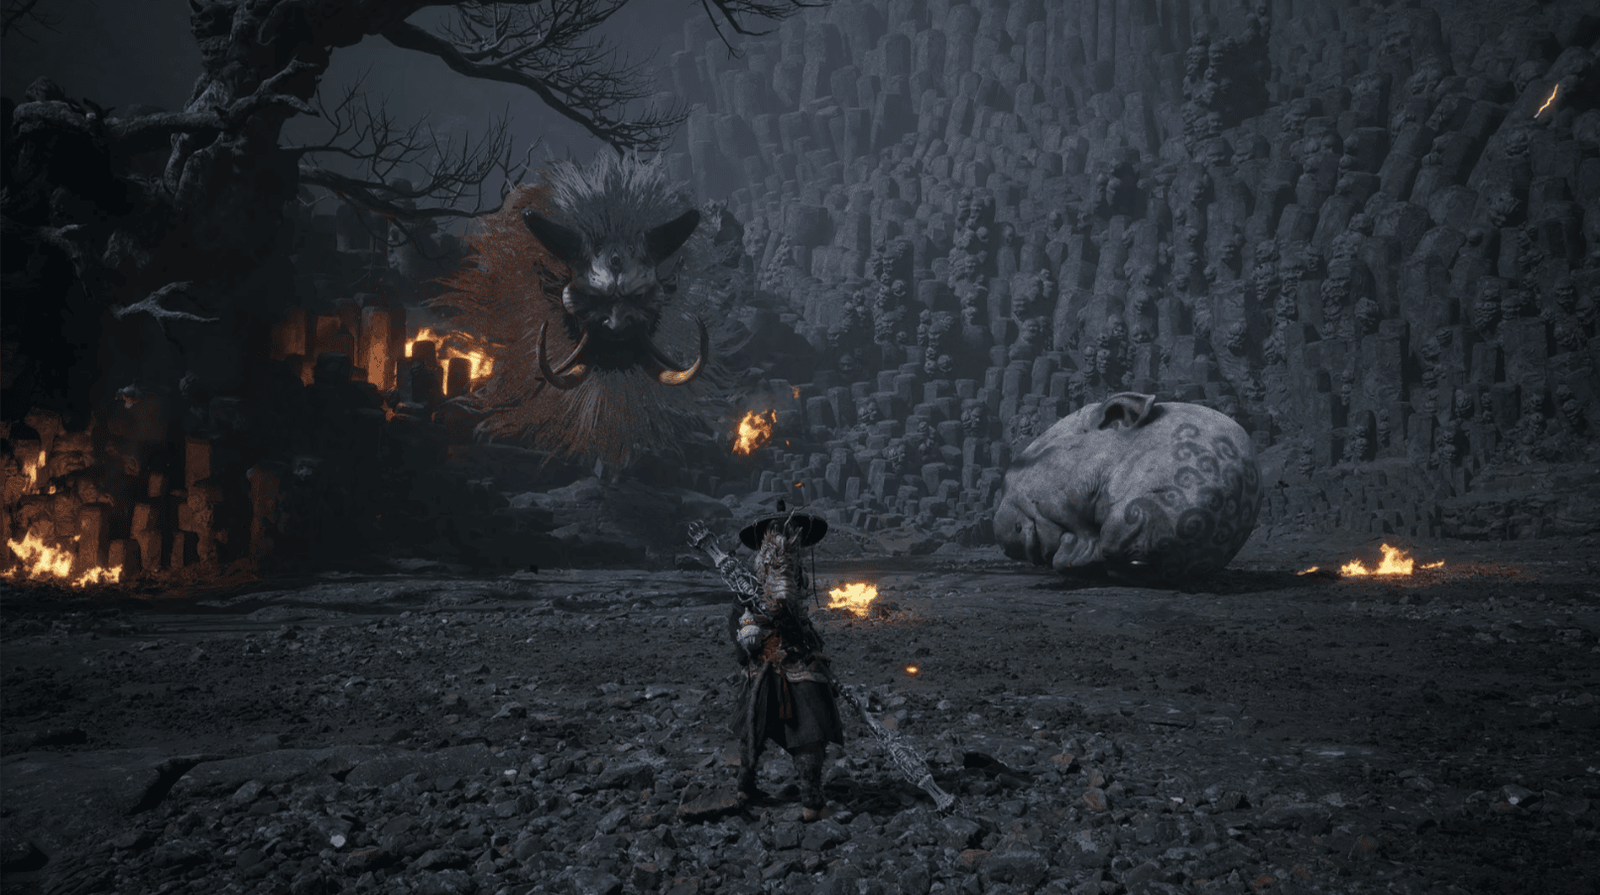
Entering the large area, you will see Pingping tied to a tree and two enemies, Quick as Fire and Fast as Wind.
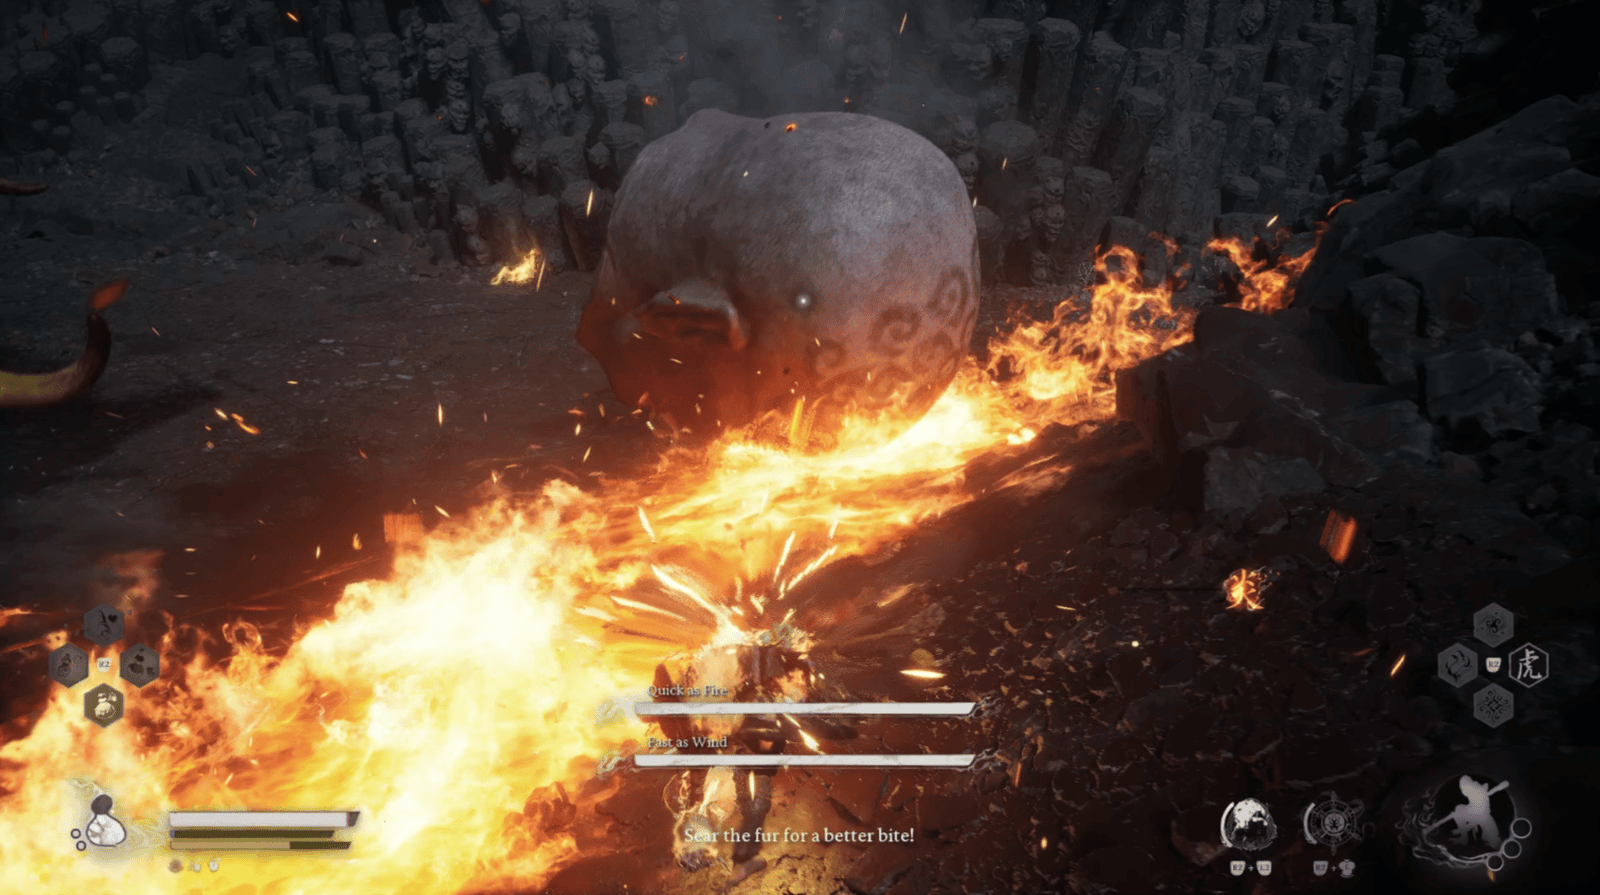
These are two flying heads, Quick as Fire will roll on the ground and breathe fire, while Fast as Wind will fly around and attack from above.
Focus on destroying Quick as Fire first, use the Fireproof Mantle to resist the fire.
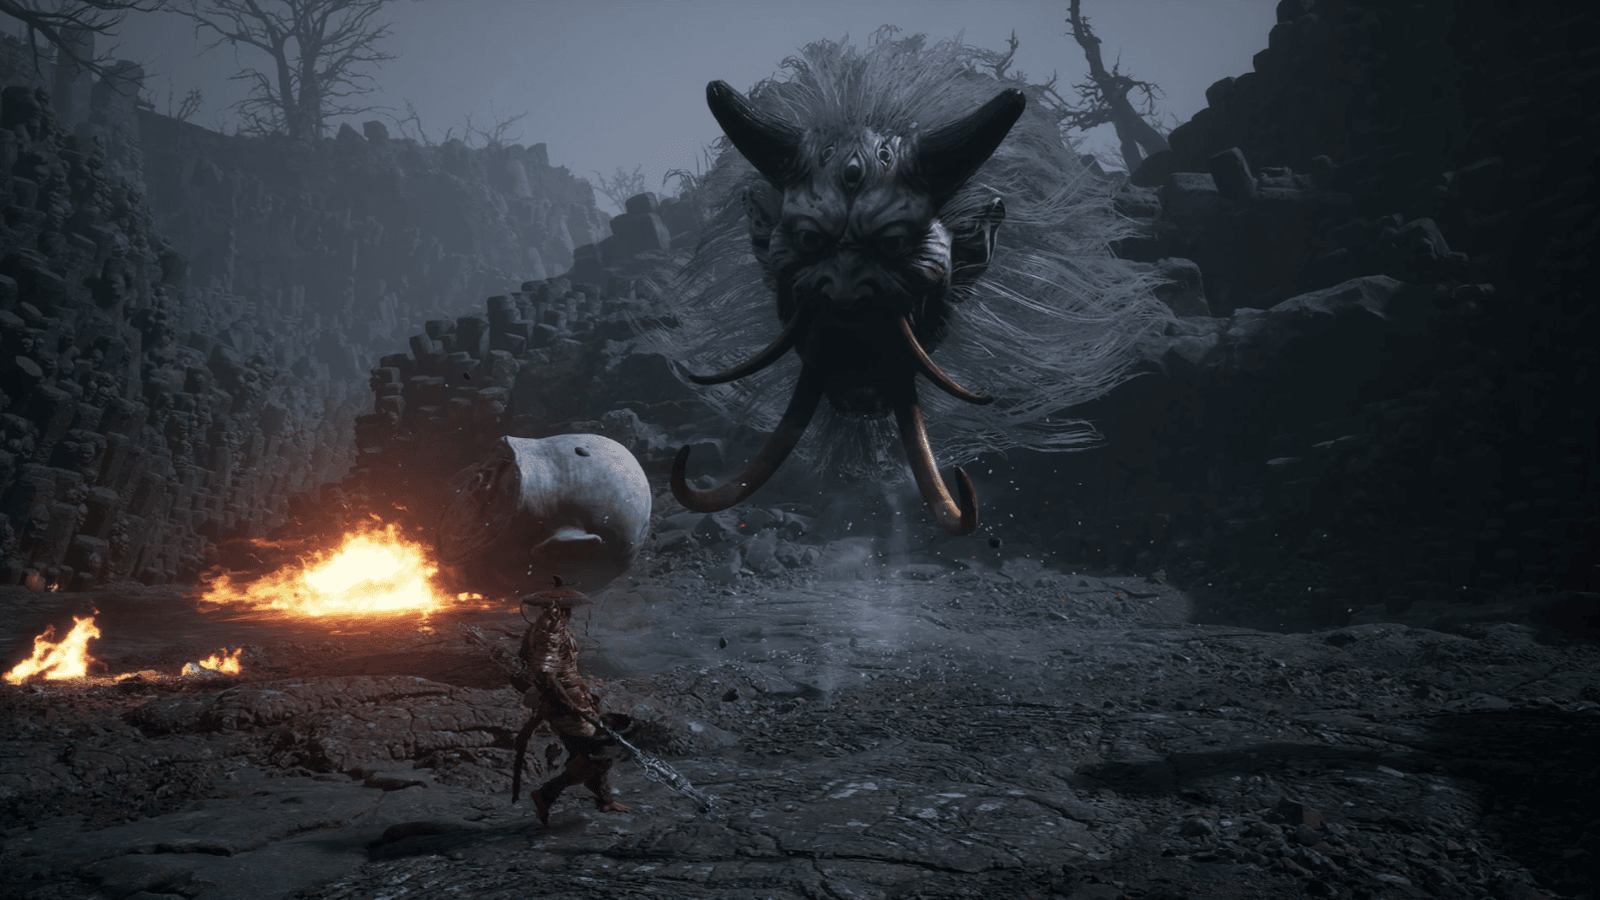
When Quick as Fire is destroyed, Fast as Wind will become more aggressive, he will swoop down to attack and spew tornadoes. Dodge and attack when he swoops down.
After defeating Quick as Fire and Fast as Wind, Pingping will thank you and disappear. You will receive rewards and the Ashen Pass II Shrine will appear.

Follow the path on the left up the stairs and activate the Shrine. Opposite the Shrine is a small area where there is a treasure chest containing the Celestial Jade Lotus Pill, open it to receive it.
Return to the path, go to the right, you will follow Pingping through a tunnel. Continue to follow Pingping until you reach the cliff where the fire is burning fiercely.
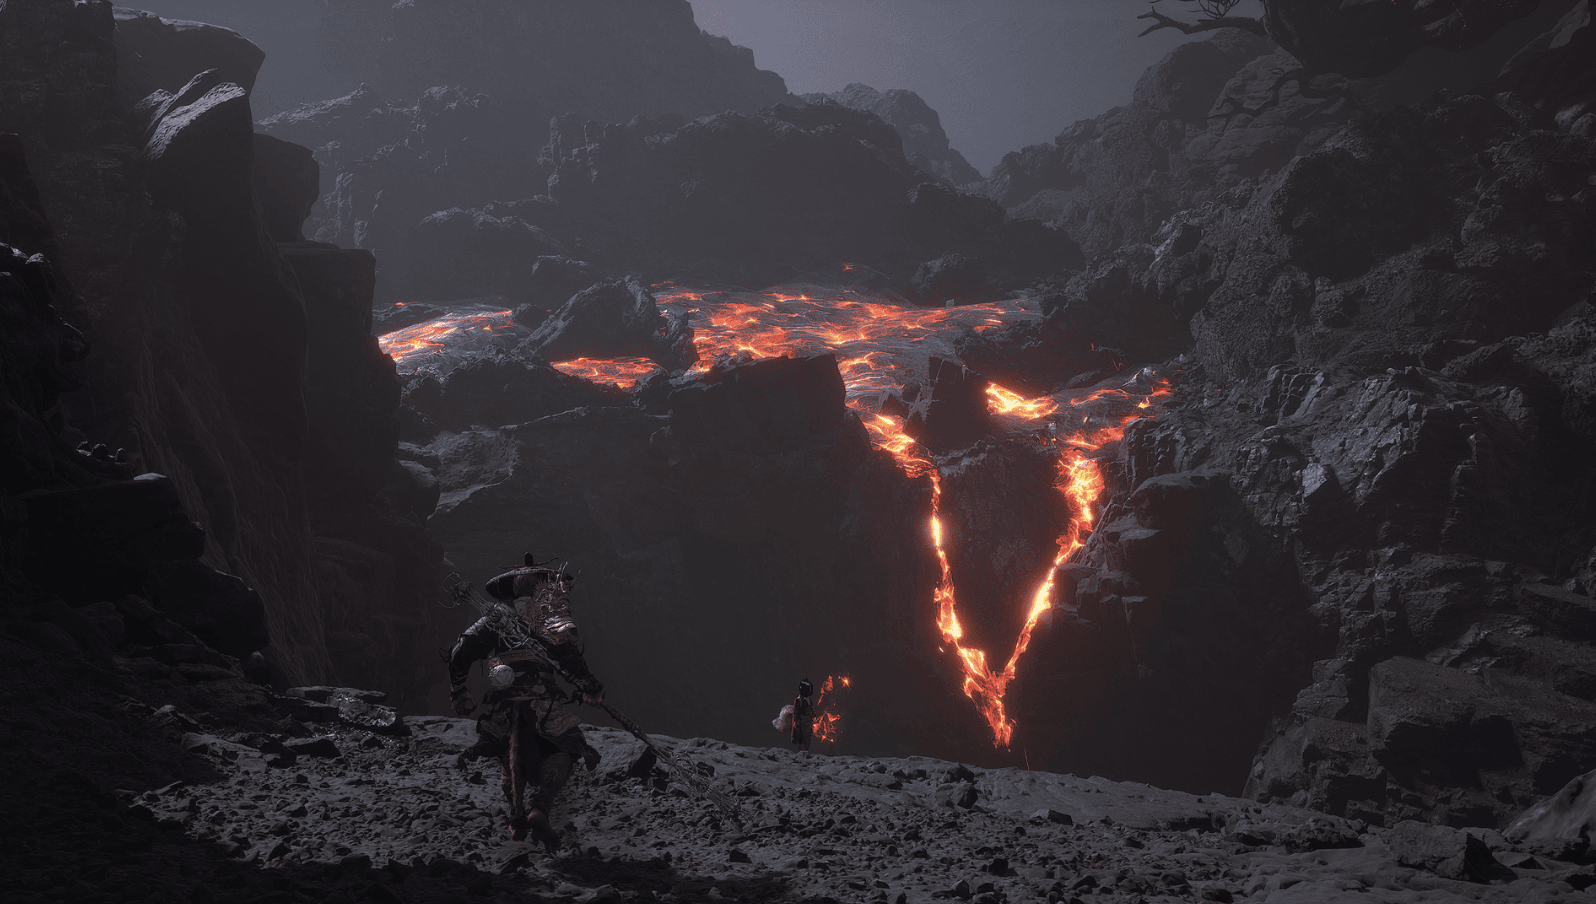
Before following Pingping, turn left to find a Spirit on the slope. Then, follow Pingping to the cliff, she will transform. Jump down the cliff to reach the next area – Furnace Valley.