
Your goal is to overcome this deadly land, defeating the powerful Yaoguai Chiefs and Yaoguai Kings. Don’t worry, this article will be your guide, leading you step by step to conquer Furnace Valley.
Valley Entrance
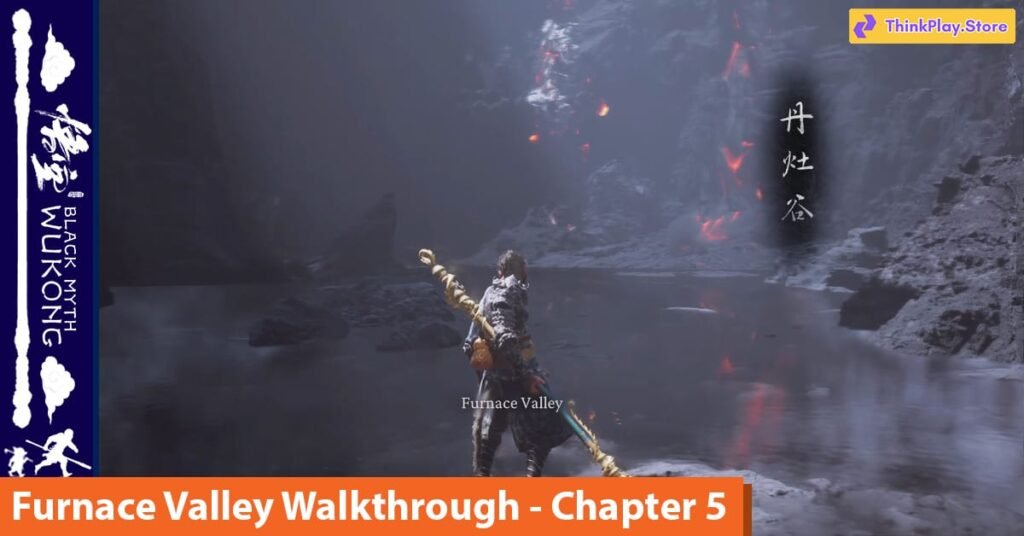
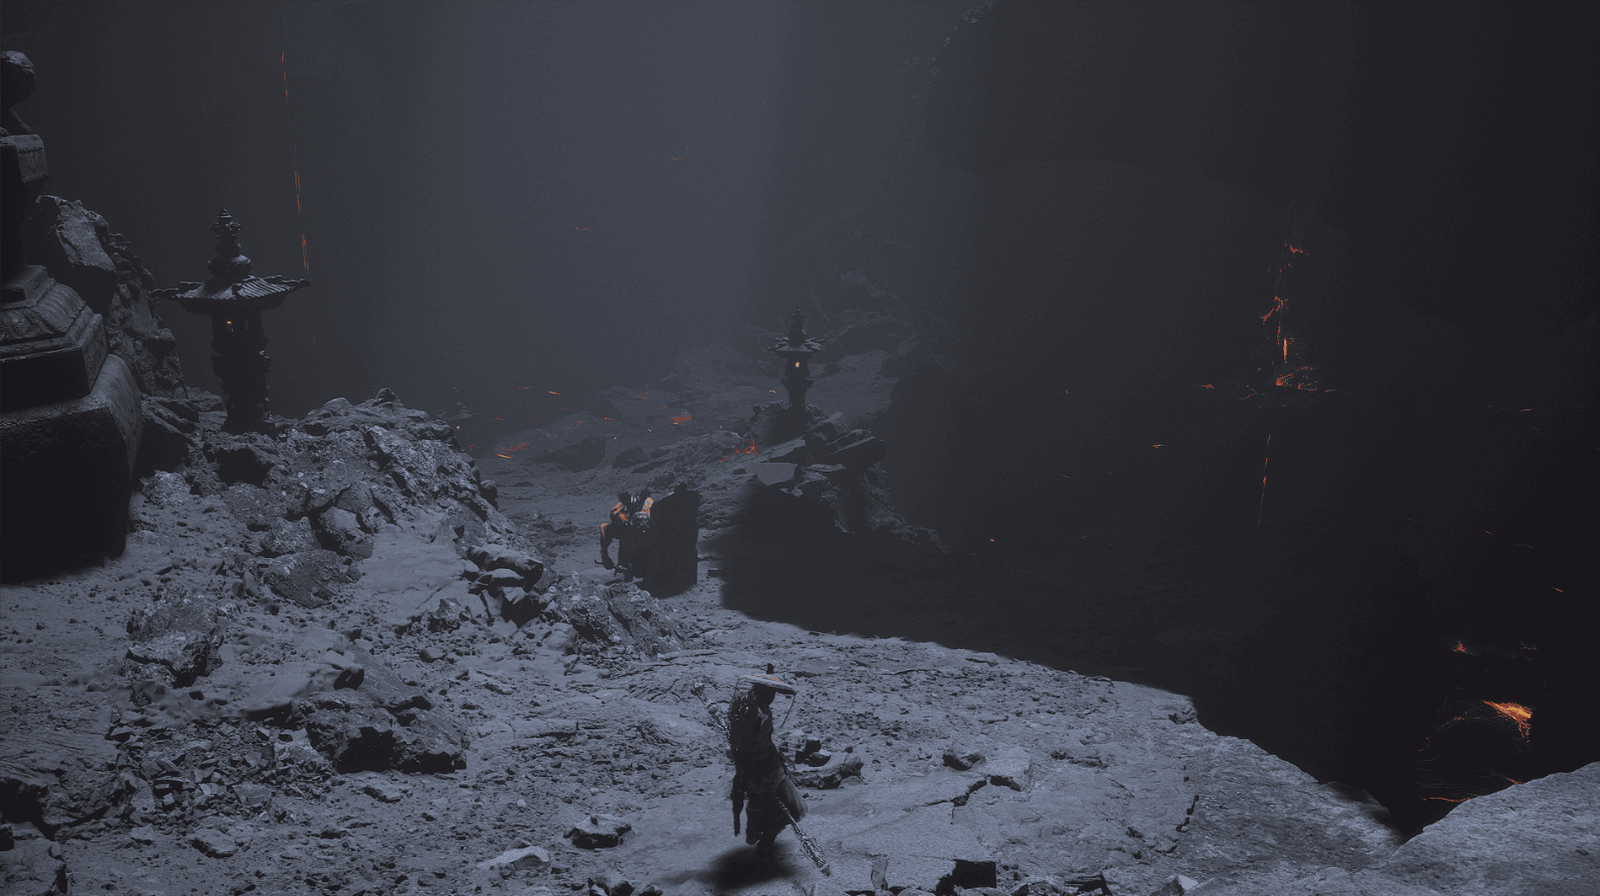
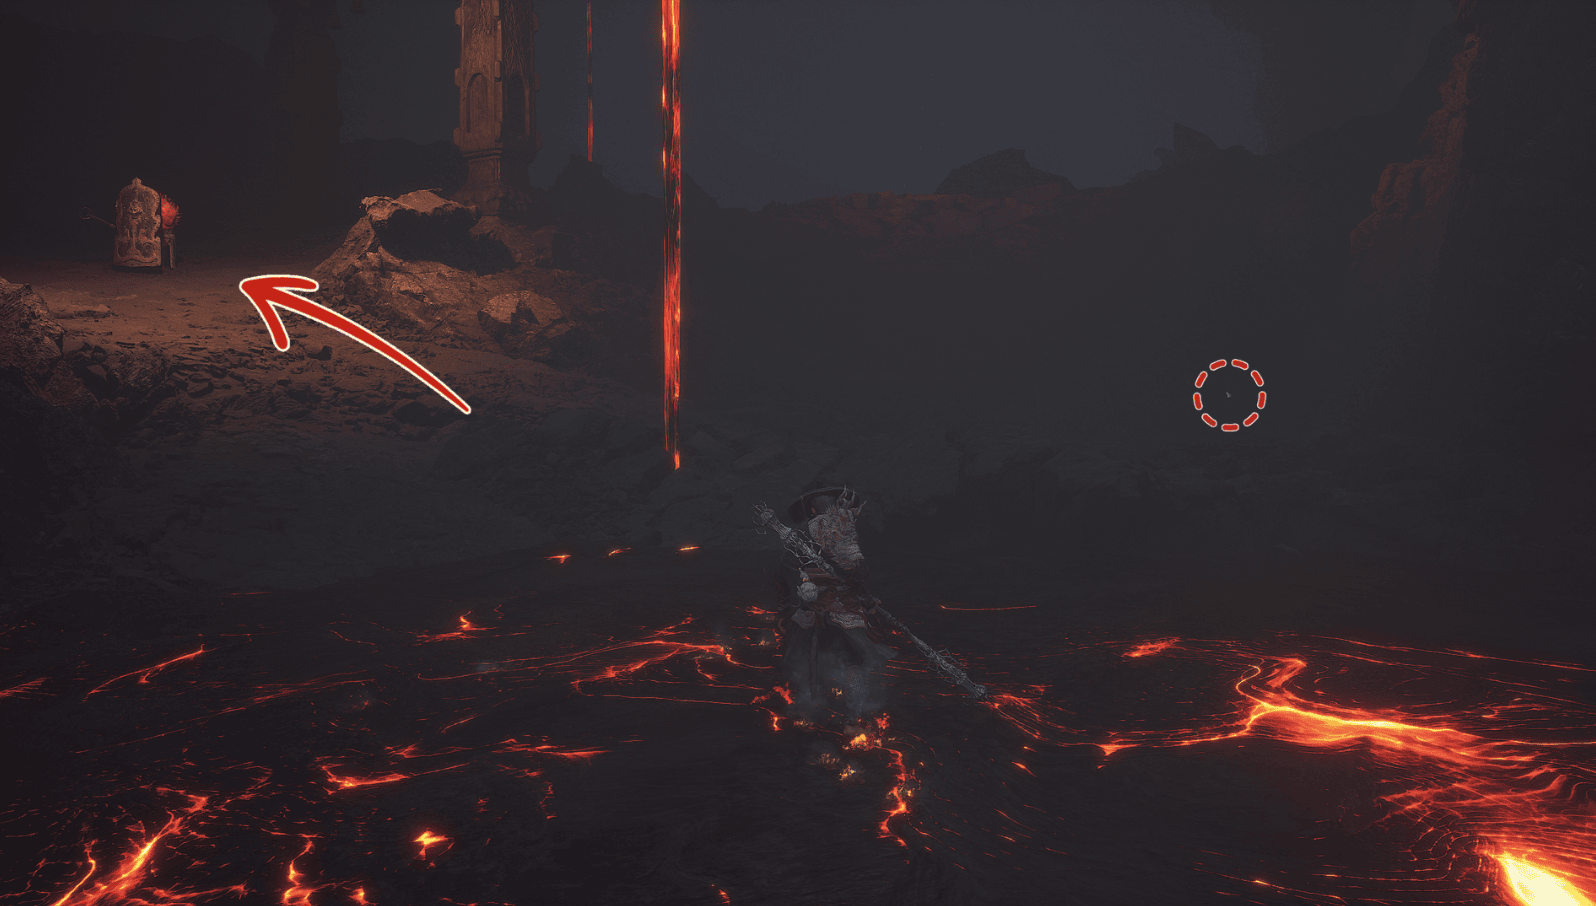
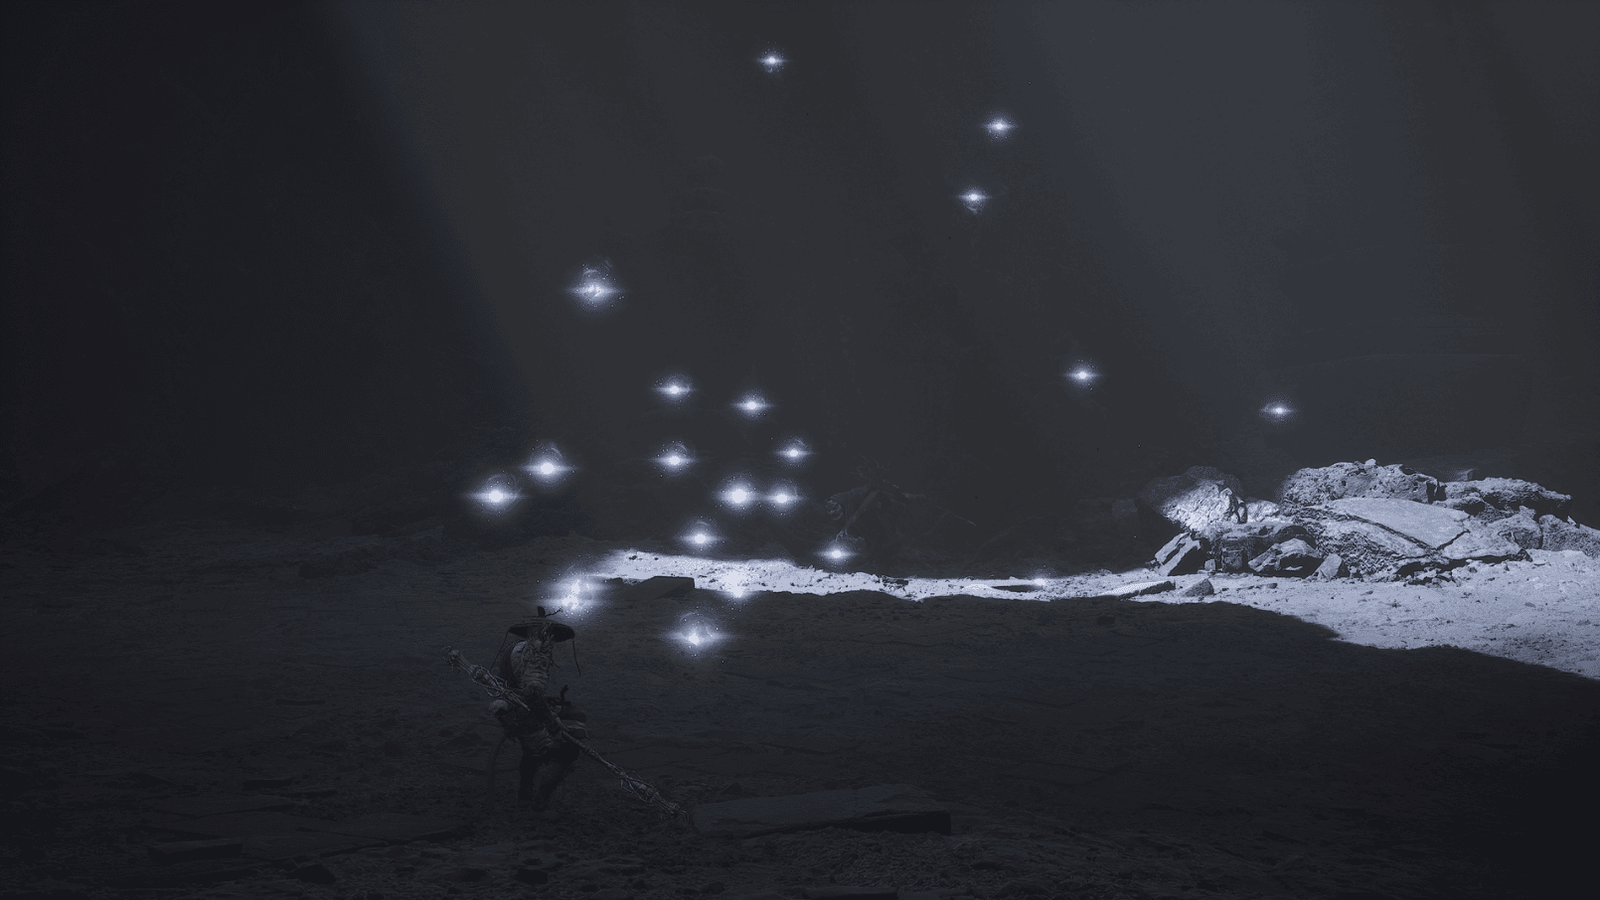
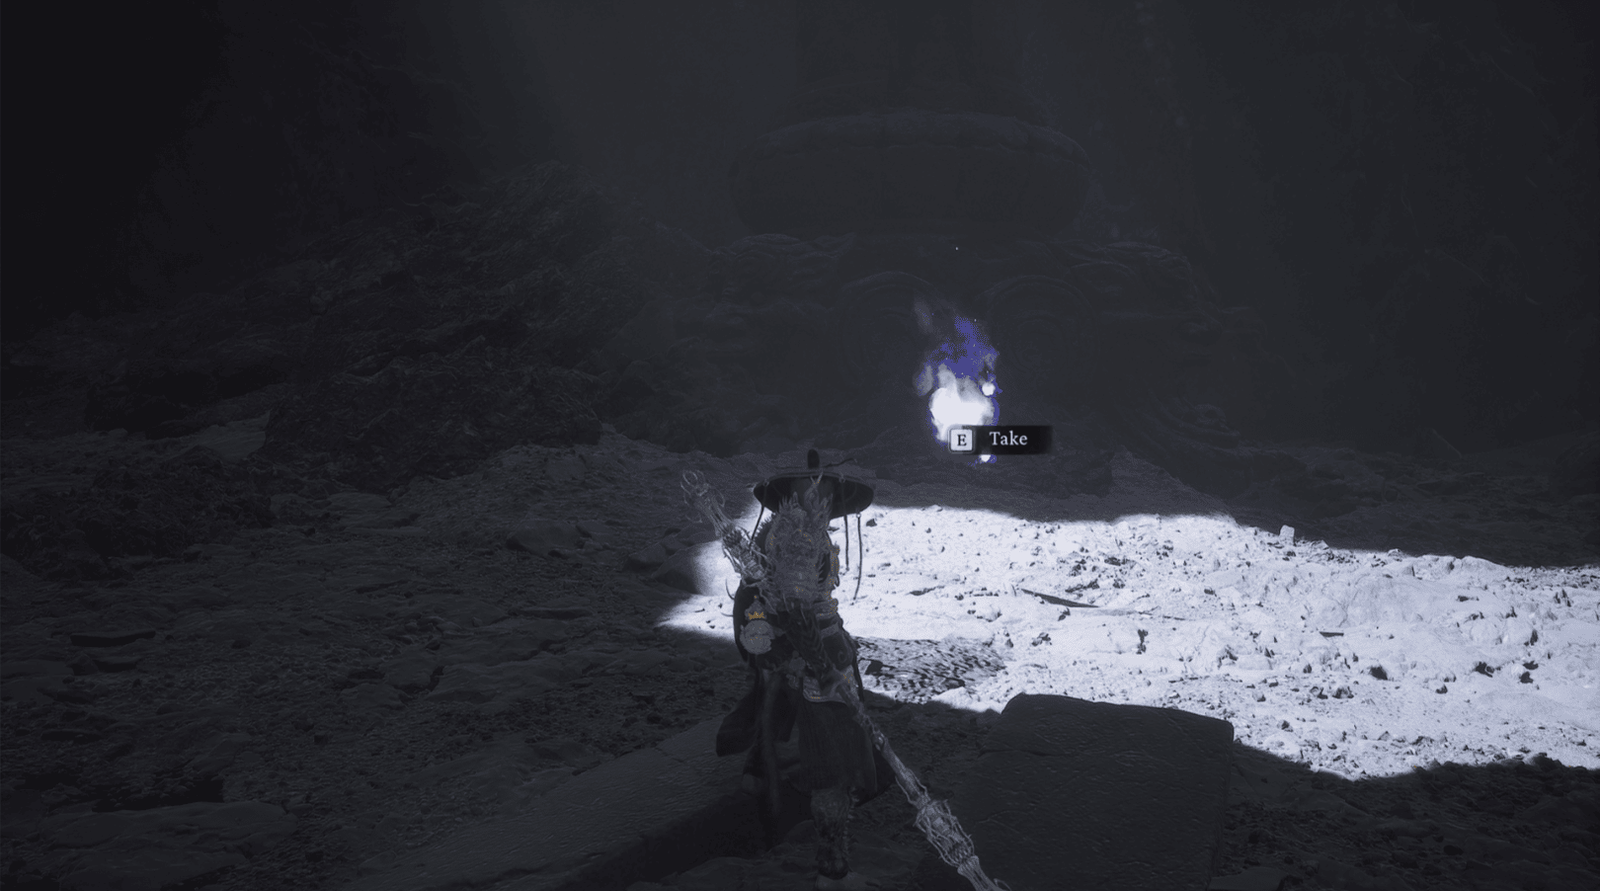
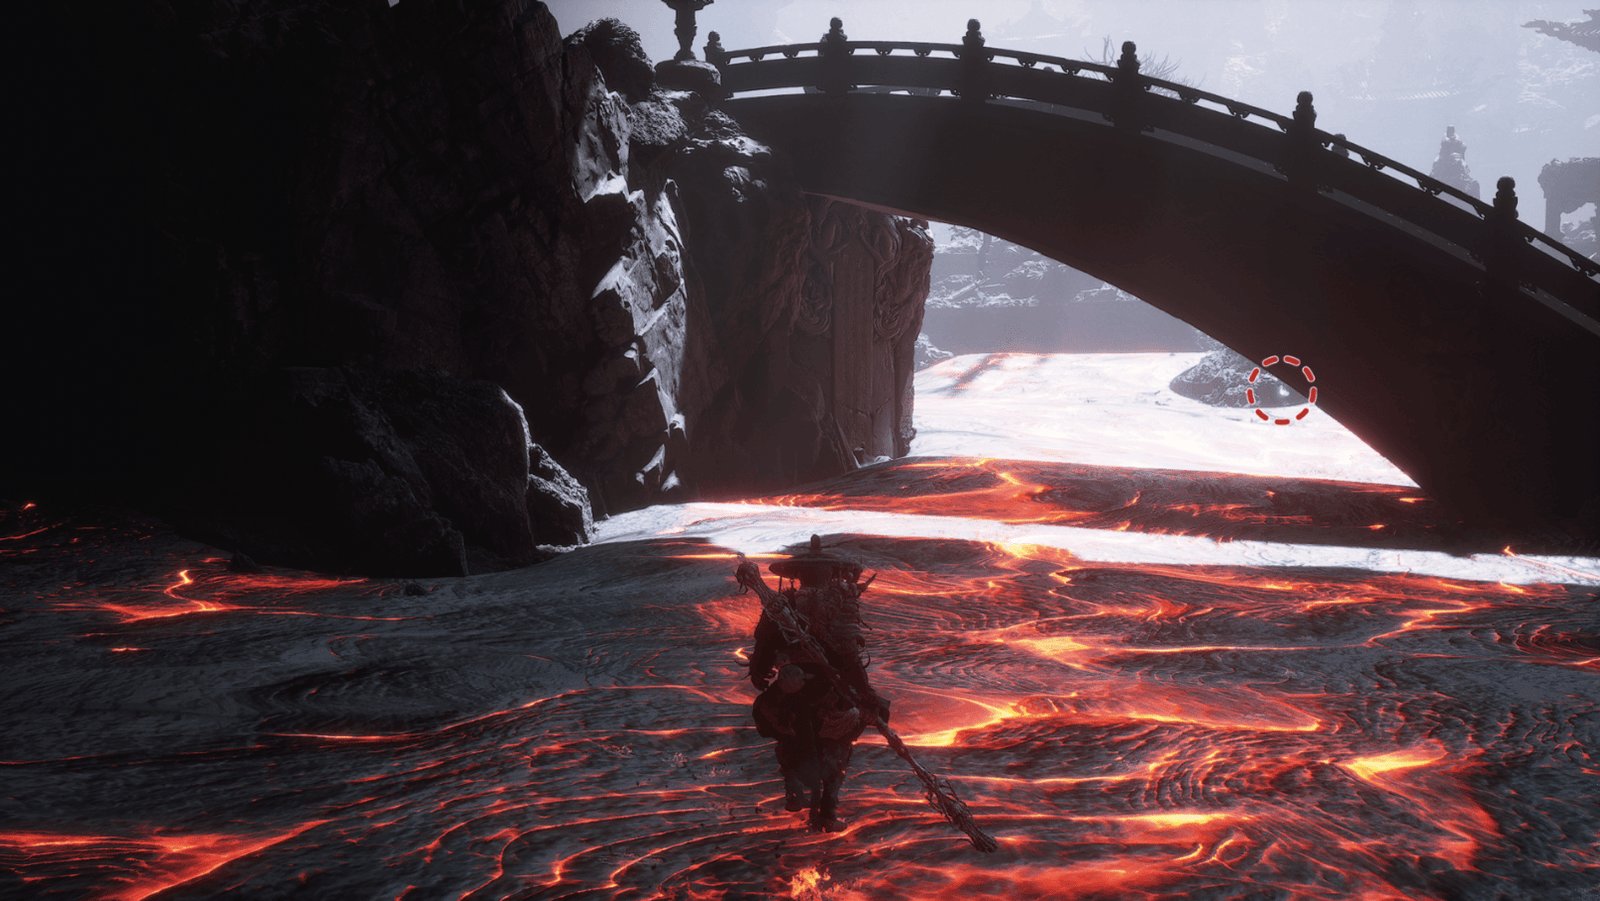
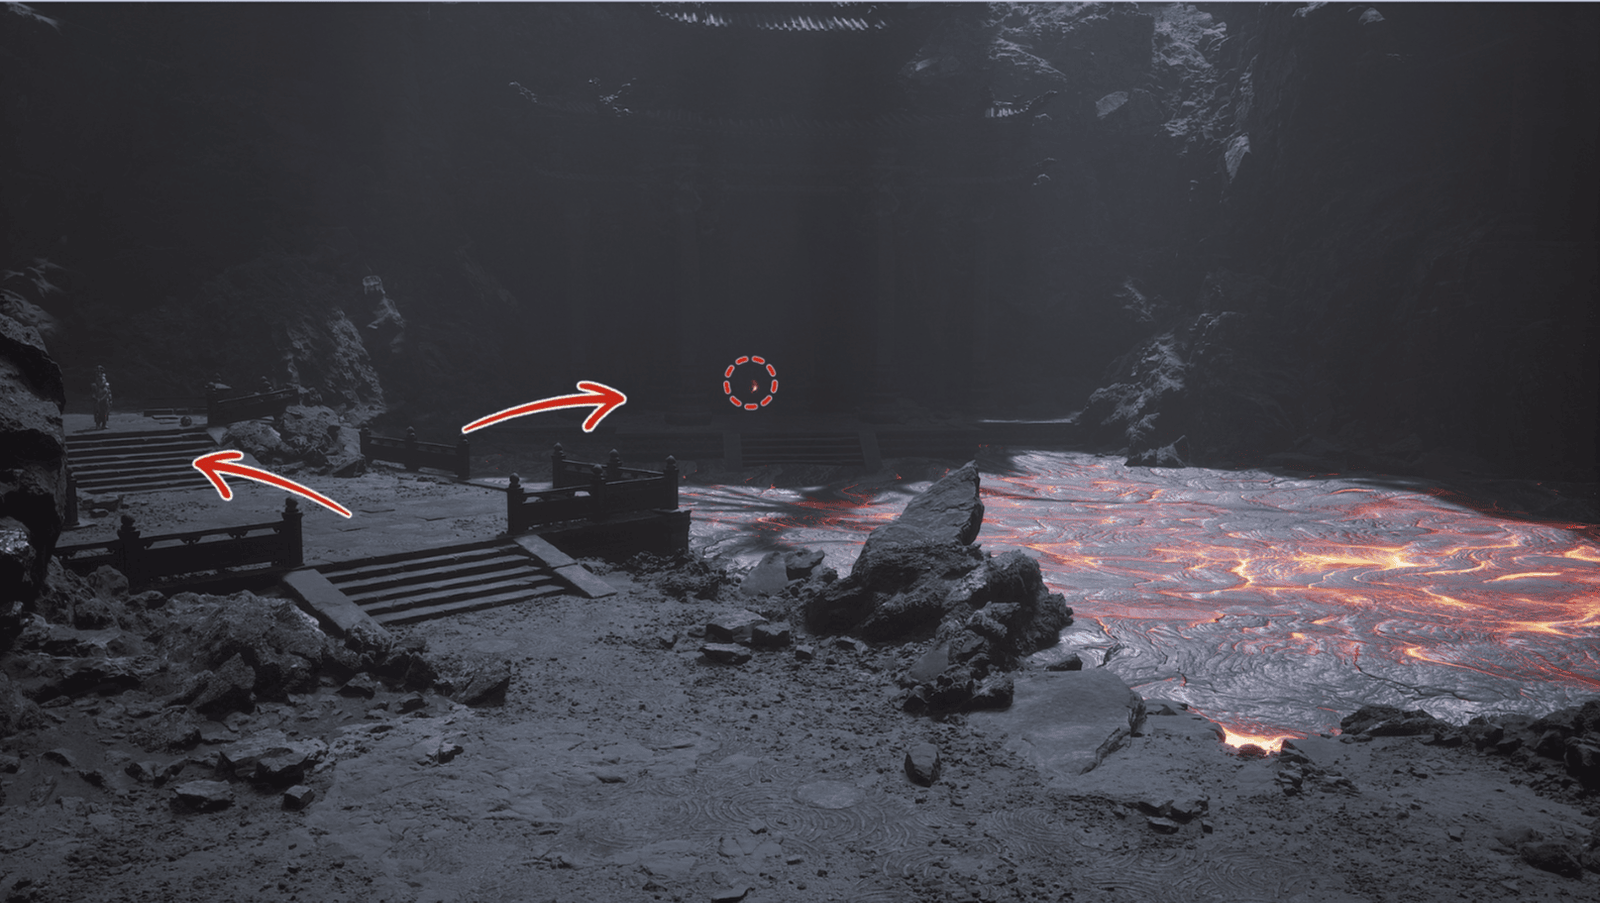
Upon arriving at Furnace Valley from the Woods of Ember, you’ll immediately feel the heat, just like the Flaming Mountains. Look back to your right, and you’ll see the first Green Wisp of the area. Collect it, these are Spirits that help you increase your power.

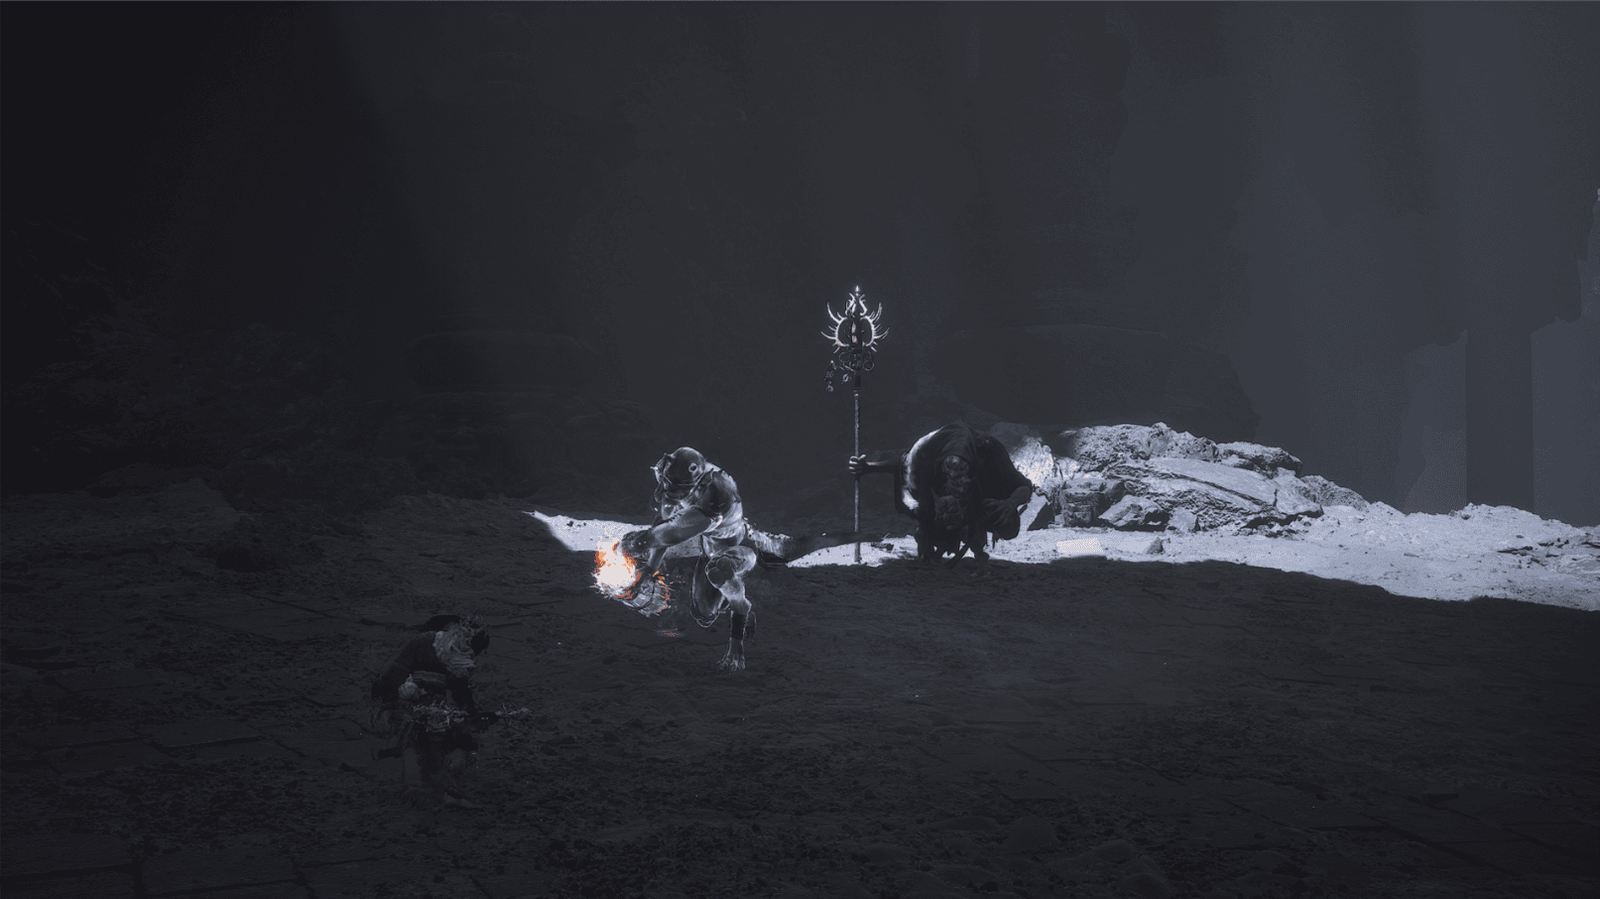
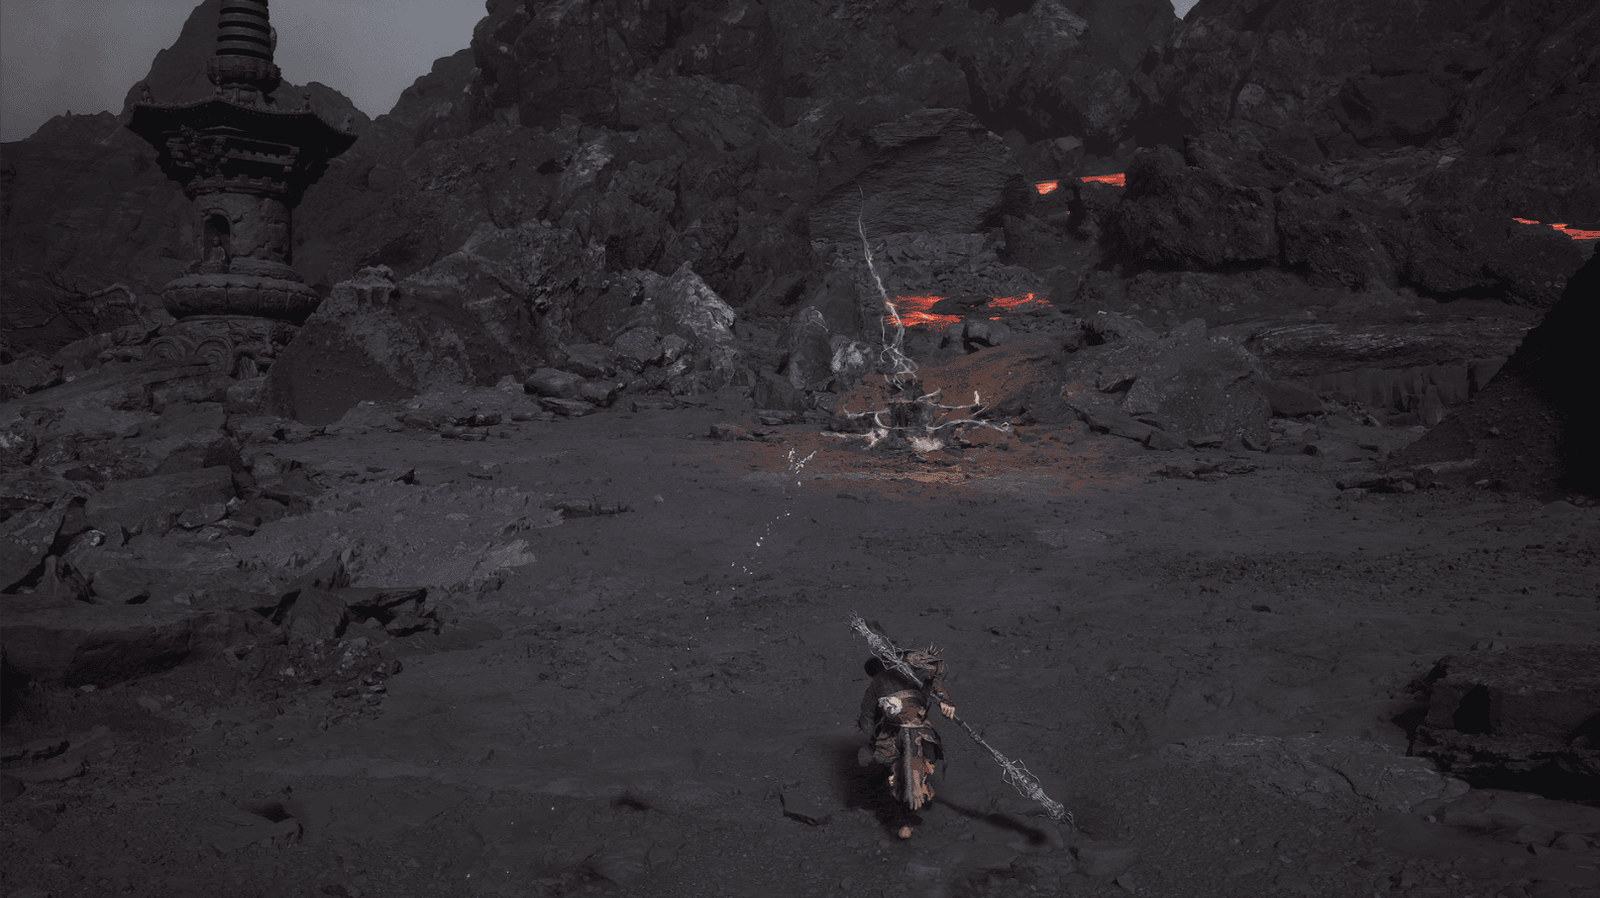
As you move forward, be careful, lava is bubbling underfoot, and seemingly inanimate rocks hide danger. These are Searing-Fire enemies, these demons like to disguise themselves as rocks, then suddenly jump up to attack, similar to Palestones in Chapter 2. Feel free to ignore them if you’re not “free”, but to fully unlock the Portraits in your Journal, you need to defeat at least one.
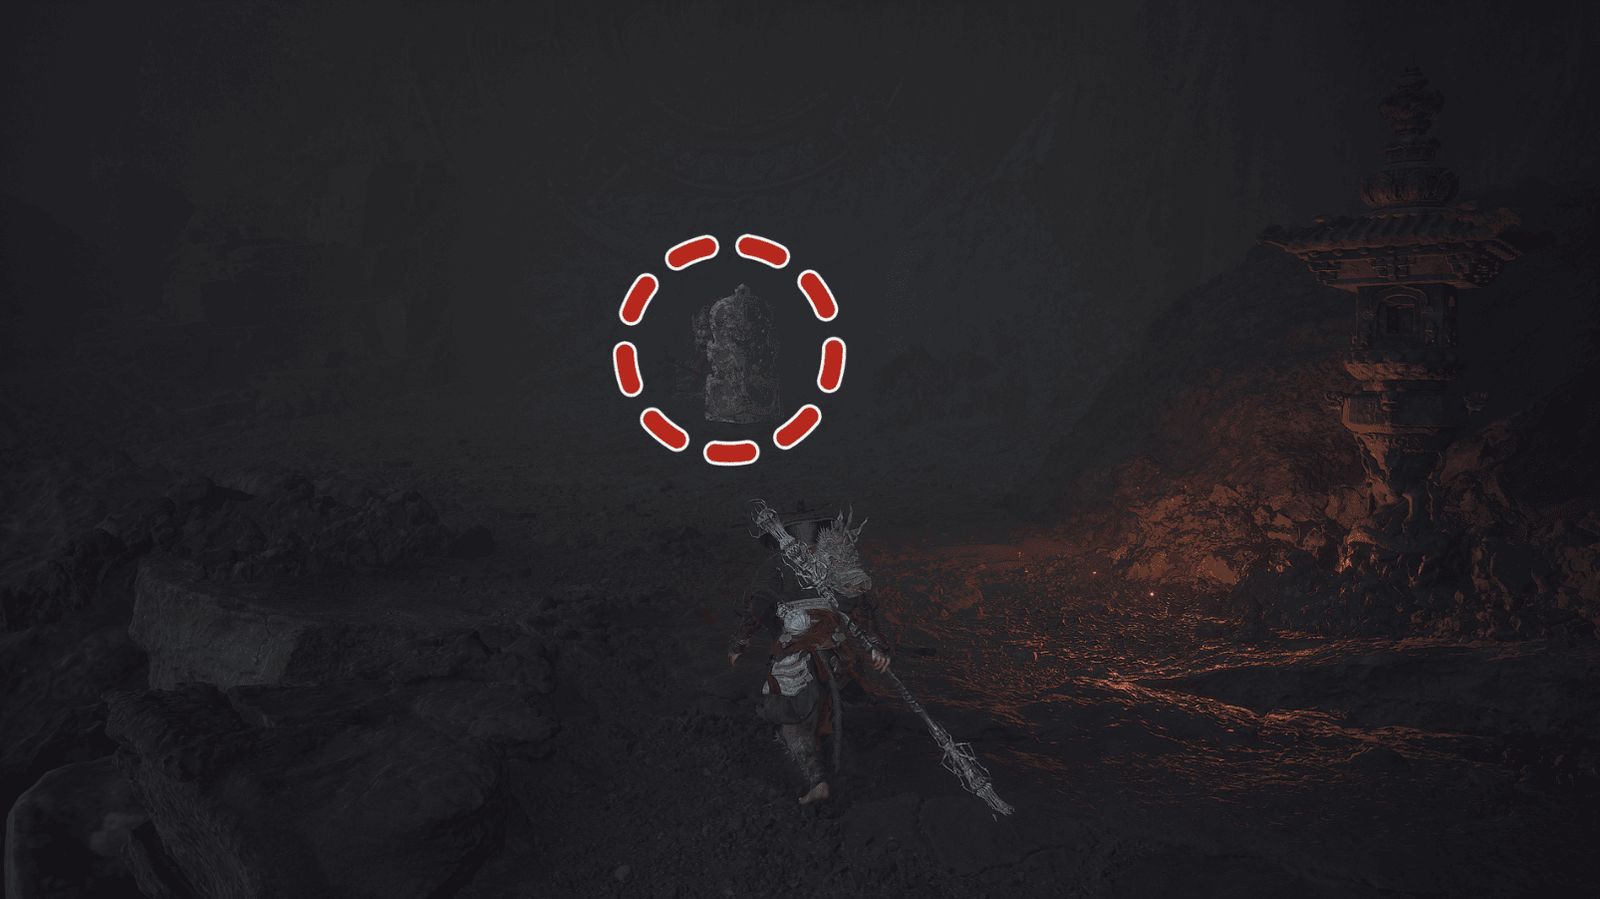
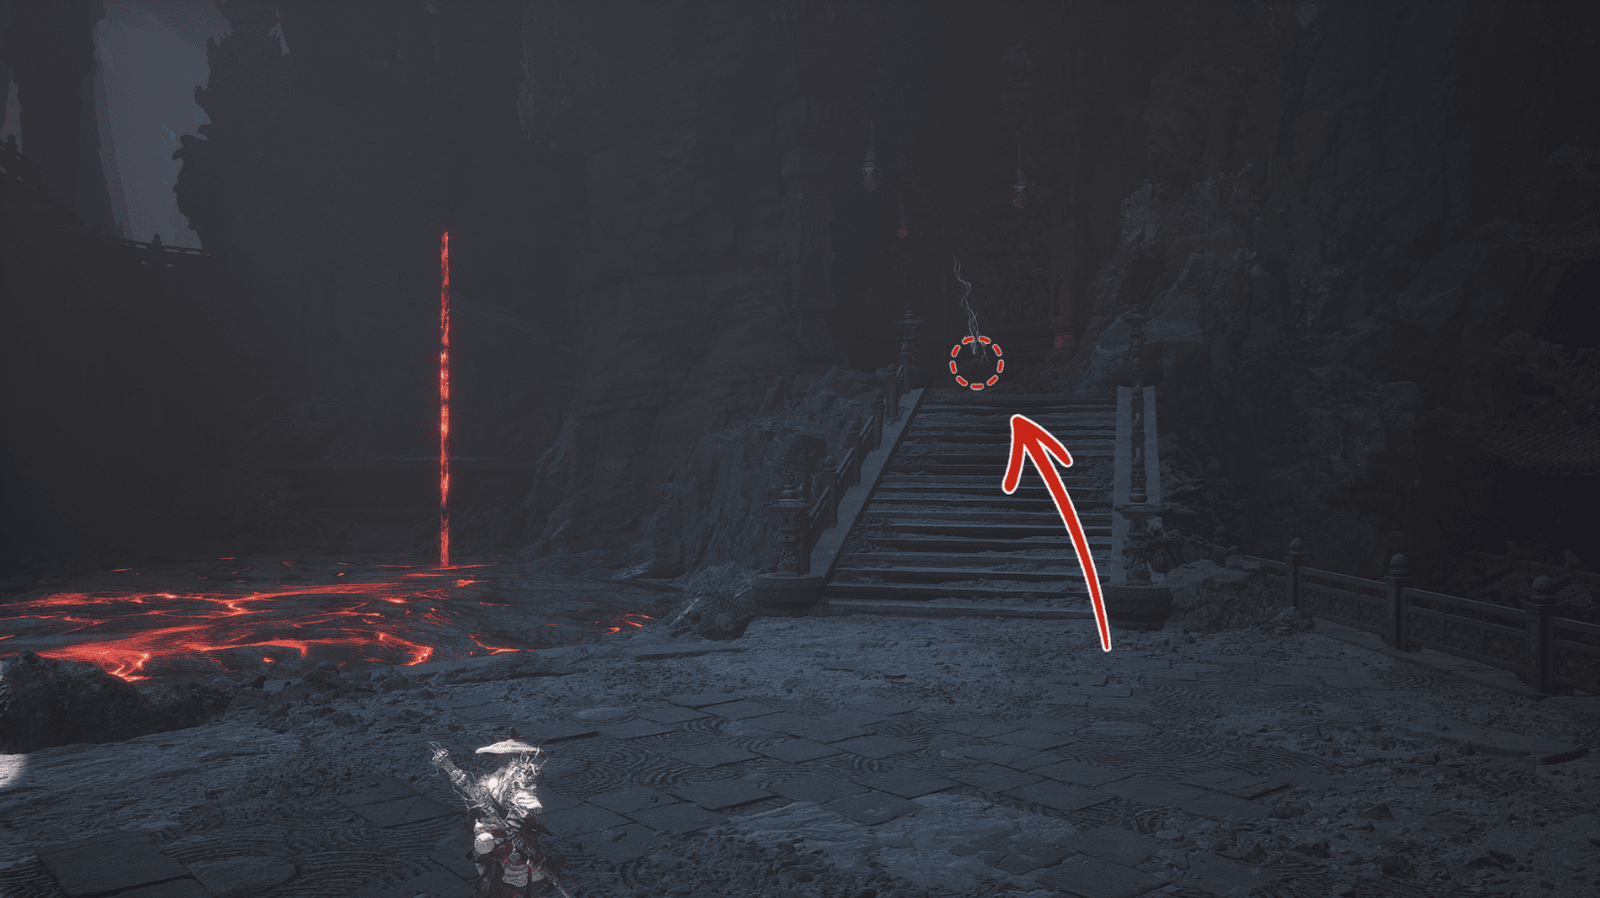
Continue forward, following the path, and soon you’ll see an Earth Rakshasa guarding the Valley Entrance Shrine. This Earth Rakshasa is equipped with a large shield, you can use heavy attacks to break its armor, or quickly move behind it to hit its weak point. After defeating it, activate the Keeper’s Shrine to save the game and recover.
At this point, don’t go any further, we will temporarily return to the Camp of Seasons Keeper’s Shrine to meet the Pale-Axe Stalwart. Talk to him, he is an important NPC who provides you with information about the Five Element Carts and related side quests. After listening to him, return to the Valley Entrance Keeper’s Shrine to continue.

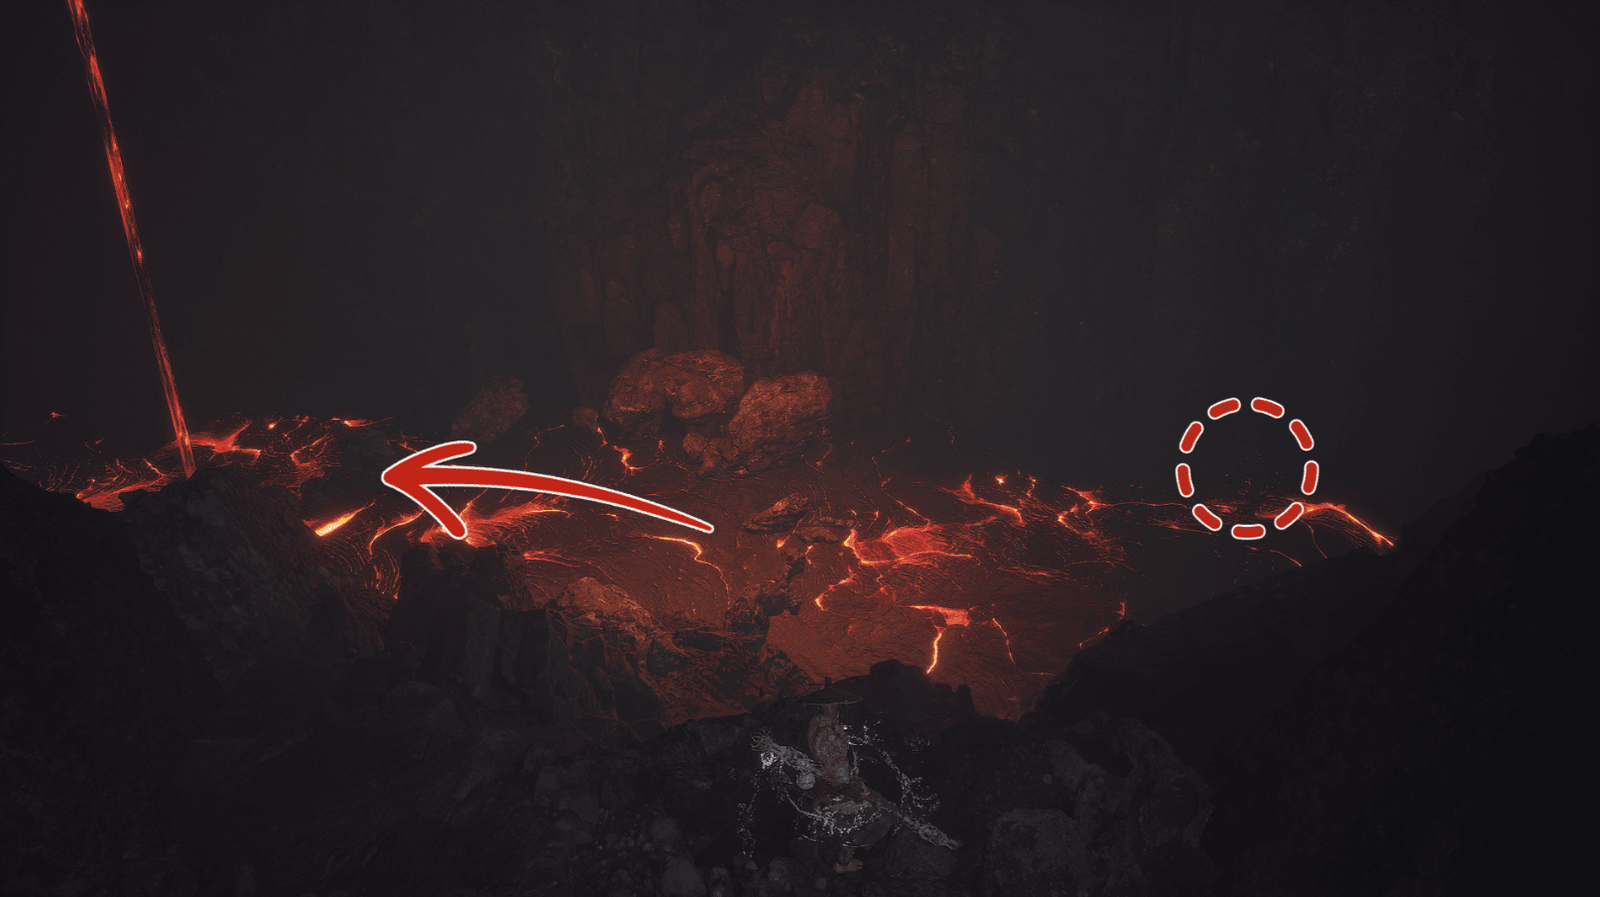
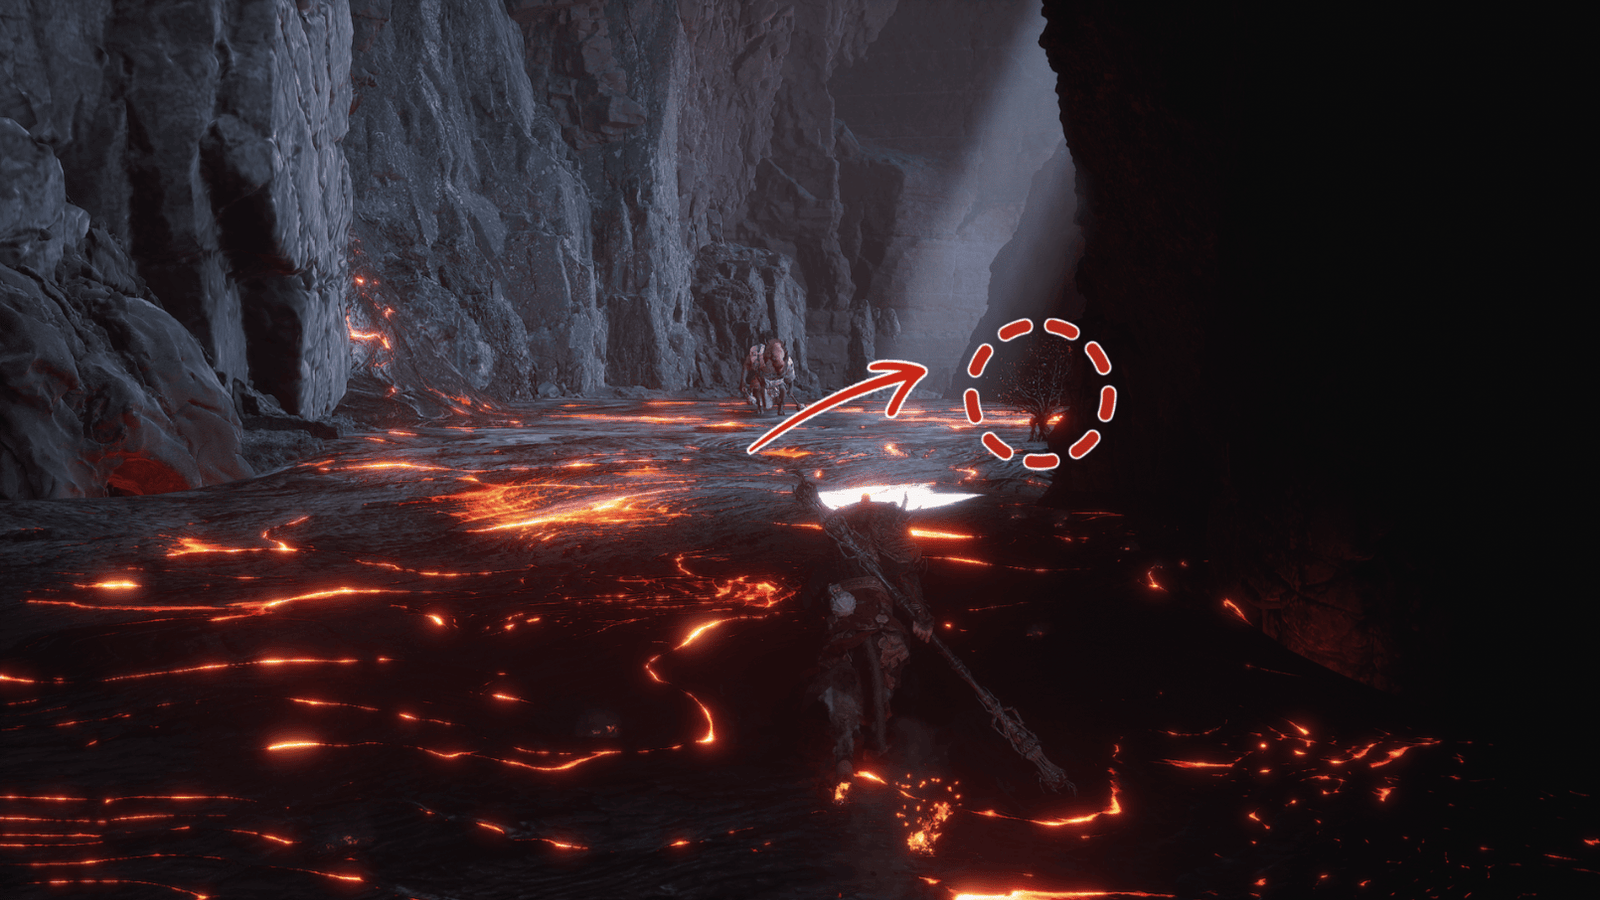
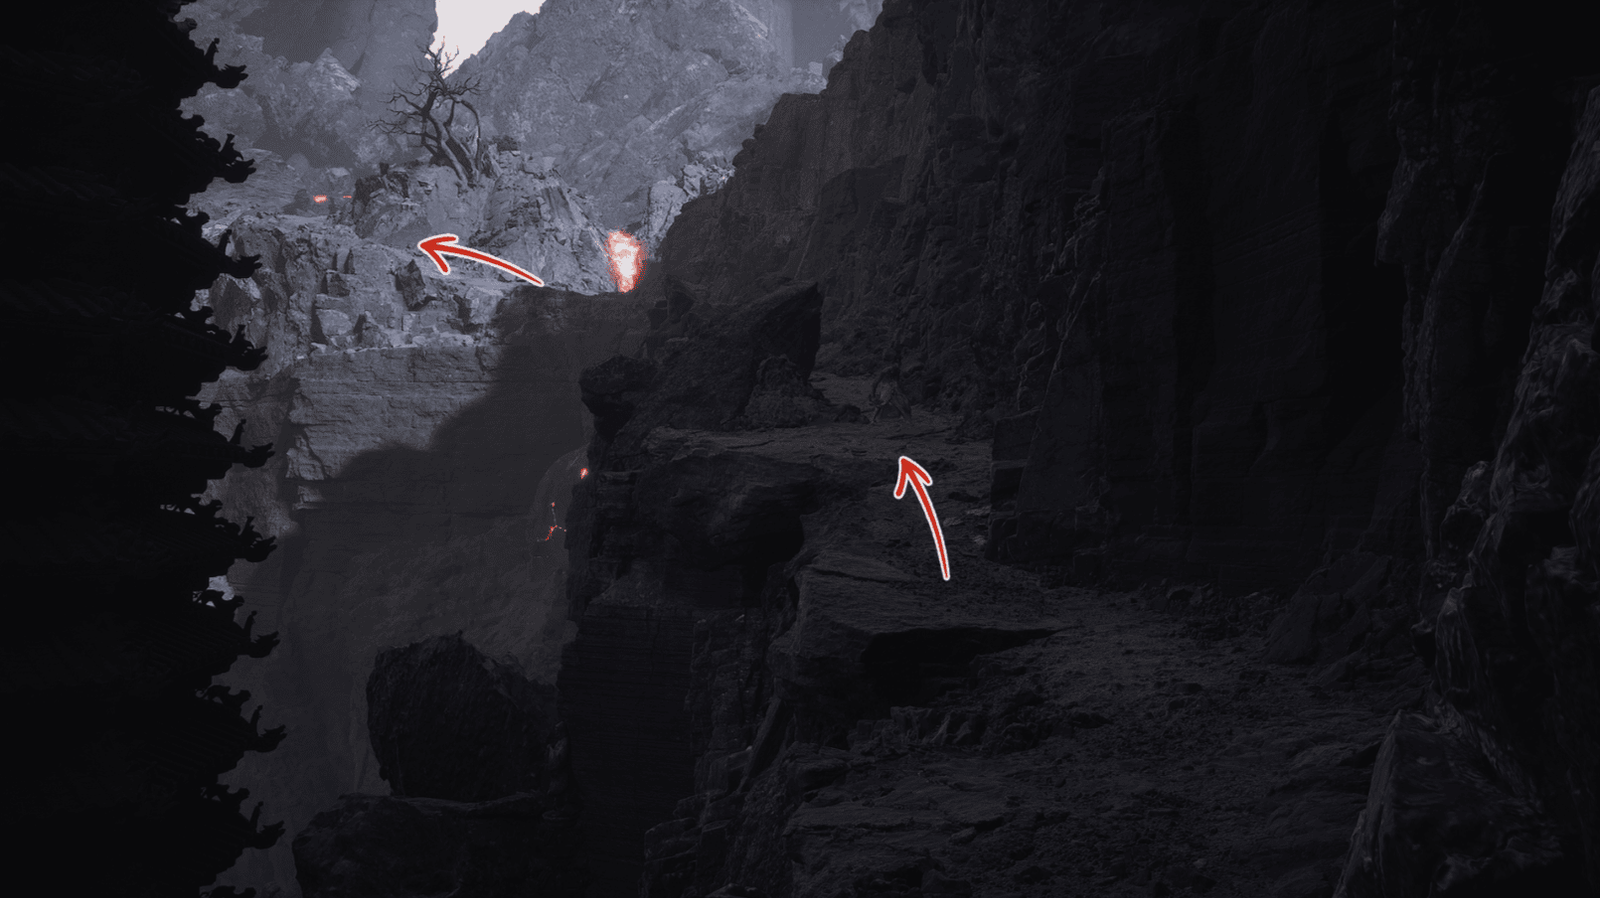
From the Valley Entrance Keeper’s Shrine, the main path leads deeper into the valley, but wait, turn right to explore the hidden area! Equip the Fireproof Mantle to move easily in the lava, follow the path, and you’ll see swarms of Flamlings. Defeat them to collect Flame Ores – which are very important for a later hidden quest.
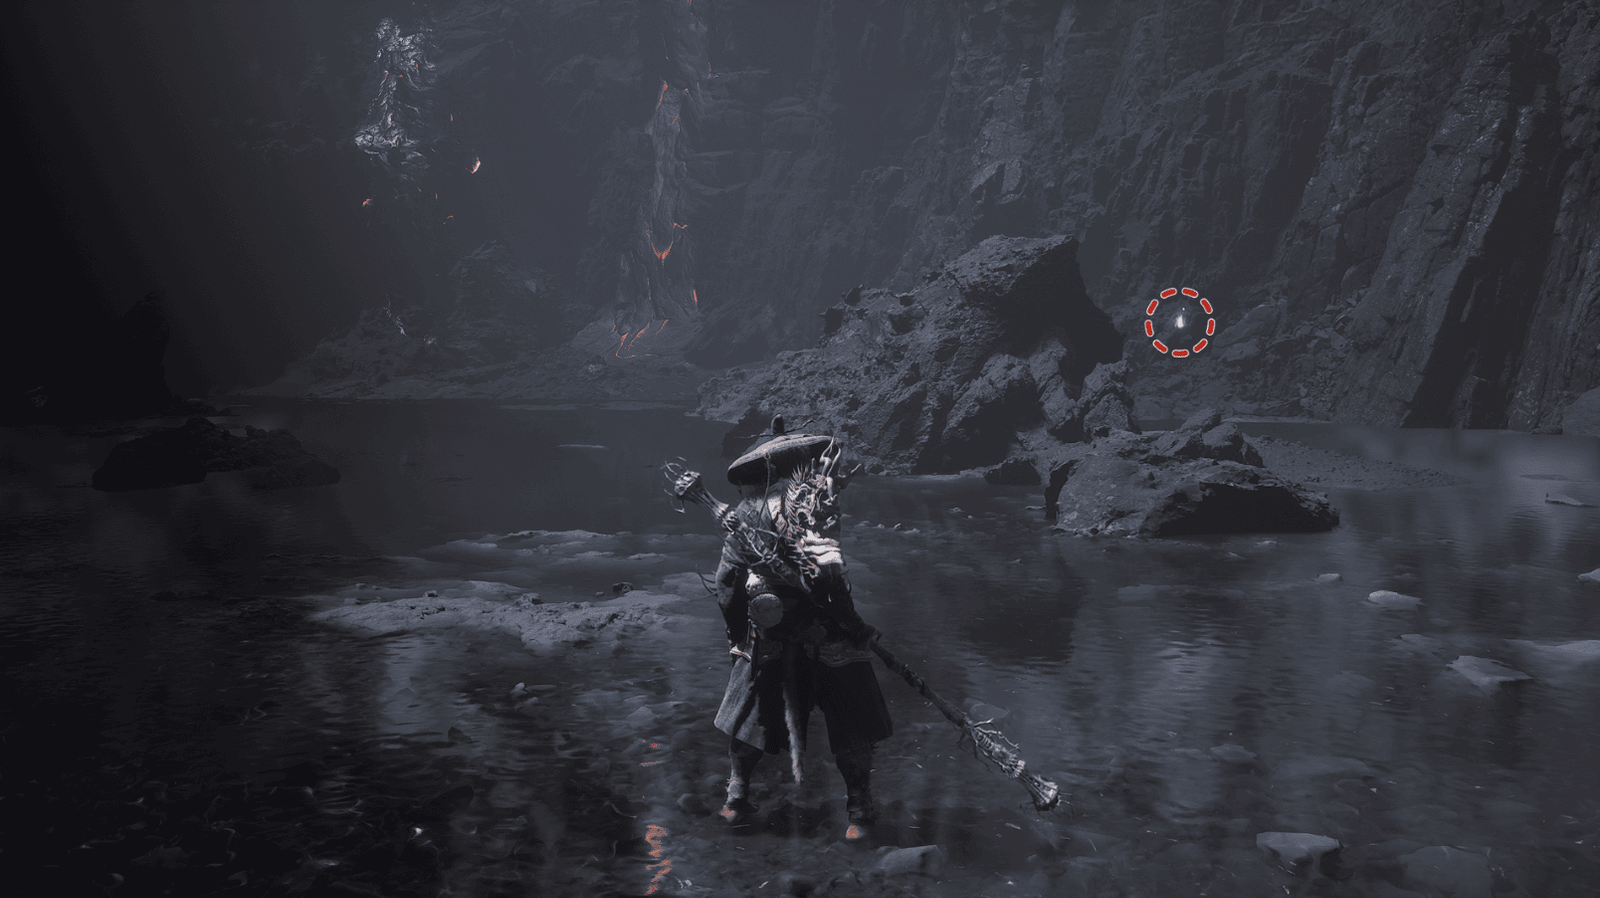
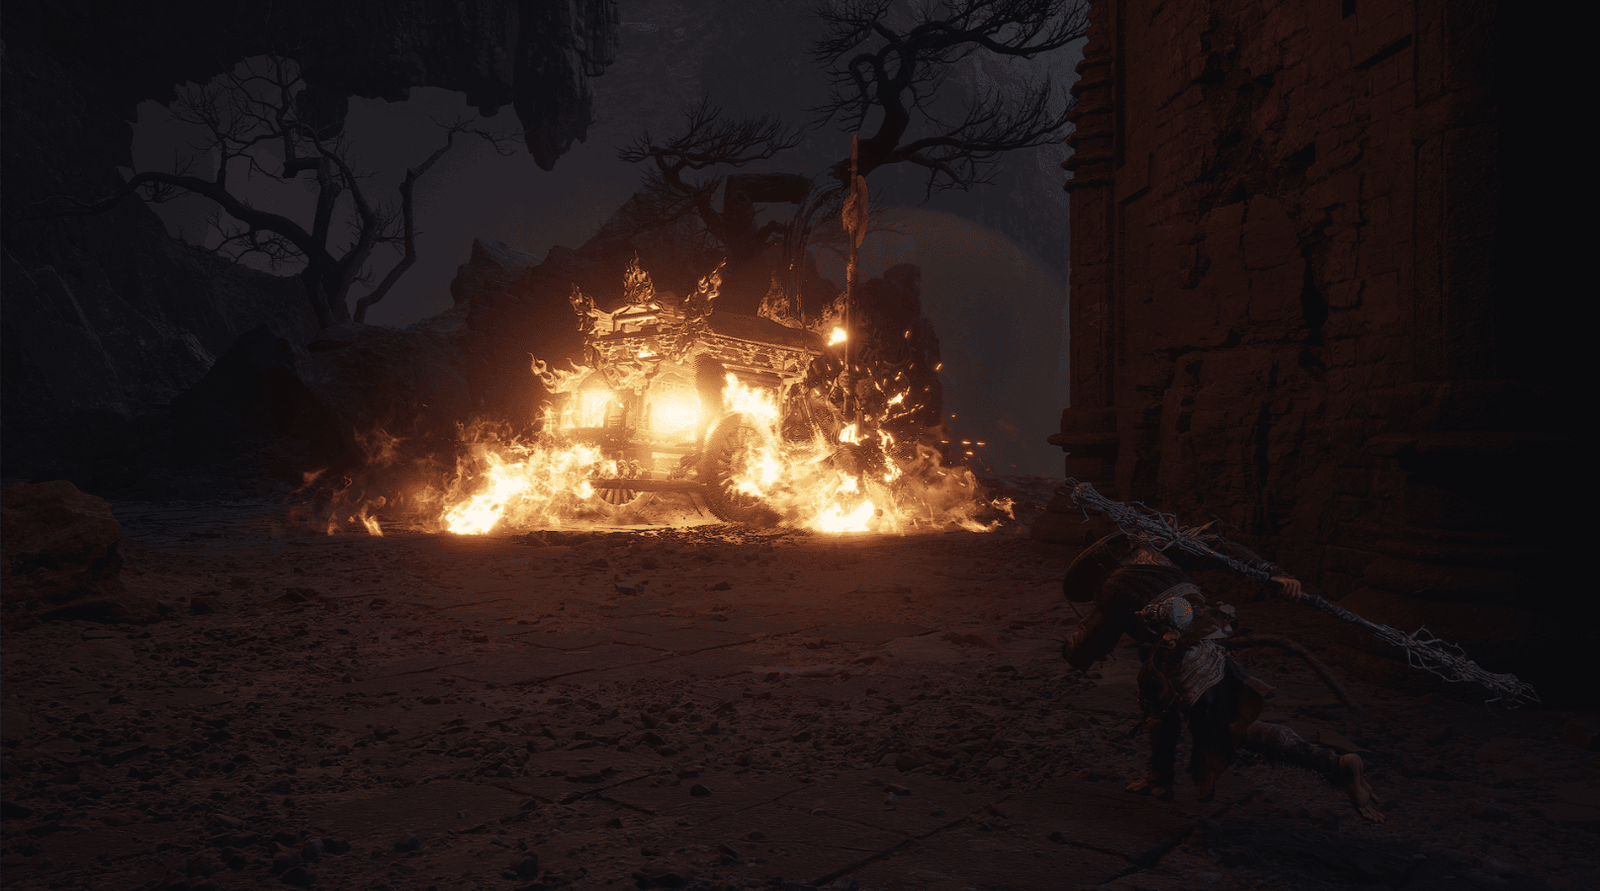
Keep going straight, you will encounter a Purple Lingzhi, interact with it, and a Fungiman will appear and attack you. Defeat it and take the nearby Fire Dates. Continue on, you will see a defeated Crimson-Silver Cart.
Approach it, interact with the cord at the mouth of the cart. Surprise! Ma Tianba, the familiar horse demon from previous chapters, will speak. Pull the cord continuously, until he has nothing more to say. Remember this location, Ma Tianba plays an important role in unlocking the Dark Thunder Transformation Spell later.
Nearby, you will see a chest, but be careful, a Tenner (flying fire-type monster) is guarding it. Defeat the Tenner and the surrounding Flamlings, then open the chest to get Fine Gold Thread and Blood of the Iron Bull.
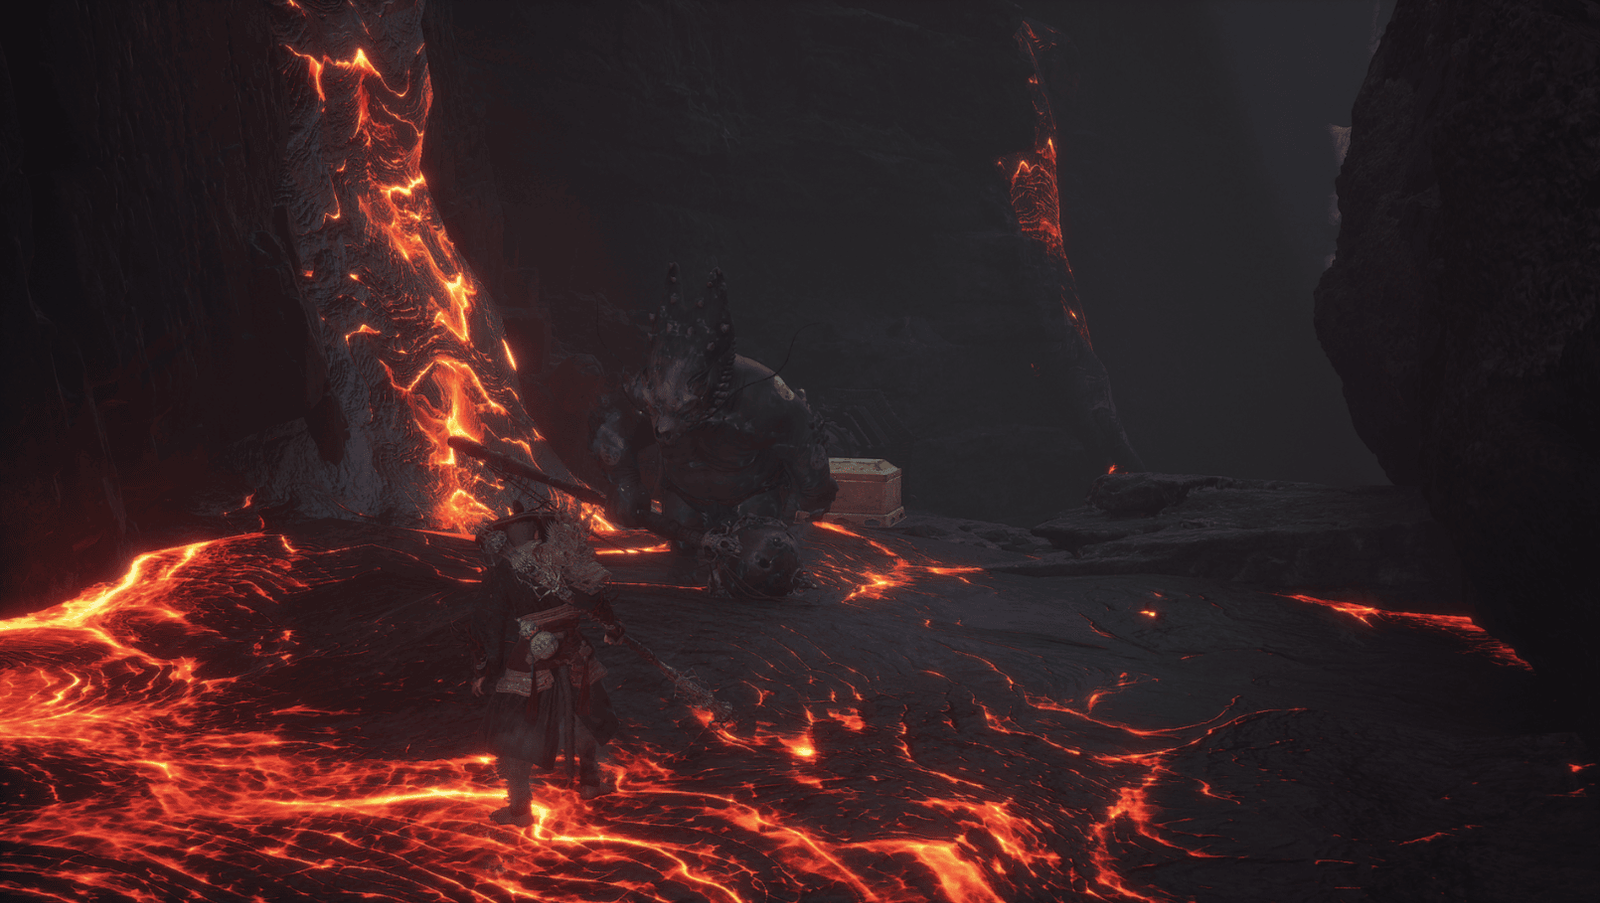
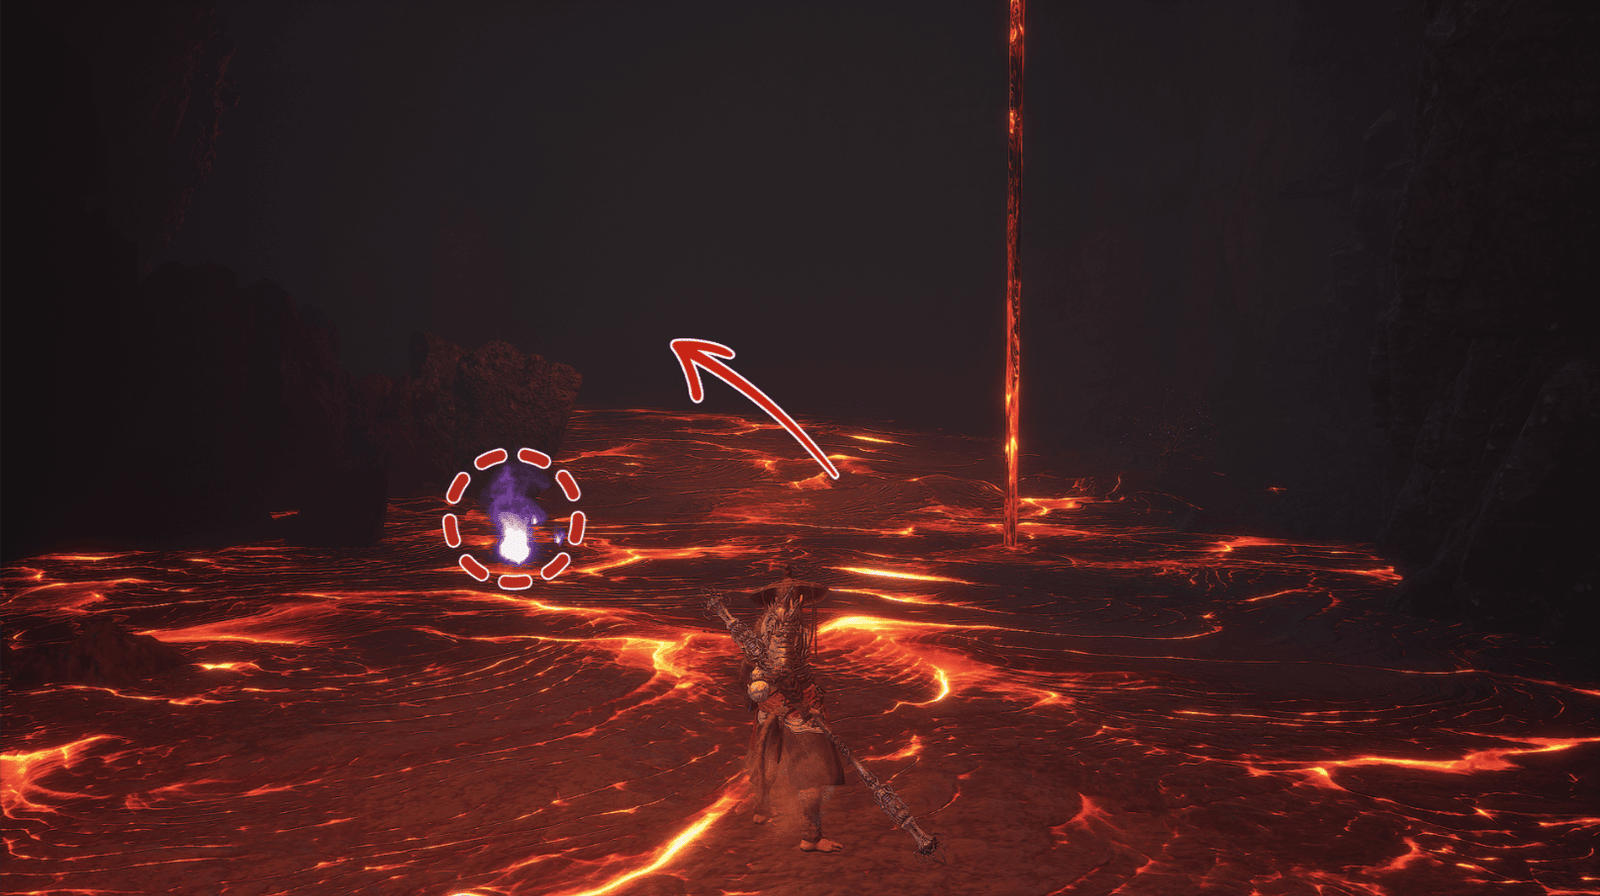
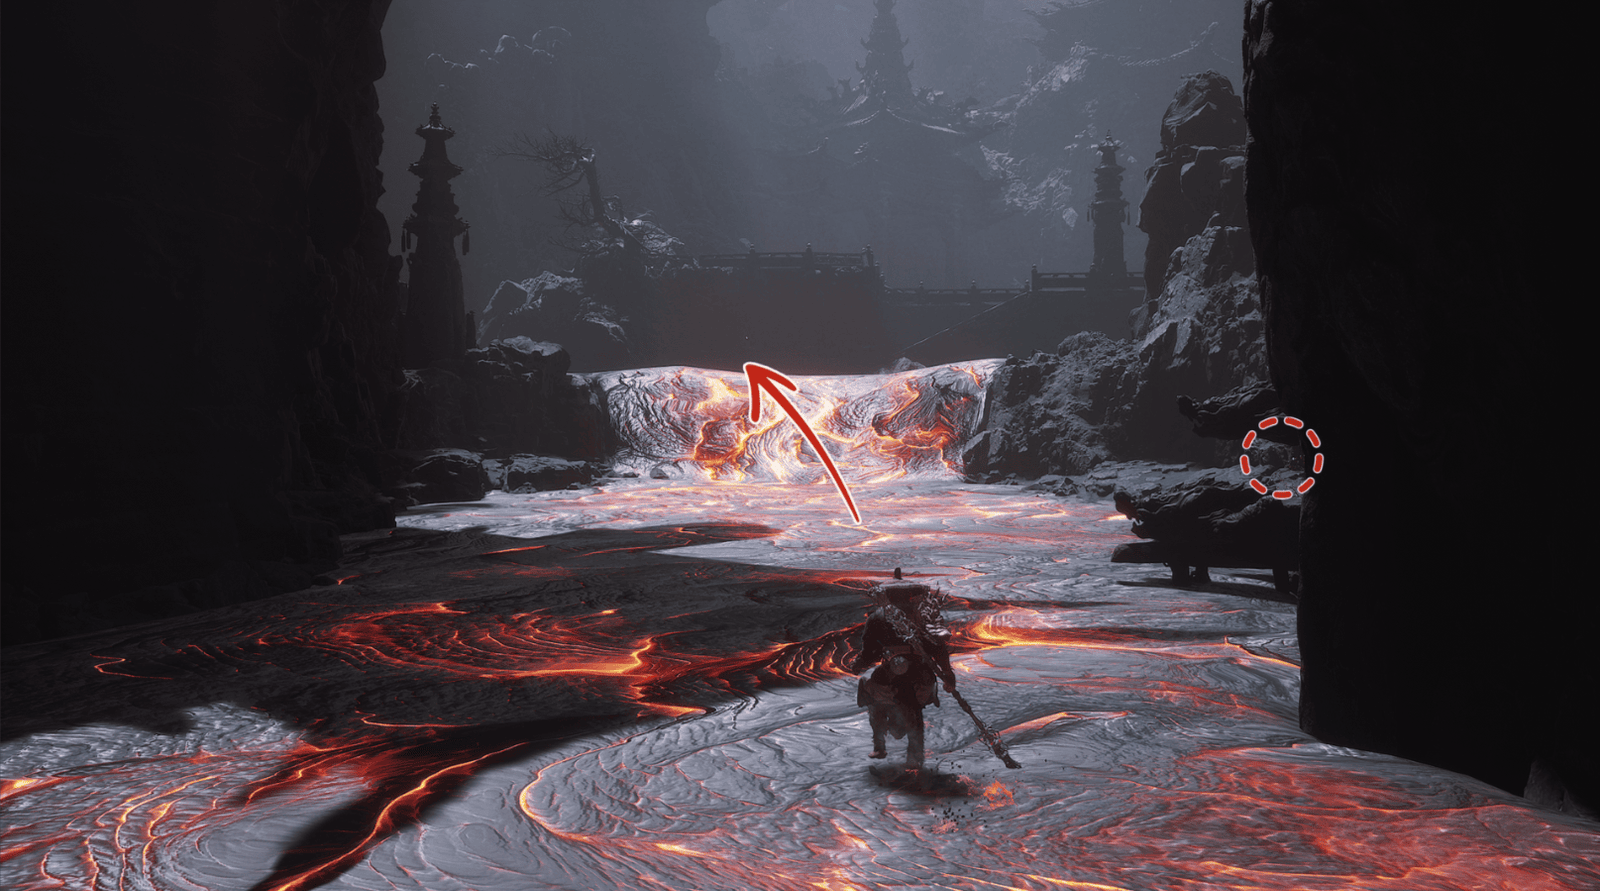
Continue exploring, you will encounter a Turtle Treasure guarding another chest. Defeat this turtle (it will be a bit “tankier” than usual) to get Spirit, Kun Steel, Knot of Voidness, and Medicines. Follow the lava path, you will find another Green Wisp, be careful of the nearby Scorching-Fire enemies.
Continuing on, you will encounter another Earth Rakshasa, defeat it and take a few more Fire Dates.
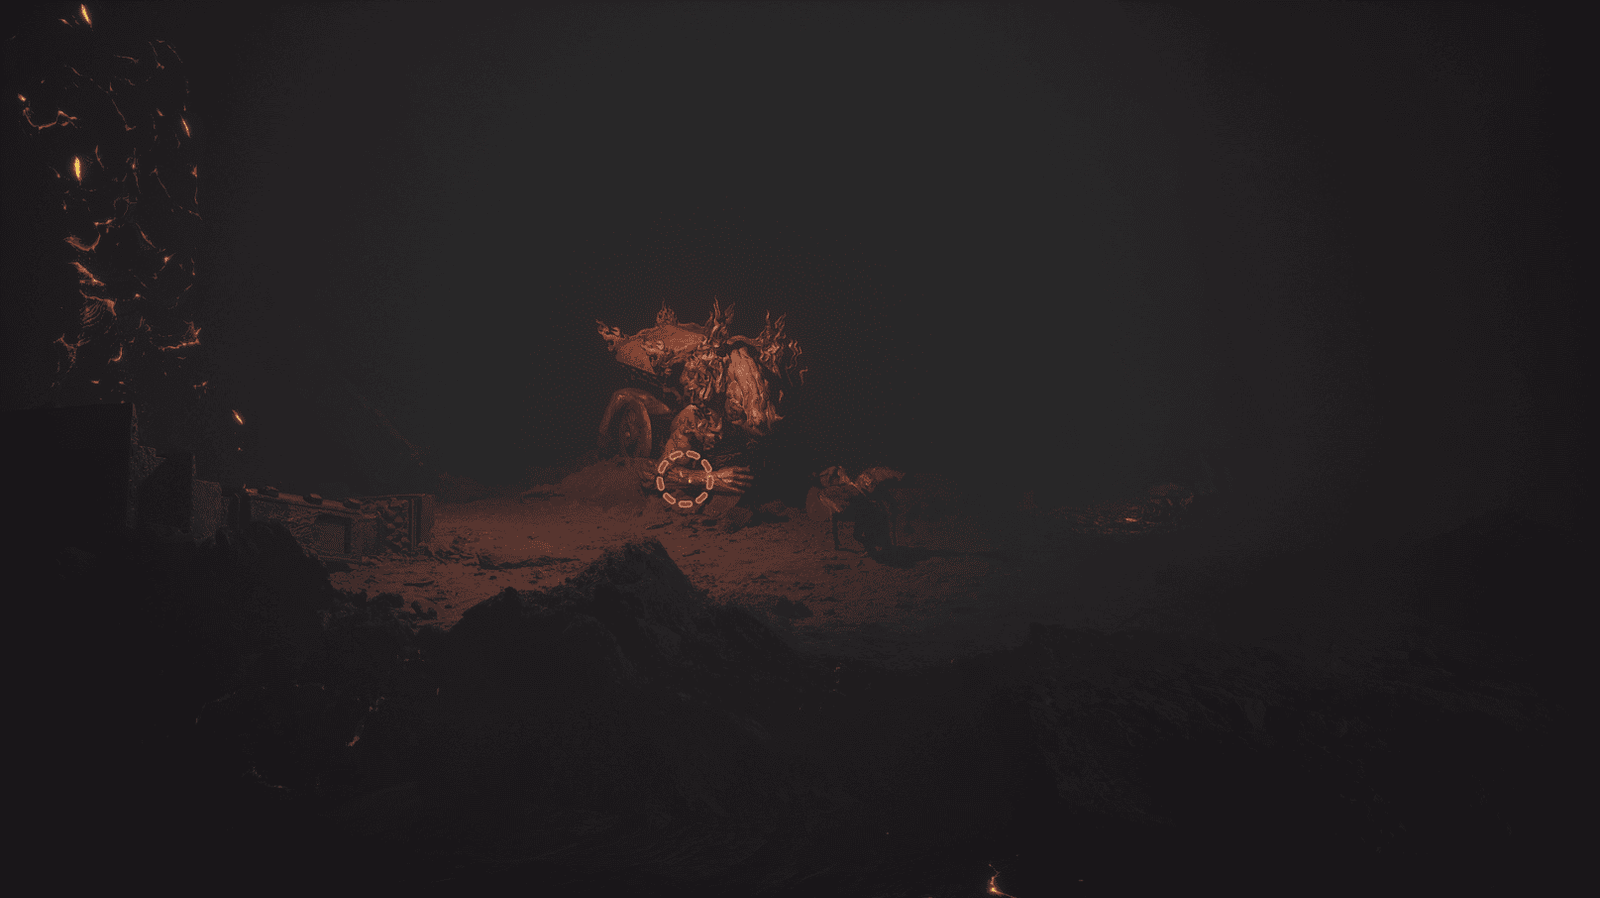
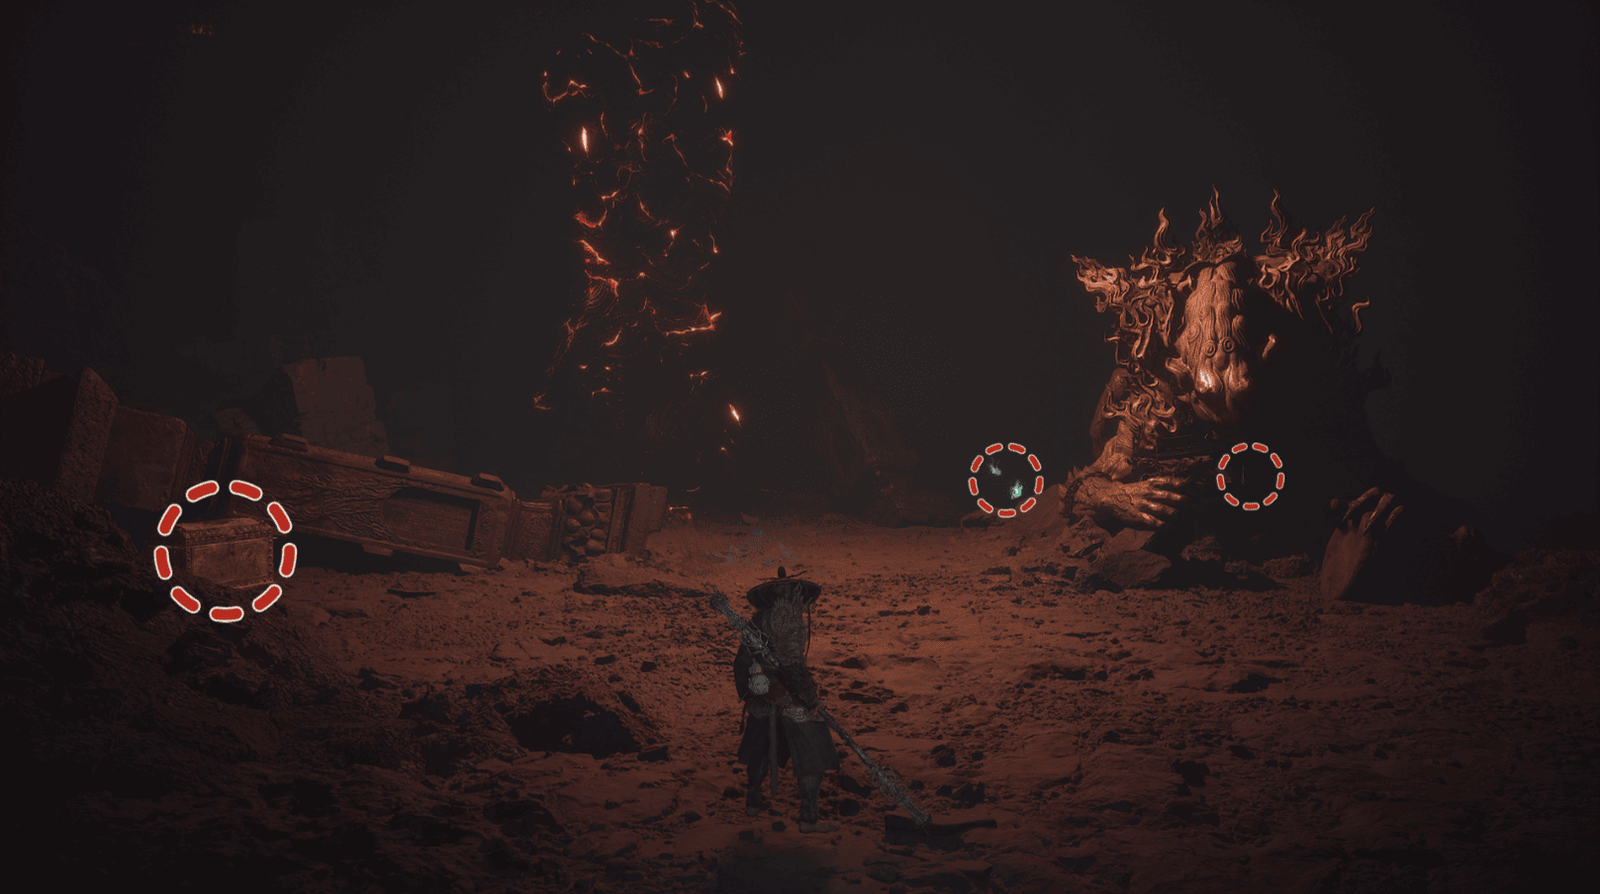
At the end of this path is the hideout of the Optional Boss Flint Chief.
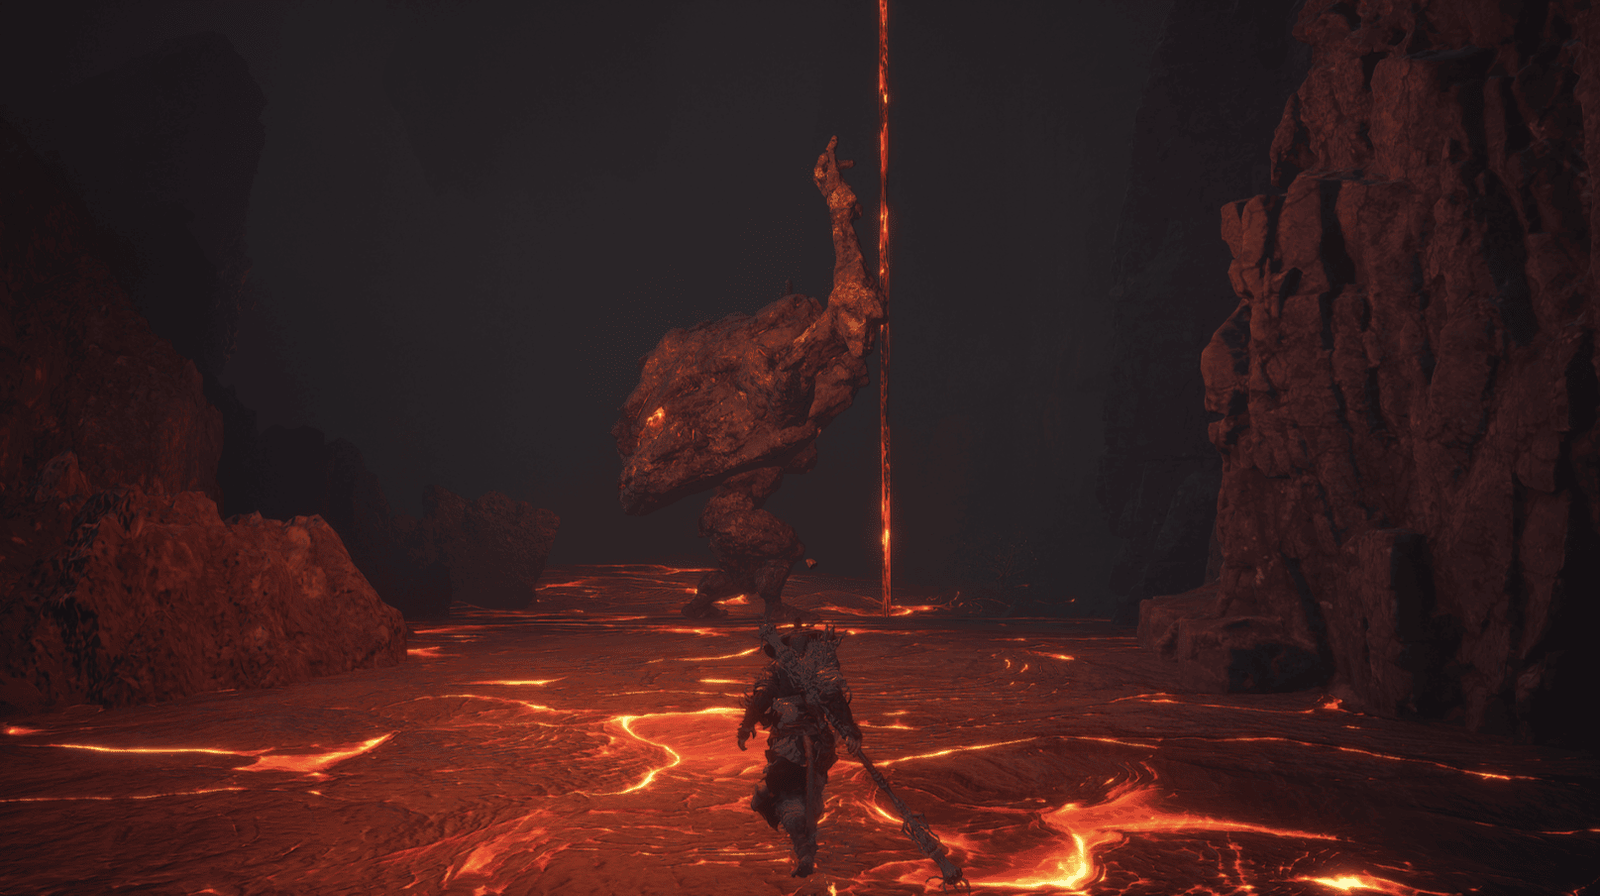
Focus your attacks on his two arms to stagger him, use the Fireproof Mantle to reduce fire damage.
After defeating the Flint Chief, you will get Flint Chief Spirit, Fire Date.
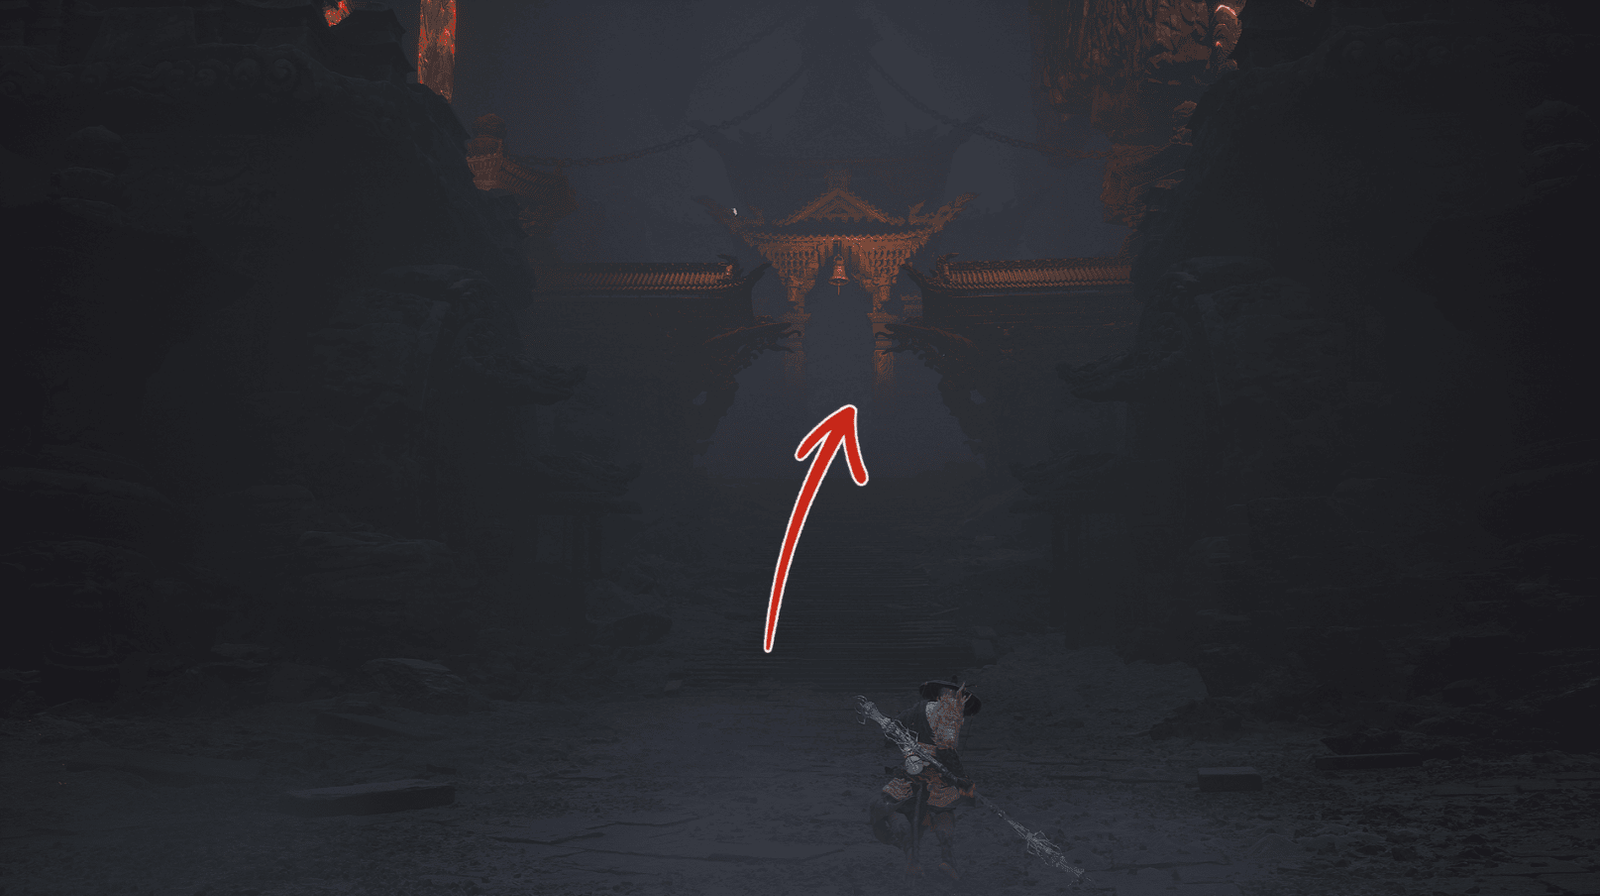
Return to the main path, go up the slope, turn left, you will encounter another Earth Rakshasa guarding a chest. Defeat it to get Spirit and open the chest to collect Celestial Ribbon and Mind Core.
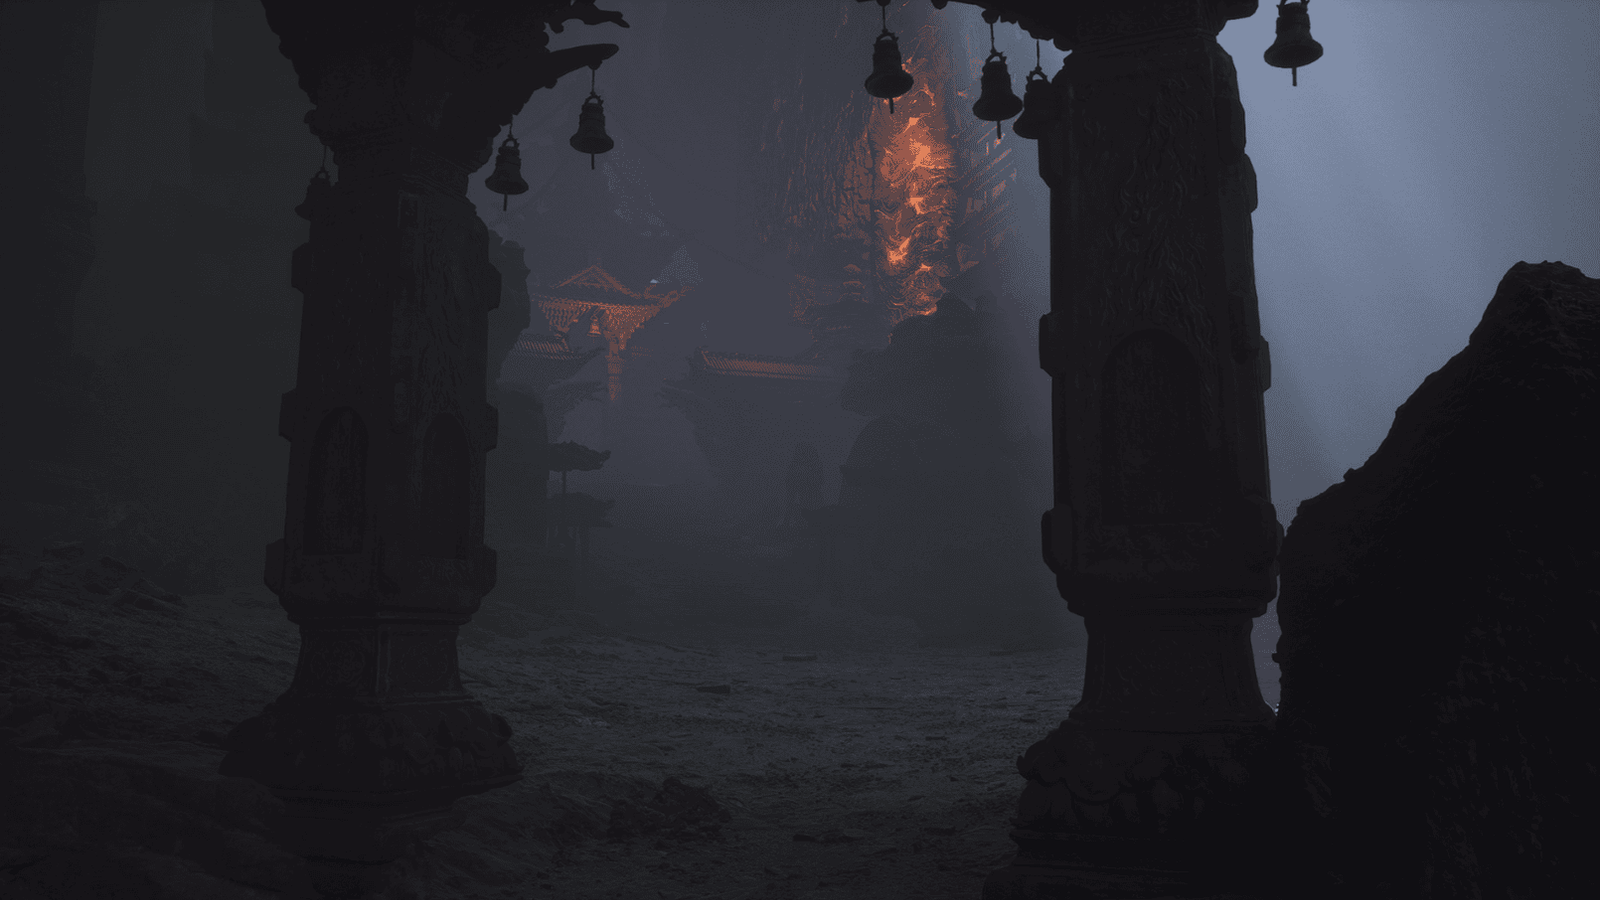
Keep going, you will reach the foot of Rakshasa Palace, prepare for the next challenge!
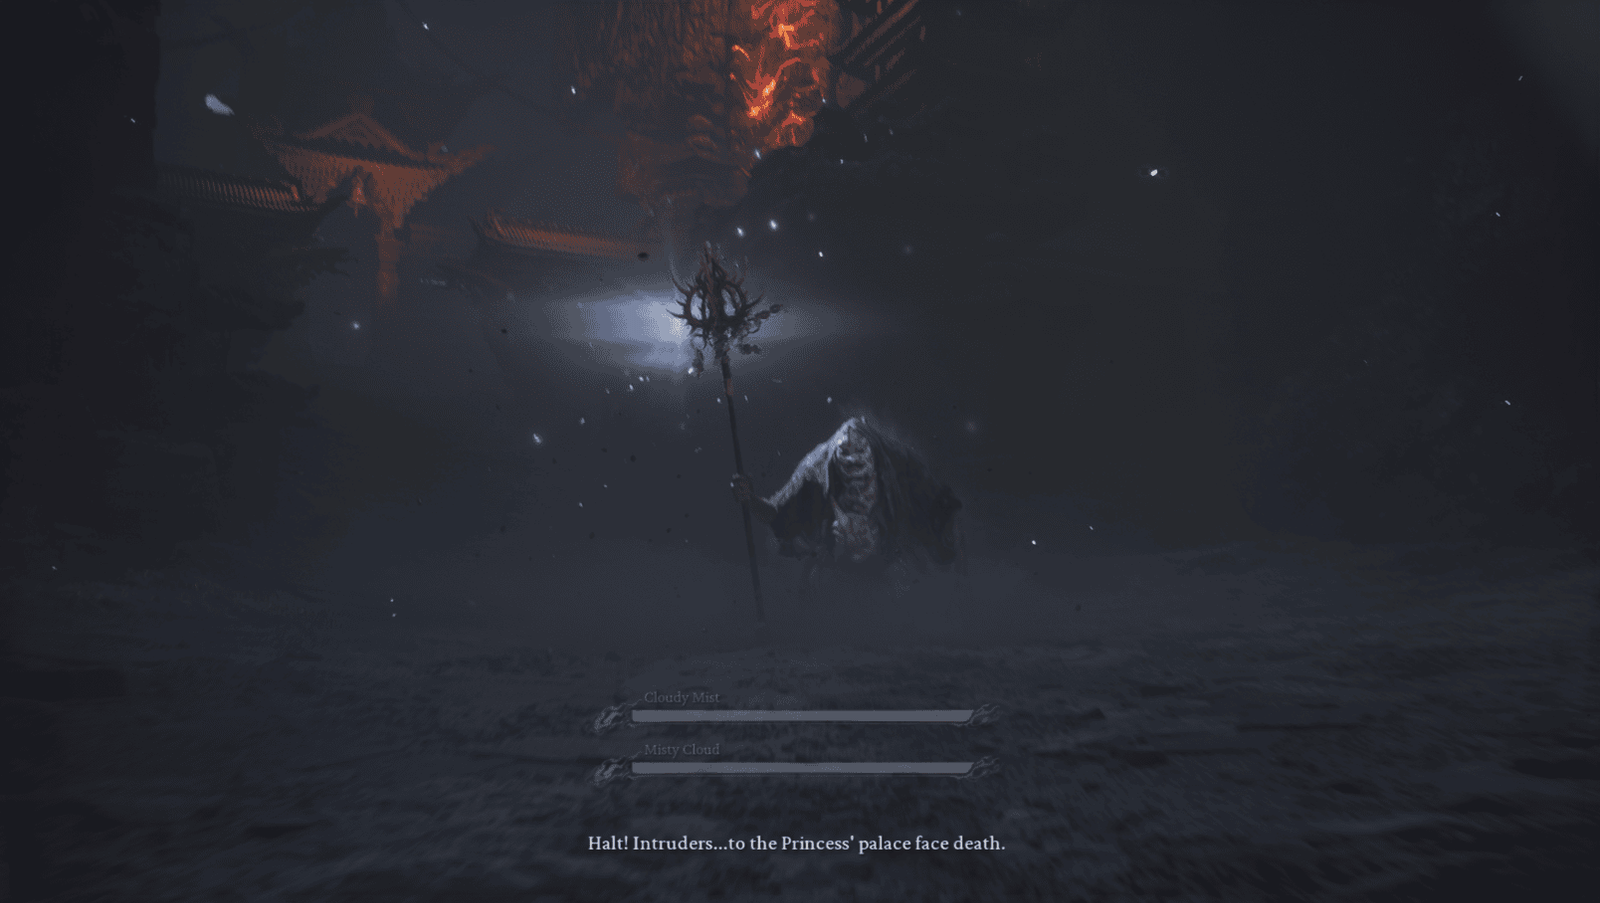
Cloudy Mist, Misty Cloud Boss Fight
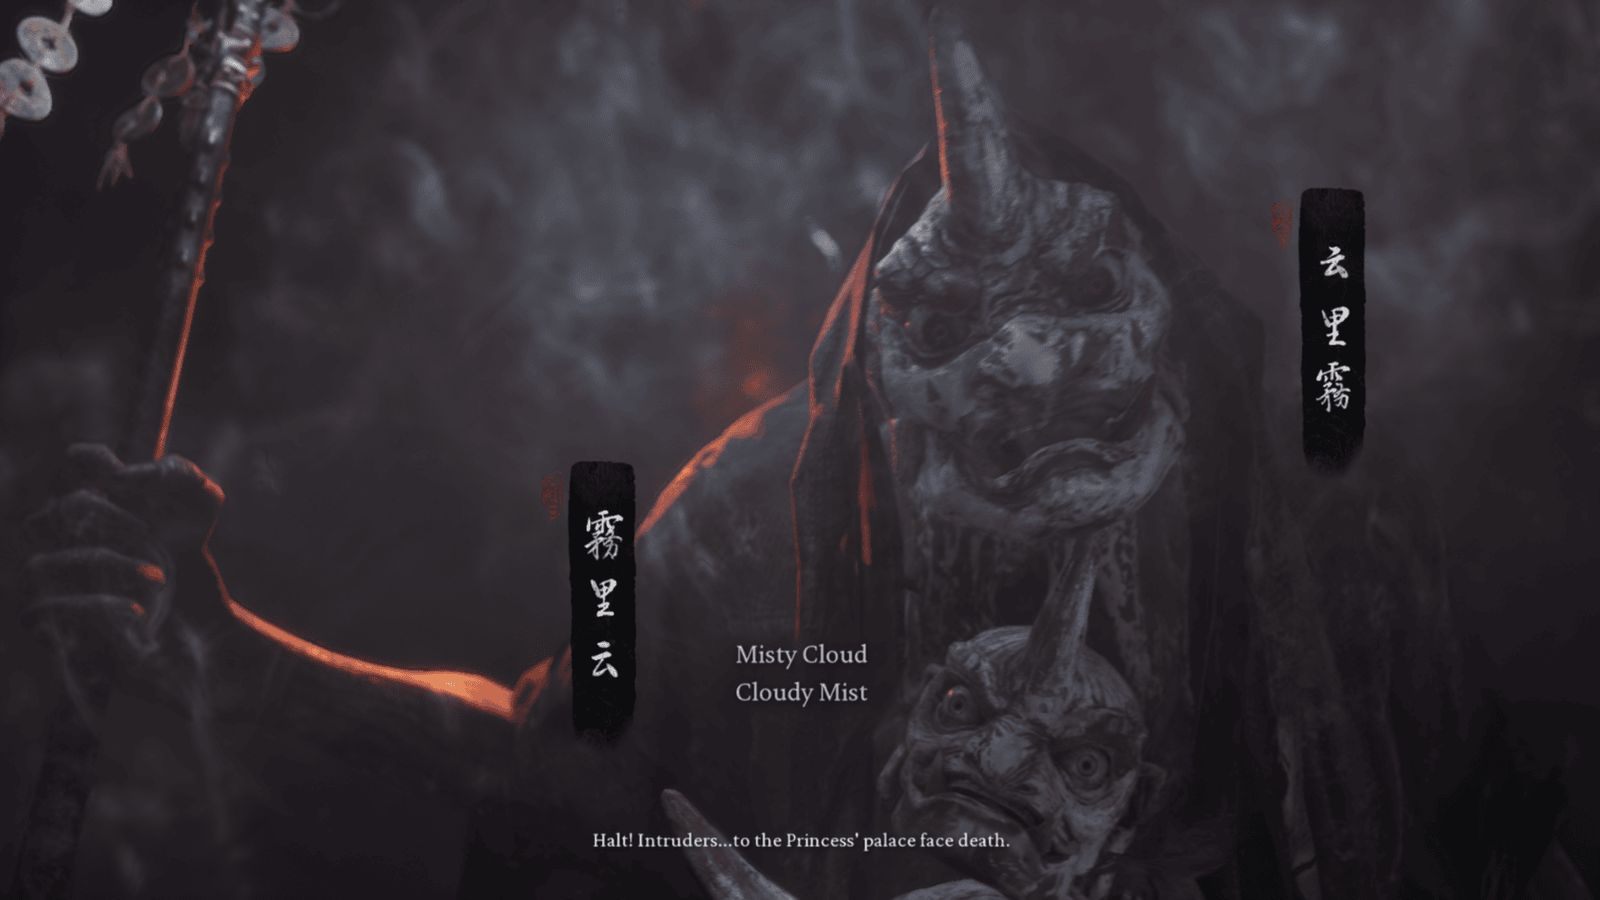
As soon as you step through the gate leading into Rakshasa Palace, a boss battle will begin. You will face Cloudy Mist and Misty Cloud, a pair of twin Yaoguai who cooperate very well with each other, using natural elements to attack. Cloudy Mist will appear first, and as his name suggests, he is a mage who uses long-range attacks.
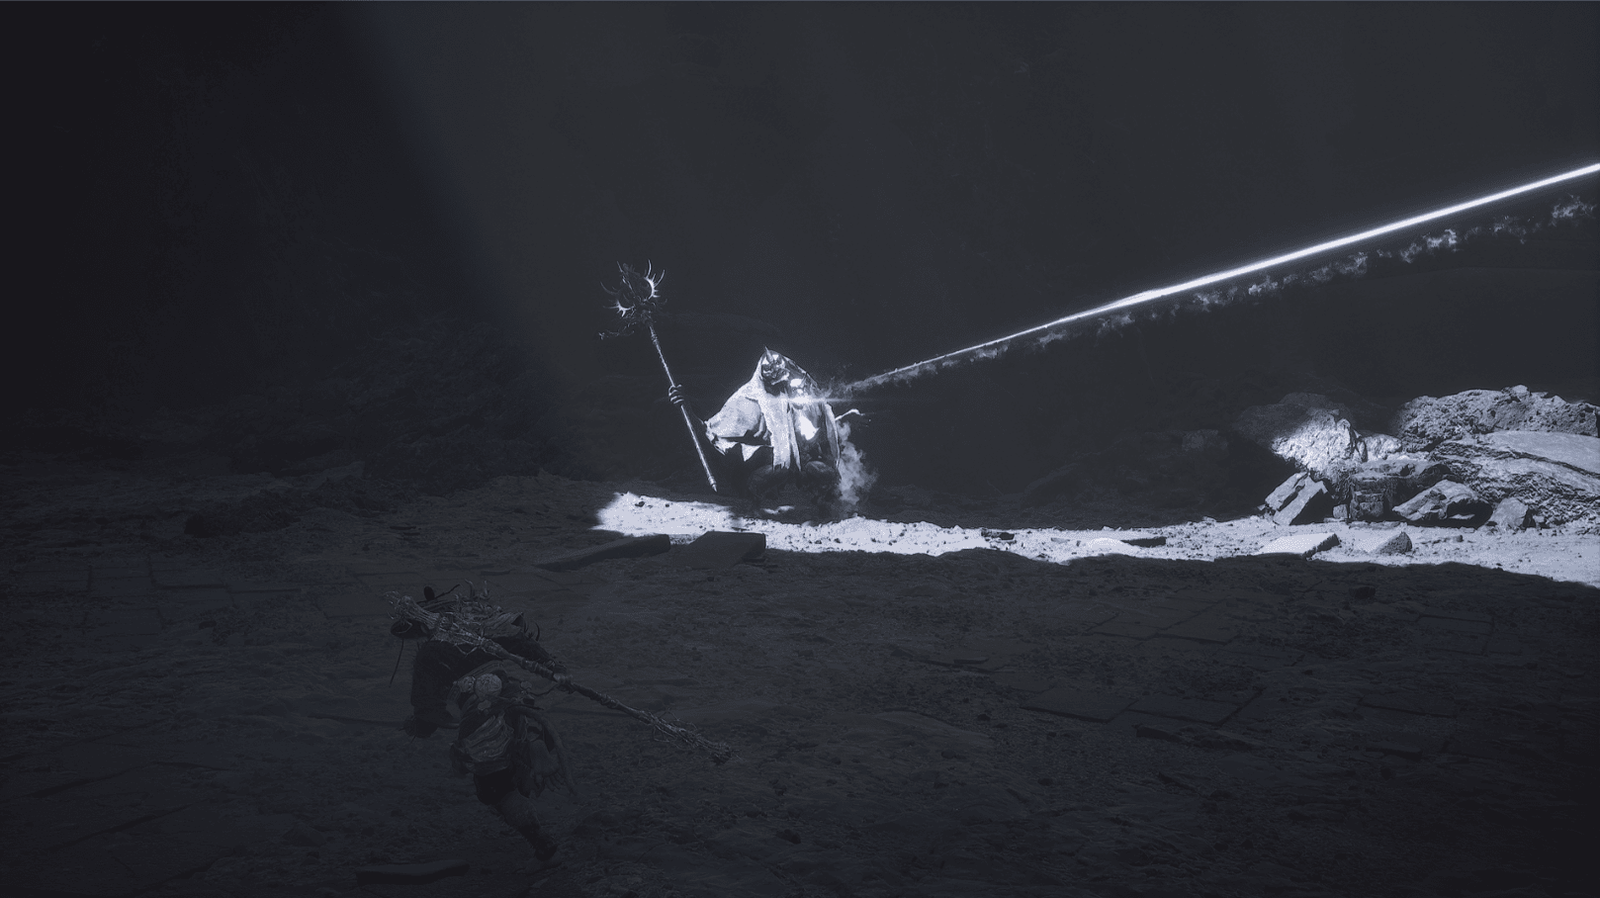
Focus your attacks on Cloudy Mist first. He will shoot lasers from the face on his chest and launch projectiles.
Pay attention, the lasers can sweep horizontally, diagonally, or fire multiple beams at once, while the projectiles can be a large sphere or multiple smaller spheres.
Quickly close in on Cloudy Mist, minimizing his space to use long-range attacks. You can dodge the lasers by dodging or jumping, and the projectiles can be avoided by running, or dodging at the last moment.
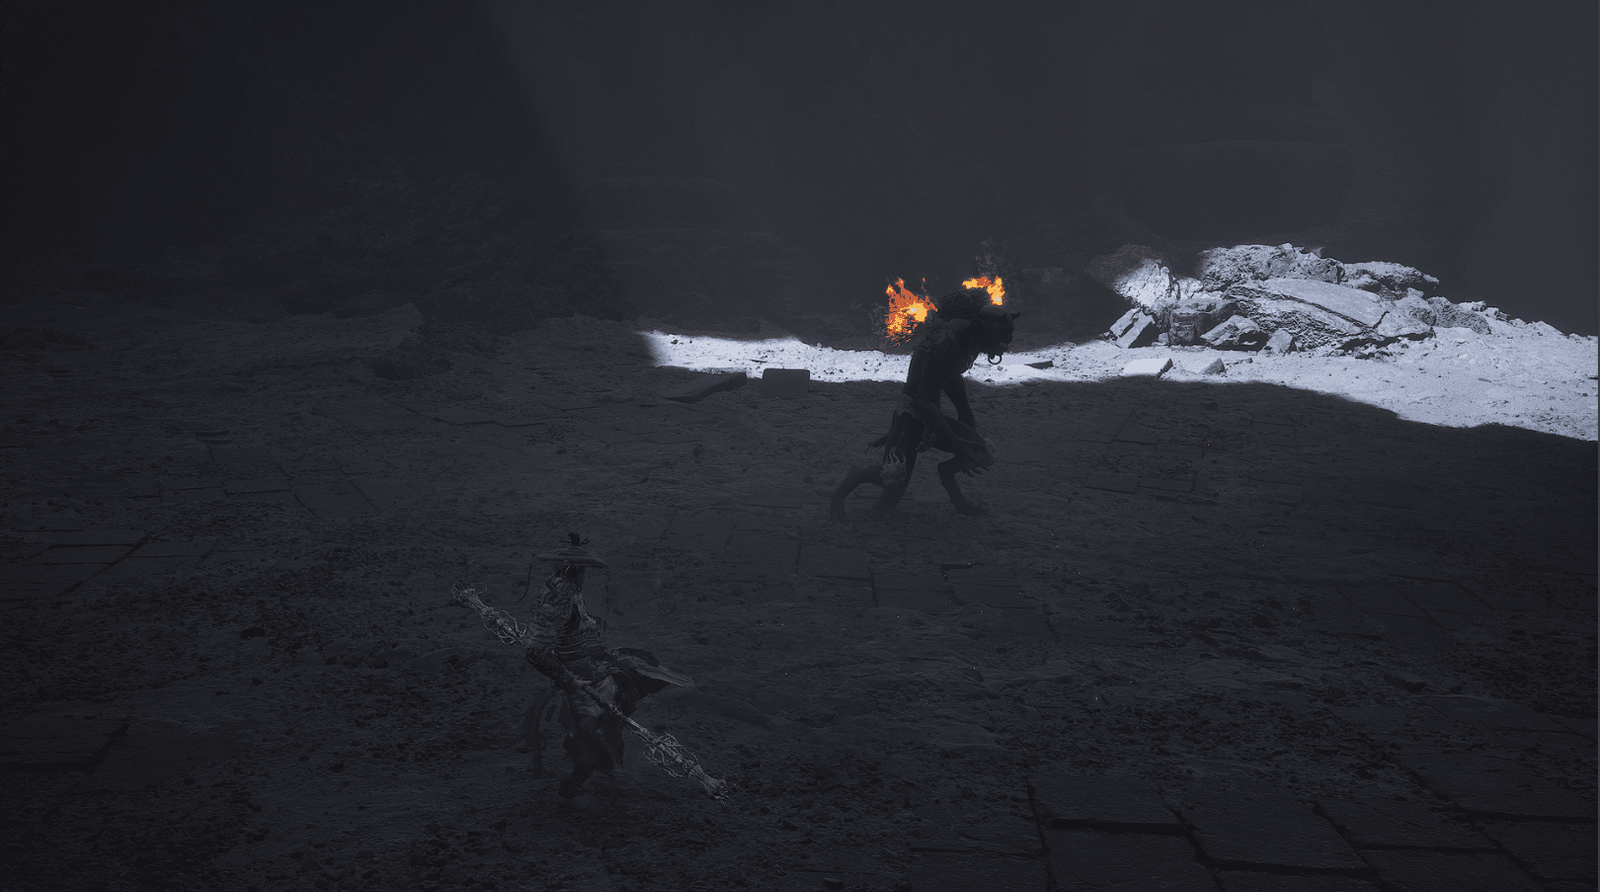
Misty Cloud, as his name suggests, appears and disappears like mist. He will often appear suddenly right after Cloudy Mist finishes an attack, wielding a burning torch, slamming it down like a hammer, dealing area-of-effect fire damage. Pay attention to the movement of the mist, jumping to avoid his attacks.
When Cloudy Mist is attacked repeatedly, he will create a blinding flash of light, stunning both you and Misty Cloud. At this time, Misty Cloud will be temporarily unable to see, and Cloudy Mist will become his “eyes.”
During this phase, focus on dodging Misty Cloud‘s fire attacks. He often drags the torch on the ground, creating trails of fire, or slams it down like a hammer. When he raises his torch high, that’s when you can attack, as this movement is quite slow.
To end the battle, use Immobilize to control them, then focus your Focus to unleash heavy attacks. Both bosses can be stunned by this attack, creating an opportunity for you to deal damage.
After defeating this troublesome duo, you will receive Spirit – Cloudy Mist, Misty Cloud.
Move forward, open the large door, and enter Rakshasa Palace.
Rakshasa Palace
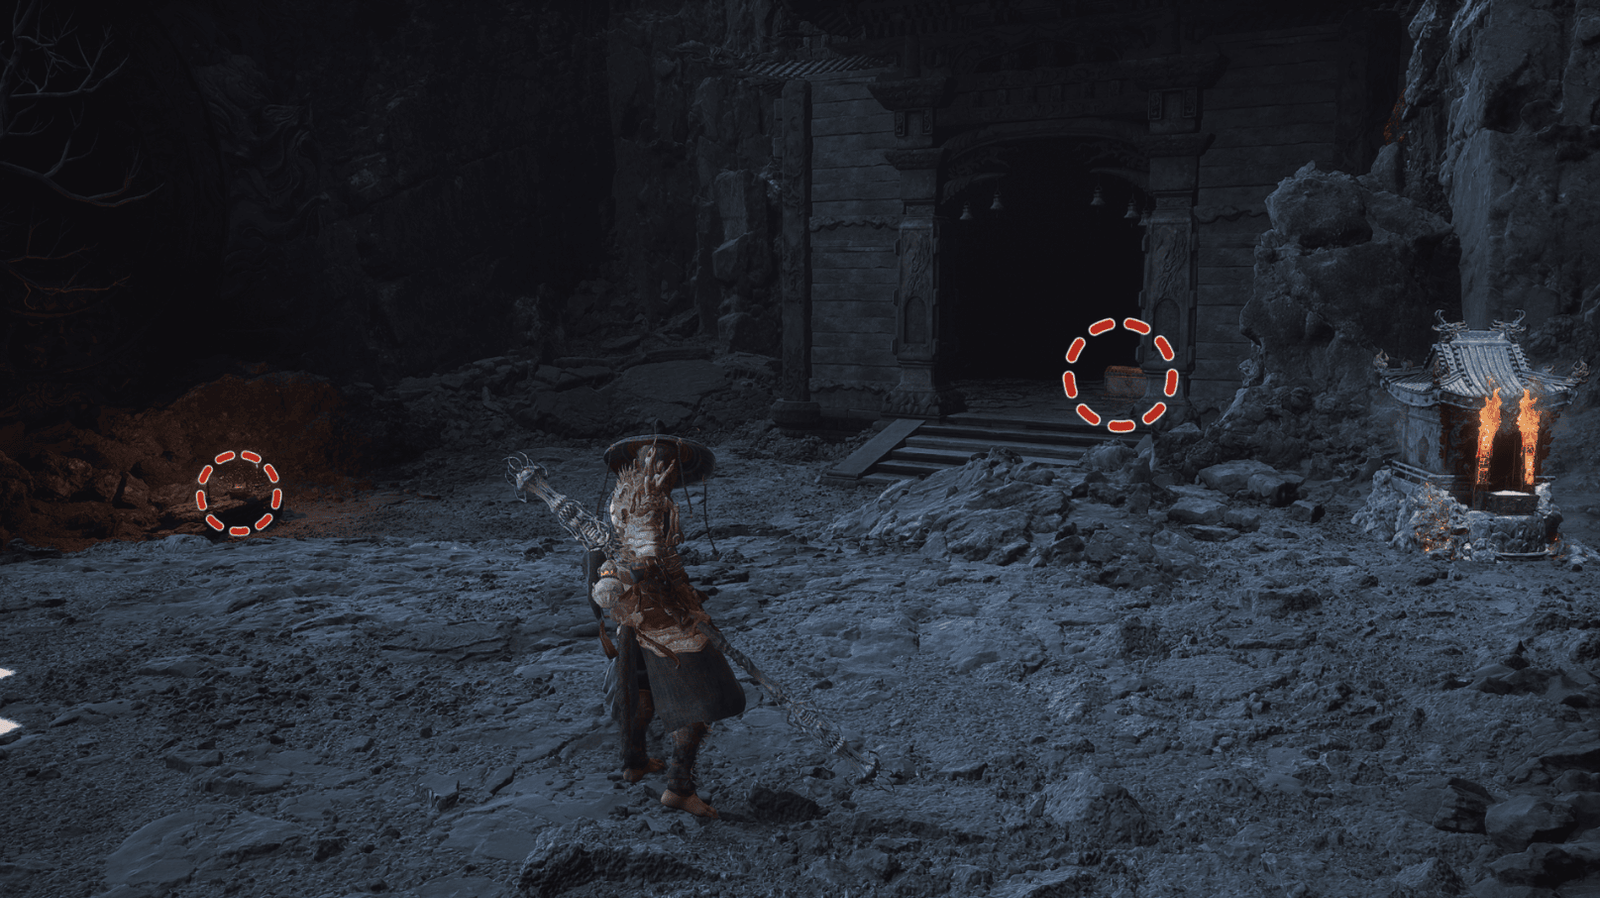
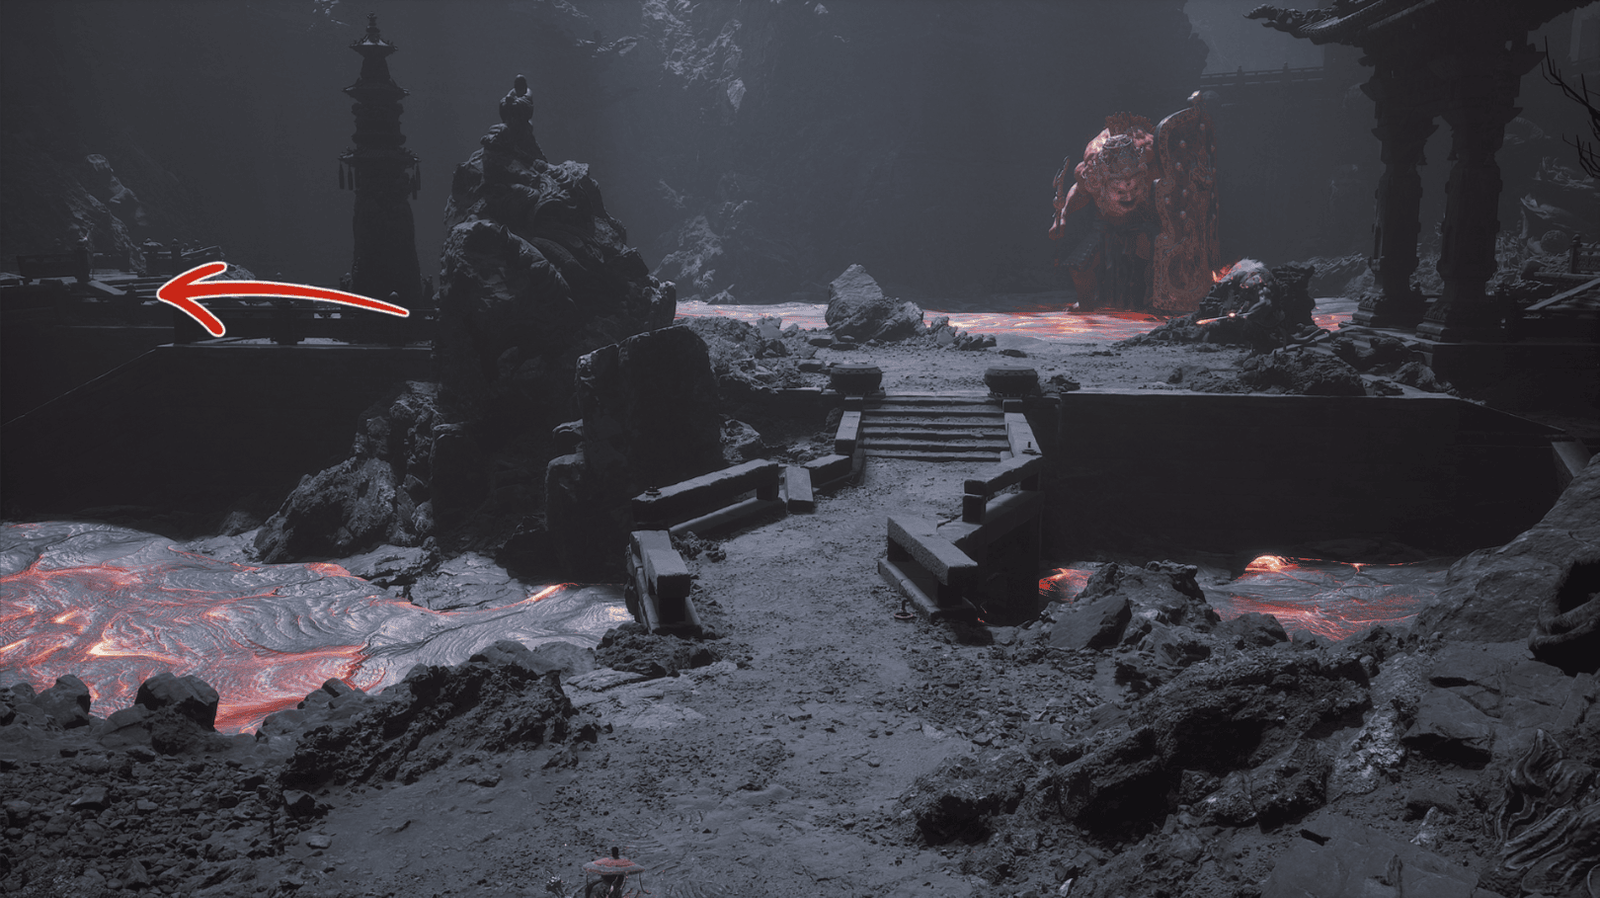
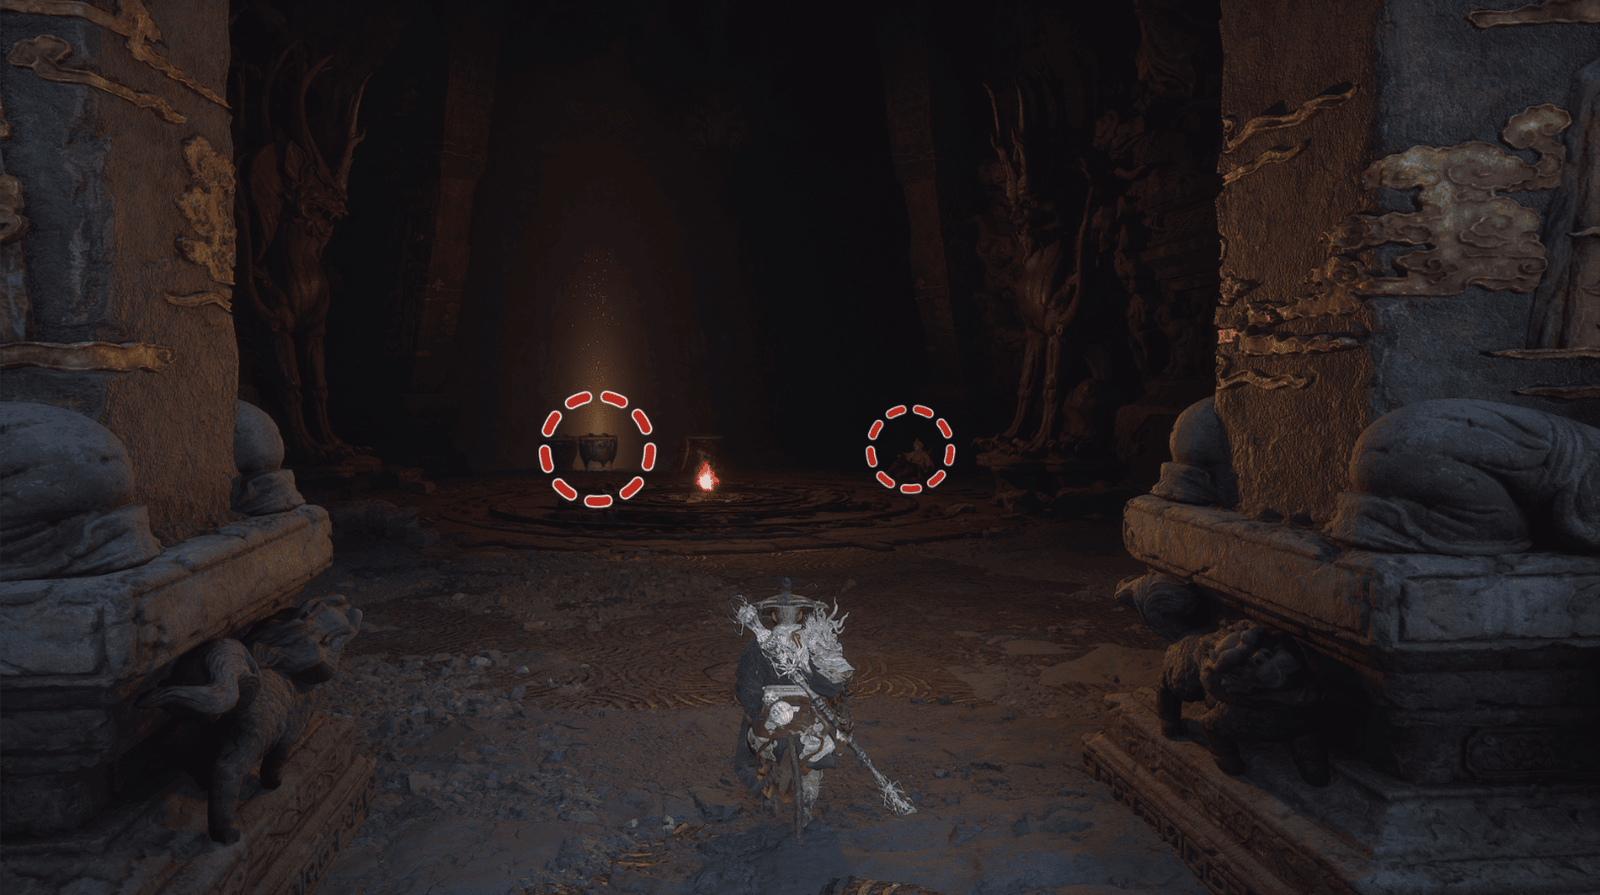
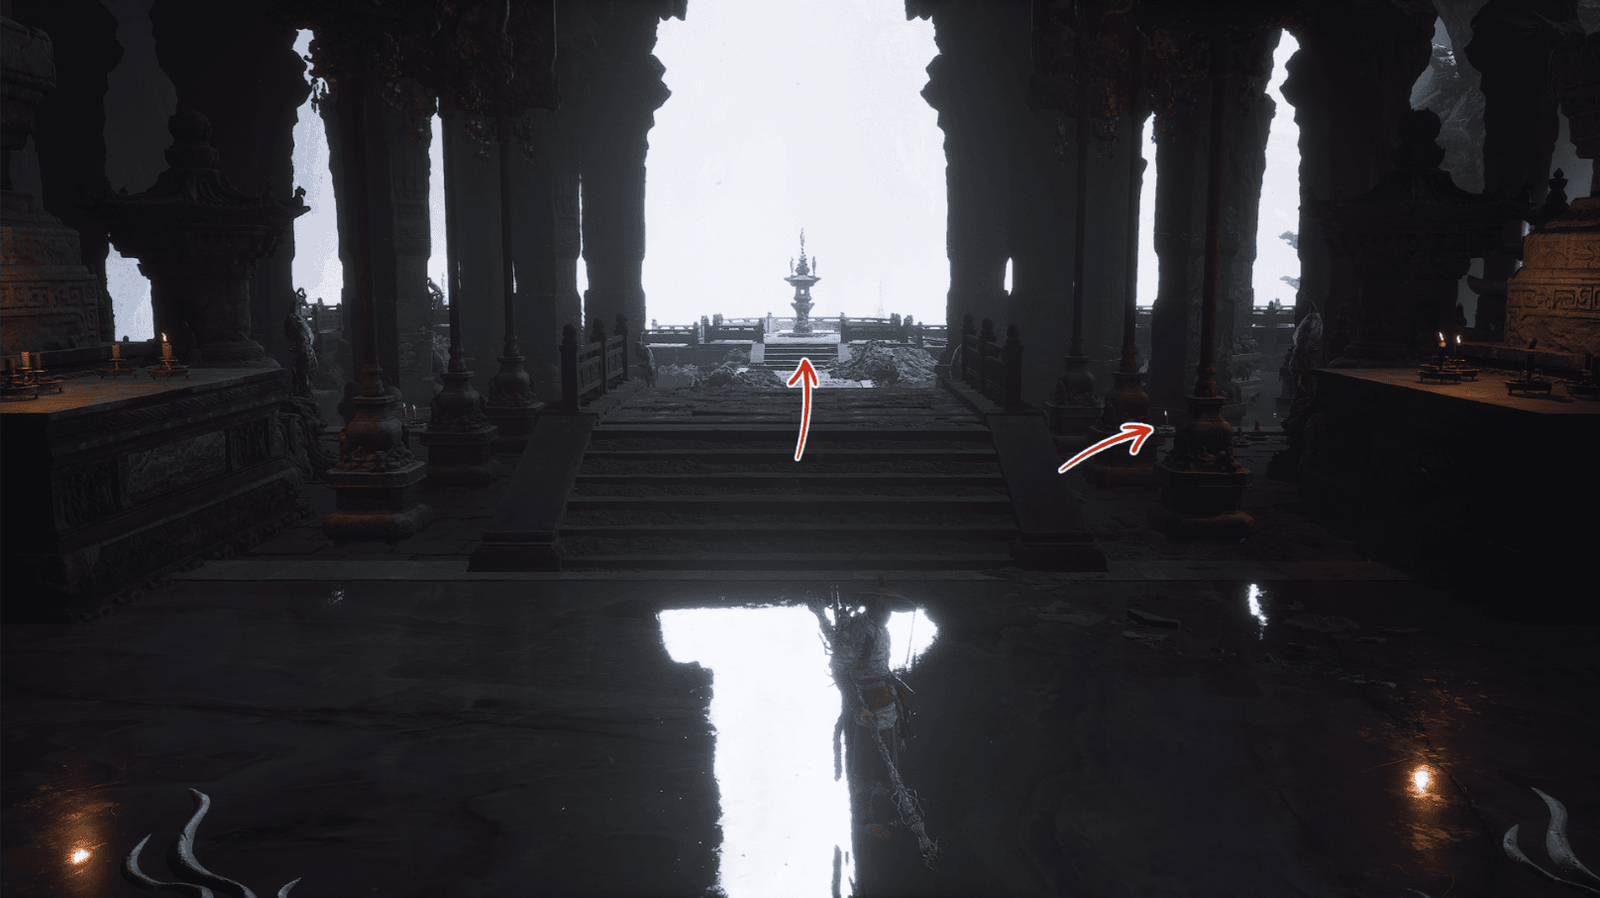
Entering Rakshasa Palace, a majestic but deadly scene appears before you. Activate the Rakshasa Palace Shrine nearby to save the game.
Right behind the Keeper’s Shrine, you will see a small golden chest containing a Celestial Taiyi Pill and a larger chest in a small room nearby, containing Blood of the Iron Bull and some other items.
Go down the stairs, you will encounter a Bull Soldier, defeat him.
Look down at the foot of the stairs, you will see a Green Wisp, absorb it.
Follow the lava, along the left wall, you will find two Fire Dates and a Bull Stalwart, defeat him.
Continue on, following the lava, you will see a bridge, under the bridge there is another Green Wisp.

Go to the left, you will see a chest guarded by a Bull Stalwart, defeat him and open the chest to get Fine Gold Thread and Blood of the Iron Bull.
Cross the bridge, go up the stairs, you will encounter a Flame Rhino Master, defeat him.
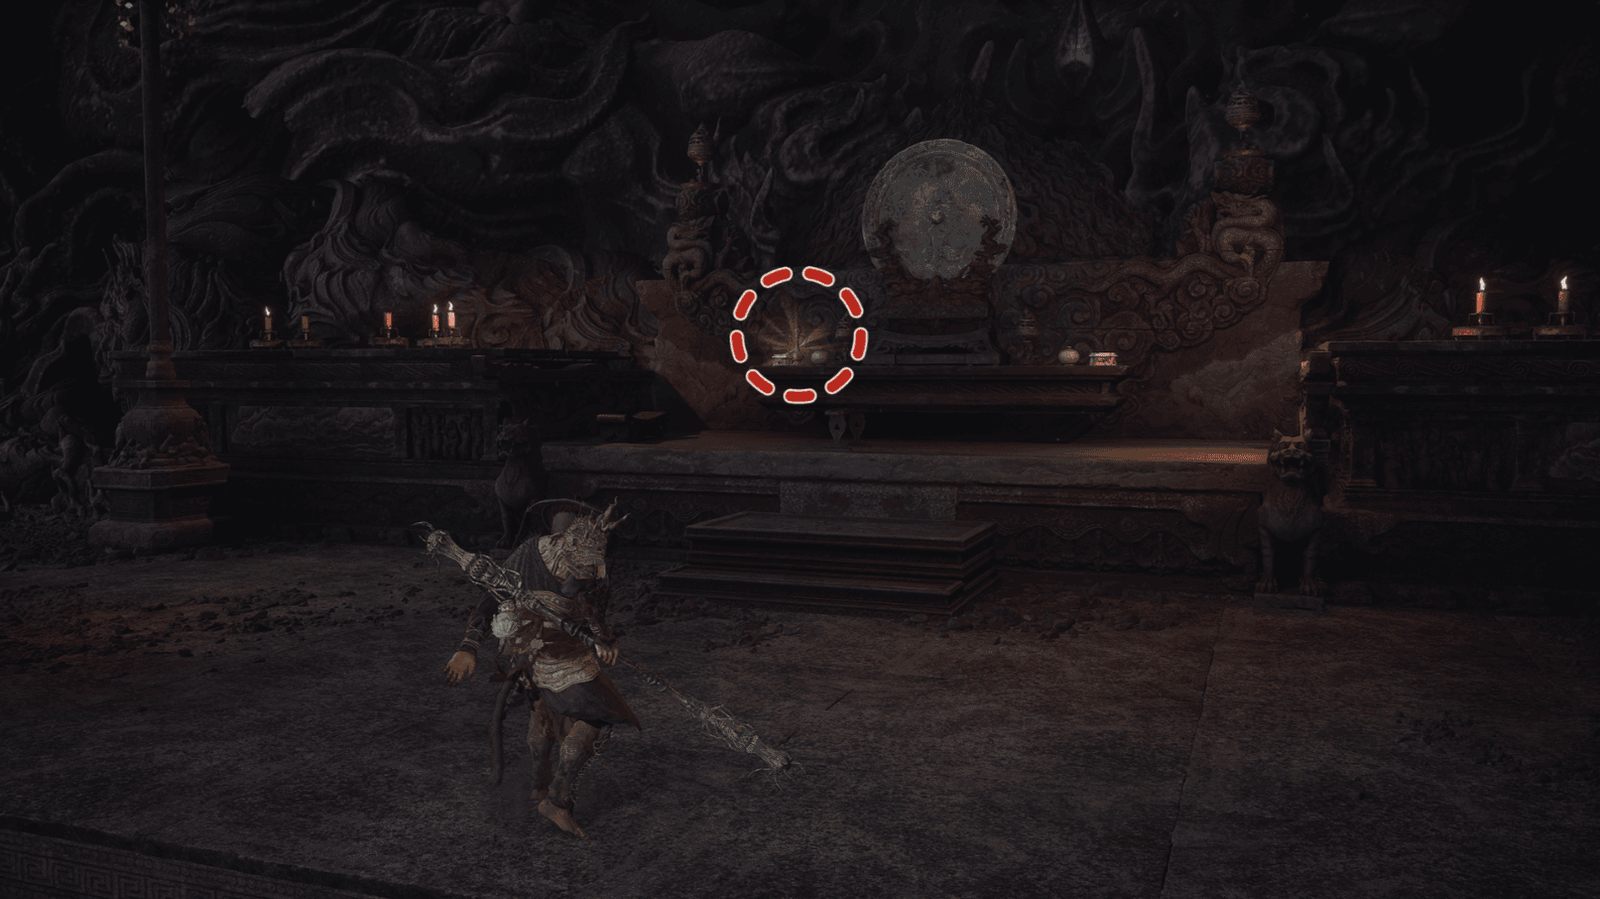
Go to the right, you will see a small shrine with a flickering fire inside. Enter, you will meet the Old Man and an Awaken Wine Worm in a barrel.
Talk to the Old Man, he will ask you to find a better Gourd. To complete this quest, you need to have upgraded the Old Gourd to the Medicine Buddha Gourd beforehand, and have talked to him at all previous locations. After obtaining the Medicine Buddha Gourd, return here, talk to him, then examine the fire in the middle of the room. Your Gourd will absorb the spirit and become the Supreme Gourd.
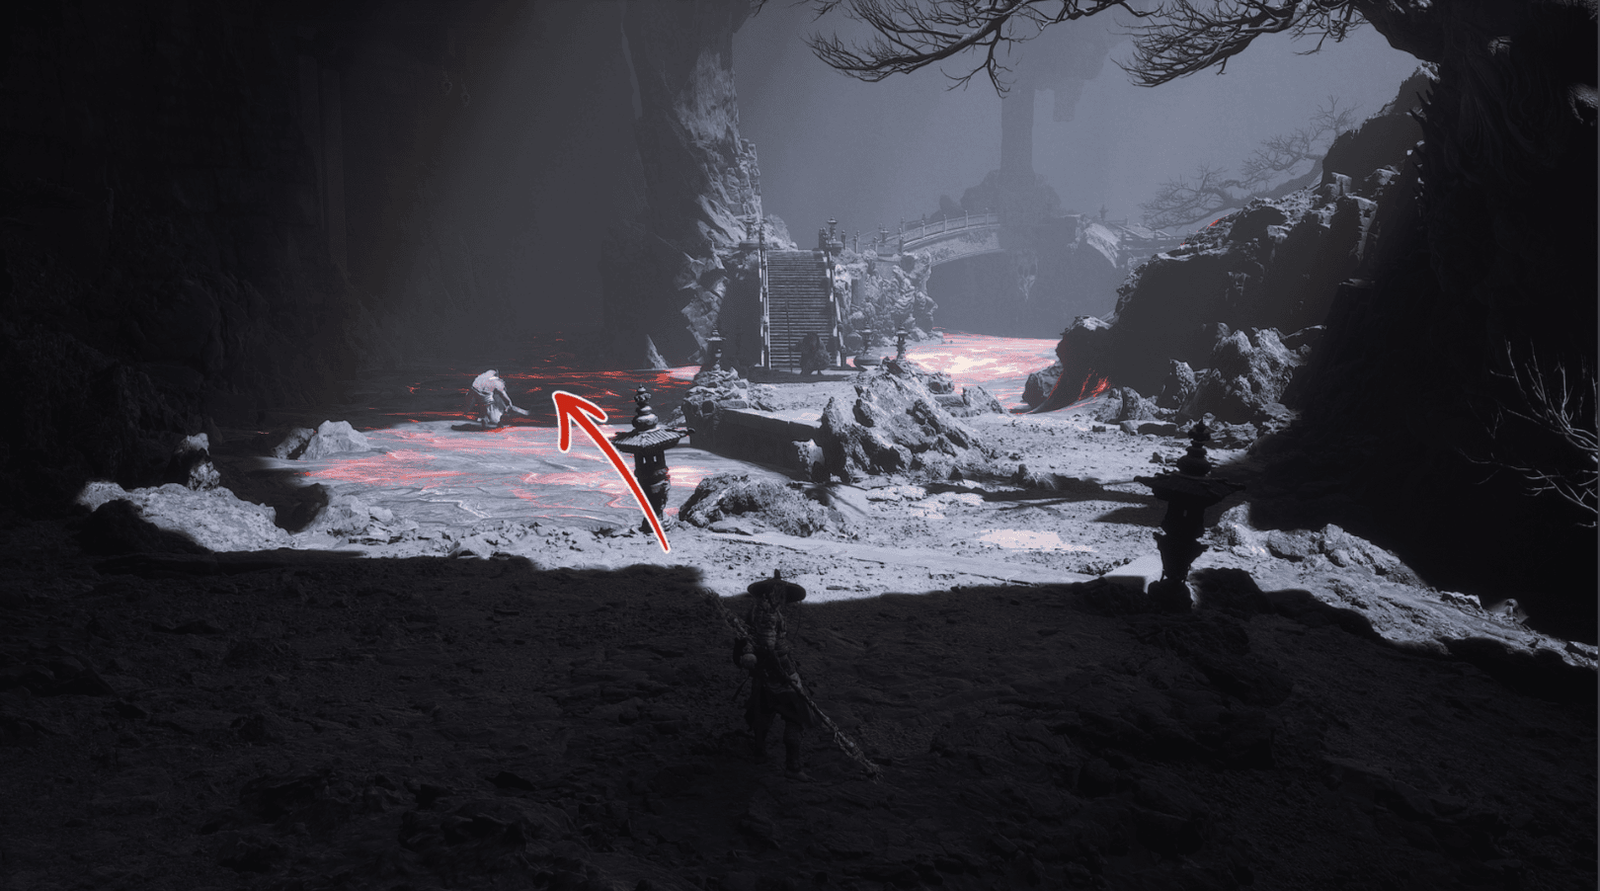
Exit the shrine, follow the lava on the left, you will encounter two Sea Rakshasas. Attack their legs to defeat them. The first Sea Rakshasa will drop Green Wisps, the second will give you a Golden Button – a type of Curio.
After exploring both areas, return to the bridge, cross it, continue up the stairs, you will encounter a Bull Guard and two Flame Rhino Masters, defeat them and activate the The Emerald Hall Shrine at the top.
The Emerald Hall
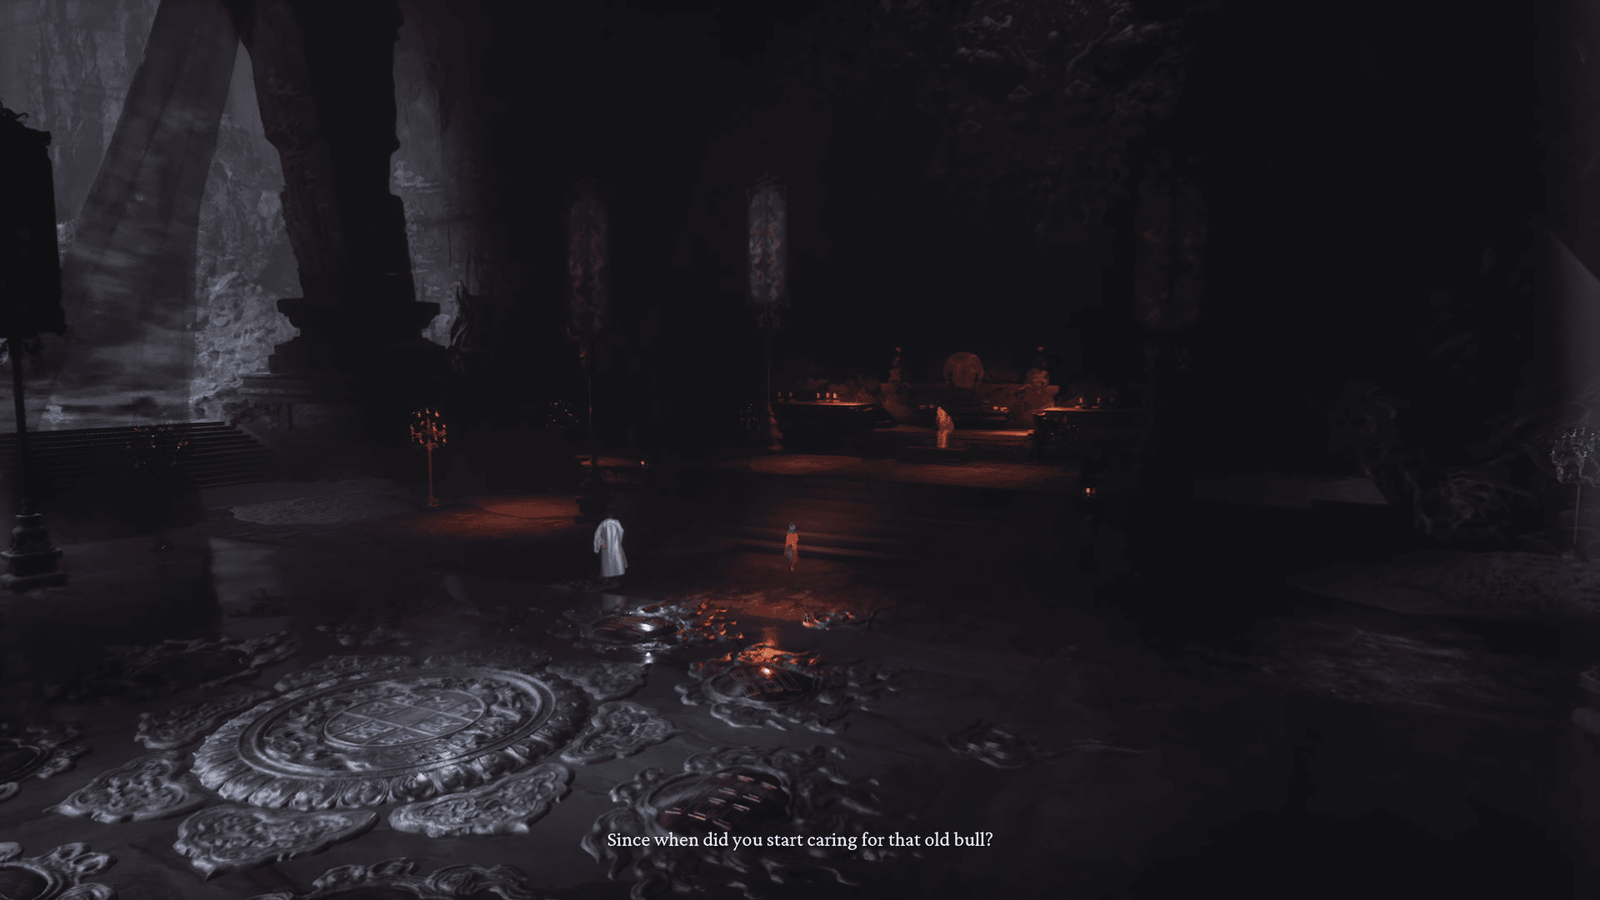
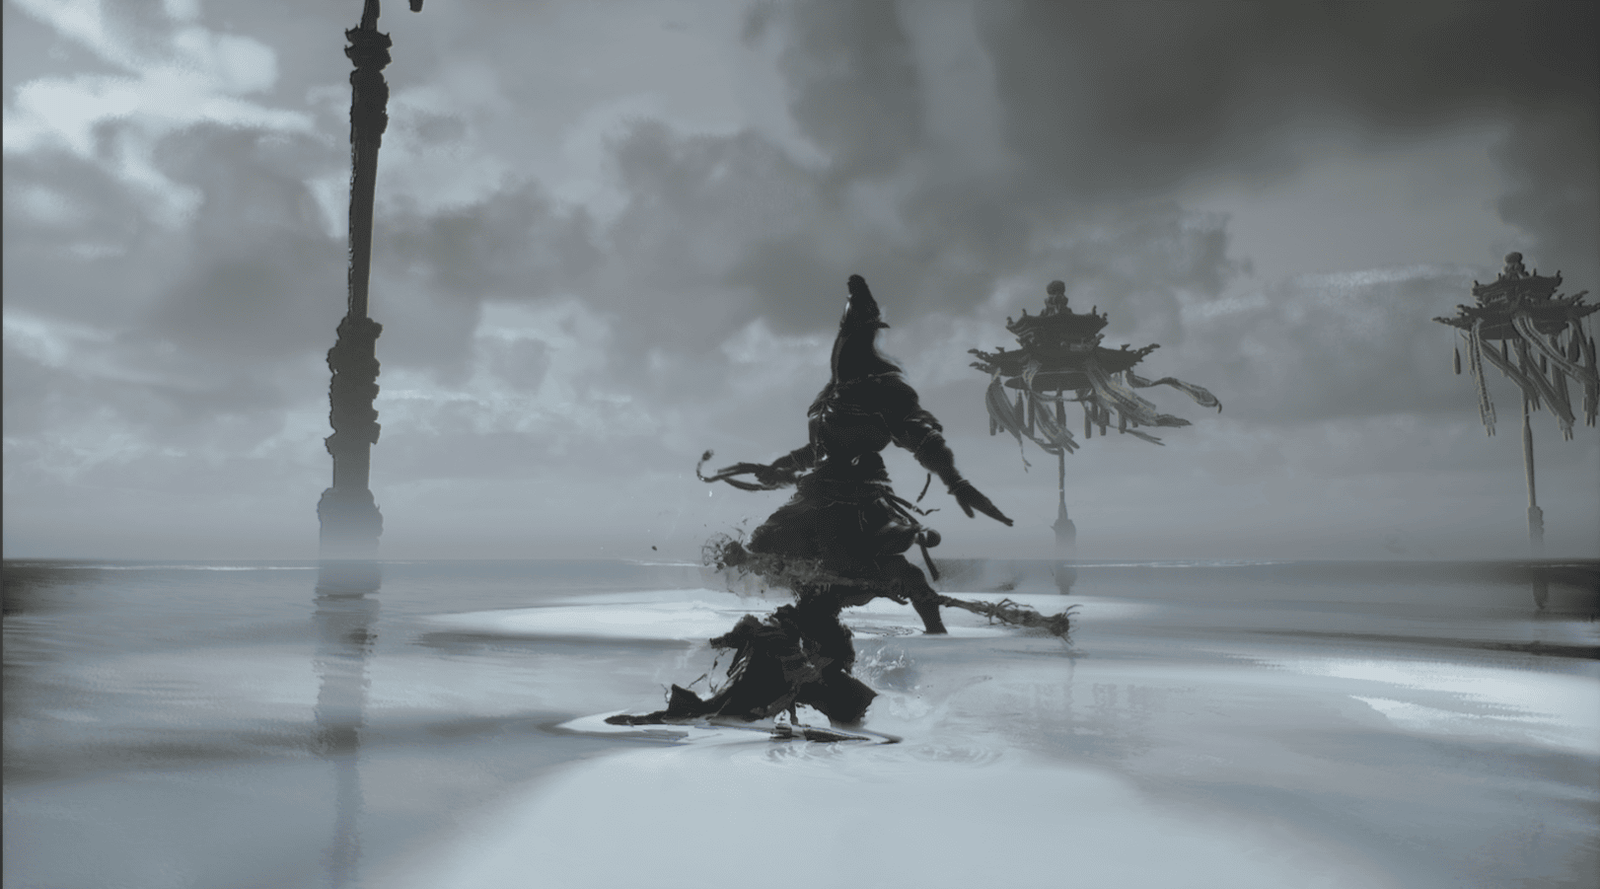
From Keeper’s Shrine: The Emerald Hall, proceed up the stairs, a cutscene will play. You will transform into a Cicada, flying into the center of The Emerald Hall. Here, you will witness Pingping talking to her mother, Rakshasi, along with the Keeper of the Flaming Mountains.
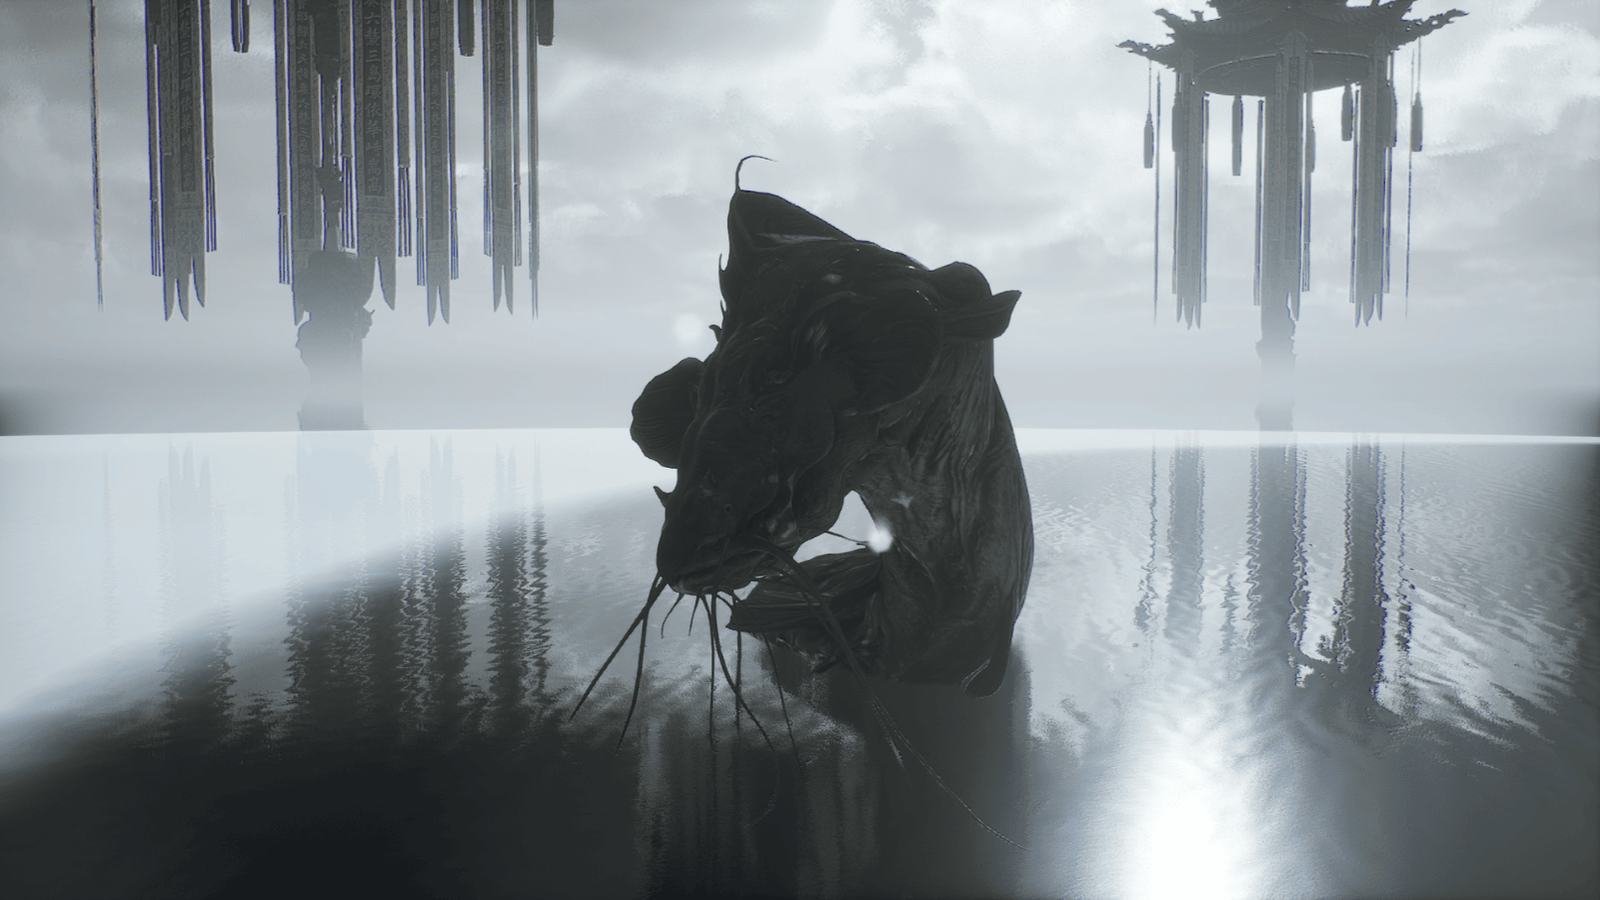
They are discussing The Destined One (you) and the collection of the relics. The Keeper of the Flaming Mountains offers to take care of Rakshasi, but Pingping objects. He then ties Pingping up, and Rakshasi reveals her true form to be Zhu Bajie (Pigsy) in disguise! Now it’s time to face the Keeper of the Flaming Mountains!
Keeper of the Flaming Mountains and Yin-Yang Fish Boss Fight

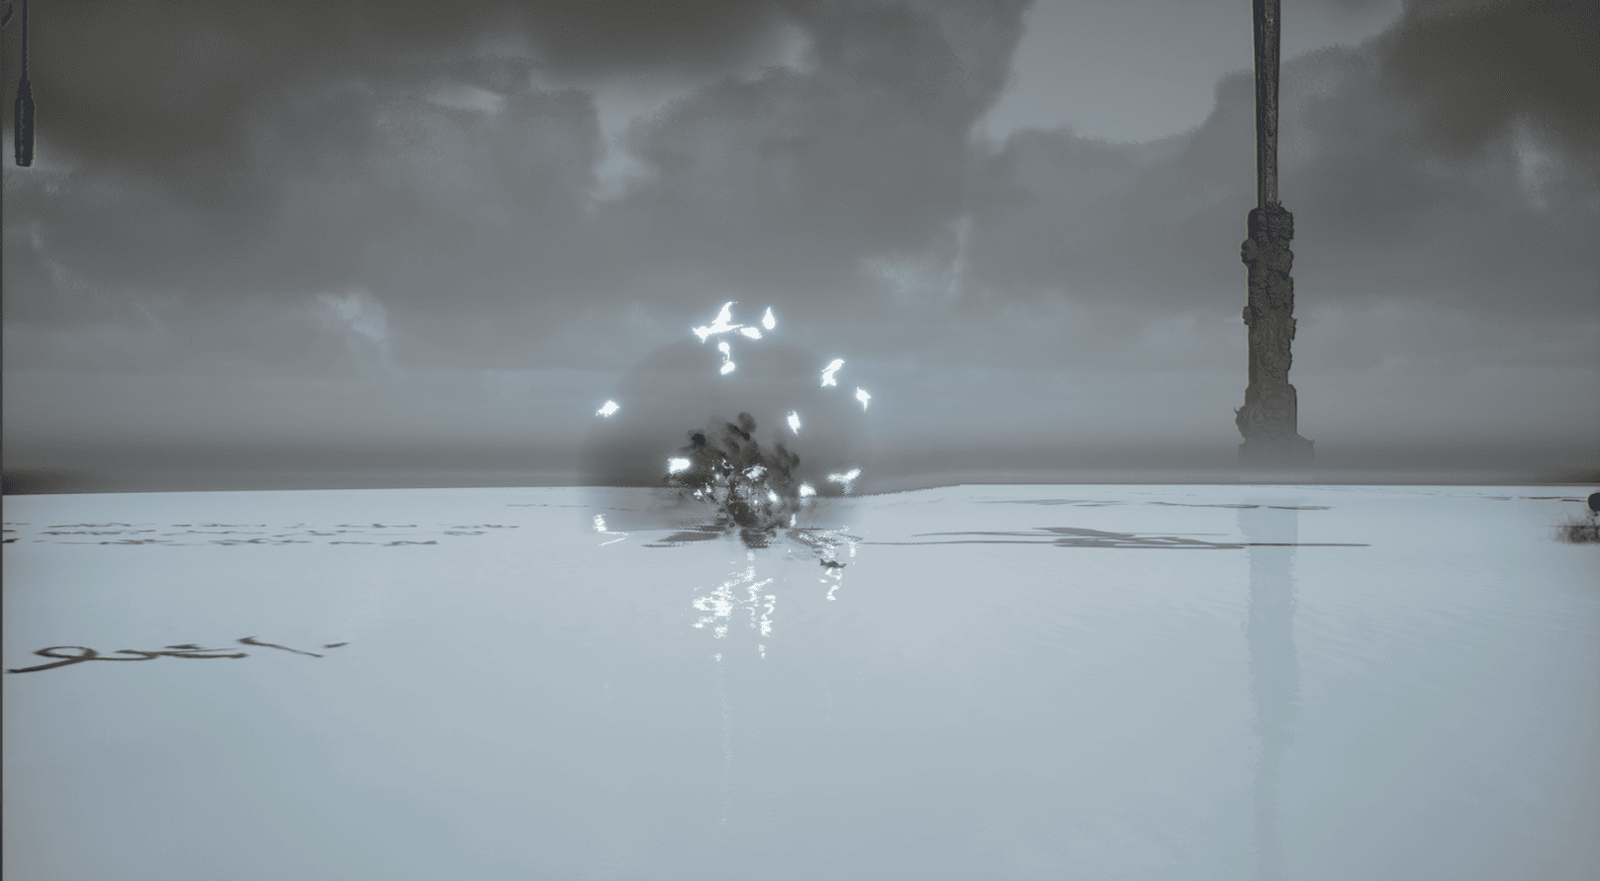
The Keeper of the Flaming Mountains will teleport you to another dimension, a monochromatic illusion, where he uses the power of yin and yang. Zhu Bajie (Pigsy) will be there to assist you in the first phase. This is a two-phase battle, and of course, the second phase will be much more difficult.
Phase 1: Keeper of the Flaming Mountains
In the first phase, try to attack the Keeper of the Flaming Mountains aggressively, continuously, and limit the use of spells to save them for the second phase.
He will shoot white projectiles, you can dodge or run to avoid them.
When his health is around 60-70%, he will use black and white orbs to summon undead enemies. The white orbs will turn into large revenants wielding maces, and the black orbs will turn into archers. Prioritize eliminating the archers first as they can attack from a distance and deal annoying damage.
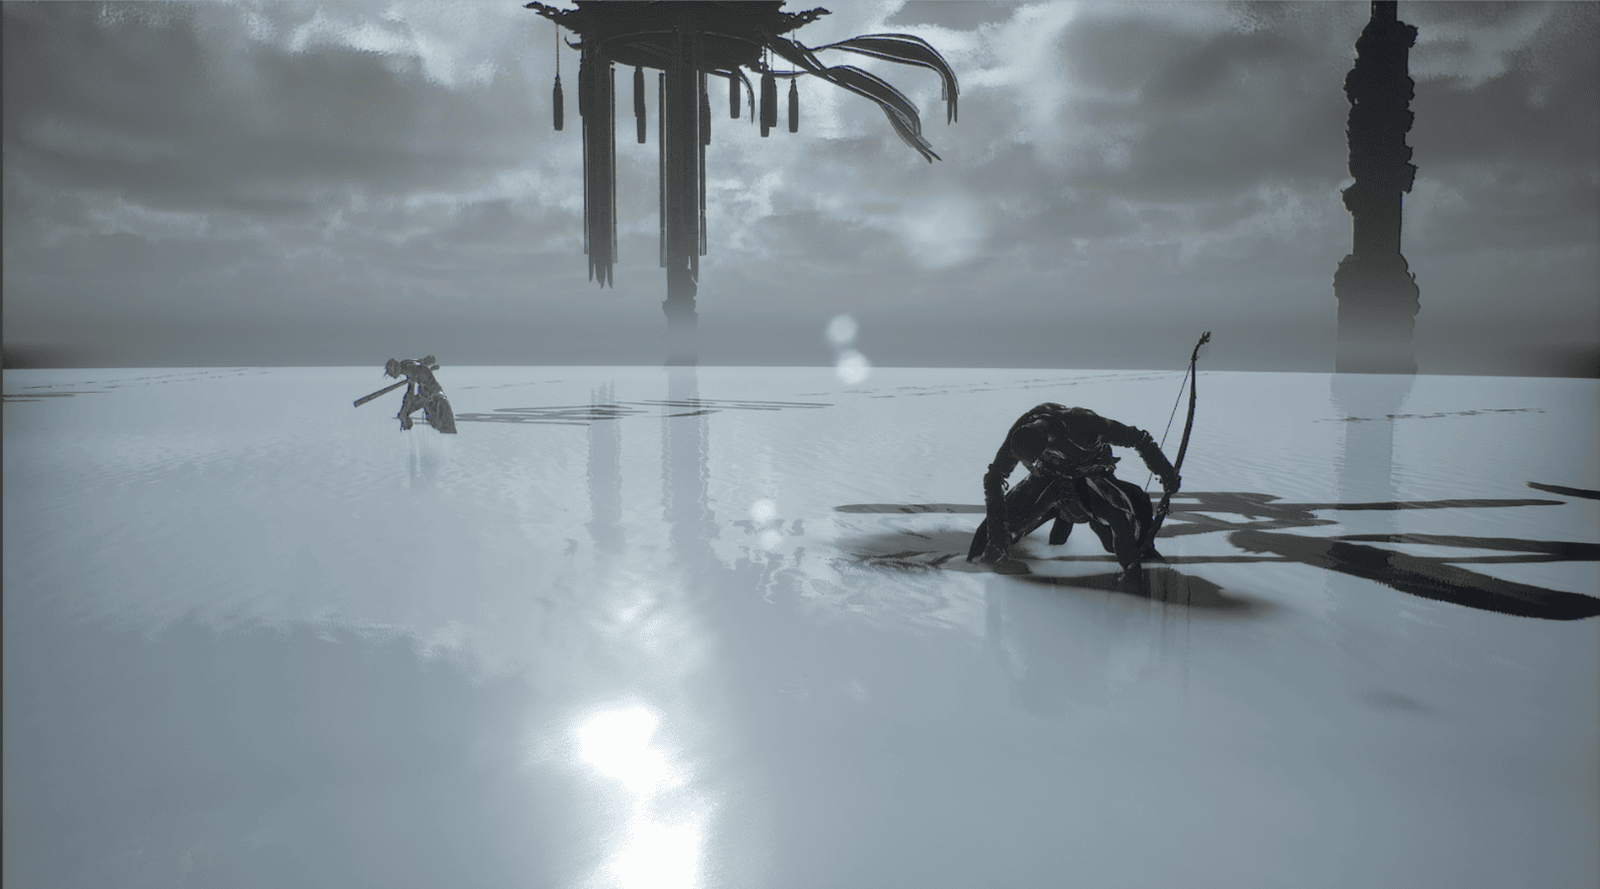
When his health is around 30%, Zhu Bajie will leave, leaving you alone to face him. At this point, continue to attack him normally.
When he is near death, he will summon Ma Tianba in the form of a warhorse spirit! Make sure you have talked to Ma Tianba at the Valley Entrance before, otherwise, you will miss the Dark Thunder Transformation Spell.
Ma Tianba will attack you with a whip and has his own health bar. This phase is quite easy, defeat him quickly.
Phase 2: Yin-Yang Fish

After defeating Ma Tianba, the Keeper of the Flaming Mountains will throw the Yin-Yang Fish into the water.
A giant fish will appear and start attacking you. At this point, use all the spells and transformations that you saved from the first phase.
This fish moves very fast and is annoying. It will spit a stream of water, splash its tail, and throw projectiles or orbs that chase you. Try to get close to avoid being sprayed with water, but be careful of the tail splash.
When its health is about half, it will start moving more frantically, diving into the water and flying into the air. Use Cloudstep to follow it and Immobilize to stop it.
When it flies up, it will throw projectiles down, dodge continuously to avoid them.
After defeating the Keeper of the Flaming Mountains and the Yin-Yang Fish, you will be returned to The Emerald Hall.
After defeating the Keeper of the Flaming Mountains and the Yin-Yang Fish, return to the Valley Entrance, find the Crimson-Silver Cart where you met Ma Tianba. At this point, you can pull the cord at the mouth of the cart to receive the Dark Thunder Transformation Spell, if you have talked to him before.
Crimson-Silver Cart Boss Fight
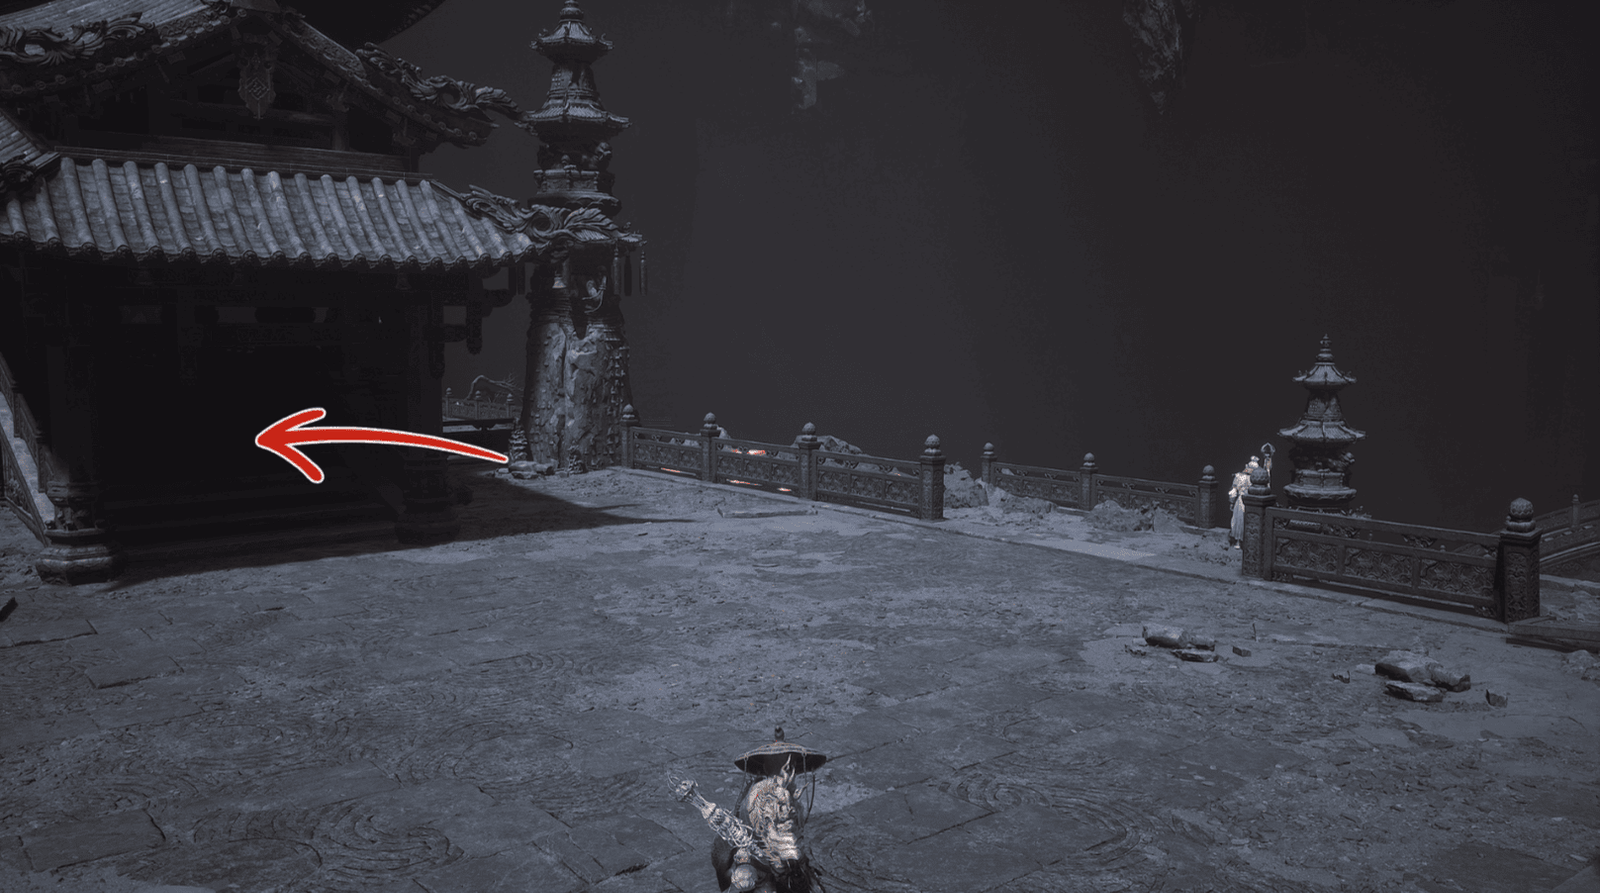
After returning from the Yin-Yang Fish, turn to face the back of the altar. You will see two paths, take the small path on the right to find a golden chest containing the Slumbering Beetle Husk.
Then, go in the opposite direction, up the stairs and towards the balcony (opposite the altar in The Emerald Hall). Turn right, go up the stairs to find the Meditation Spot: The Buddha, Emerald Hall. Interact with the Buddha statue to upgrade your stats.
Now go back to The Emerald Hall, approach the altar, you will see the Loong Balm.
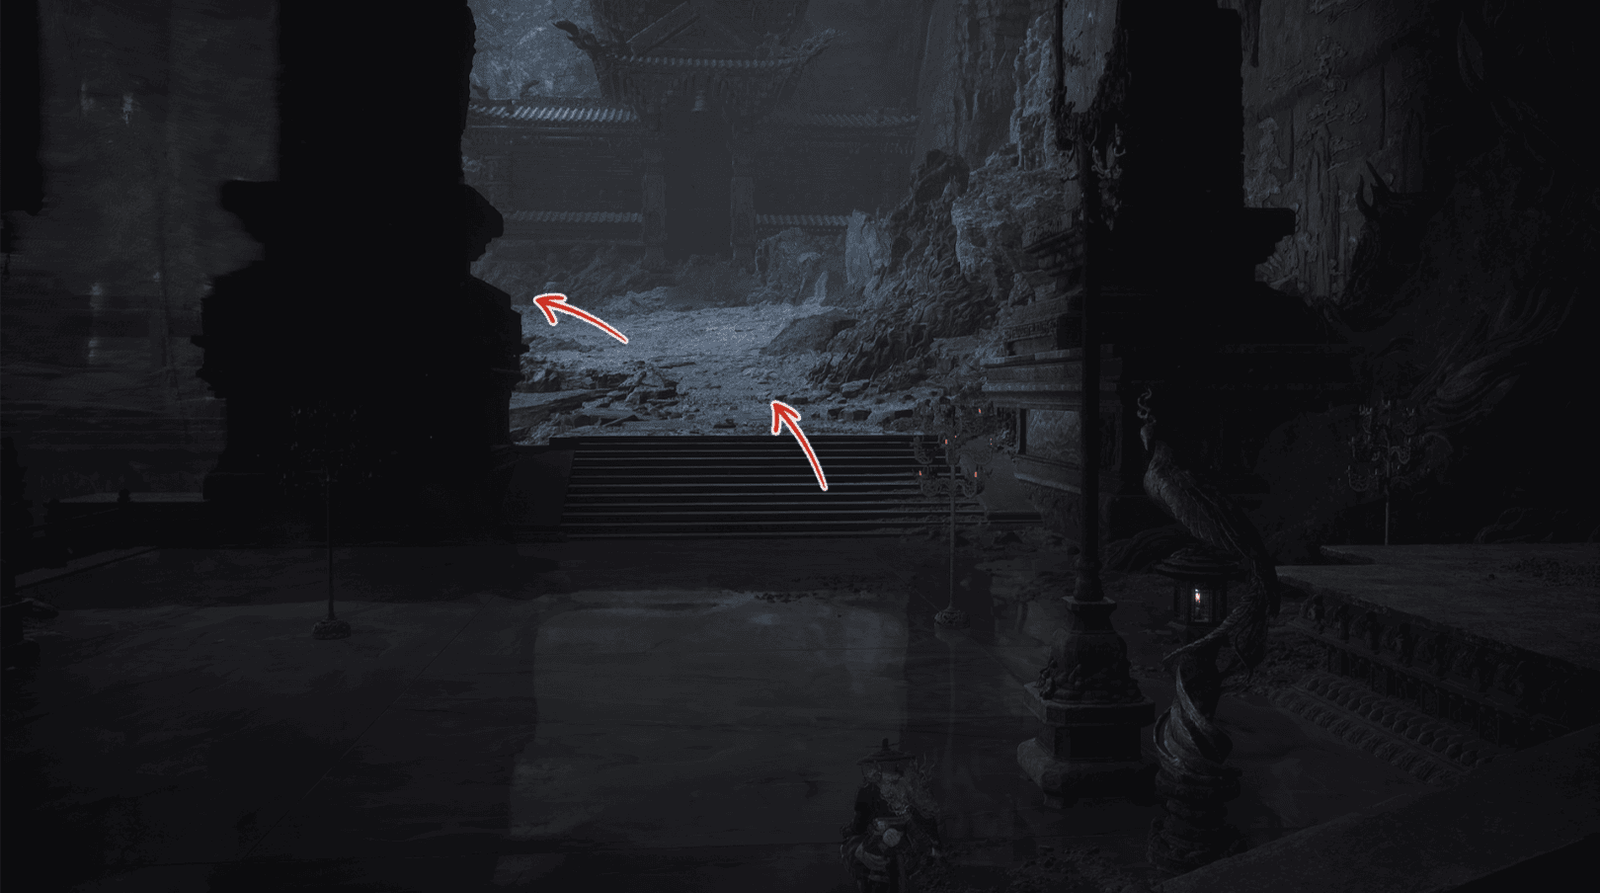
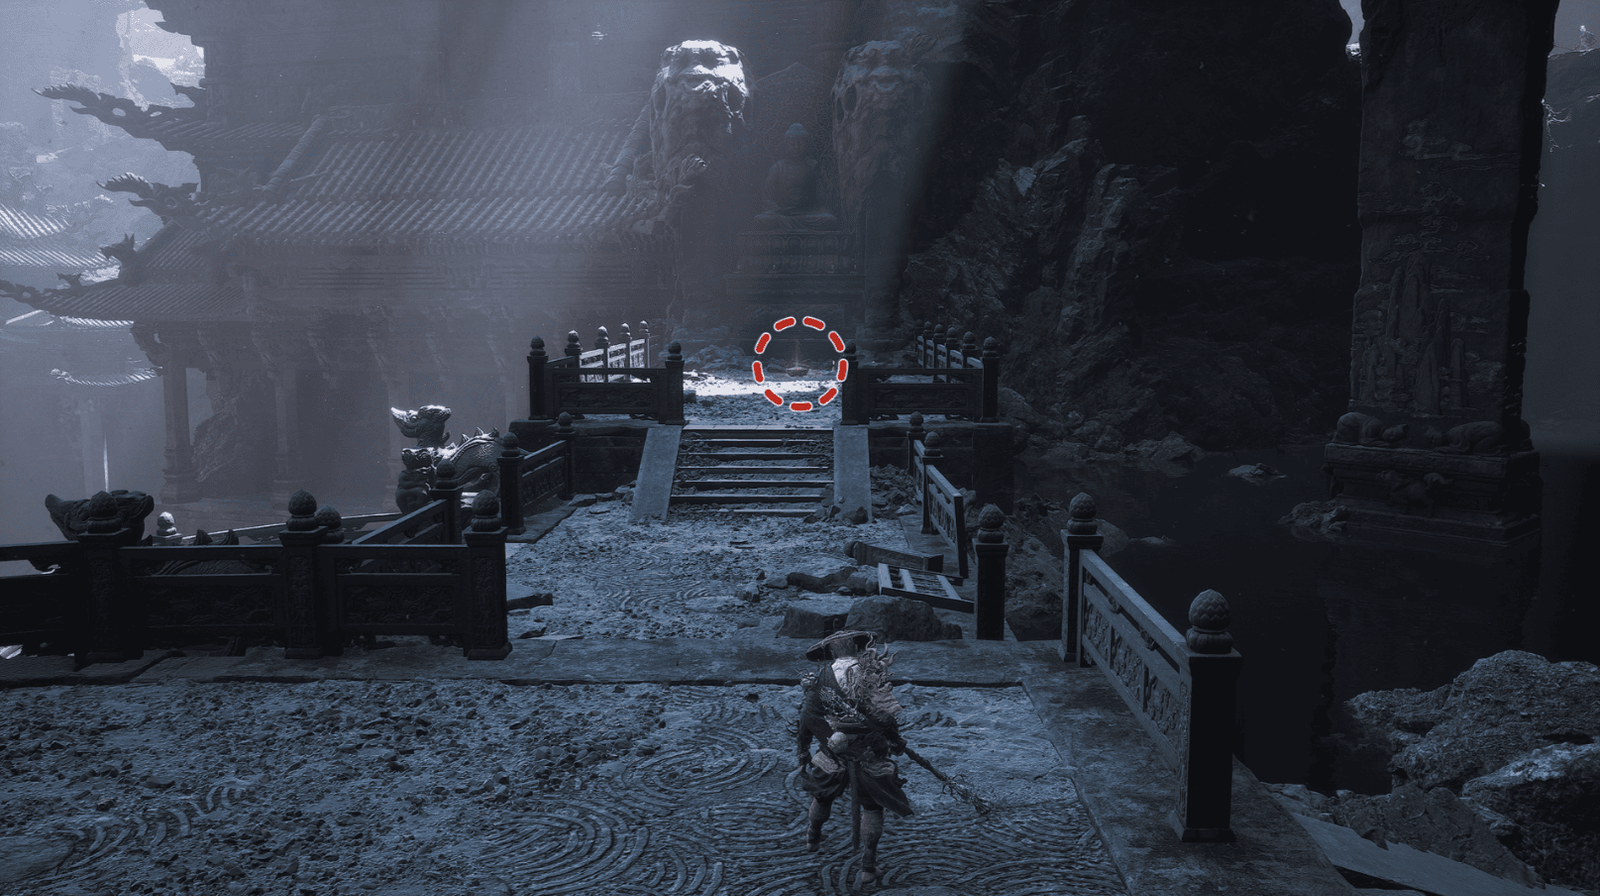
Pick it up, then go up the stairs to the left of the altar. You will pass through a path covered in ashes, leading to a bridge and an archway in the distance.
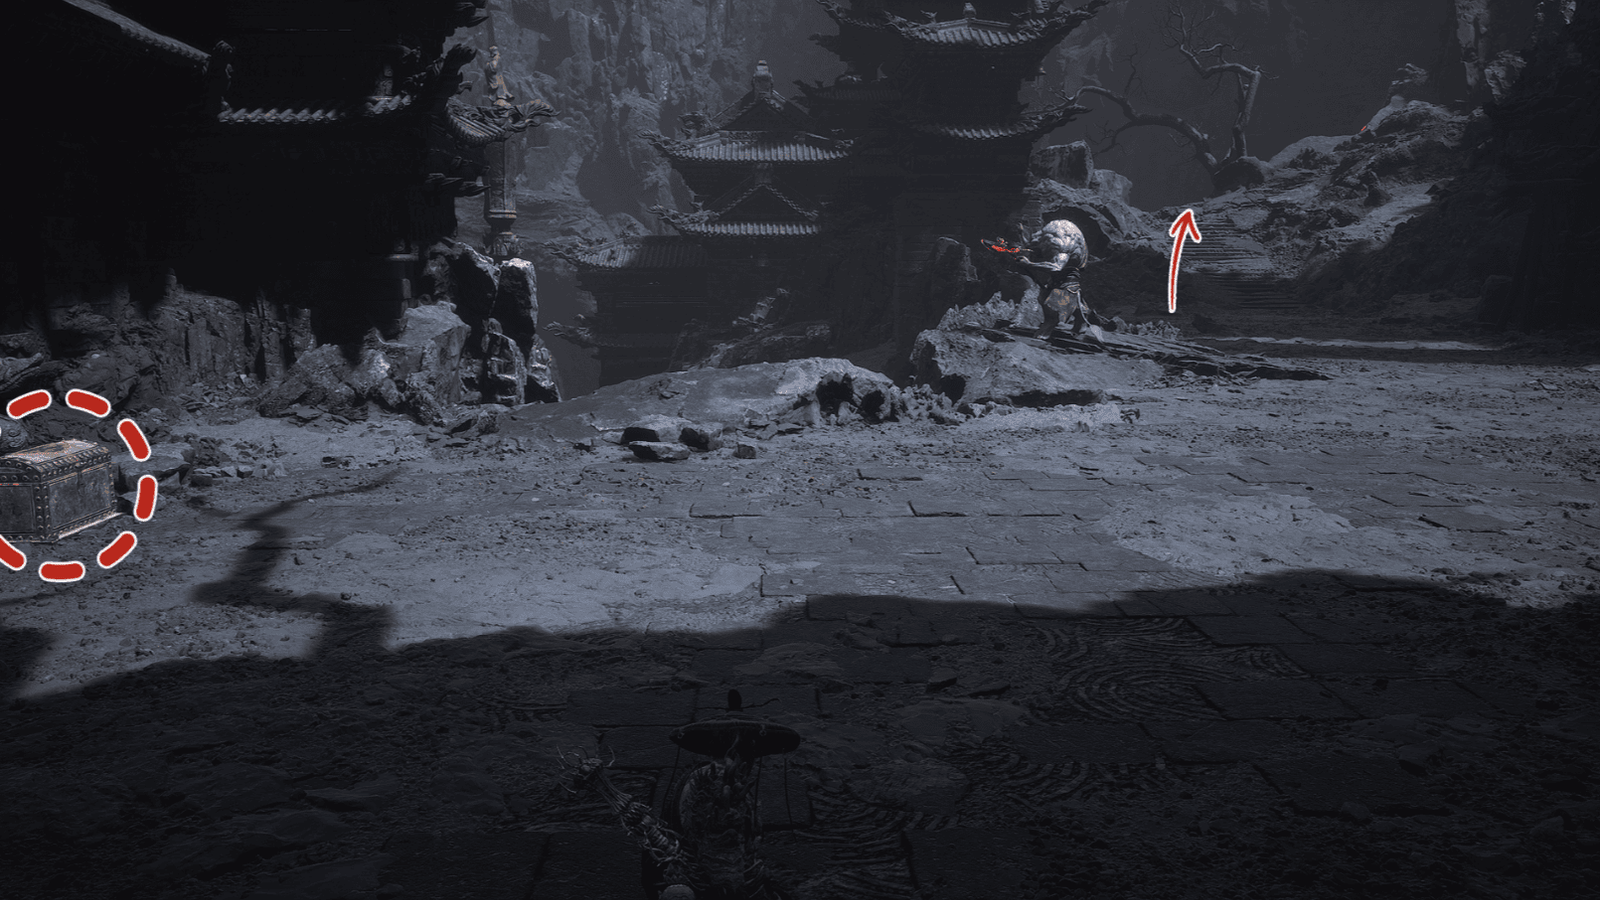
Go through the archway, look to the left, you will see a chest containing Blood of the Iron Bull and gold. Continue up the stairs on the right, you will see fire starting to fall – a sign of a Five Element Cart nearby!
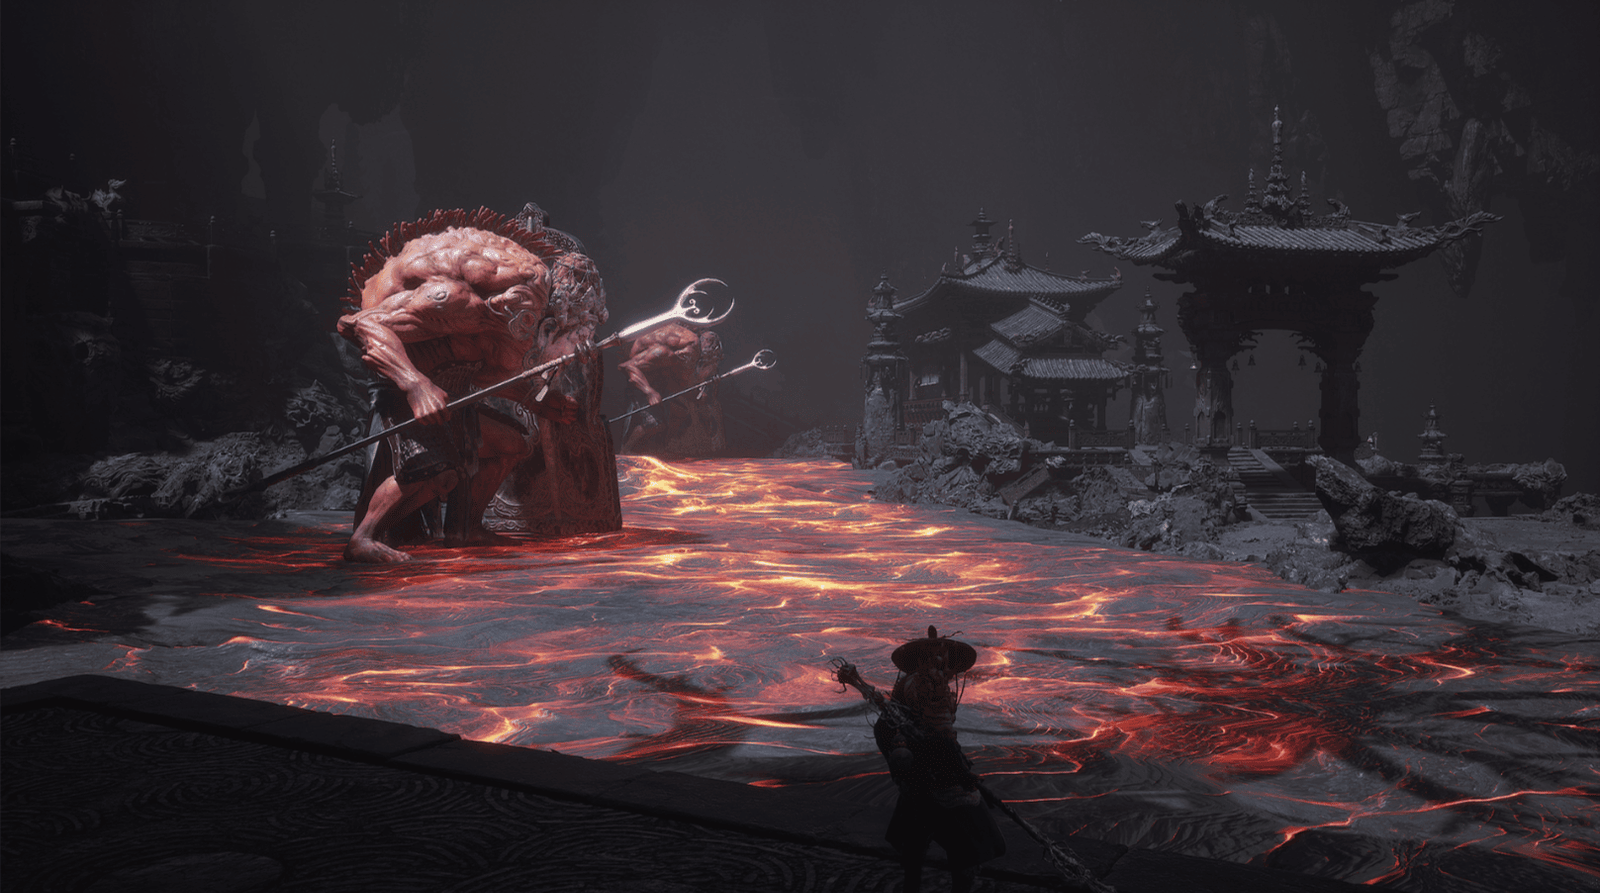
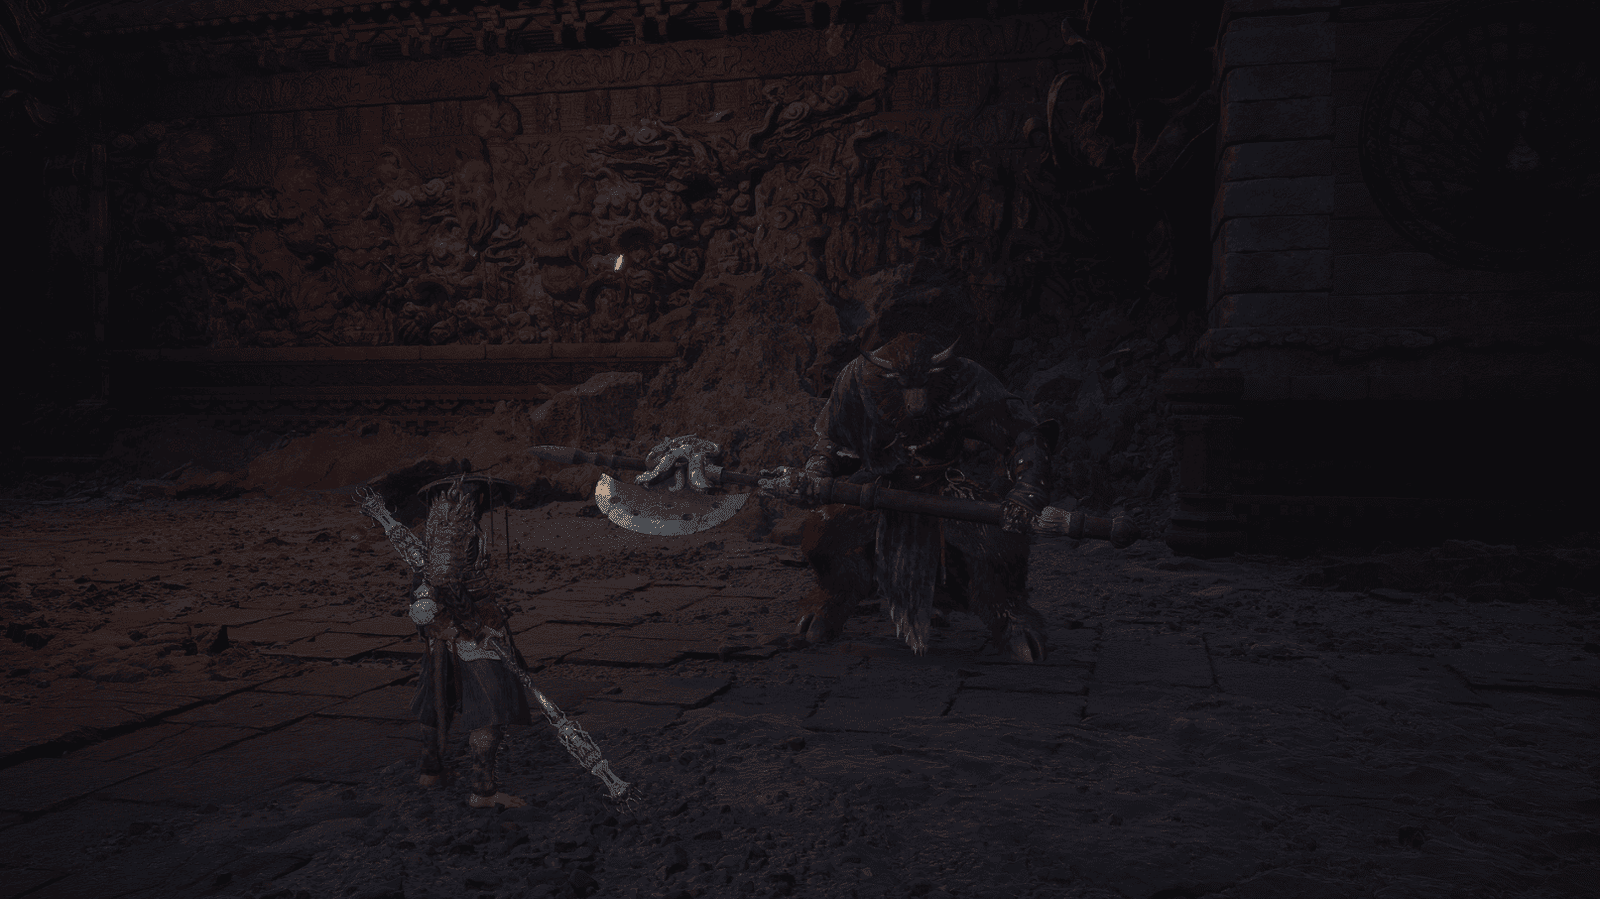
Continue up the stairs, enter the dark cave, then turn right, go up the stairs, you will see the Crimson-Silver Cart – the final Yaoguai Chief of this area!
If you have talked enough with the Pale-Axe Stalwart before, he will appear and assist you in this battle.
The Crimson-Silver Cart has a wider attack range than other carts. It will breathe fire around it, roll back and forth, and punch continuously.
Use Immobilize to hold it in place, making it easier for you and the Pale-Axe Stalwart to attack.
When you see smoke rising from the cart, move away, as this is a sign of a fire-breathing attack.
After the battle, talk to the Pale-Axe Stalwart again, and follow the nearby tree trunk to pick up Green Wisps.
Ashen Pass III
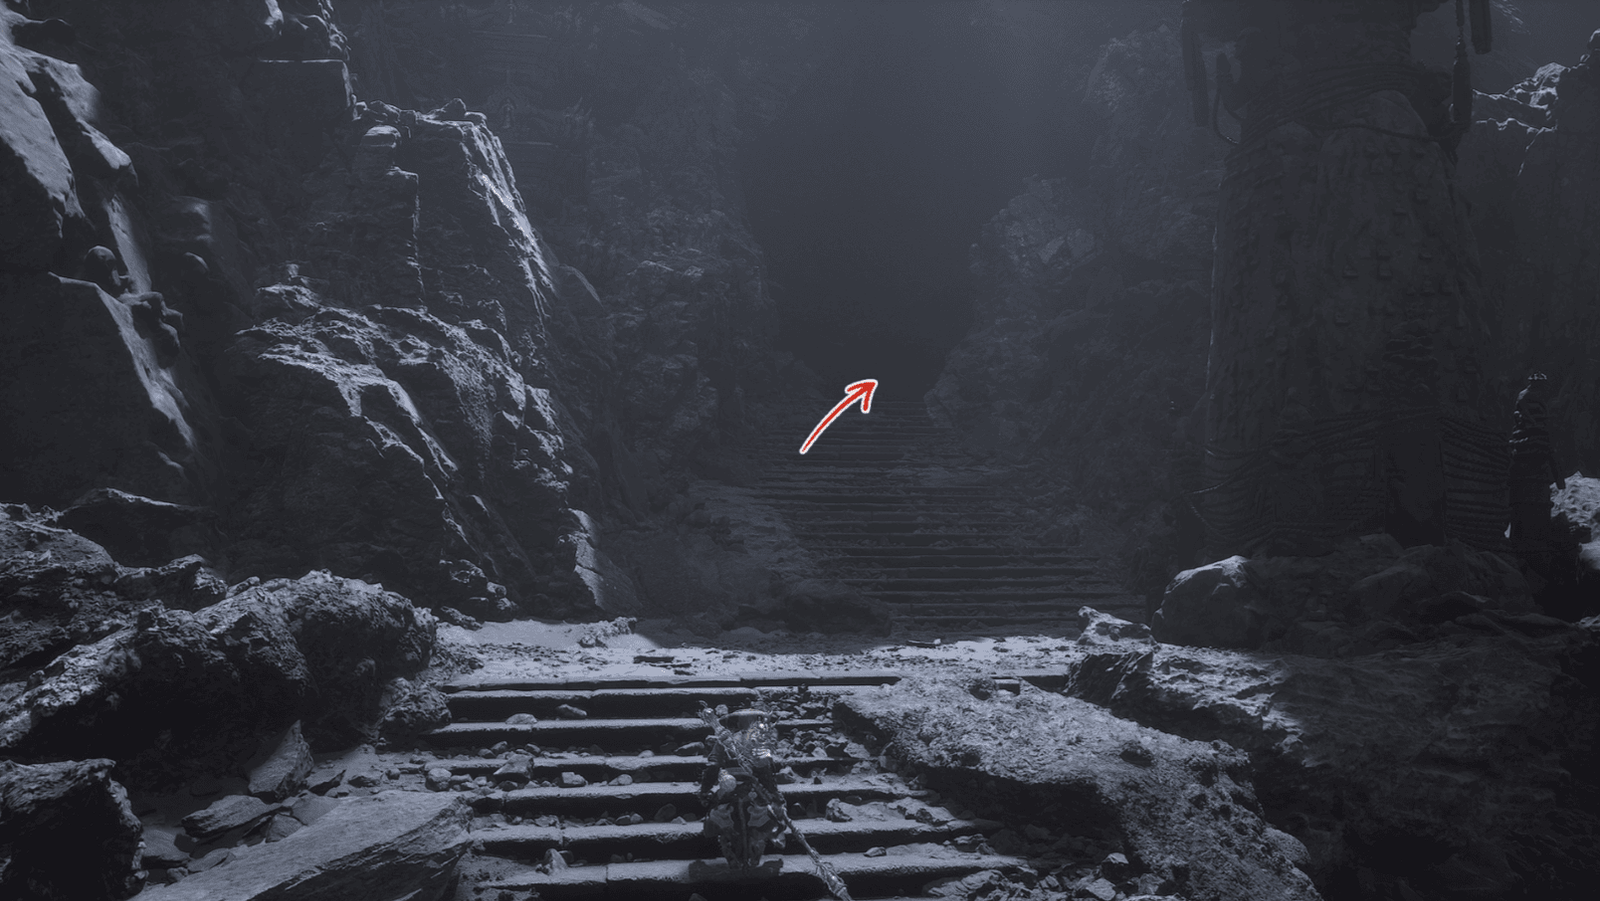
From the Crimson-Silver Cart, follow the path up the mountain, you will encounter a Rhino Flame Master on the stairs, defeat him.
Continue up the stairs on the left, follow the stone path to the top of the mountain. You will reach the Ashen Pass III Keeper’s Shrine, which is also when you set foot in the Field of Fire area – the next challenge on your journey.
Congratulations on overcoming Furnace Valley – a challenging trial, just like the Flaming Mountains that Tang Sanzang and his disciples faced in the past! Now, you are ready to move on to the Field of Fire, continuing your journey to conquer Black Myth: Wukong, which is full of hardships but also extremely fascinating.