
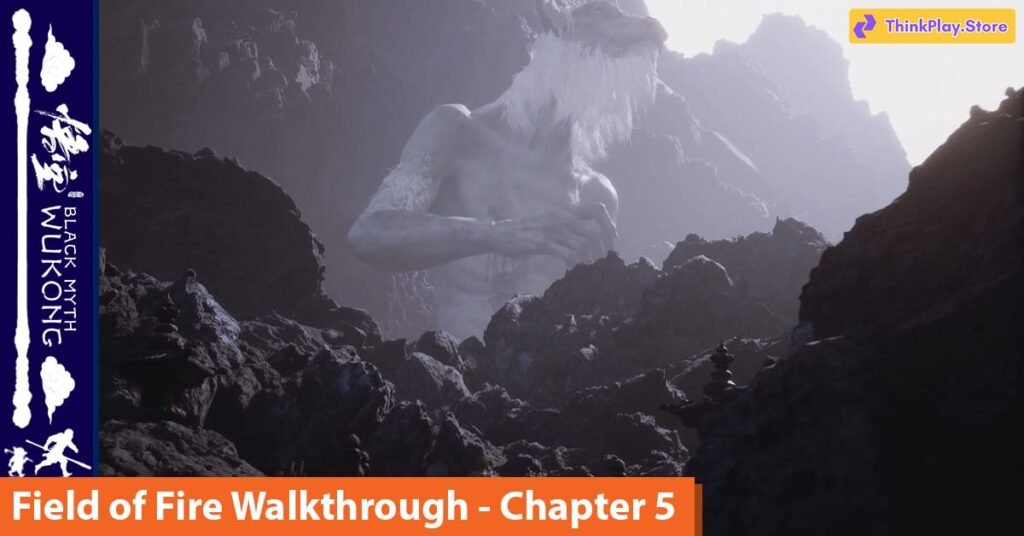
Your objective in this land is to seek the whereabouts of Bull King, but do not rush. Let this article guide you through the Field of Fire safely and most effectively. This guide will provide you with detailed information, helpful tips, and especially meticulous guidance on the secrets hidden within this sacred land of fire. Prepare yourself, strengthen your Fireproof Mantle and get ready to face the fiery challenges ahead!
Ashen Pass III
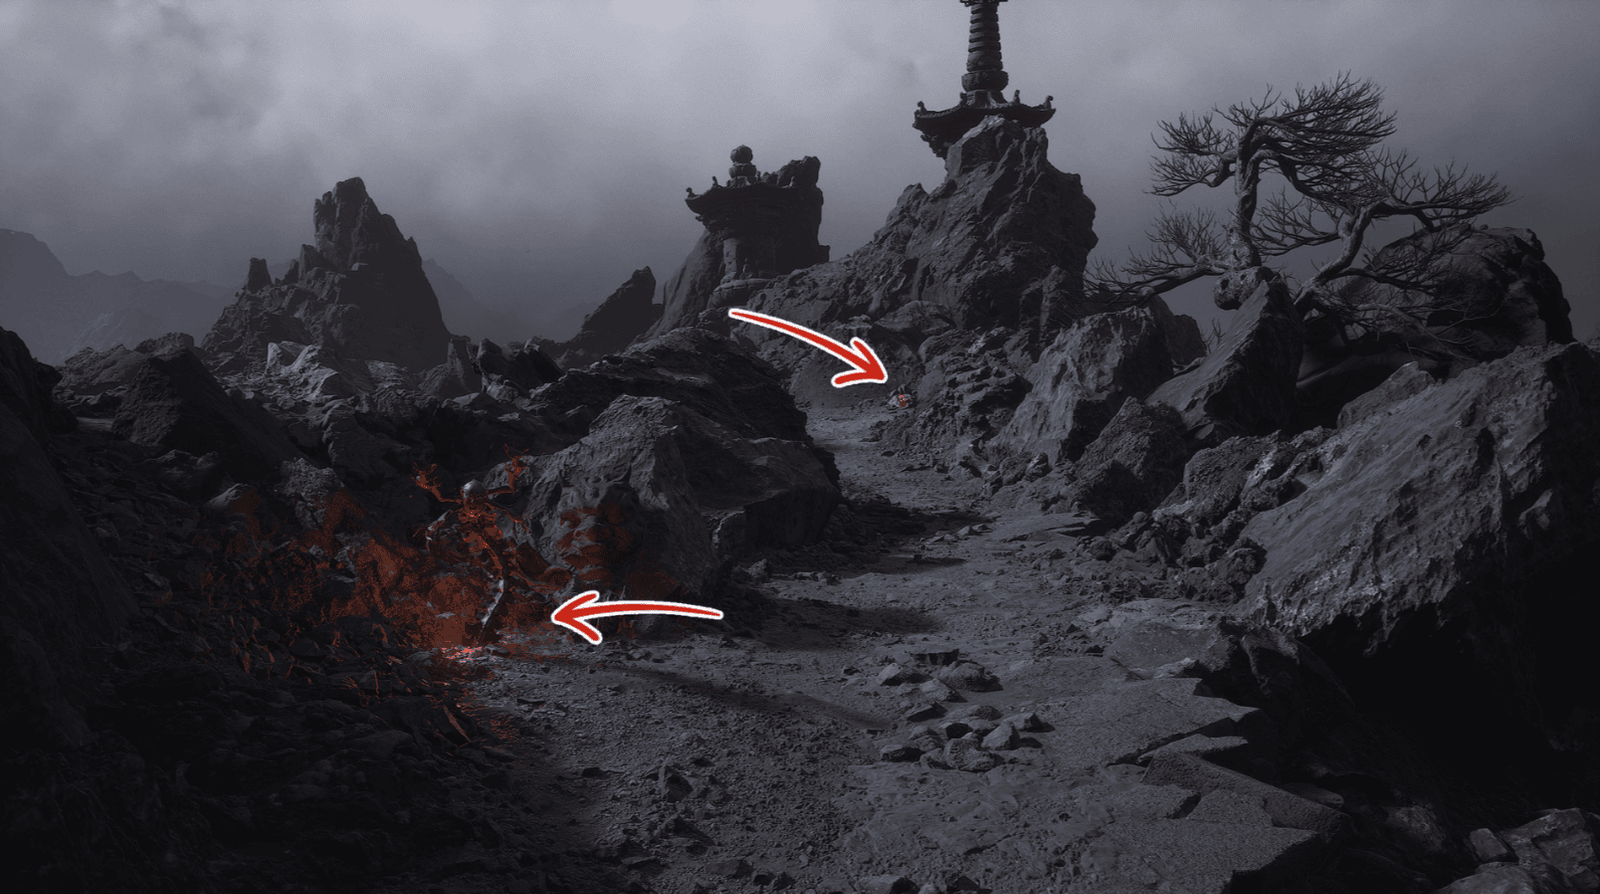
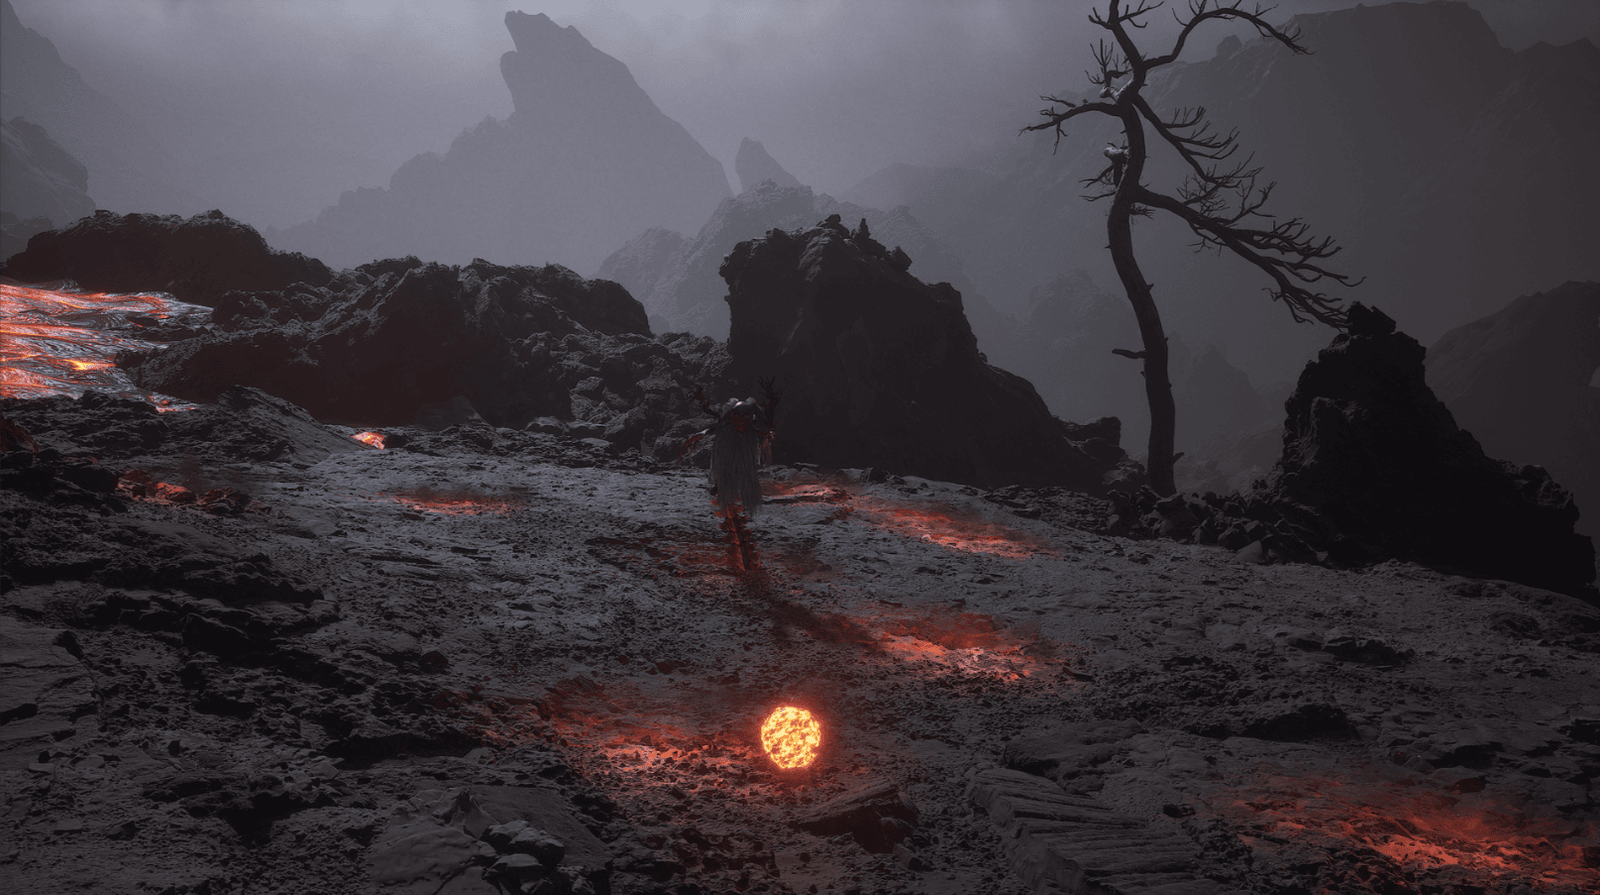
Setting foot in Ashen Pass III, your starting point in the Field of Fire, proceed to the Keeper’s Shrine: Ashen Pass III. From here, gaze into the distance, and you will see a desolate landscape, shrouded in dust and ash, much like the Flaming Mountains of yore.
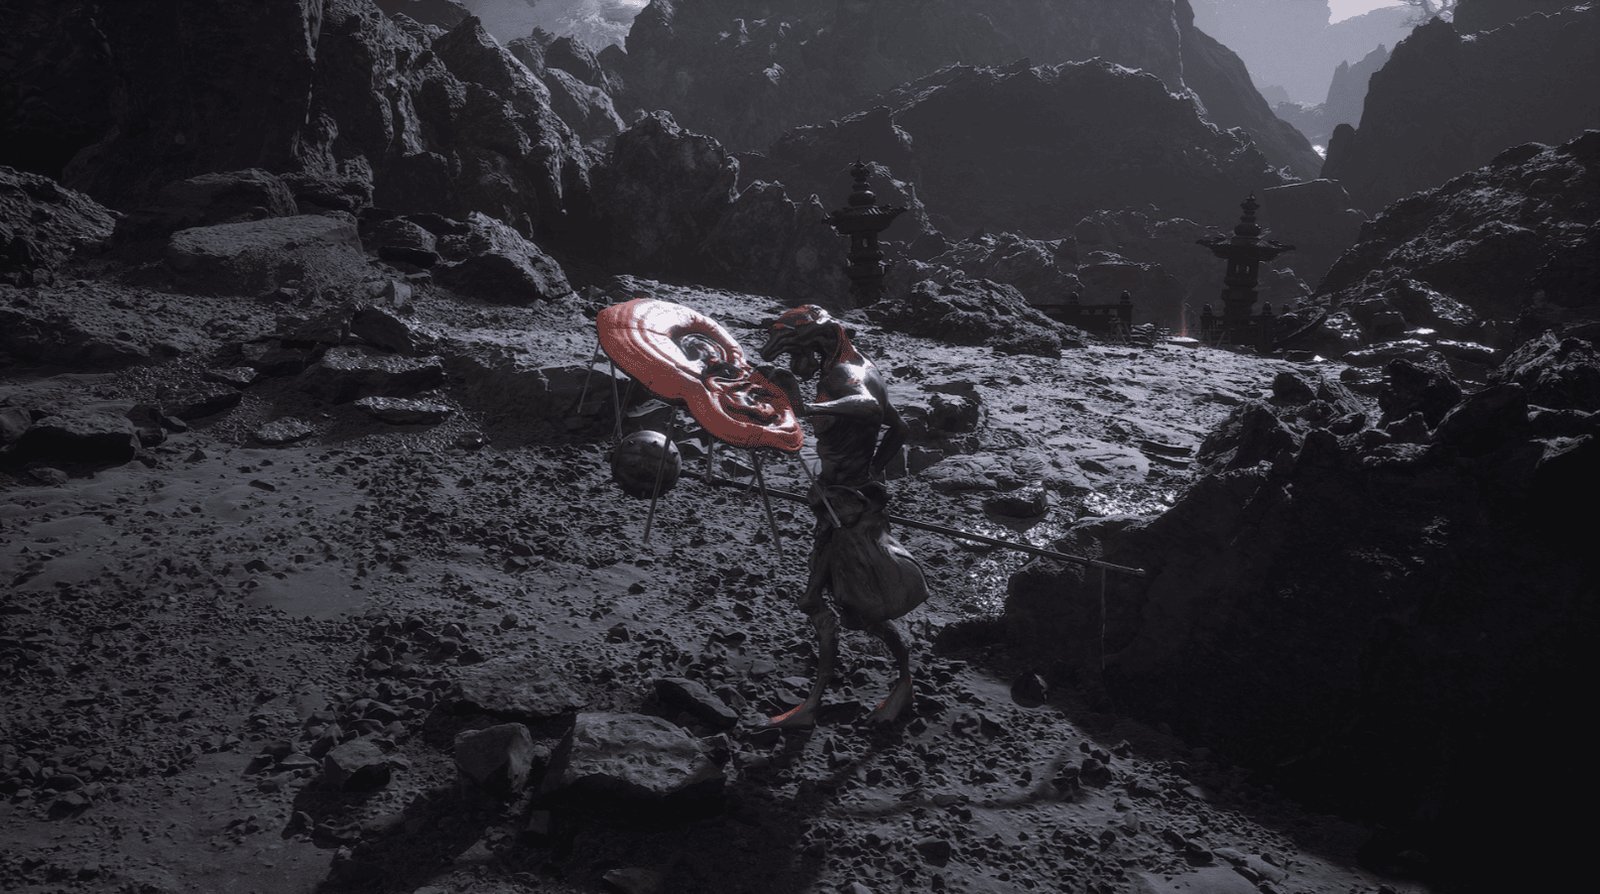
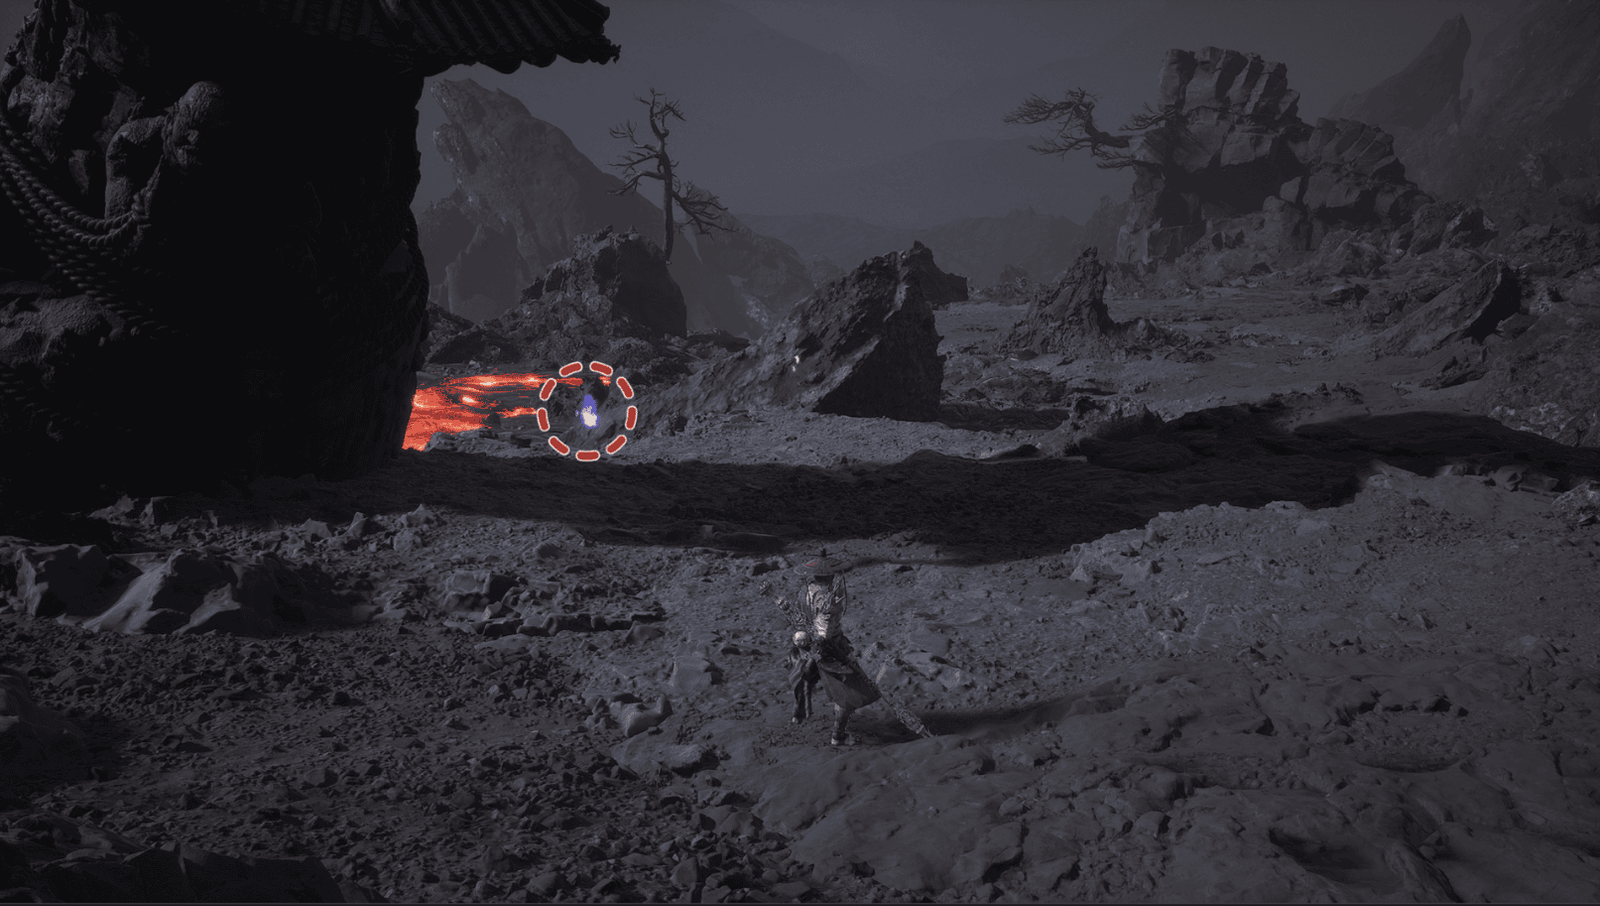
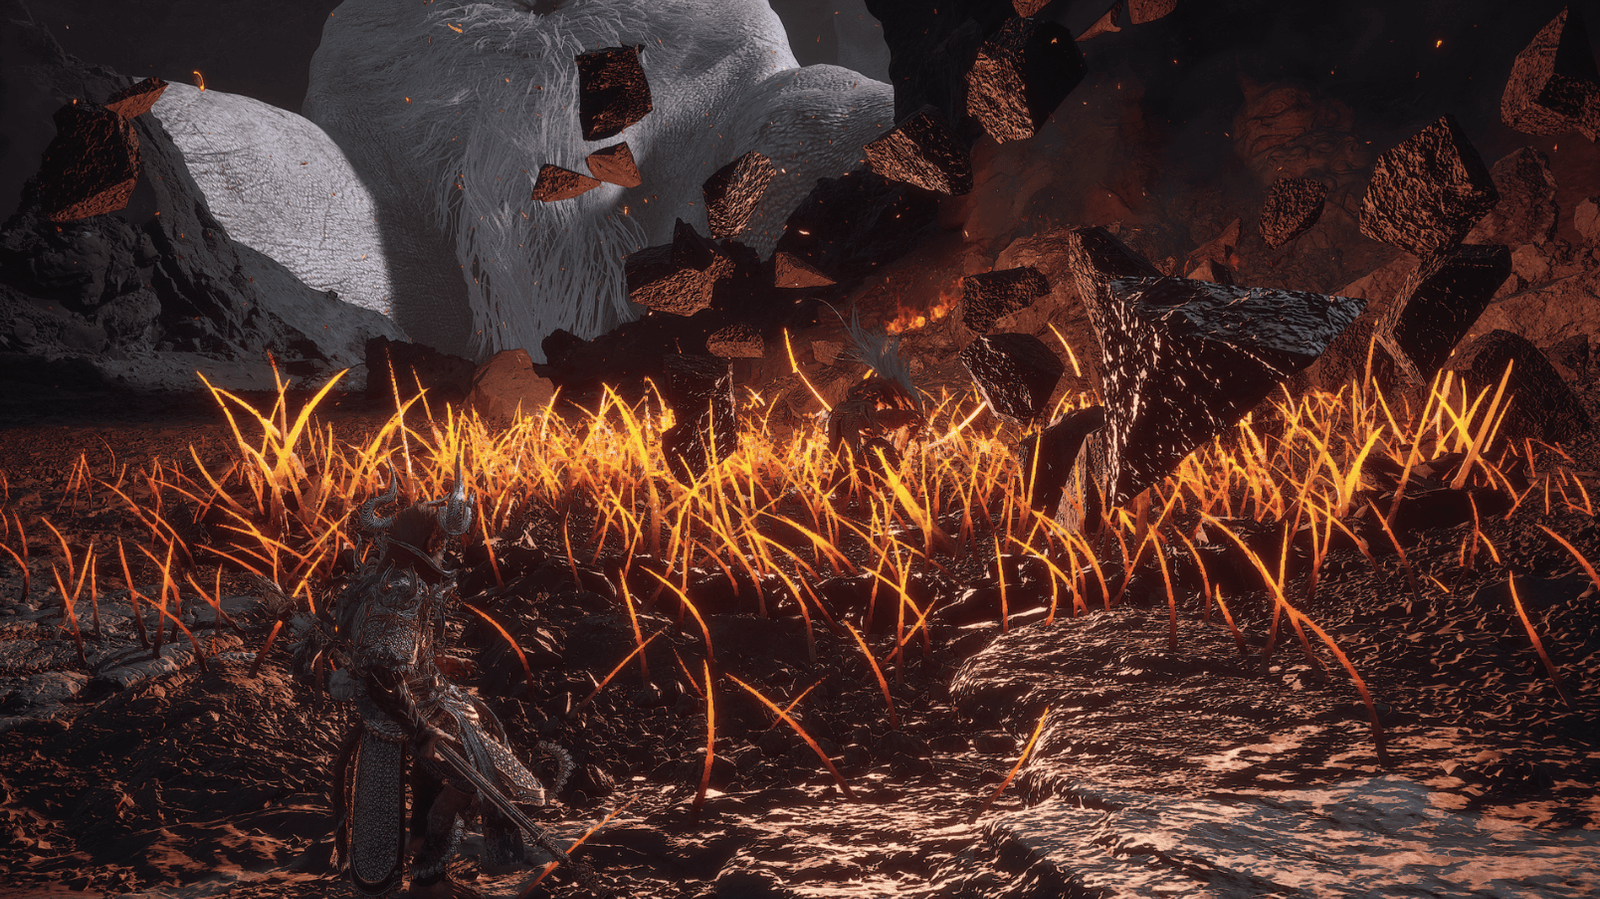
First, turn right from the Keeper’s Shrine. You will find a few Purple Lingzhi – a rare herb that helps restore vitality. Continuing to explore, you will discover a strange mushroom growing in the middle of the open ground. Don’t harvest it yet! This is a trap, The Destined One. When you touch the mushroom, a hidden Boss will appear, the Nine-Capped Lingzhi Guai.
Nine-Capped Lingzhi Guai Boss Fight
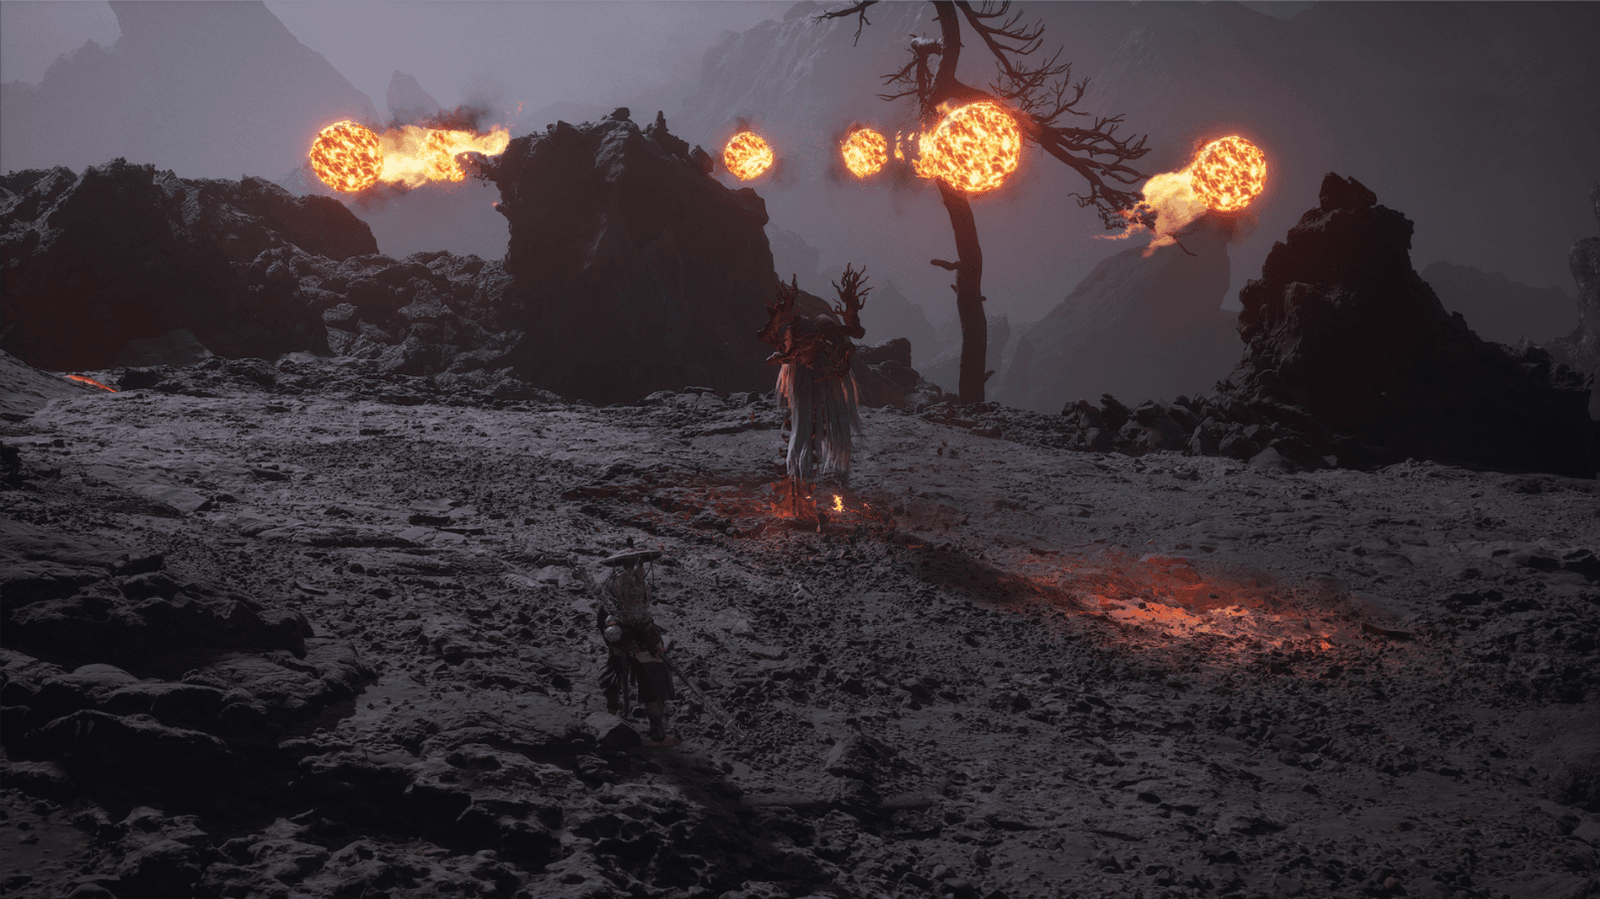
Be careful, Nine-Capped Lingzhi Guai is not an easy opponent. He wields a large spiked club, continuously attacking you with powerful blows. His attacks often leave small red mushrooms on the ground. If you step on them, they will explode, dealing damage and creating a bizarre mushroom transformation effect. When “mushroomed”, your head will turn into a giant mushroom, slowing down your movement, but you can still dodge (roll). Also, beware of the poison effect from these mushrooms.
Equip Antimiasma Powder to minimize damage from poison.
Keep moving, dodging Nine-Capped Lingzhi Guai‘s attacks and the exploding mushrooms.
Take advantage of the moments when he is stunned after attacks to counterattack with heavy attacks. Heavy Attack is a high-damage move, but it requires charging time.
He can also throw his mushroom cap, which will fly like a boomerang and attack from behind. Pay close attention!
After defeating Nine-Capped Lingzhi Guai, you will receive Nine-Capped Lingzhi Guai Spirit, Nine-Capped Lingzhi Seeds, and a large amount of Will.
Right behind the area where you fought Nine-Capped Lingzhi Guai (or you can explore it first), you will find The Crag Meditation Spot. Interact with this point to recover and save the game. Don’t forget to harvest the Purple Lingzhi nearby.
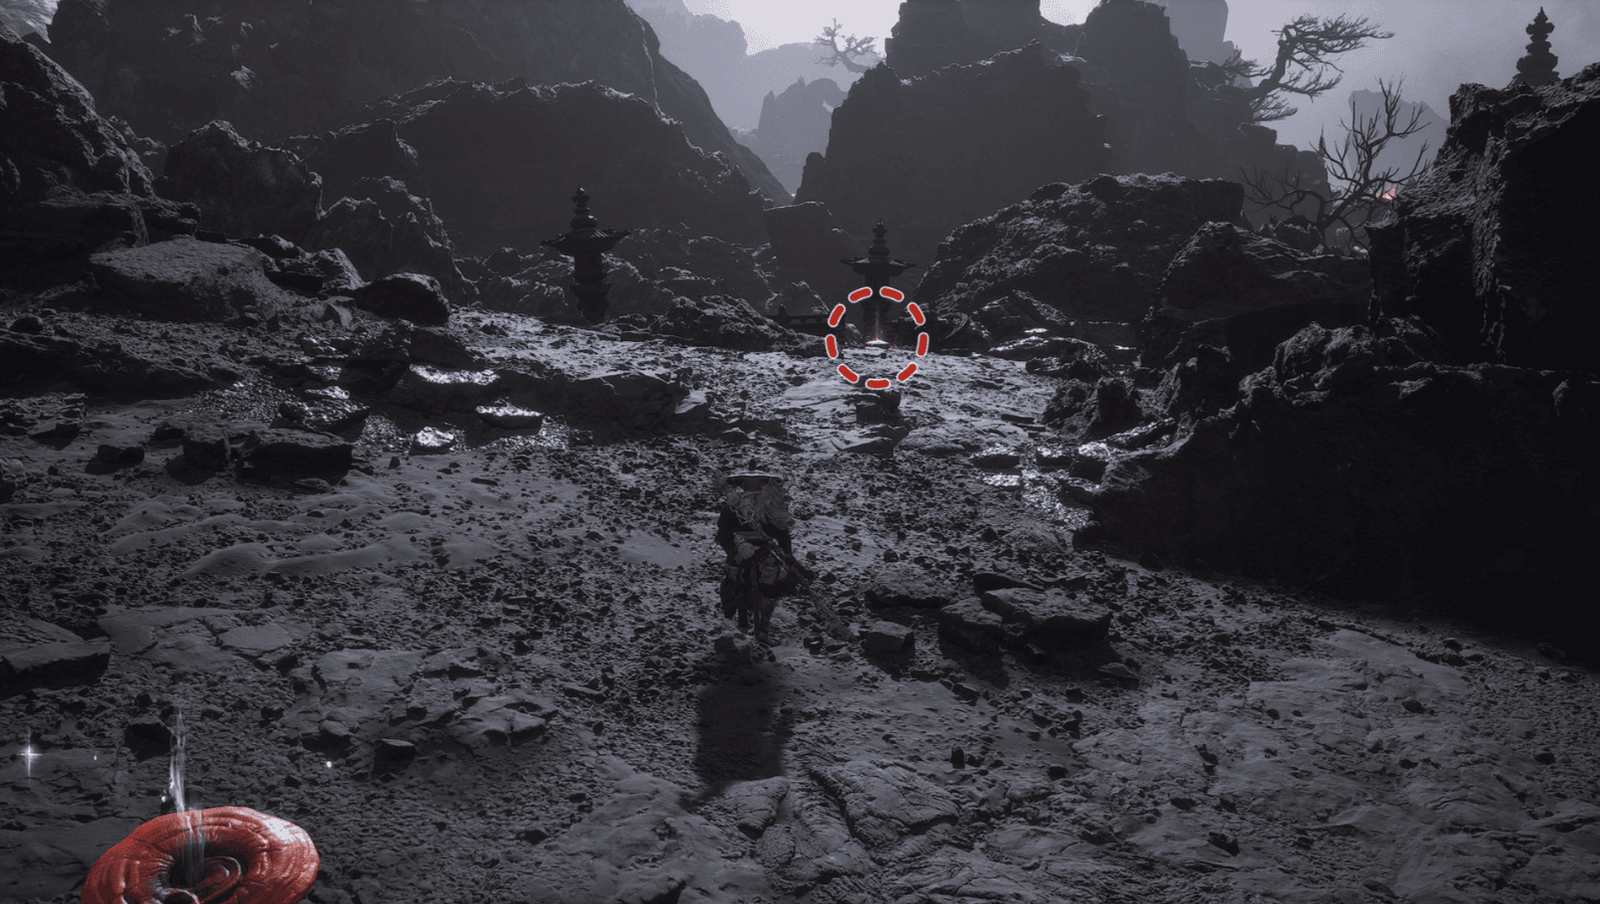
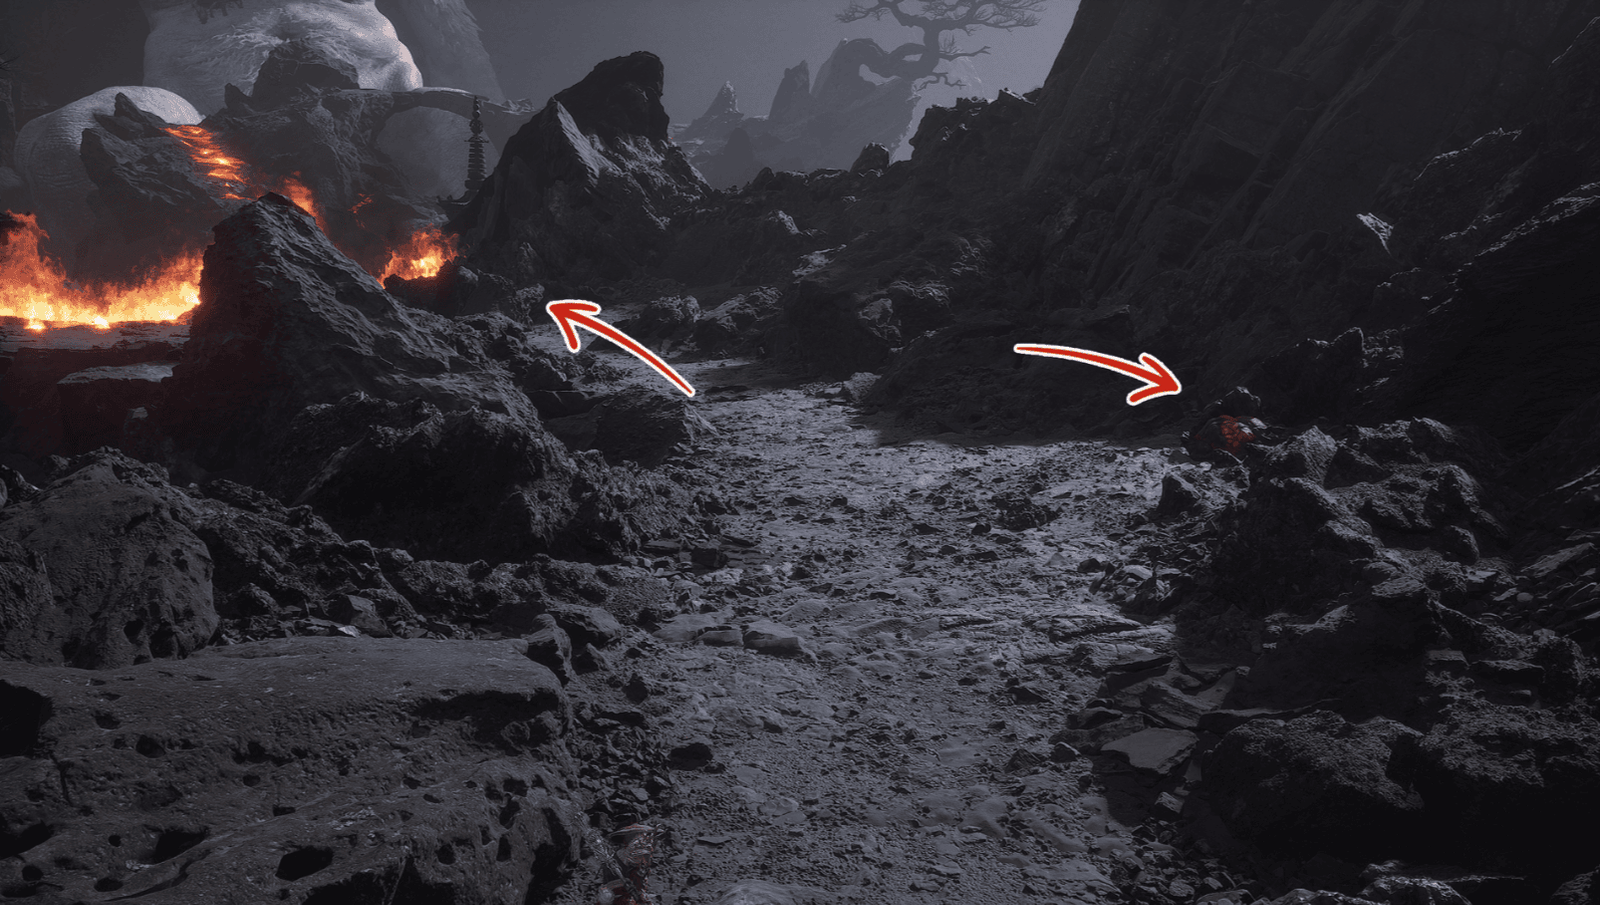
From Keeper’s Shrine: Ashen Pass III, follow the path opposite the shrine.
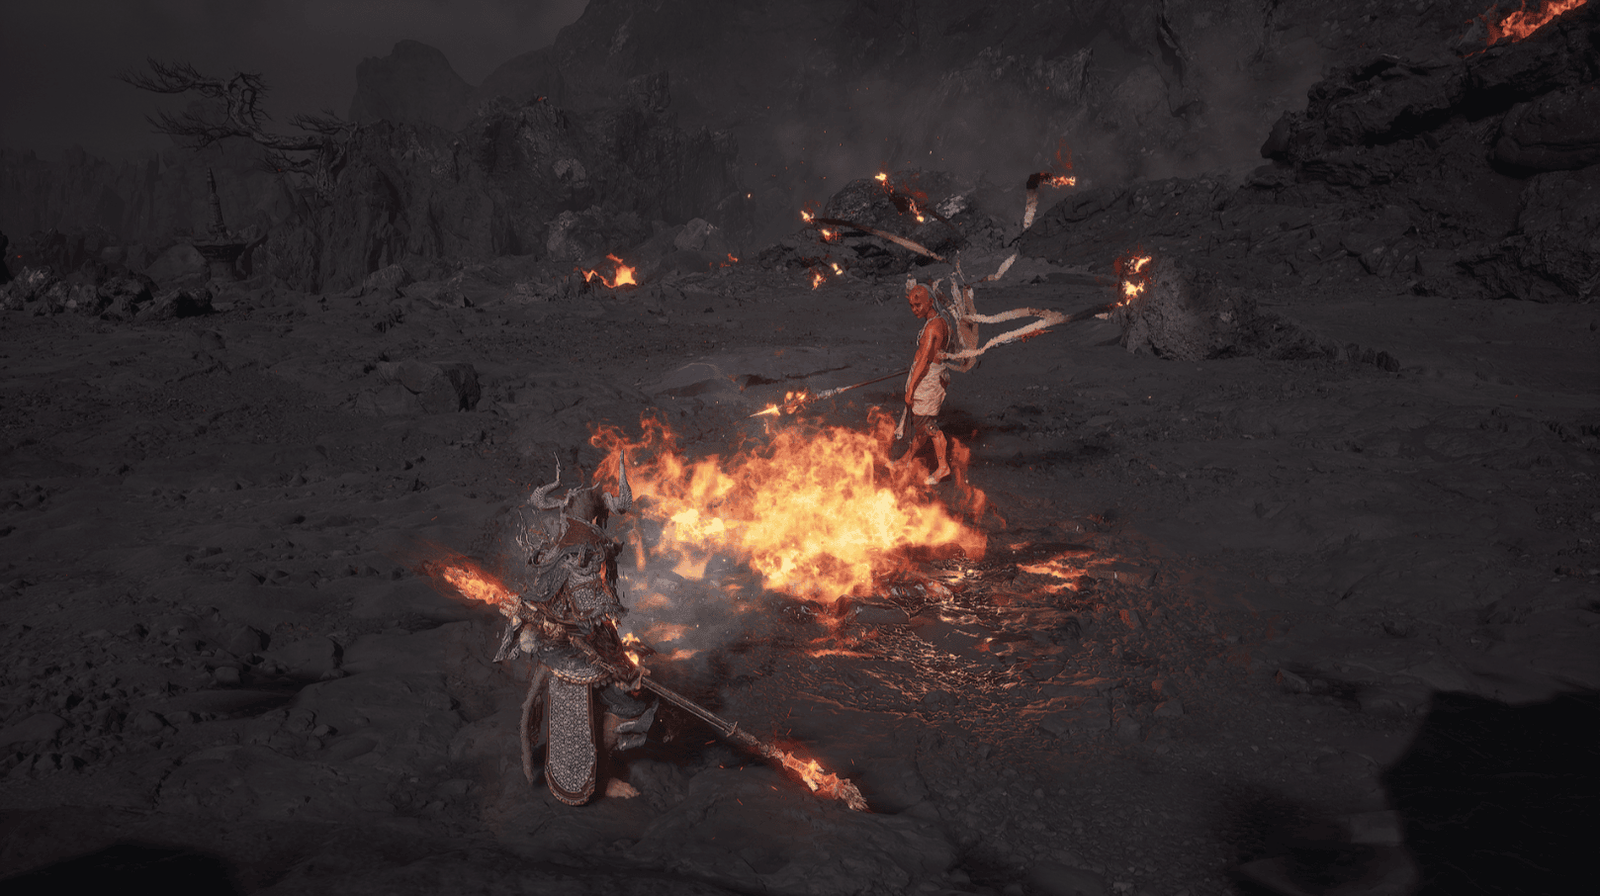
You will soon face a perilous challenge: a giant spiked ball rolling back and forth on the path, just like the rolling fire stone on the Flaming Mountains. Just one touch, and The Destined One will lose their life instantly.
This area is extremely dangerous. Be careful and move precisely.
This path has alcoves and safe spots for you to hide in. Move from one safe spot to another whenever the spiked ball rolls past.
The safe spots are often guarded by enemies. Eliminate them before entering.
Carefully observe the path of the spiked ball to calculate the appropriate movement time. It will change its rolling range as you progress.
Use Cloudstep – a fast movement skill, to quickly dash across long distances, especially when racing against the ball.
A useful tip is to lure enemies into the path of the spiked ball. They will also be crushed, saving you time and effort.
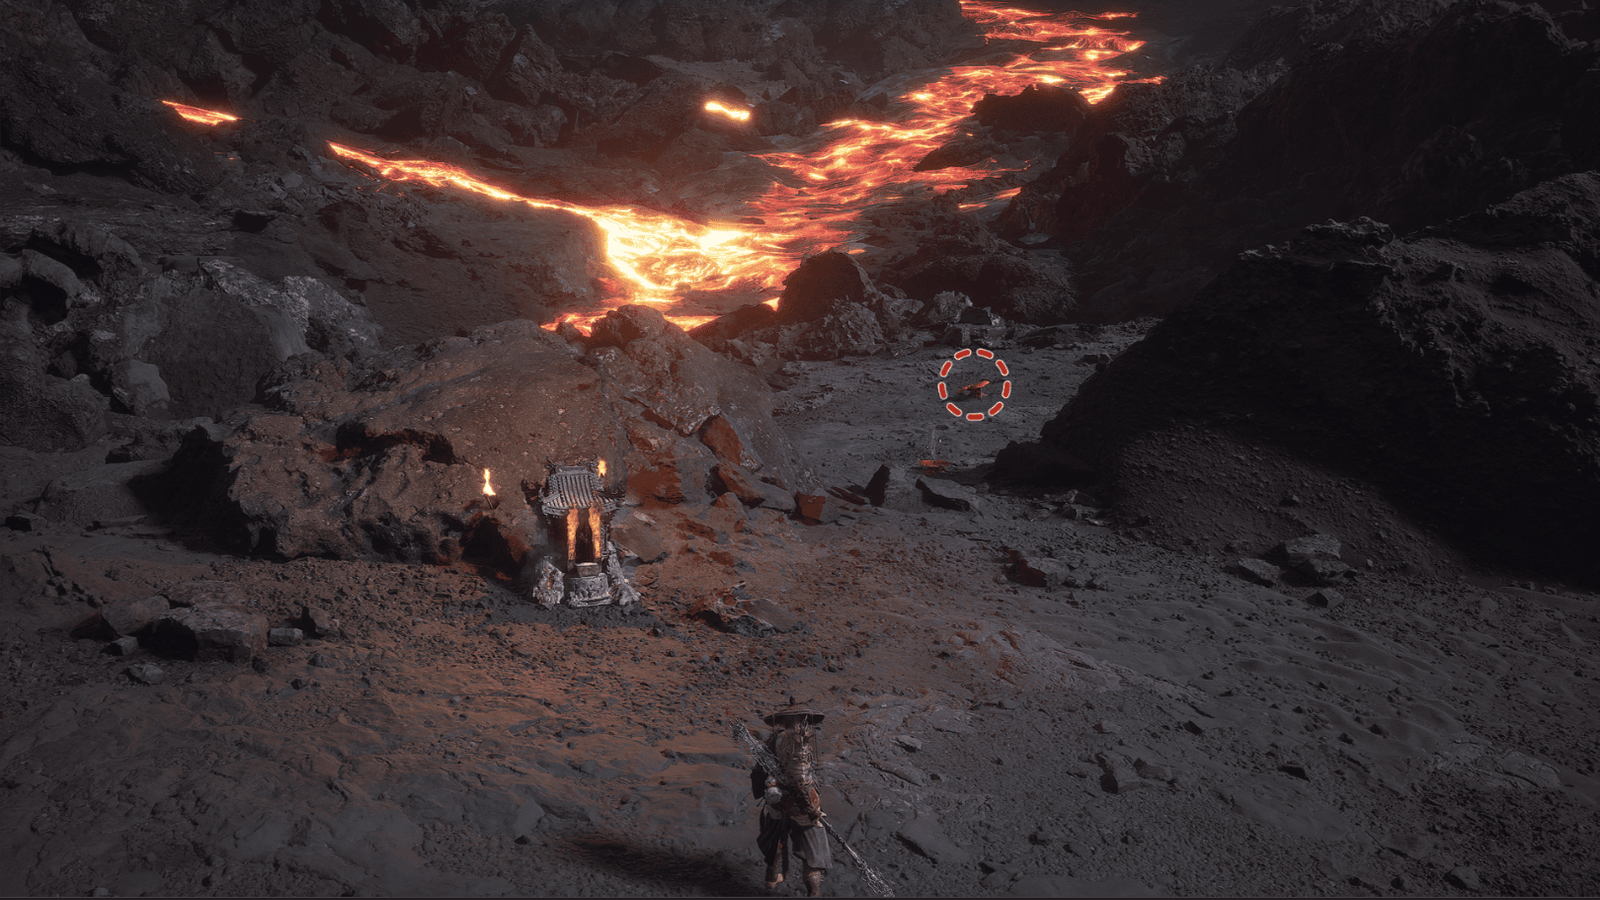
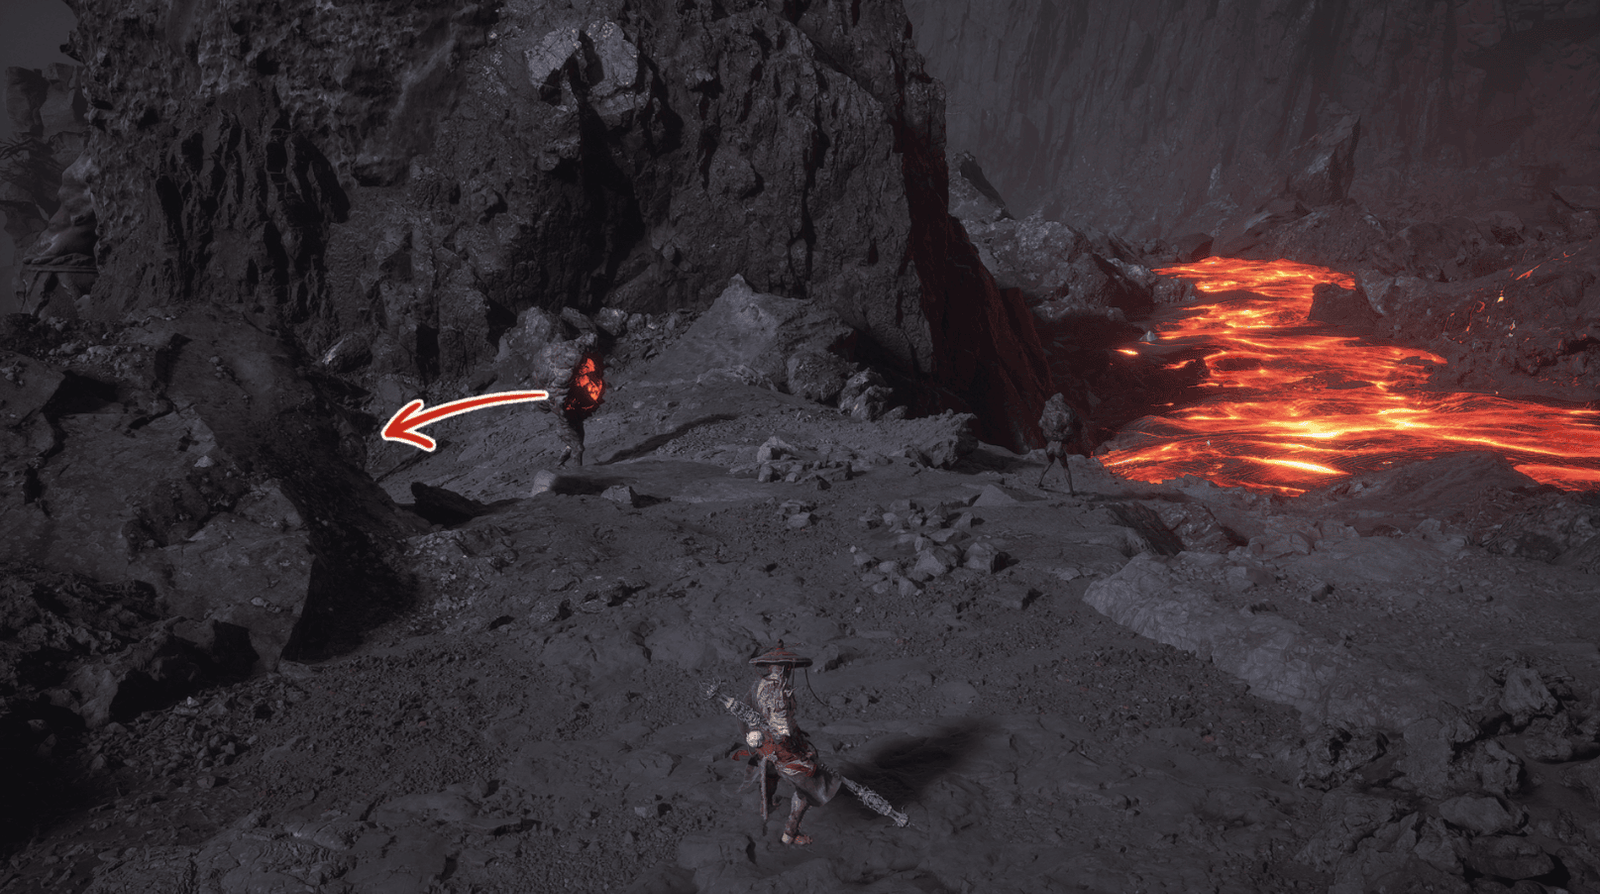
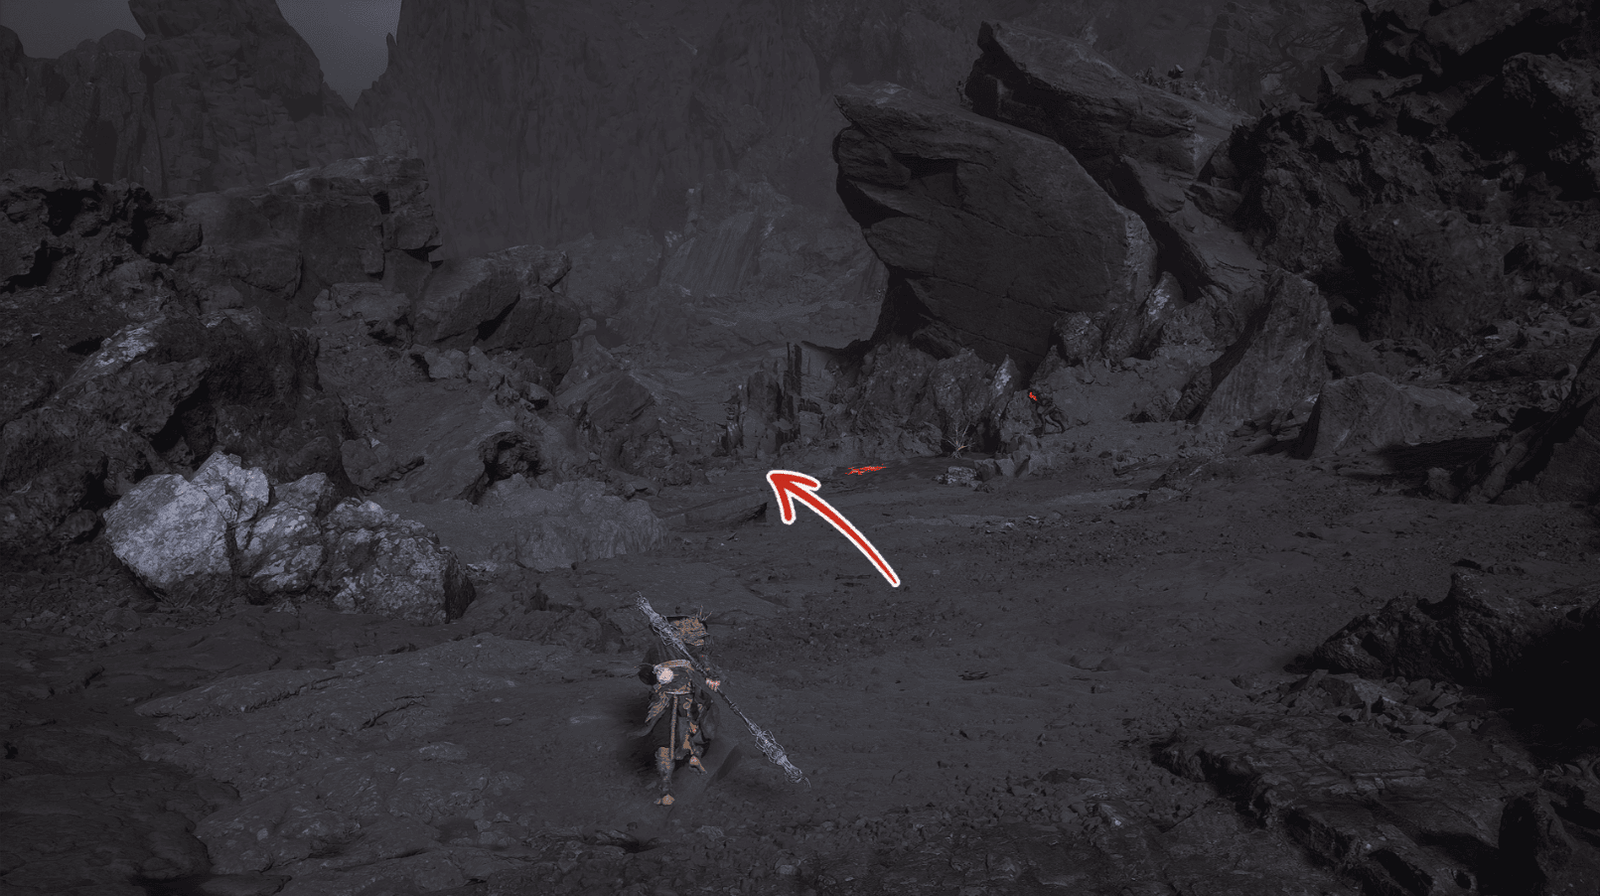
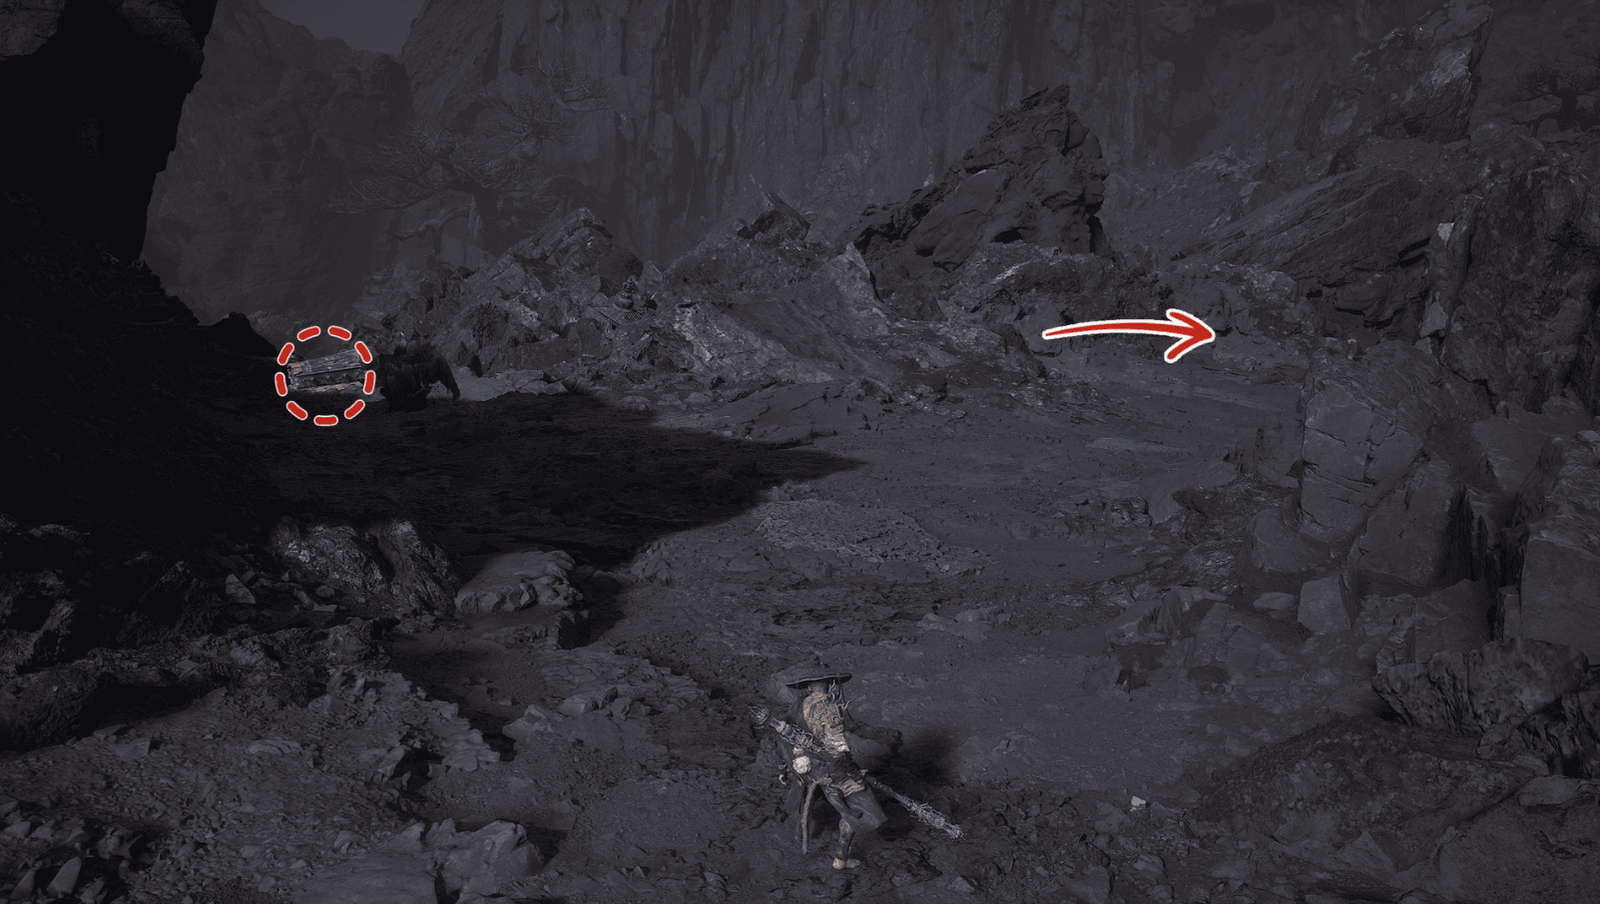
First, turn right from the Keeper’s Shrine into the alcove with a Searing-Fire.
Wait for the ball to pass, run forward quickly and turn left, eliminating the Flamling.
Continue, turn right to reach the next alcove with a Searing-Fire.
Then, run up and turn left, where there is another Searing-Fire.
When the ball breaks the barrier, quickly run to the left, to an empty alcove.

Continue forward and turn left into the alcove with a green Wisp, then up a little to eliminate a Searing-Fire.
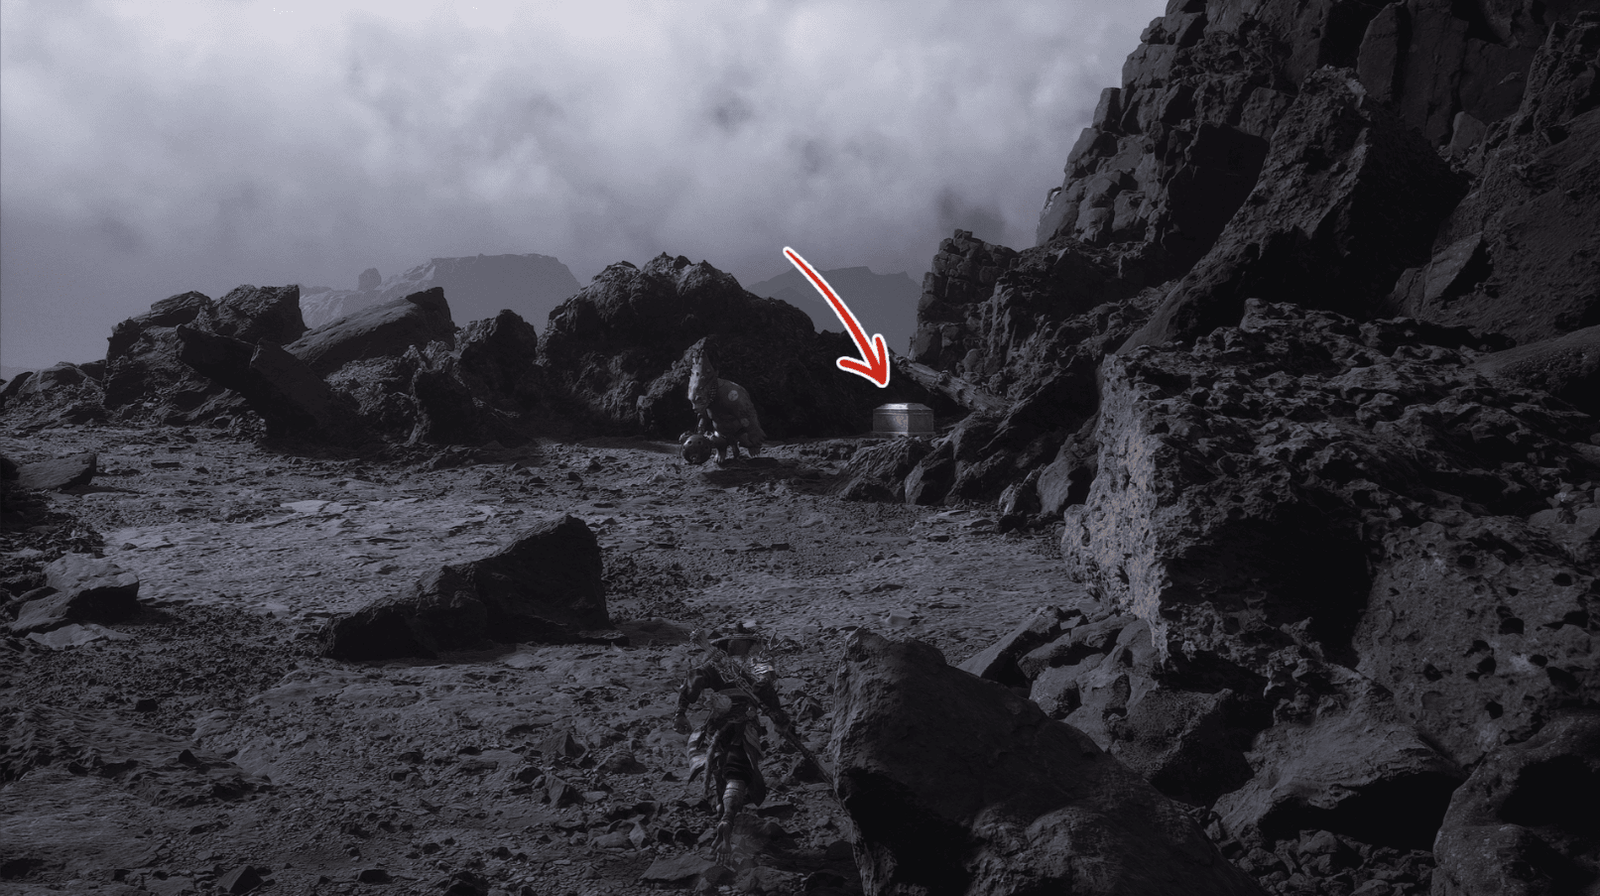
Use the ball to eliminate a Searing-Fire and run up, turn right, you will see a Turtle Treasure guarding a chest. Defeat it and open the chest to receive Knot of Voidness, medicine, and gold.
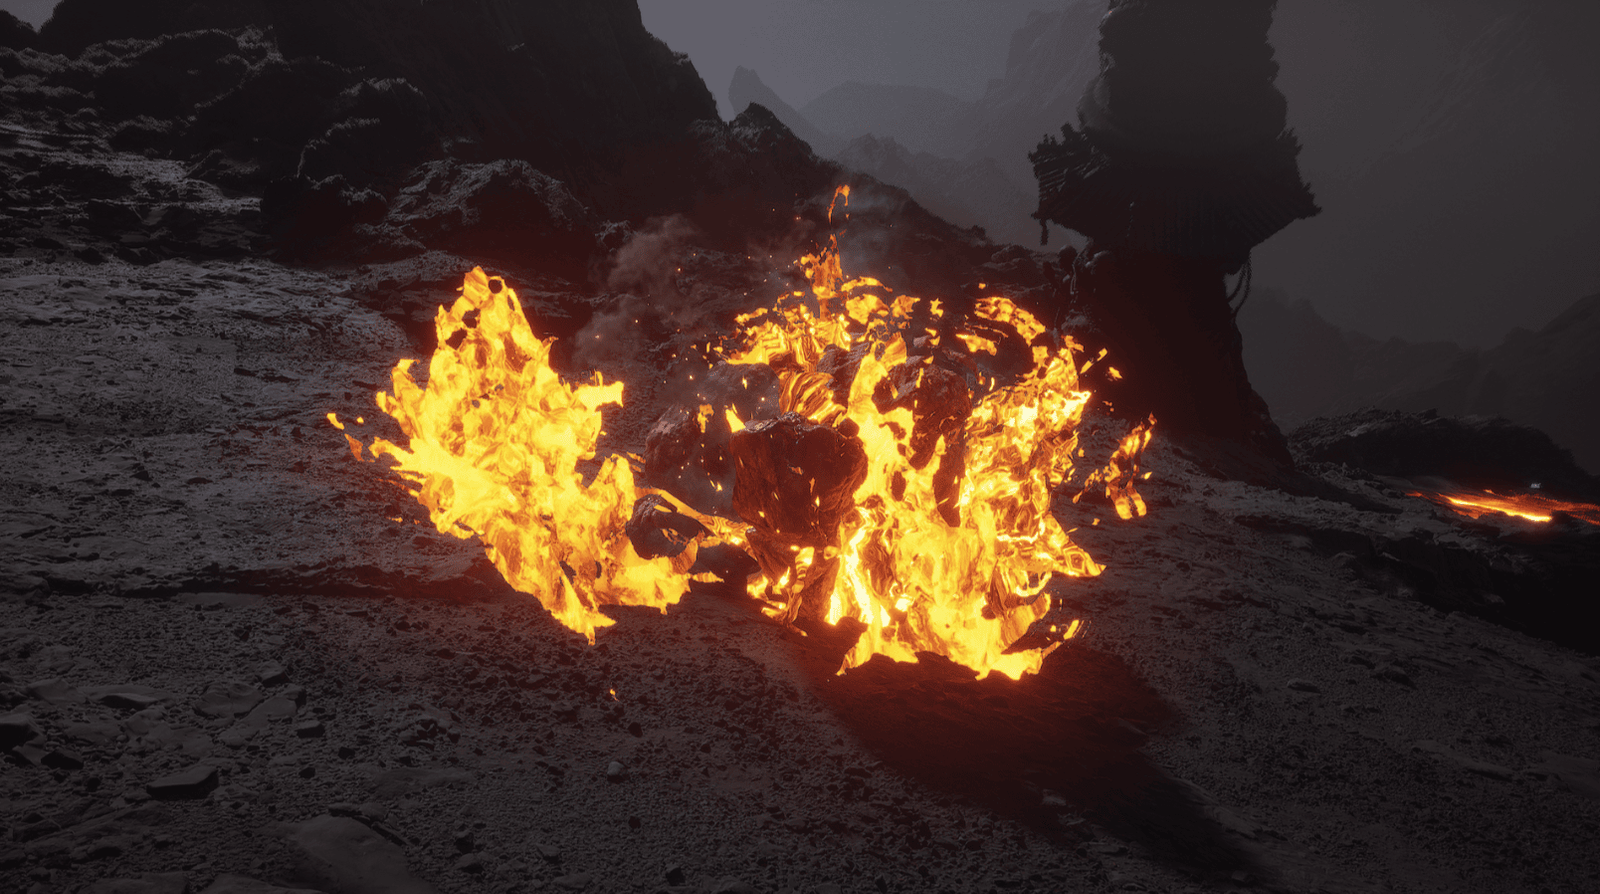
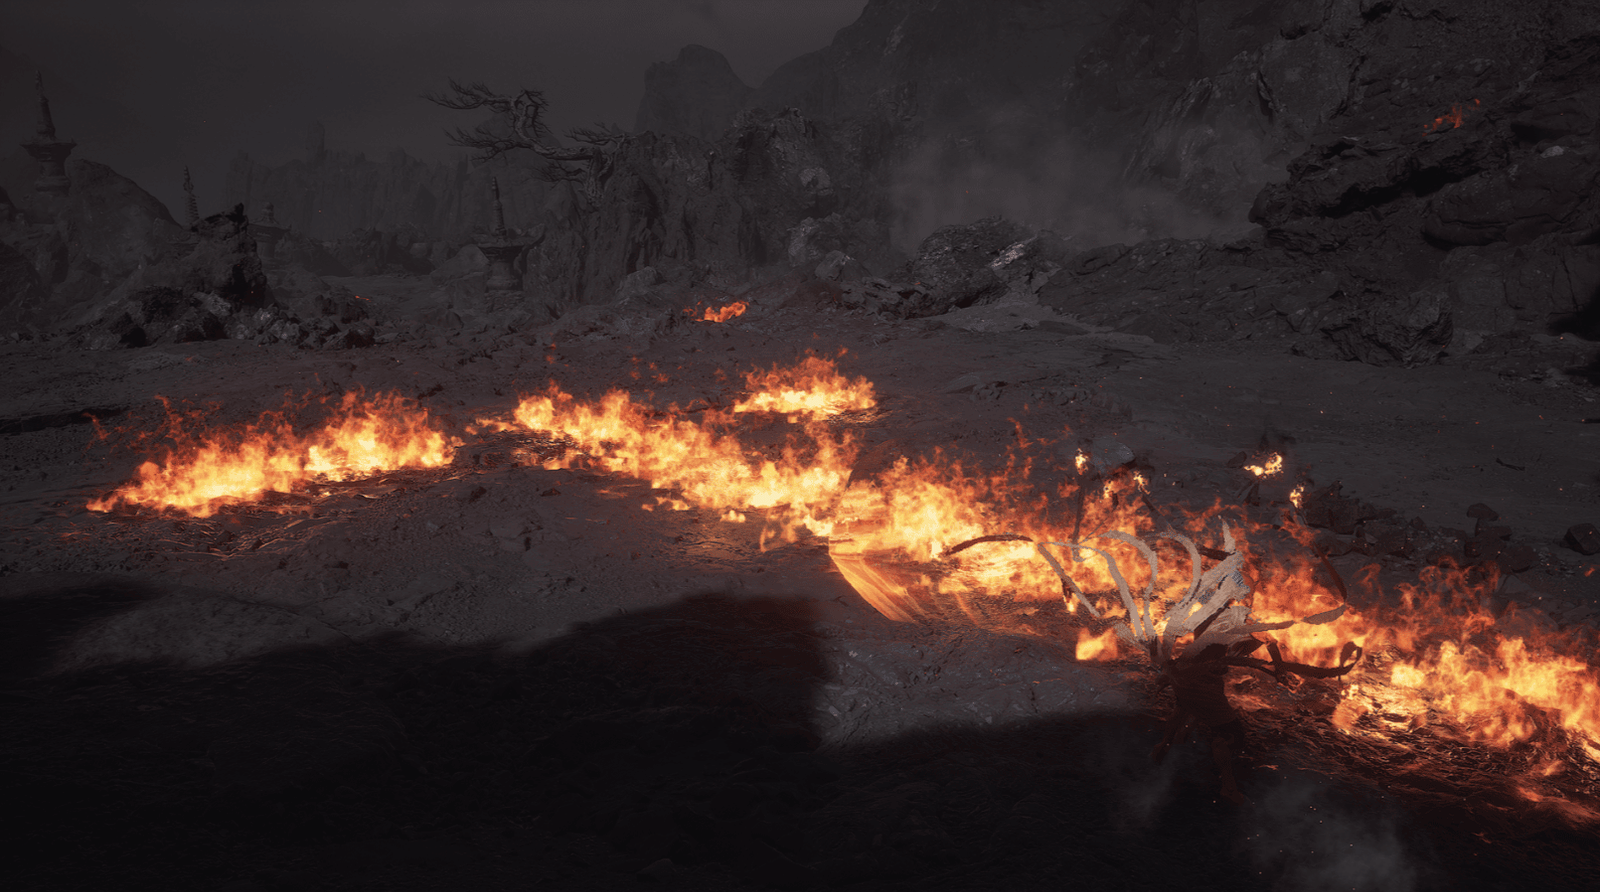
Continue, turn left into the alcove right in front of the flames – be careful of the appearing Flamling. Remember the location of these flames, we will come back later.
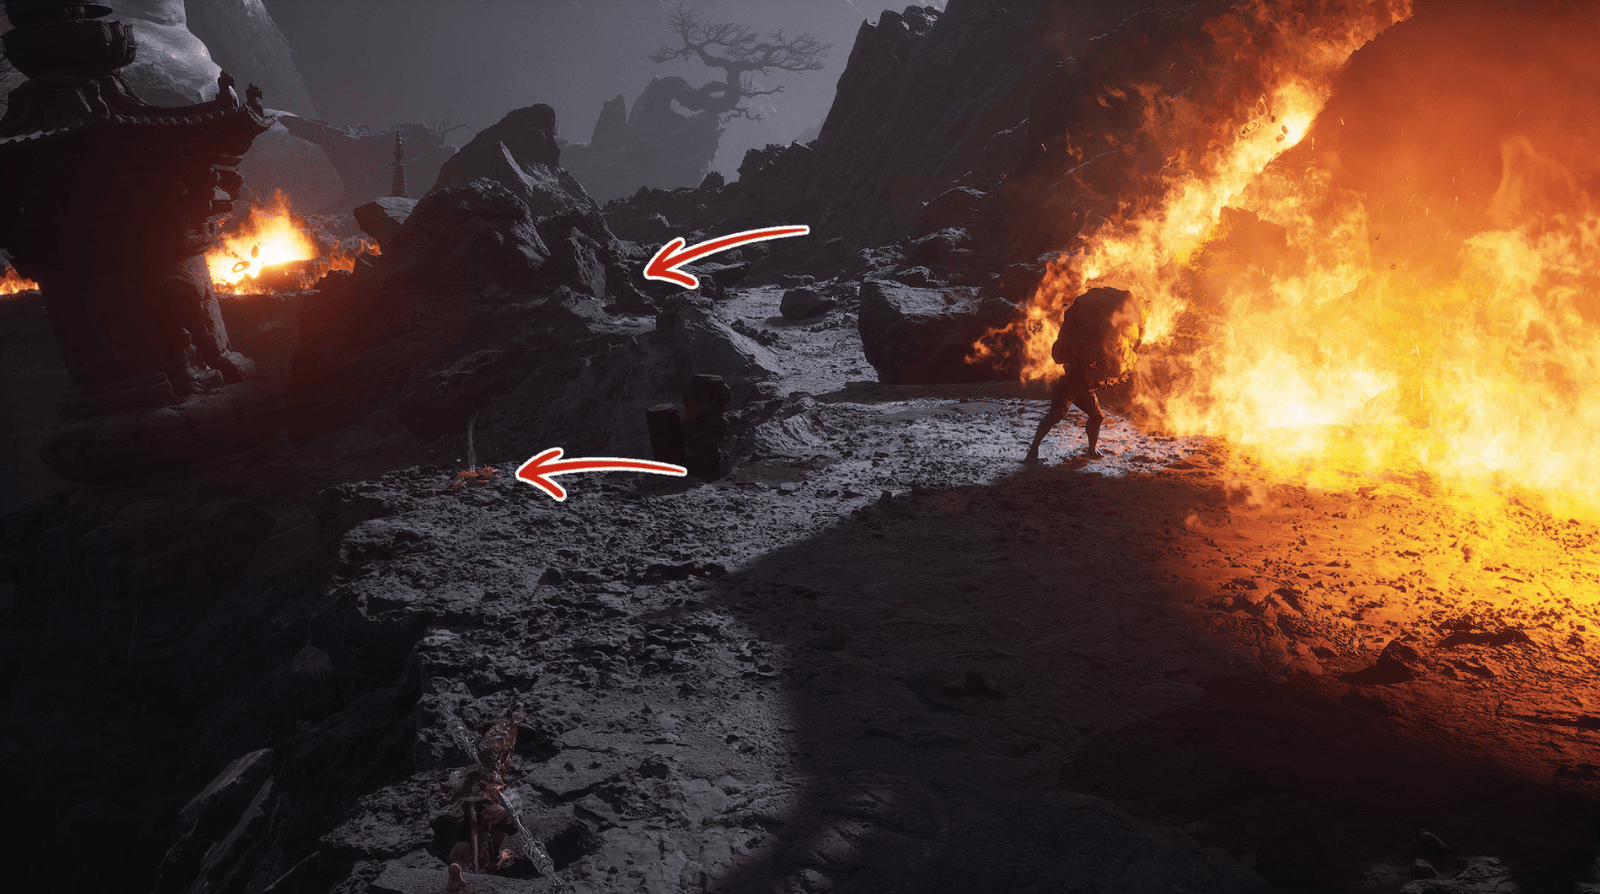
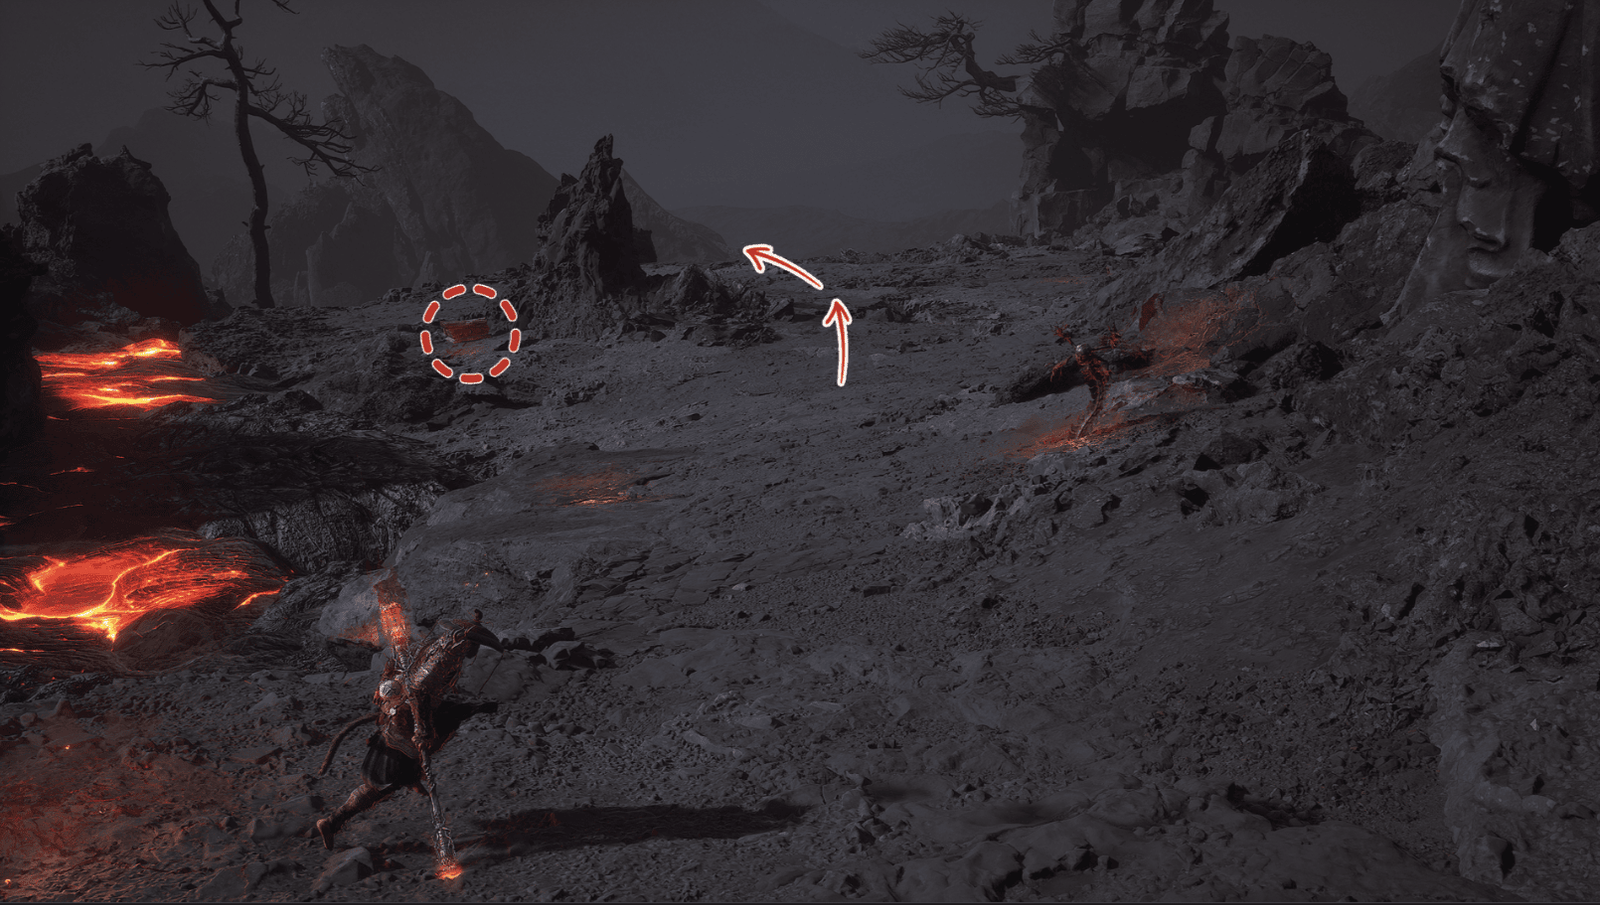
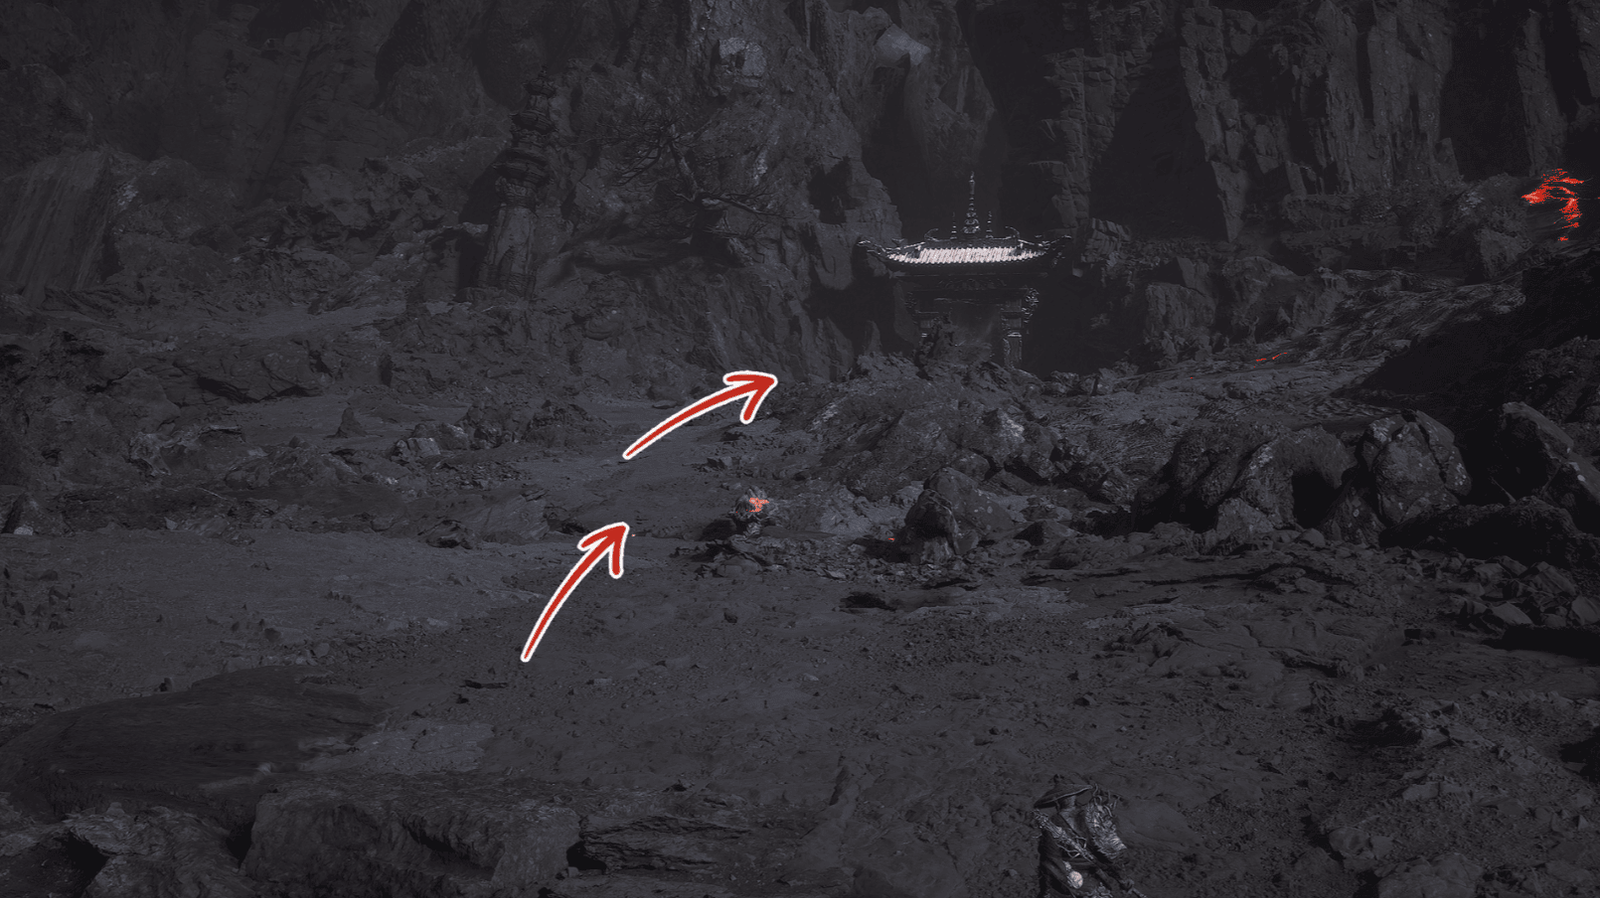
Run in the direction the ball rolls after it breaks the barrier. Turn left into the alcove with a Purple Lingzhi. Ignore the Scorching Flame, the ball will take care of it.
Run in the direction of the ball until it rolls furthest, then turn left into the alcove. A Searing-Flame will appear. Next, turn right into the nearby alcove, eliminating another Searing-Flame.
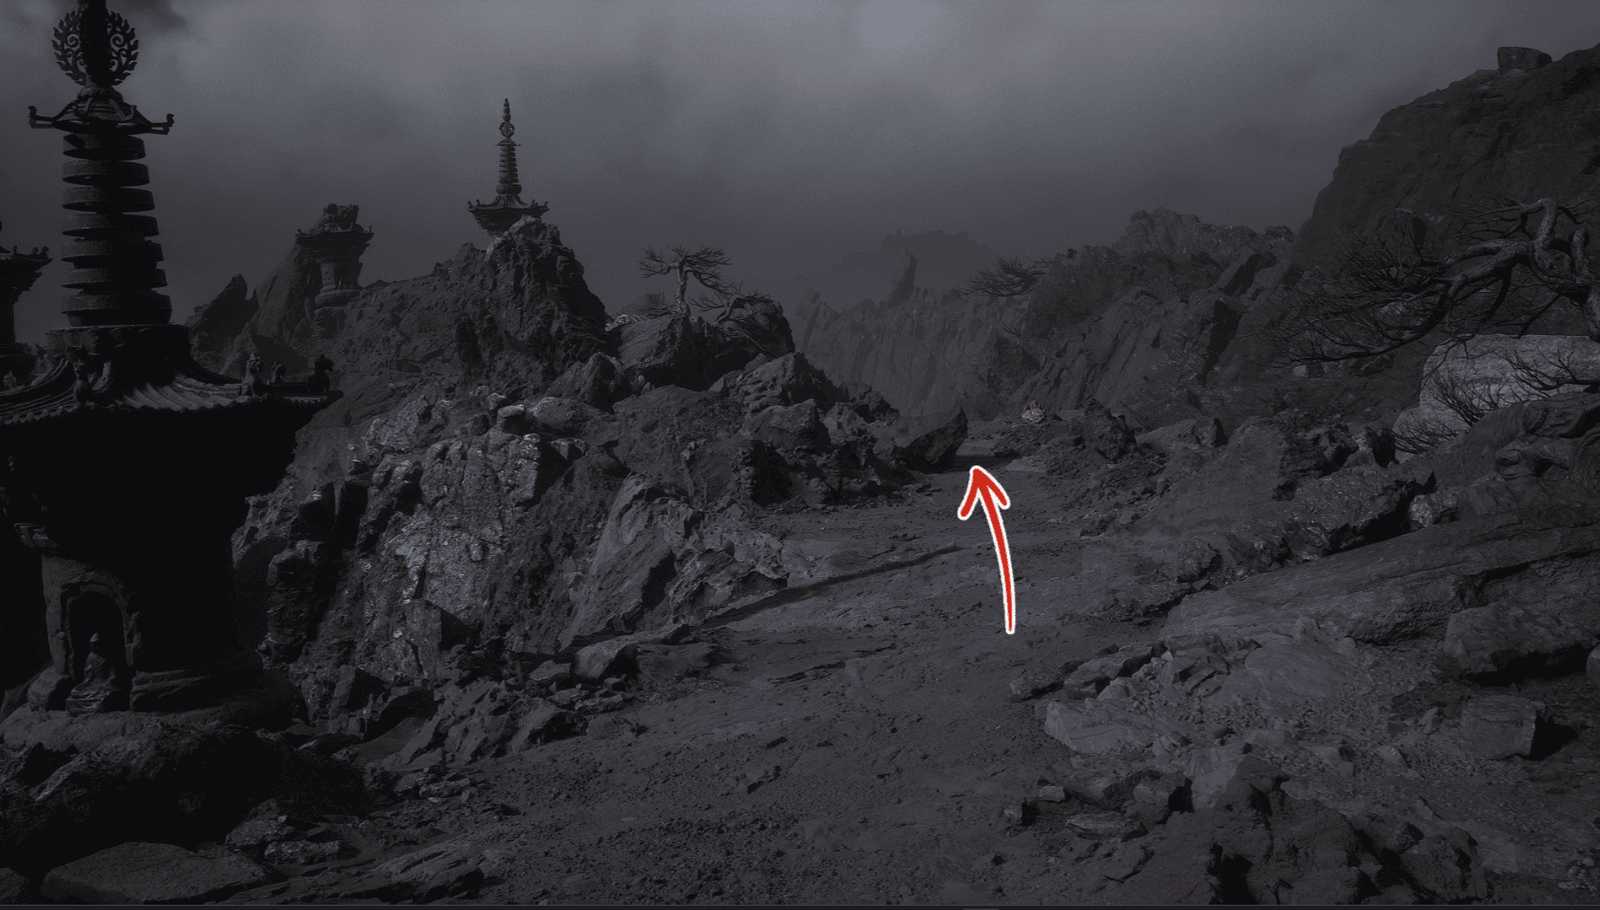
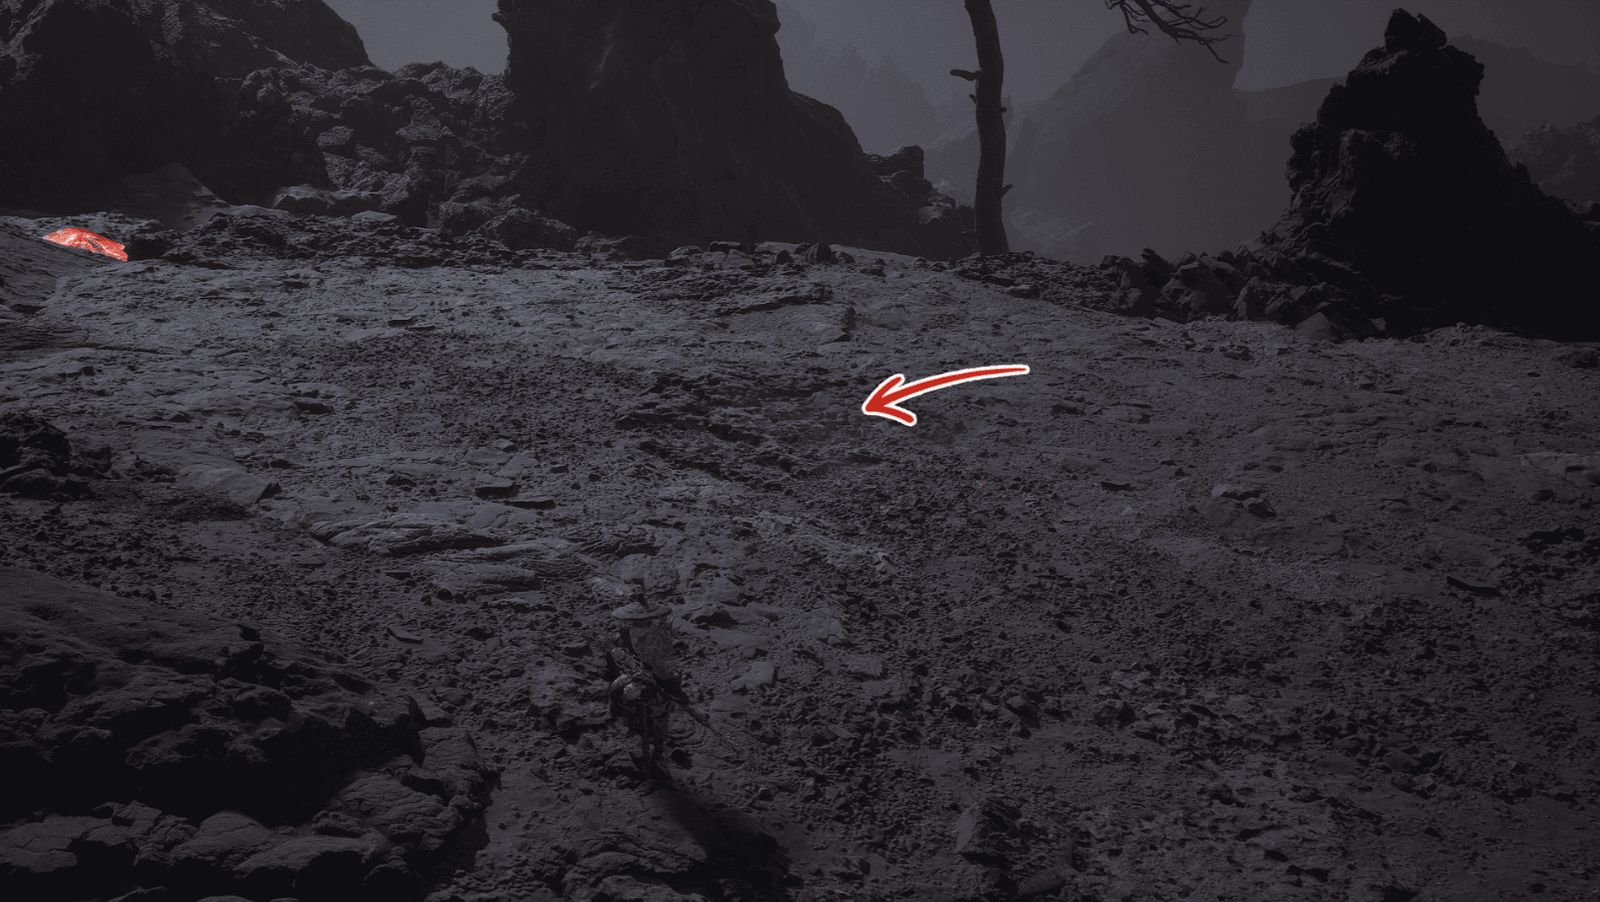
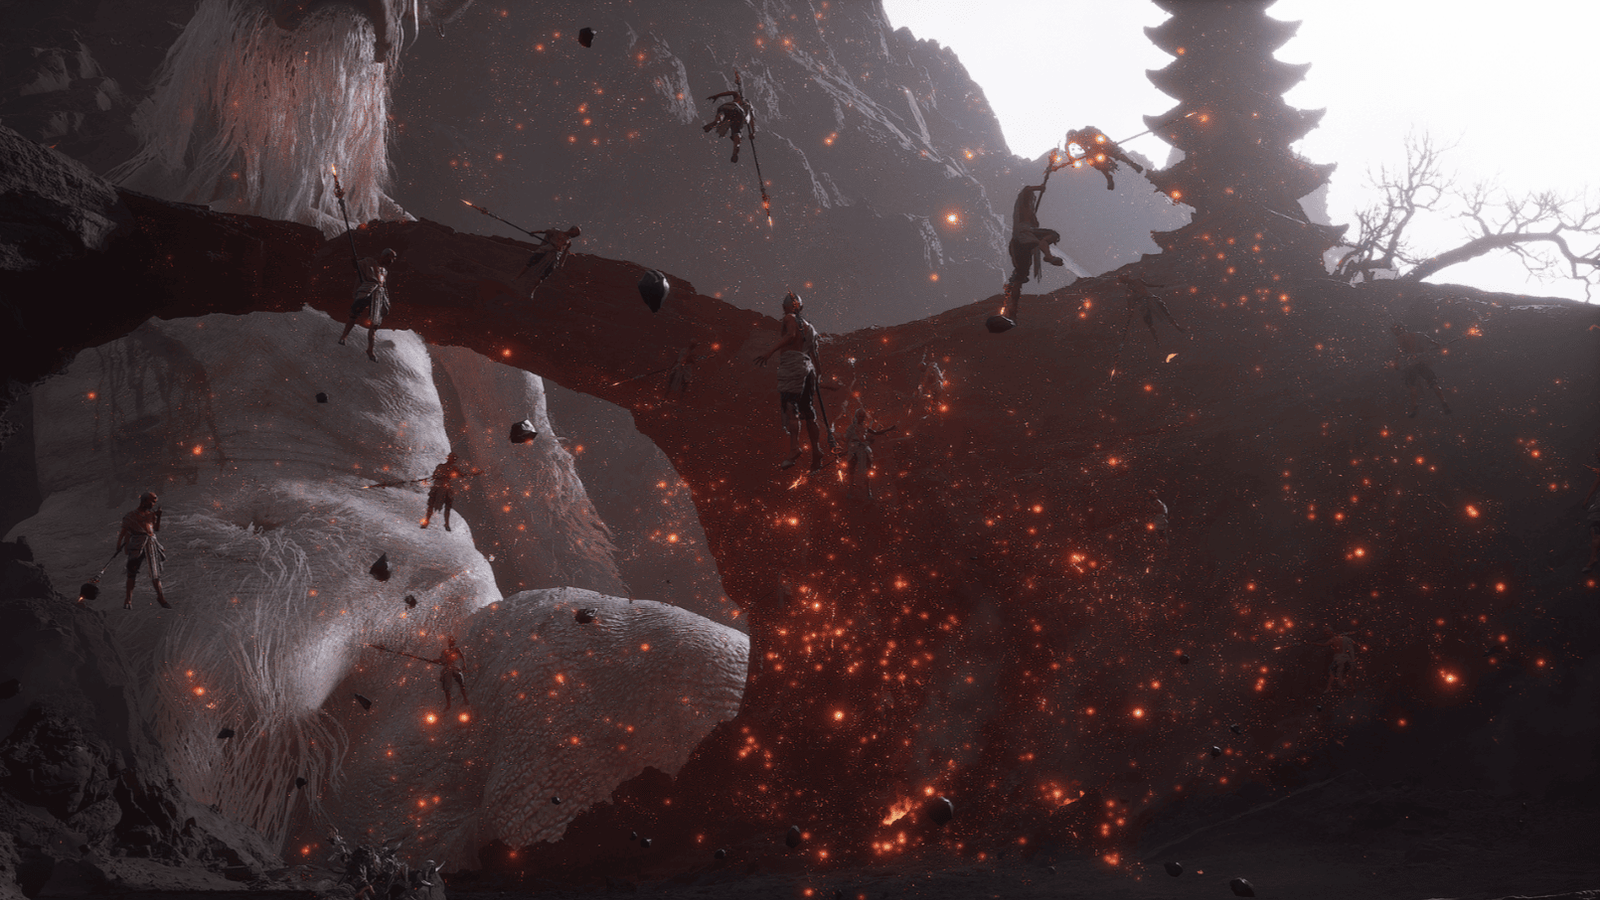
Near the end of the path, turn left into the small alcove and run straight towards the flames. A cutscene will appear, the spiked ball will fly off the cliff.
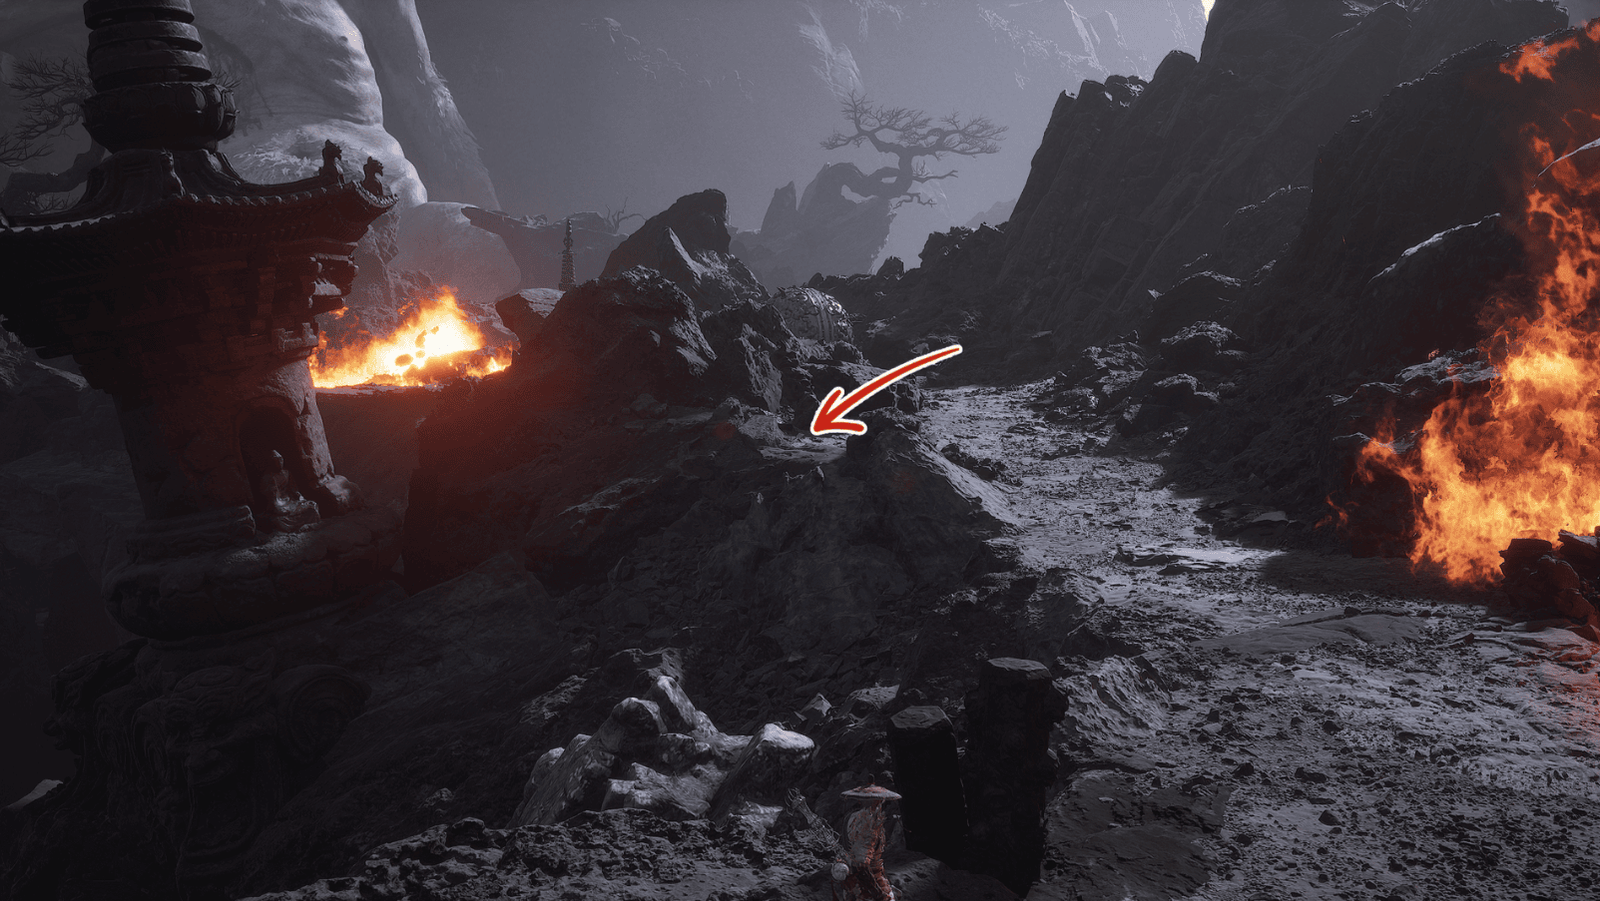
After the spiked ball disappears, you can return to explore this area more thoroughly without fear of danger. Remember the flames that blocked the way earlier, as that is the entrance to Cooling Slope.
Cooling Slope (only accessible after the spiked ball in Ashen Pass III disappears and the fire is extinguished)
After the giant spiked ball in Ashen Pass III disappears, return to the path you traversed. Now, the blocking fire has been extinguished, opening the way to Cooling Slope – a freezing oasis amidst the scorching Field of Fire, much like the ice cave at the foot of the Flaming Mountains.

Entering Cooling Slope, you will see a Luoija Fragrant Vine on the left side. Be careful, a Searing-Fire will jump out and attack when you get close. Defeat it and then collect the vine.
Next, pay attention to the glowing cluster of rocks in the middle of the area. This is where you summon the miniboss Flint Vanguard.
Before summoning Flint Vanguard, be careful to clear out the surrounding Scorching-Fire and Searing-Fire to avoid being disturbed during the battle.
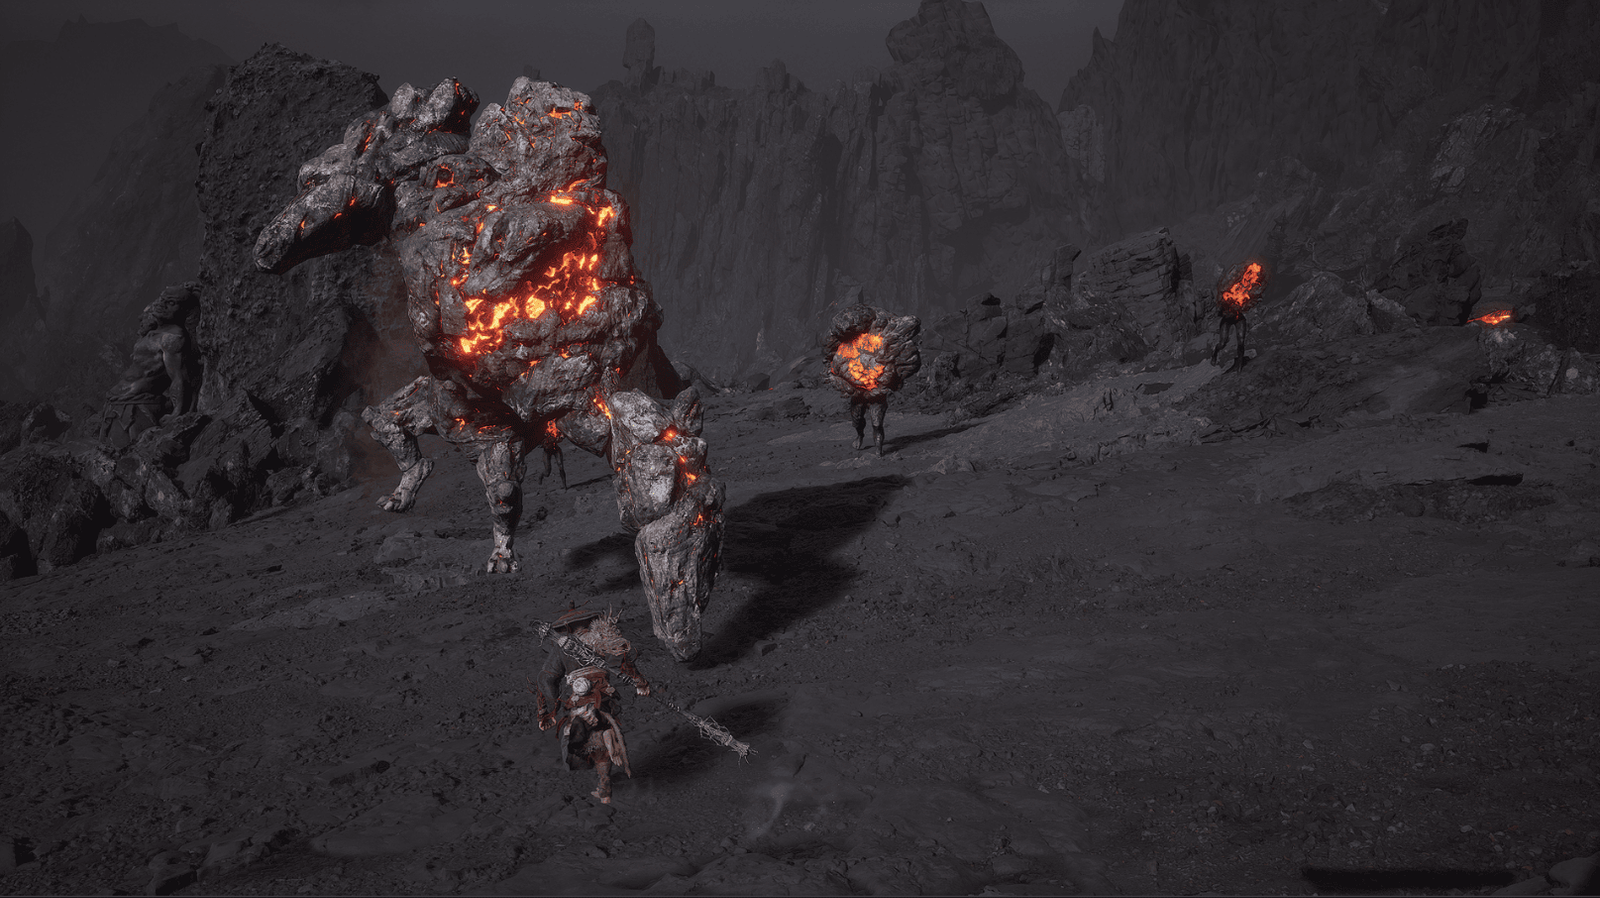
Flint Vanguard Boss Fight
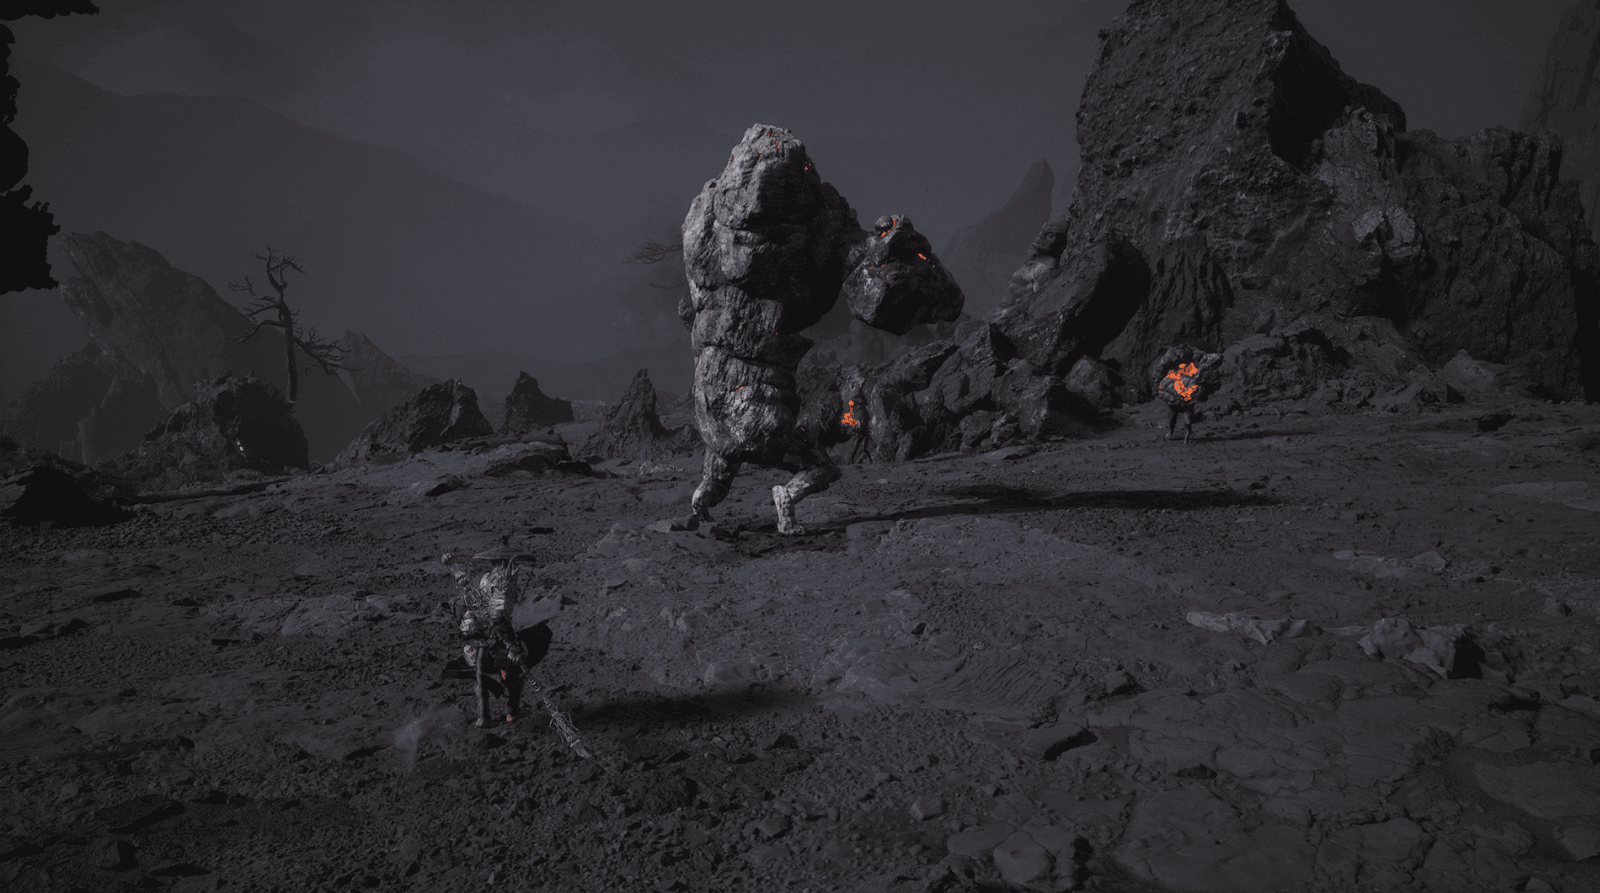
When you enter the center of the area, Flint Vanguard will rise from the ground, taking the form of a fiery rock golem, reminiscent of the demons guarding the Flaming Mountains.
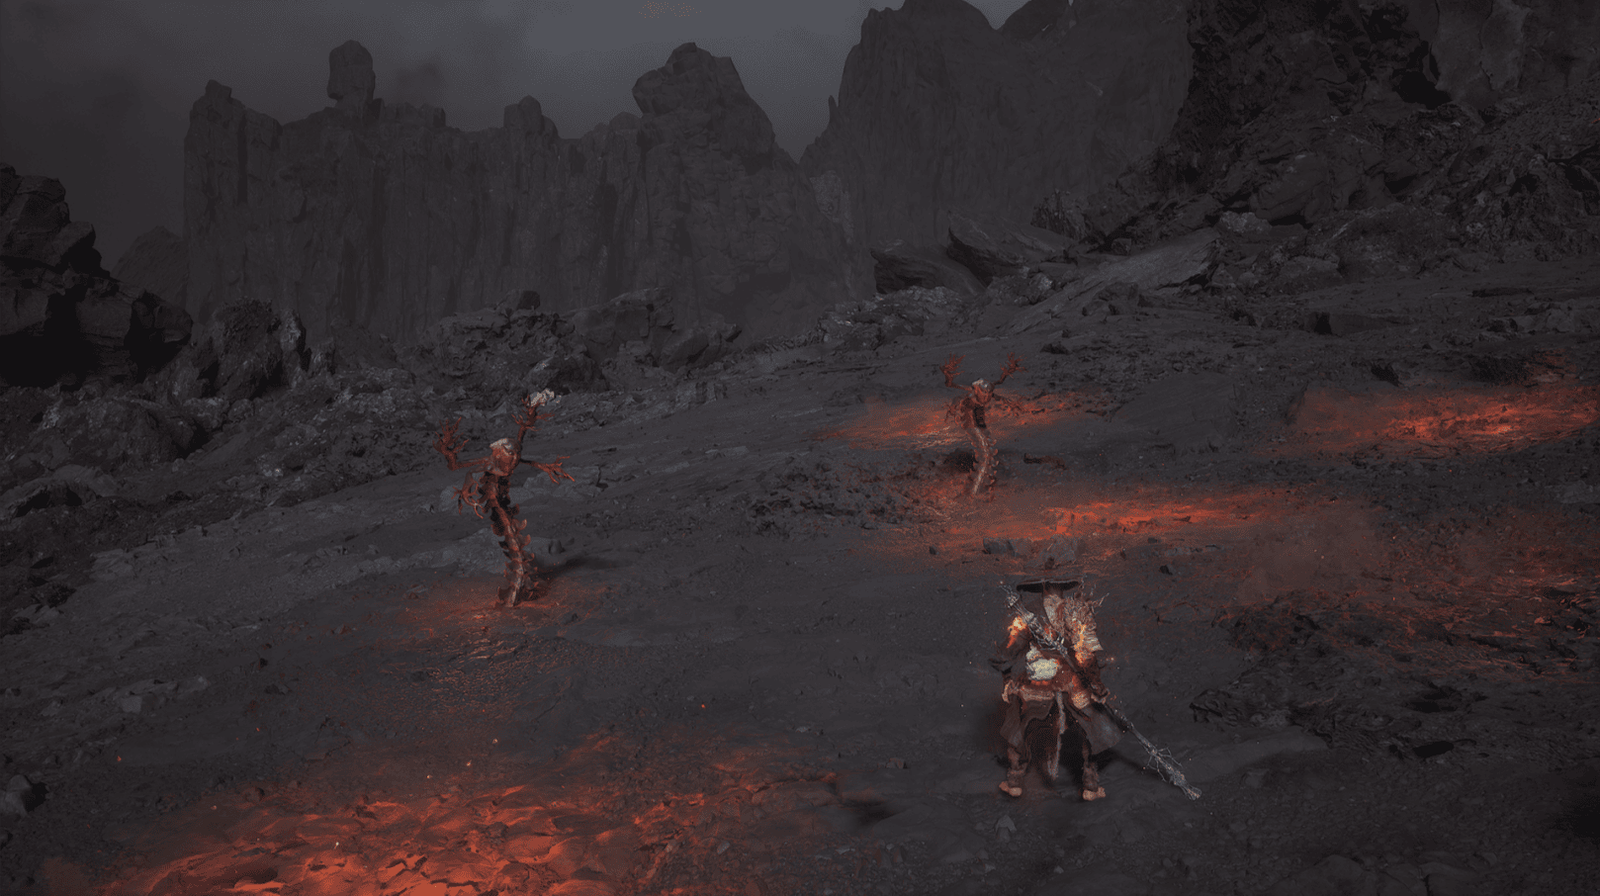
He will summon more Searing-Fire and Scorching-Fire during the battle.
Eliminate the Searing-Fire and Scorching-Fire before focusing on Flint Vanguard.
Use Body-Cooling Powder and Fireproof Mantle to reduce fire damage.
Flint Vanguard will continuously punch the ground, creating dangerous pools of lava. Focus on attacking when he is close, and quickly dodge when he begins his attacks.
When far away, he will shoot fireballs and jump to attack. Keep moving to dodge.
Continuously attack with combos to stun him, and deal heavy damage when he falls to the ground.
When Flint Vanguard becomes enraged, he will slam the ground and shake violently, launching numerous fireballs around him. Run far away to avoid this attack.
After defeating Flint Vanguard, you will receive Flint Vanguard Spirit, and don’t forget to pick up the green Wisp nearby. Also, don’t forget to pick up the Luojia Fragrant Vine to the left of the entrance that I mentioned earlier.
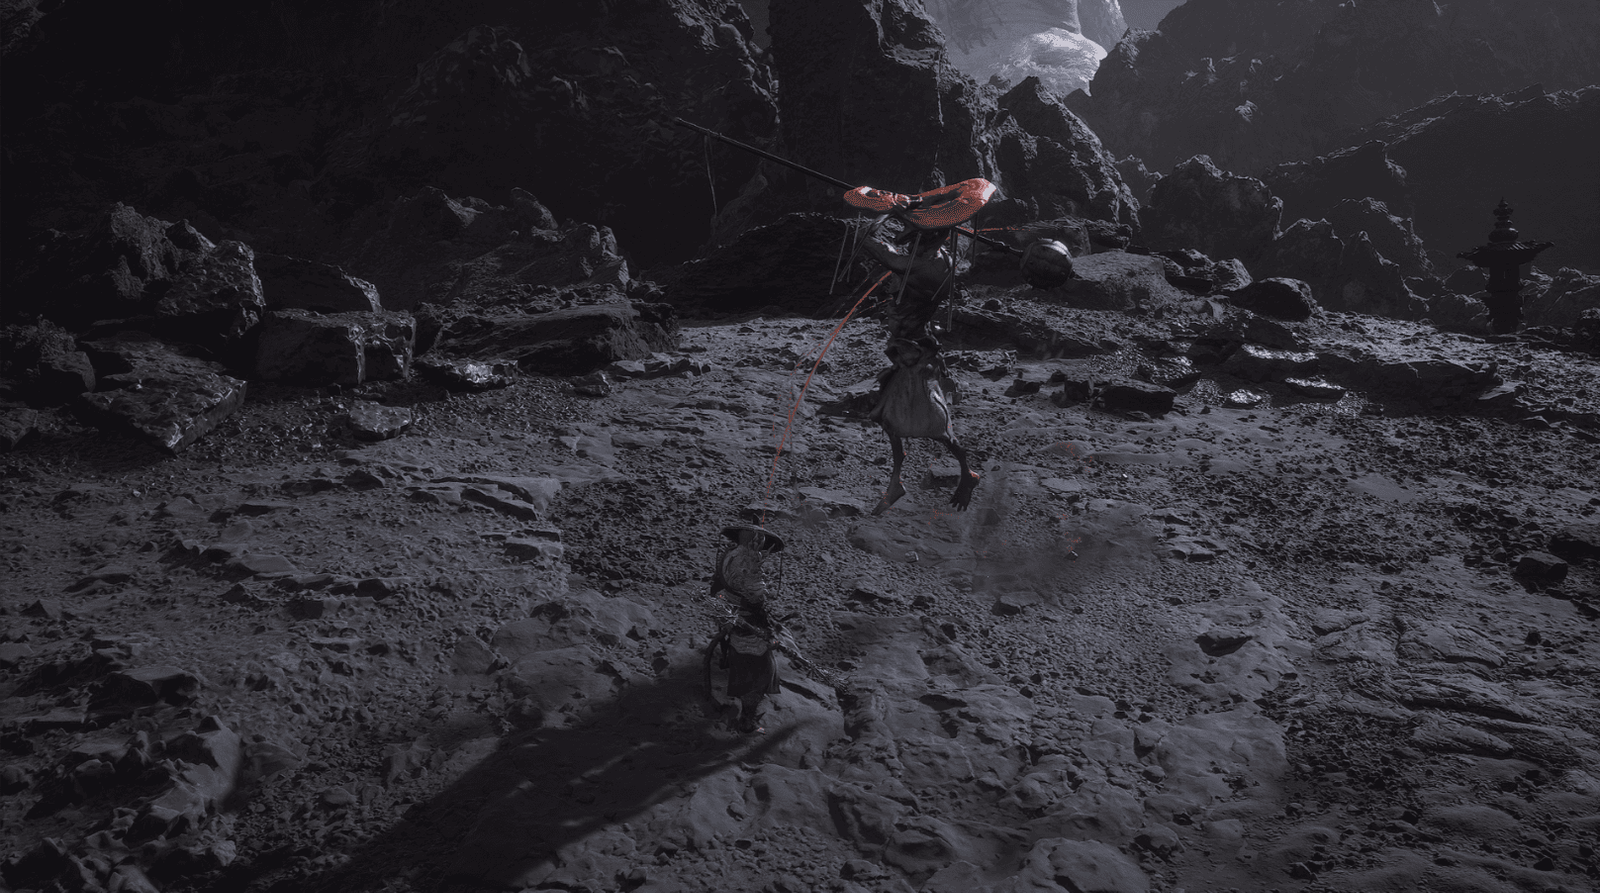
Mother of Flamlings Boss Fight
Leaving the area of Flint Vanguard, follow the path down the slope, you will encounter some Searing-Fire and Scorching-Fire. Defeat them.
Look to the right, you will see a green Wisp near a small lava pool.
Continue down, you will reach a flat area, like a dried-up basin with a large glowing spot in the middle. This is where you summon Mother of Flamlings.
To summon Mother of Flamlings, you need 4x Flame Ores. Check your inventory, you may have collected enough from the Flamlings earlier.
Eliminate all surrounding Flamlings before summoning the boss, otherwise they will make it difficult for you.
Interact with the glowing spot and offer 4x Flame Ores, Mother of Flamlings will appear. Immediately retreat to avoid her first attack.
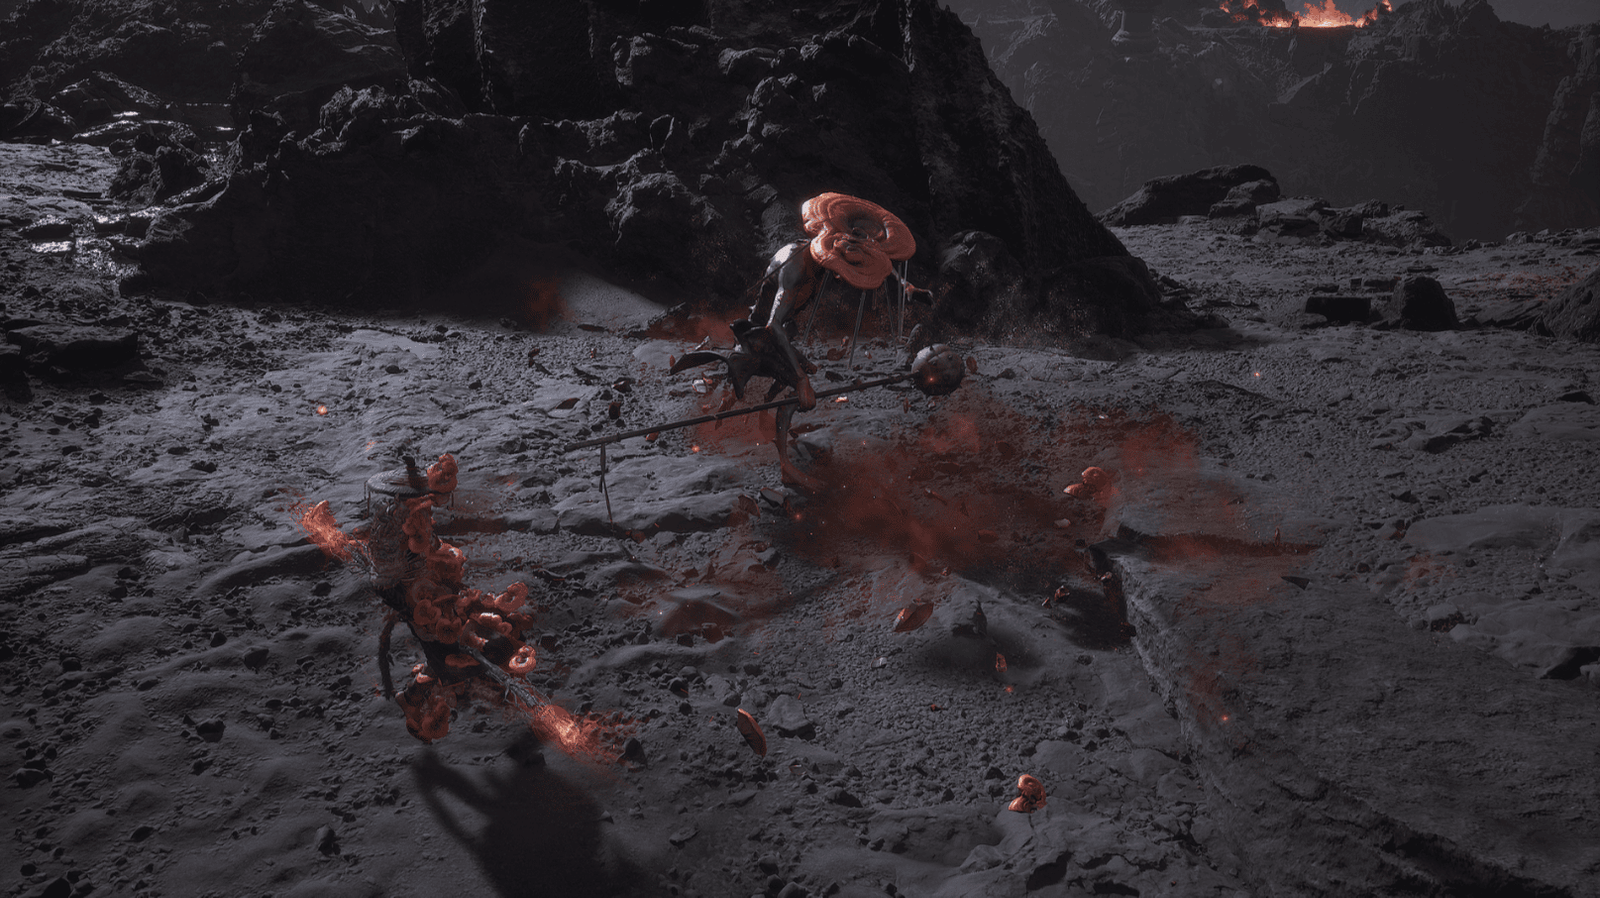
Mother of Flamlings will not move but will stand still and continuously shoot fireballs, similar to Flamlings. She will also lash out with her tail when you get close.
Get close and attack continuously to stun her.
She will roar and summon a swarm of Flamlings. Prioritize eliminating them before continuing to attack her.
Use Fireproof Mantle and Body-Cooling Powder to reduce fire damage.
After defeating Mother of Flamlings, you will receive Mother of Flamlings Spirit.
After defeating Mother of Flamlings, continue down the path.
You will see a Fire Date tree on the right, be careful of the nearby Scorching-Fire and Flamling. Harvest the Fire Date to replenish your items.
Look to the left, you will see a Tenner guarding a chest. Defeat it and open the chest to receive Fine Gold Thread, Mind Core, and some other items.
Continue on, you will encounter a lone Scorching-Fire. Defeat it and continue down.
At the end of the path, you will reach Keeper’s Shrine: Cooling Slope. Rest and recover here.
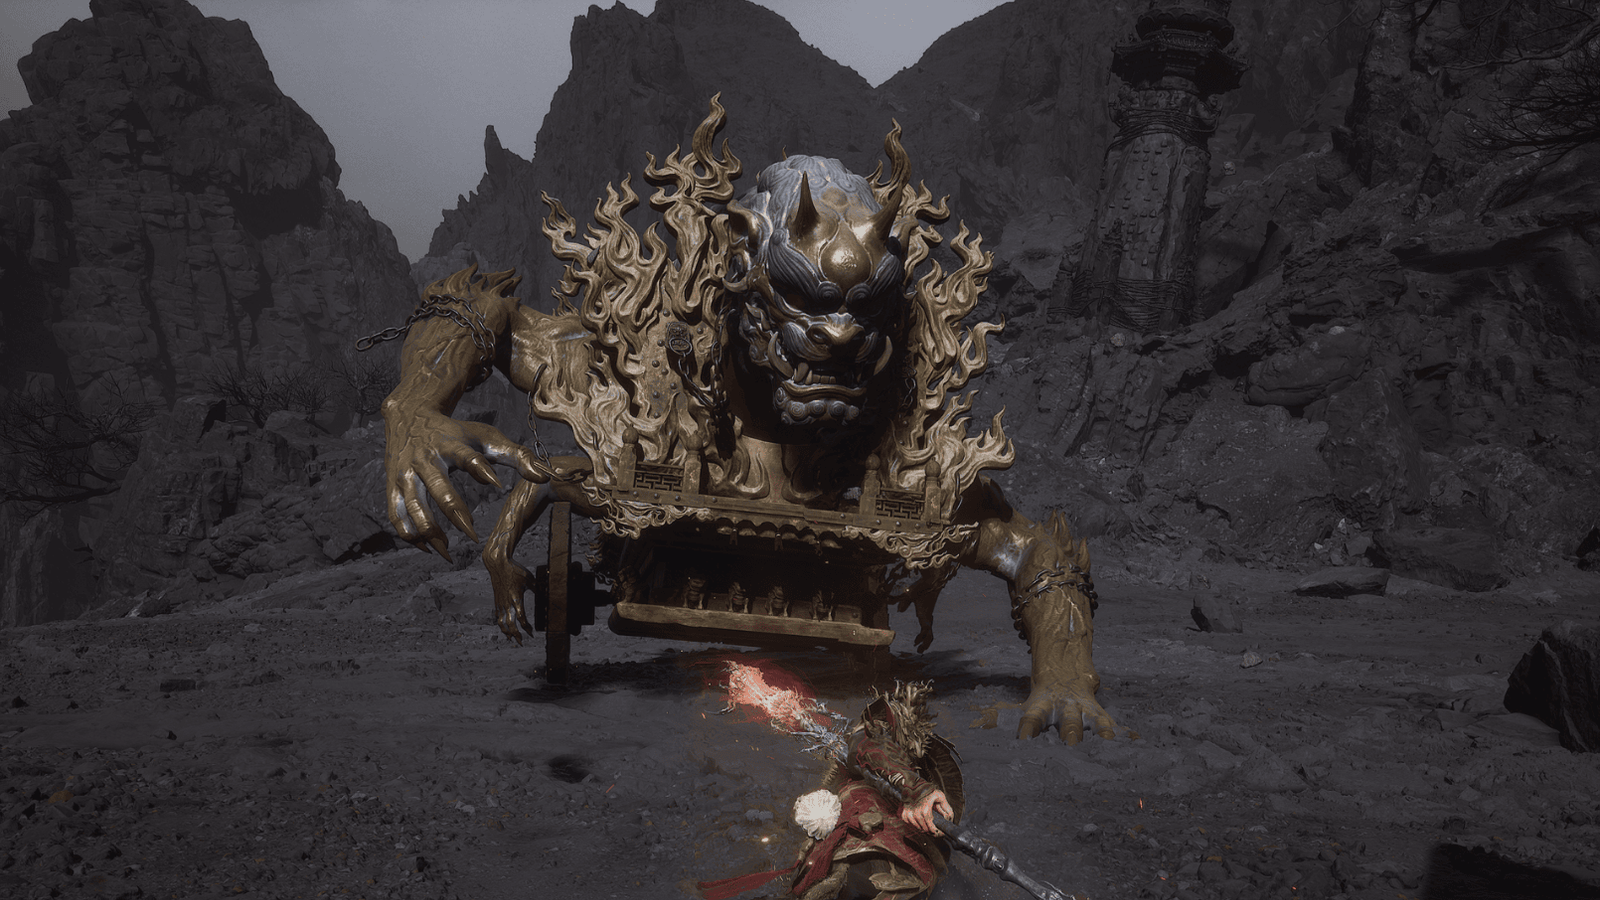
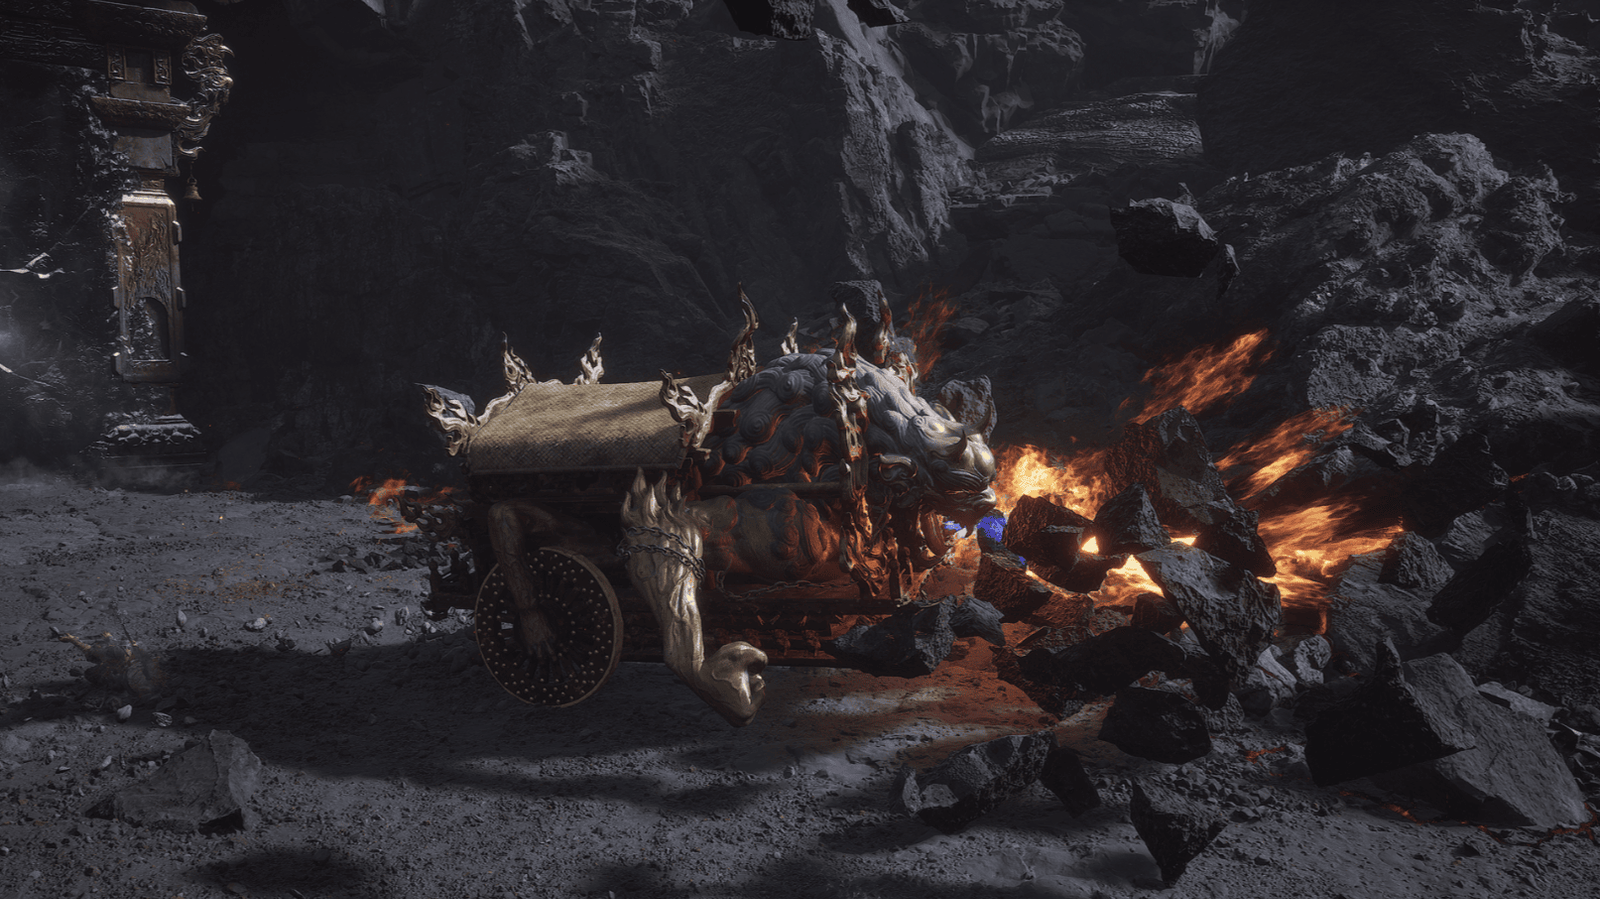
Rusty-Gold Cart Boss Fight
From Keeper’s Shrine: Cooling Slope, continue down the path, ignoring the Purple Lingzhi and Scorching-Fire (if you want, you can deal with them later).
You will see a giant ice gate in the distance – that is the entrance to the secret area Bishui Cave.
Before reaching the gate, turn right, you will see a small area and a Scorching-Fire.
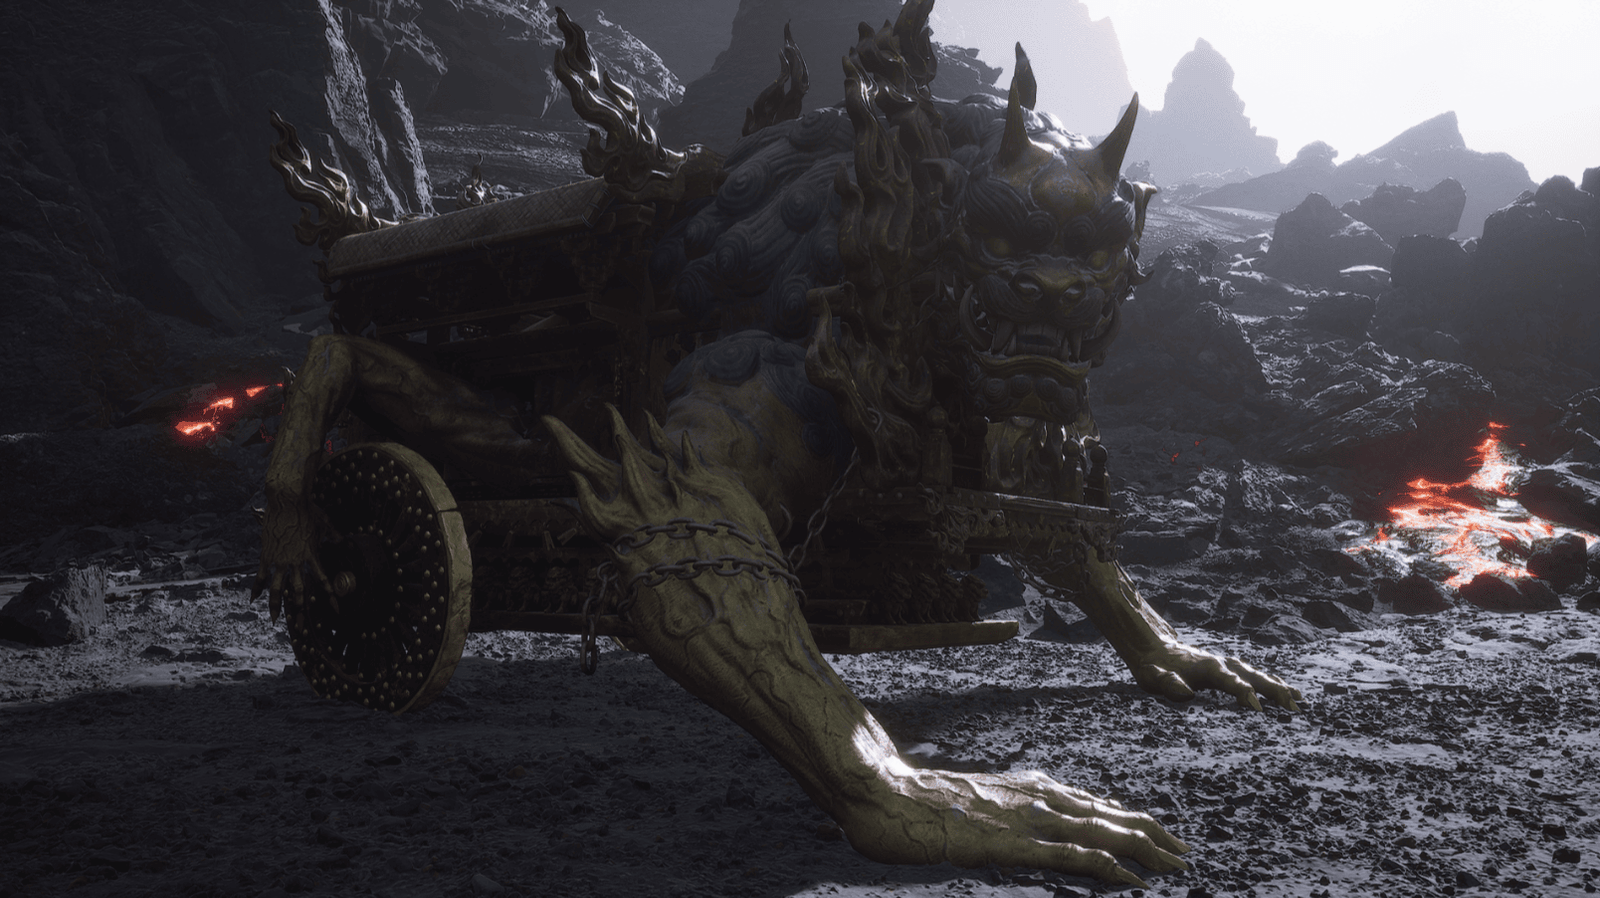
Here, you will face Rusty-Gold Cart – a cart made of pure gold, exuding a regal aura, reminiscent of Silver Horn King‘s golden carriage in the past, but more dilapidated. This is the fourth sub-boss in the 5 Element Carts quest chain.
Before challenging Rusty-Gold Cart, make sure you have:
Defeated the 3 carts in the previous areas.
Spoken to Pale-Axe Stalwart at 3 locations:
Woods of Ember: Ashen Pass I (first time).
Woods of Ember: Ashen Pass I (second time, on the nearby rock).
Furnace Valley: The Emerald Hall.
Picked up Spirit – Top Takes Bottom, Bottom Takes Top from the spiked ball (after it falls off the cliff in Ashen Pass III).
A cutscene will play, and Pale-Axe Stalwart will appear. Then, the battle with Rusty-Gold Cart begins.
Rusty-Gold Cart is an upgraded version of the previous carts, with stronger and more complex attacks.
He combines skills from previous cart battles, while also adding new attacks.
Use Immobilize to control Rusty-Gold Cart and attack continuously with combos.
He will spew fire from the front, move close and rotate with him to avoid damage. Or dodge to the sides.
He will also swipe with his hand to attack, roll forward when he attacks to dodge.
Heavy Attack can knock him up, creating an opportunity to attack.
After defeating Rusty-Gold Cart, you will receive Flame Orb Curio.
Talk to Pale-Axe Stalwart one last time, he is injured nearby.
After the cutscene, proceed to the ice gate and break it to enter Bishui Cave.
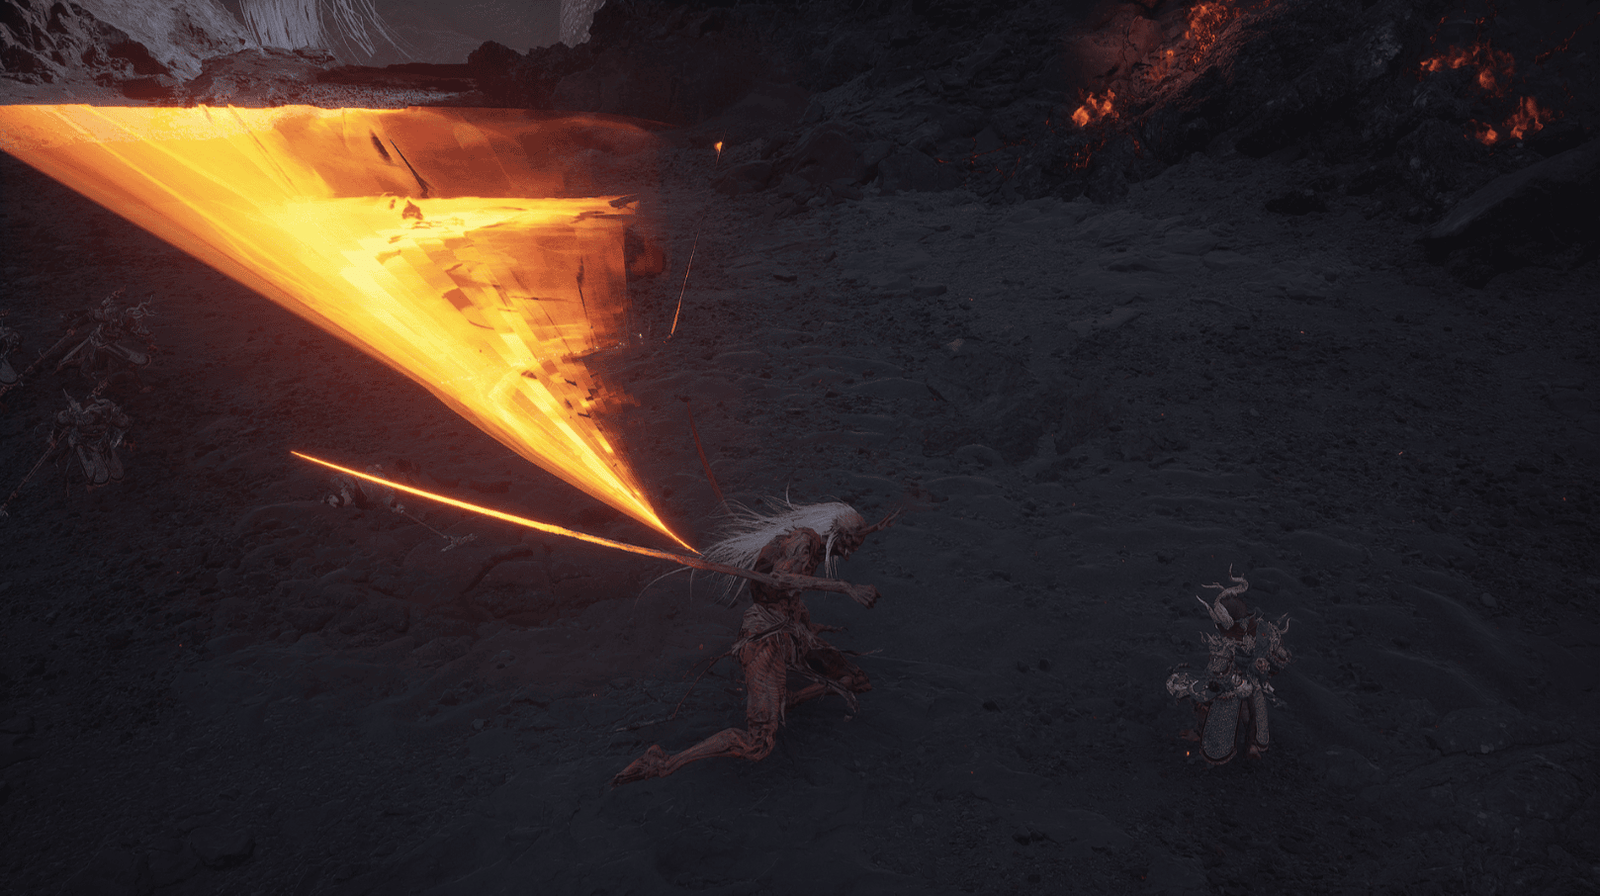
Baw-Lang-Lang Boss Fight

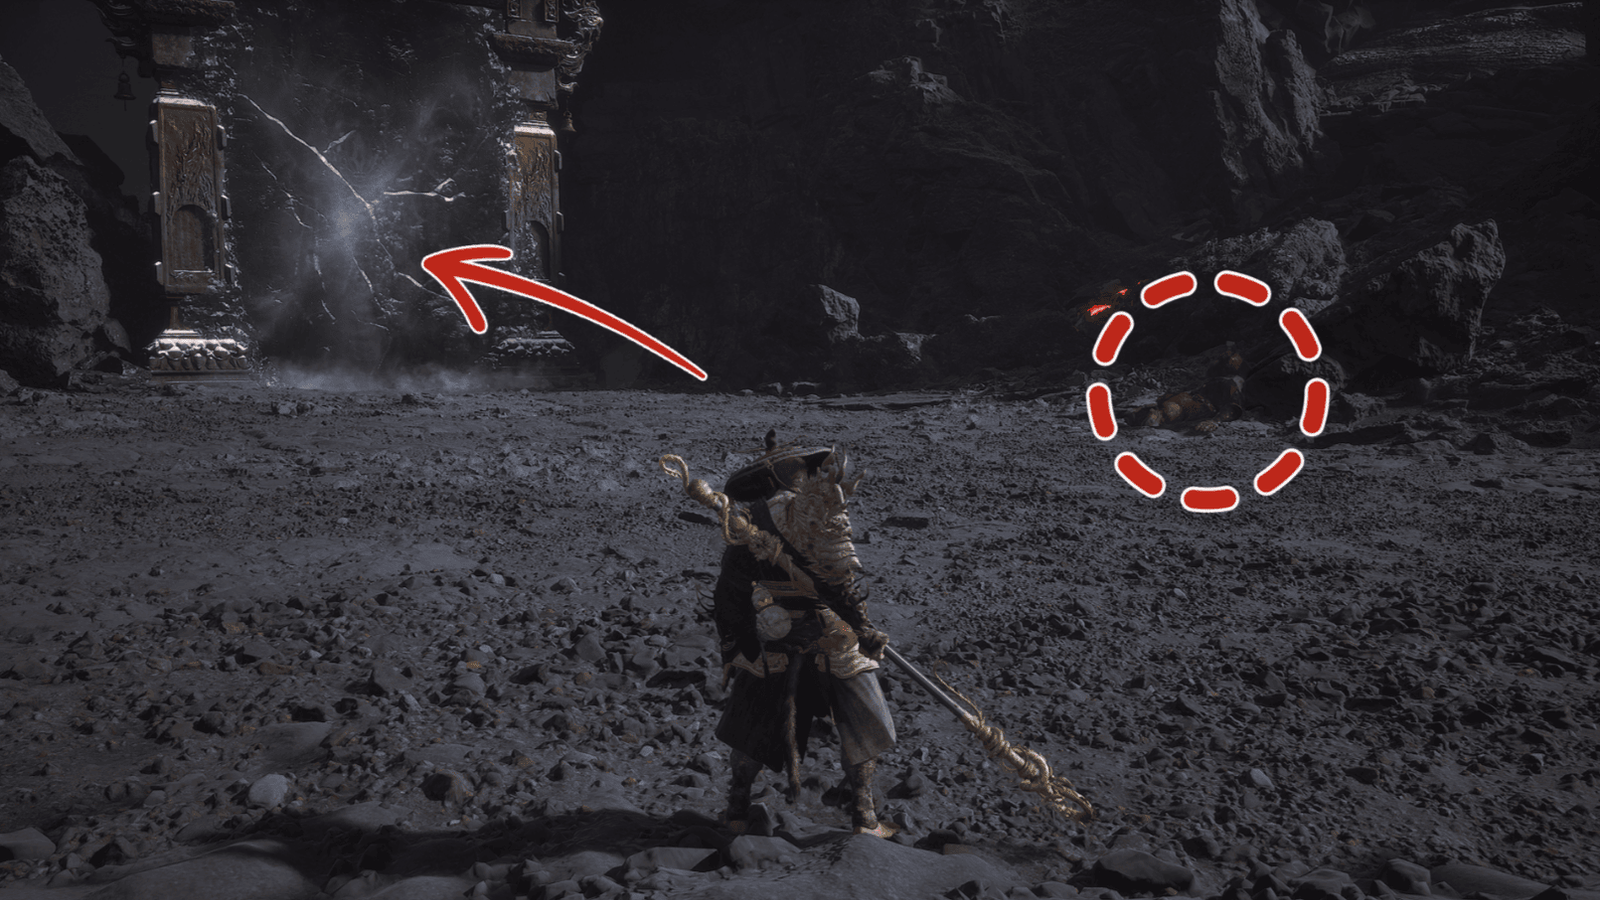
After breaking the ice gate, go down the slope, you will see a giant structure in the middle of the cave.
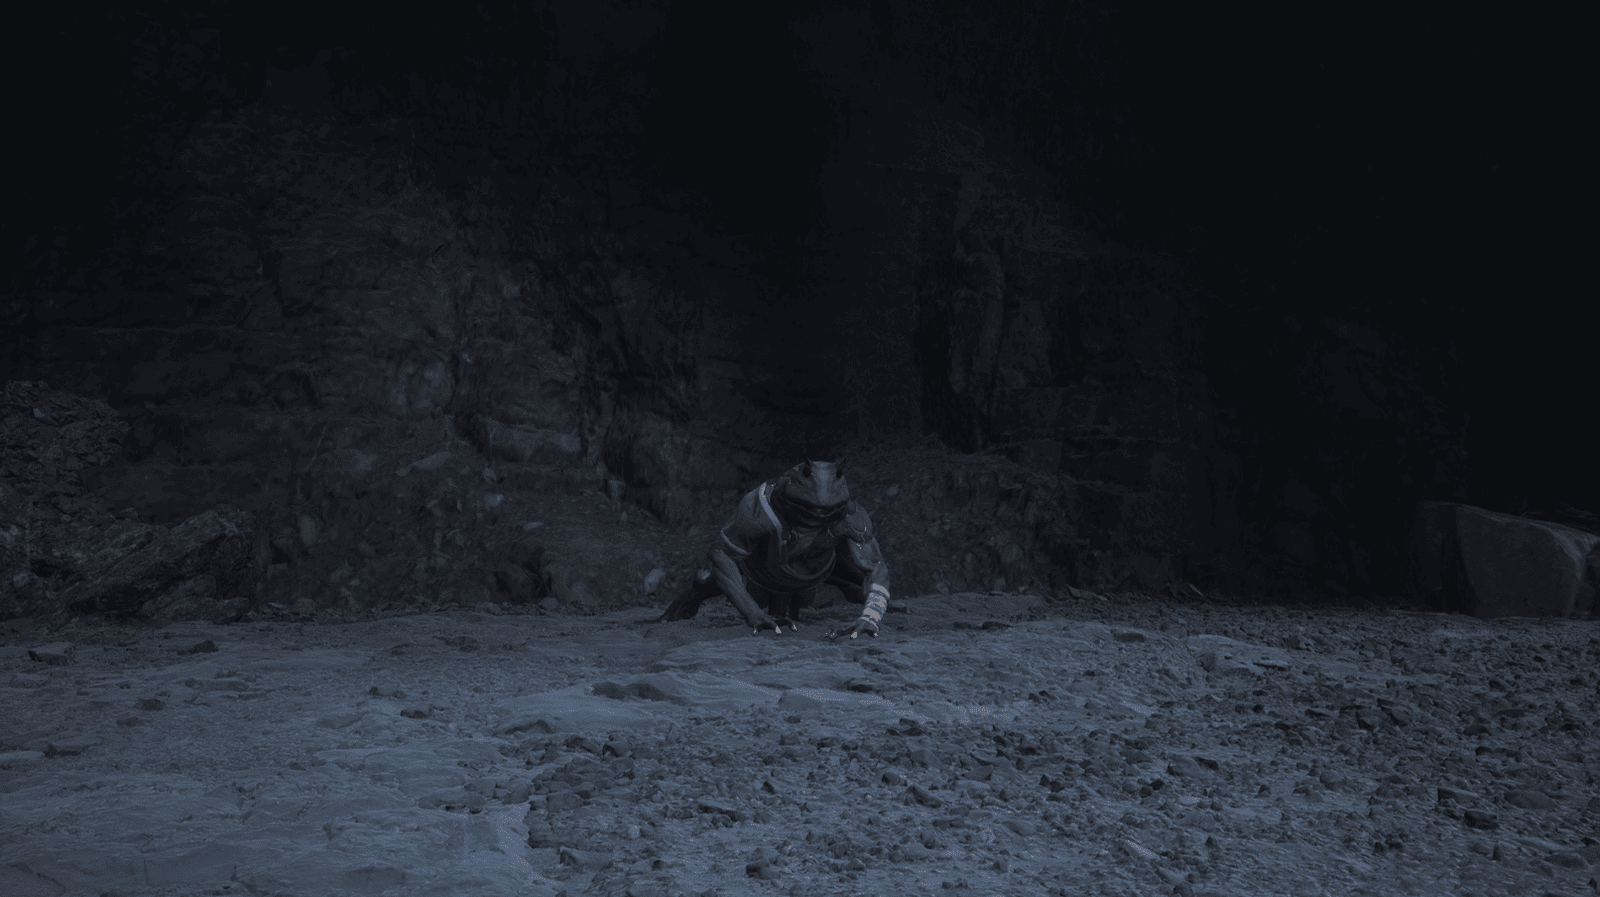
Before reaching that structure, look to the left, you will see a small pool of water. This is the hiding place of Baw-Lang-Lang – the last fire frog in the Field of Fire, reminiscent of the legendary Golden Toad.
Baw-Lang-Lang has similar attacks to the frogs you have faced before.
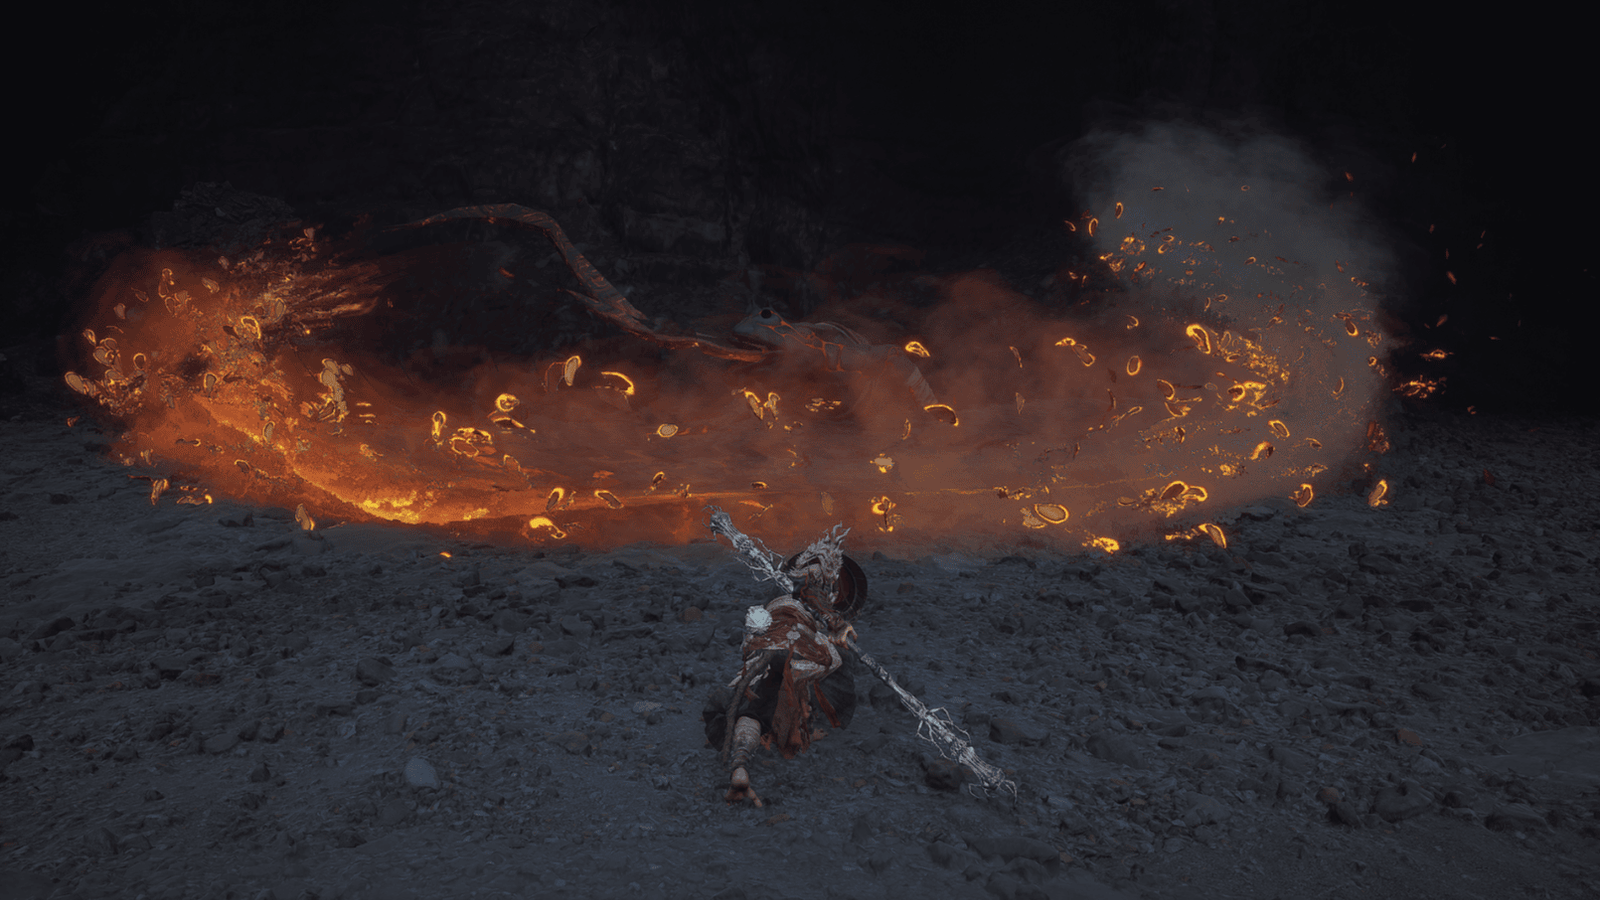
He will lash out with his fire tongue, jump up and stomp the ground, spew fire, and shoot fireballs. Stay away when he spews fire or shoots fireballs. Attack from behind when he is spewing fire.
Create distance when he jumps to avoid the ring of fire when he lands. Keep moving and use strong attacks to defeat him.
After defeating Baw-Lang-Lang, you can proceed to the giant structure in the middle of the cave.
Bishui Cave
Interact with the giant structure to teleport to Bishui Cave, the secret area of Chapter 5.
Reminder: Complete Bishui Cave before finishing Chapter 5. A detailed guide for Bishui Cave will be provided separately (link to the Bishui Cave guide will be added later).
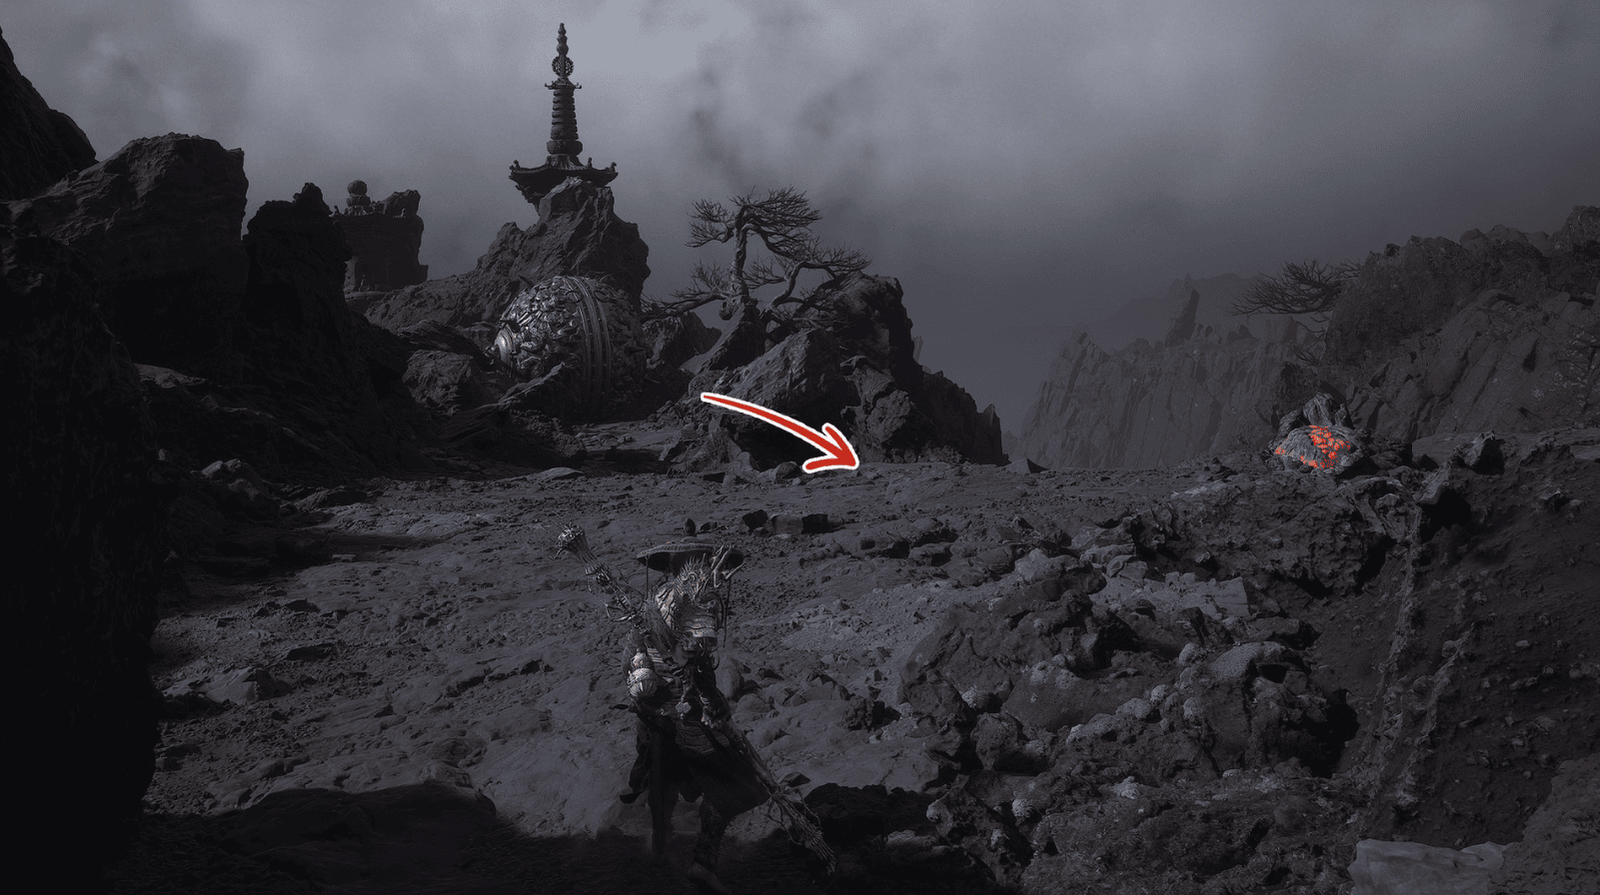
Fallen Furnace Crater (Return after completing Cooling Slope and Bishui Cave)
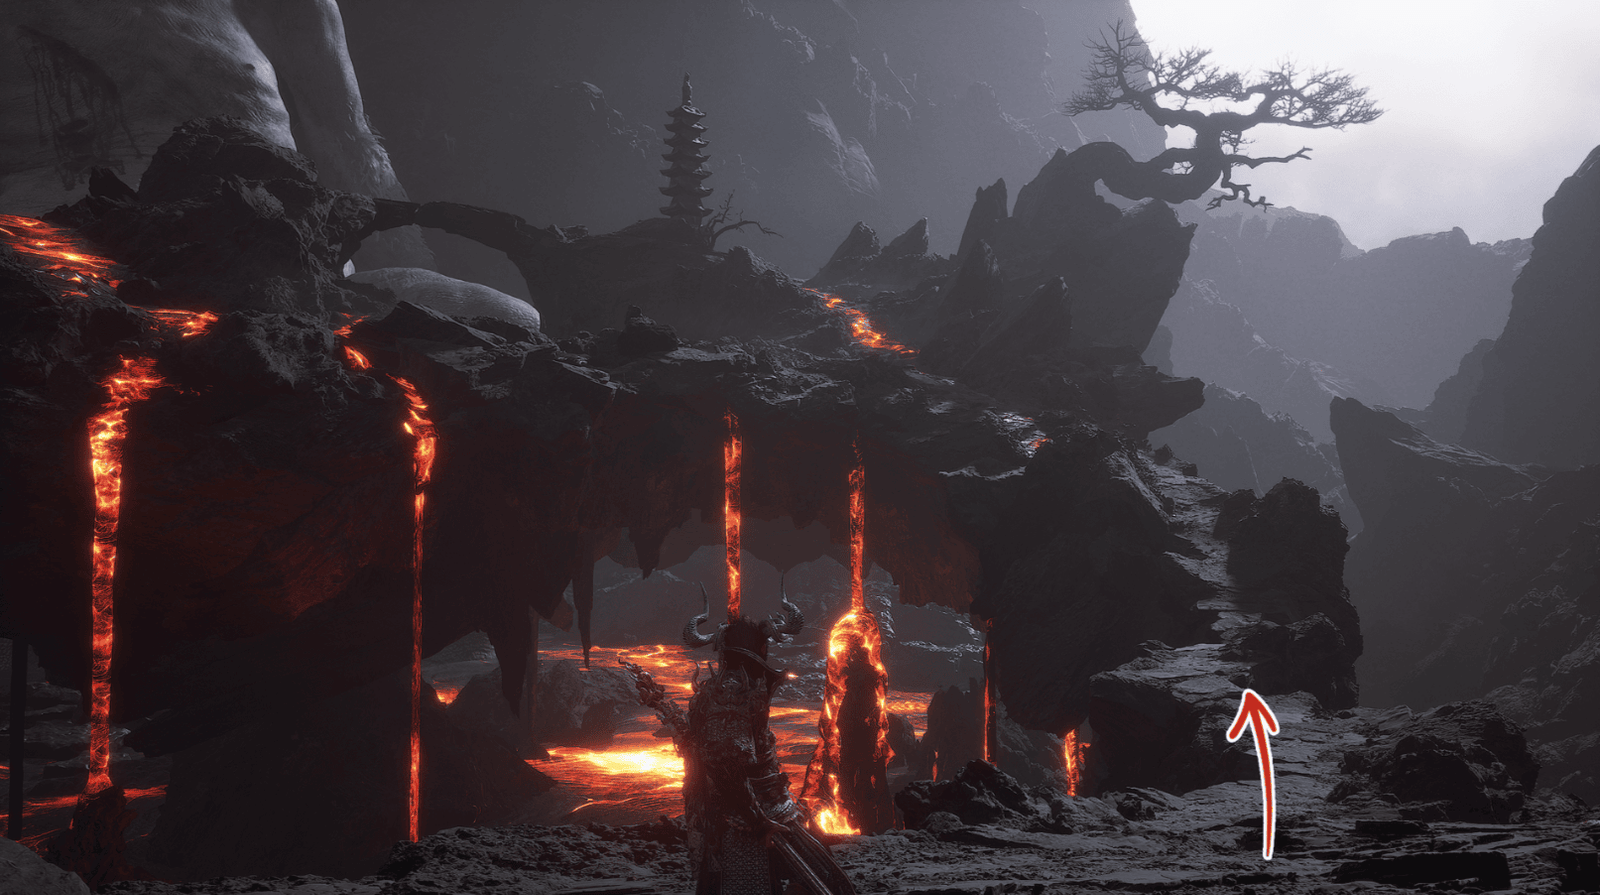
After completing the secret area Bishui Cave, return to Cooling Slope using the teleportation structure. From Keeper’s Shrine: Cooling Slope, go back up, following the direction where the spiked ball fell in Ashen Pass III.
You will reach Fallen Furnace Crater – a desolate, fiery land, like a erupting volcano crater, reminiscent of the majestic Flaming Mountains.
Find Keeper’s Shrine: Fallen Furnace Crater to rest and recover.
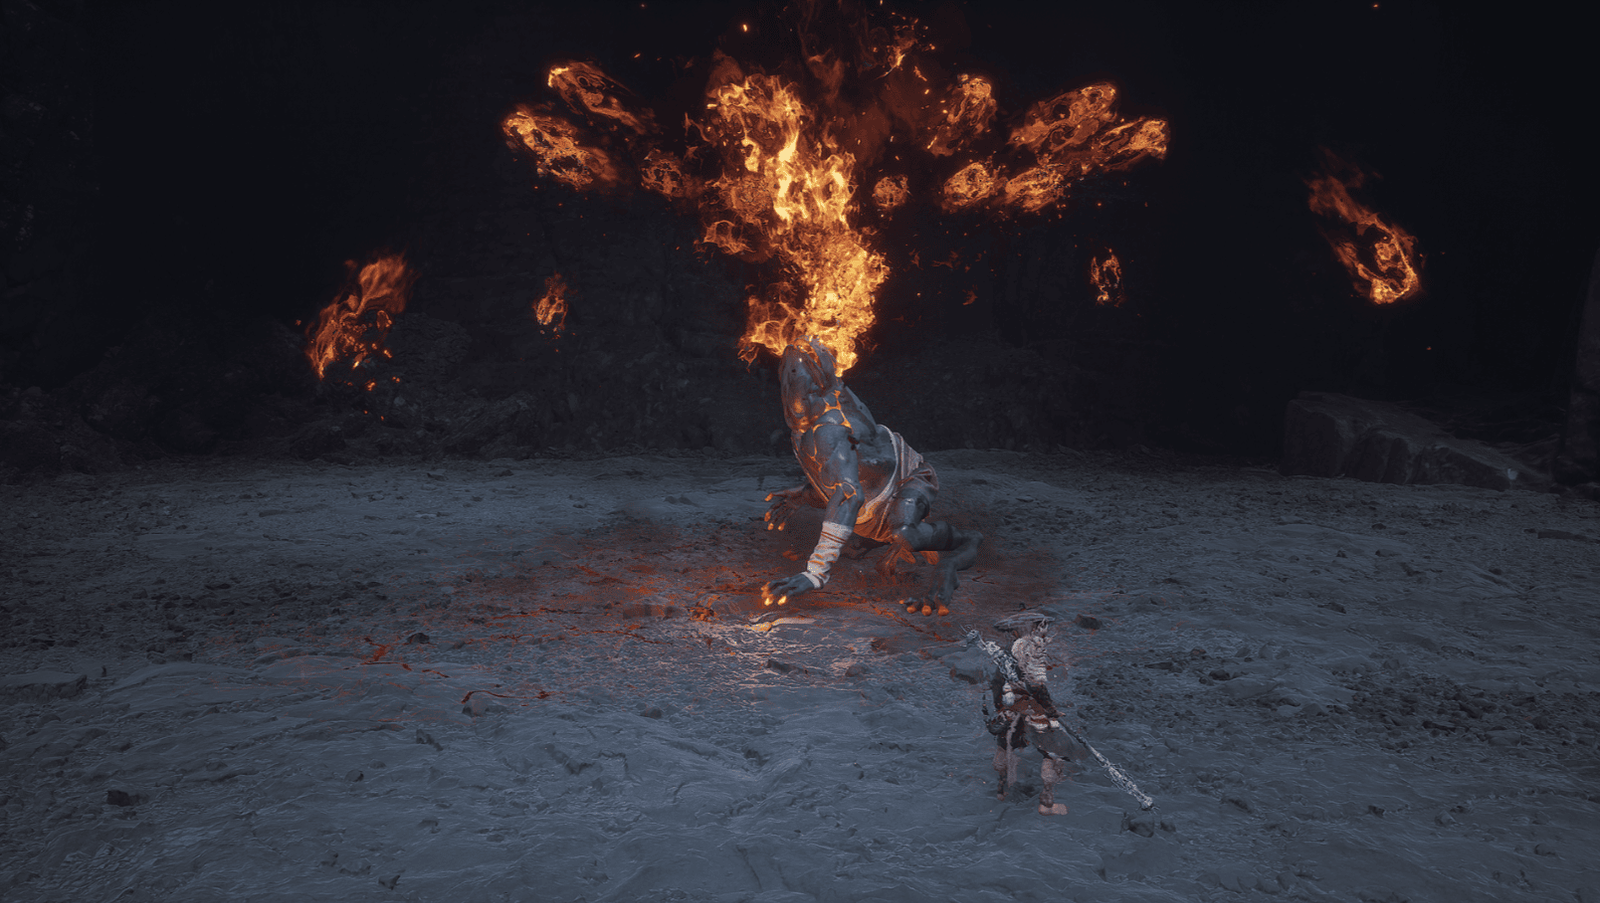
Red Boy Boss Fight
From the Keeper’s Shrine, go up the slope, you will see Pingping talking to his father – Bull King.
A cutscene will play, Pingping will transform into Red Boy – the rebellious son of Bull King, wielding sacred fire power, reminiscent of the Red Boy of old, but with a more terrifying power.
Red Boy uses a fire spear with fast and continuous attacks. He often stands still for a moment before attacking, take this opportunity to unleash powerful attacks. Immediately retreat after attacking to avoid the flames that spew from his hands. Use Body-Cooling Powder and Fireproof Mantle to reduce fire damage.
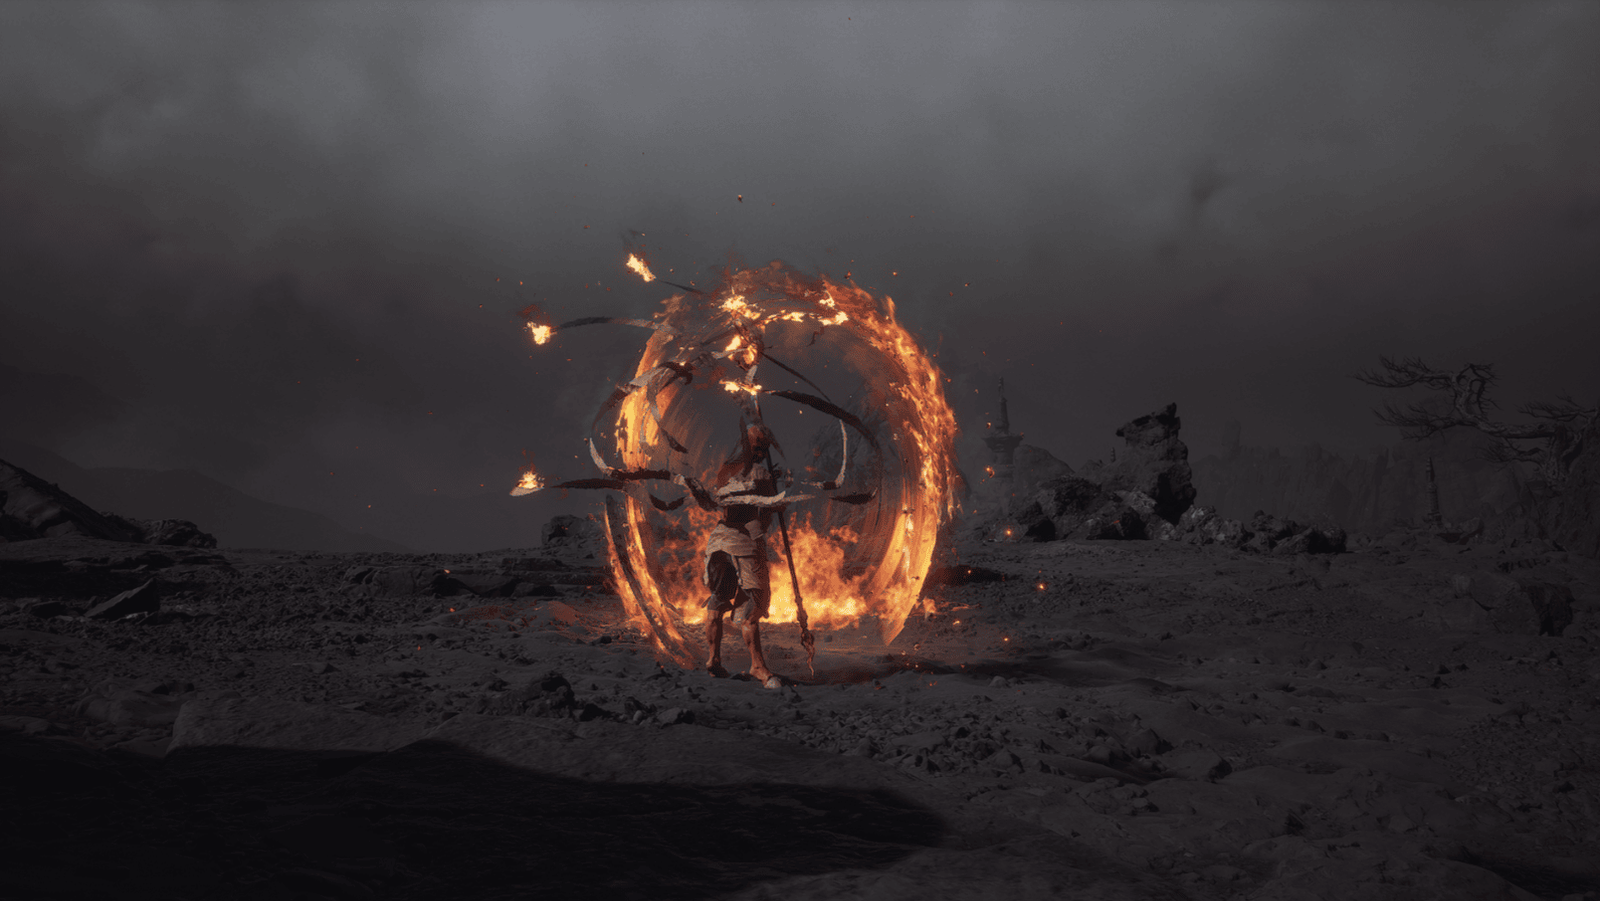
He will create a ring of fire around him and throw it towards you. Follow the ring of fire and keep moving to avoid it.
When Red Boy spins his spear, jumps up, and flips, dodge this entire combo. Focus on staying close to limit his use of long-range attacks.
When Red Boy creates clones (phase 2), retreat and use the rocks for cover, dodging attacks. Use heavy attacks to interrupt his attacks. Use spells in phase 2 to optimize damage. Don’t hesitate to use spells, as the player will be fully restored after the fight.
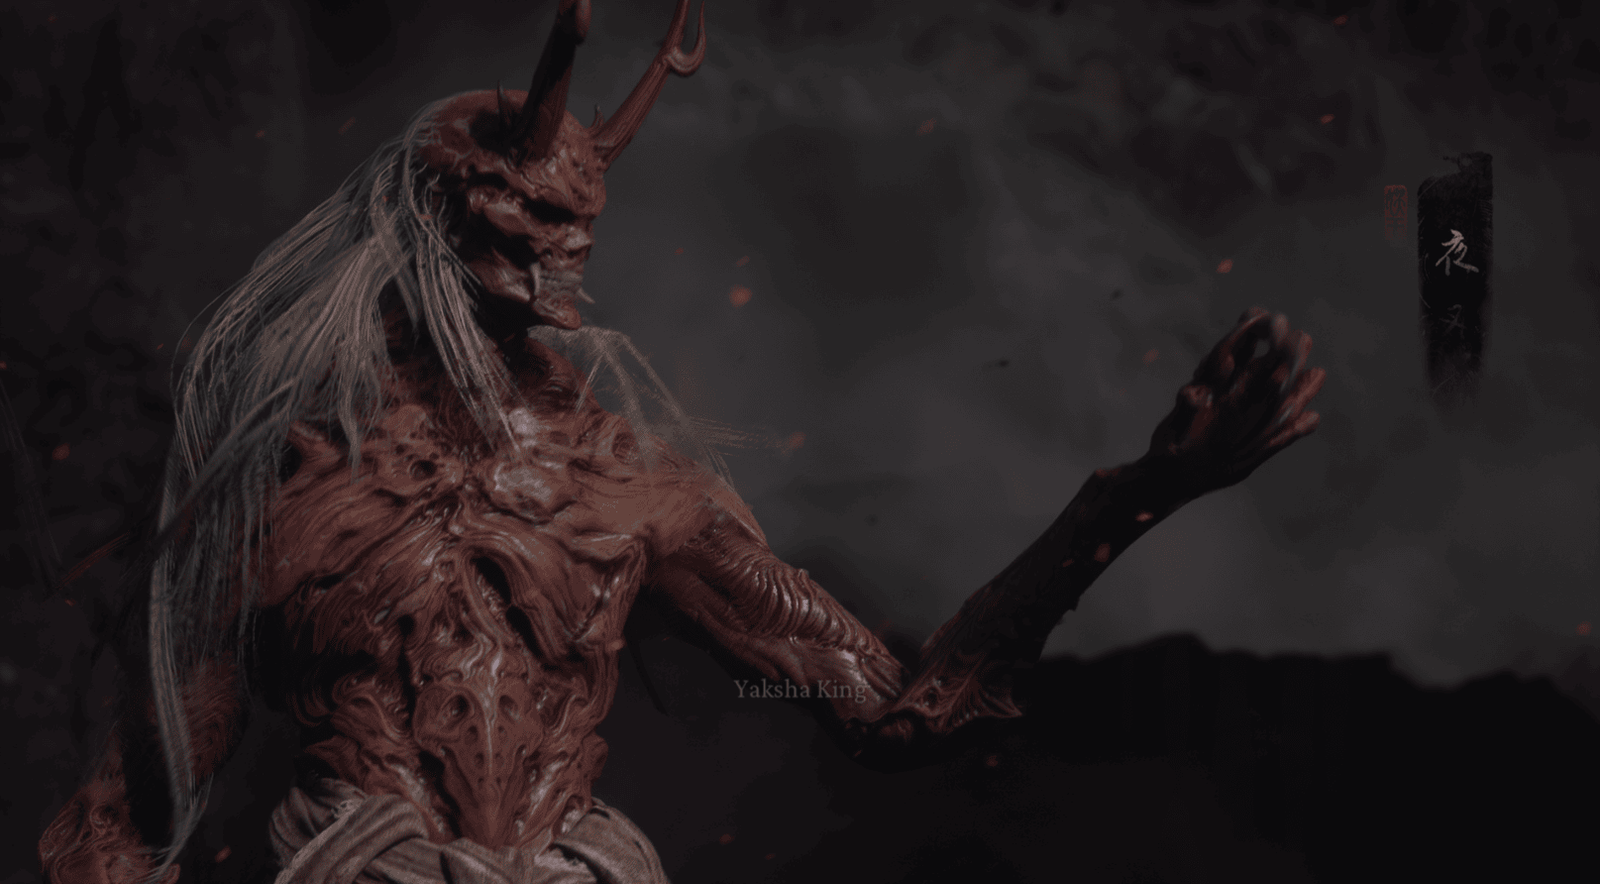
After defeating Red Boy, he will transform into Yaksha King.
Yaksha King Boss Fight
If you fail against Yaksha King, you will not have to fight Red Boy again but will start from the battle with Yaksha King.
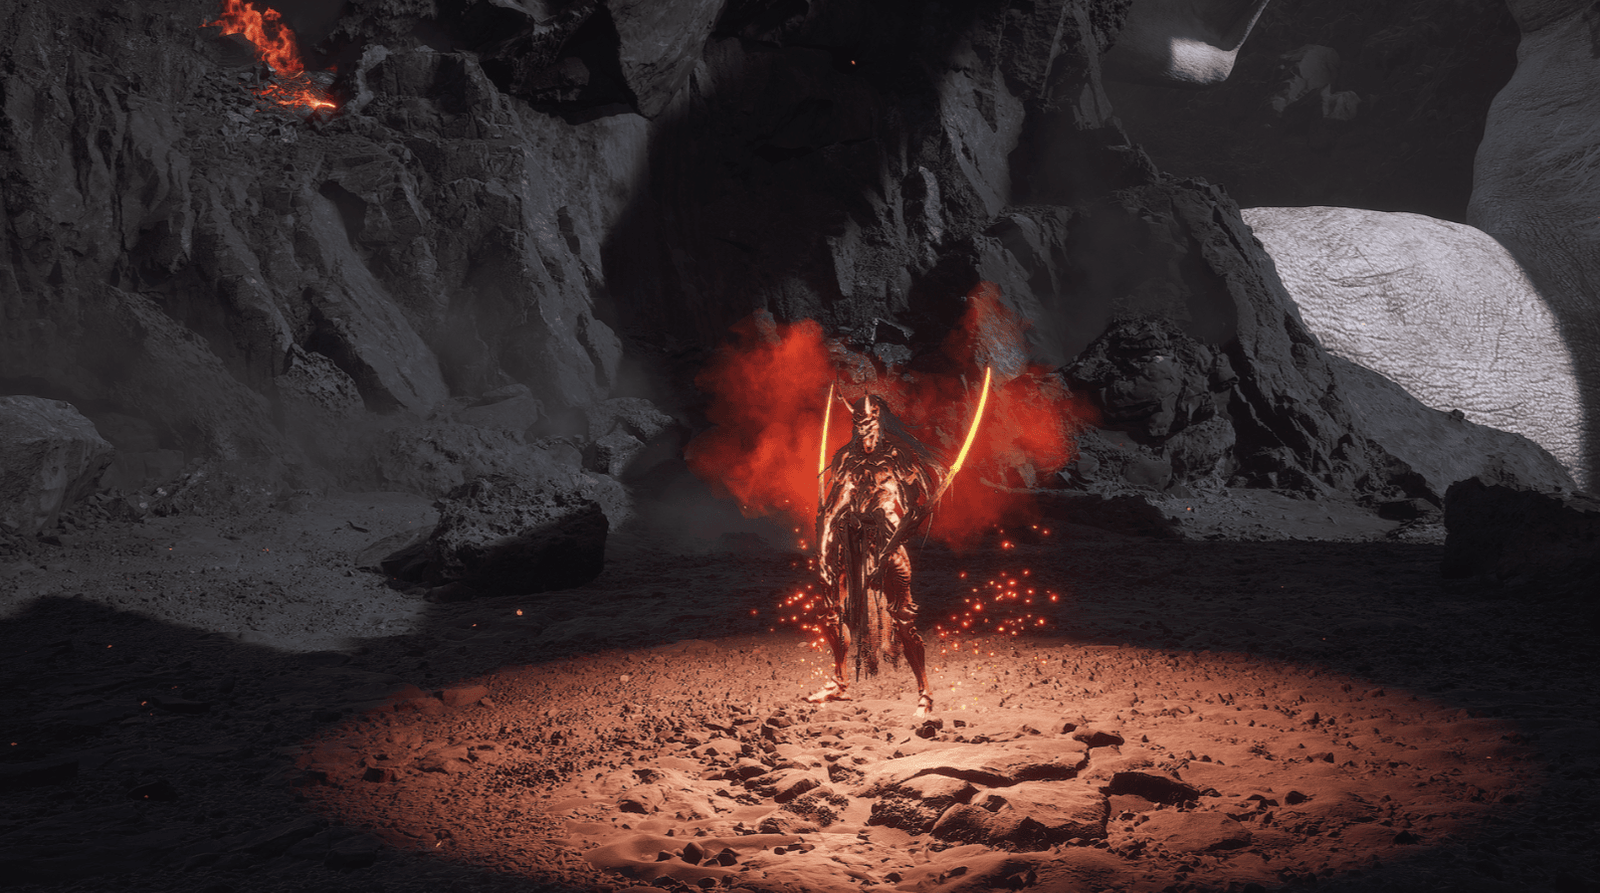
Yaksha King will draw two fire blades from his elbows, bearing the appearance of a ferocious Yaksha, reminiscent of the Yaksha in mythology, but with a more evil power.
Zhu Bajie will assist you in the first phase of the battle. Take advantage of this to attack Yaksha King. In order for Zhu Bajie to heal you, try to save your own health.
Yaksha King will throw fire discs, roll forward to dodge them. He will create blade circles on the ground, stay away from this area.

When Yaksha King jumps on the wall and flips, run away from that area to avoid the attack.
He can attack in a combo with one blade (phase 2), learn to dodge this attack. He usually shouts before attacking.
Be wary of the charging attack, if hit, you will lose a large amount of health and a short cutscene will play. Use Immobilize and Ebon Flow to control and defend against his attacks.
After defeating Yaksha King, you will receive Grieved Body, Nimble Body, Everlasting Vitality, Divine Safeguard, and Plantain Fan.
Secret: When Yaksha King has a small amount of health remaining and the player does not deliver the finishing blow, a secret cutscene will be triggered.
Congratulations, The Destined One, for overcoming the Field of Fire, a land of fire full of challenges, reminiscent of the legendary Flaming Mountains. With your bravery and masterful combat skills, you have defeated Nine-Capped Lingzhi Guai, Flint Vanguard, Mother of Flamlings, Rusty-Gold Cart, Baw-Lang-Lang, Red Boy, and finally, Yaksha King. You have collected valuable items, especially the Plantain Fan – the treasure that guards the Flaming Mountains, along with Grieved Body, unlocking new Talents. Now, continue your journey to Mount Huaguo in Chapter 6, following The Destined One‘s path of seeking the truth.