
This article will be a guide for the Destined One, providing detailed step-by-step instructions, and every nook and cranny of Water Curtain Cave and Birthstone. Together, we will decipher secrets, overcome traps, and defeat the most powerful Bosses.
So, Destined One, get ready for the final battle!
Water Curtain Cave
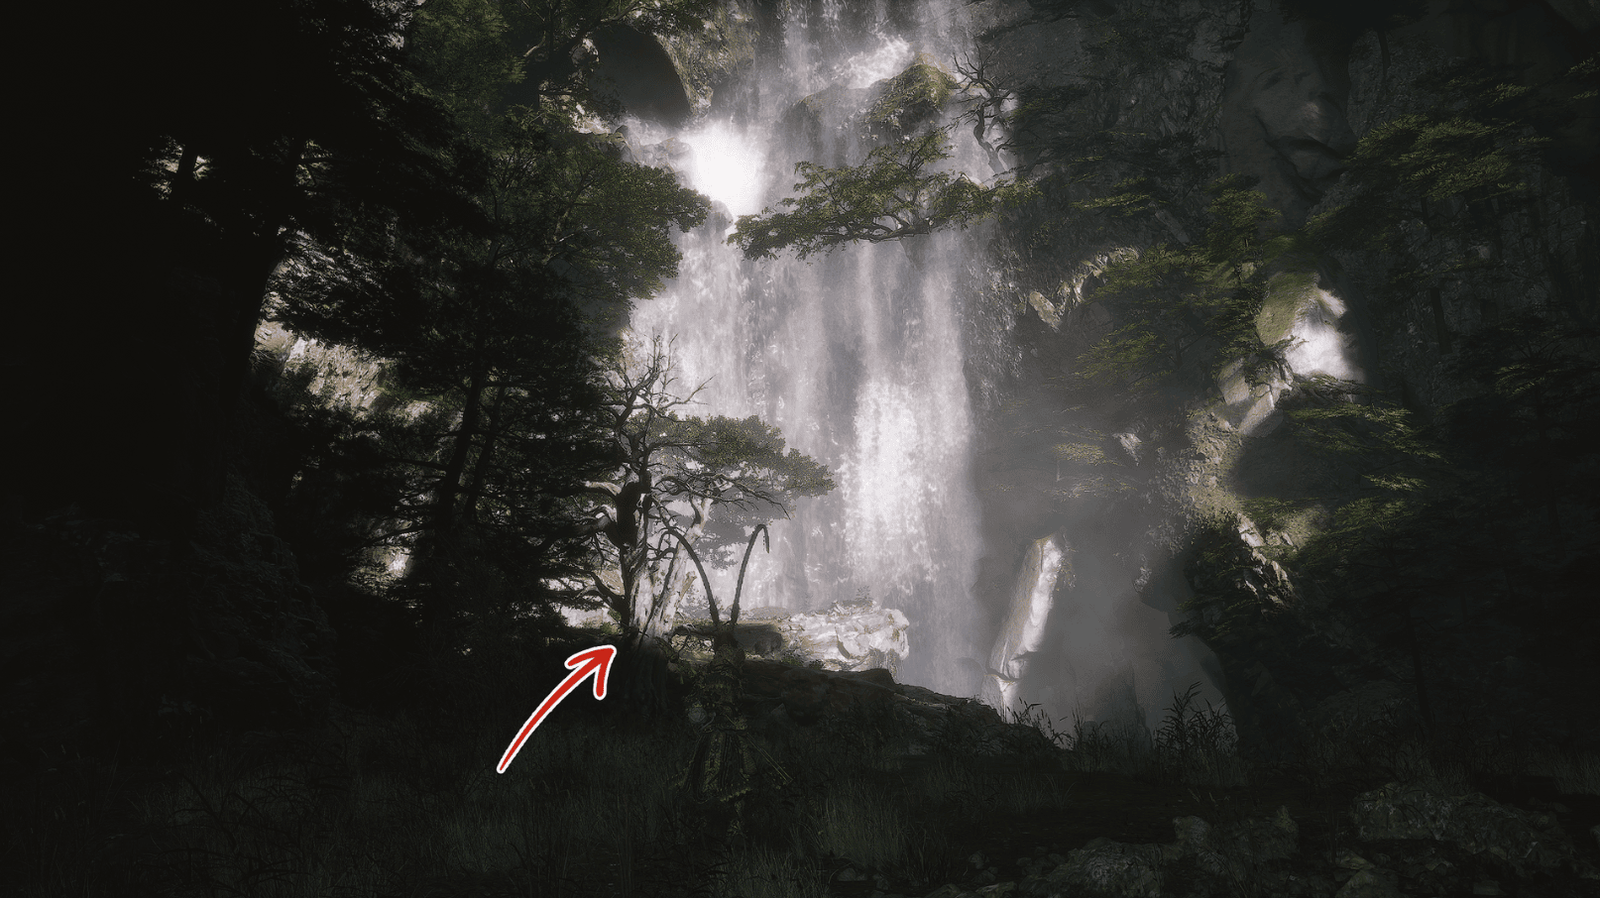
The scenery of Water Curtain Cave appears before your eyes, as majestic and magnificent as described in Journey to the West. The sound of the waterfall roars like thunder, a misty vapor covering everything. The Destined One begins the journey from the foot of the waterfall. To enter the cave, follow the trail on the right, jump over the undulating rocks, and be careful not to slip. Pay attention to the lanterns emitting a faint yellow light; they will guide the Destined One in the darkness of Water Curtain Cave.
Obtaining the Jingubang
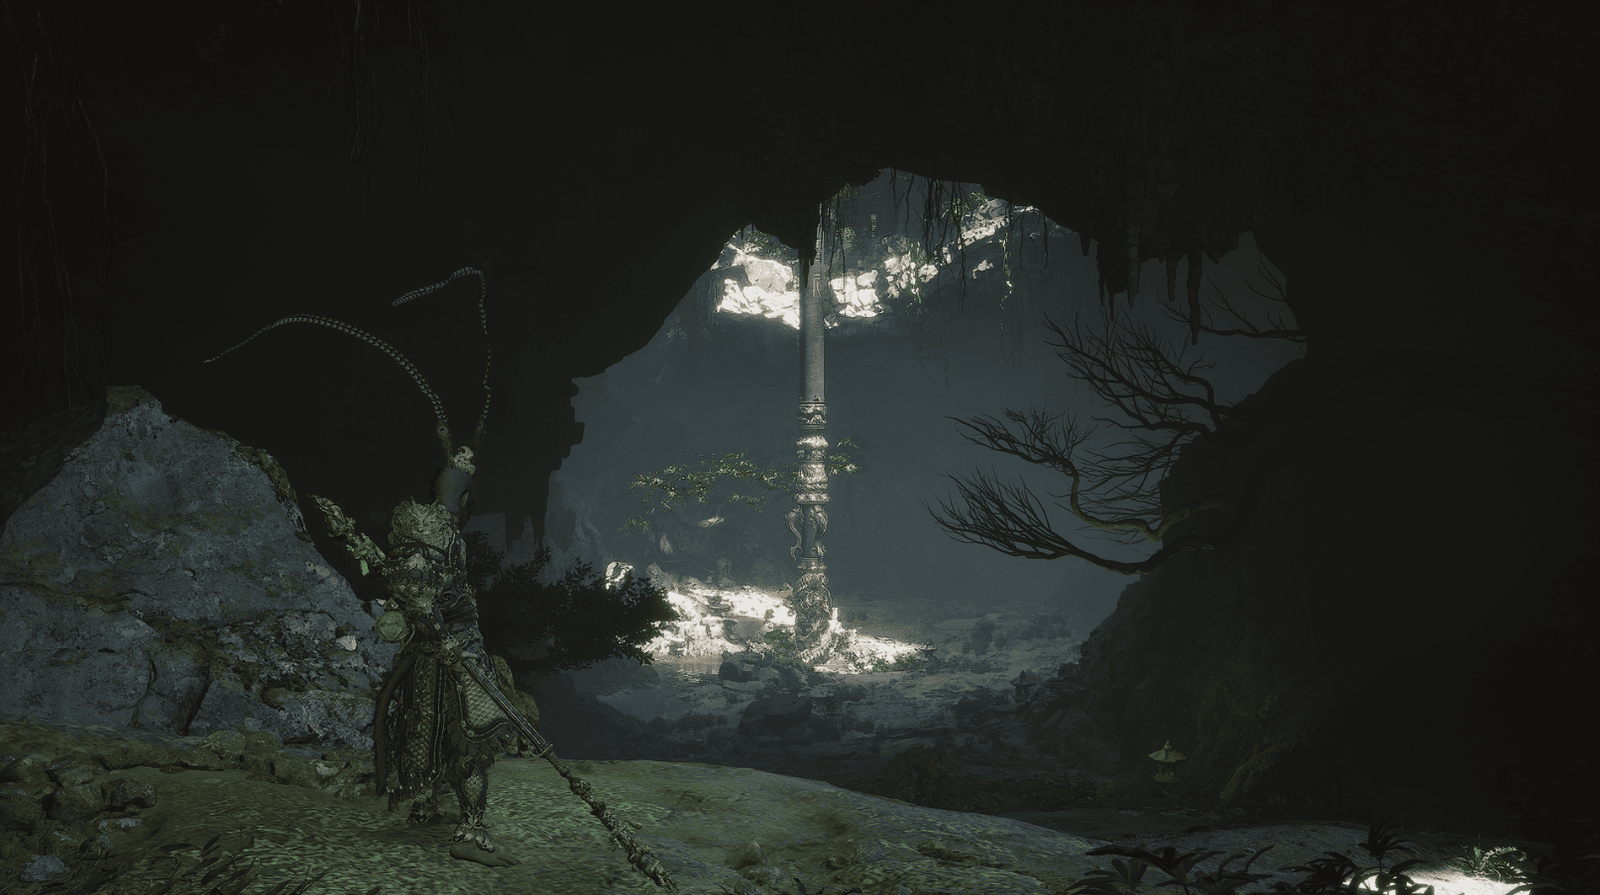
Passing through the waterfall, the Destined One will enter a large cave. In the middle of the cave is a towering stone pillar, and on top of the pillar, a giant staff, emitting a brilliant golden light – that is the Jingubang (The Compliant Golden-Hooped Rod), the divine weapon of the Great Sage Equal to Heaven. Approach the stone pillar, and a cutscene will play, recreating the classic scene of the Monkey King pulling out the Ocean-Calming Divine Pillar. Afterward, the Destined One will officially possess the Jingubang (The Compliant Golden-Hooped Rod), and their appearance will also transform, donning the majestic battle armor of the Great Sage.
Return Path
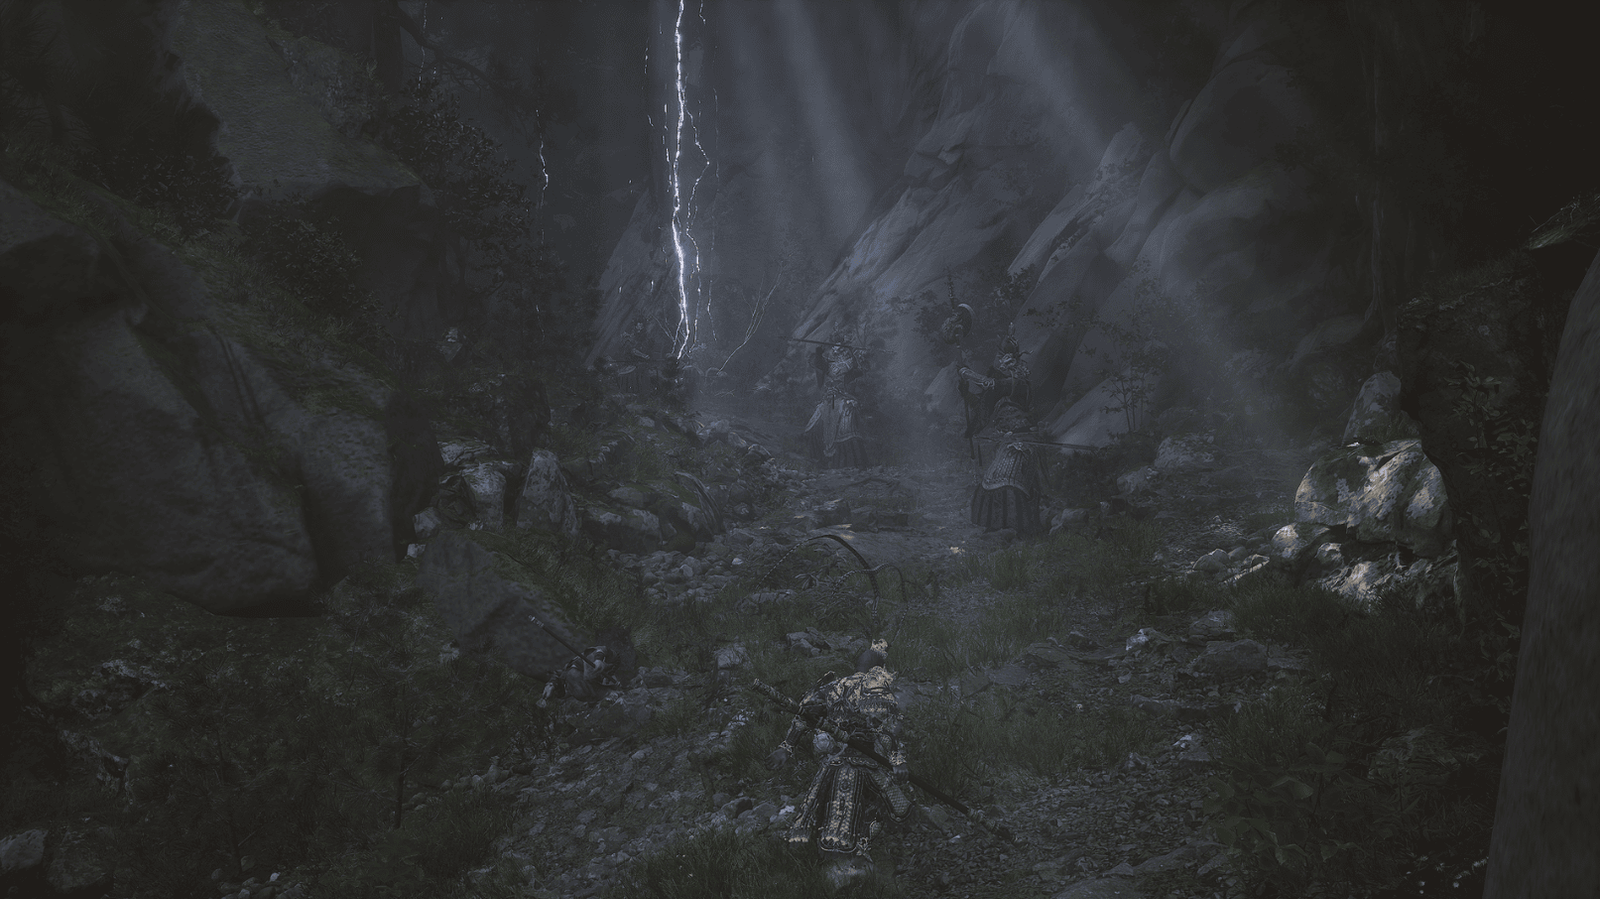
Leaving the cave, the Destined One will continue the journey along the path leading to the top of the mountain, called the Return Path. From here, countless demons will appear, blocking the Destined One‘s way. They are the Eagle Soldiers, Hound Soldiers, and Jackal Soldiers, all fierce and dangerous. This is when the Destined One needs to use all their fighting skills, especially the Jingubang (The Compliant Golden-Hooped Rod).
Peak of Innocence
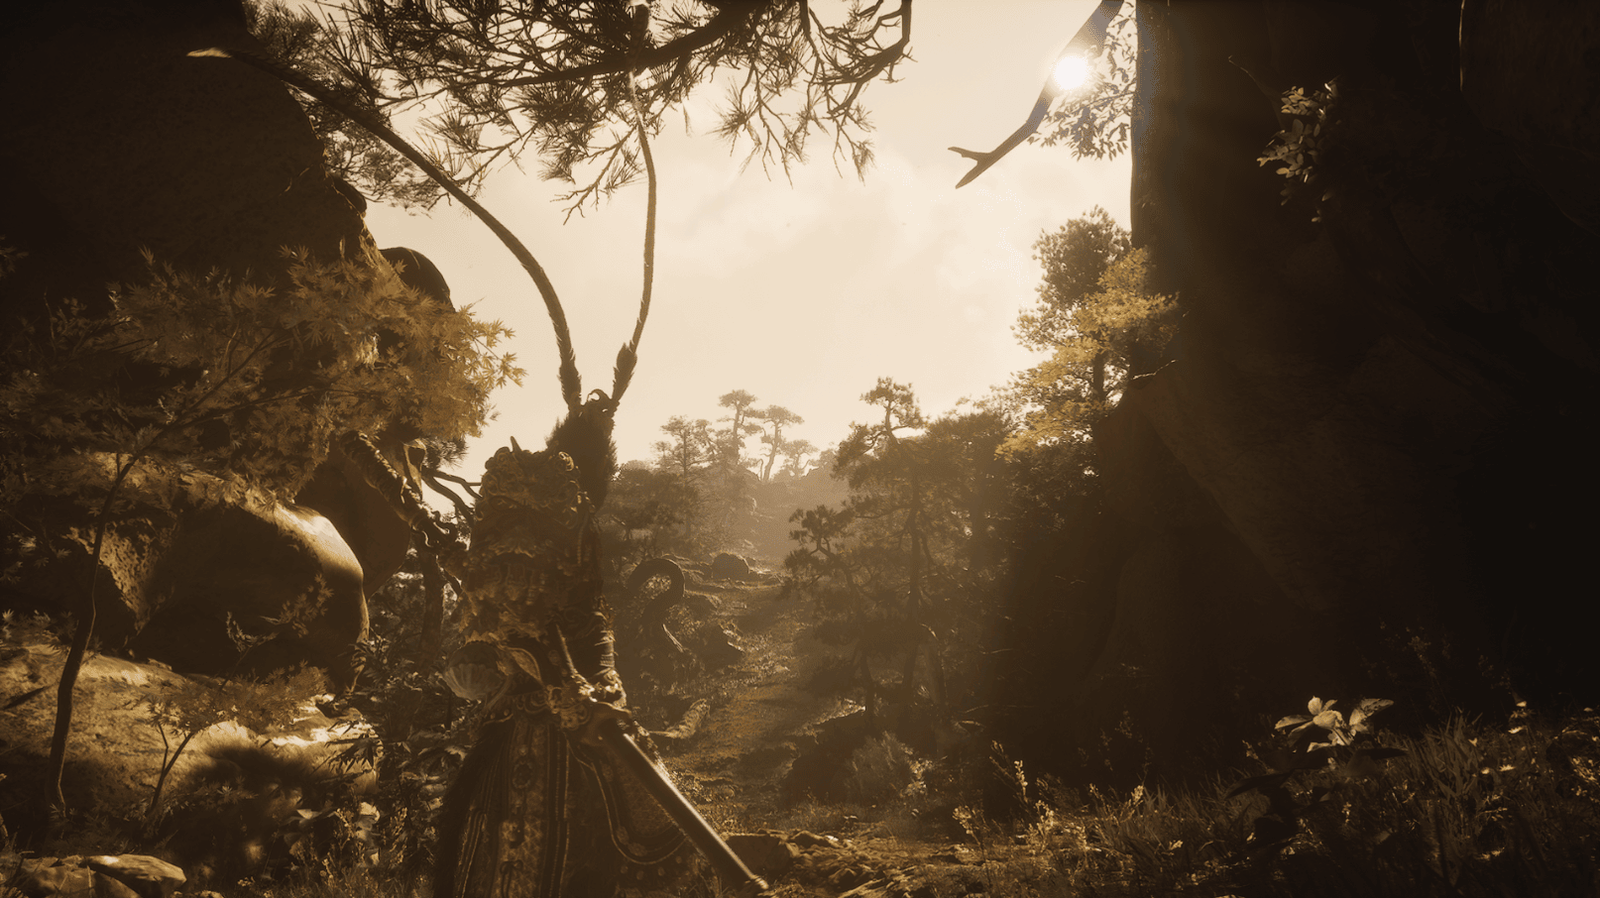
After passing through the narrow passage, the Destined One will reach the final area of the path, activate the Keeper’s Shrine: Peak of Innocence before continuing. This is the last stop before entering the fierce battle; check your Equipment, Consumables, and adjust your Strategy accordingly.
Transportation
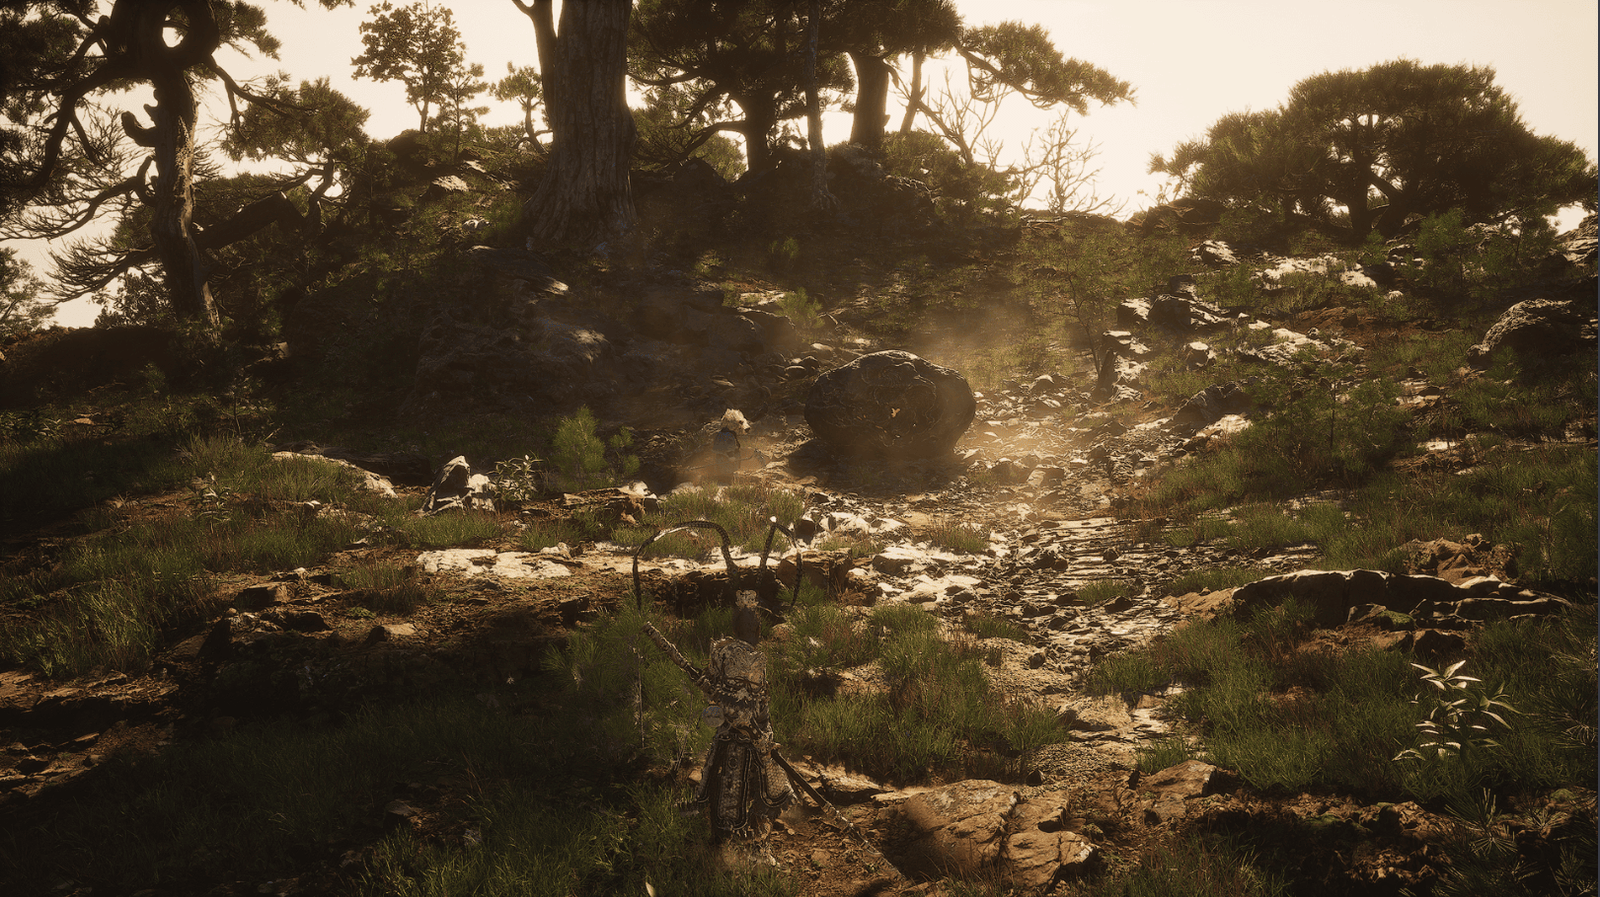
From the Keeper’s Shrine: Peak of Innocence, proceed to the top of the mountain, the Destined One will see a strange stone.
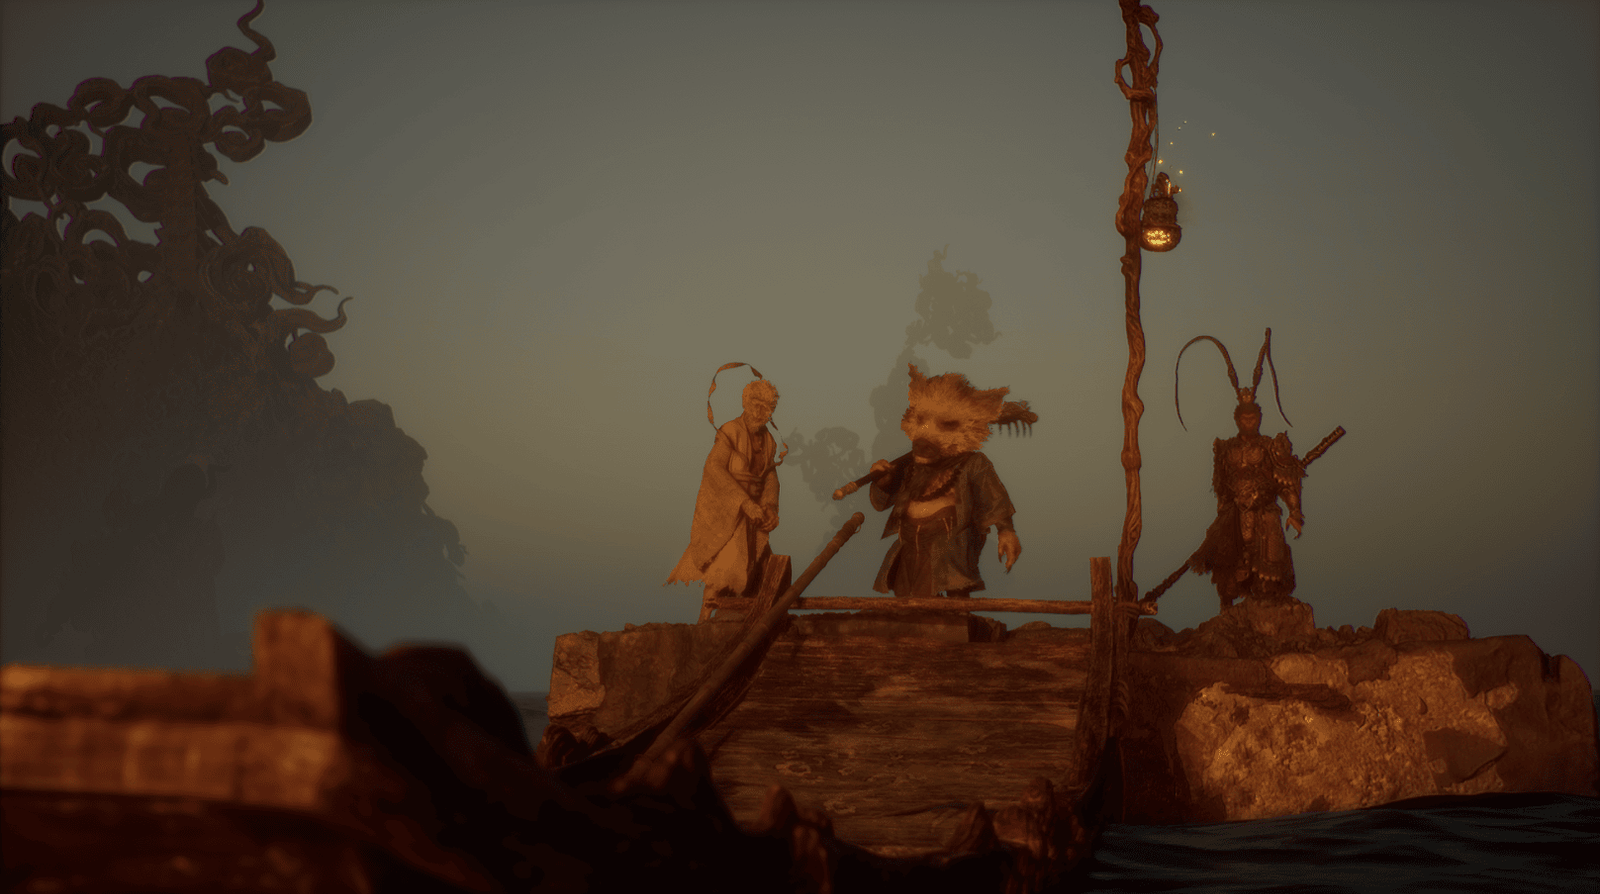
Interacting with the stone, the Destined One will meet the Old Monkey. A dialogue will take place, after which the Destined One will be taken by the Old Monkey onto a dugout canoe. The boat glides gently on the water, taking the Destined One deep into the subconscious, reminiscing about the glorious past of the Great Sage Equal to Heaven.
Birthstone – Heart of Birthstone
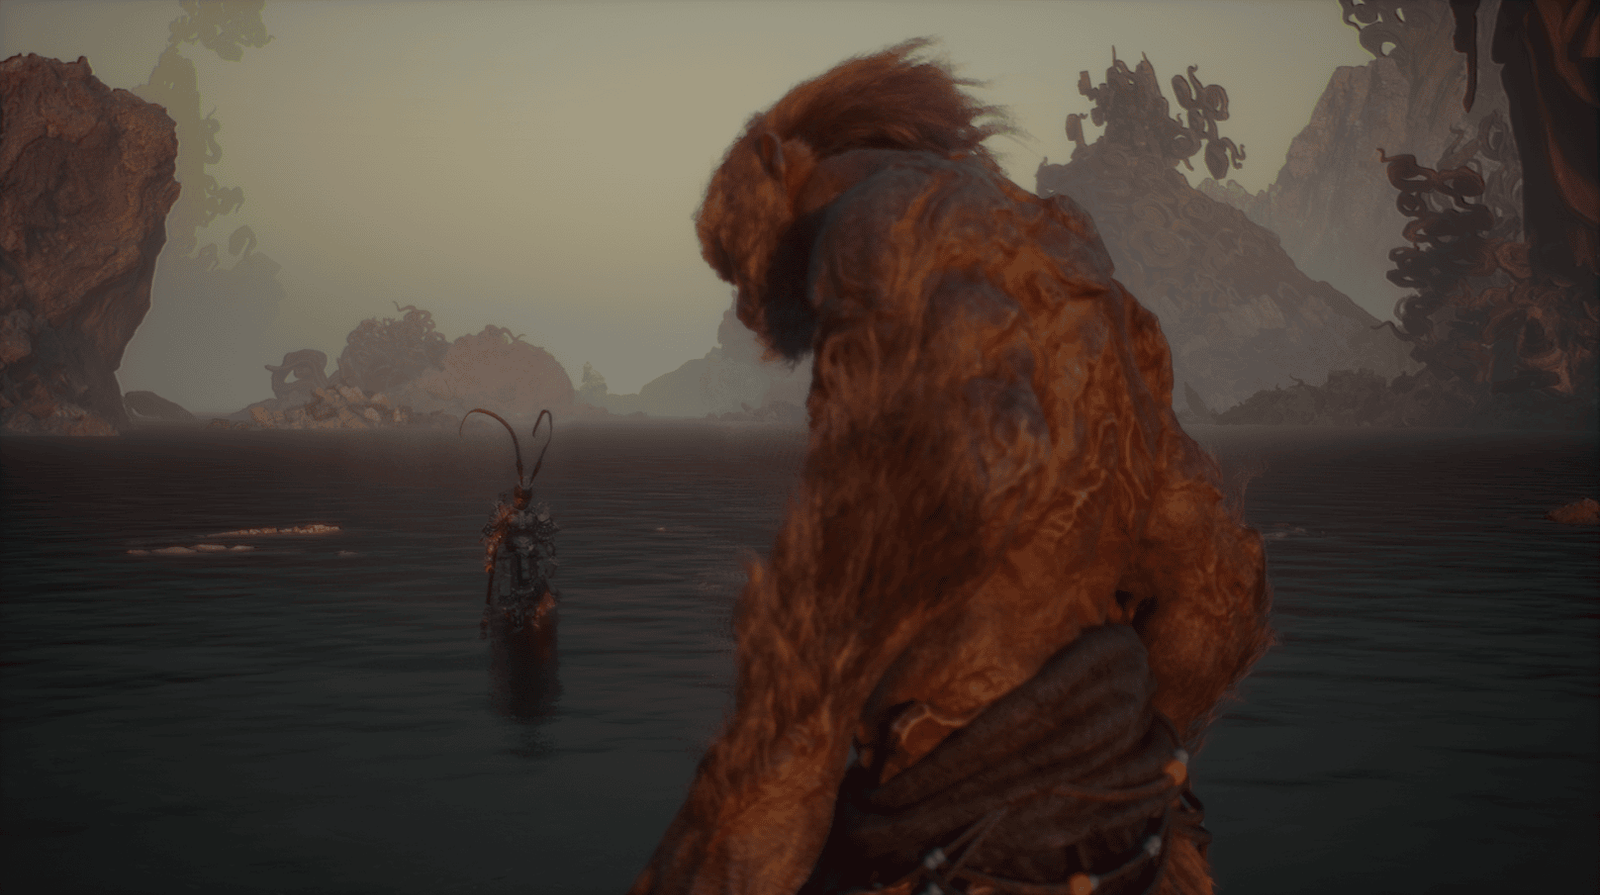
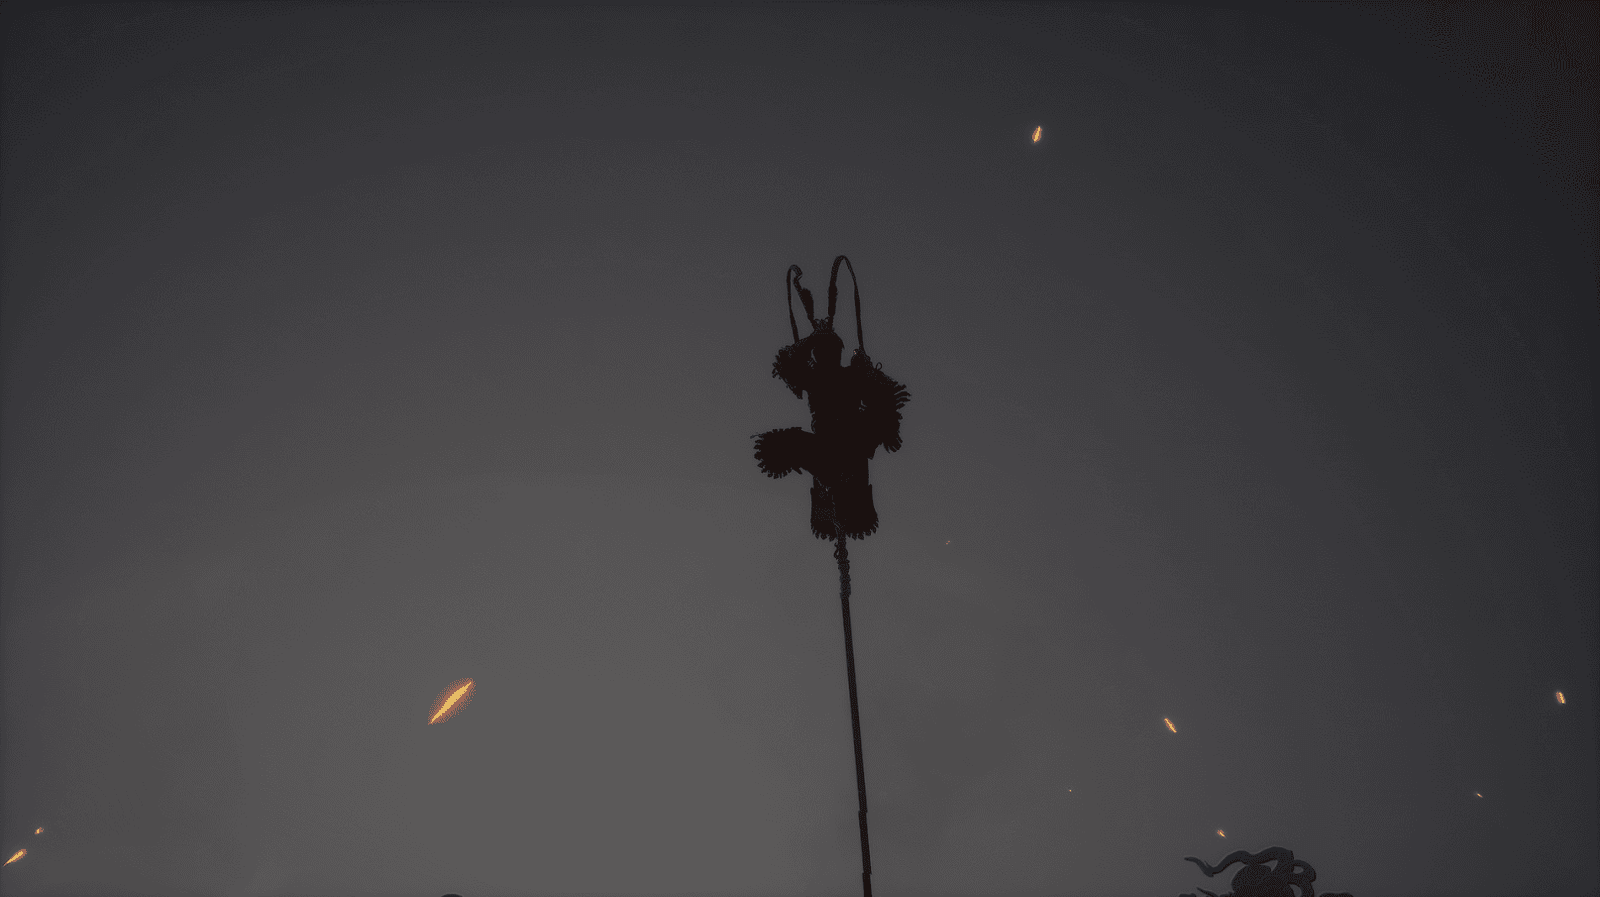
Leaving the boat, the Destined One sets foot on the Birthstone, the sacred place that birthed Sun Wukong. The scenery here is desolate and quiet, with only the sound of trickling water. In the distance, amidst the clear water, the Destined One will see the Stone Monkey meditating. Approach him, but be cautious, because as soon as the Destined One gets close enough, a battle will automatically begin.
Note: The Destined One will not be able to activate the Heart of Birthstone Keeper’s Shrine unless the Destined One fails in this battle. If that happens, don’t worry, the Destined One will automatically revive here instead of returning to the previous Keeper’s Shrine.
Stone Monkey Boss Fight
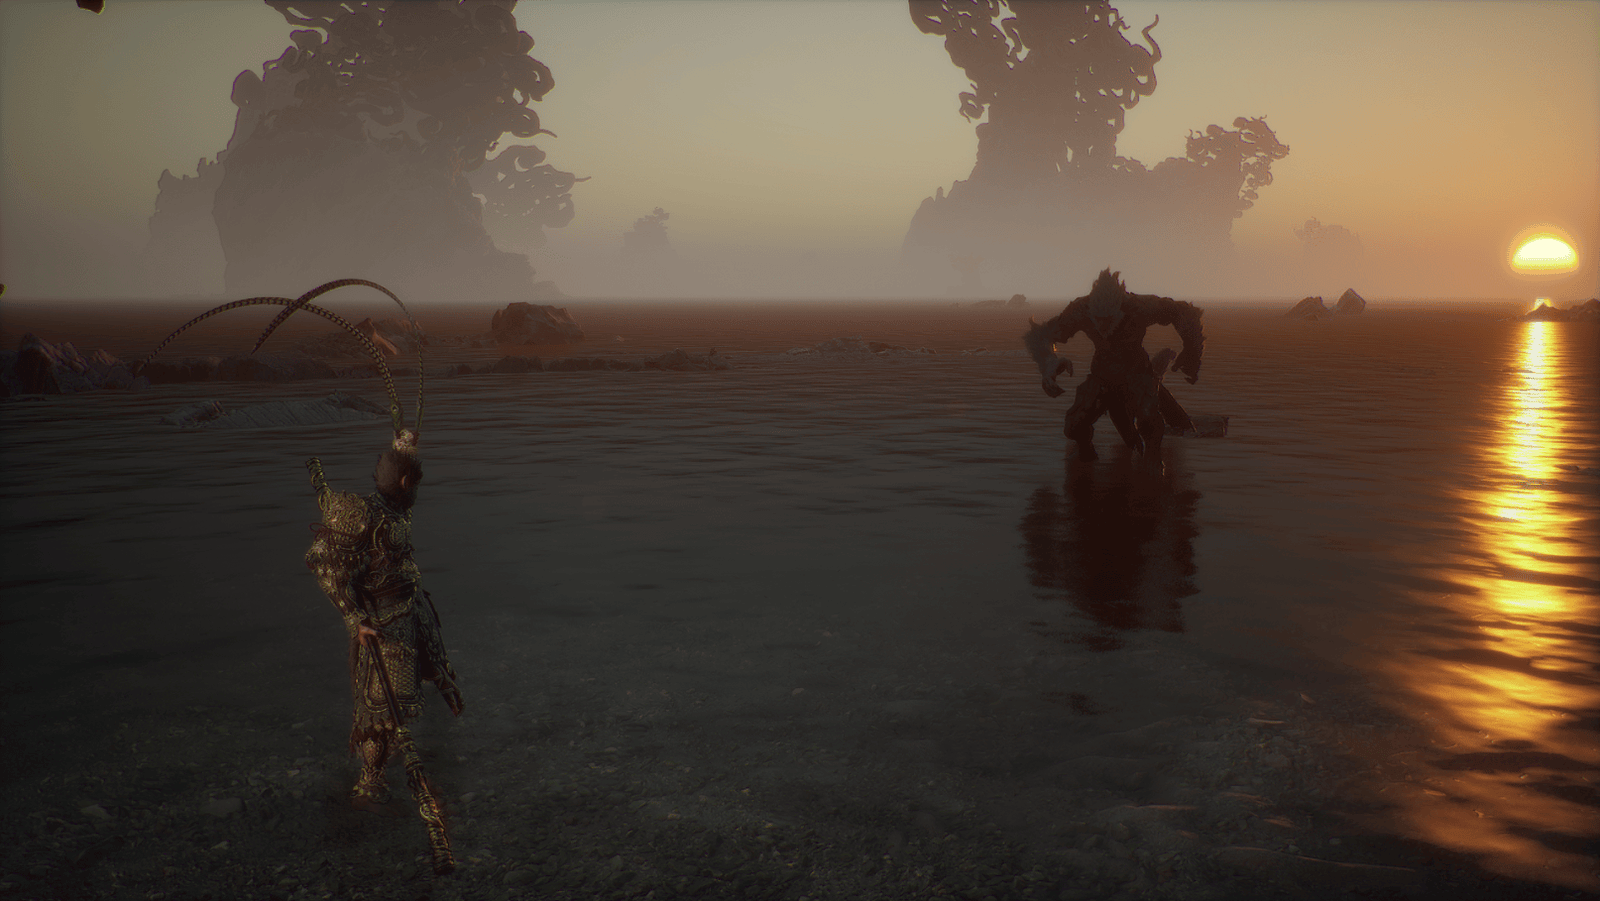
This is a challenging battle; the Stone Monkey is not an easy opponent. The Stone Monkey has two Phases, requiring the Destined One to have skillful tactics and combat skills.
Phase One
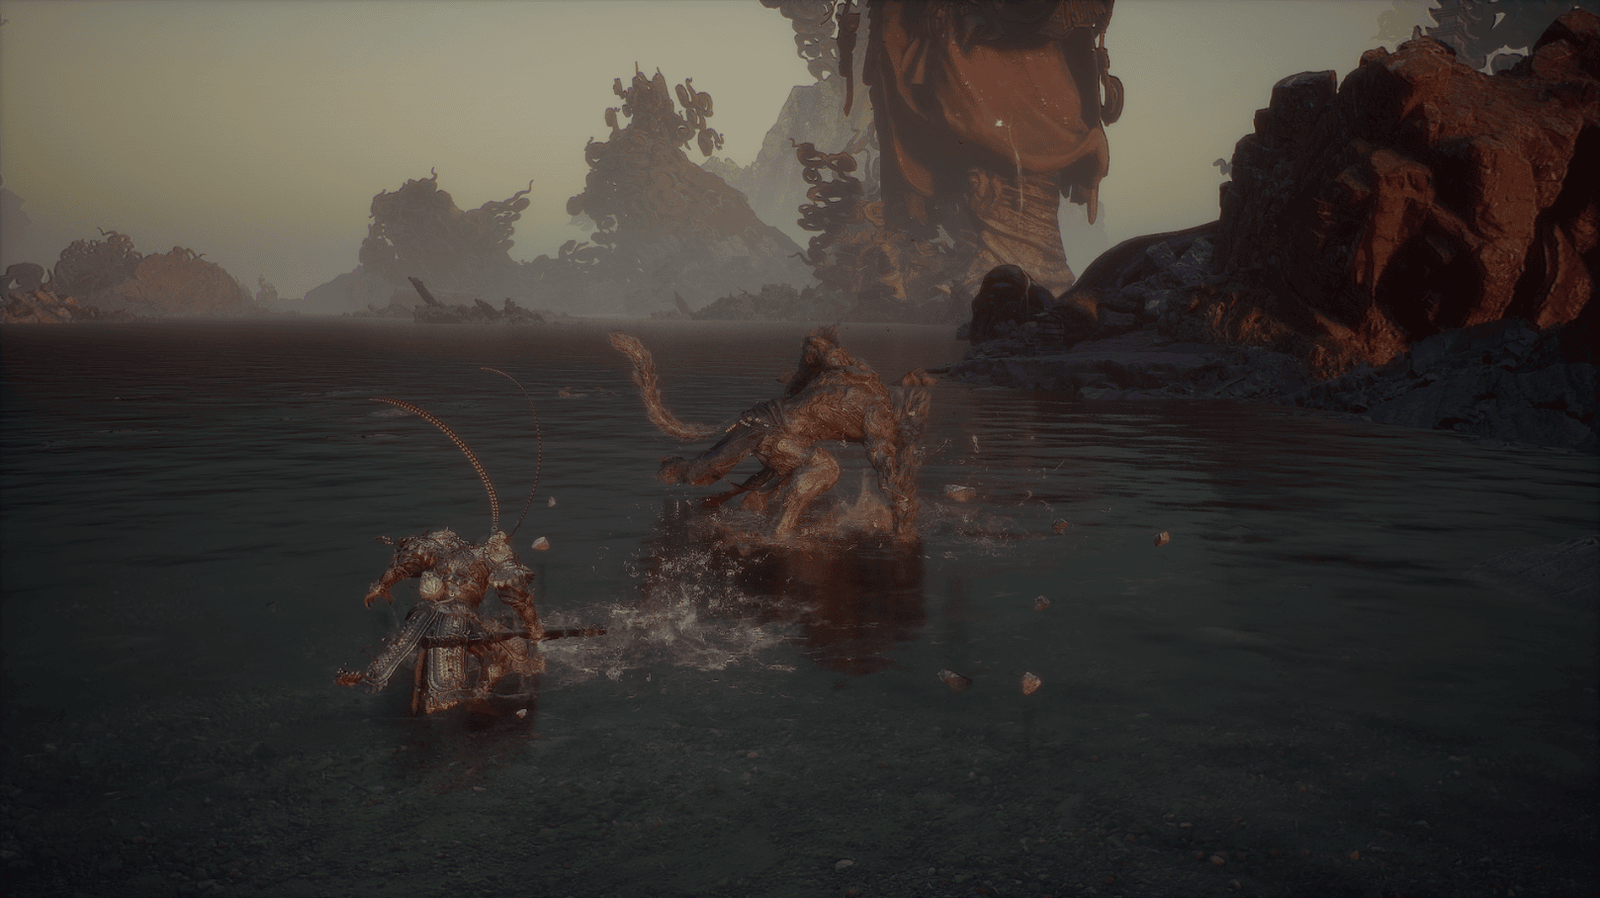
The Stone Monkey is very strong and resistant to Elemental Attacks. Therefore, the Destined One should focus on Physical Attacks and increase their Critical Hit rate.
In the first phase, the Stone Monkey will attack with a flurry of punches and kicks. Dodge to accumulate Focus. Utilize Wukong’s Armor and Staff to unleash Heavy Attacks when you have 4 Focus points.
Beware of the ground stomp that creates a Shockwave; jump to avoid it. When the Stone Monkey is low on health, he will begin to teleport; pay close attention to the ripples on the water to predict his appearance.
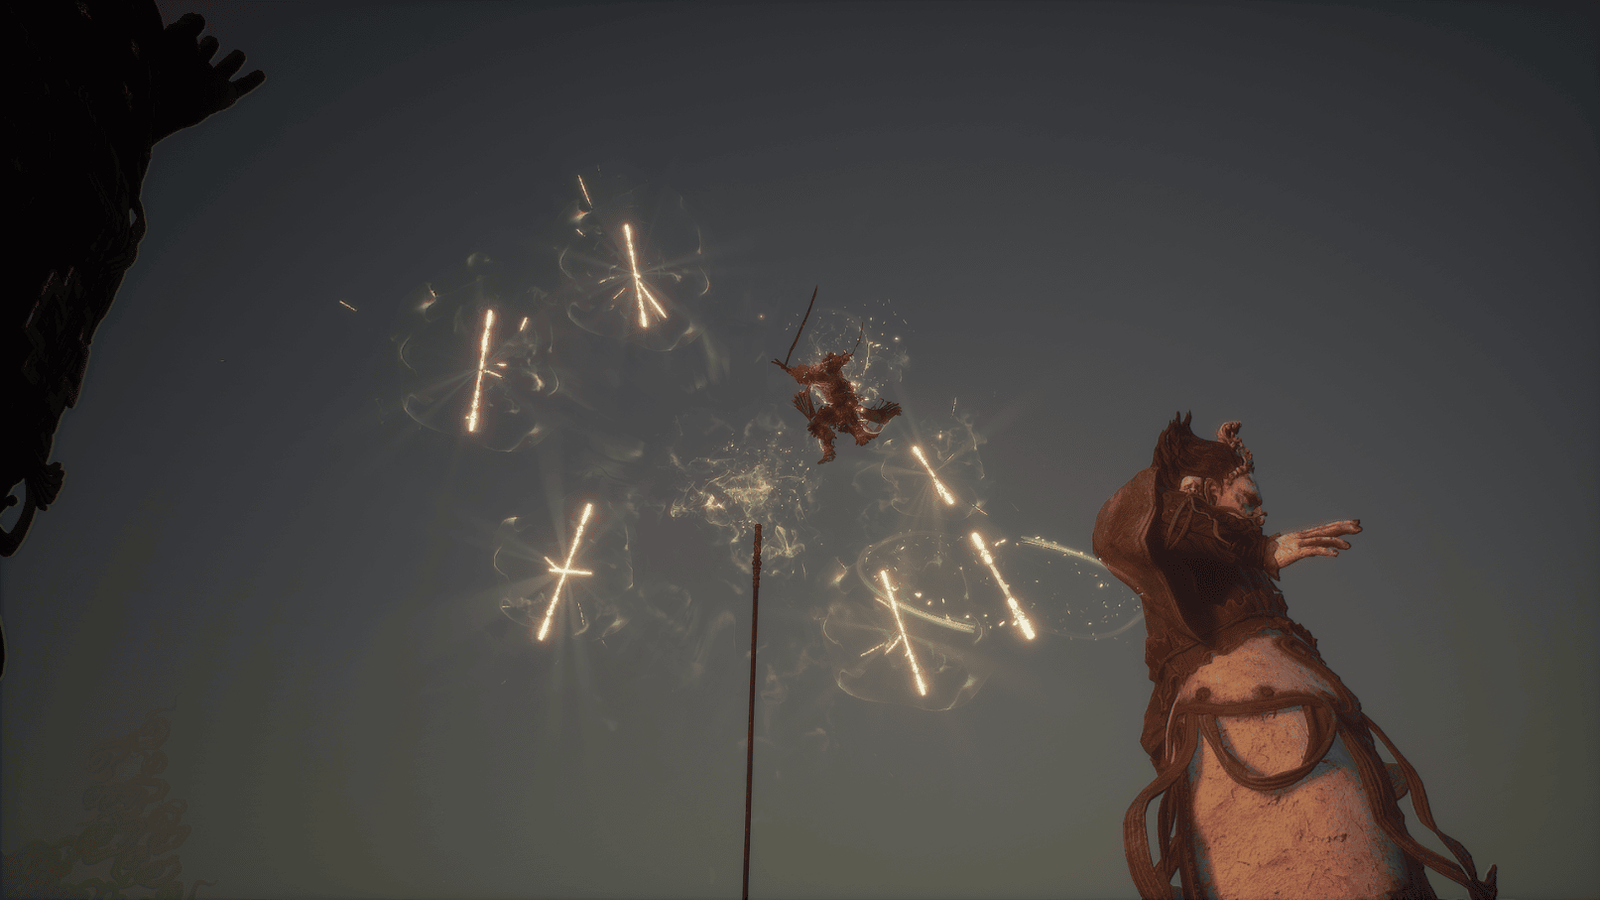
Phase Two
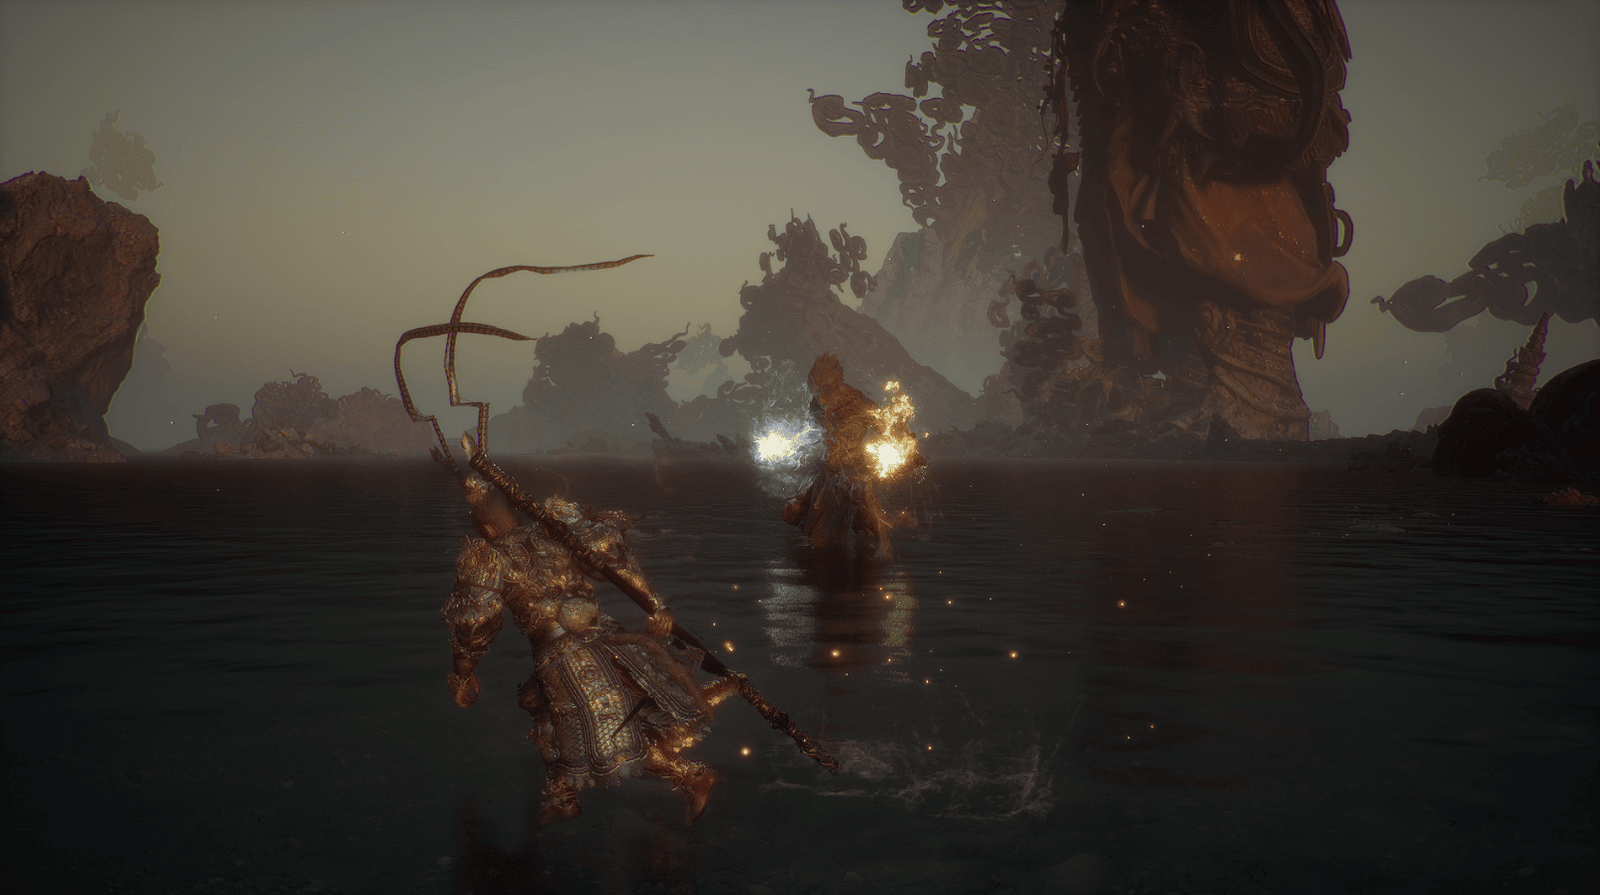
When Phase One ends, a cutscene will play. The Stone Monkey transforms, his hands ignite, his health is fully restored, and the battle enters the second phase, which is much more difficult.
The Stone Monkey‘s attacks are essentially unchanged, but instead of creating shockwaves with stone, he will use fire and ice. Use the Fire Vessel to counter fire damage and the Body-Cooling and Body-Warming Powders mentioned above. In particular, use the Plantain Fan to suppress the Stone Monkey‘s element, creating an opportunity to attack.
The Stone Monkey will use Pluck of Many, creating two clones at the same time, each clone carrying an element (fire or ice) and having its own health bar. Focus on destroying each clone one by one; you can use Immobilize to fix one clone and focus on attacking the other. Beware of attacks that knock up large rocks and fire/ice balls.
The Great Sage’s Broken Shell Boss Fight
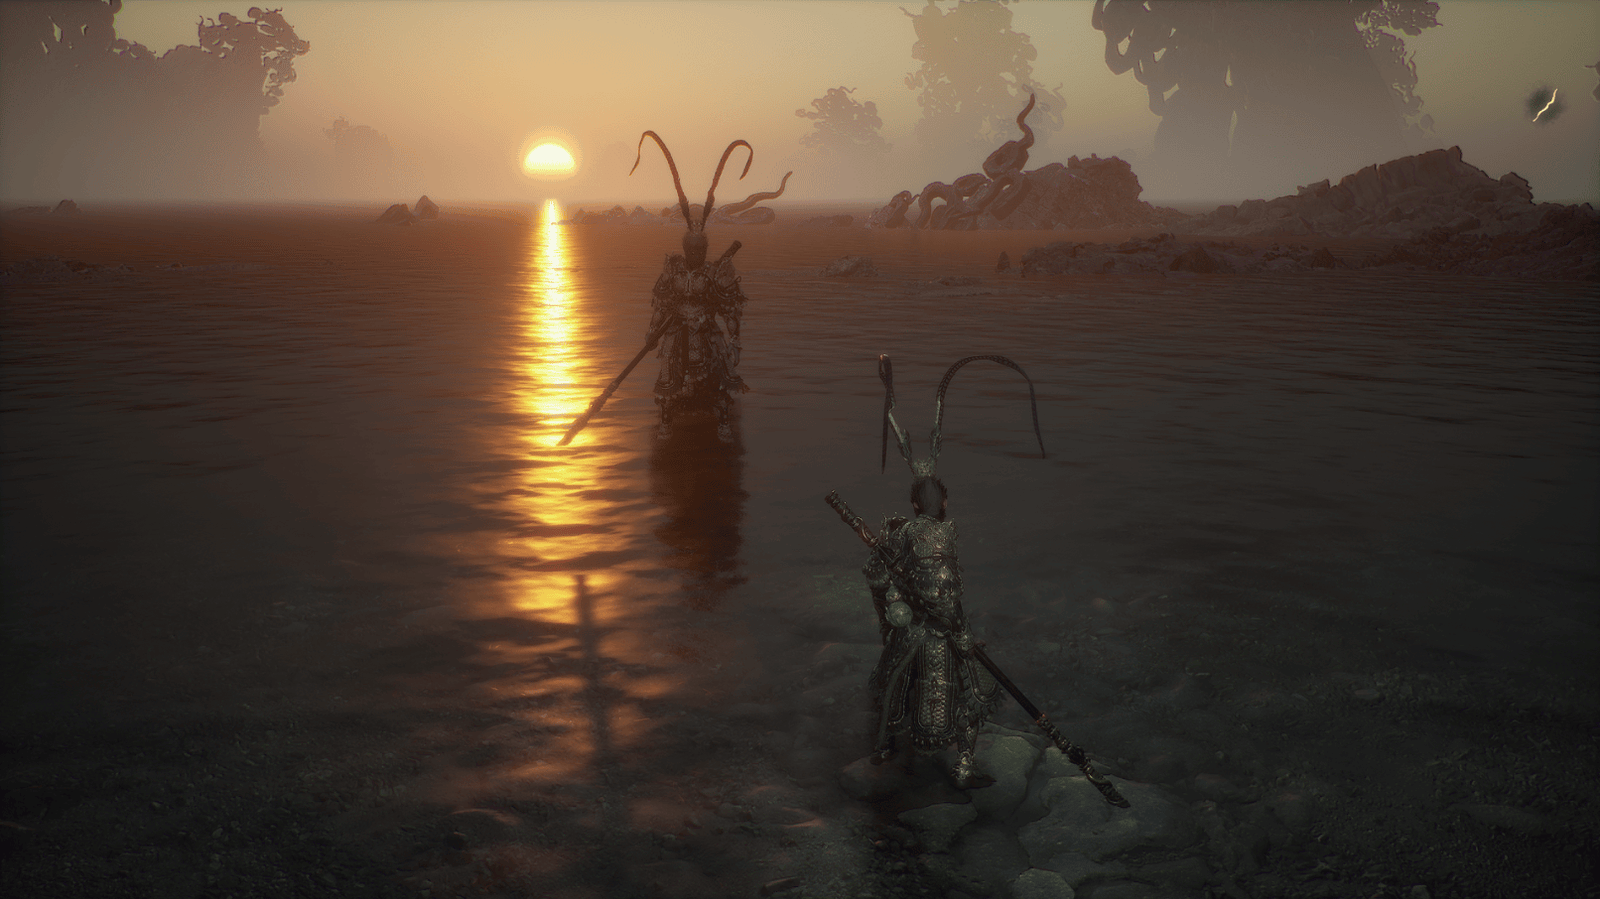
After defeating the Stone Monkey, the Destined One will face the final challenge: The Great Sage’s Broken Shell. This is a remnant form of the Great Sage Equal to Heaven, much stronger and more dangerous.
The Great Sage’s Broken Shell is an “upgraded” version of the Destined One; he can use all the Skills and Stances that the Destined One possesses.
Recommended Equipment
- Spell: It is recommended to equip a fully upgraded Ring of Fire, or Spell Binder if unlocked.
- Items: Continue to use the Plantain Fan, Loong Aura Amplification Pellets, Ginseng Pellets, and Enhanced Tiger Subduing Pellets.
- Transformation: Ebon Flow is a good choice to counter The Great Sage’s Broken Shell‘s attacks.
- Spirit: Wandering Wight Spirit can deal significant damage.
Phase One
The Great Sage’s Broken Shell has Perfect Dodge, leaving behind illusions that explode after a few seconds.
Attack quickly, then retreat to avoid the exploding illusions. Use the Plantain Fan to push him back, creating an opportunity to attack. Utilize Focus to unleash Heavy Attacks.
He will use the Pillar Stance, Thrust Stance, and Pluck of Many. Be careful when he jumps high (Pillar Stance) and dashes forward quickly (Thrust Stance). When he uses Pluck of Many, clones will appear and attack continuously, but they will disappear after one hit.
Phase Two
The Great Sage’s Broken Shell will steal the Destined One‘s Relics, removing their beneficial effects. At this point, the Destined One must rely on Medicines, Curios, and Spells.
He can use Immobilize and steal the Destined One‘s Gourd. Limit the use of the Gourd and avoid it when he uses Immobilize.
His attacks will be stronger and more unpredictable, especially the Somersault Cloud attack.
Focus on accumulating Focus; use the Ring of Fire to regain Focus faster. Prioritize using the Smash Stance to unleash powerful Heavy Attacks. Continue to use the Plantain Fan for control.
Step into The Great Sage’s Broken Shell‘s Ring of Fire to regain Focus. Use Ginseng Pellets and the Ring of Fire to regain Focus quickly.
The Destined One‘s journey is not yet over. After completing the game, the Destined One can return to Chapter 3, the Great Pagoda area, to unlock the Secret Ending at Mount Mei. Completing Mount Mei will unlock the game’s “True Ending“, providing a more complete view of the story.
Additionally, when the Destined One chooses “Enter a New Cycle” on the main screen, the Destined One will receive the Sixth of the Great Sage’s Relics, called Free Mind.