
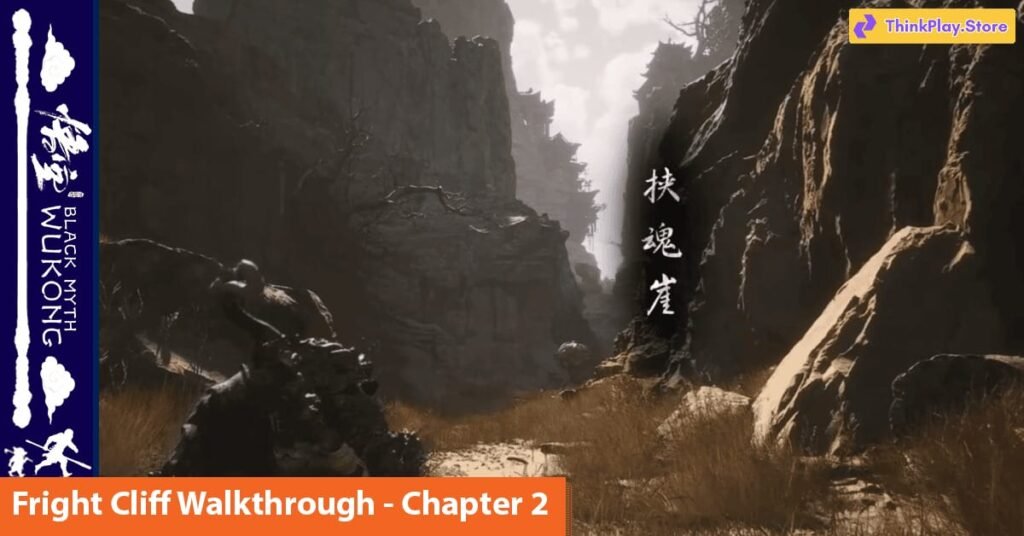
Fright Cliff is an unmissable part of Chapter 2 of the game, with the full name being Yellow Sand, Desolate Dusk. Located within the vast region of Yellow Wind Ridge, Fright Cliff is known for its treacherous terrain: deep canyons, dark caves, and crumbling ruins. But don’t be discouraged, because hidden behind that daunting exterior are countless secrets, valuable items, and intense boss fights waiting for you to discover.
Squall Hideout
Squall Hideout is the first area you’ll enter when you step into Fright Cliff. To get here, you need to go through Sandgate Village, defeat King of Flowing Sands and Second Rat Prince, then cross the bridge to the right of the sealed door. Squall Hideout is a relatively complex area, with many overlapping paths, hidden caves, and dangerous enemies. The highlight of this area is Fright Cliff’s Shrine, where you can recover and upgrade.
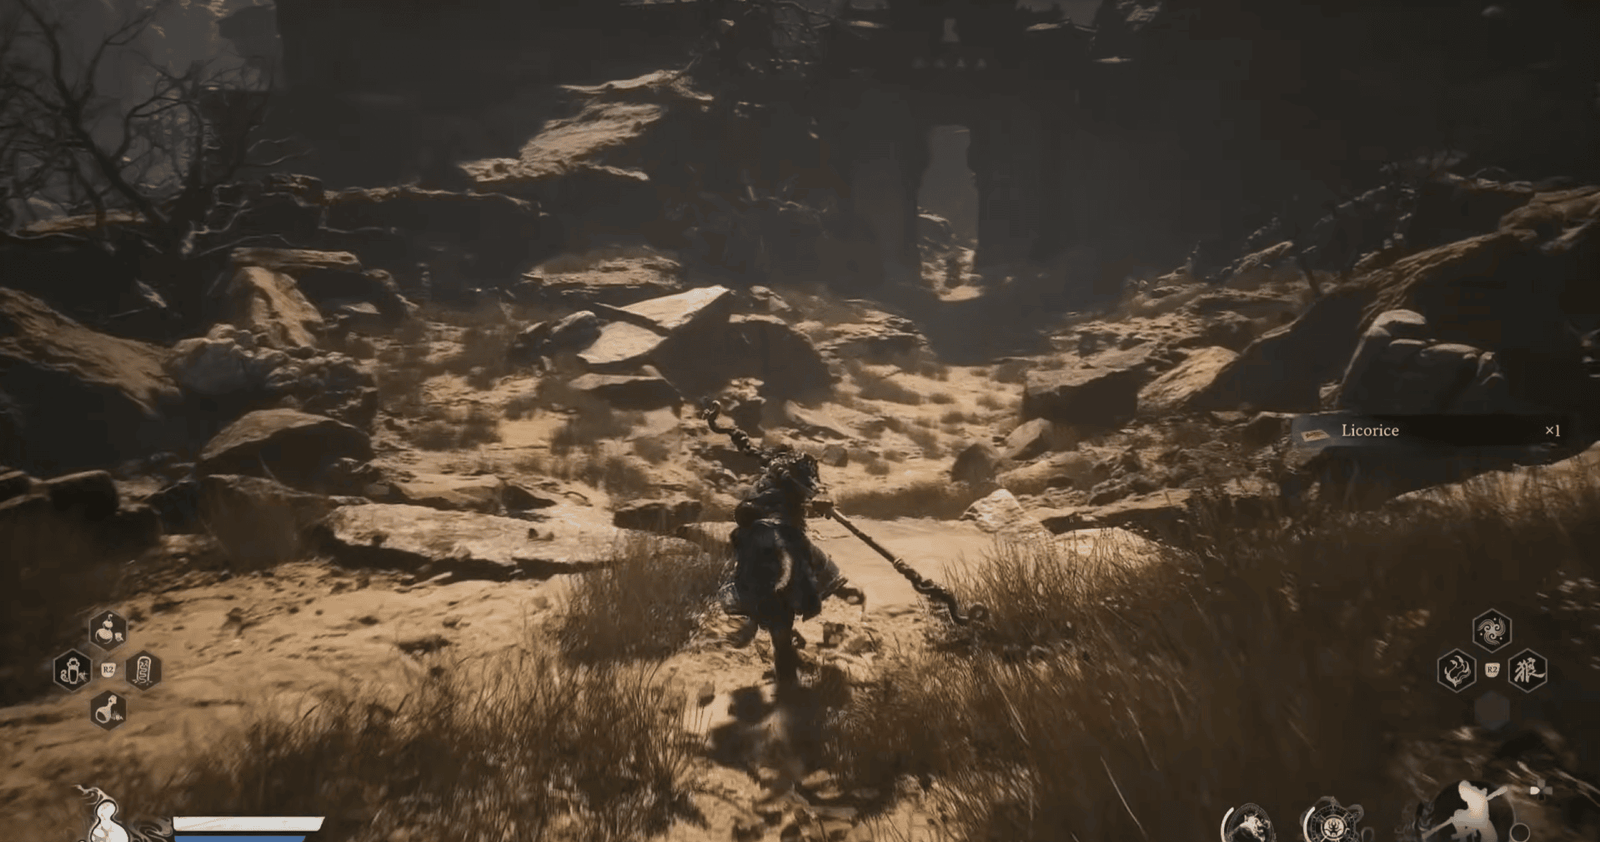
After crossing the bridge, you will see some Licorice on the side of the road.
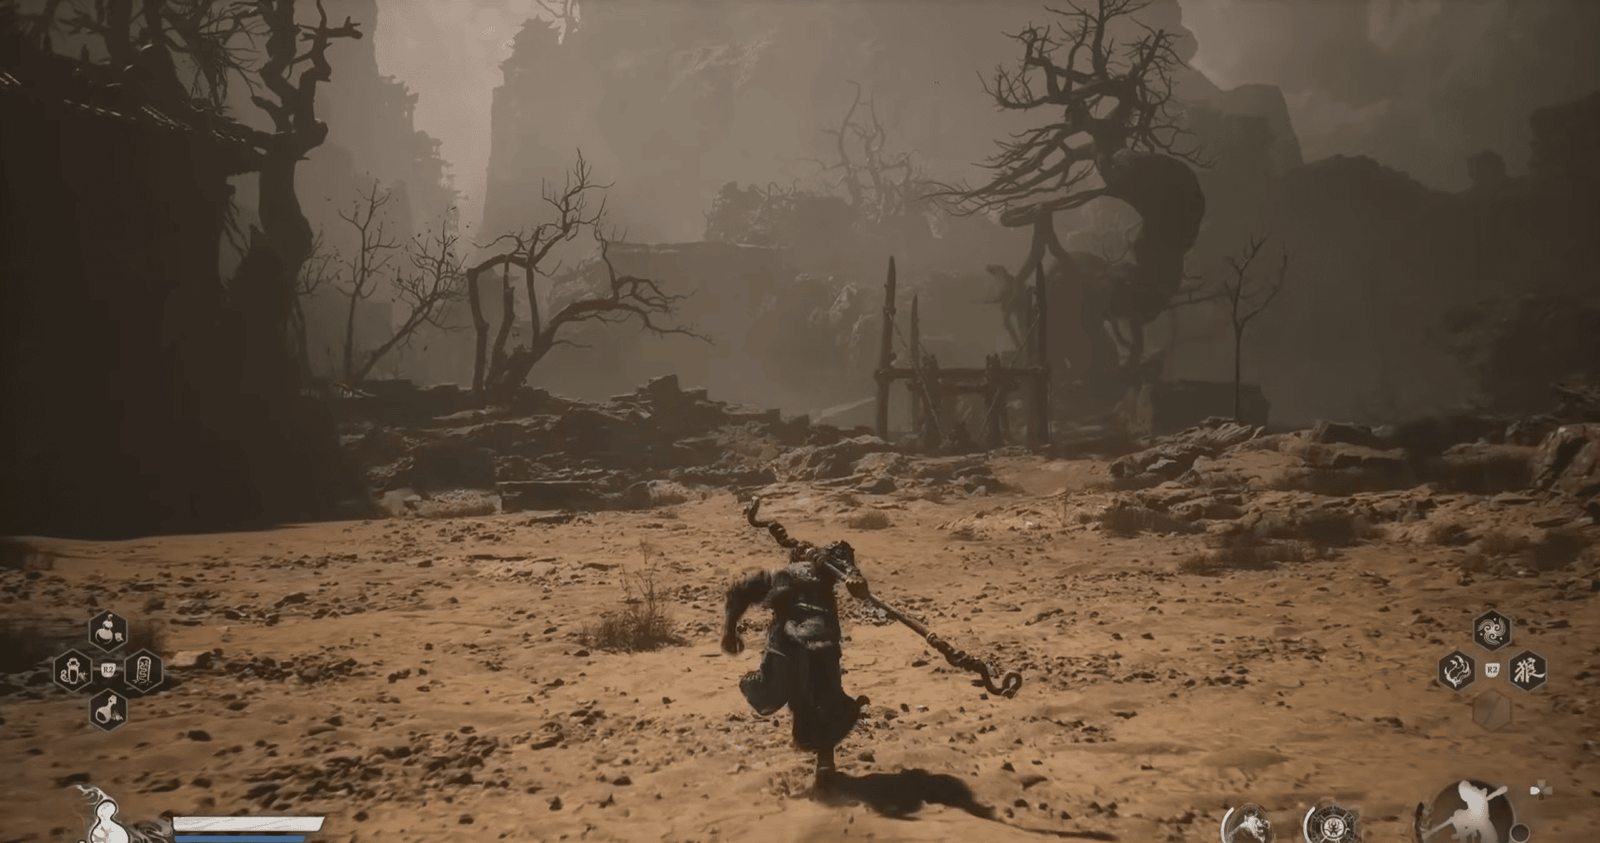
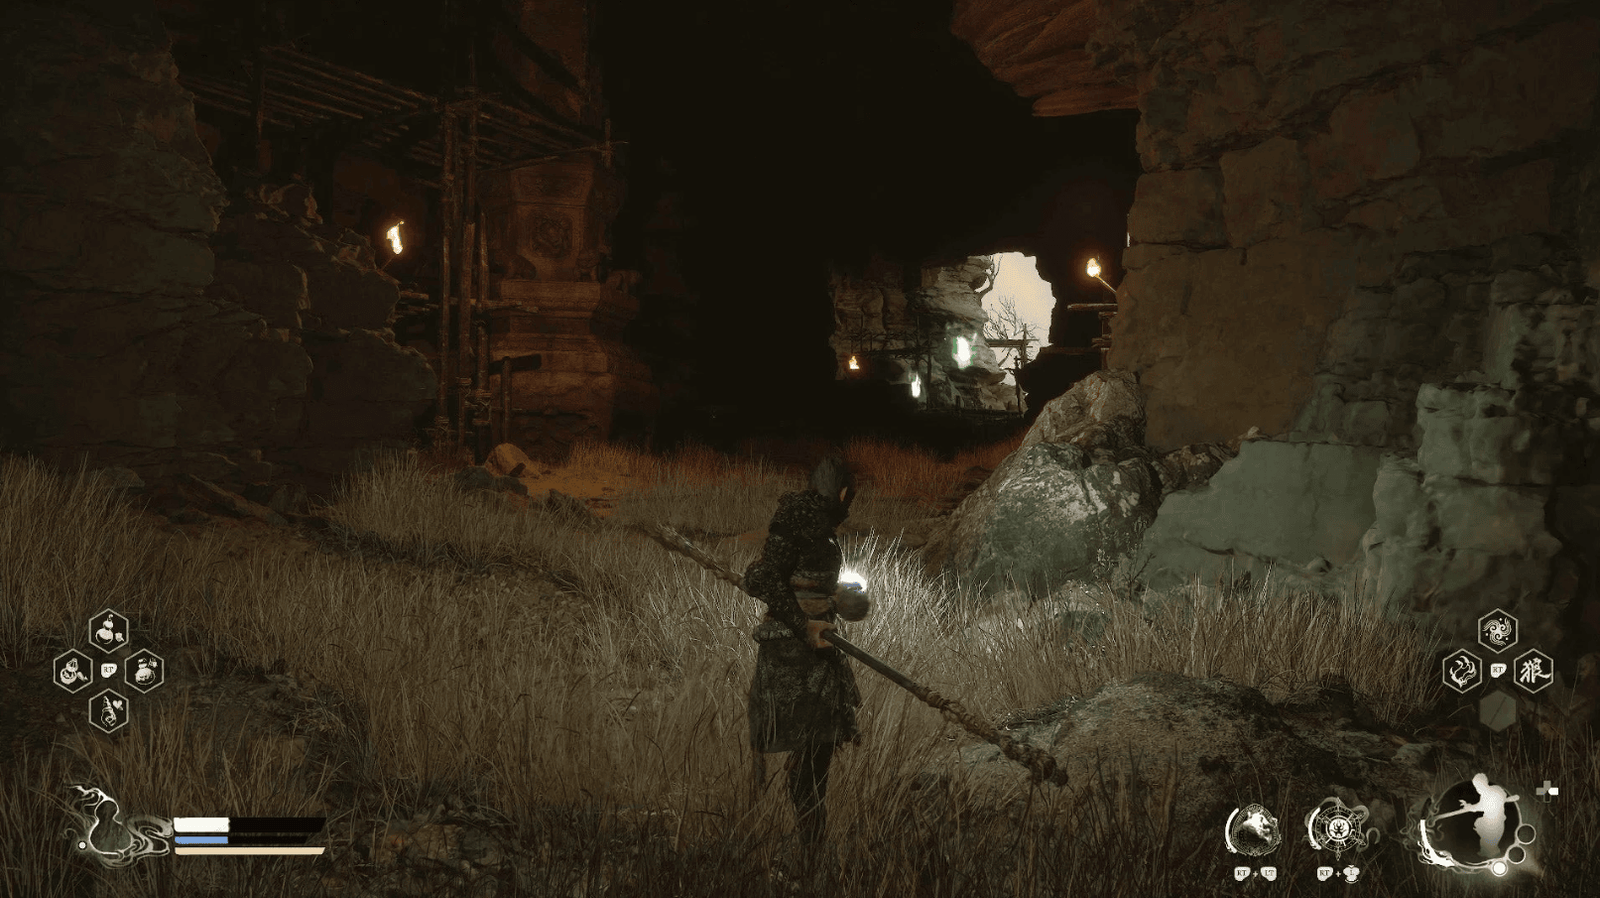
Look to the left, you’ll see a large archway in the distance.
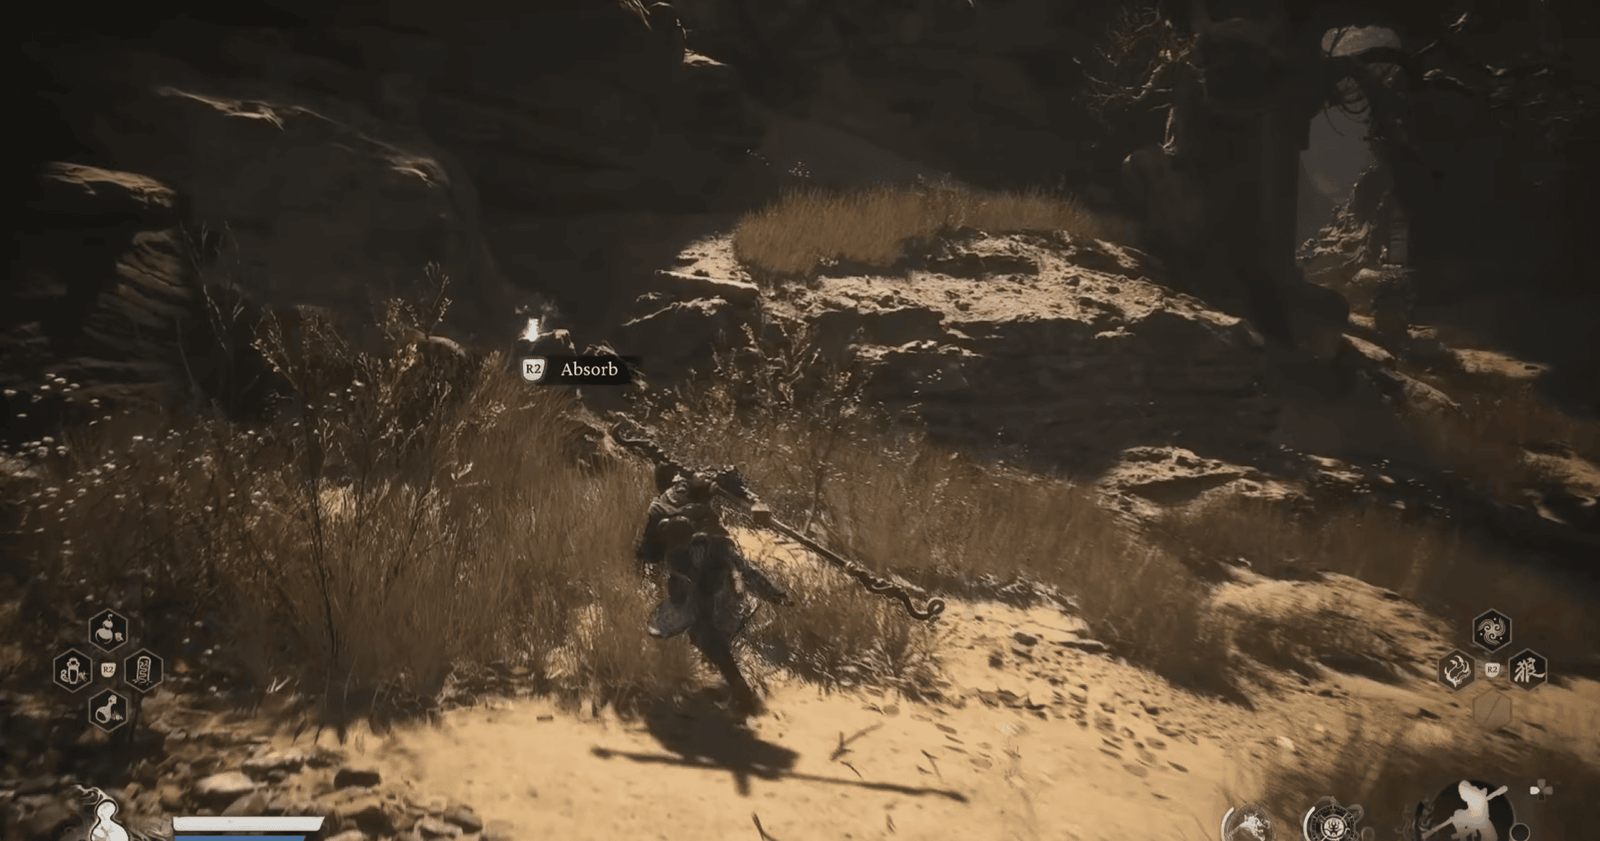
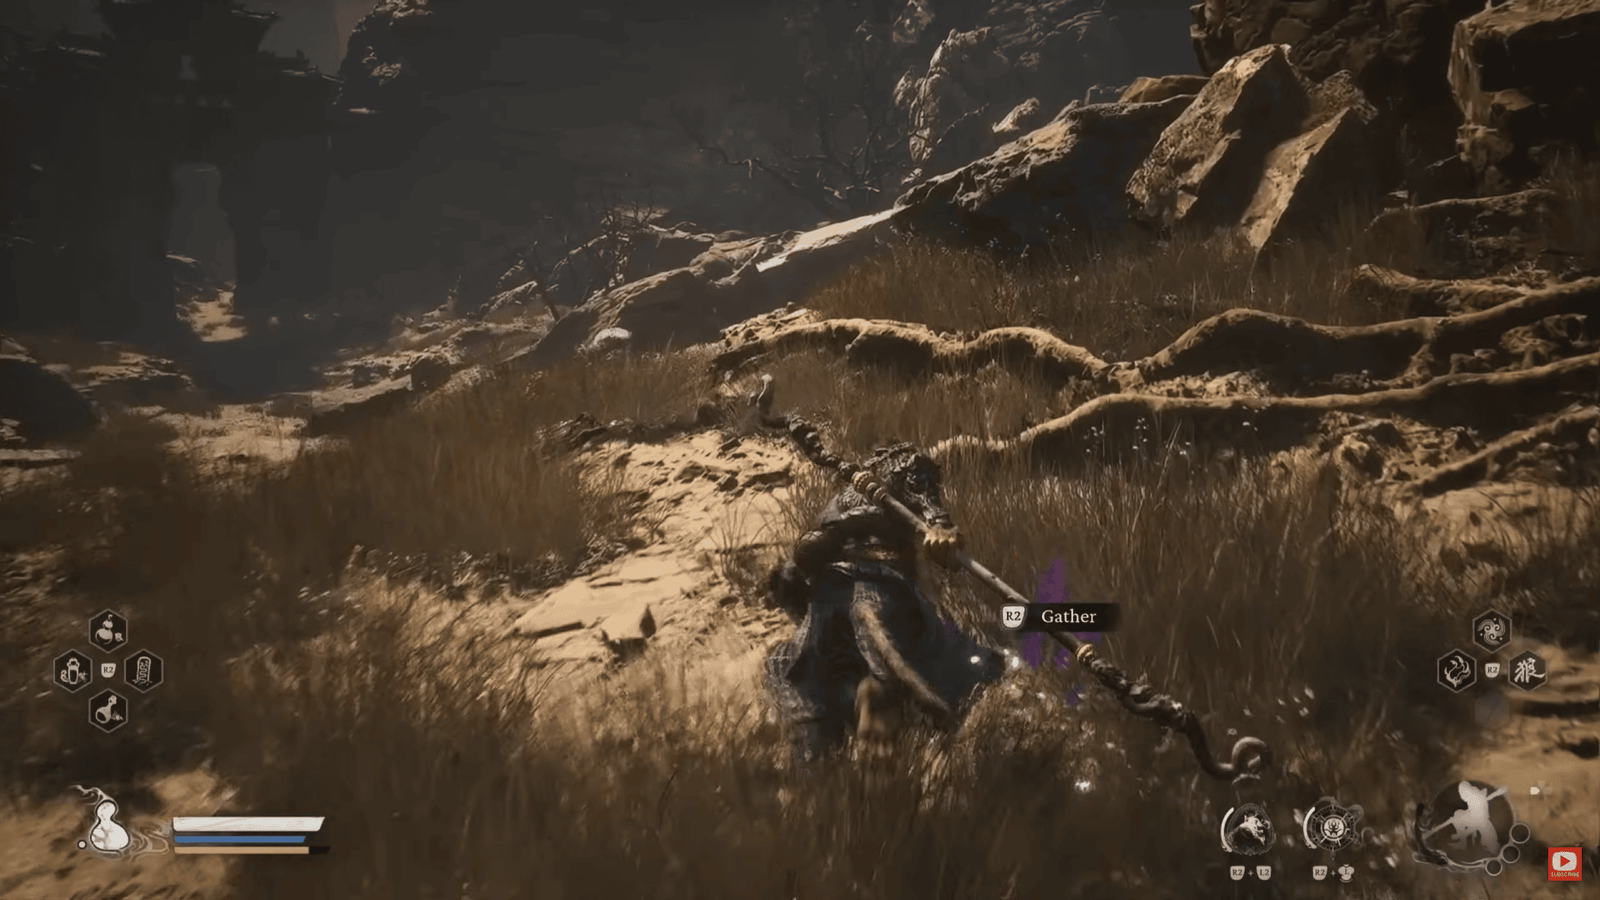
Head towards the archway, you will see a Green Wisp on the left side of the path. Wisp is an important energy source in the game.
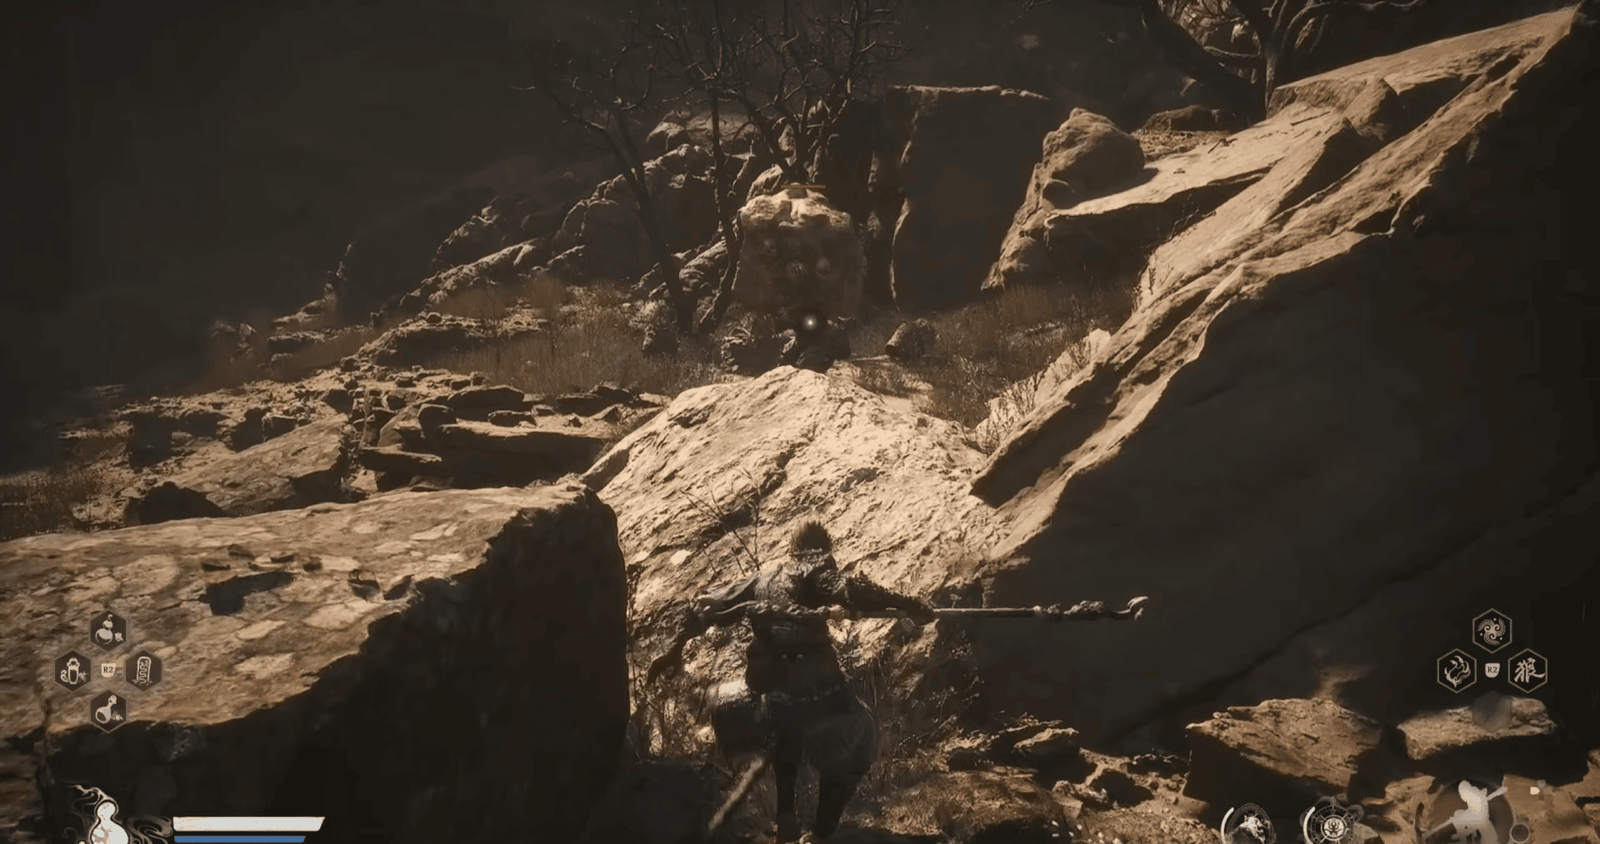
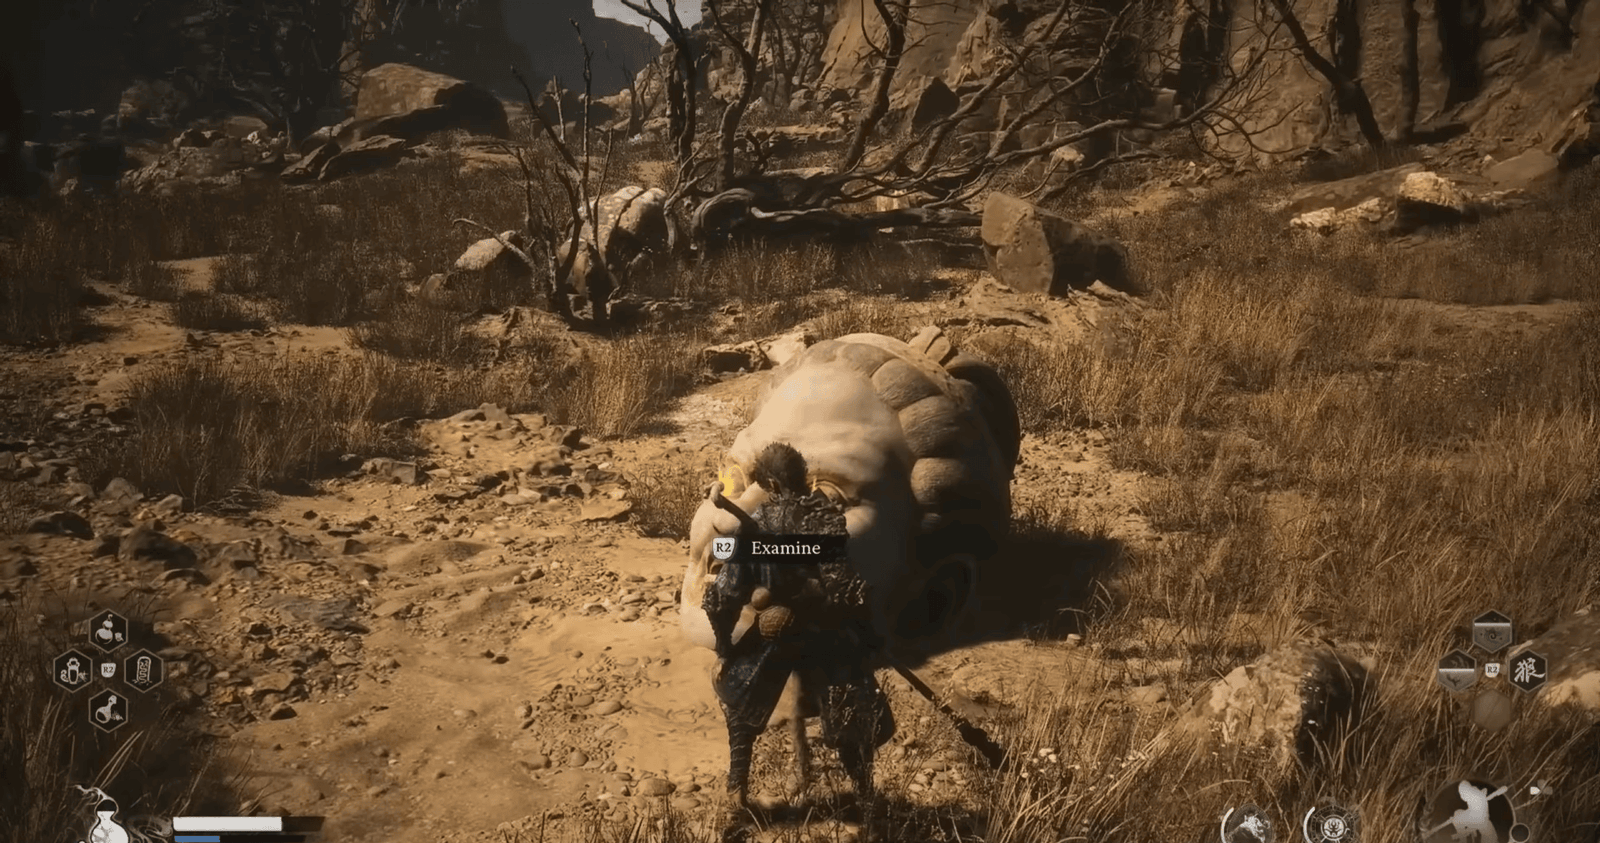
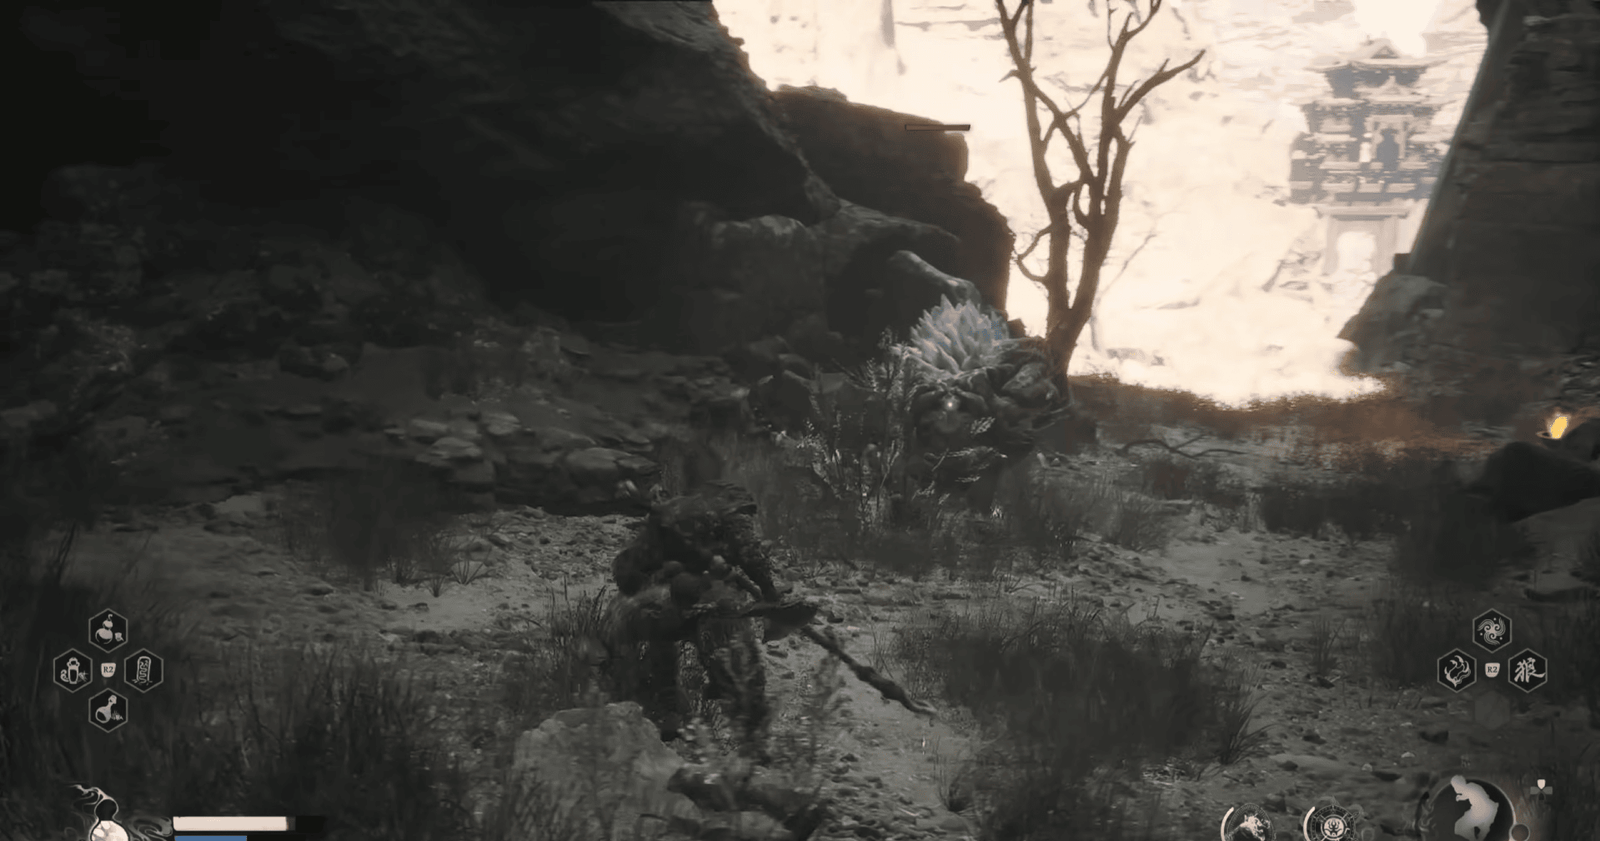
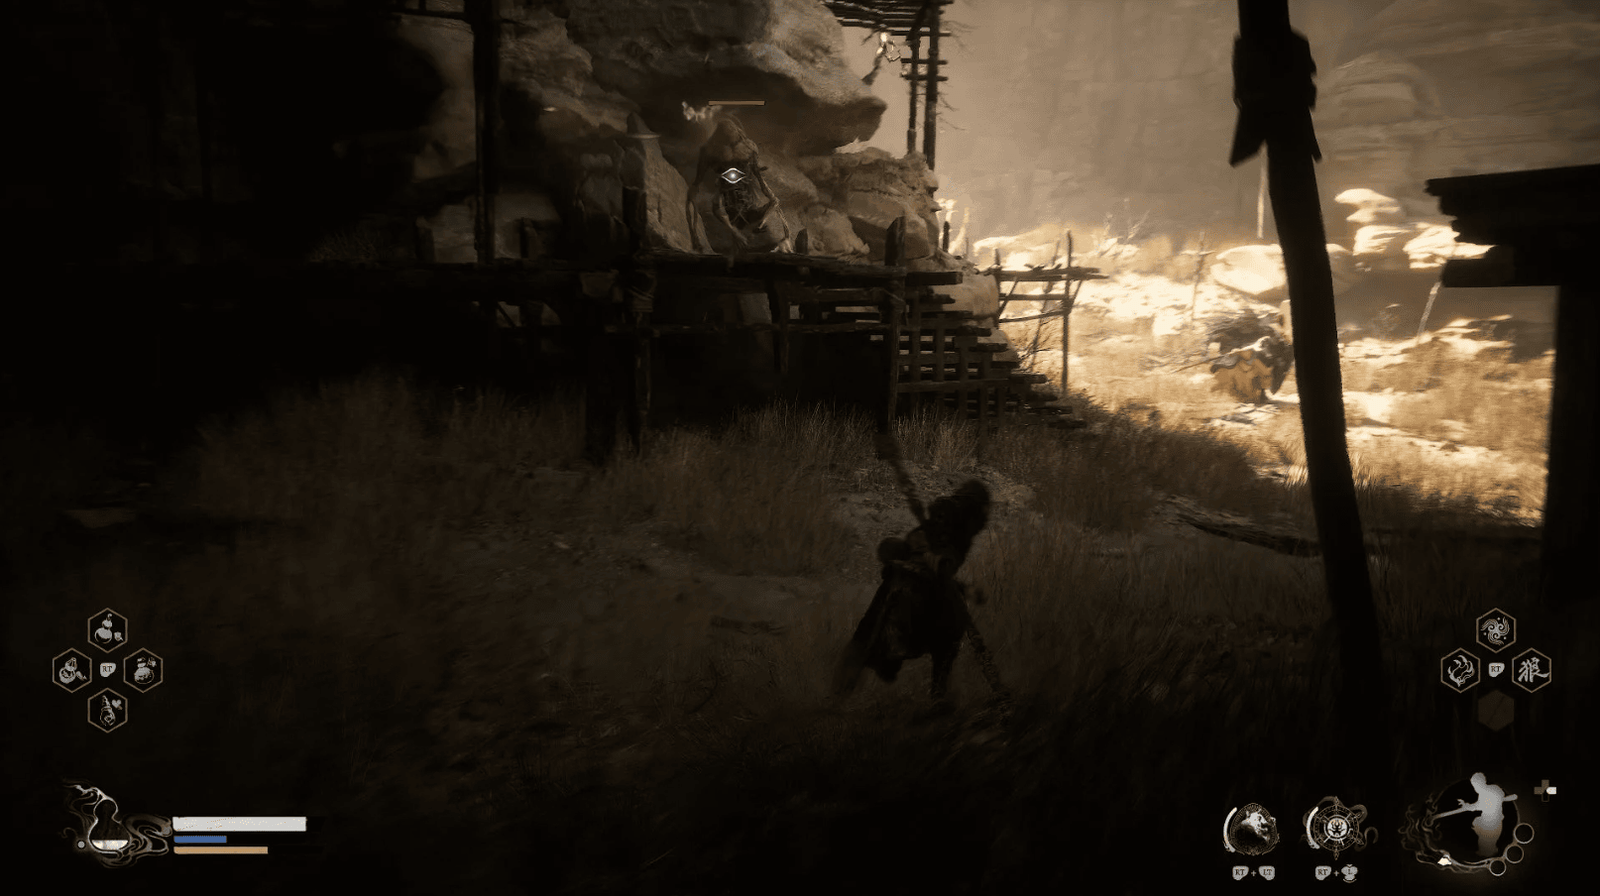
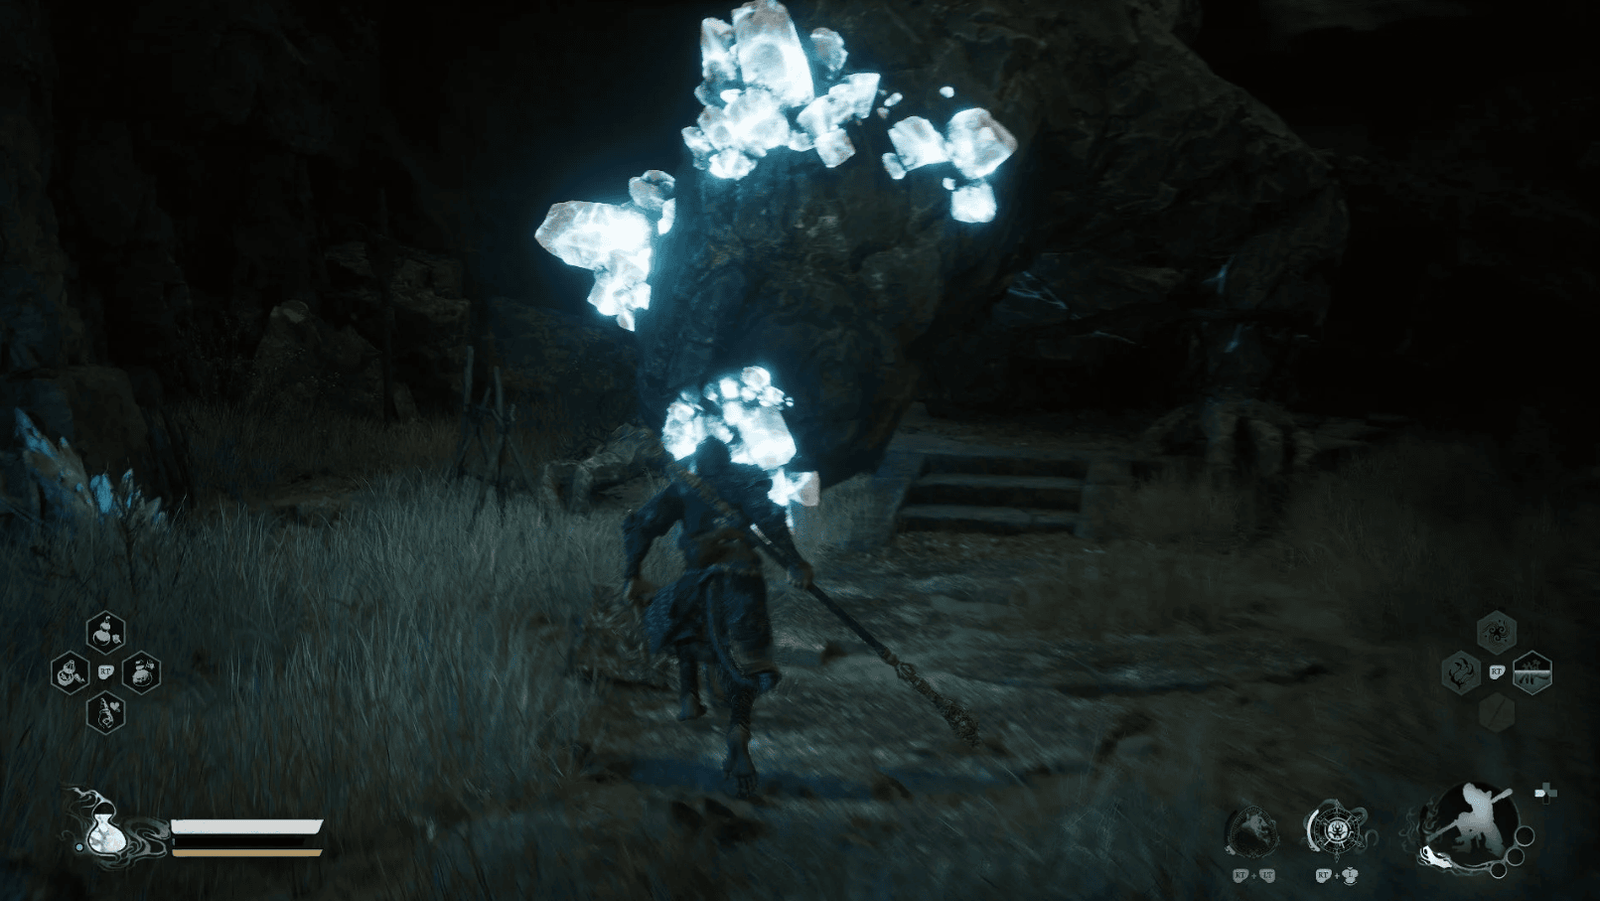
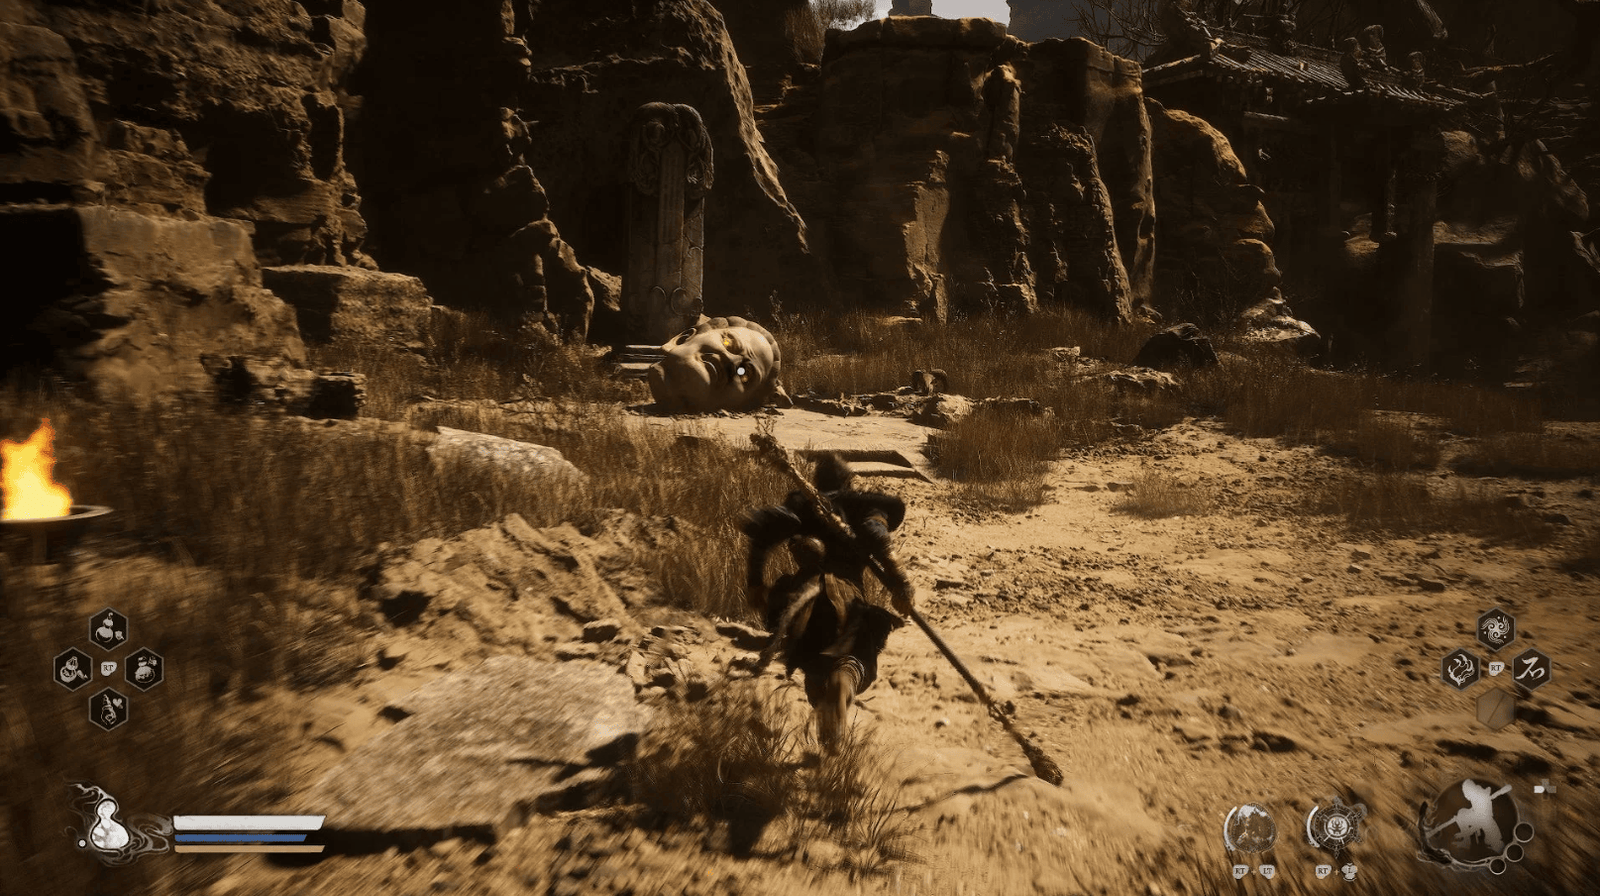
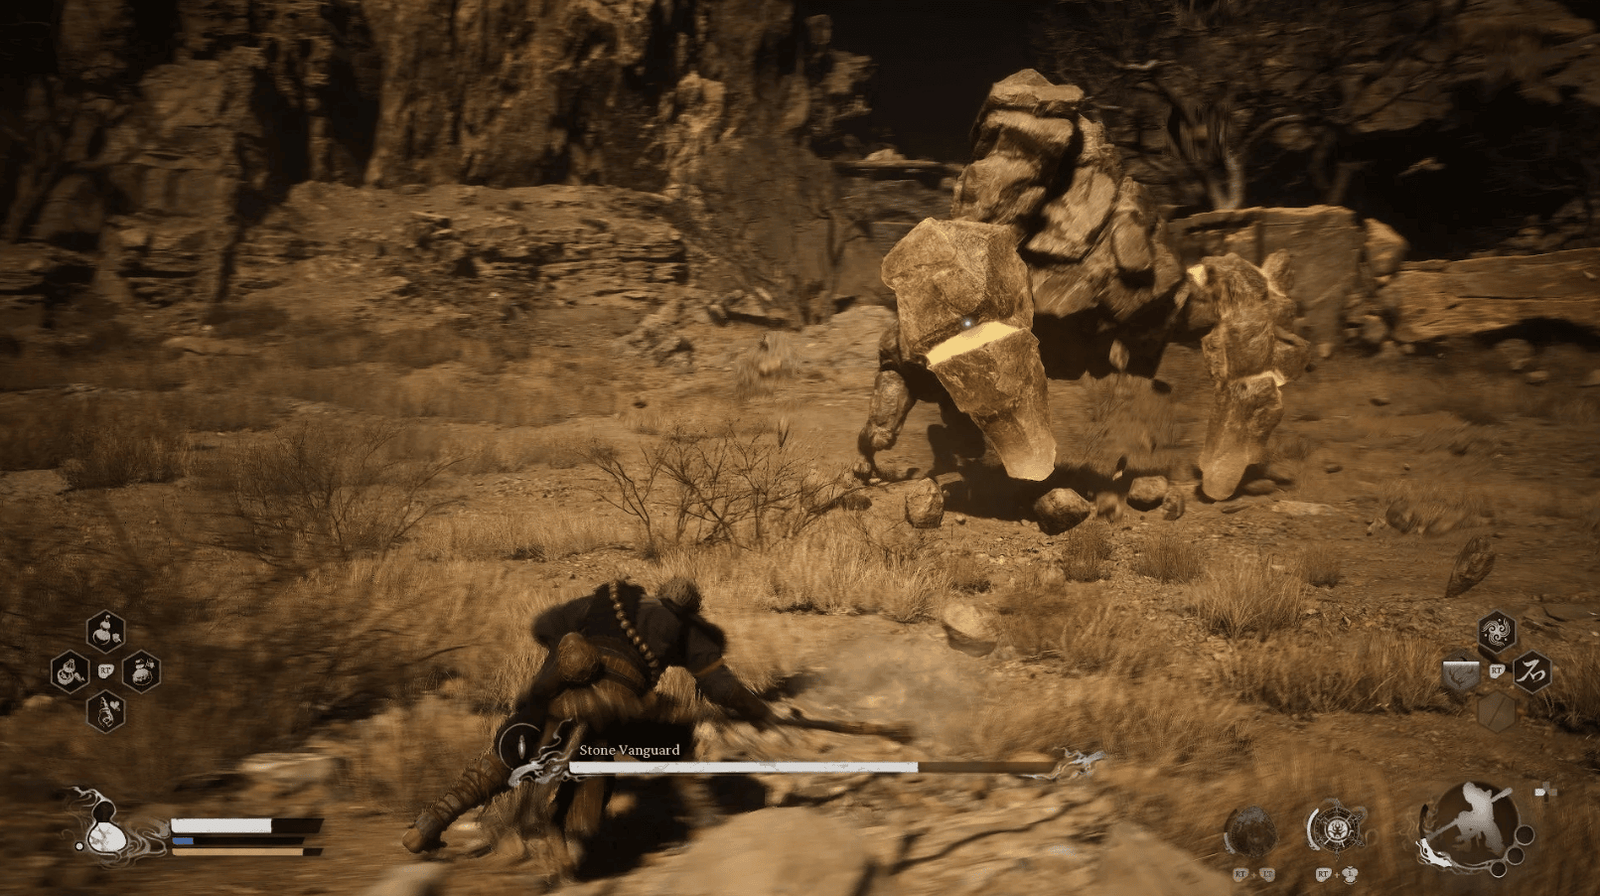
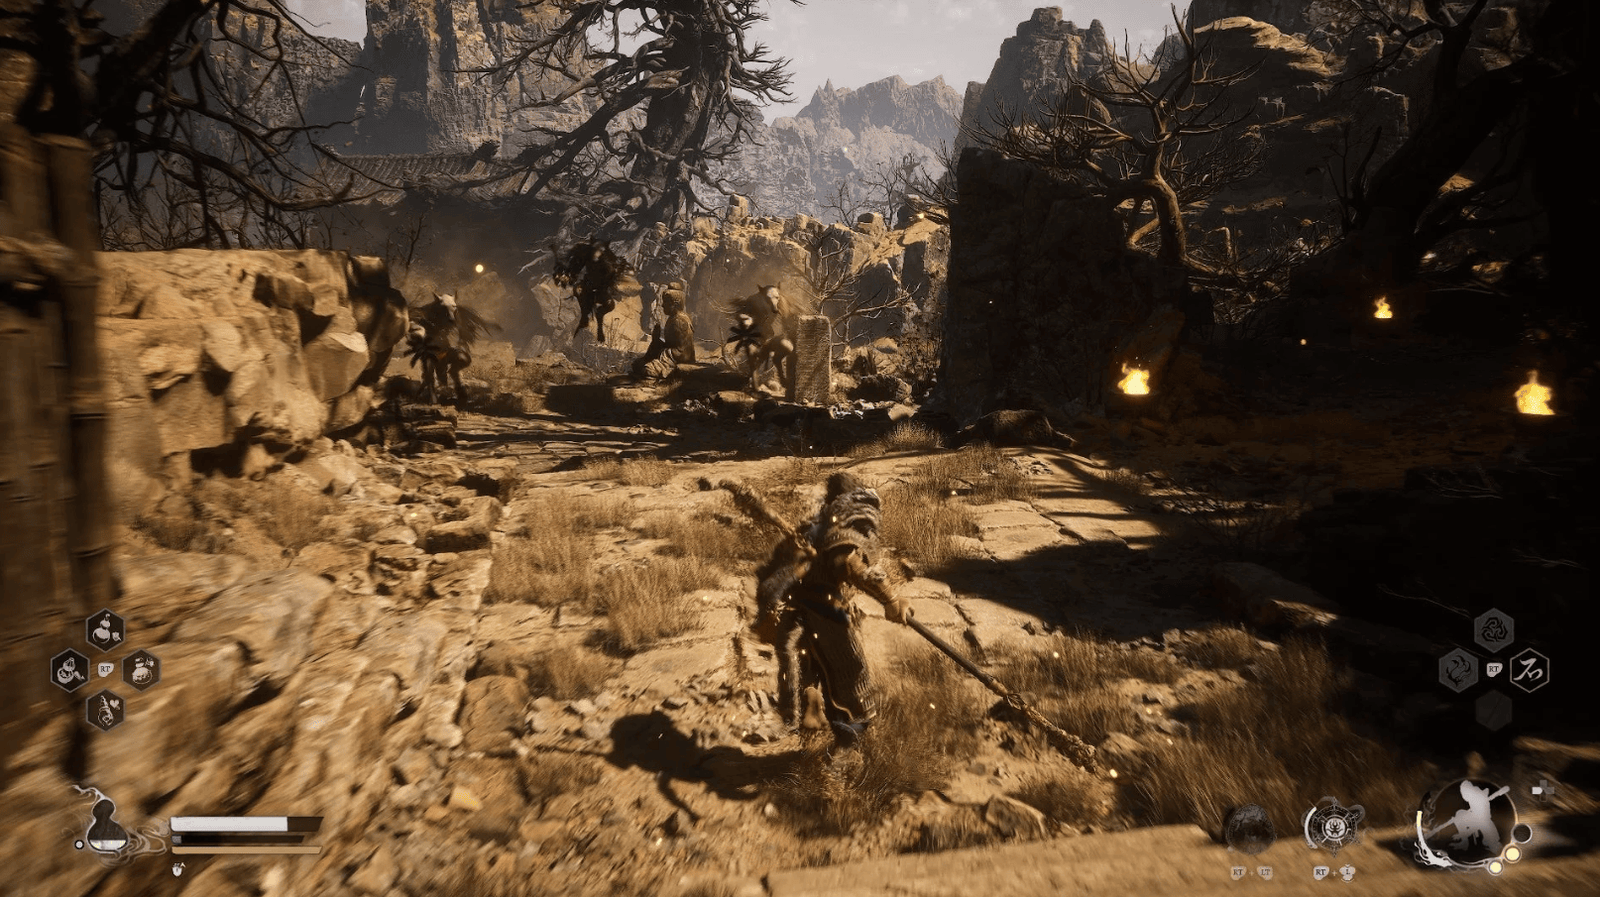
On the right side of the path, you will encounter your first enemy: Pitstone. A Pitstone is a large stone mass, slow-moving but with very powerful attacks. Be careful to dodge and attack from behind. Use the Thrust Stance to deal significant damage from afar.
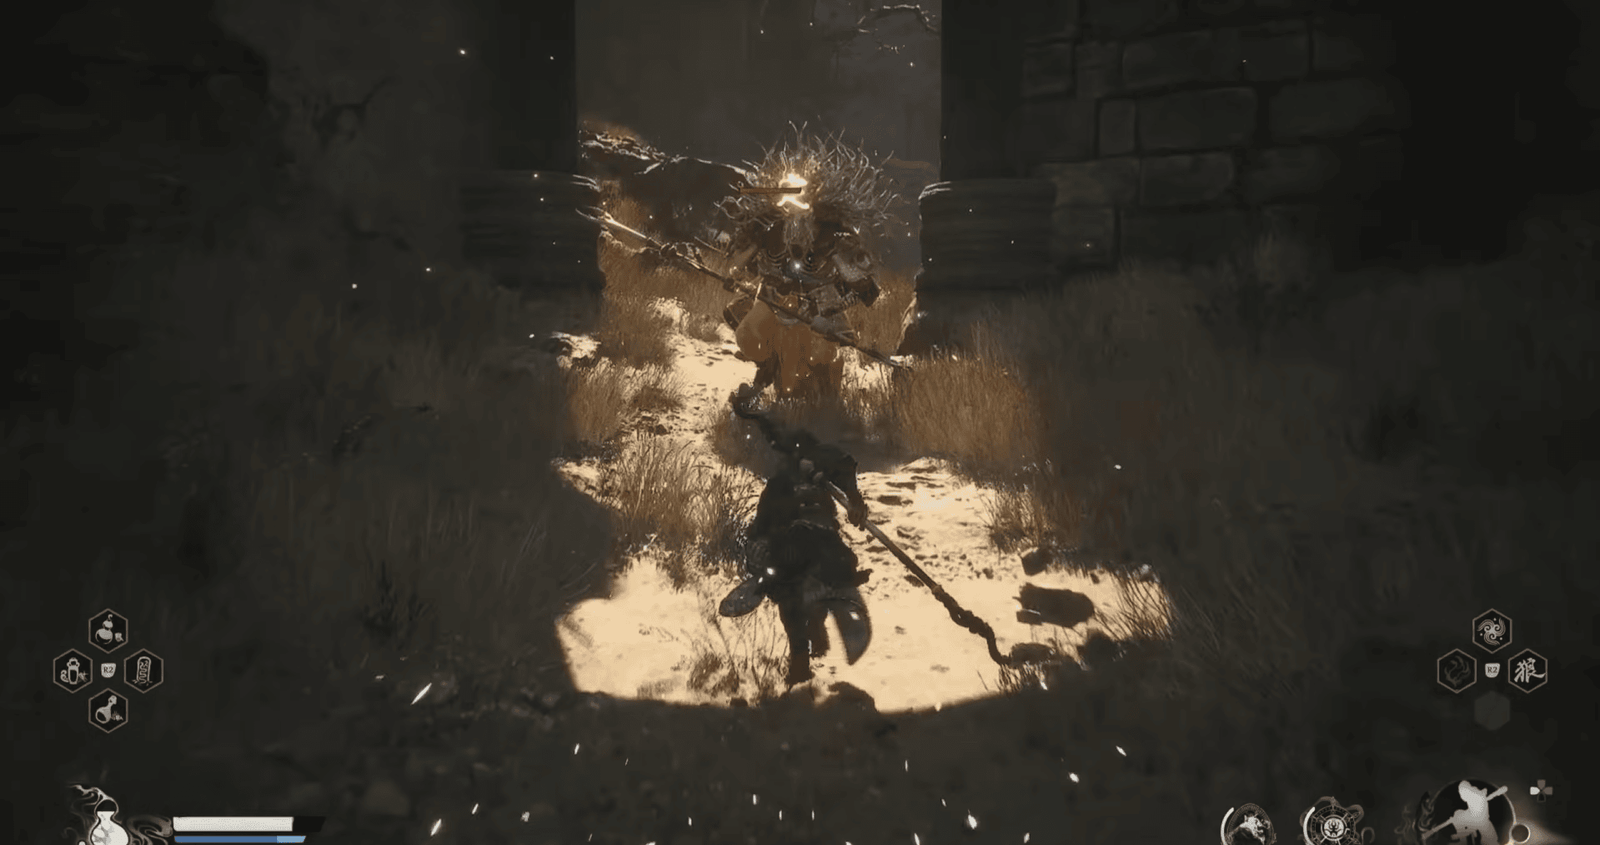
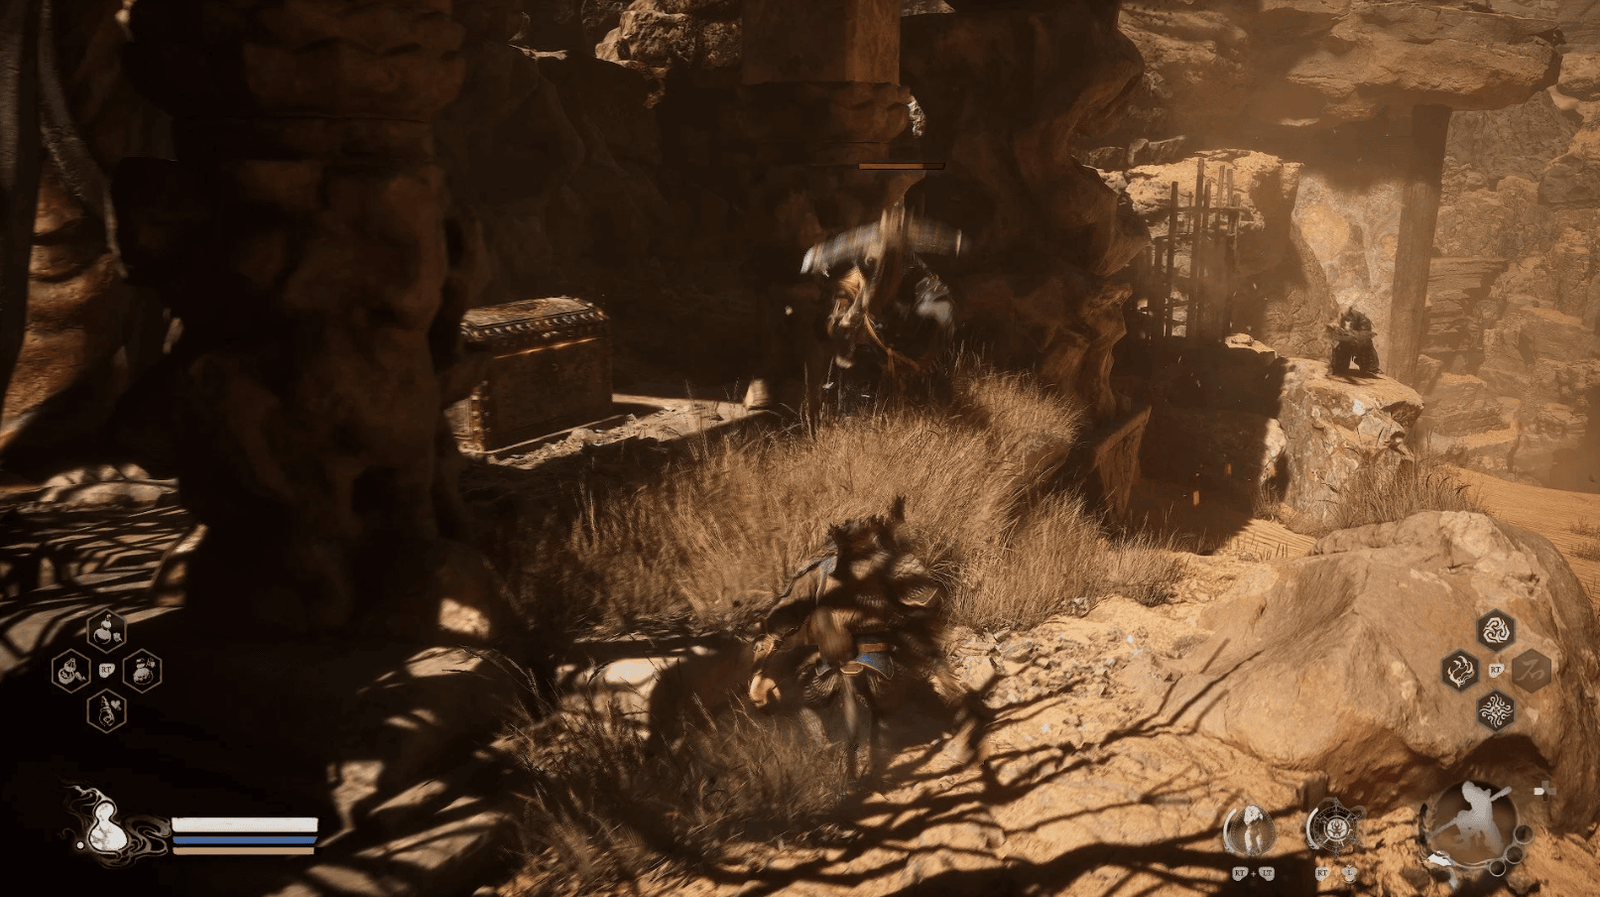
At the foot of the archway, you will encounter Spearbone. Spearbone are skeletal warriors, equipped with long spears, capable of both ranged and melee attacks.

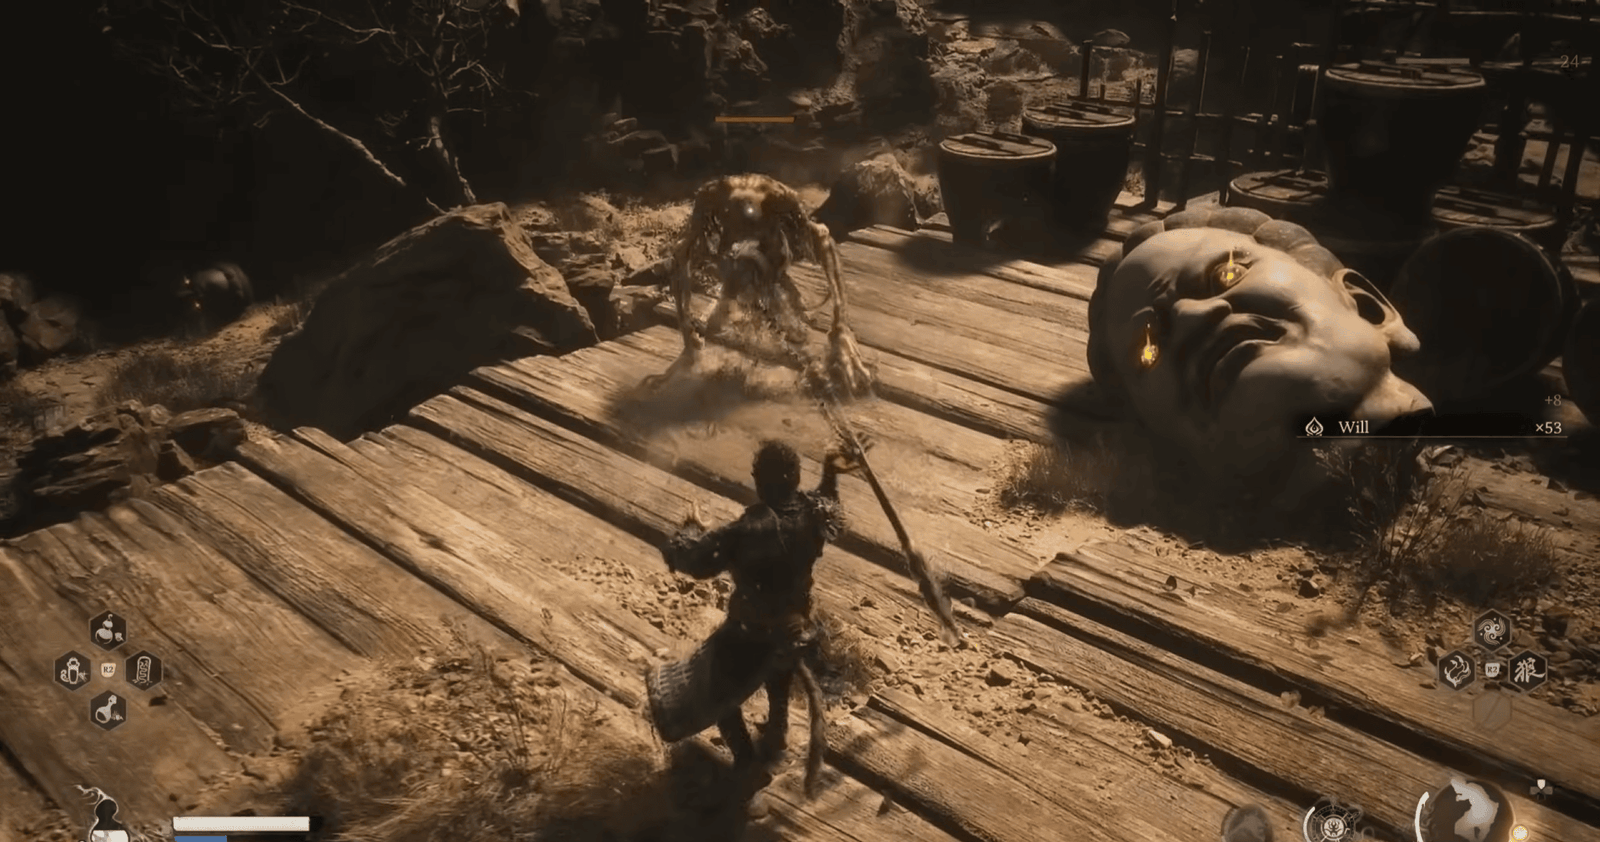
Inside the Fright Cliff area, you will encounter another Pitstone and a Blazebone on the ledge to the right. Blazebone can throw fire from a distance.
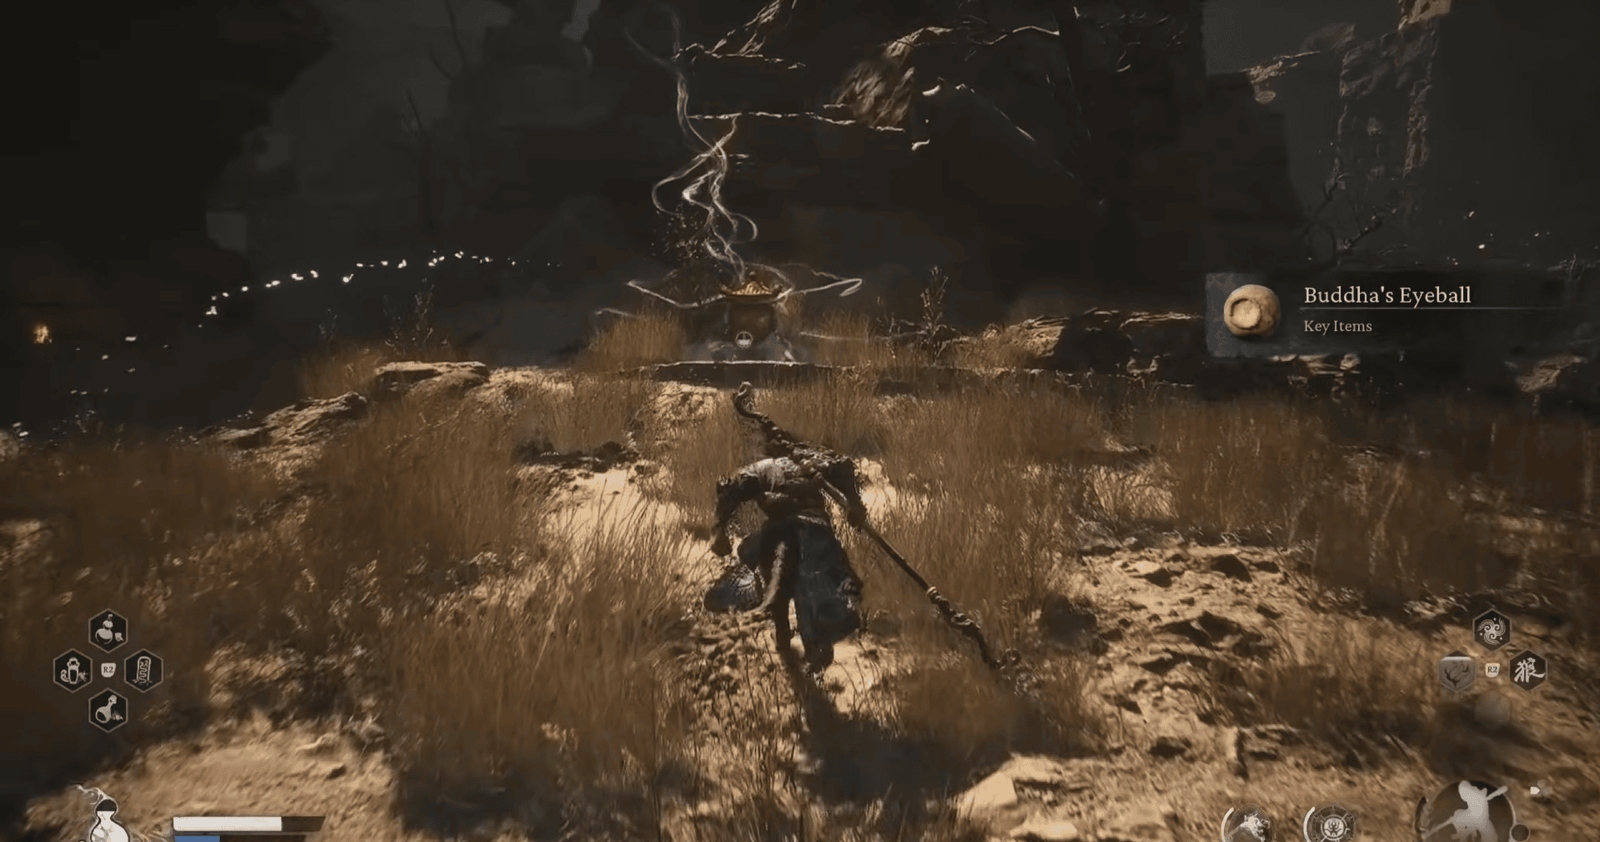
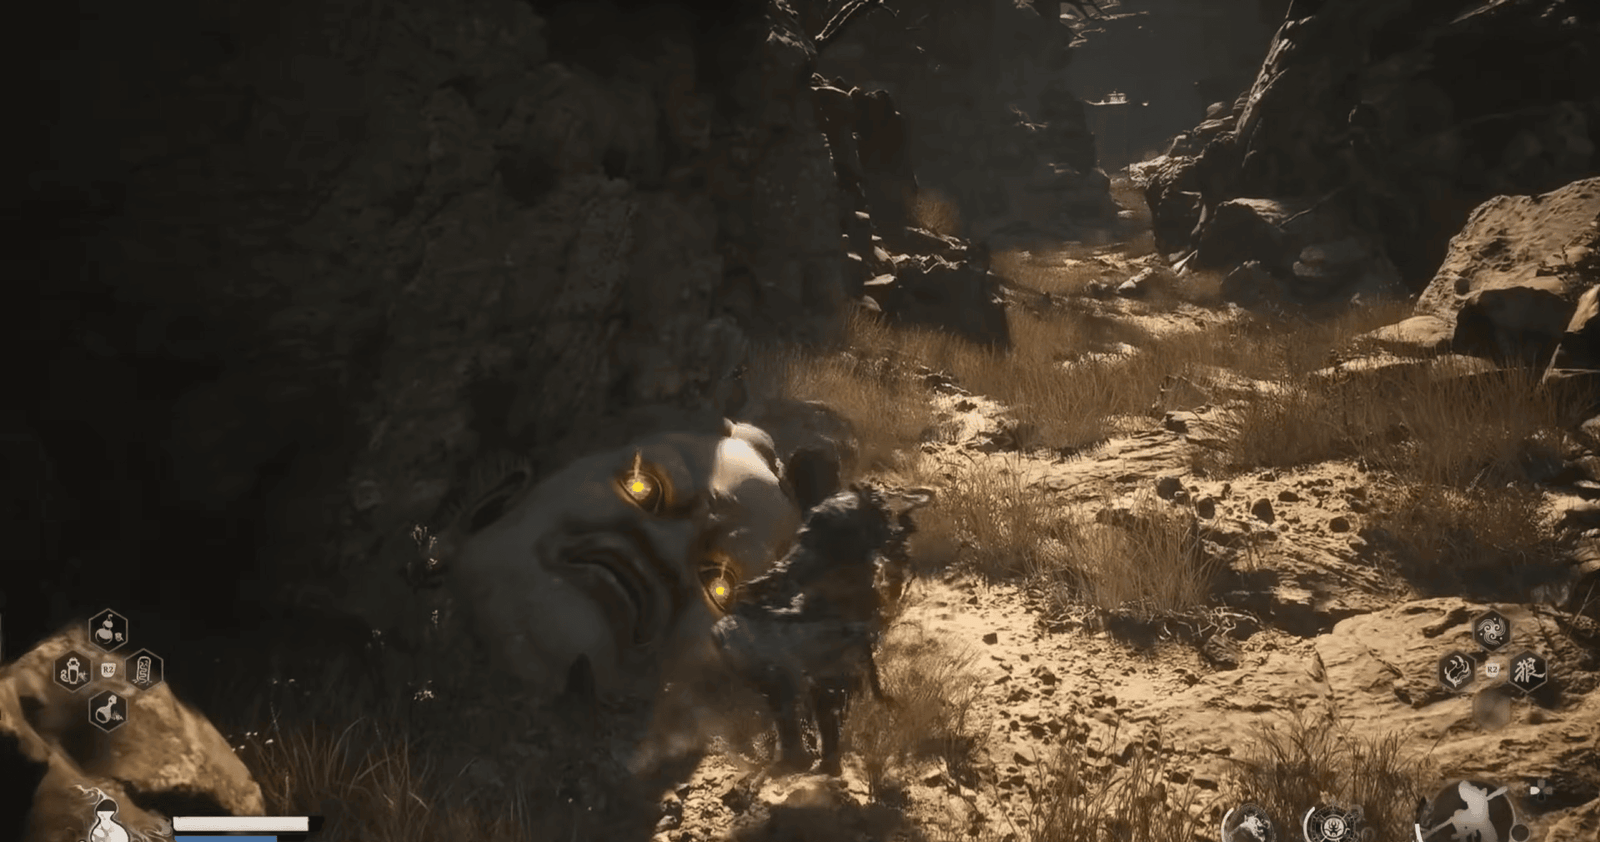
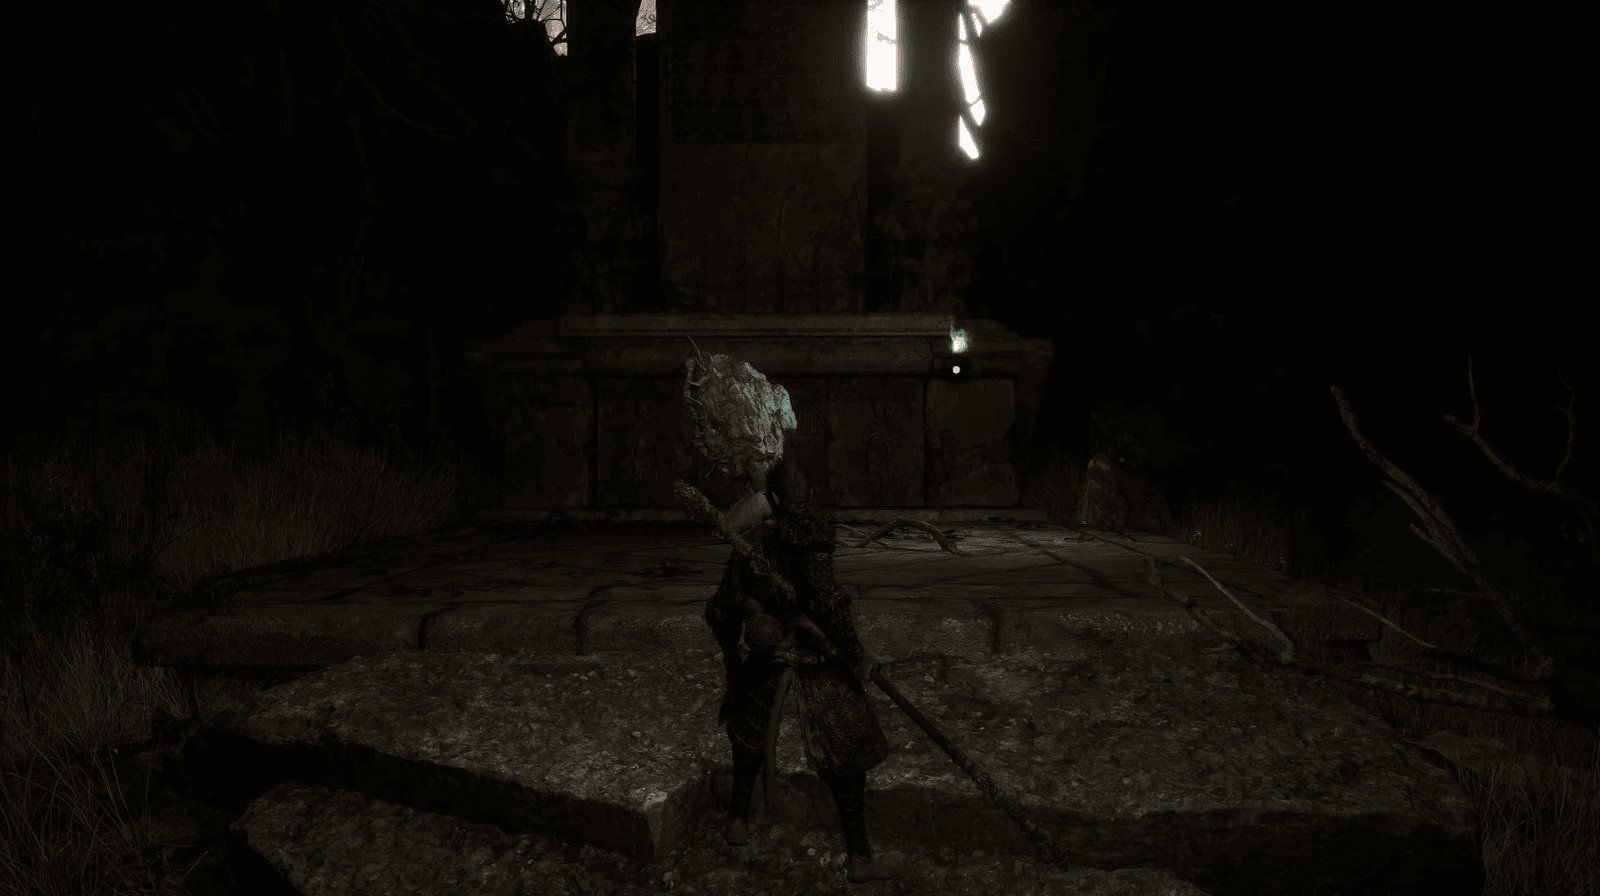
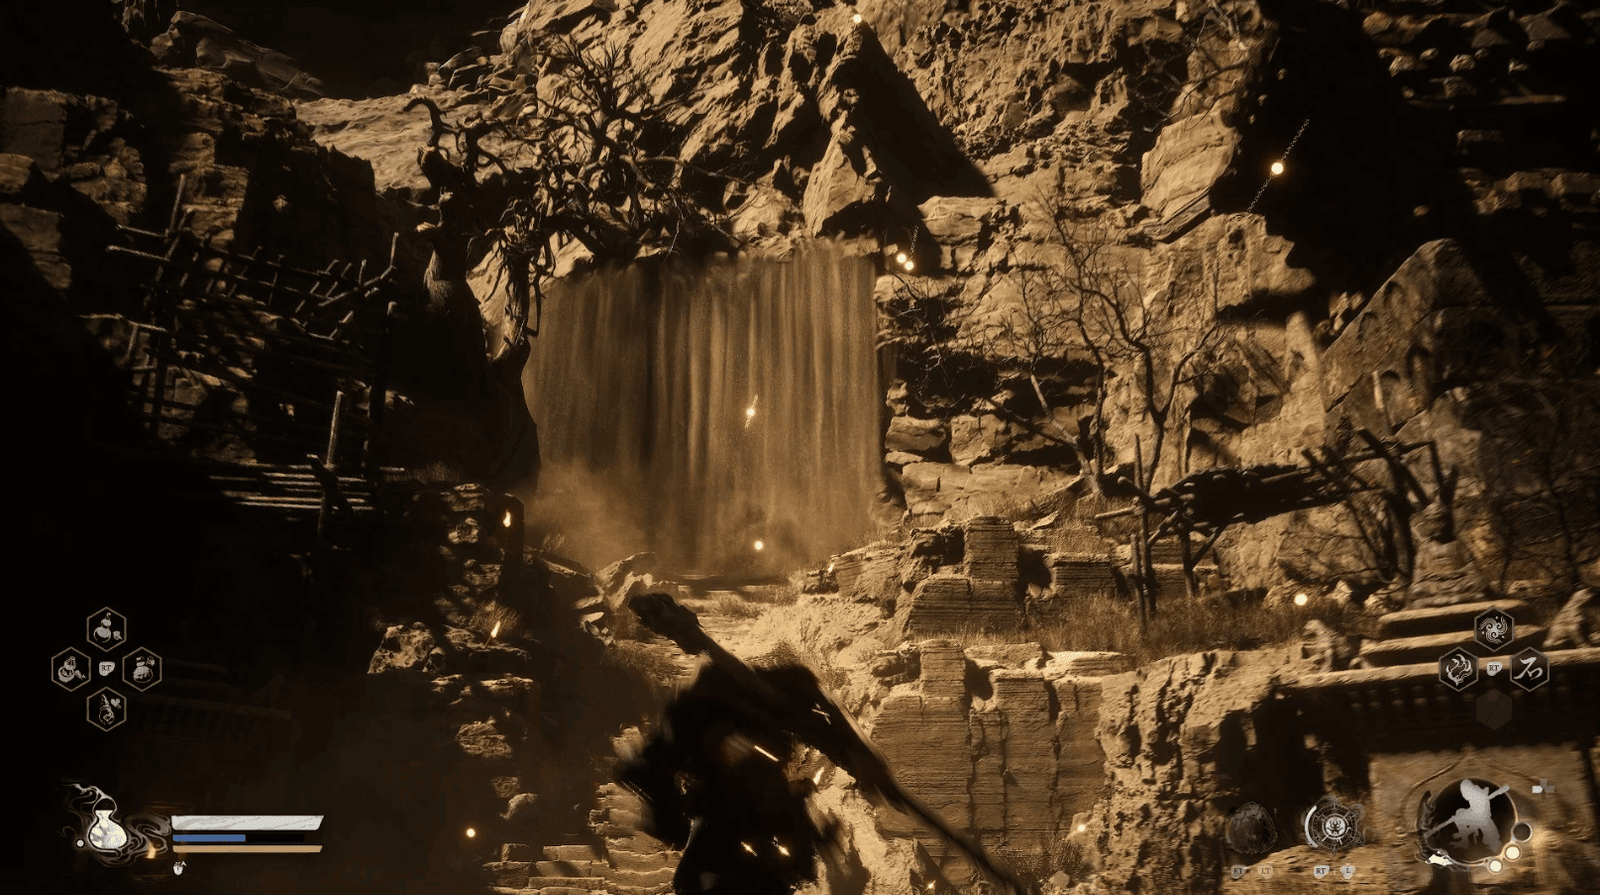
Immediately after, you will see a large Buddha head statue on the ground. This is where you can collect the Buddha’s Eyeball 1/6. Collecting all 6 eyes will unlock a great secret.
Right in front of you is Fright Cliff’s Shrine. Activate it to save the game and recover.
From the Shrine, there are two main directions: to the left, leading into a dark area, and to the right, leading along the cliff, with a narrow gorge. Go in the left direction first.
You will encounter a Bladebone throwing daggers from the scaffolding.
There is a green wisp in the small room.
Be careful with the aged ginseng on the left, as it is actually a Ginsengling. Going through the doorway, you will see a large cave entrance ahead.
Following the sloping path on the right, you will encounter a Palestone. Palestone is also a type of stone monster, but with a sharp quartz shell and the ability to shoot spikes.

At the top, near where the Palestone appeared, there is a chest containing 1 Small Piece of Gold and 3 Tiny Piece of Gold.
There is a wooden walkway leading to where the Bladebone was earlier.
The large cave entrance has multiple paths.
The outer right path leads to a Pitstone and a chest containing 3 Silk and Will.
Ignore the middle path.
Follow the bonfires on the left, and you will reach a large, frightening statue. Many Palestone will appear. You will find the Buddha’s Eyeball 2/6 here.
Rockrest Flat
Rockrest Flat is a larger, flatter area compared to Squall Hideout, with three main paths leading from the Rockrest Flat Shrine. This area has many patrolling enemies, and is where you will begin some important side quests.
From the Squall Hideout Shrine, take the other direction (the one you didn’t initially take into the dark area).
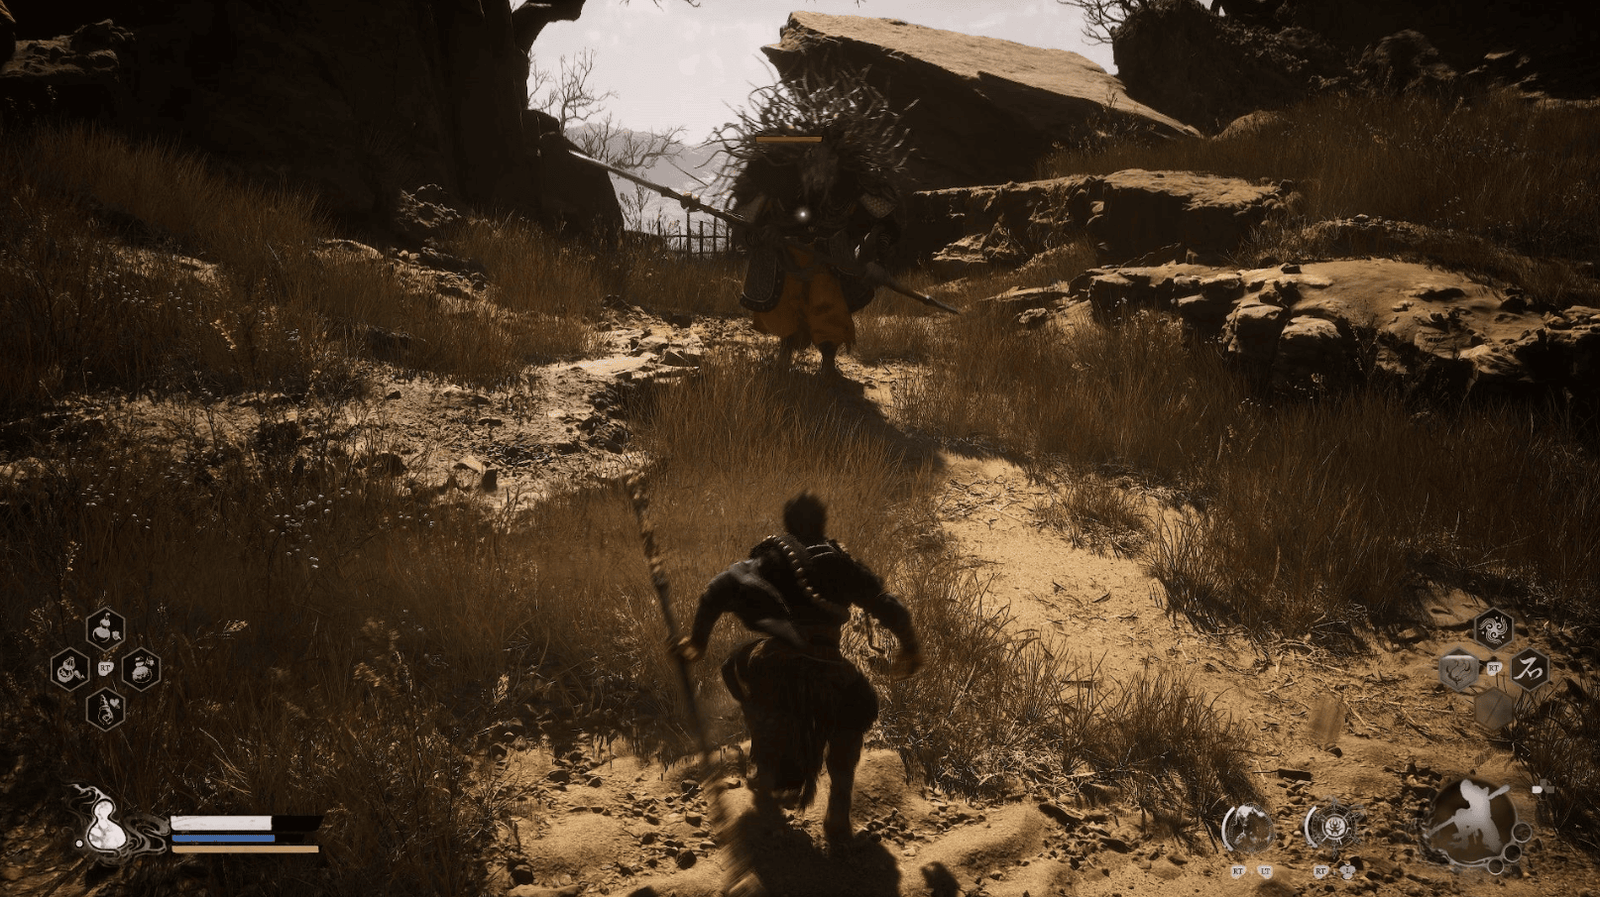
You will encounter a shielded Spearbone. This type of Spearbone has higher defense. Use heavy attacks to break his shield.
Find a sloping path upwards on the far left. There is a Blazebone on the ledge.

At the end of the path, near the cliff, there is a Pitstone and a chest containing Mind Core, 3 Silk, and Will.
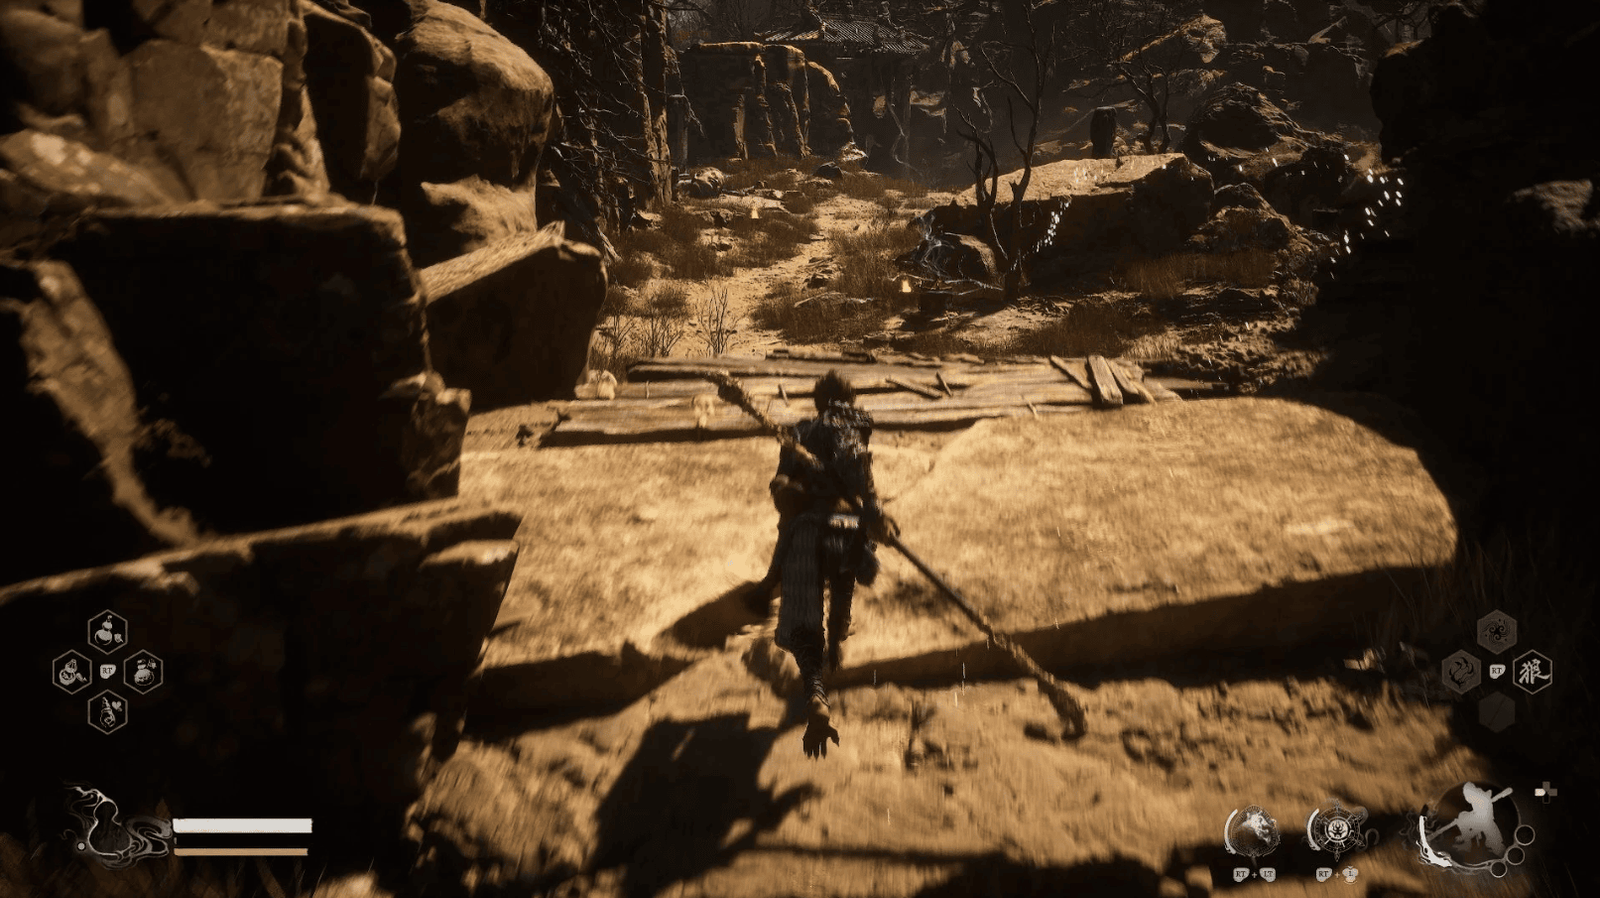
Return to the main path, and you will see a narrow gorge.
Temporarily ignore the gorge, and follow the ruins on the right.
Defeat the unshielded Spearbone, then climb the stairs to take down the Blazebone.
In the ruined house, you will find a chest containing 2 Yaoguai Core and 3 Tiny Piece of Gold.
At the top of the stairs, you will find Buddha’s Eyeball 3/6.
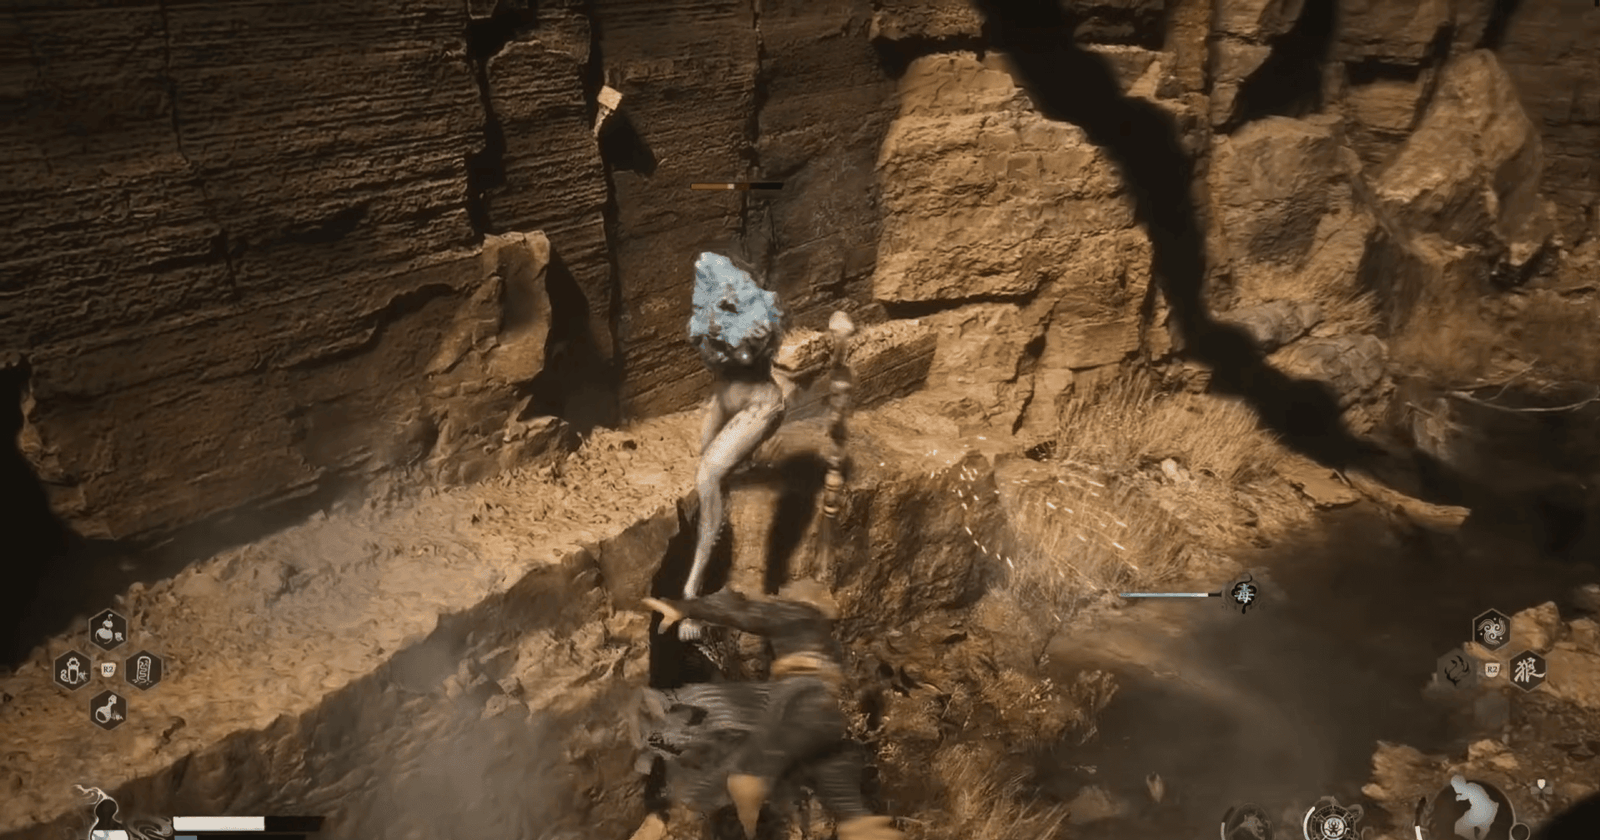
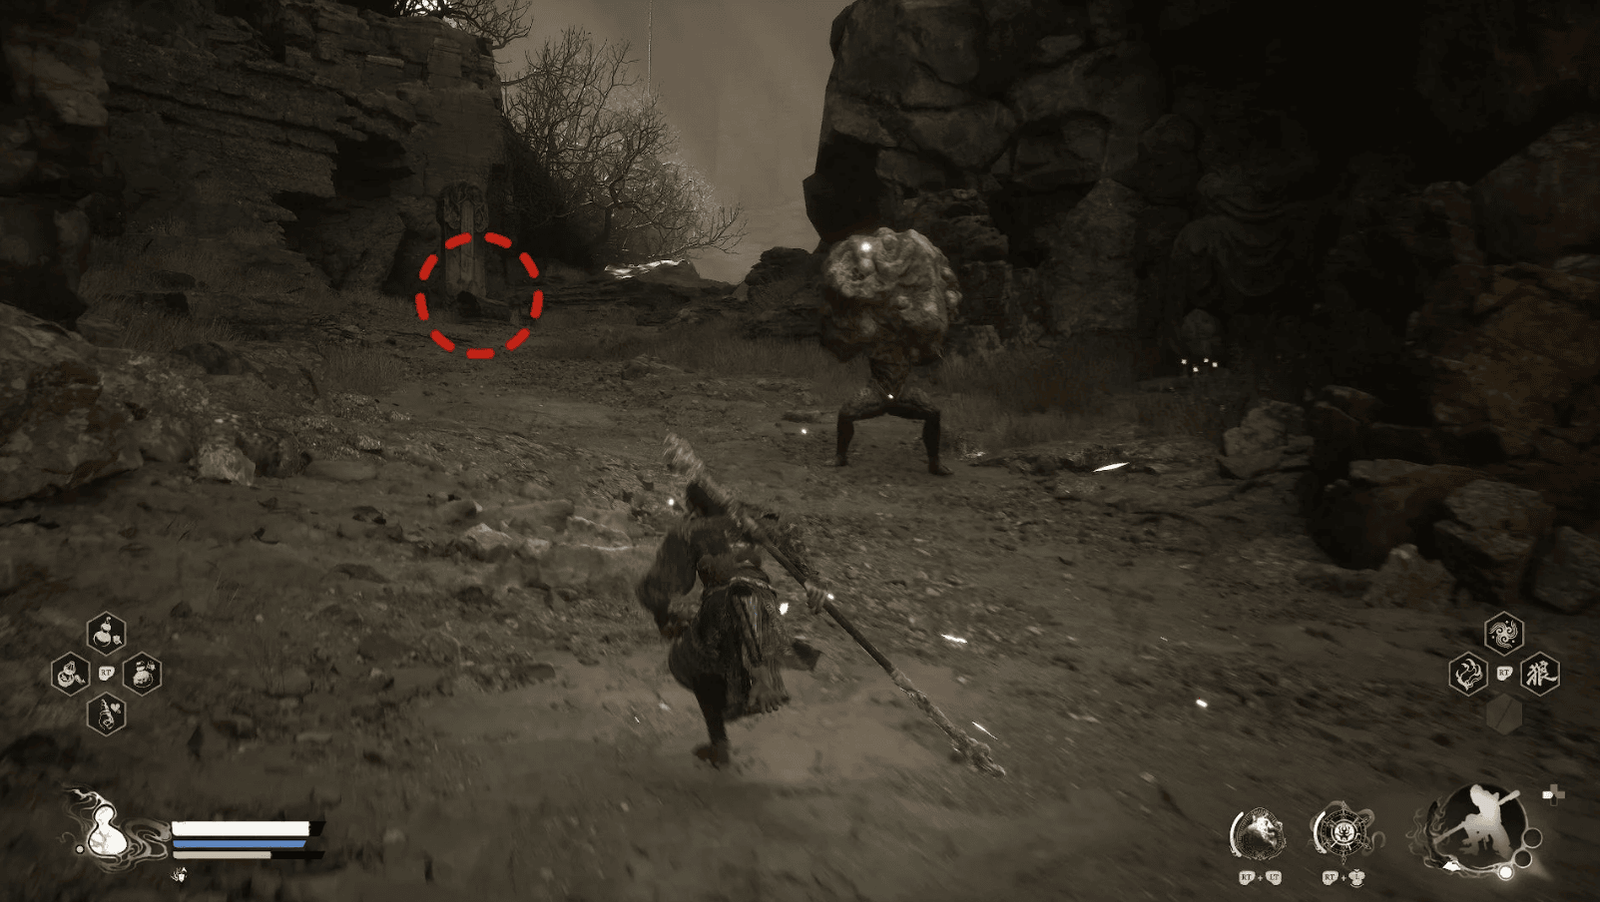
Return to the gorge, and go down under the bridge. Be careful with Poisestone. Poisestone is a smaller variation of Palestone, able to dash quickly and spray poison. When defeated, the stone body will disappear, but the legs remain and can kick very hard.
At the end of the gorge, you will meet Man-in-Stone. This is an important NPC, starting a side quest chain.
From Man-in-Stone’s location, follow the wall on the left upwards, you will find Buddha’s Eyeball 4/6.
There are multiple paths leading to the large cave entrance.
Find a tunnel with torches and green light. Inside is a Green Wisp, but be careful because this is an ideal ambush spot.
You will encounter Poisestone and two Bladebone on the scaffolding.
Nearby there is an exit, leading to a shielded Spearbone, guarding the path down to the gorge. In the cave, on the left, there is another Green Wisp. There is a golden streak leading to the Rockrest Flat Shrine. Activate it. To the left of the exit is a path leading upwards, with Fire Bellflower.
You will encounter a Poisestone praying at an altar, and a Green Wisp.

Another Poisestone, stronger and with blue fire, will attack. Defeat it to receive the Poisestone Spirit.
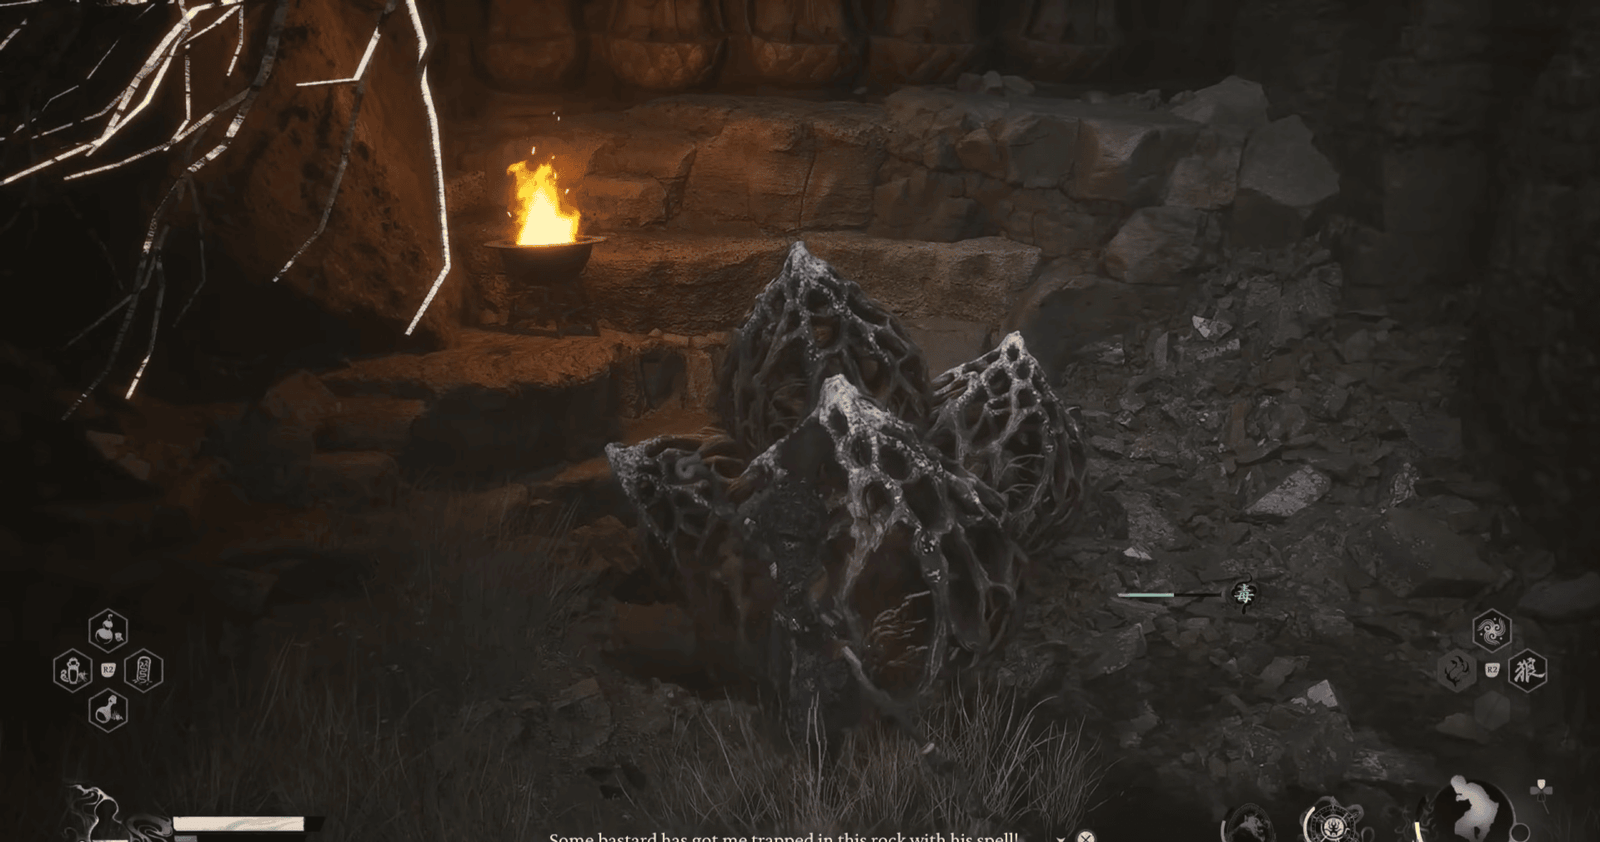
The end of the cave path is where the large glowing statue is – the objective of the Man-in-Stone quest. Be careful with the Poisestone on the wall.
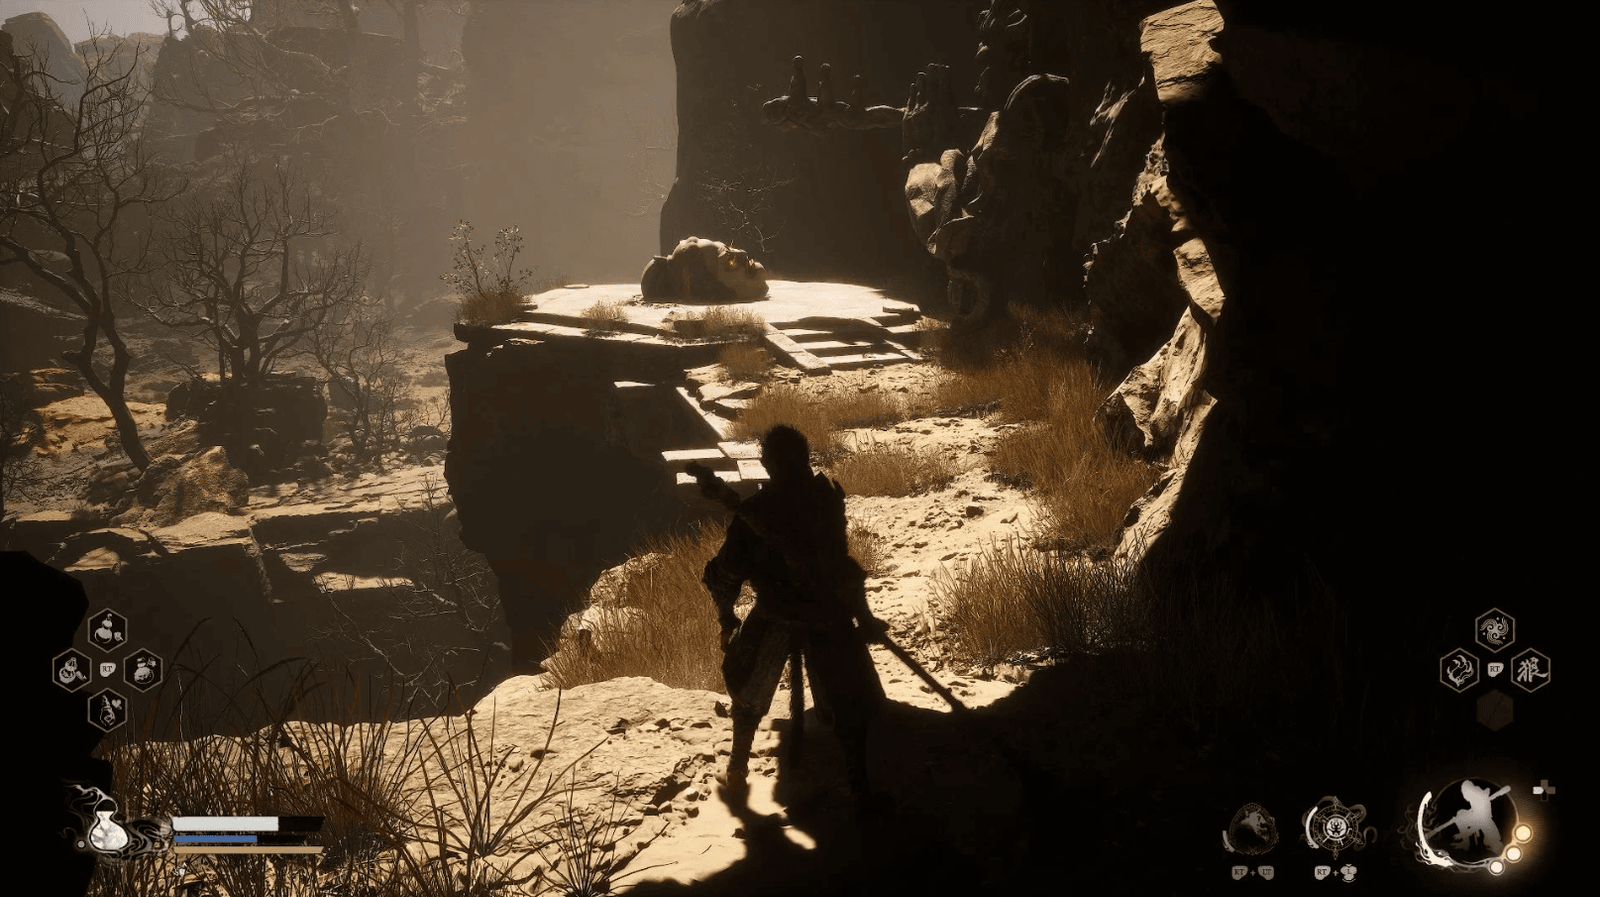
Buddha’s Eyeball (5/6): Find a large opening on the right, go out to the cliff, you will see 1 stone platform with a Buddha’s head statue.
From the Rockrest Flat Shrine, go to the right (when facing the Shrine). You will see stairs leading up, with a Blazebone on a wooden platform.
Up the stairs, there is a shielded Spearbone guarding the sandfall. Defeat him to get the Spearbone Spirit.
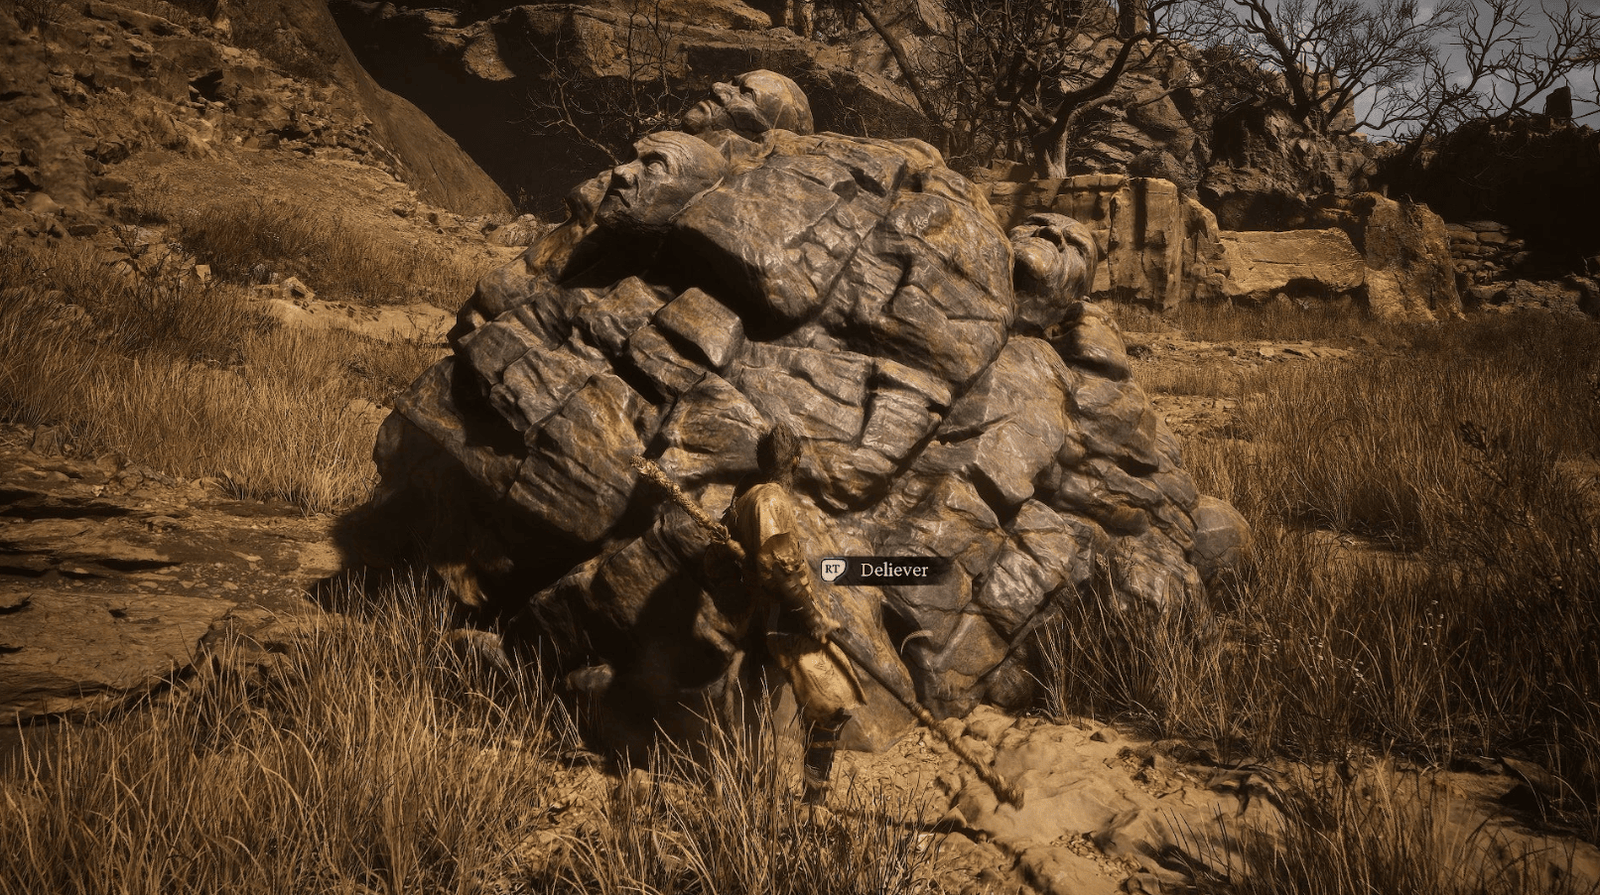
This sandfall can be opened with Loong Scales – an item you find after defeating the First Prince of Flowing Sand in Sandgate Village. Opening the sandfall leads to Black Loong – a very strong hidden boss.
Go down the stairs, go to the right, you will encounter many Spearbone and Rock Guai. There is an opening on the cliff, with a breakable wooden fence.
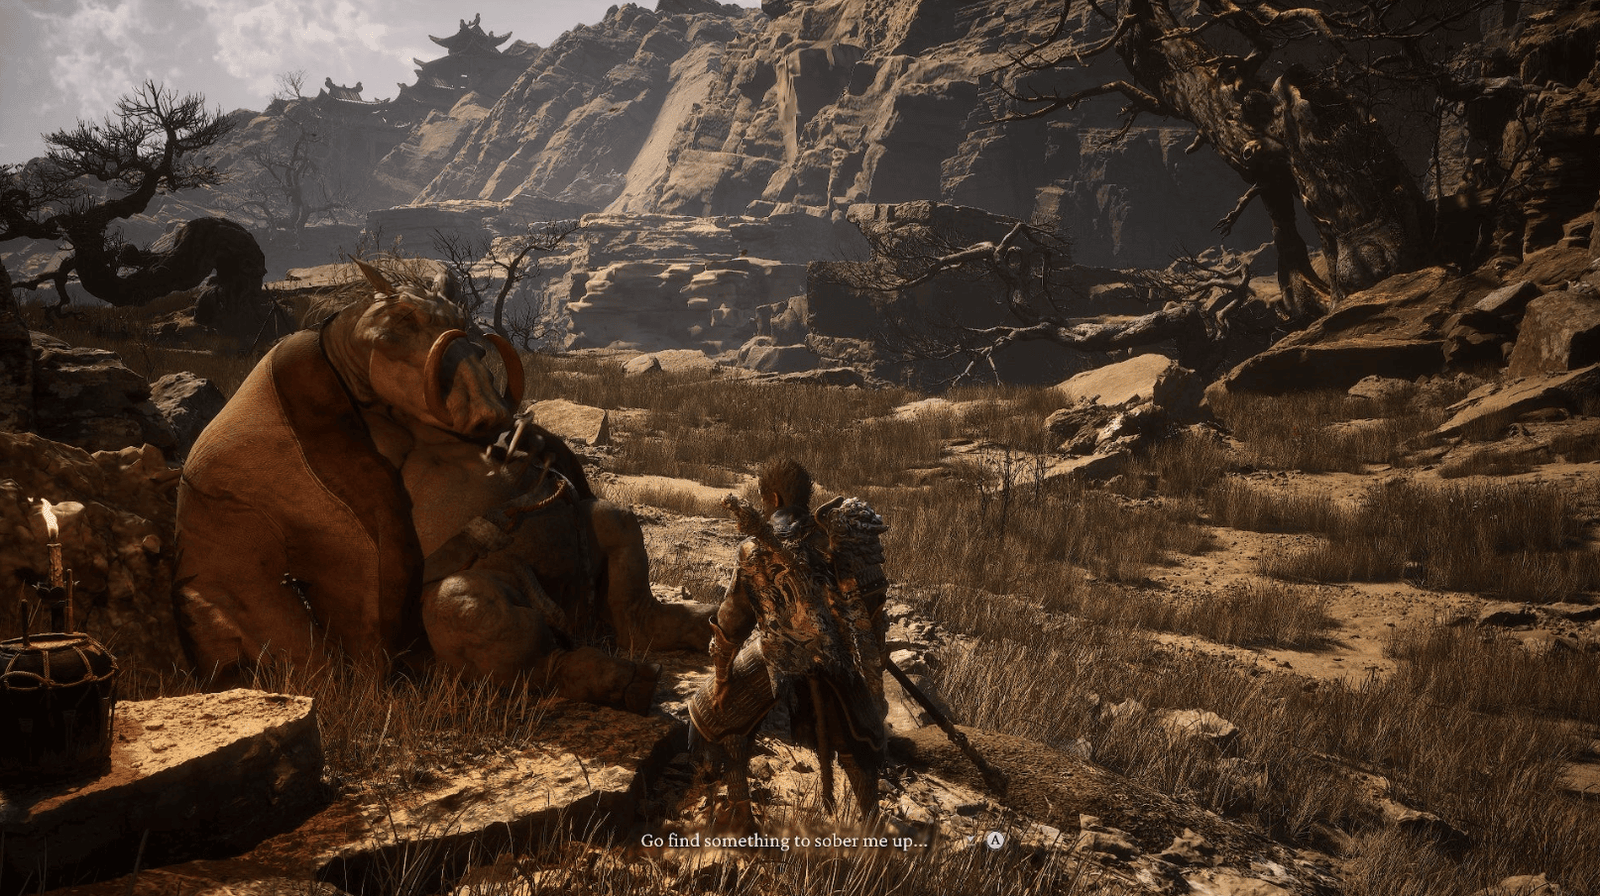
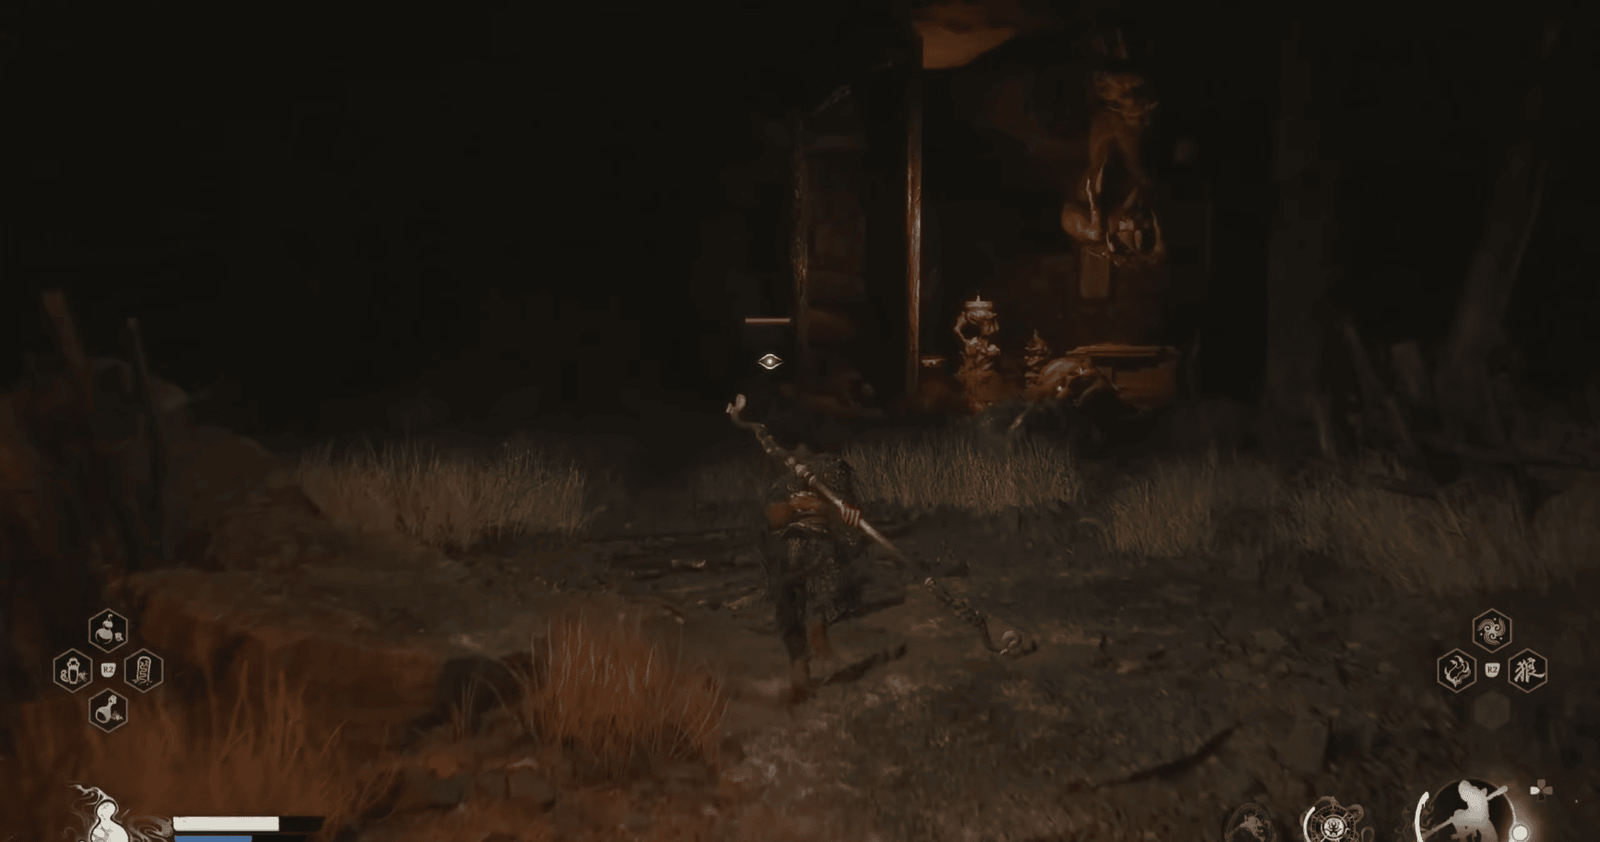
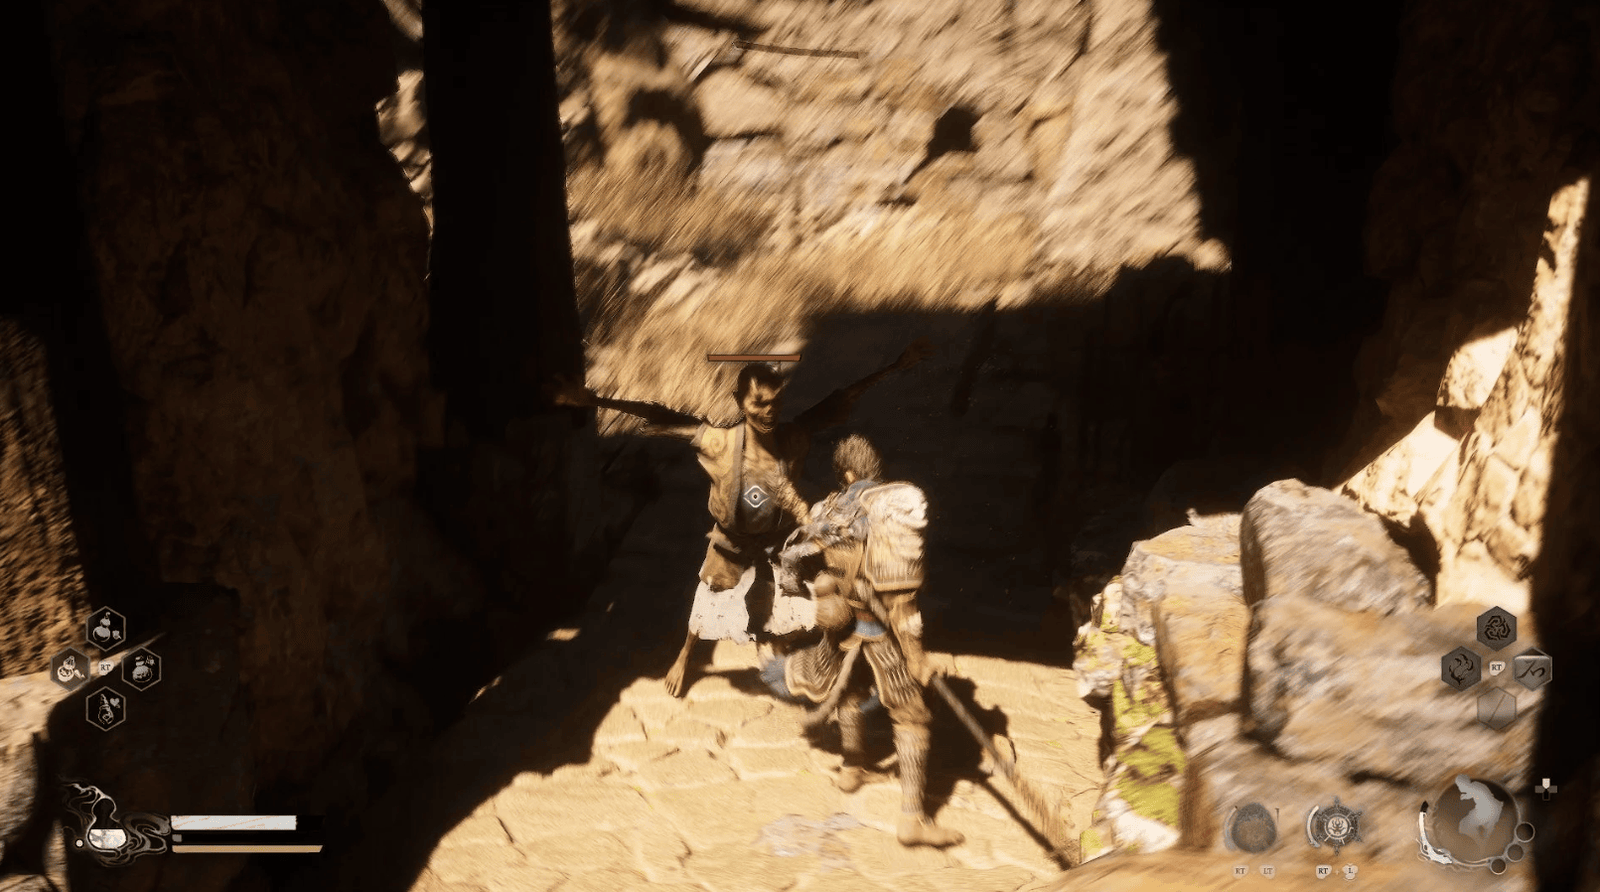
In this large area, you will meet Yellow-Robed Squire – a drunken boar. Talking to him will start another side quest. (Requires Sobering Stone).
Search around to collect Fire Bellflower and Fragrant Jade Flowers.
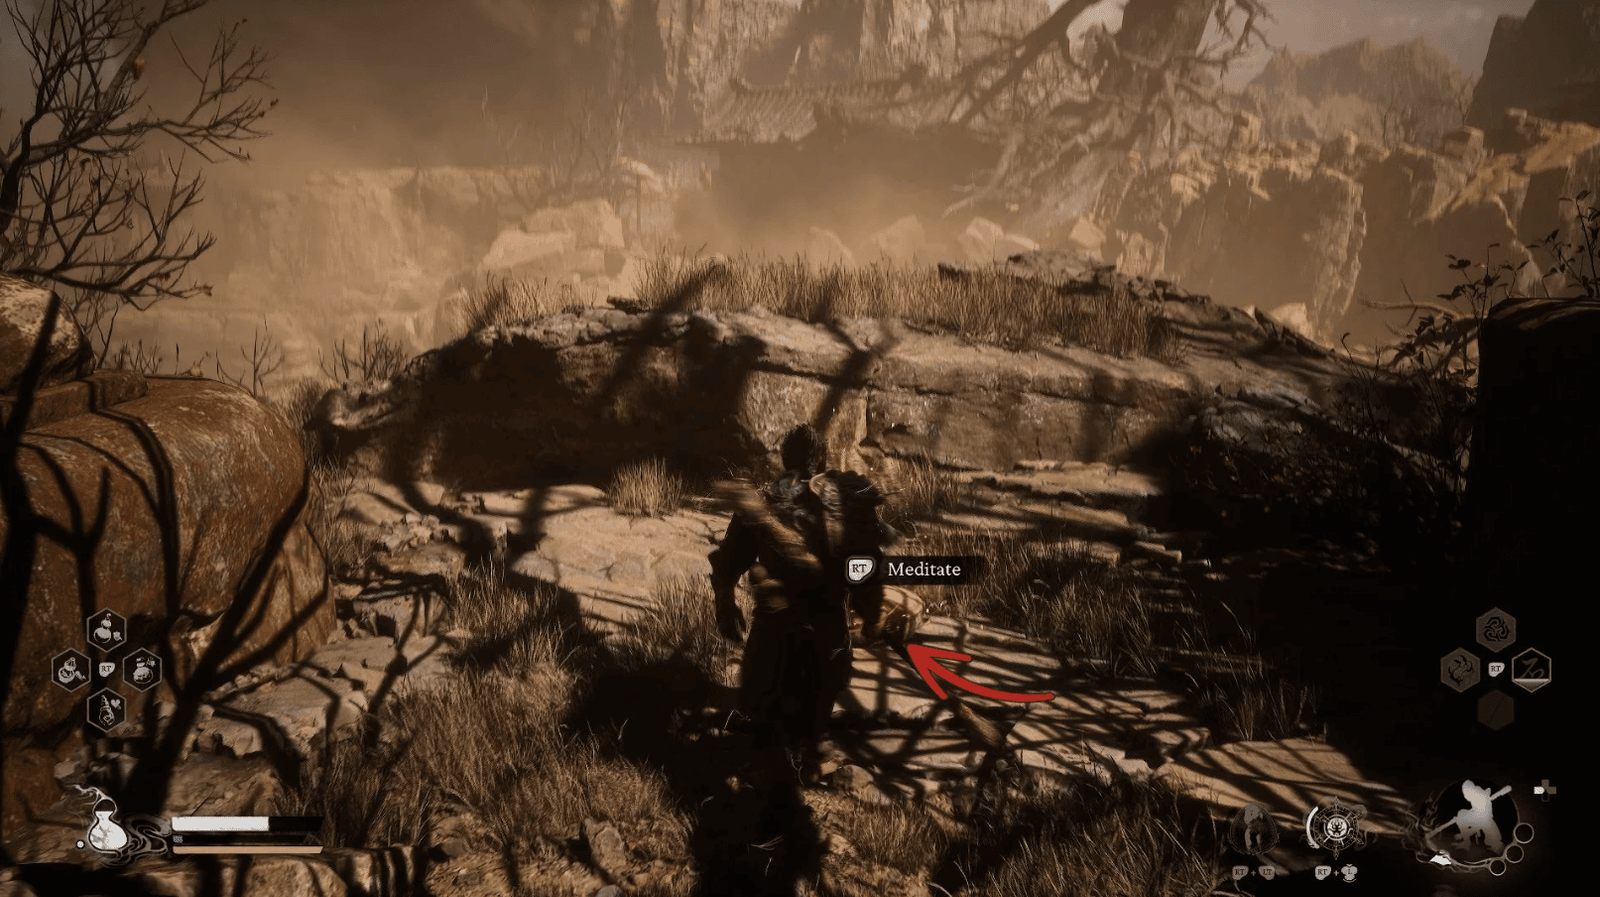
Go towards the cliff, you will find The Deadwood Meditation Spot near a large curved tree – receiving a skill point. There is a large gate that cannot be opened yet.
From the Rockrest Flat Shrine, go to the left, you will see Buddha’s Eyeball 6/6.
Immediately after, there is an opening on the cliff, leading to the area with floating rocks – where you will face the Stone Vanguard.
Stone Vanguard Boss Fight Area
This area is located right after the opening on the cliff near Buddha’s Eyeball 6/6, where there are rocks floating in mid-air. It is a large, flat arena where you will face the Stone Vanguard – one of the two main bosses that need to be defeated to unlock the large gate at the end of Chapter 2.
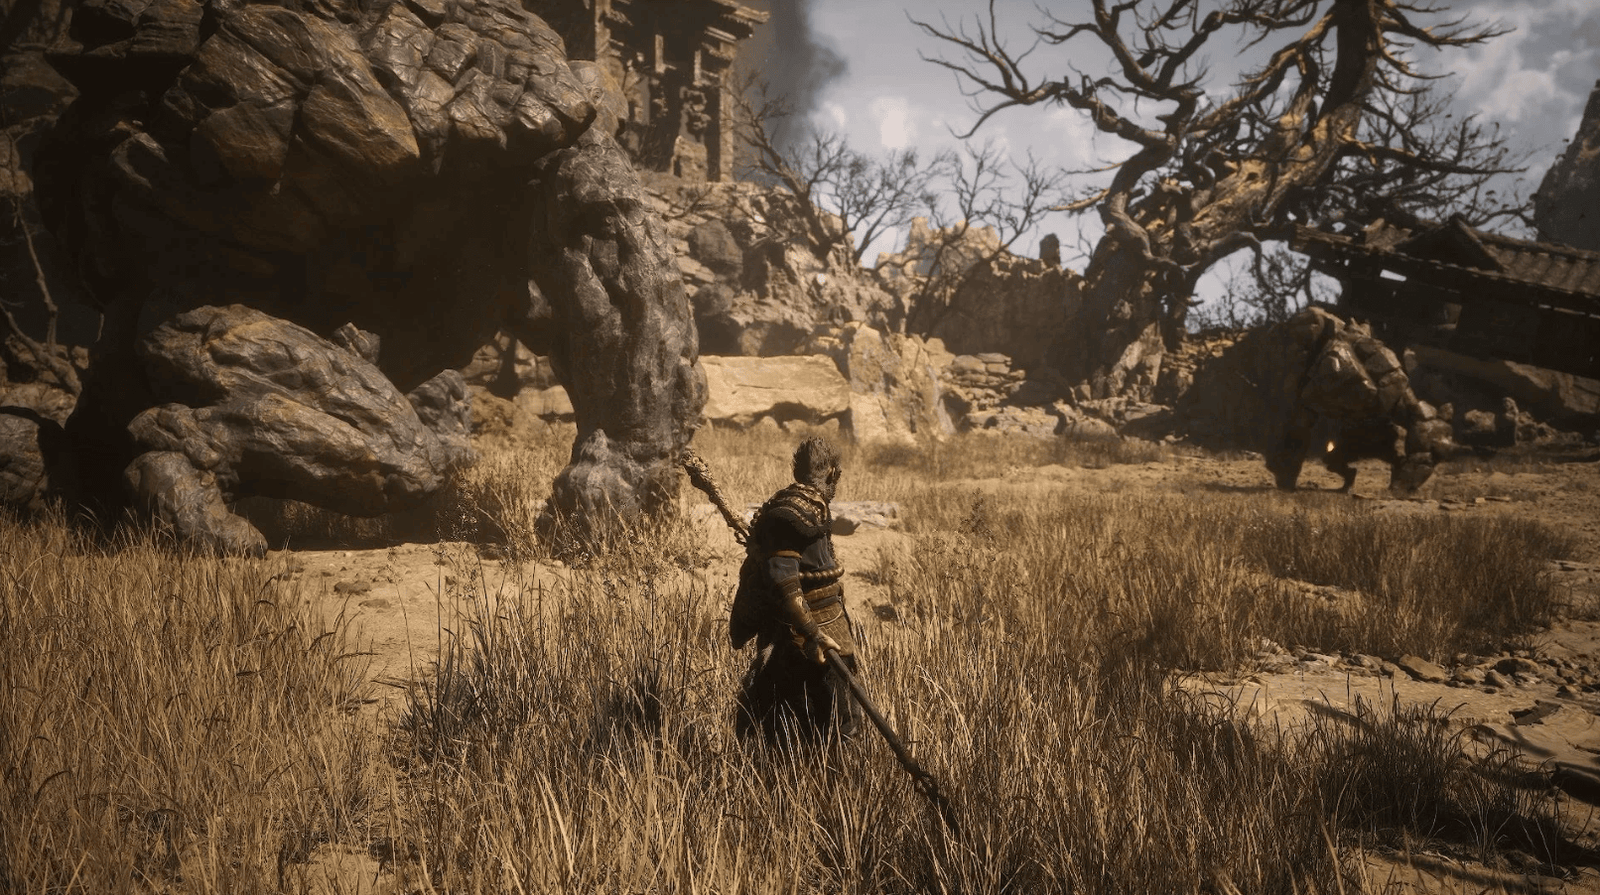
From Buddha’s Eyeball 6/6, go through the opening on the cliff. You will see a group of rocks floating in the air.

Important note: On the left, before entering the area with the rocks, there is a large rock. This is where you can use the 6 Buddha’s Eyeball to summon Shigandang – an extremely powerful hidden boss.
If you want to fight the Stone Vanguard first: Ignore this rock and go straight into the area with the floating rocks.
If you want to summon Shigandang: Interact with the rock, and place the 6 Buddha’s Eyeball in. Shigandang will appear and immediately attack the Stone Vanguard. You will witness an “earth-shattering” battle between the two bosses.
Benefit: Shigandang is stronger than the Stone Vanguard and will always win. You will receive the rewards of both bosses.
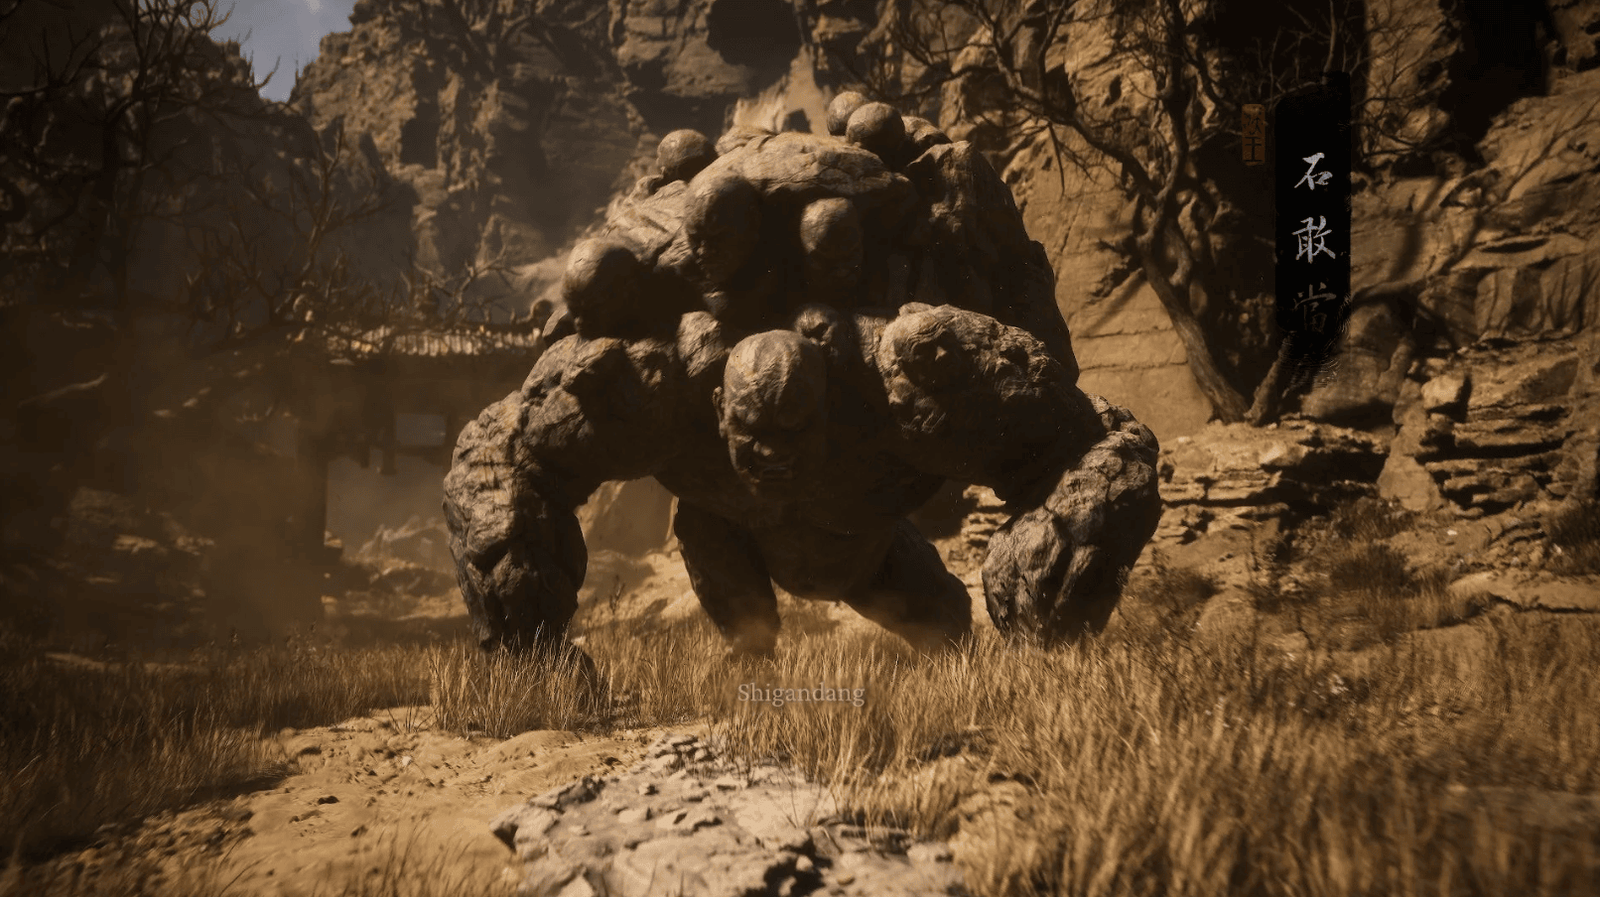
Disadvantage: After defeating the Stone Vanguard, Shigandang will turn to attack you. He is very strong, especially at this stage of the game.
Advice: Only summon Shigandang if you really don’t want to fight the Stone Vanguard, or you want to challenge yourself. You can summon Shigandang again later when you are stronger.
Stone Vanguard Boss Fight
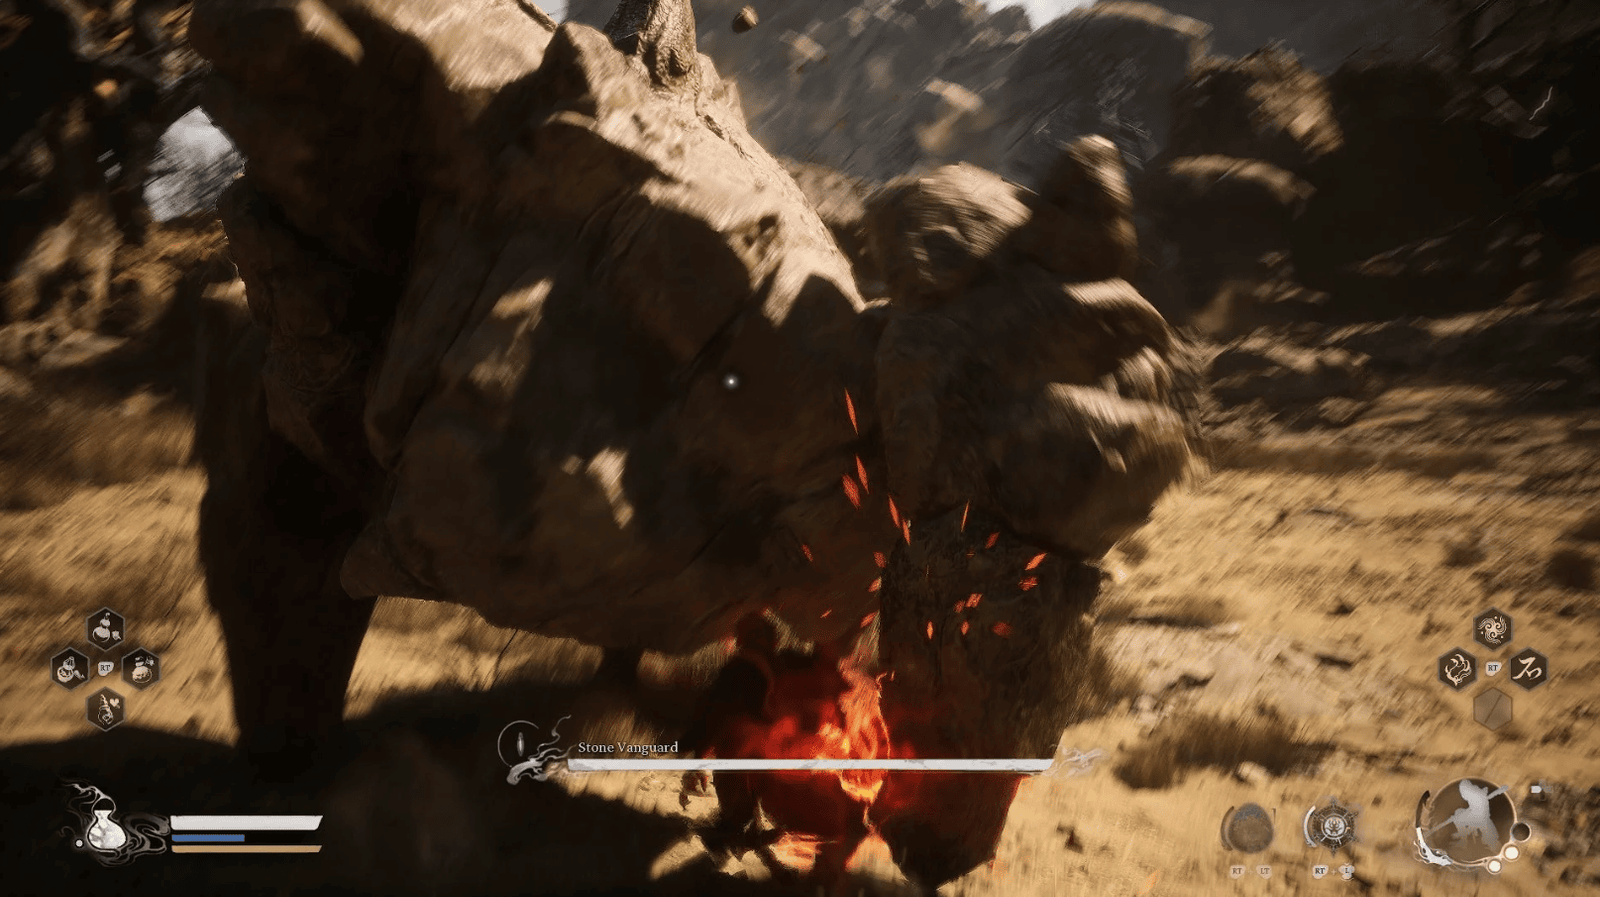
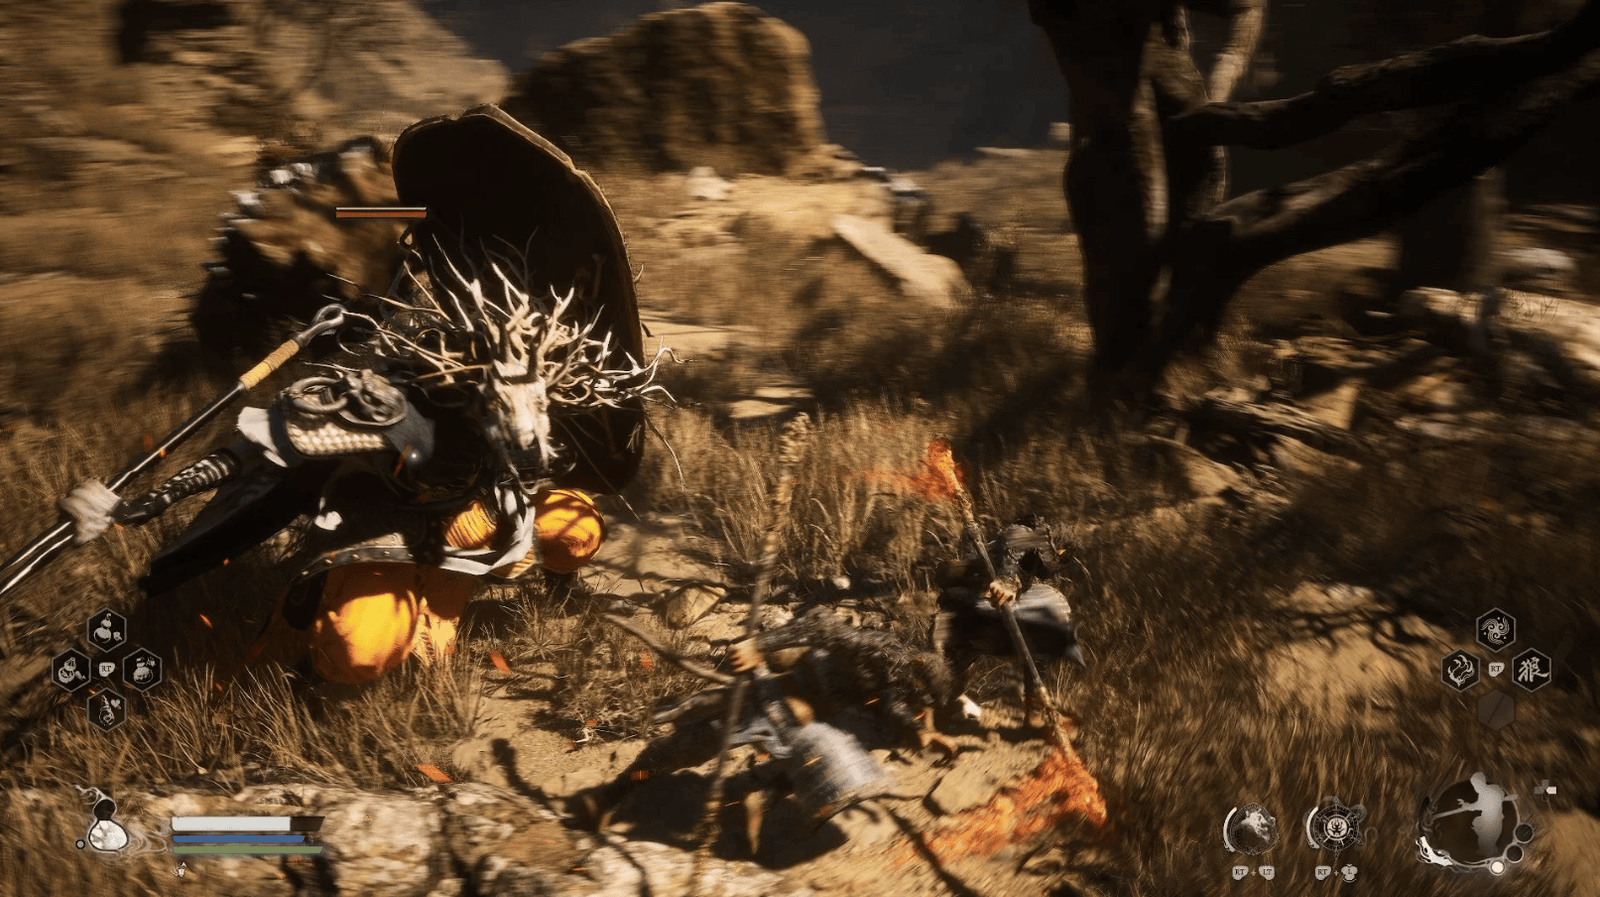
The Stone Vanguard is a giant stone boss, slow-moving but with extremely powerful attacks that cause wide-area tremors.
Jump and Stomp: The Stone Vanguard will jump up and stomp one or two hands down, causing massive damage and creating shockwaves.
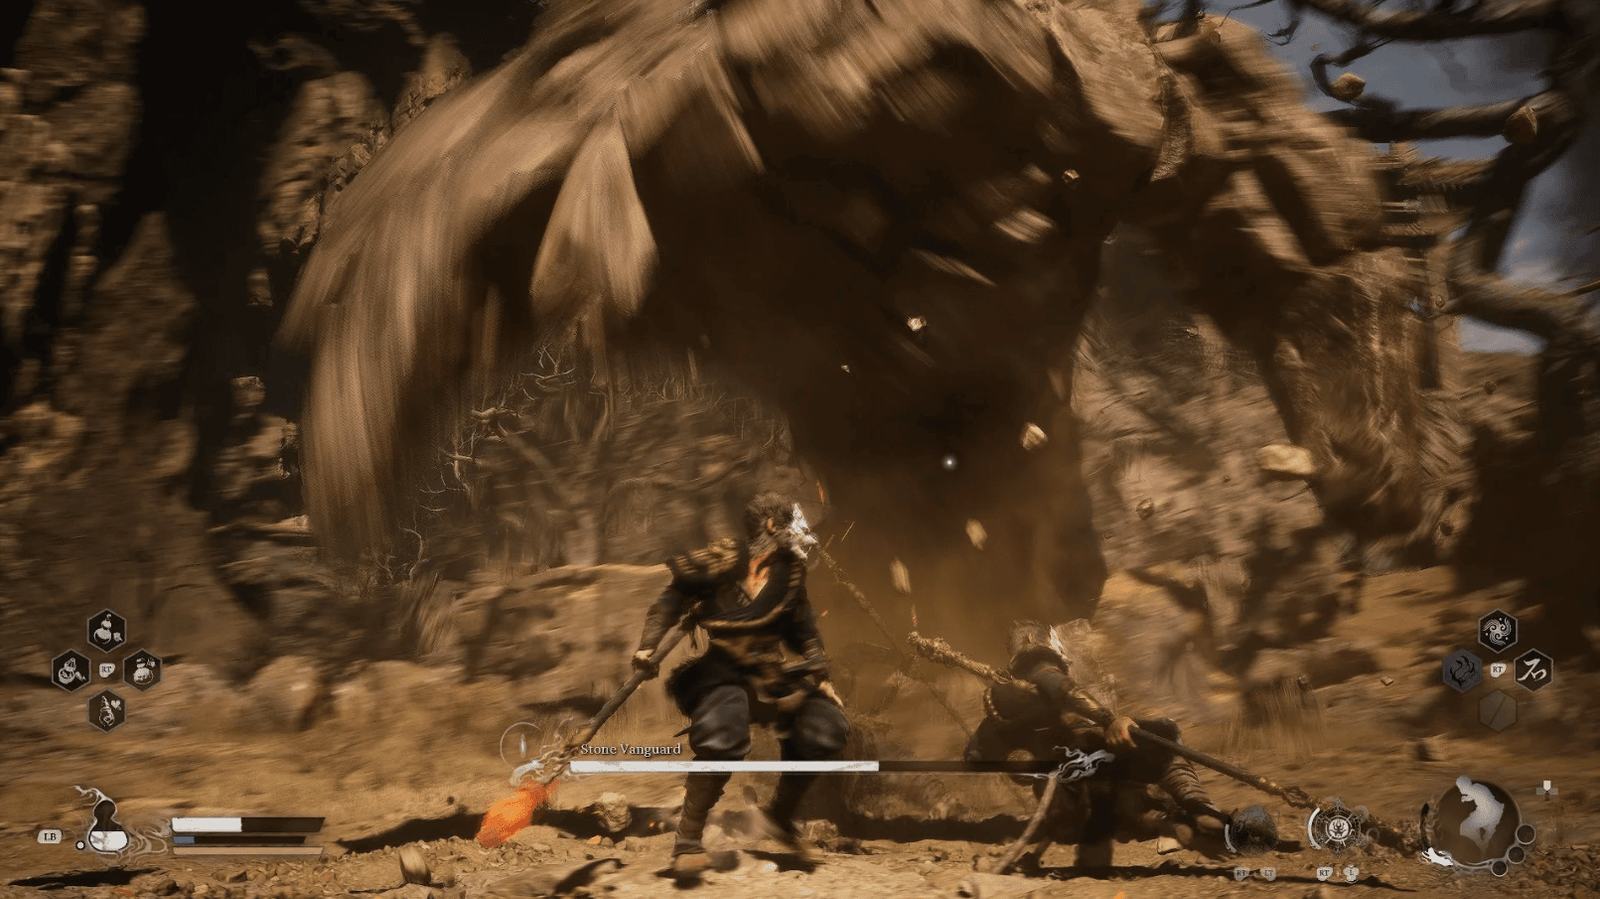
Continuous Stomping: He will stomp both hands on the ground repeatedly, creating multiple shockwaves.
Summon Rock Guai: The Stone Vanguard will clap his hands on the ground, summoning small Rock Guai that emerge from the ground and rush towards you, exploding on impact.
Hand Explosion: When the Stone Vanguard’s hand glows, he will prepare to perform a stomp with a large explosion.
Reward: Sterness of Stone – one-half of the item needed to unlock the large gate.
Rock Clash Platform
Rock Clash Platform is a small area, located right after the Stone Vanguard’s arena. It is a transit point between Fright Cliff and Yellow Wind Formation, with an important Shrine and a few enemies.

After defeating the Stone Vanguard, continue along the path, and you will find the Rock Clash Platform Shrine. Activate it.
Go down the path, and you will see a row of houses and an opening on the left.
In the opening, there are a few Withered Corpses – slow-moving enemies. In the backyard of the house, there is a Ginsengling. Continue along the main path, and you will reach a large terrace overlooking the abyss, where there is a black tornado.
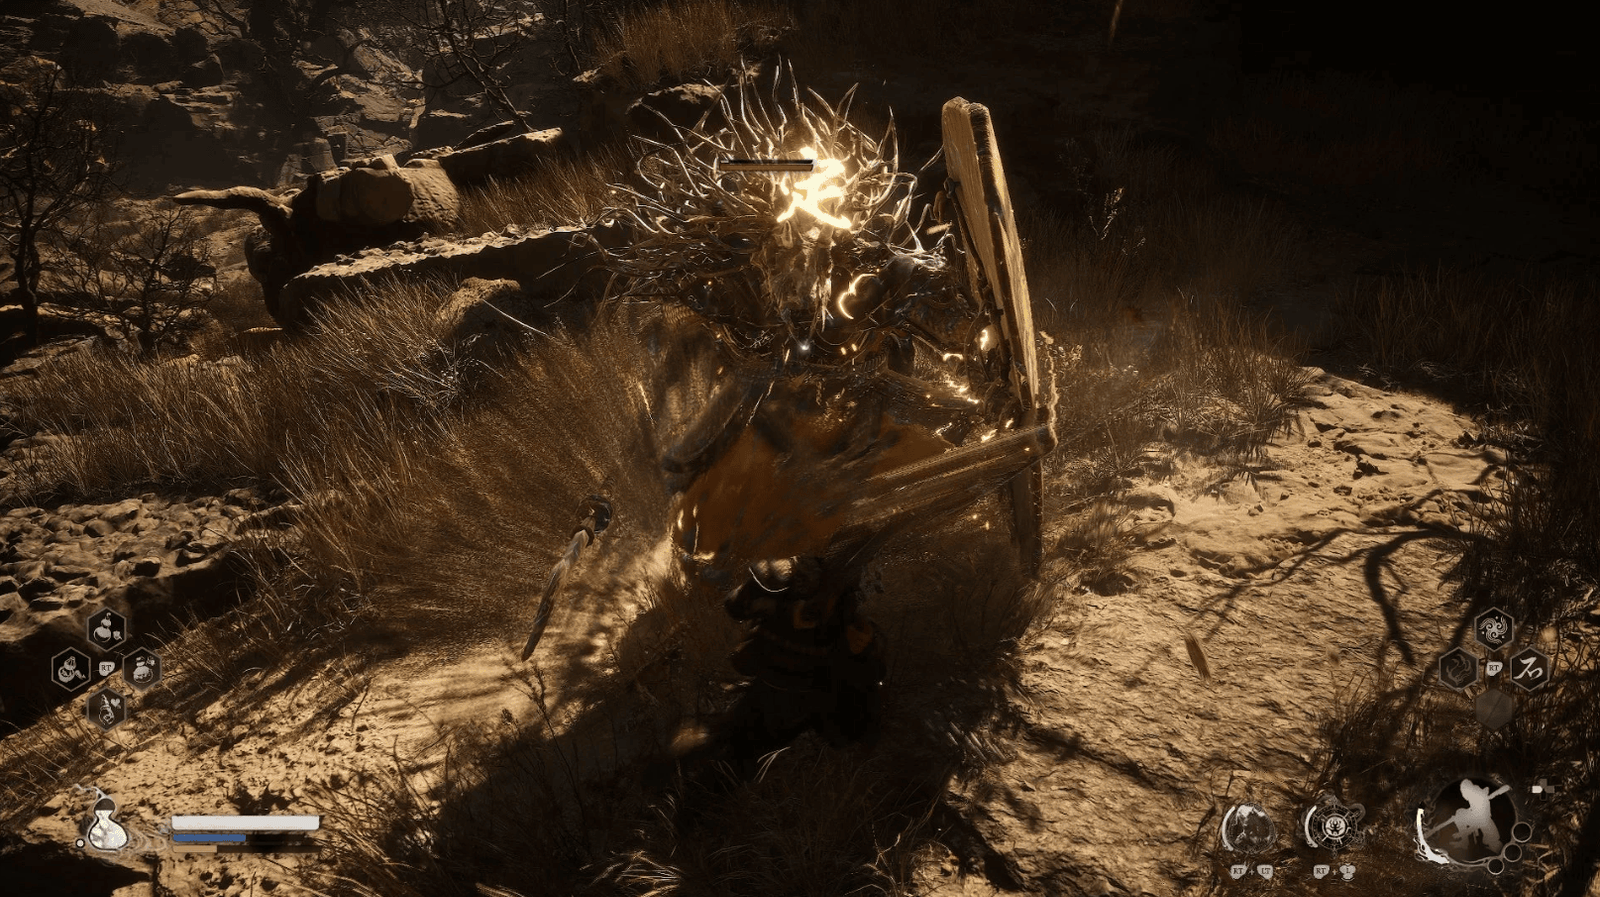
Guarding this area is the Rat Governor – a strong enemy that uses lightning attacks. Defeat him to receive the Rat Governor Spirit.
Right after the Rat Governor, there is a short staircase leading down to The Ravine Meditation Spot – receiving a skill point. Return to the stairs, and go to the left, where there are bonfires.
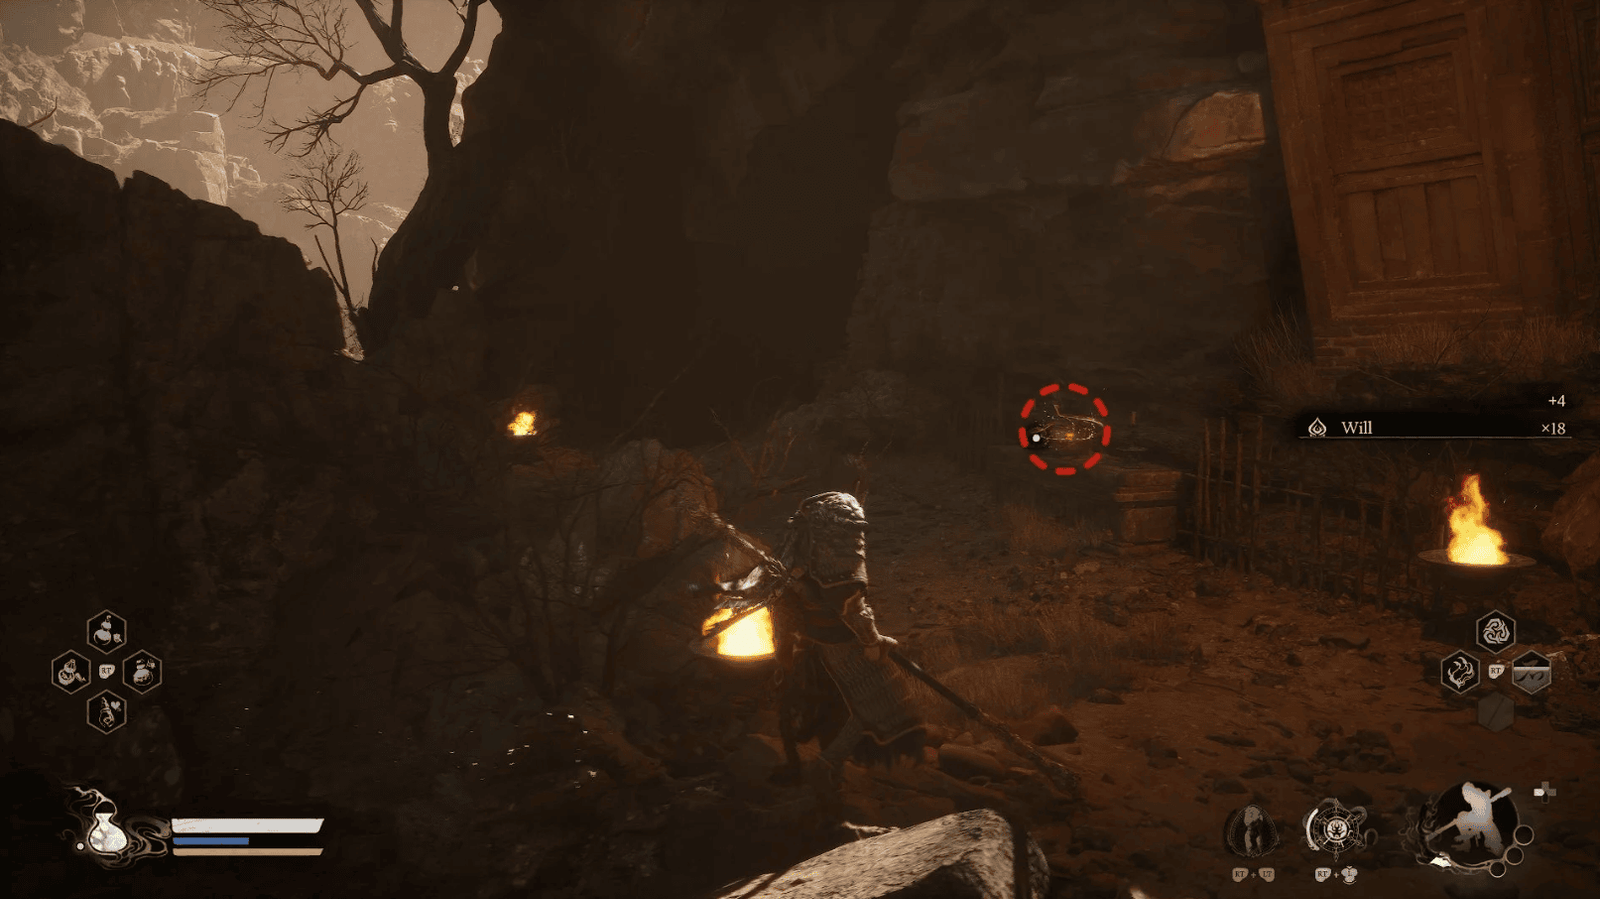
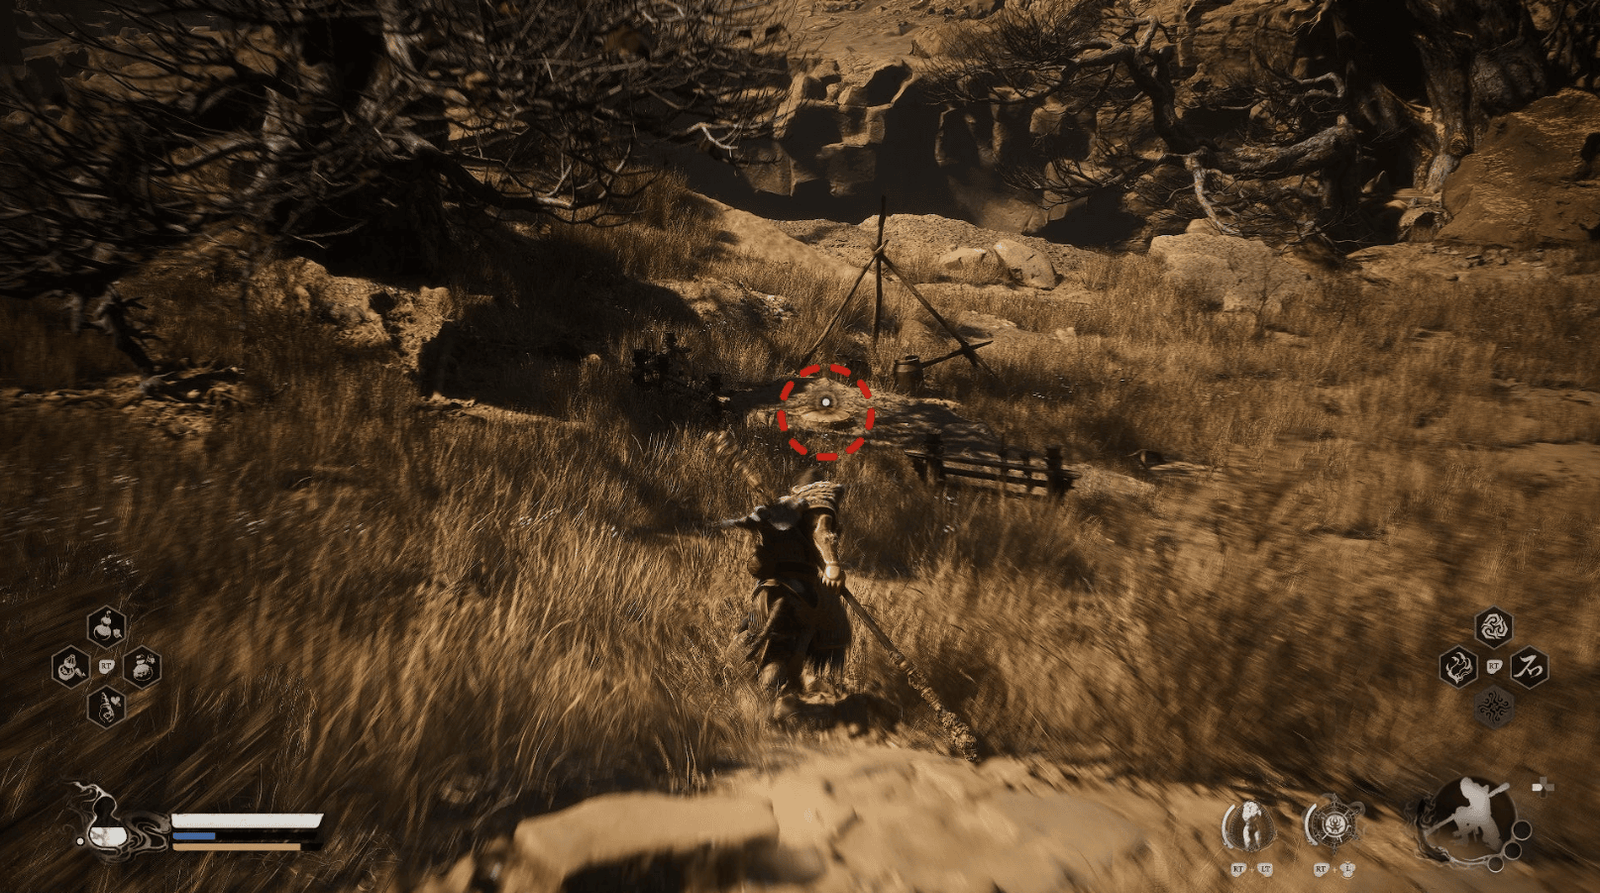
In the middle of the path, there is a small altar with a yellow jar. Inside is the Celestial Taiyi Pill – permanently increasing your maximum mana.
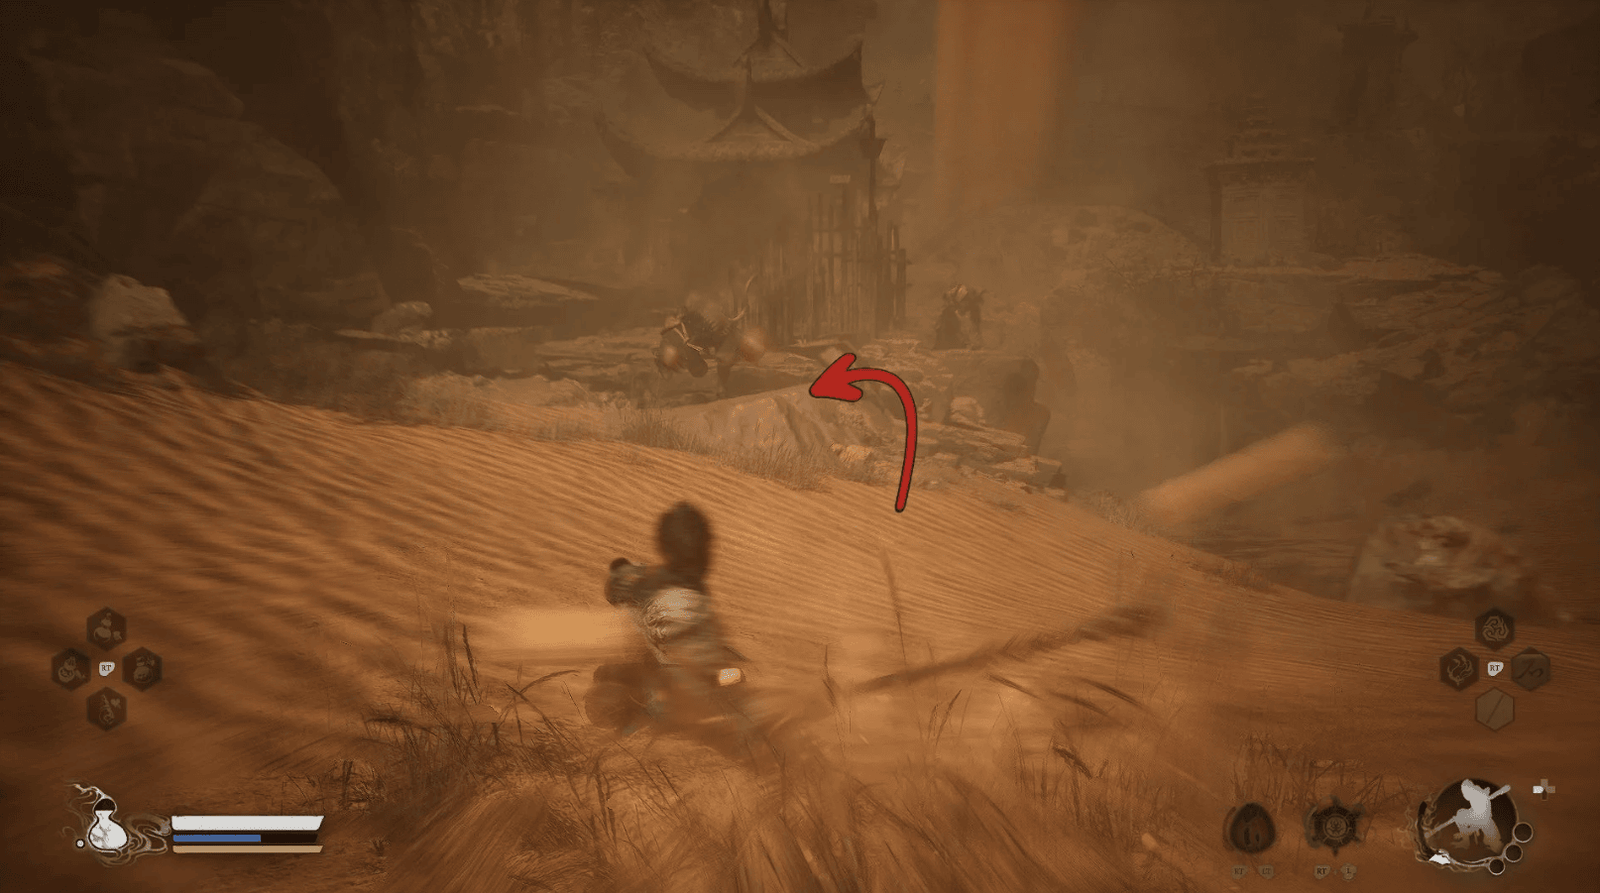
Continue on, and the path will begin to slope downwards. You will slide down a sand slope – you cannot return this way. When sliding down, try to dodge the Rat Archers. Try to slide to the left, you will see a large structure that you can jump onto.
On the lower level of this structure, there is a chest containing Blood of the Iron Bull, 1 Small Piece of Gold, and 4 Tiny Piece of Gold.
Slide down the rest of the slope, and you will reach the Windseal Gate Shrine in the Yellow Wind Formation area.
At this location, Headless Musician, gifts you the Pluck of Many spell, creating duplicates of yourself to fight.
Congratulations on completing your journey to explore Fright Cliff in Black Myth: Wukong! This is a challenging area, but also contains many secrets and worthwhile rewards. Hopefully, this guide has helped you confidently conquer Fright Cliff and have wonderful experiences in Black Myth: Wukong. Continue to explore the vast and fascinating world of this game!