

Are you “having a headache” because of Yellow Wind Sage – the “final boss” of Chapter 2 in Black Myth: Wukong? This Yaoguai King is not only “tanky” but also “tricky” with Samadhi Wind. Don’t worry! This article will be your “guiding light” to help you “deal with” him, “conquer” the Yellow Wind Formation, and “take home” some “awesome” rewards. We will go straight to the strategy, “practical” tips, and the necessary preparations. Ready to “fight”?
Location and Important Warning
To “encounter” Yellow Wind Sage, you need to “wander” to the Yellow Wind Formation area – a “foggy” land of sandstorms in Chapter 2. More specifically, he “hides” in the large sandstorm in the center of this area.
- From Windseal Gate: Follow the directions on the map, you will “easily” find the tornado.
- From Cellar Shrine: This is a faster “shortcut”.
Important note: Yellow Wind Sage is the final boss of the chapter, so make sure you are “fully equipped” before “engaging”.
And importantly, you need two items, Sterness of Stone and Keeness of Tiger, to open the door to the Yellow Wind Sage area. If you find it difficult to face Yellow Wind Sage, I recommend you complete the hidden area of Chapter 2 first to get Wind Tamer – which counters Yellow Wind Sage. And if you don’t know where the hidden area of Chapter 2 is, you can refer to this article.
“Know your enemy, know yourself, a hundred battles, a hundred victories.” Before “rushing” into a “life-and-death battle” with Yellow Wind Sage, “pocket” the following preparations to “secure victory”:
- Evil Repelling Medicament: Reduces damage taken. Extremely important to “survive” the boss’s “barrage attacks”.
- Longevity Decoction: Increases maximum HP. Helps you “last” longer in battle.
- Copper Pill: Combine with Celestial Medicine to regain skill cooldowns. Consume a gourd, and your next Rock Solid will not use up mana.
- Wind Tamer: Obtained from the hidden boss Fuban. This is your “secret weapon”. Activating the Wind Tamer will disable Yellow Wind Sage‘s Samadhi Wind and stun him for a few seconds. “Golden opportunity” to “deal damage”.
- Rock Solid: This is the most important “defensive counterattack” skill. When deployed, you will block most of the damage and can stun Yellow Wind Sage if you block at the right time. Particularly effective with his stomp and thrust attacks.
- Thrust Stance: Optional, but useful for long-range attacks, maintaining a safe distance.
- Red Tides: Use to chase Yellow Wind Sage.
- Complete Galeguard or Insect set. These two sets have good defense stats, helping you “resist” better.
- Cloud-Patterened Stone Staff. Has good attack stats, obtained from the optional boss Sihandang.
Yellow Wind Sage Boss Fight and Guide
This is the “core” part of the guide, where we will “dissect” each stage of the battle, Yellow Wind Sage‘s attacks, and how to “counterattack” effectively.
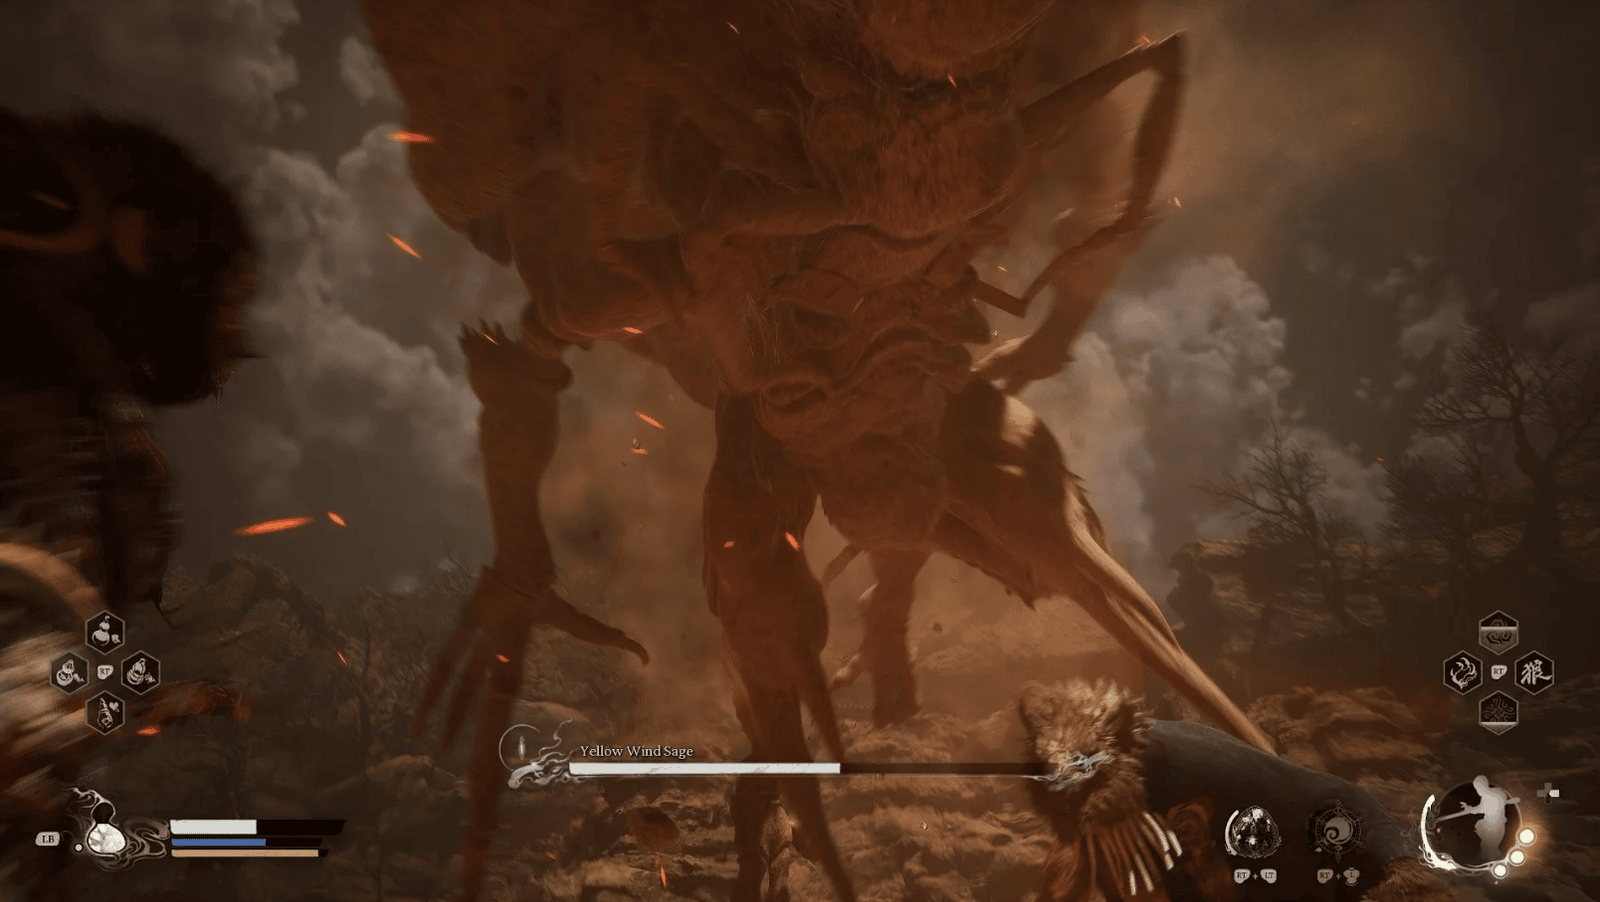
Phase 1
Yellow Wind Sage uses his “giant” trident with basic attacks, however, don’t “underestimate” him, he can still “send” you “to the scoreboard” if you are “careless”.
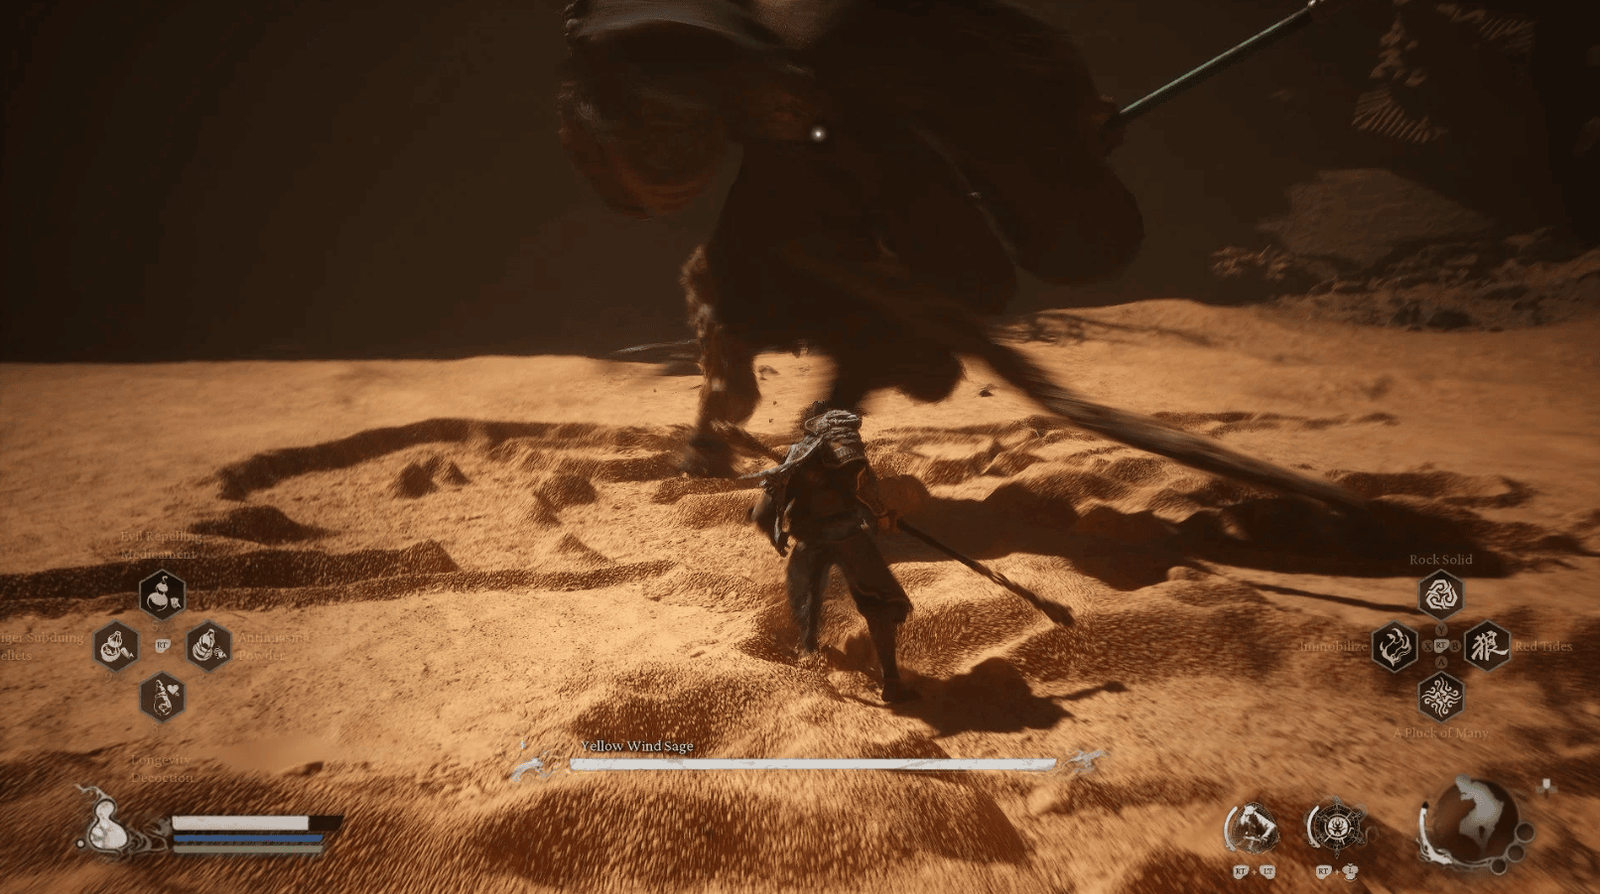
Downward Slash: Yellow Wind Sage jumps up and slashes the trident down, marking the beginning of a combo, the combo will be followed by other consecutive attacks. Dodge to the sides or backward. Can be blocked with Rock Solid, but will consume stamina. This attack is often followed, prepare for subsequent attacks.

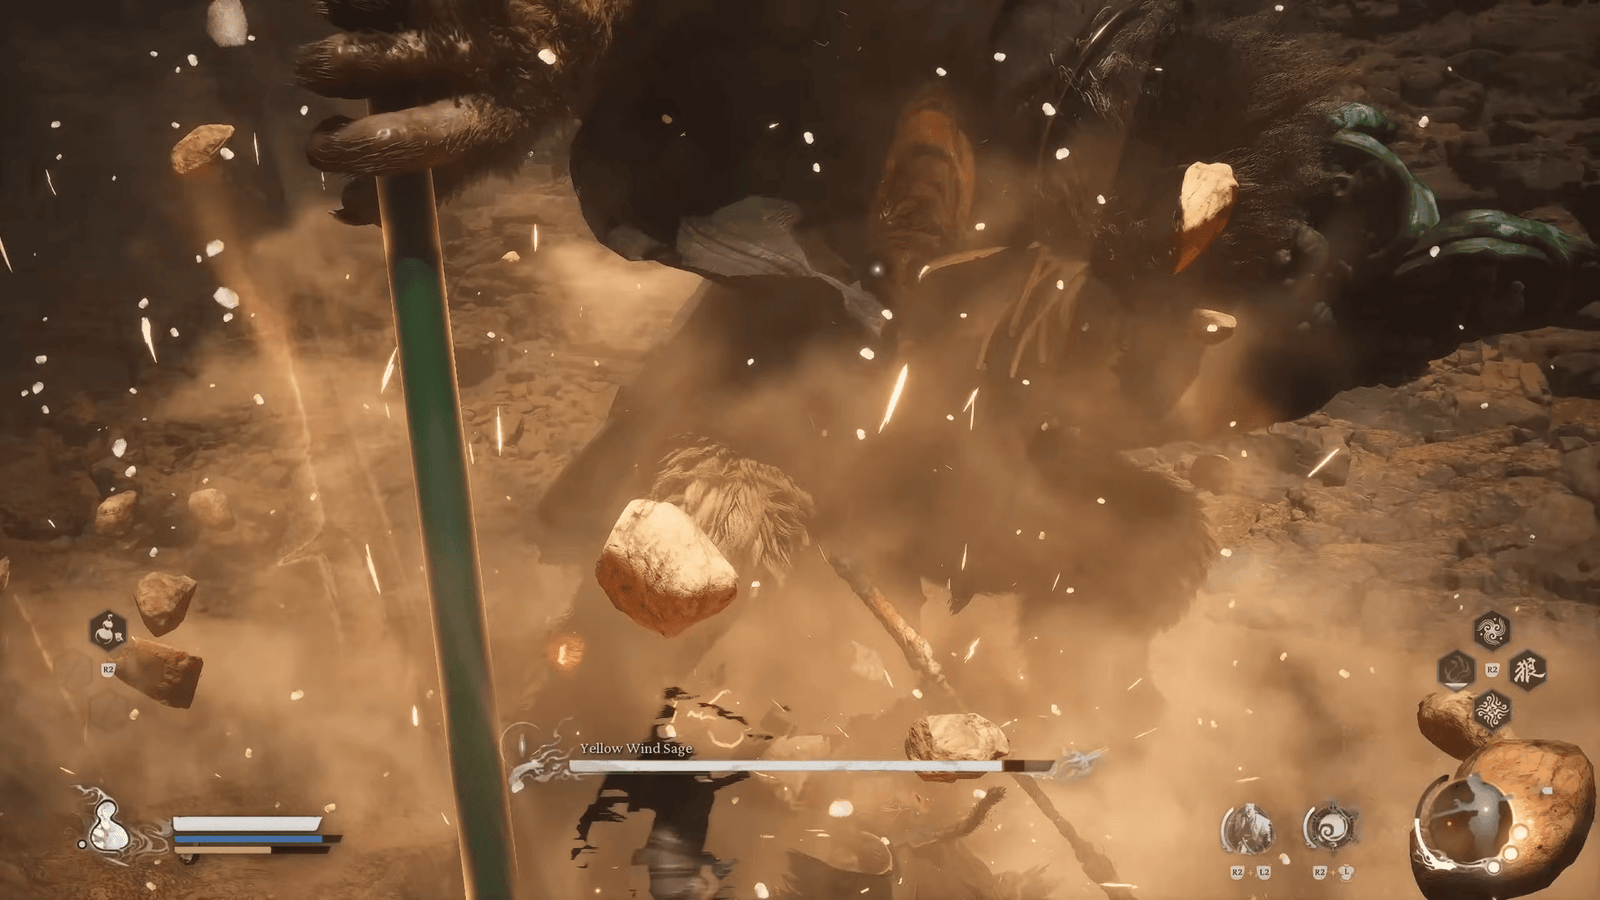
Stomp Shockwave: Yellow Wind Sage stomps his foot hard on the ground, creating a shockwave around him. Jump to avoid it, or use Rock Solid to block and stun him. This is a good opportunity to counterattack. Time the moment Yellow Wind Sage stomps his foot, use Rock Solid just before the shockwave hits you.
Slash: Yellow Wind Sage swings the trident, creating a wide shockwave. Dodge to the sides or backward. Can be blocked with Rock Solid, but will consume stamina. This attack often appears after other attacks, be “vigilant”.
Ground Stab: After a dance move, Yellow Wind Sage stabs the trident firmly into the ground, creating sand spikes that protrude in a straight line. Move away or dodge to the sides. Don’t stand in a straight line with the stab point. Immediately after this attack, the boss will usually stomp his foot to create a shockwave.
Phase 2
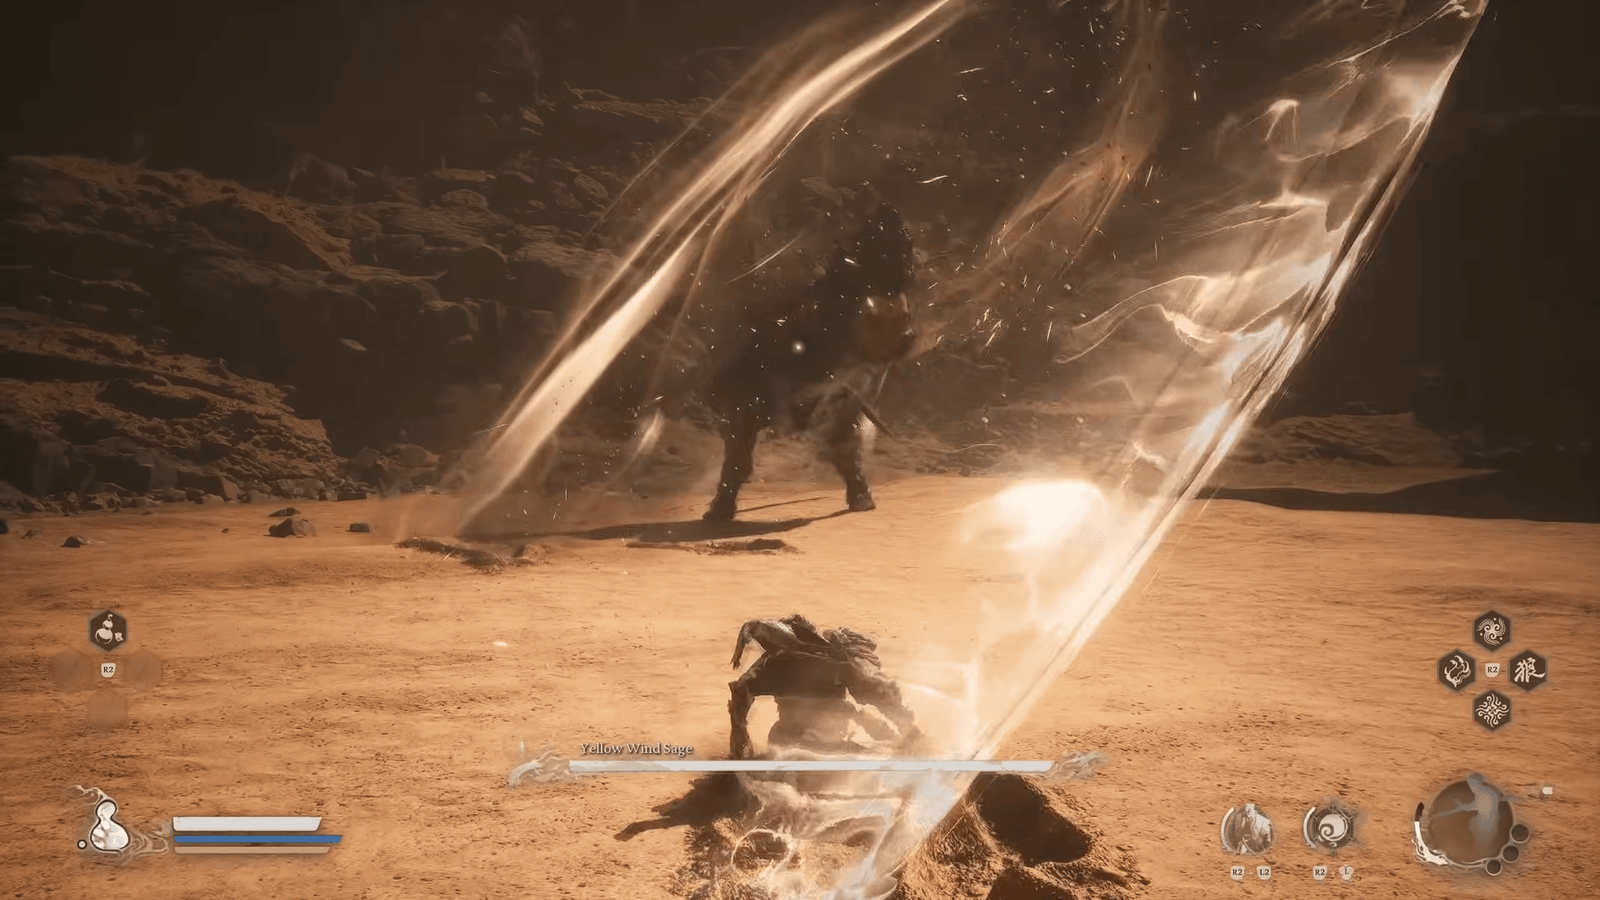
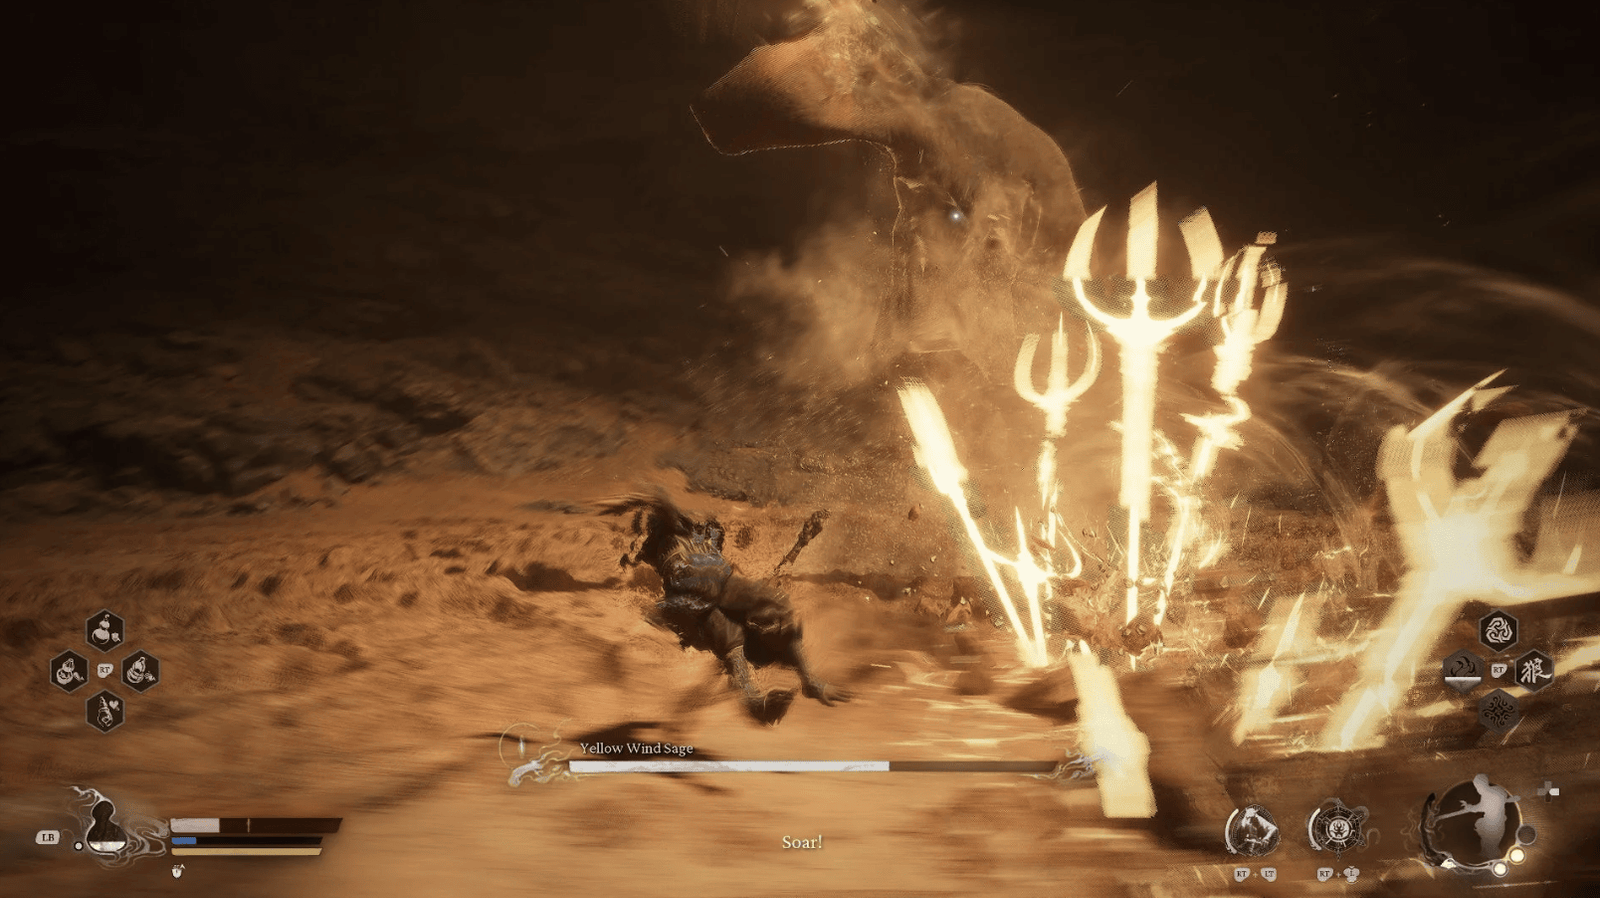
When Yellow Wind Sage loses about 1/3 of his health, he will throw away the bizarre head he’s been holding and start spinning his trident, creating a large sandstorm. This is a sign that he’s “enraged” and “unleashing” stronger moves. Yellow Wind Sage changes his trident-holding posture, attacks become faster, stronger, and more unpredictable. The sandstorm reduces visibility, making dodging more difficult.

Sand Clones: Yellow Wind Sage creates sand clones of himself to attack you from multiple directions. These clones will disappear after attacking, cannot be counterattacked. Focus on dodging. Pay attention to the clone with glowing hands, it will create sand spikes.
Fuban Summon: If you haven’t defeated the hidden boss Fuban, he will appear and attack you. Focus on dodging Fuban and focusing on Yellow Wind Sage. It is recommended to defeat Fuban before confronting Yellow Wind Sage.

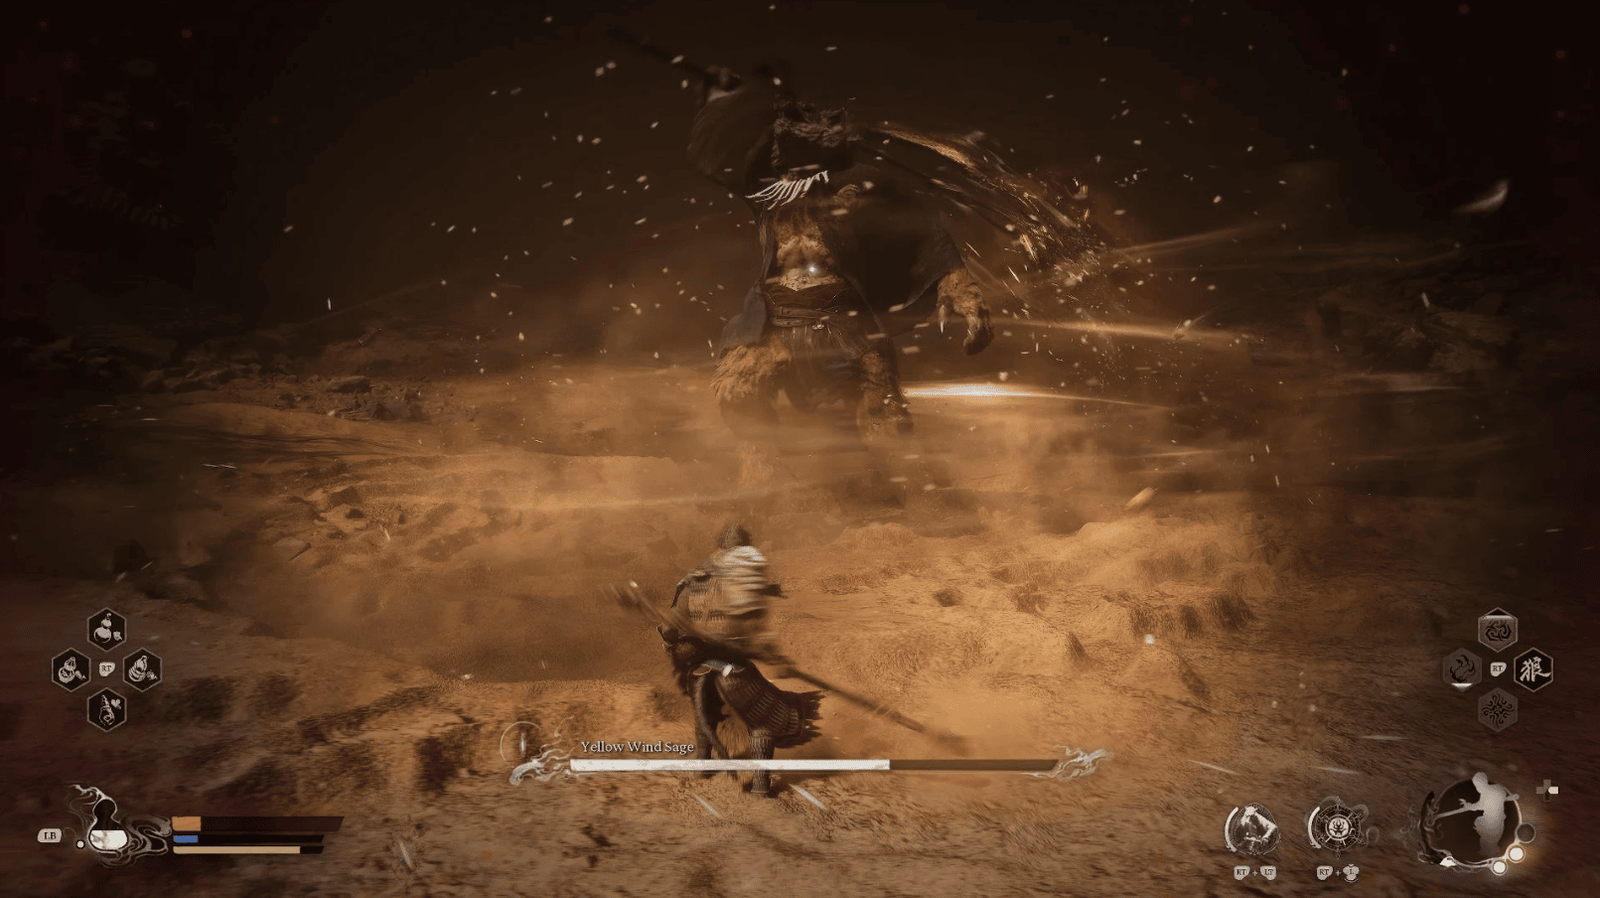
Grab Attack: Yellow Wind Sage lunges forward, kicks you into the air, then slams you down and stabs you with the trident. Deals massive damage. Must be dodged at all costs. Cannot be blocked. This attack has a telltale sign that Yellow Wind Sage slightly crouches down and roars before lunging.

Kicks: Yellow Wind Sage can perform some kicks, and they will have visual tells, in form of the boss lifting his leg. These clones will disappear after attacking, you cannot counterattack. Focus and evade. These can be blocked with Rock Solid if timed well.
Weapon slam into the ground: The boss will slam it’s weapon into the ground after holding it with both hands. Use Jump to avoid it, or can be parried using Rock Solid. You can use Pillar Stance to evade and counter.

Sliding Swipe: The boss will quickly slide pass the player, then swipe back. Time it right when he slides, and use Rock Solid when he strikes back. Doing so will stun the boss.
Using the Wind Tamer

This is the “golden” time to use the Wind Tamer. Activating the Wind Tamer will dispel the sandstorm, disable the Samadhi Wind attacks, and stun Yellow Wind Sage for about 5-10 seconds. Take full advantage of this time to “deal” damage with your strongest attacks.
Phase 3

When Yellow Wind Sage has about 1/4 health (25%) remaining, he will retrieve his head and prepare to “go all out”. A small tornado will also appear, moving around the arena.
Yellow Wind Sage combines attacks from both previous phases, but enhanced (stronger, faster).
The tornado makes movement and dodging more difficult.
Basically, the strategy is similar to phase 2, but you need to be even more “focused”.
Be especially careful with the tornado, avoid it at all costs. If you get caught in it, you will be thrown into the air and very vulnerable to Yellow Wind Sage‘s “combo” when you fall.
Continue to use the Wind Tamer when it recharges (if possible) to gain an advantage.
If you are “proficient” with Thrust Stance, this is the time to “utilize” it because it helps you attack from a distance, maintaining a safe distance.
Red Tides is also a good option to chase Yellow Wind Sage when he “retreats”.
Overall Strategy
This is the “toughest” phase, requiring your “focus”, “calmness”, and “skill”. Dodging, avoiding the tornado, utilizing the Wind Tamer, and “dealing damage” when you have the opportunity are the “keys” to victory. Don’t be “discouraged” if you fail a few times, “learn from your mistakes” and “try again”.

Defeating Yellow Wind Sage not only brings “glory” but also “brings” you Fuming Ears – one of the Great Sage’s Relics. And Samadhi Wind Agate – a material for forging weapons.
Congratulations, you have successfully “overcome the challenge”! Defeating Yellow Wind Sage is a remarkable “achievement”, proving your skill and perseverance. Hopefully, with this detailed guide, you have “mastered” the strategies and “hard-earned” tips to “deal with” this “tough” Yaoguai.
Remember, Black Myth: Wukong is a “challenging” game, and failure is “normal”. The important thing is that you “learn” from your mistakes, “gain experience”, and “don’t give up”.
If you have any questions, concerns, or want to share your experience, don’t hesitate to leave a comment below. I wish you enjoyable “adventure” hours in the world of Black Myth: Wukong!