
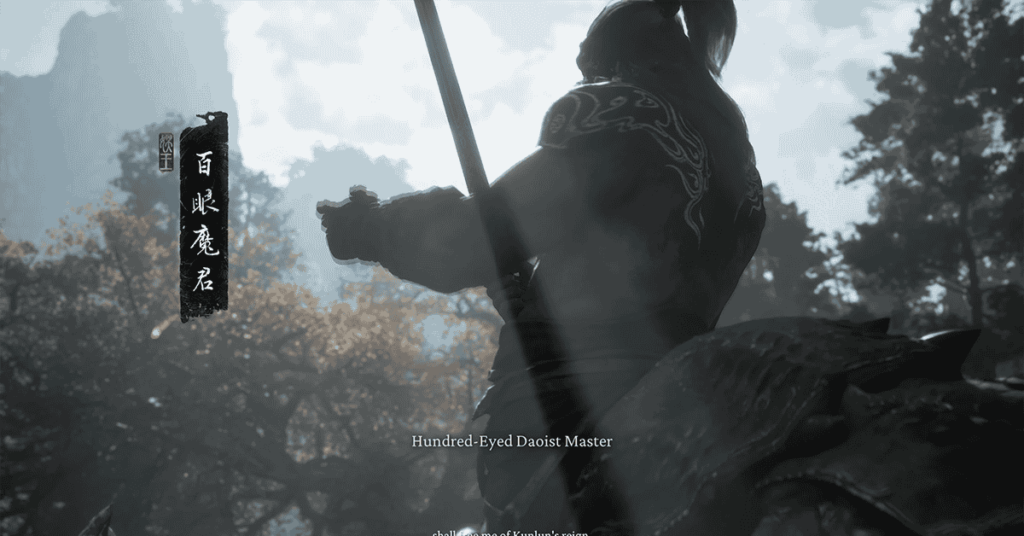
Hundred-Eyed Daoist Master is the final challenge of Chapter 4 in Black Myth: Wukong, a mandatory Yaoguai King guarding the Temple of Yellow Flowers and the final boss of the Webbed Hollow area. He is notoriously ruthless, demonstrated by absorbing even the Violet Spider, and will pit you against a challenging multi-phase battle combining swordsmanship, poison, and especially deadly Lightning attacks. This guide, based on practical experience and information from reputable sources like IGN, Fandom Wiki, and Game8, will provide detailed strategies, necessary items/skills, and crucial tips to fully prepare you and confidently defeat this challenging boss.
Location and Recommended Loadout
Finding the lair of the Hundred-Eyed Daoist Master is quite simple once you’ve progressed deep into Chapter 4. He awaits you at the Court of Illumination, located within the Temple of the Yellow Flowers complex.
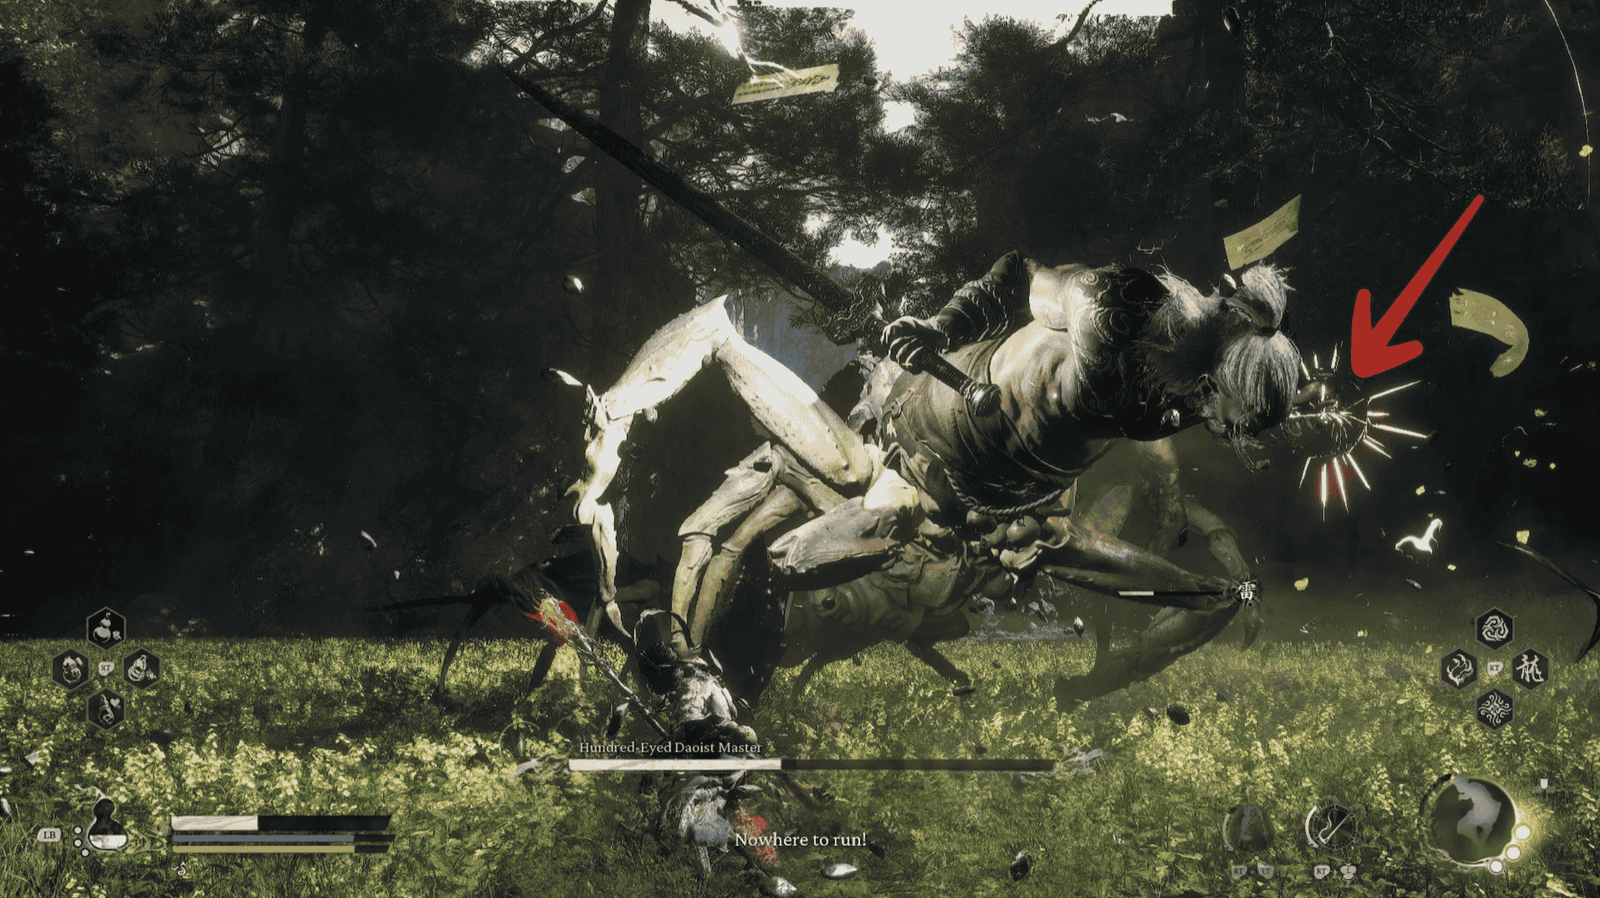
To reach the battle area, start from the nearest Shrine in the Court of Illumination. From there, look to the right, and you will see a path leading out to a large arena-like courtyard ahead. Simply go down a few steps and enter this area; a dramatic cutscene will automatically trigger, revealing the ruthlessness of the Hundred-Eyed Daoist Master as he absorbs the Violet Spider, and the battle will begin shortly after.
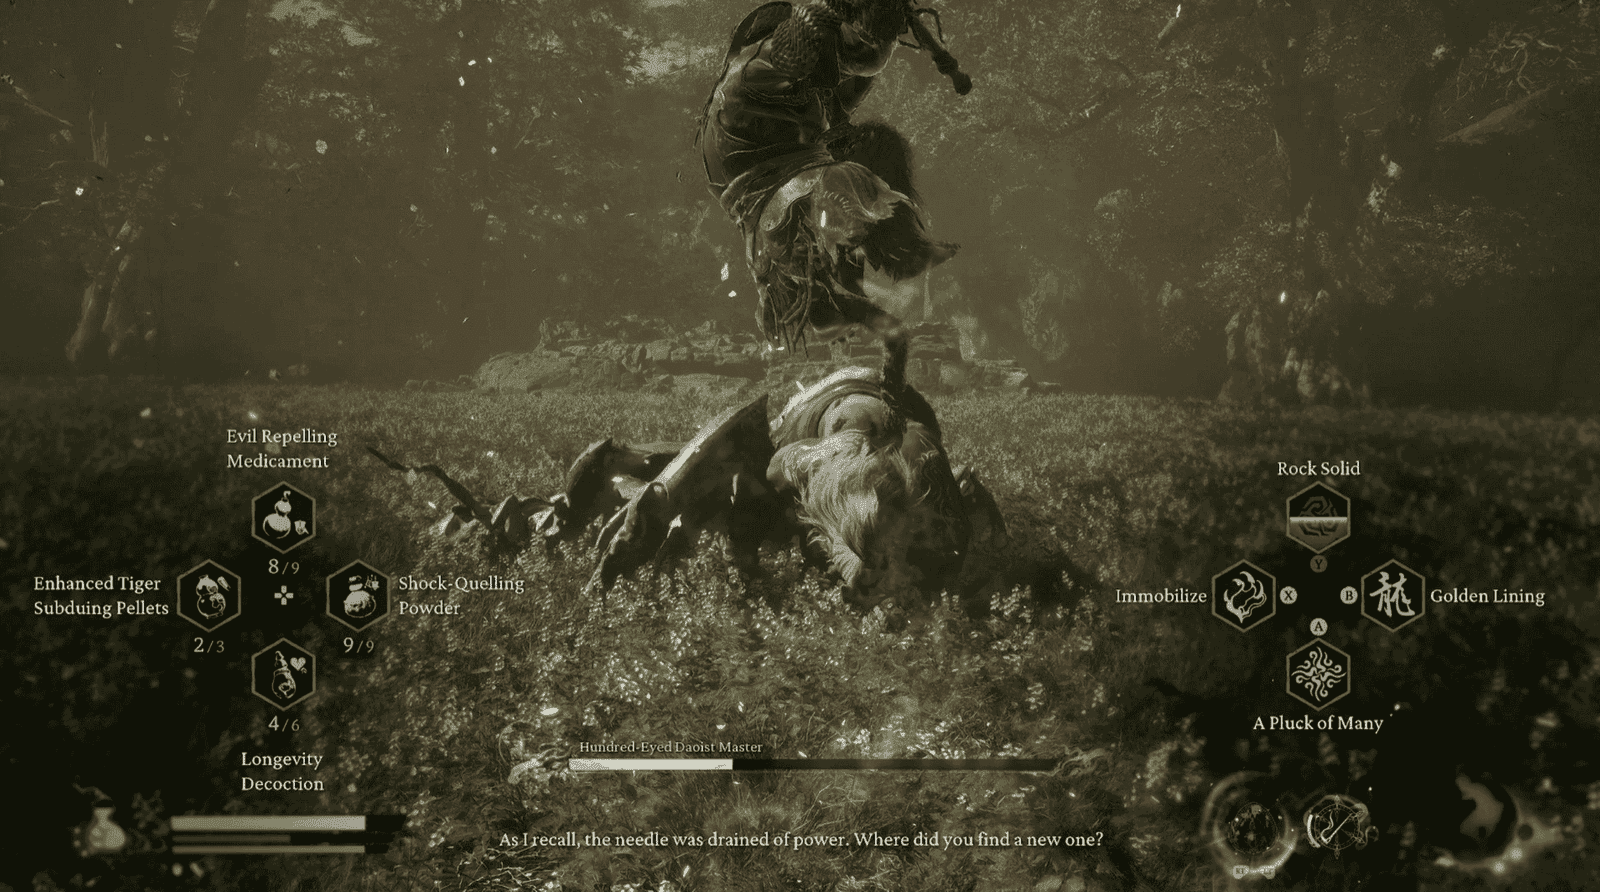
To confront the Hundred-Eyed Daoist Master, thorough preparation is key, especially when entering the grueling final phase. Don’t overlook the following items and skills:
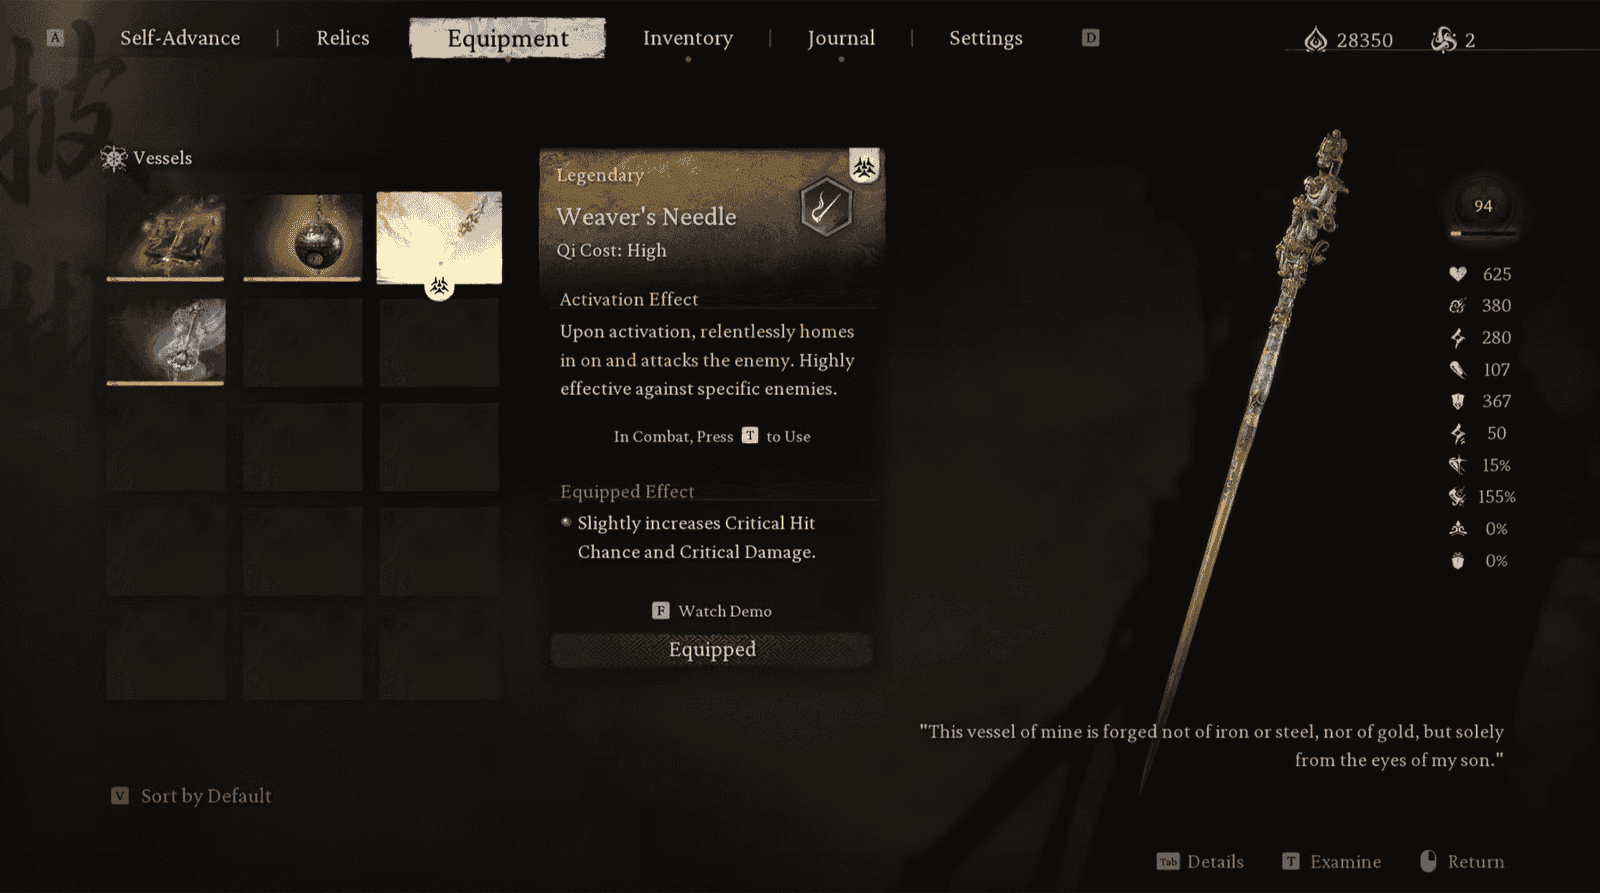
Weaver’s Needle: This is almost a mandatory requirement to make the fight significantly more manageable. Why? In Phase 2, the boss creates a cursed golden dome that severely drains your Stamina, making dodging and attacking nearly impossible. Only the Weaver’s Needle can break this curse, stunning the boss and creating a huge counterattack opportunity. This item is obtained after completing the secret area Purple Cloud Mountain and defeating Daoist Mi. Absolutely get it before facing the Hundred-Eyed Daoist Master.
- Shock-Quelling Powder: The boss uses many Lightning attacks; this item helps reduce incoming damage.
- Antimiasma Medicine: He also has some nasty poison spit attacks; having antidote ready is necessary, though not needed too often.
- Golden Lining: A top choice due to its Lightning resistance and the “see through” skill, which helps counter the boss’s slower attacks effectively.
- Hoarfrost / Umbral Abyss: If you have and are comfortable using them, the freezing ability is also very useful.
Important: You should save your valuable transformation uses for Phase 2, especially after you’ve used the Weaver’s Needle.
Hundred-Eyed Daoist Master Boss Fight and Guide
The fight with the Hundred-Eyed Daoist Master is divided into two distinct main phases, with significantly changing movesets.
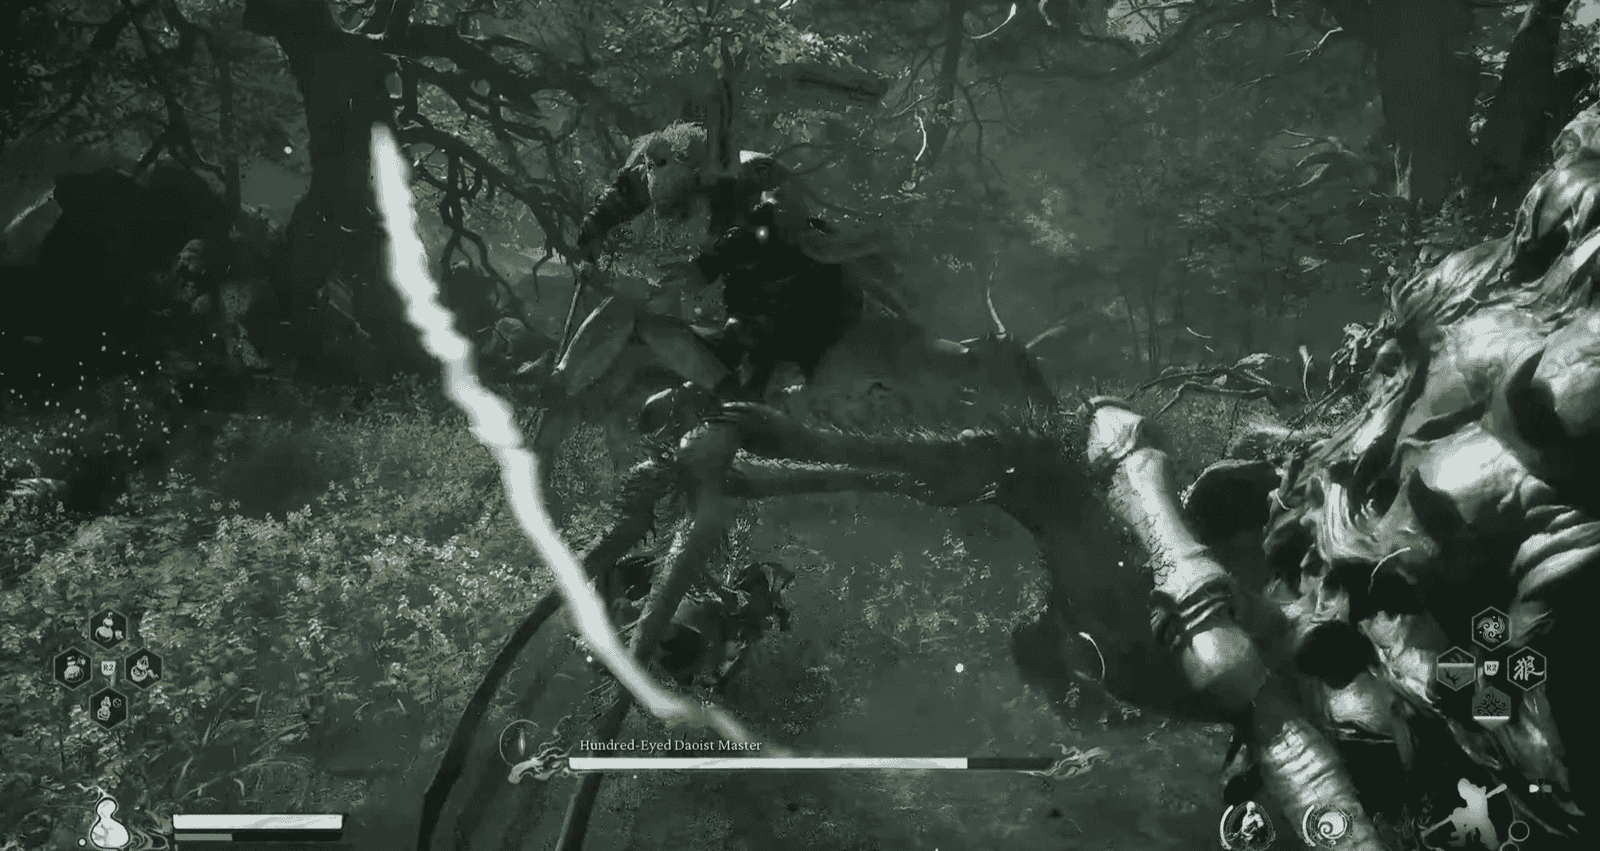
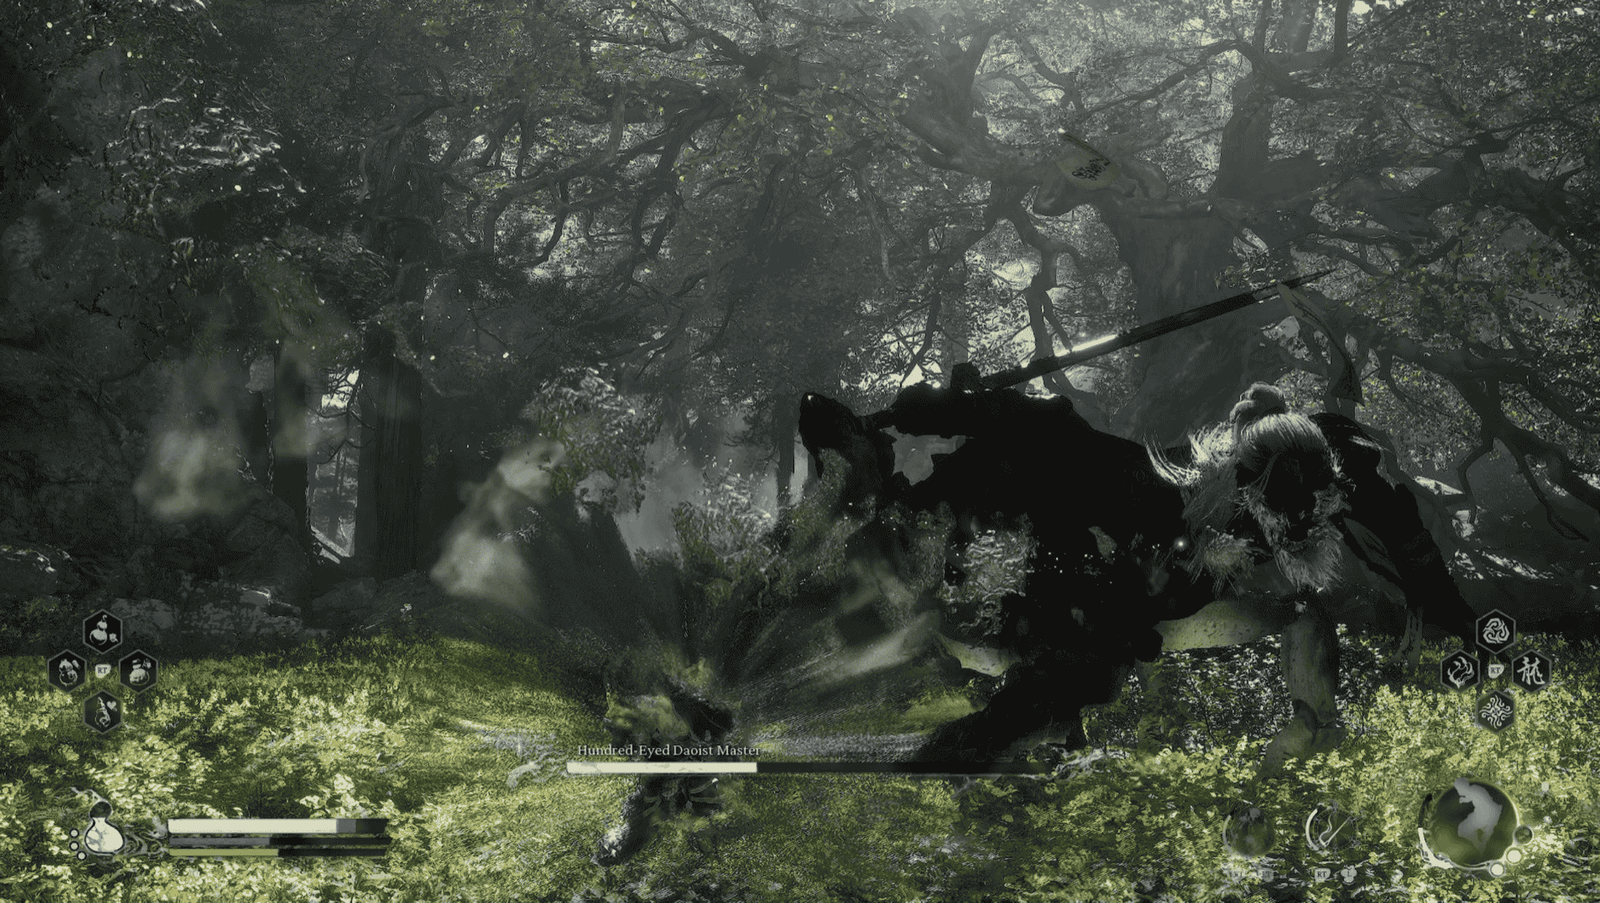
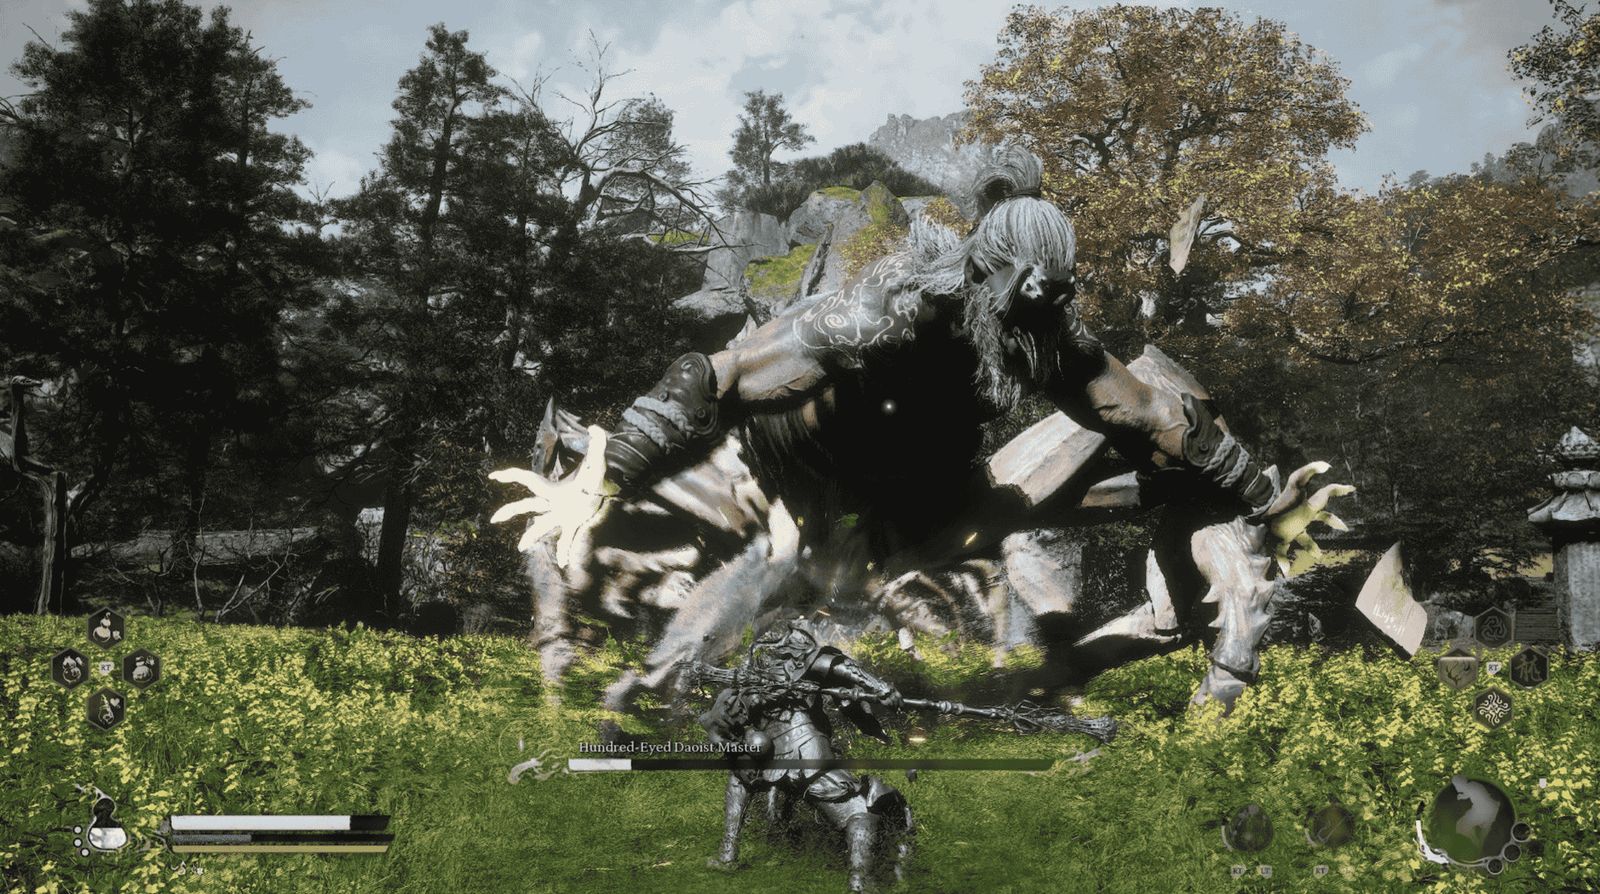
Phase 1: Centipede & Sword Form (100% – ~25% Health)
In this phase, the boss primarily uses his large sword combined with Lightning talismans and occasionally poison.
First Encounter: The surviving Spider Sisters will rush in to attack the boss alongside you. Take advantage of this chaotic moment to deal as much damage as possible. They will be defeated quickly, but it’s valuable assistance.
Retries: The spider sisters no longer appear, but the boss will permanently have 15% less maximum health from the start. This is a significant advantage.
Attack Analysis & Counters (Phase 1)

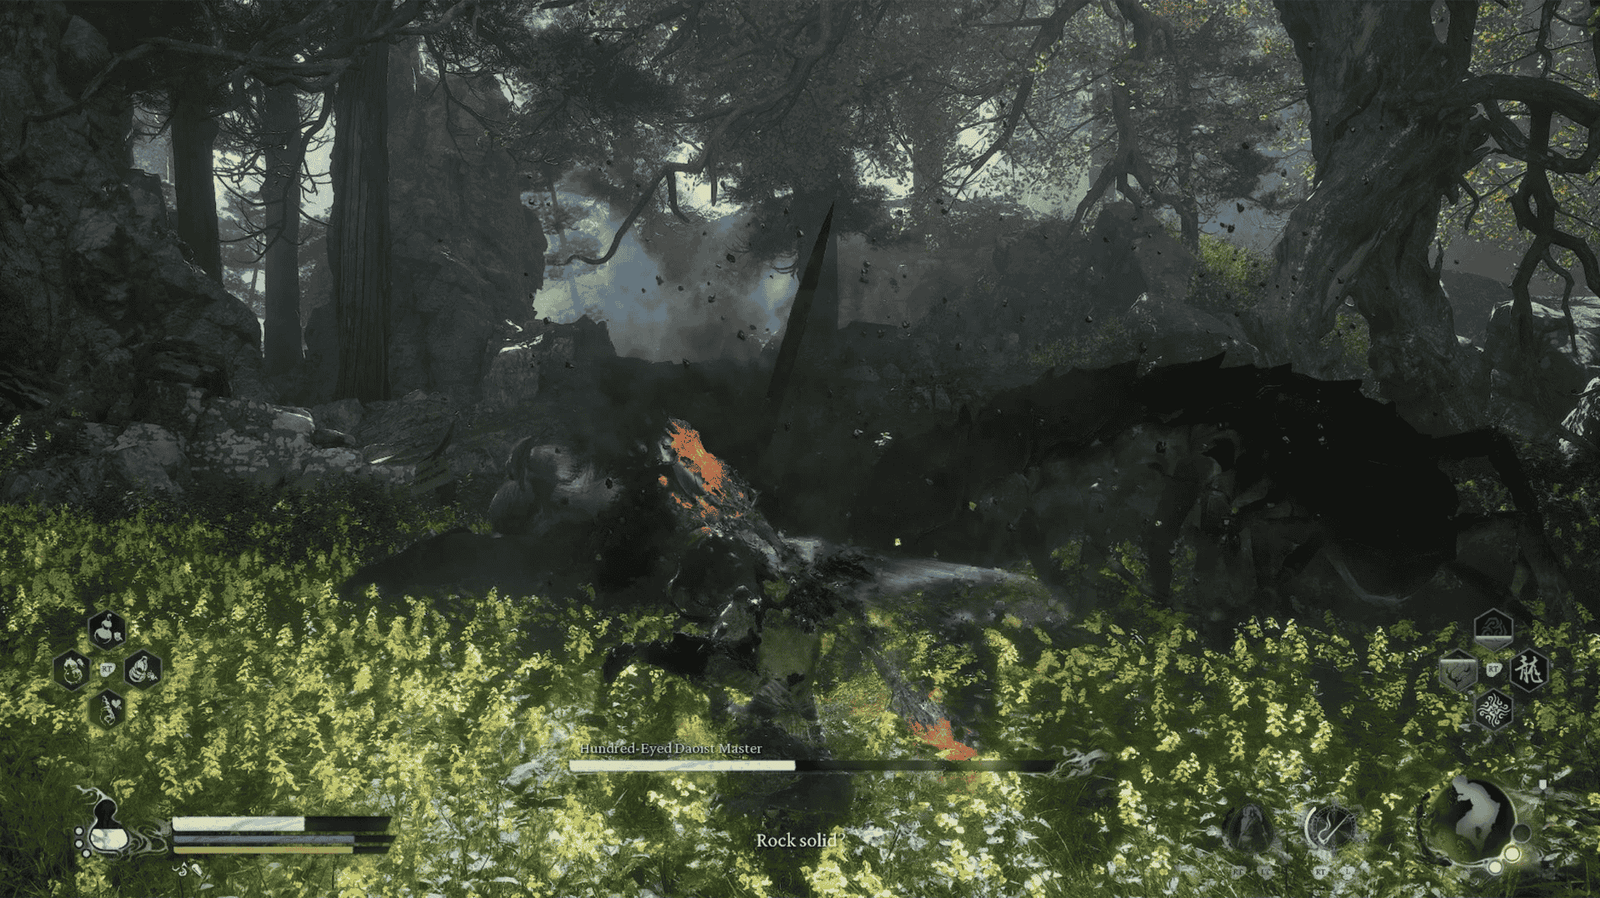
Basic Sword Combo Chain: Usually a downward slash, a backward slash, then a spinning third slash. Easy to recognize and can be Dodged or Deflected/Parried with Rock Solid.
Lightning Talisman Throw: After a sword combo or from a distance, the boss throws 3 talismans that hover in front before firing a lightning beam. Dodge to the side when you see the talismans appear; you’ll have an opening to attack while he’s performing the action.
Poison Spit: Boss suddenly reverses his sword grip, head tilted slightly back. QUICKLY dodge behind the boss or dodge far back. If hit, quickly use Antimiasma Medicine.
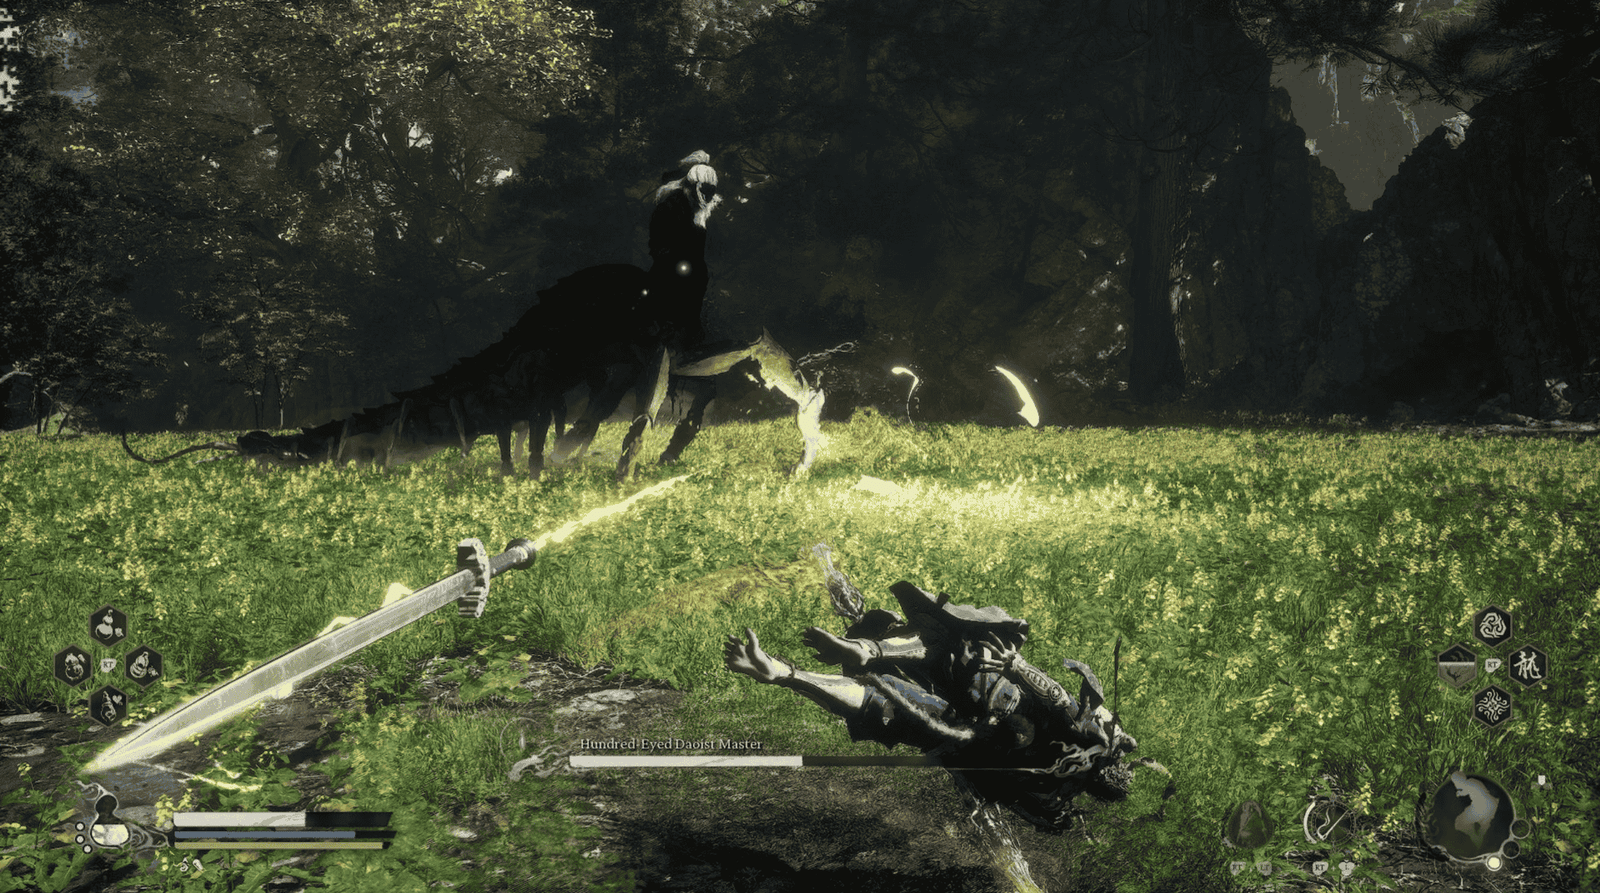
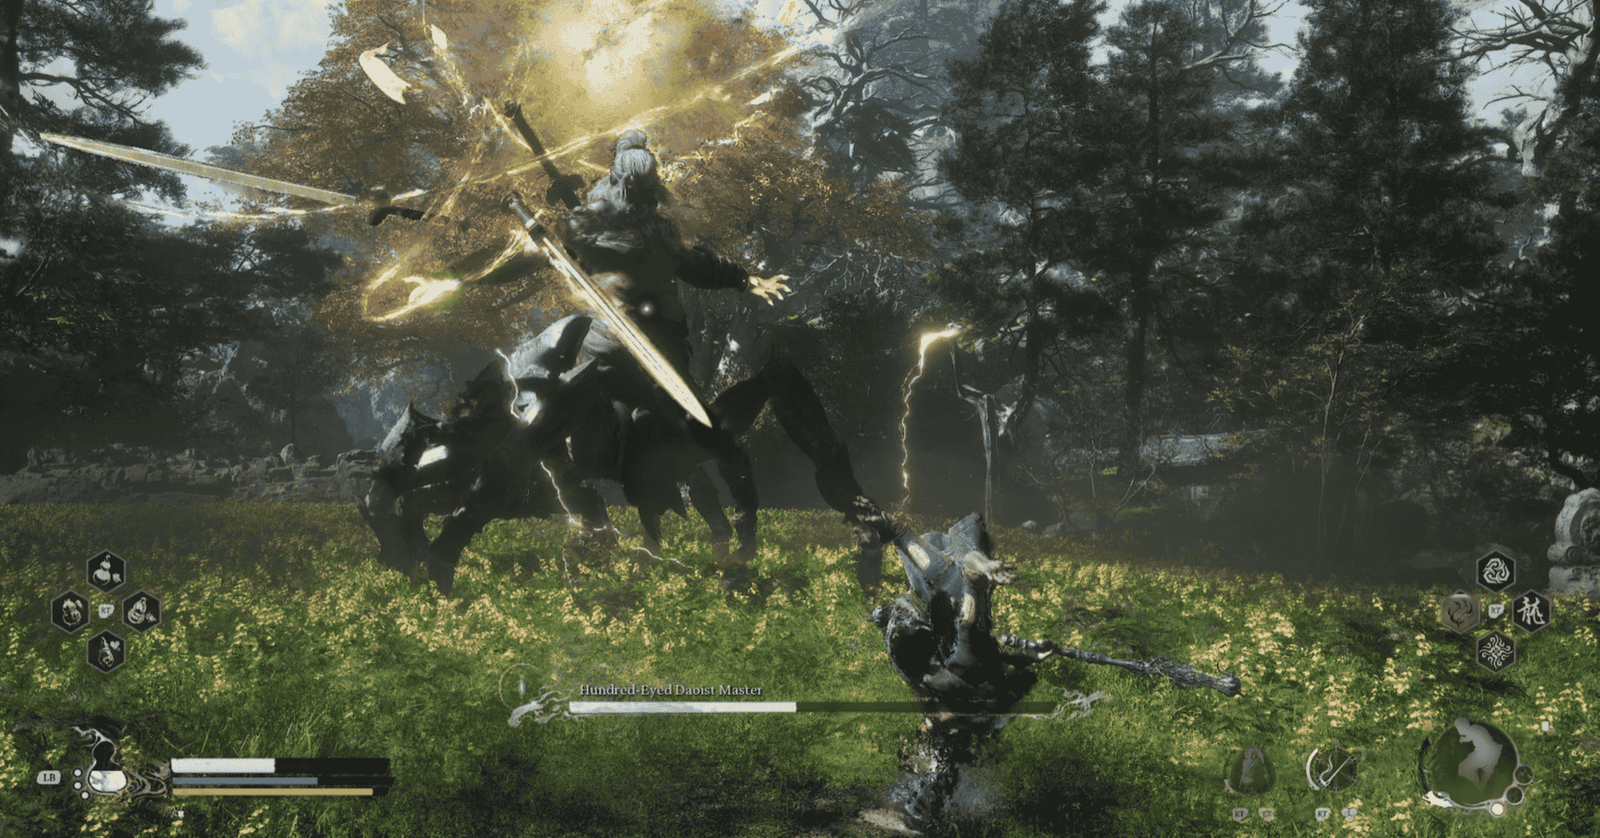
Electric Sword Throw & Recall: Boss’s sword floats, charged by talismans. He’ll throw the sword straight at you quite fast. Dodge the throw; you can close in for a few hits. Warning: Immediately after, the boss will raise his hand, spin and dash forward, the sword returns to his hand, and he performs 2 consecutive downward slashes, followed by a strong charged slash. Tip: You can Deflect the first 2 slashes to stagger the boss slightly, breaking the combo.
Burrow Grab (Reaction to Rock Solid): If you successfully parry with Rock Solid, the boss might get annoyed, say “I forbid,” and burrow underground, disappearing. The ground will tremble in the direction he moves underground. When lightning strikes your position, he will burst up performing an unblockable grab, dealing massive damage. How to dodge (difficult): Run continuously, pan the camera to watch behind you. The moment you see a large lightning bolt strike right behind you, dodge forward. The timing is very strict.
Burrow Tail Poison Spit + Second Sword Throw: Boss throws his sword; it spins in place near you. As soon as you dodge the sword, immediately run away because his centipede tail will emerge from that spot, spitting poison around. He burrows again. Immediately after, listen and watch: the charged sword will fly from a corner of the arena towards you (accompanied by a small lightning sound). Dodge the sword implanting into the ground, stay clear of the impact point, as the boss will emerge right there to retrieve the sword and perform 2 quick electric slashes + a spin. This is an attack opportunity after he finishes spinning.
Electric Uppercut Slash + Grab: Boss holds the sword low on his left side, charging electricity. He’ll unleash an electric uppercut slash towards the right. Danger: Immediately after the slash, his other hand performs an extremely fast grab if you’re too close. Always back away after dodging the initial slash.
Sword Plant (Bait): Boss stabs his sword straight into the ground in front, seemingly inviting an attack. If you hit him, he’ll counter with a charged stab. Good news is you can Deflect this stab, but be ready as he might get angry and burrow again.
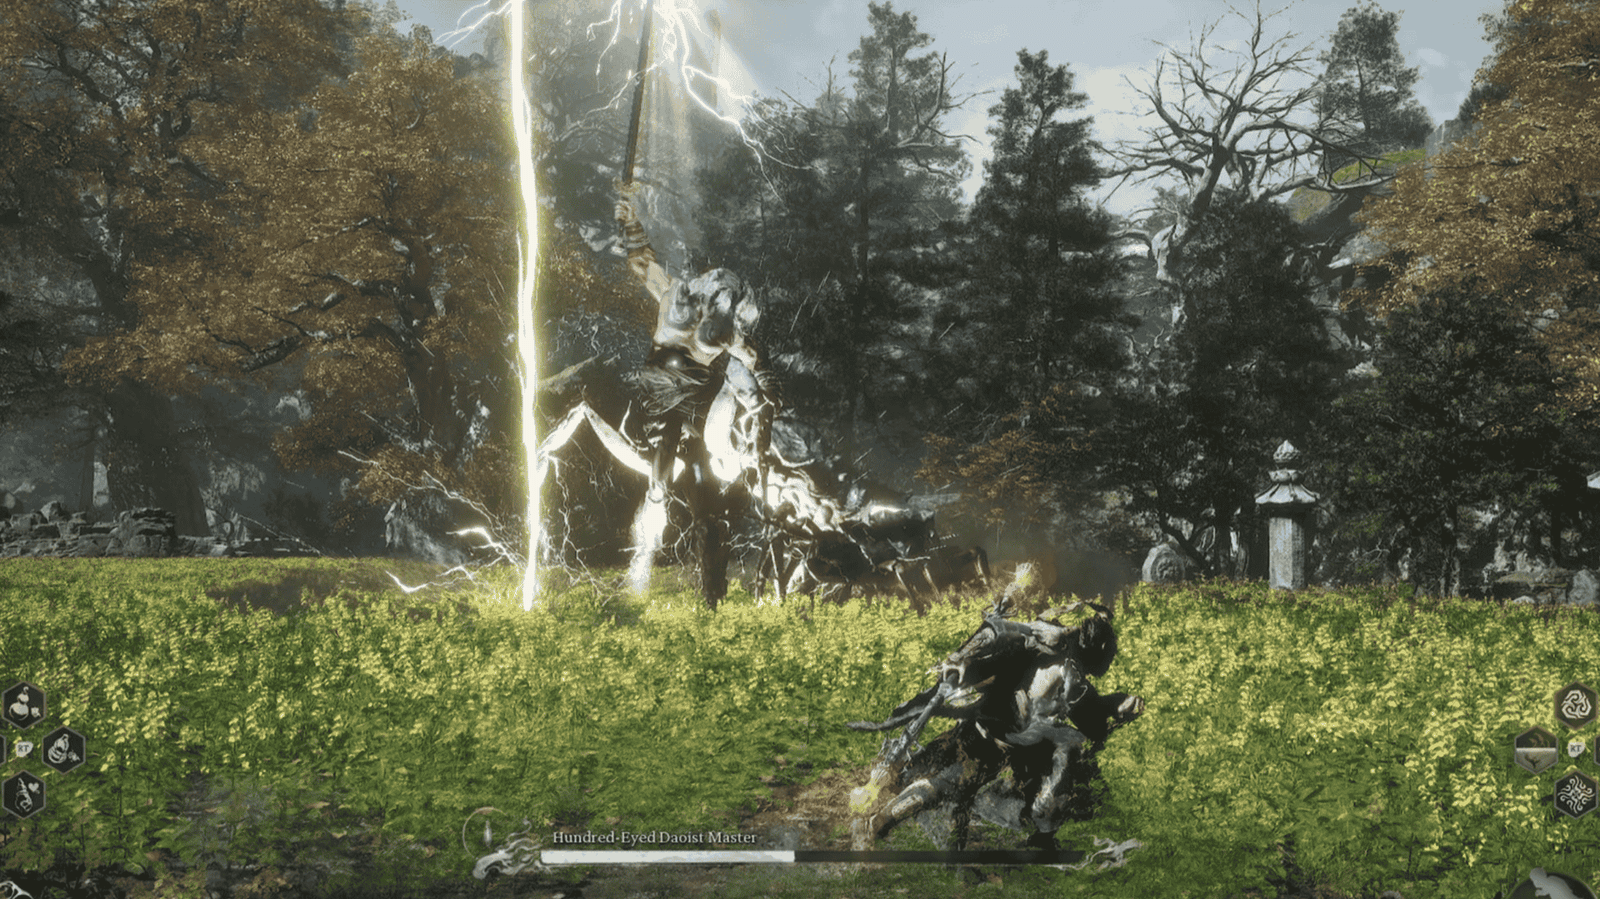
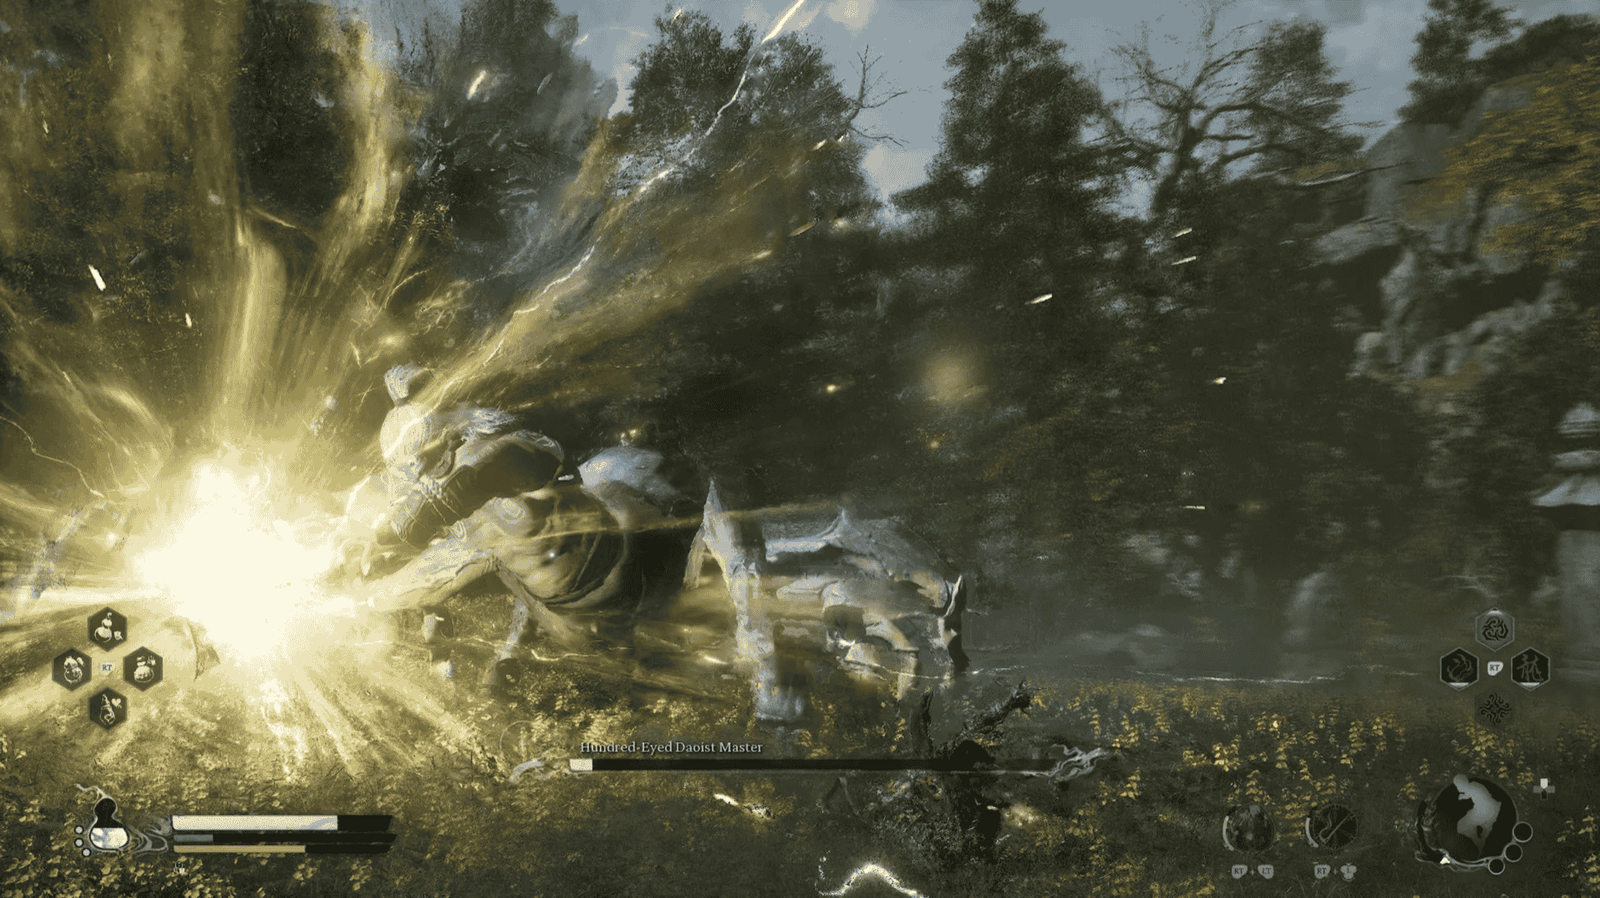
Charge Sword for Wave/Beam: Boss raises his sword high, lightning strikes it continuously. After charging for a moment, he’ll slash out a low energy wave, then a diagonal wave, finally thrusting the sword forward firing a straight Lightning beam. Counter: As soon as you see him raise the sword high, keep distance, dodge the 3 projectiles sequentially, then close back in.
Talisman Rain: Boss completely sheathes his sword, both hands make a lowering then raising motion, then fire countless electric talismans at you. If hit by the first one, you’re very likely to be chain-stunned by the talismans and lose health continuously. Counter: See the cue, back off to recover Stamina, then use Staff Spin to continuously Deflect the entire barrage until it ends.
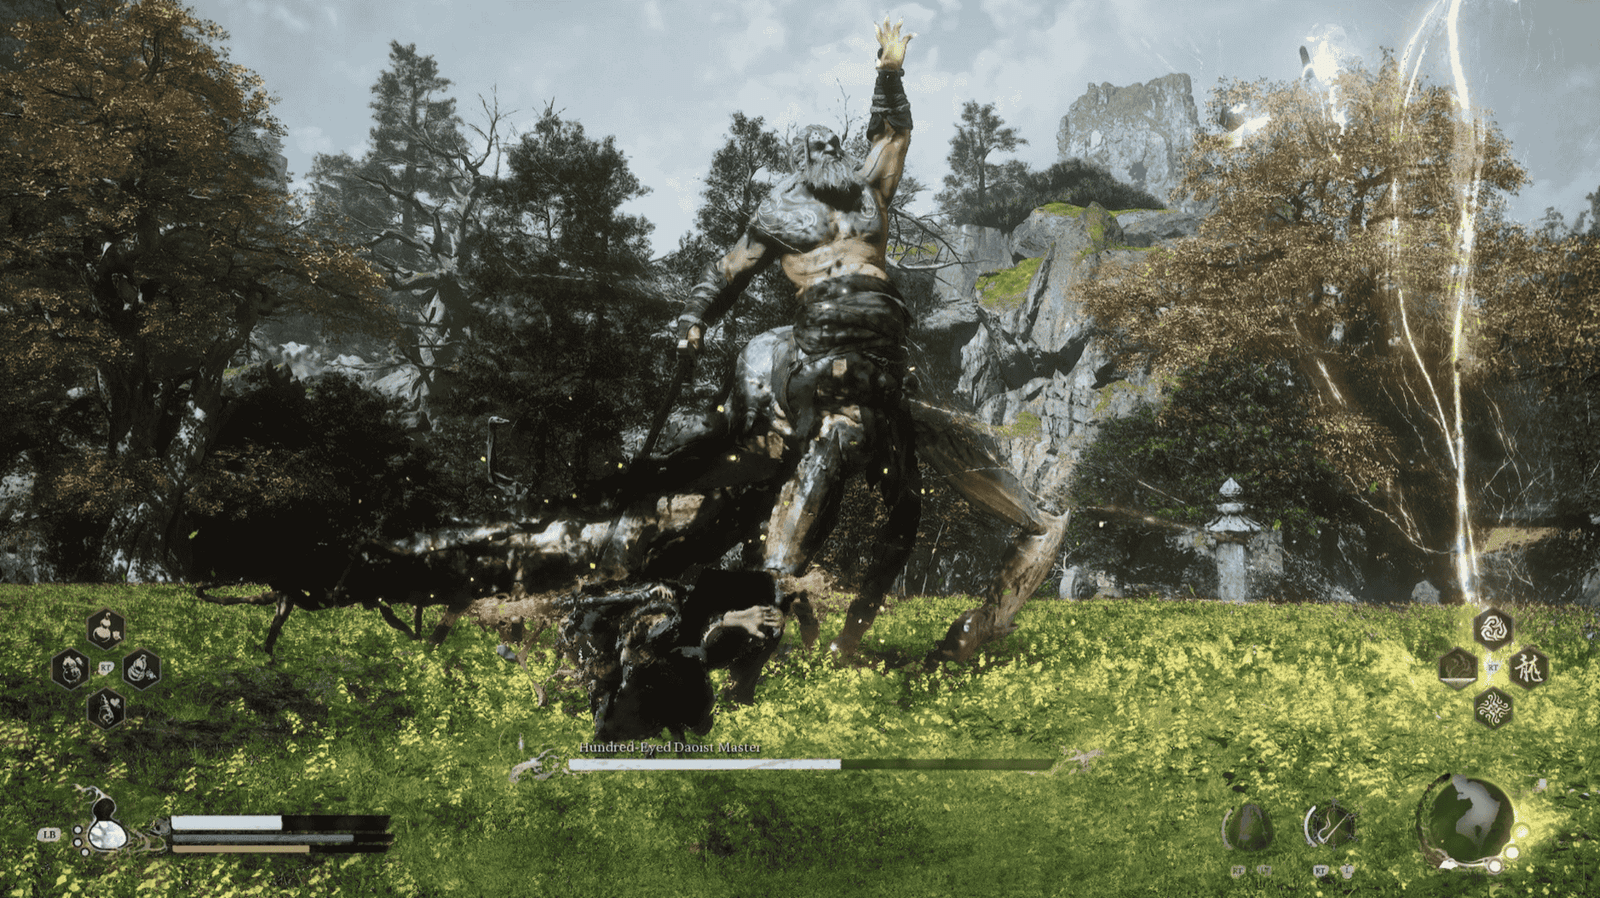
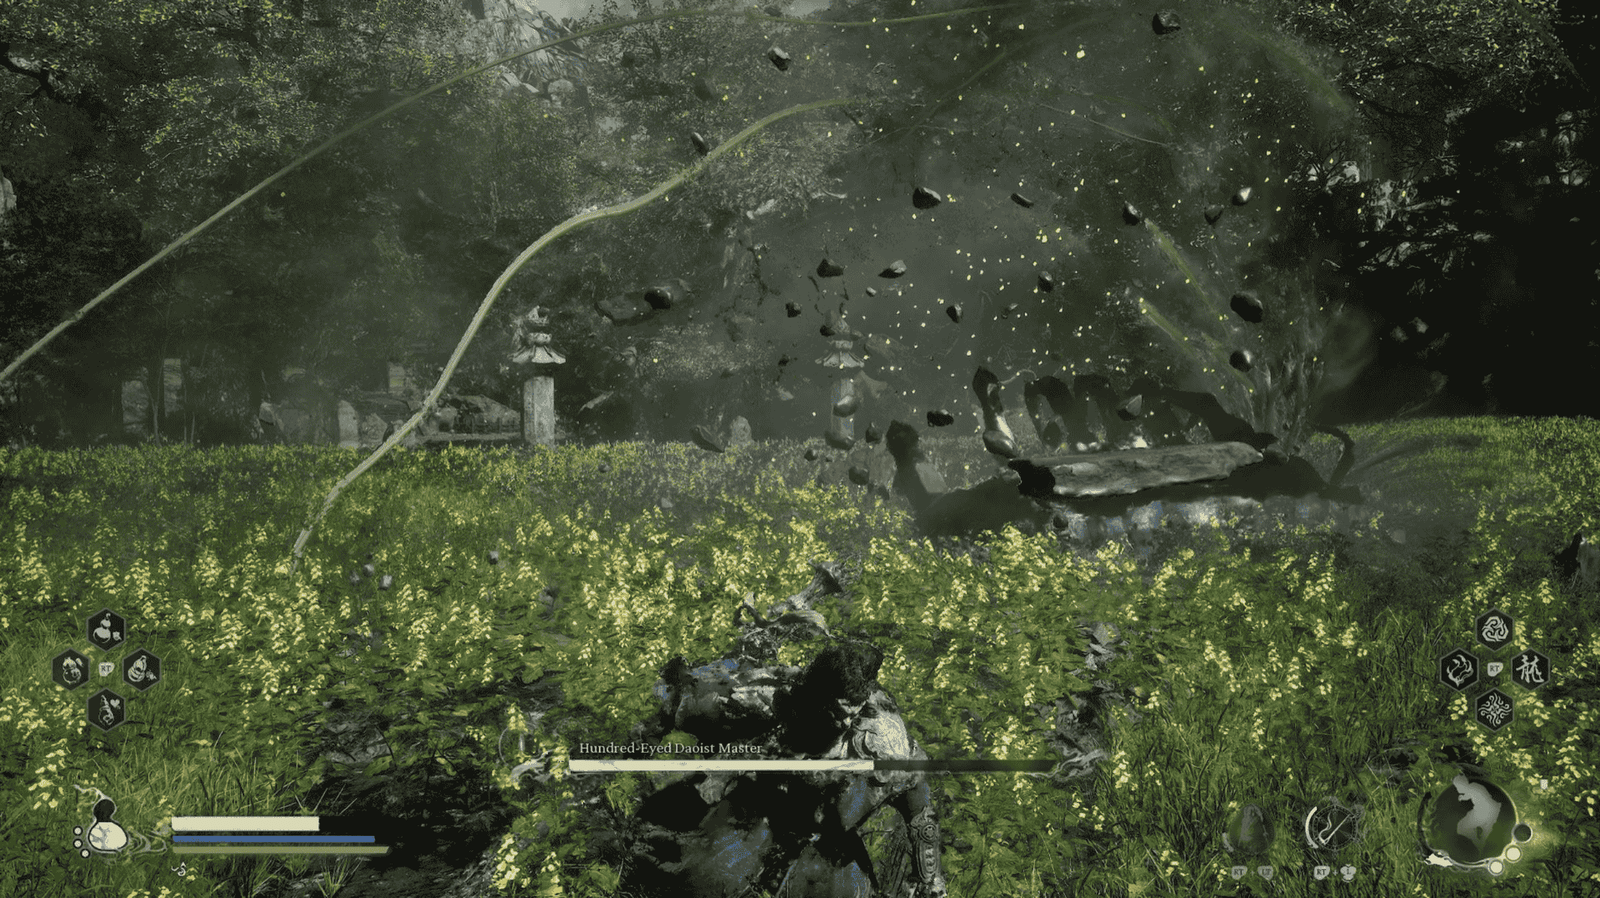
Phase 2: Golden Dome & Fist Fight (~25% Health – End)
When the boss’s health drops to about 1/4 (right between the “M” and “a” in the “Master” health bar), the most difficult phase begins.
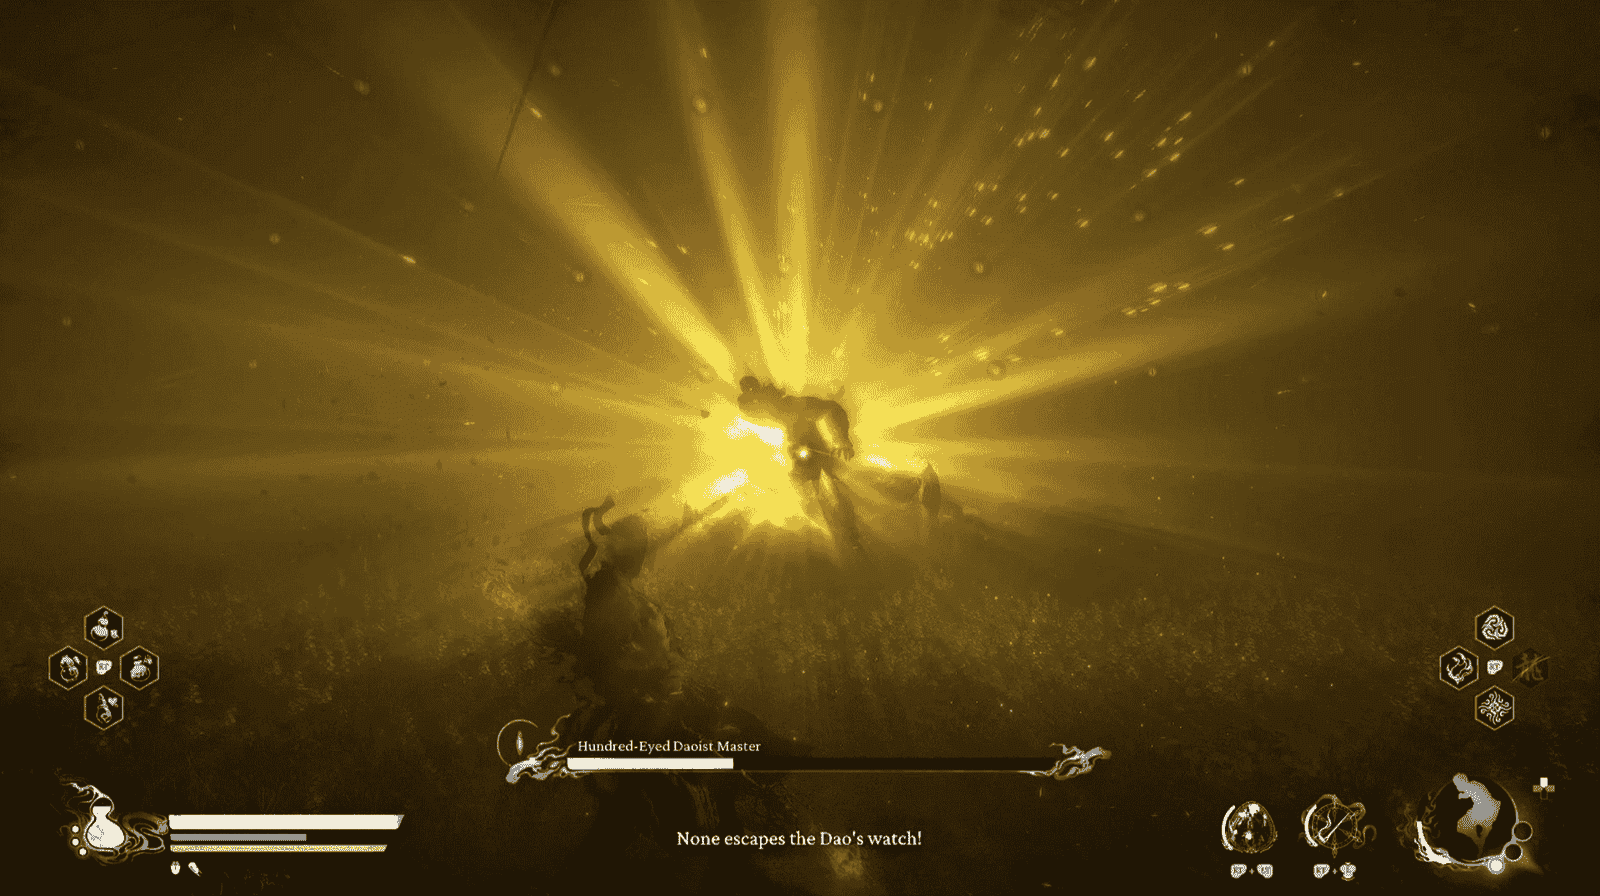
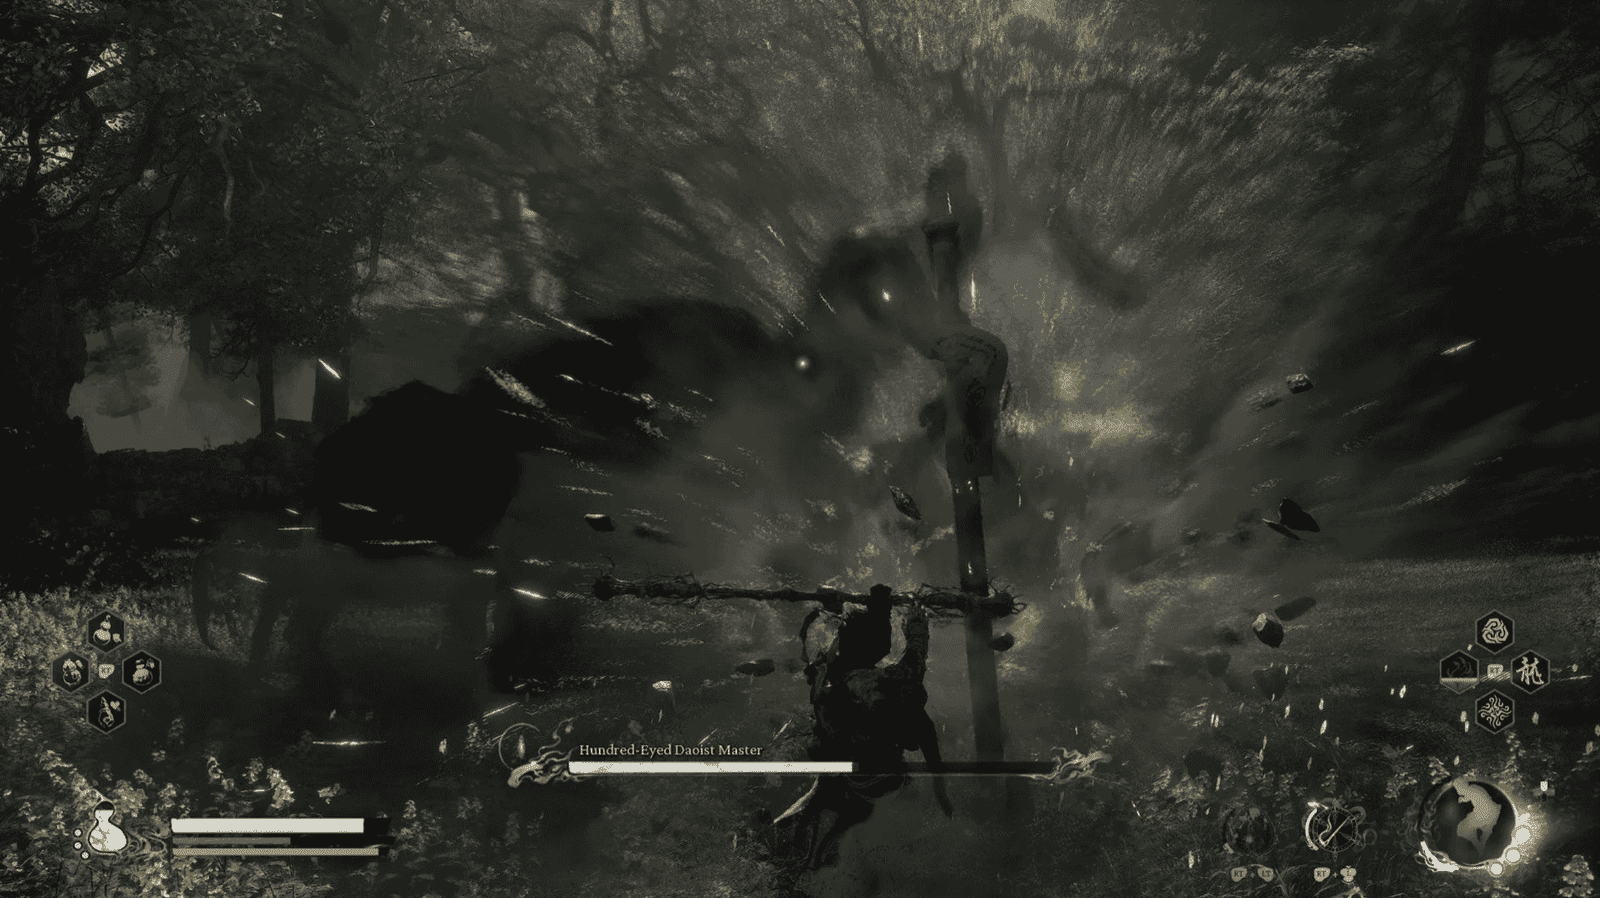
Boss clutches his head in pain for a long moment. Action: Back away immediately; the boss takes no damage during this moment. Then, he stabs his sword into the ground again, creating a golden light dome that covers the entire arena.
The time the dome is forming is an excellent moment to use buff items (attack, defense, Focus/Mana recovery) or heal if needed.
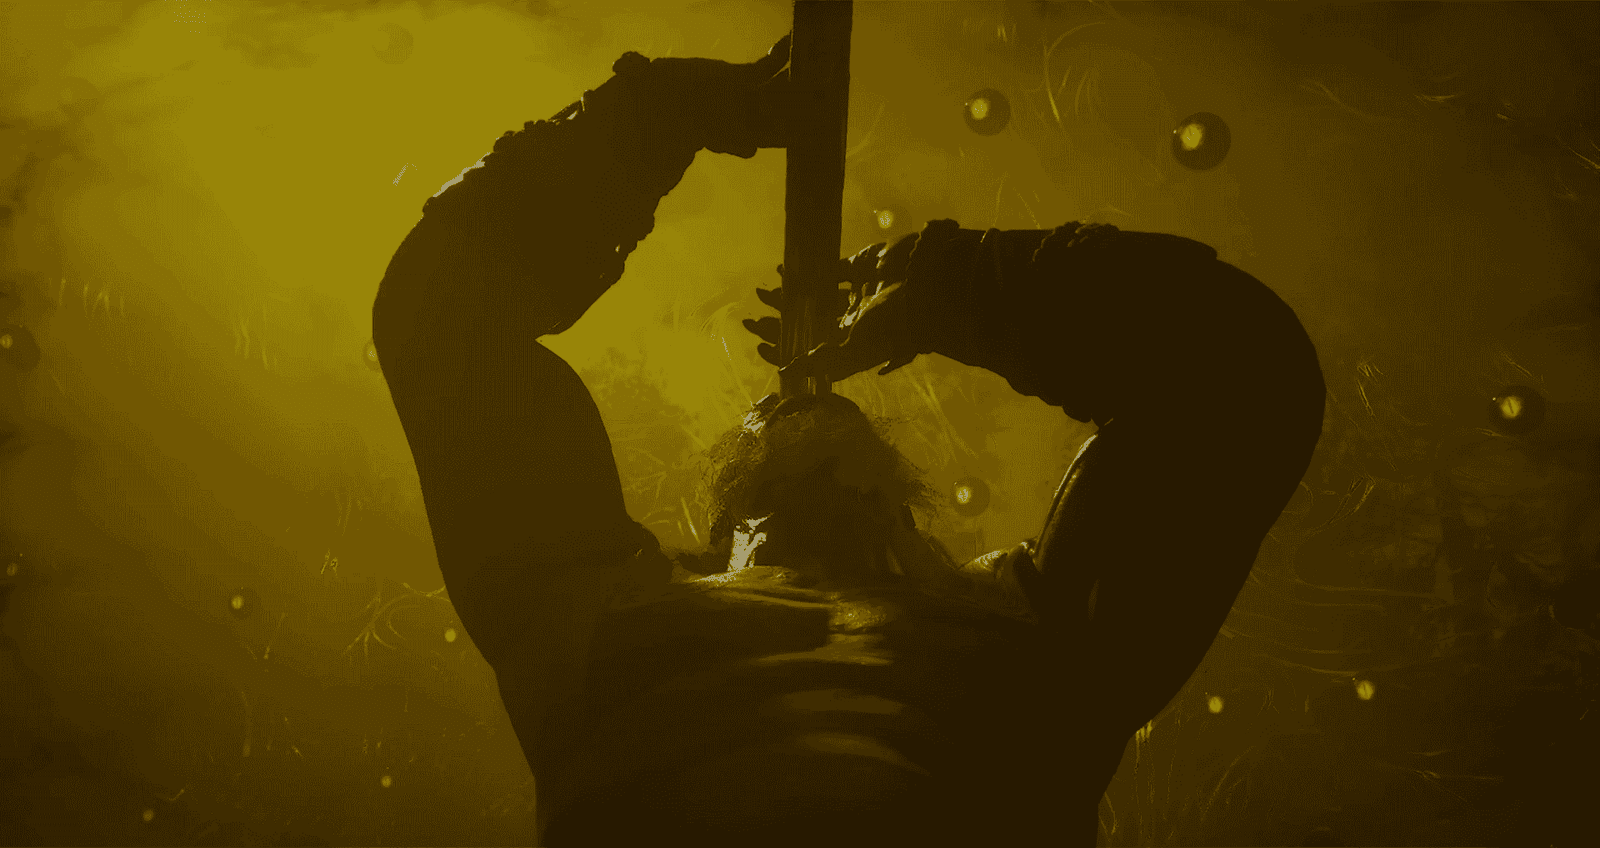
Phase 2 truly begins after the dome is complete, the boss pulls his sword up, performs a tail slam and two slow slashes, then a short cutscene plays (according to some sources, he swallows the sword). Your Stamina bar will be severely reduced.
Golden Dome Curse & How to Break It
Effect: Drastically reduces your maximum Stamina, making dodging extremely difficult.
Solution: Use Weaver’s Needle IMMEDIATELY! This item takes a few seconds to activate, during which you must focus on dodging the boss’s attacks. When Weaver’s Needle successfully activates, it will knock the boss down, shatter the golden dome, restore your Stamina to normal, and create a GOLDEN opportunity for you to unleash damage.
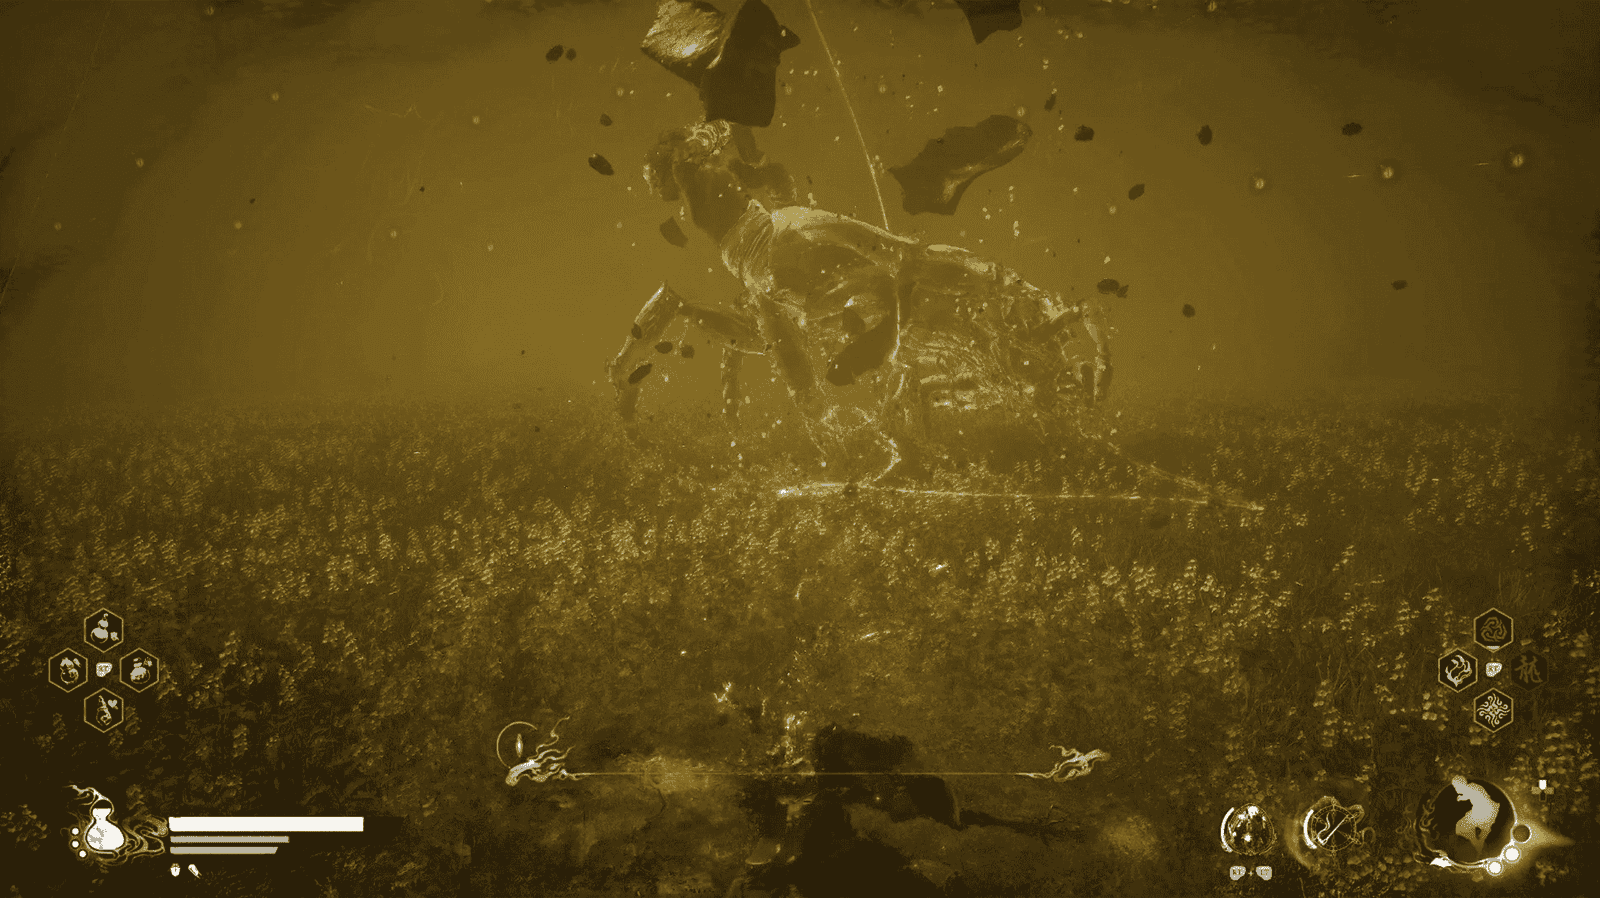
New Attack Analysis (After using Weaver’s Needle – No Sword)
Ground Pound Shockwave: Boss spreads his arms wide, palms glowing bright gold. He’ll charge forward and slam both hands hard onto the ground, creating a large shockwave area in front. Counter: Can be perfectly parried with Rock Solid (and this time the boss no longer burrows in retaliation).
Electric Talisman Attacks: Three talismans still float around the boss and are used flexibly: firing straight accompanied by a punch, forming a large exploding orb in front, or circling behind combined with a tail slam. Always keep an eye on the talismans’ positions.
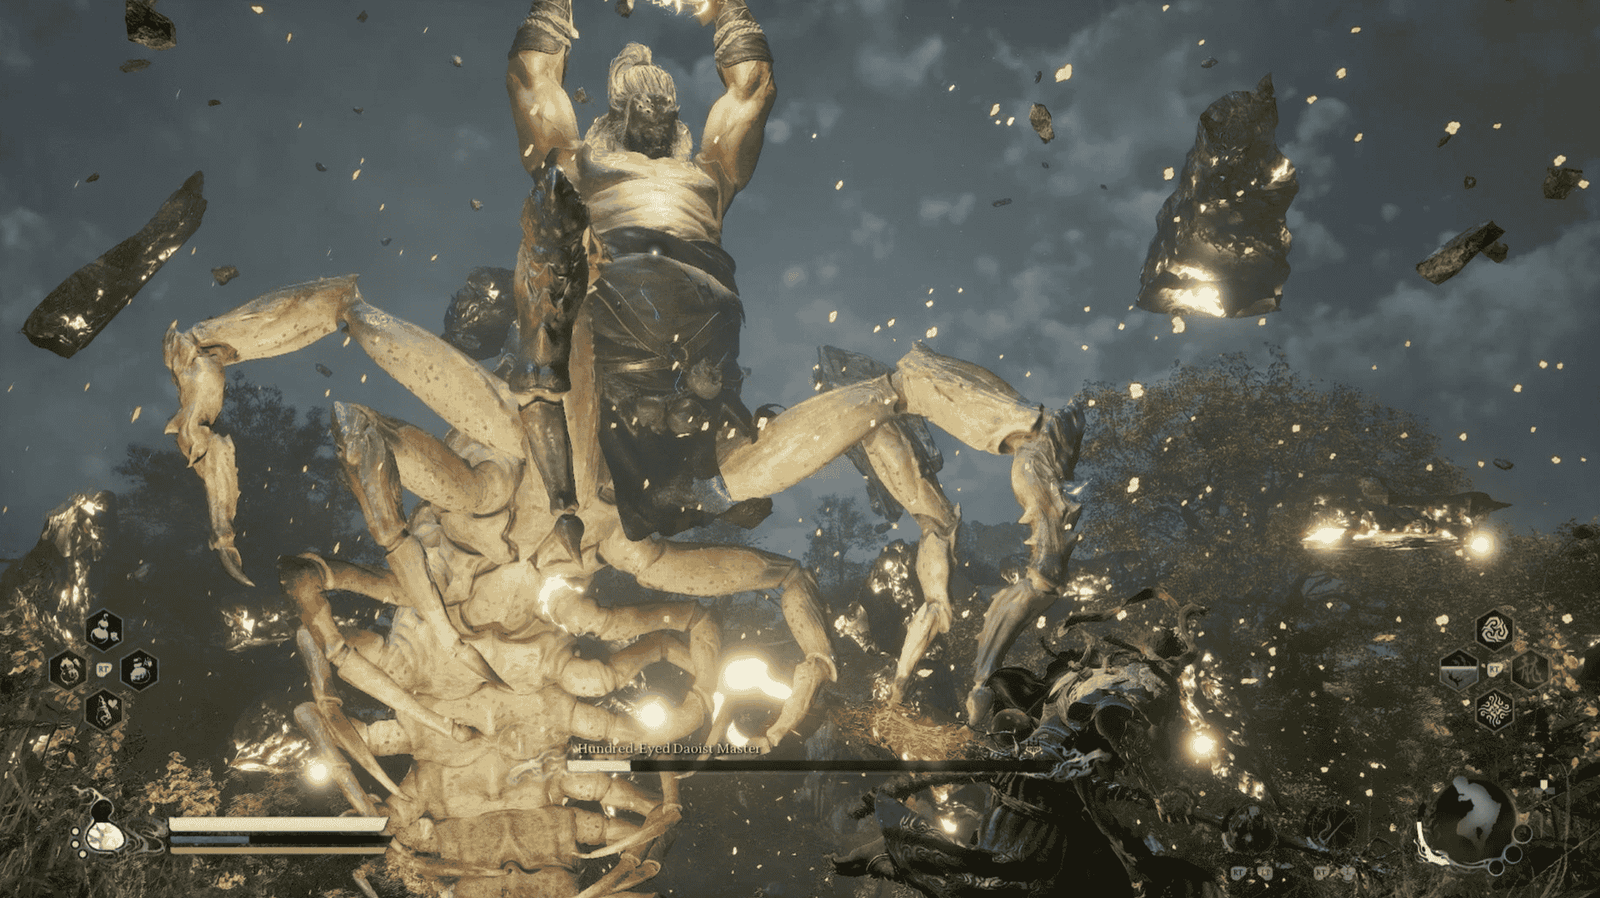
Wide Area Electric Slam (AoE): Boss raises himself high on his claws, a large electric orb forms in his hand and is held high. After charging for a moment, he slams everything down hard, creating an electric explosion with an enormous radius. Counter: Must run very far away or time the dodge perfectly ( Pillar Stance cannot block this attack). Tip: Immediately after the explosion, the boss has a fairly long idle period, a good opportunity to attack if you dodged successfully.
Fake Somersault + Grab: Cue: Boss performs a very flashy somersault in the air. Warning: Don’t be fooled; right after landing, he will dash forward quickly a few steps and perform an unblockable grab, seizing you and dealing massive damage. Keep a safe distance when you see him somersault.
After defeating the Hundred-Eyed Daoist Master, one of the toughest bosses in the game up to this point, you will receive rewards worthy of your effort:
- Golden Glowing Eye: Special weapon crafting material.
- Sky-Piercing Horn: Special weapon crafting material.
- Envious Tongue: An important Relic.
Congratulations on successfully defeating the Hundred-Eyed Daoist Master, one of the greatest challenges in the Black Myth: Wukong journey up to the end of Chapter 4. This battle demands thorough preparation, especially obtaining the Weaver’s Needle, along with precise dodging, parrying skills, and seizing opportunities. Understanding his diverse attacks, from swordsmanship, electric talismans, poisons to AoE skills and deadly grabs in the final phase, is key to overcoming him. Phase 2 with the Stamina-draining golden dome truly highlights the difficulty, but once broken with the Weaver’s Needle, you can completely turn the tide.
With this victory, you not only receive valuable rewards but also prove your skill. Get ready for the new challenges awaiting in Chapter 5, where new enemies and mysteries will continue to test the Destined One.