
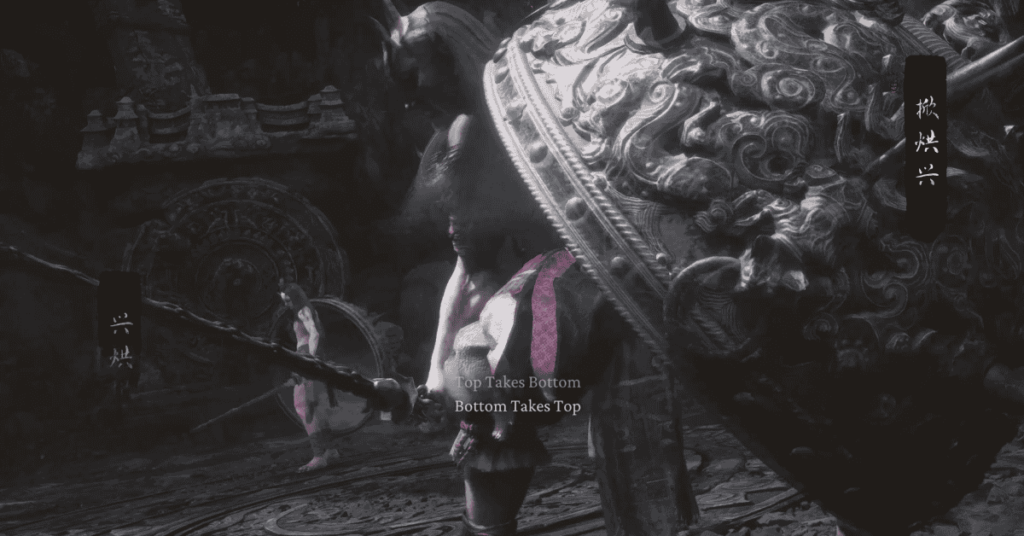
Hidden in the secret area of Chapter 5 is the challenging Yaoguai Chief pair: Top Takes Bottom, Bottom Takes Top. Finding them is part of the challenge, and the battle is made even more difficult as they take turns, even merging, to attack you. Don’t worry, this guide will cover everything from how to pinpoint their location and make necessary preparations, to detailed strategies for each phase and useful tips from practical experience to defeat this pair.
How to find Top Takes Bottom, Bottom Takes Top
Top Takes Bottom, Bottom Takes Top do not appear on the main path but are hidden in the secret area of Chapter 5, specifically in Bishui Cave. To reach this pair, you must first complete the quest related to the Five Element Carts. Defeating these ghostly carts will unlock a Shrine; interacting with it will reveal the entrance to the hidden area.
After activating the first Keeper’s Shrine in this secret area (or starting from the Purge Pit point in Bishui Cave, according to some guides), go past the shrine and follow the path to the right. Continue down the slope ahead. On the way down, look to the left; there might be a Wisp for you to collect. Head straight into the center of the large room below. When you reach the middle of this area, a familiar golden spiked ball will appear, and the battle against Top Takes Bottom, Bottom Takes Top will officially begin.
Top Takes Bottom, Bottom Takes Top Boss Fight and Guide
The battle against Top Takes Bottom, Bottom Takes Top unfolds in multiple phases, requiring you to adapt constantly. Below is a detailed analysis of each phase and how to counter them:
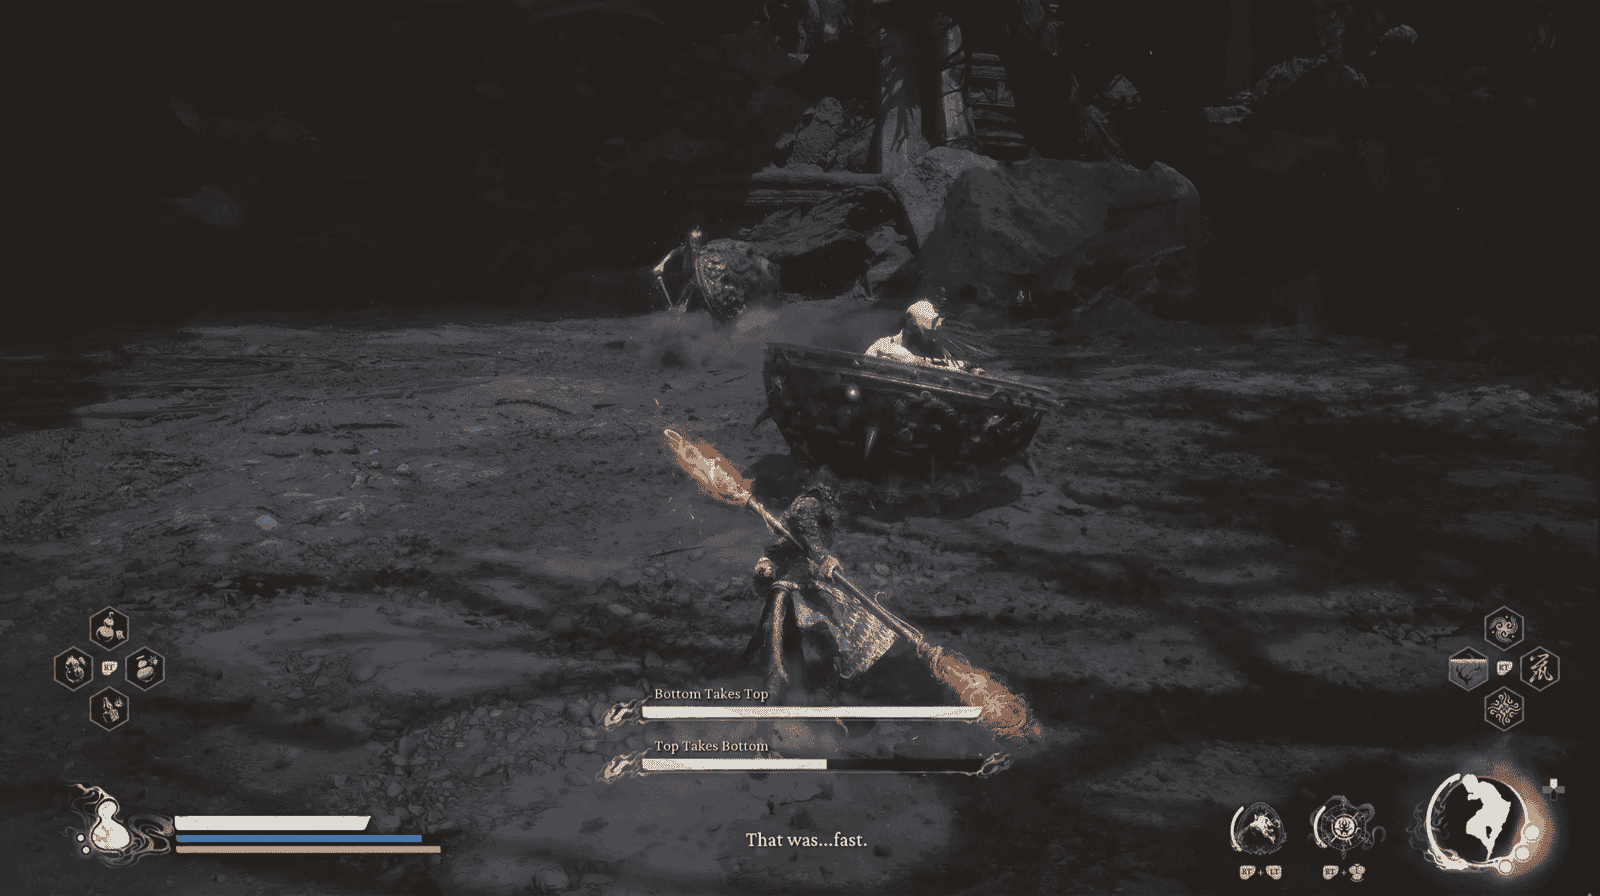
Phase 1: Facing Bottom Takes Top (Male)
Right at the start of the fight, Bottom Takes Top (the male yaoguai) will be the first to attack you. He has a few signature moves:
Roll into Ball: He will jump and curl into his half-sphere. Tip: This is a golden opportunity to deal damage while he’s scrambling to get up/regain balance inside the sphere. Get close and unleash a combo!
Jump, Slam, Drag: He sheathes his sword, jumps high, slams his shield onto the ground, then drags it in a circle around himself. The most effective counter is to keep distance when you see him preparing this move.
Strategy for this phase: Be patient, dodge the lunging attacks, and exploit the opening after he rolls into a ball to chip away at his health gradually.
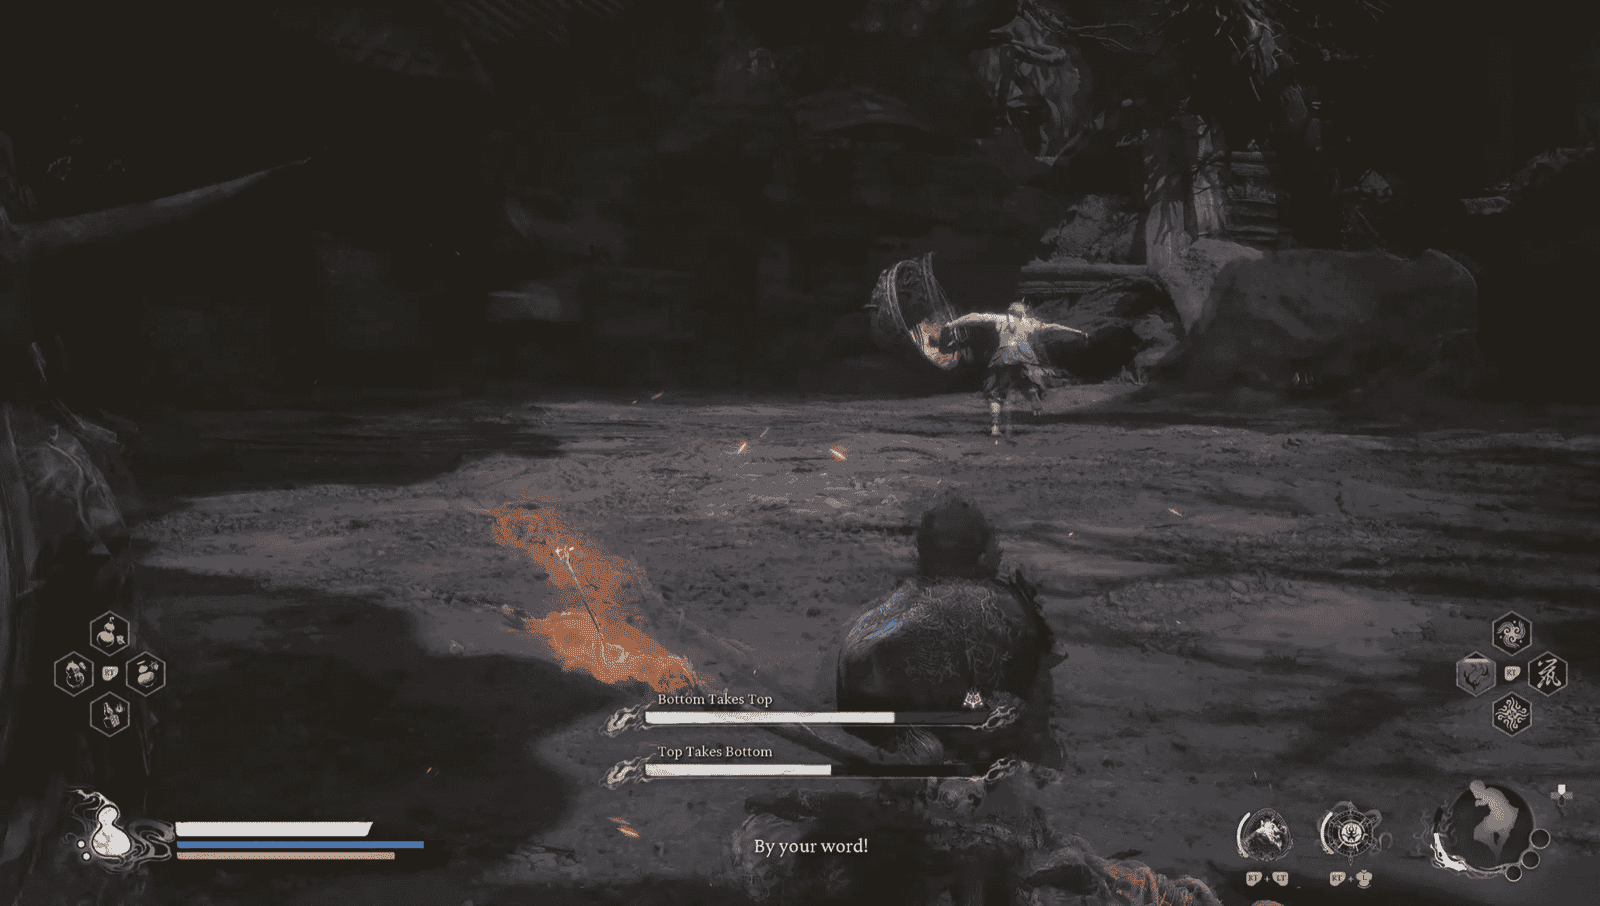
Phase 2: Facing Top Takes Bottom (Female)
When Bottom Takes Top’s health drops sufficiently, he will retreat, and Top Takes Bottom (the female yaoguai) will enter the fight. She has some similar moves to Bottom Takes Top (like the basic leap attack), but also possesses distinct and more troublesome techniques:
Spin Attack: She jumps into her half-sphere and spins towards you. This attack is quite fast, but you can dodge sideways.
Boomerang Sword Throw: She will throw her sword out like a boomerang. You need to dodge quickly both when it flies out and when it returns. Tip: Don’t lose focus after the first dodge, the sword will come back!
Leaping Lava Attack: This is a particularly dangerous leap attack: she jumps up, her sword will glow, then she plunges it into the ground, creating lava pools that explode shortly after. Important Tip: As soon as you see the sword hit the ground and start glowing, immediately backstep/jump away to avoid this wide-area damage. The “sword glowing” sign is the key to recognizing this attack.
Strategy for this phase: Continue the dodge-and-counter strategy, but be highly vigilant of her new ranged attacks and AOE (Area of Effect).
Phase 3: Tag-Team Phase
When the health of both drops below a certain threshold (or when you’ve dealt enough damage to Top Takes Bottom), the fight enters its most chaotic phase: they start constantly tagging each other out (tag-team). One will rush out to attack you while the other temporarily retreats defensively into their shell, then they swap roles.
Strategy & Tips for this phase:
- Prioritize Target: The most crucial tactic now is to focus your firepower on one of them (usually the one with less health or the one you find easier to handle) to take them down completely. Don’t try to damage both evenly. Tip: Use Lock-on to maintain focus on the main enemy, avoiding accidentally hitting the defending one.
- Crowd Control: Utilize Immobilize to freeze the one currently attacking you, creating precious seconds to breathe or pour damage onto your main target.
- Break Guard: Don’t forget to use Heavy Attacks to break their shield guard when you have the chance, causing them to stagger.
- Flexible Movement: Use Cloudstep frequently to evade and escape situations where you’re being cornered by both. This phase makes it easy to get overwhelmed, so smart movement is vital for survival.
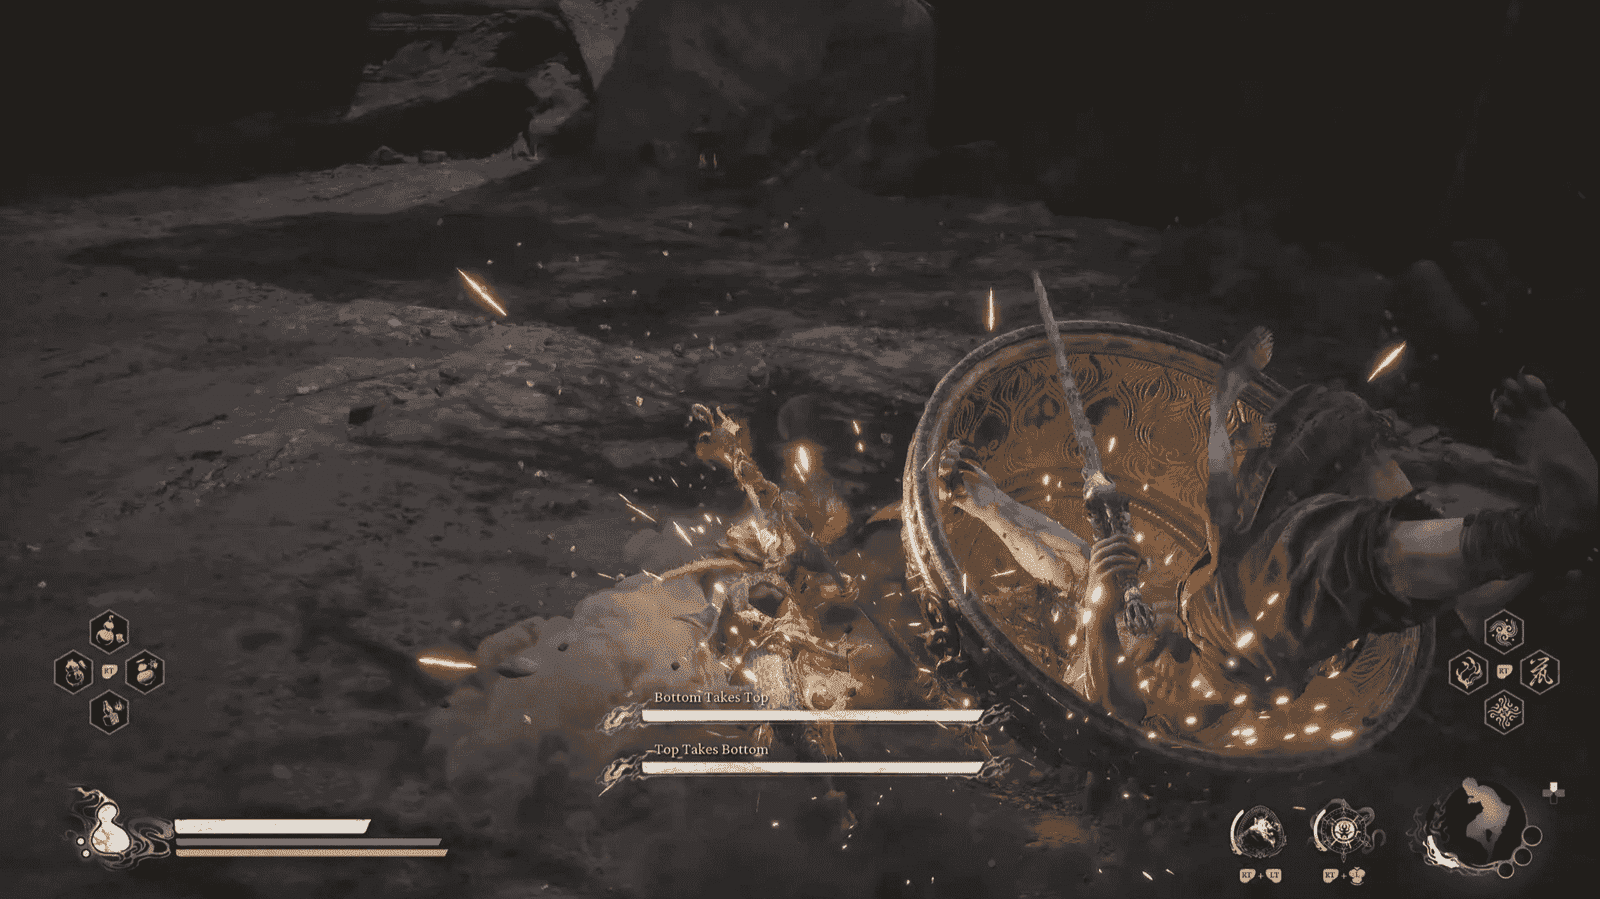
Phase 4: Merging into the Golden Spiked Ball
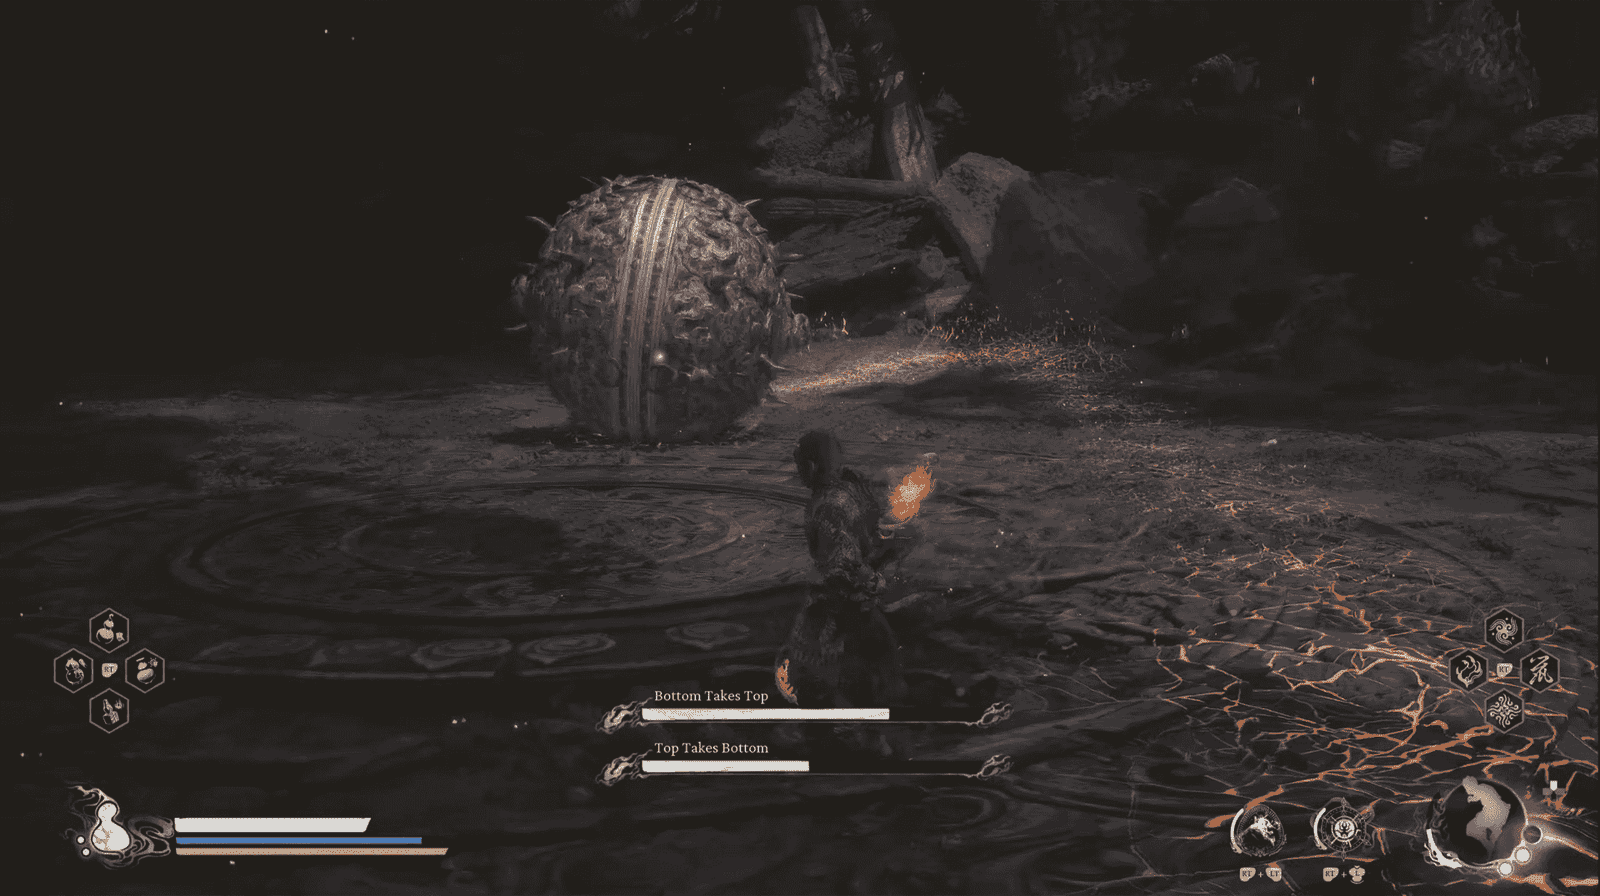
When you have nearly depleted the health of both, they will play their trump card: merging into a giant golden spiked ball.
Main attacks:
- Rolling Attack: They will jump up, pull back slightly, then spin violently, launching themselves forward and rolling continuously around the arena. Your job here is mainly to constantly dodge their rolling path.
- Aggressive Slam: When preparing to end the rolling sequence or in the final stage, they become significantly more aggressive: the ball will leap very high and then slam down hard, causing a large explosion at the impact point. Important Tip: You need to time your jump or dodge just before it hits the ground to avoid this massive damage. This is an extremely powerful attack; absolutely do not underestimate it.
- Strategy for this phase: Focus entirely on evasion. This phase primarily tests your dodging ability and patience. Wait until they separate (if they do) or finish their attack sequence to counter-attack if an opportunity arises, or simply survive until they are completely defeated.
After successfully defeating the Top Takes Bottom, Bottom Takes Top pair, return to The Emerald Hall area. Go through the shrine area and continue up the path leading towards Ashen Pass. As soon as you climb the first set of stairs, look to the side. You will see the golden spiked ball stuck in a rock. Approach the stuck golden ball and interact with it. You will pick up the Top Takes Bottom, Bottom Takes Top Spirit.
Congratulations on overcoming the Top Takes Bottom, Bottom Takes Top pair, a duo boss fight demanding patience and skill in Chapter 5! Although challenging with its alternating phases and merged form, mastering the strategy and especially remembering to return for their important Spirit will help you complete this task successfully. How did you find this battle? Share your experiences or tips in the comments below!