
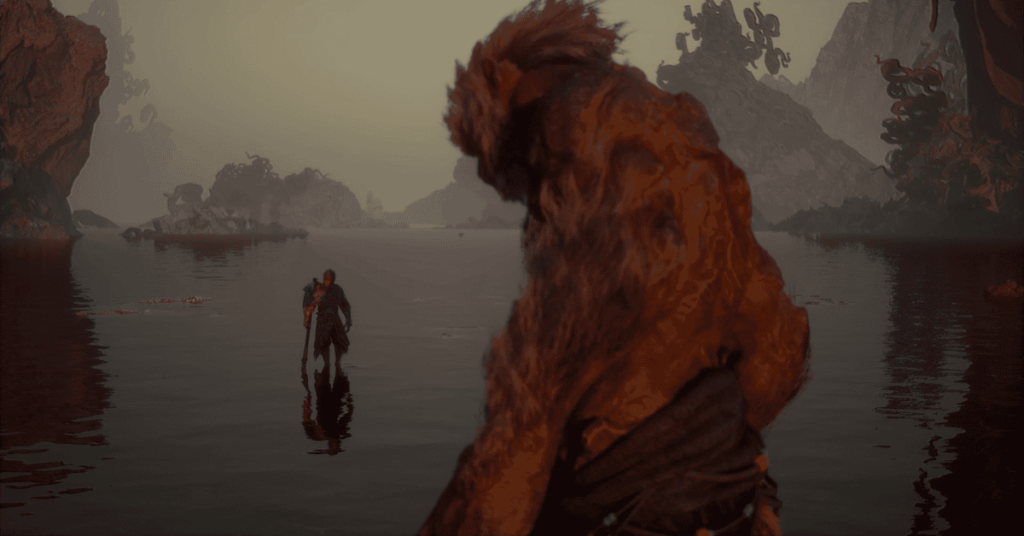
Okay, let’s get down to business, everyone! Having reached Chapter 6 of Black Myth: Wukong, you’re about to face The Stone Monkey – the first form of the final boss in the Birthstone area after passing through Water Curtain Cave. This is an extremely difficult Yaoguai King, demanding focus and strategy. This article will guide you step-by-step, along with practical tips to defeat it. Let’s go!
How to Find The Stone Monkey
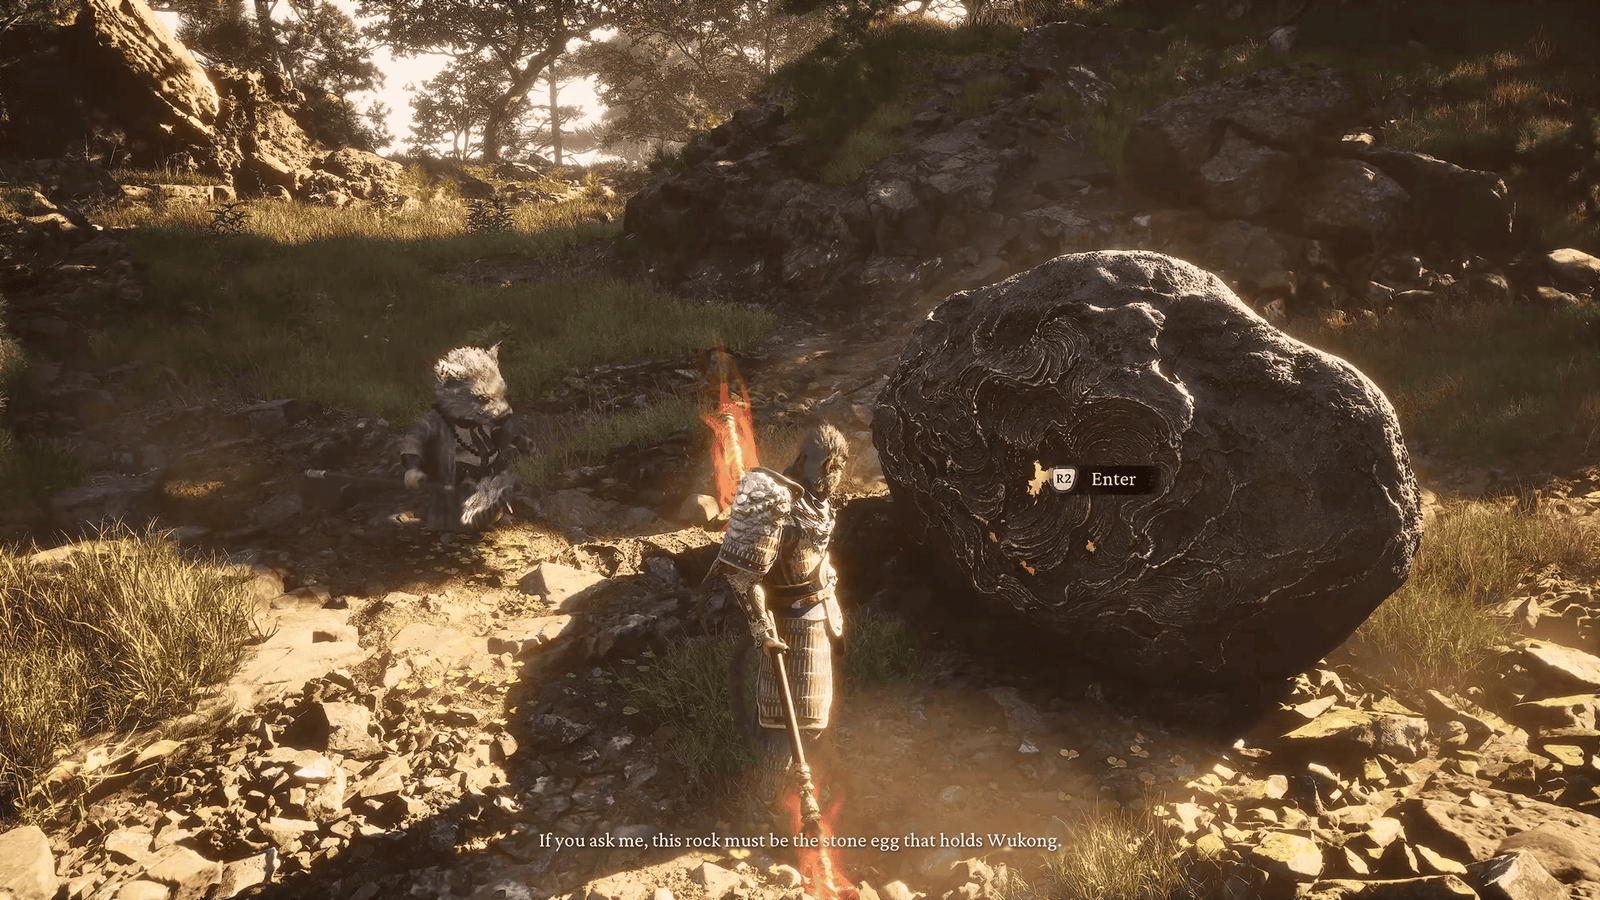
First off, how do you meet this ‘stone friend’? After you’ve activated the final Shrine in Water Curtain Cave named Peak of Innocence, follow the path to the mountaintop. You’ll see Zhu Bajie standing near a mysterious rock. Interact with this rock, and you’ll be transported to another realm. Here, you and the Old Monkey will board a small boat together to reach the main battle area: Birthstone. A small note: you’ll see a Shrine named Heart of Birthstone right at the battle location, but don’t bother trying to activate it immediately. It can only be used after you have been defeated at least once in the fight against The Stone Monkey – quite convenient as you’ll respawn right there without needing to run back from afar.
Recommended Loadout
Now for the equally important part: preparing your ‘gear’. The Stone Monkey, true to its name, is extremely tanky and particularly resistant to most types of elemental damage (fire, ice, poison…). Therefore, the most effective strategy is to focus maximally on pure physical damage and Critical Hit Chance.
Weapons & Armor: If you’ve collected the Jingubang and Wukong‘s armor set earlier in Water Curtain Cave, this is an excellent choice. This set is not only powerful but also has a special effect preventing your Focus (resource accumulated via perfect dodges or parries, used for special skills) from decreasing once it reaches 4 bars, allowing you to unleash heavy attacks continuously.
Spells: Pluck of Many is extremely useful in Phase 2 when the boss creates clones, helping to overwhelm with numbers. Immobilize is also very good for locking down one of the two monkeys, giving you breathing room.
Transformations: Prioritize forms focused on strong physical damage like Ebon Flow or Azure Dust instead of element-based ones.
Consumables: This is extremely important!
Must-have: Body-Warming Powder and Body-Cooling Powder. These two items will save your life in Phase 2 when the boss starts using Fire and Ice.
Damage Boost: Enhanced Tiger Subduing Pellets, Loong Aura Amplification Pellets.
The Stone Monkey Boss Fight and Guide
This fight is divided into two main phases, not counting a sub-phase when the boss clones itself in the middle of Phase 2. The difficulty is undeniable, among the top in the game, requiring extreme patience and the ability to predict the boss’s attacks. The key to victory lies in managing resources (health, Gourd, Spells) very well and memorizing The Stone Monkey‘s attack strings.
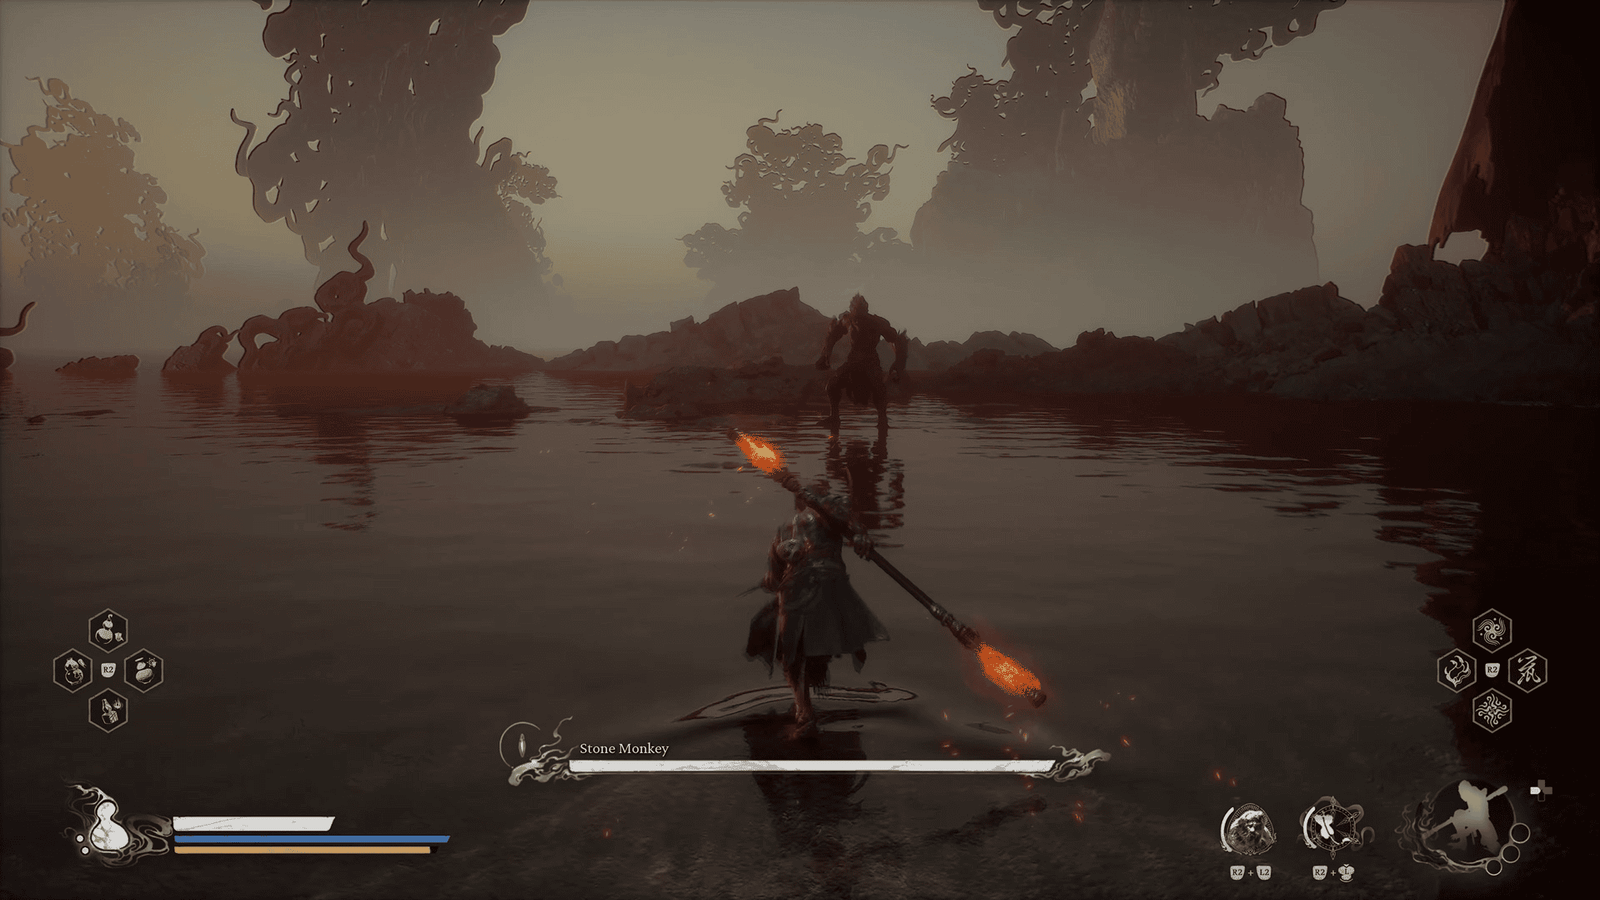
Phase One – Physical Attacks
The initial phase is relatively “tamer,” with the boss primarily using pure physical attacks.
Punch Combo: A series of consecutive punches. The best counter is to continuously dodge to build Focus, or if confident, try for perfect parries.
Leaping Slam: The boss jumps high and slams down hard, creating a rock shockwave at close range. Simply backing away a bit or dodging just as it’s about to land is sufficient.
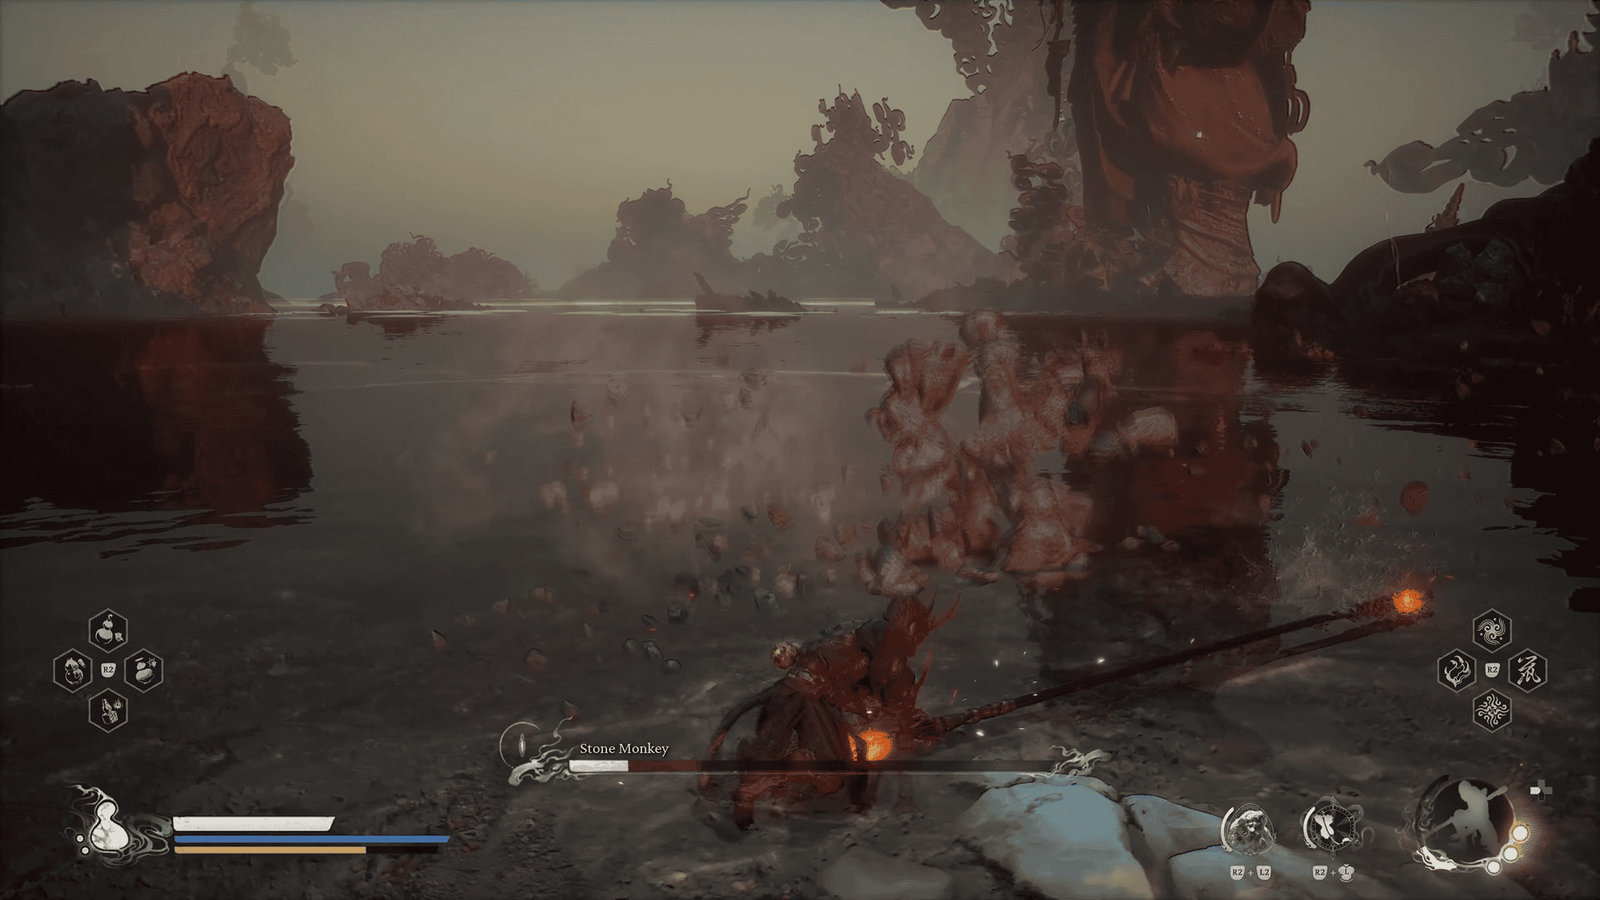
Disappear/Reappear: Around 70% health, the boss will occasionally disappear beneath the water and suddenly reappear to attack. Tip: Watch the water ripples carefully; they indicate where the boss is about to surface, allowing you to dodge in time.
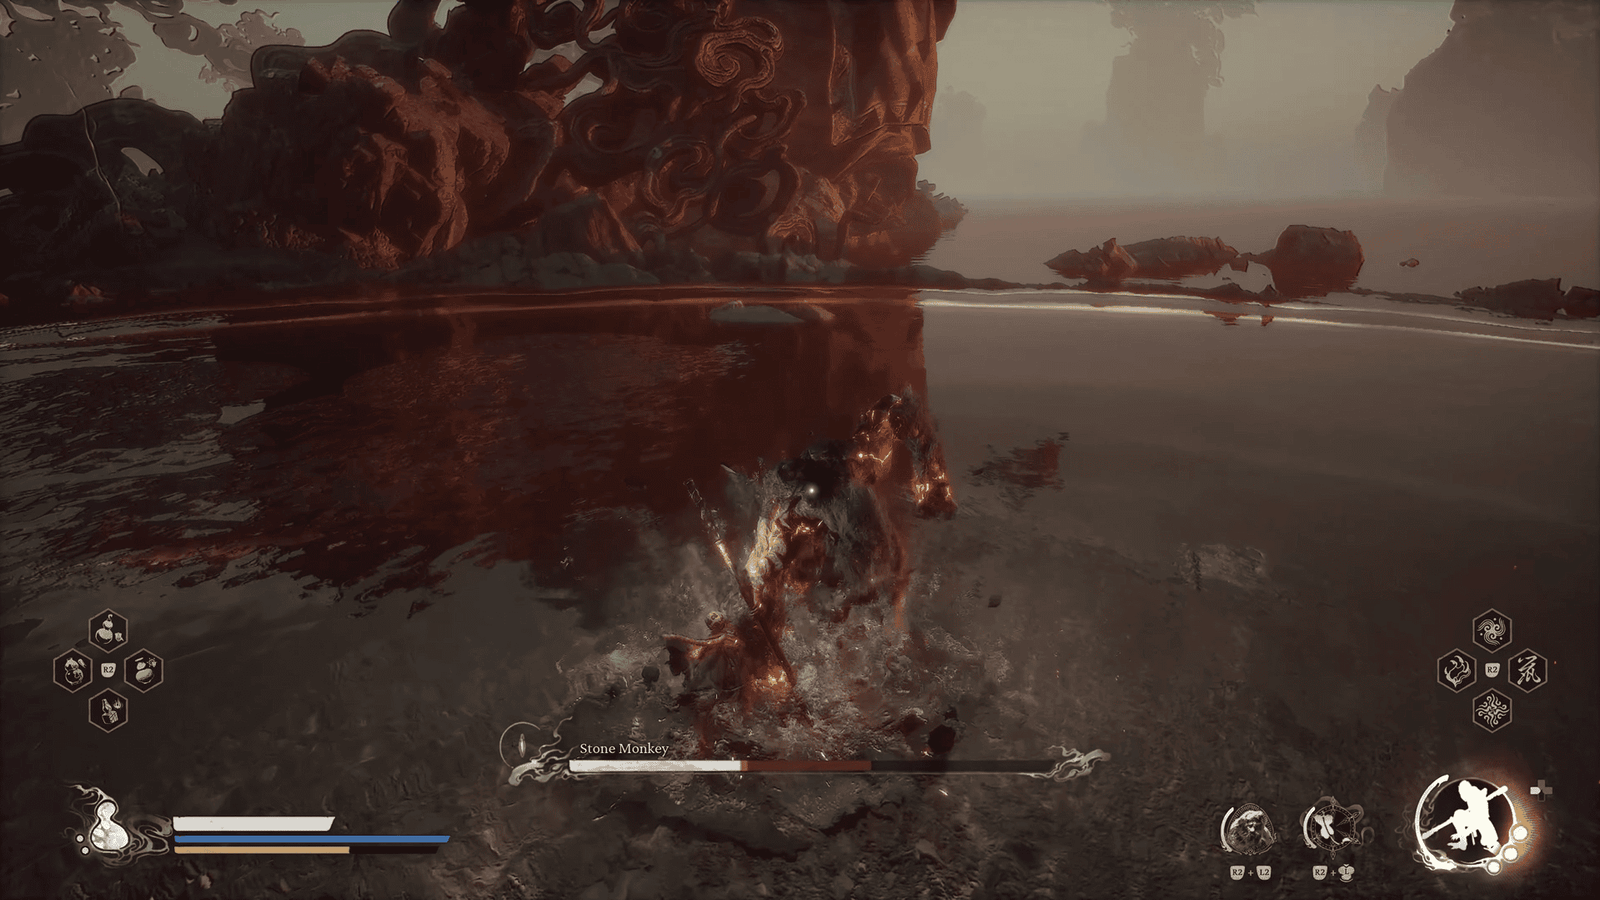
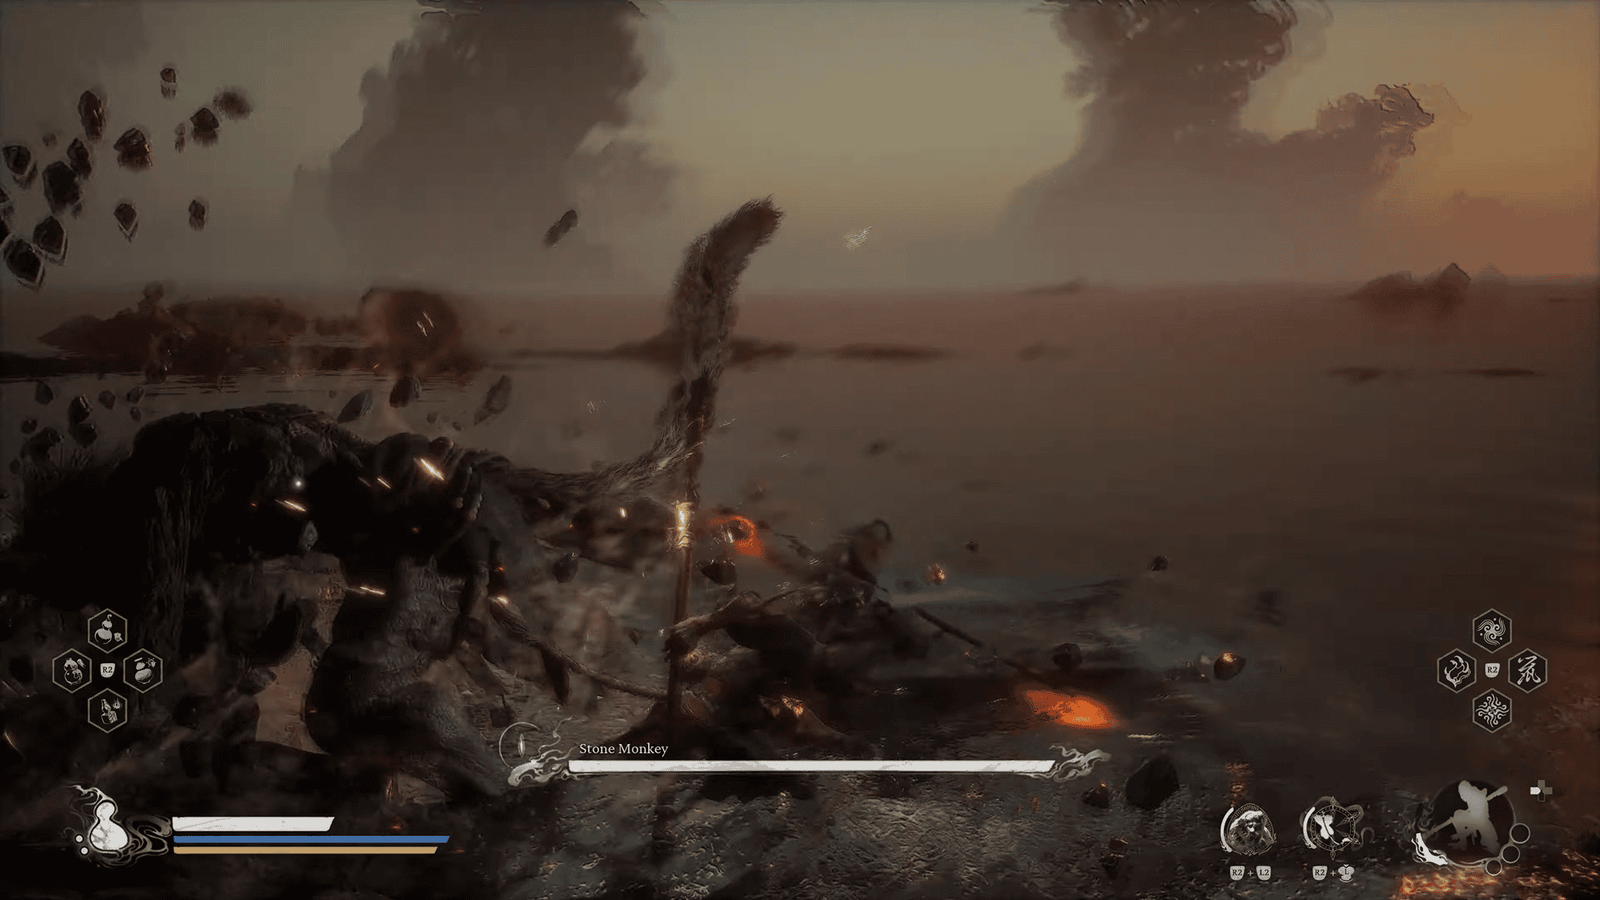
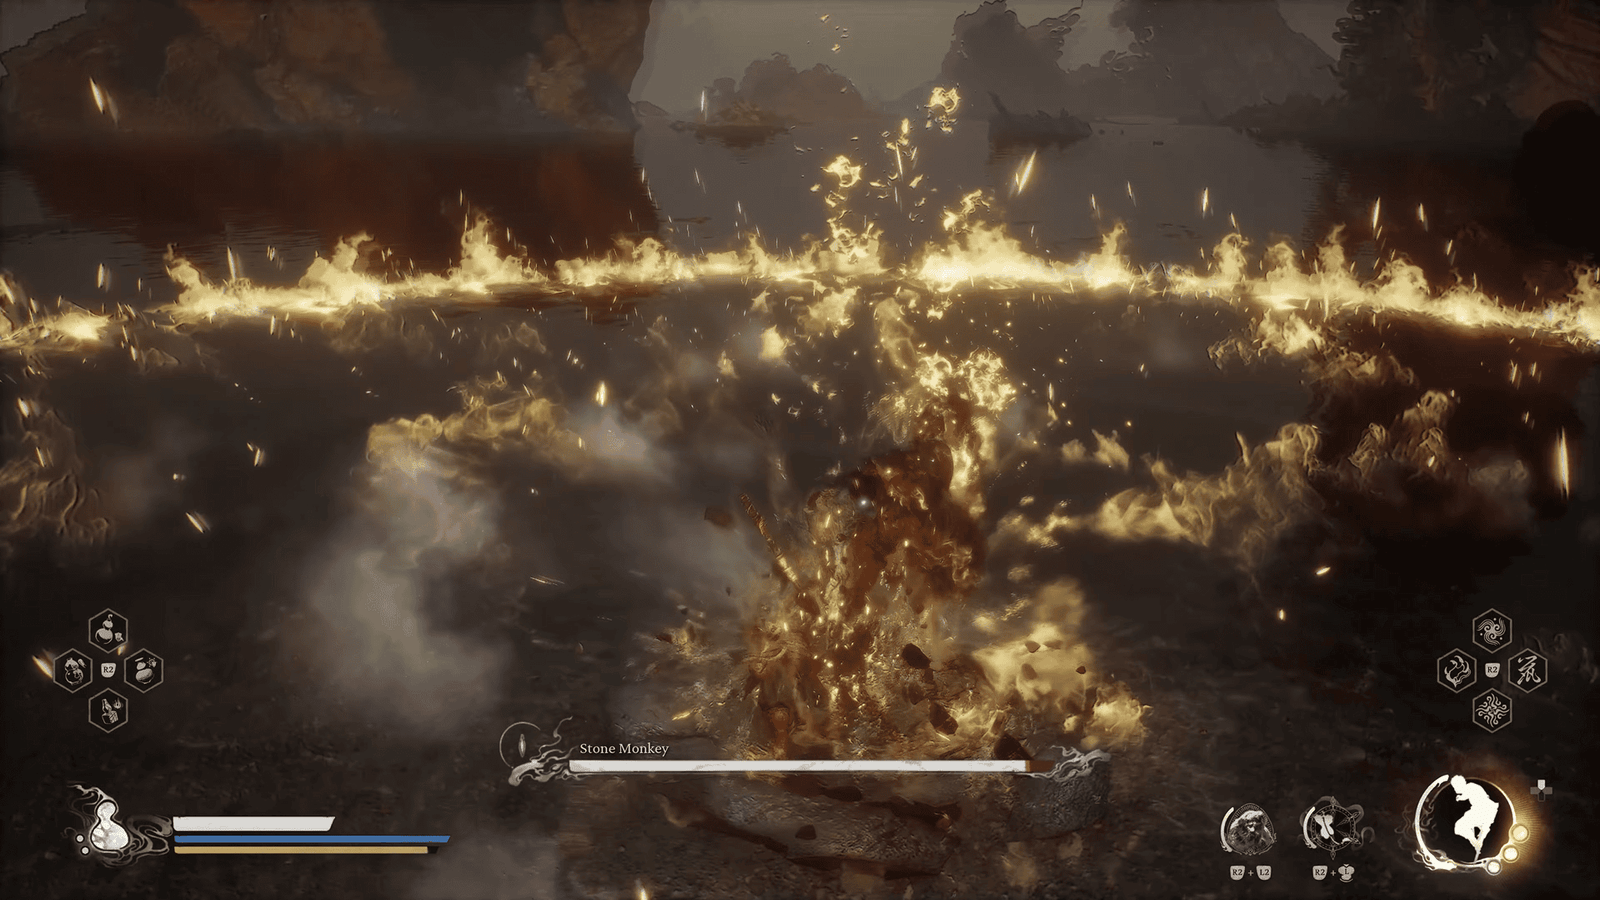
Ground Punch Shockwaves: Also around 70% health, after punching the ground, the boss creates shockwaves that spread across the ground. You need to jump over or dodge through these waves.
Delayed Upward Shockwave: Occasionally, after punching down, the boss will keep its hand underwater for a moment. The ground around will tremble slightly – that’s the sign it’s about to pull its hand up, creating a rock explosion from below. If you see this sign, immediately dodge away.
EXTREMELY IMPORTANT: Golden Glow Grab Counter – Rock Solid: This is an extremely dangerous and deceptive move. The boss will stand still, its entire body glowing yellow. It looks like an attack opportunity, but ABSOLUTELY DO NOT ATTACK AT THIS TIME! This is the Rock Solid state; all your attacks will repel. Immediately after, the boss will charge forward to perform an extremely powerful grab attack. If grabbed, you’ll be subjected to a brutal animation of being thrown around and lose a lot of health. The only way is to time the dodge perfectly as the boss charges.
Berserk Slam: Sometimes the boss goes berserk, slamming its hands on the ground repeatedly, faster and harder than usual. It’s best to maintain a safe distance and wait for it to calm down.
Phase One Strategy:
- Prioritize dodging to build Focus as quickly as possible. If using the Wukong set, once you have 4 Focus bars, you can freely unleash powerful heavy attacks.
- Maintain the fight’s tempo, attacking during safe windows after the boss finishes an attack string.
- Main Goal: Reduce the boss’s health as quickly as possible during this phase to conserve Gourd charges and Spells for the much harder phase later.
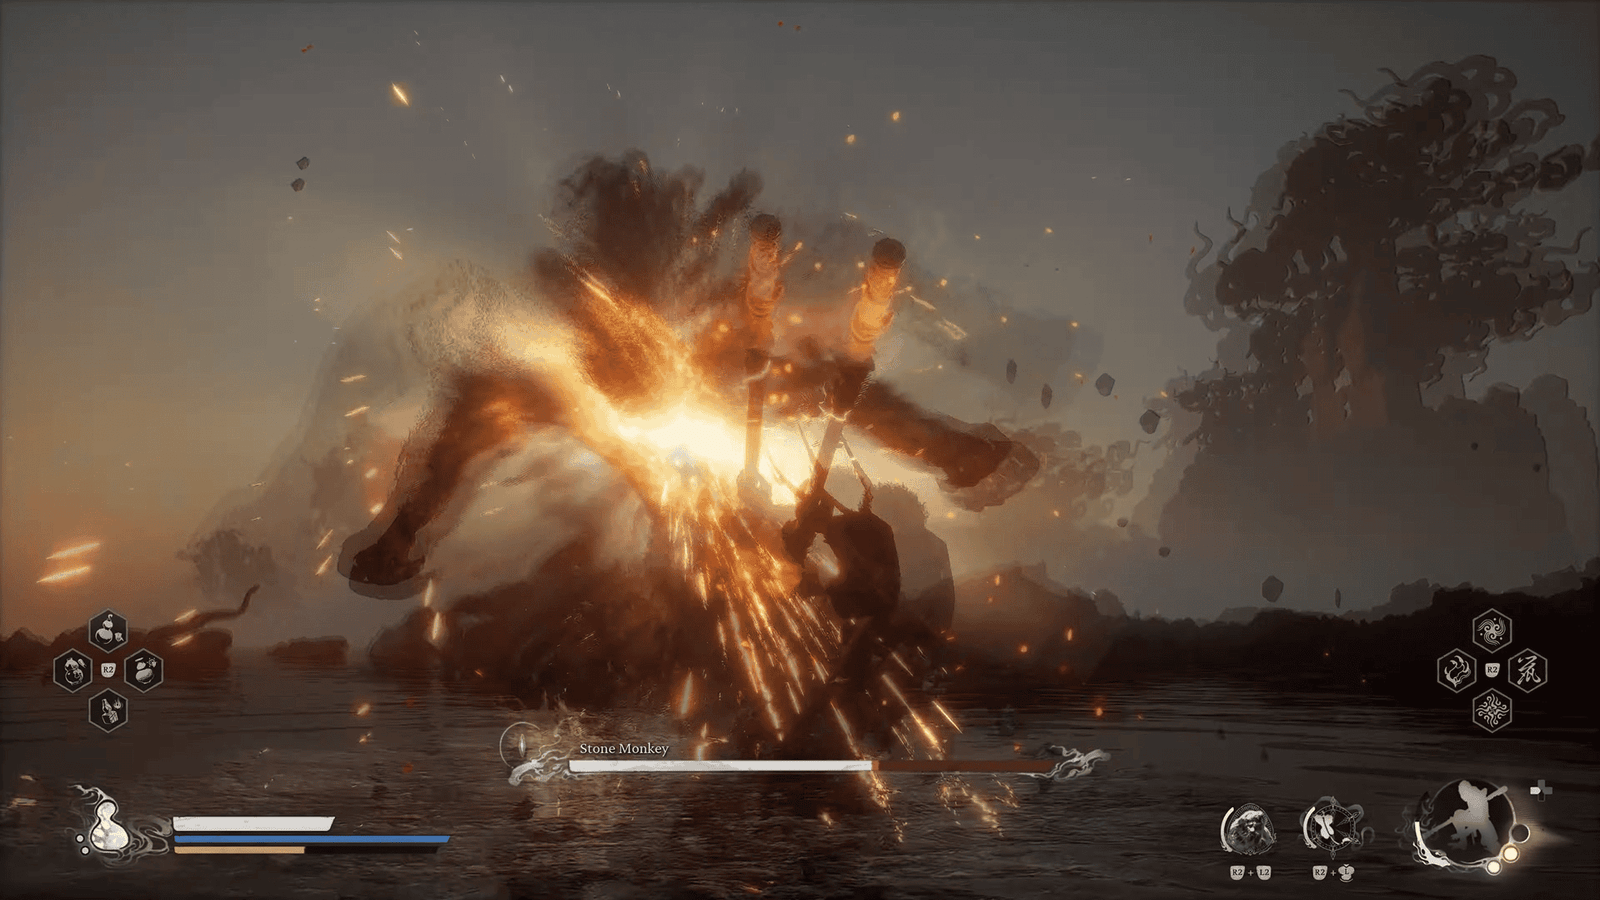
Phase Two – Elemental Infusion + Clones
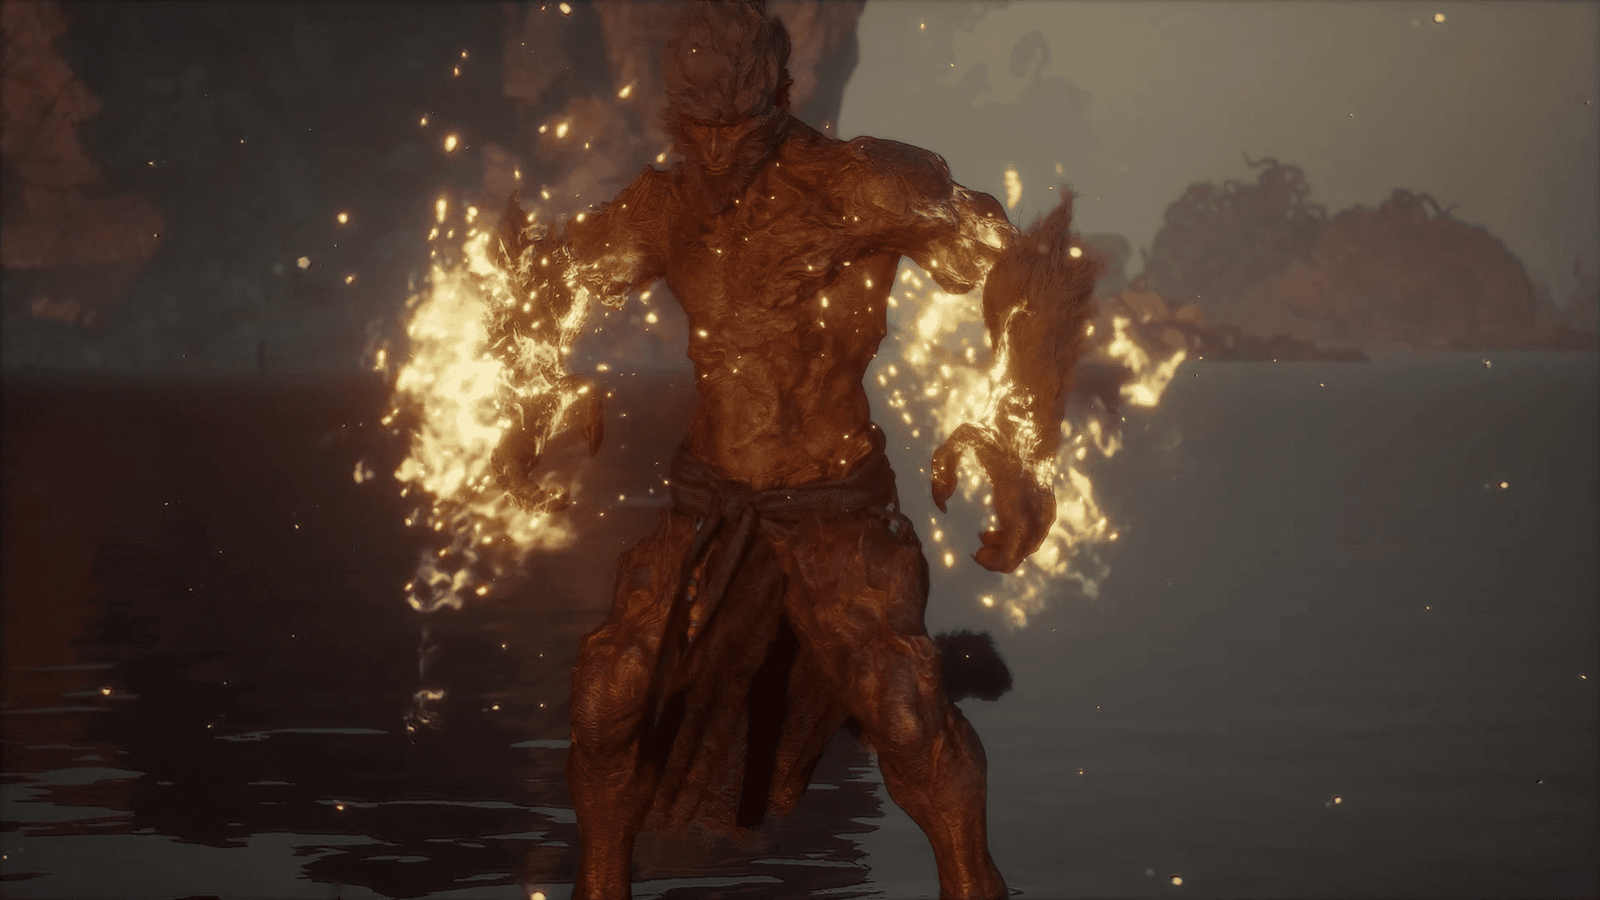
When you deplete the first health bar, a short cutscene plays. The Stone Monkey roars, its arms glow with elemental power, and its health bar fully refills. Welcome to hell!
Basic attacks remain similar to Phase 1, but are now infused with either Fire or Ice.
Biggest Difficulty: The boss constantly and rapidly switches between using Fire and Ice, demanding extremely fast reactions.
Elemental Attacks:
Instead of rock shockwaves, you’ll face Fire/Ice shockwaves.
Instead of rock explosions from below, it will be pillars of Fire/Ice.
Note the water freezing attack: When the boss uses Ice, it can temporarily freeze the surrounding water. Immediately after, the ice shatters, dealing damage and applying the freeze effect if you’re standing in it. If you see the water start to freeze, immediately move out of the affected area (either close to the boss or far away). Being frozen is extremely dangerous as you’ll be incapacitated for a few seconds.
Phase Two Strategy
- This is the time to use Body-Warming Powder (when the boss uses Ice) and Body-Cooling Powder (when the boss uses Fire) to reduce incoming elemental damage.
- Consider using appropriate Curios. The Fire Vessel helps reduce Burn damage. The Plantain Fan is a very good option – it can temporarily dispel the element currently buffing the boss’s hands and push it back, giving you precious time to heal or attack.
- Continue focusing on physical/critical damage.
- This is when powerful Spells should be used judiciously, especially if wearing the Wukong set (which might offer cooldown reduction).
Clone Sub-phase (Around 50-60% Phase 2 HP)
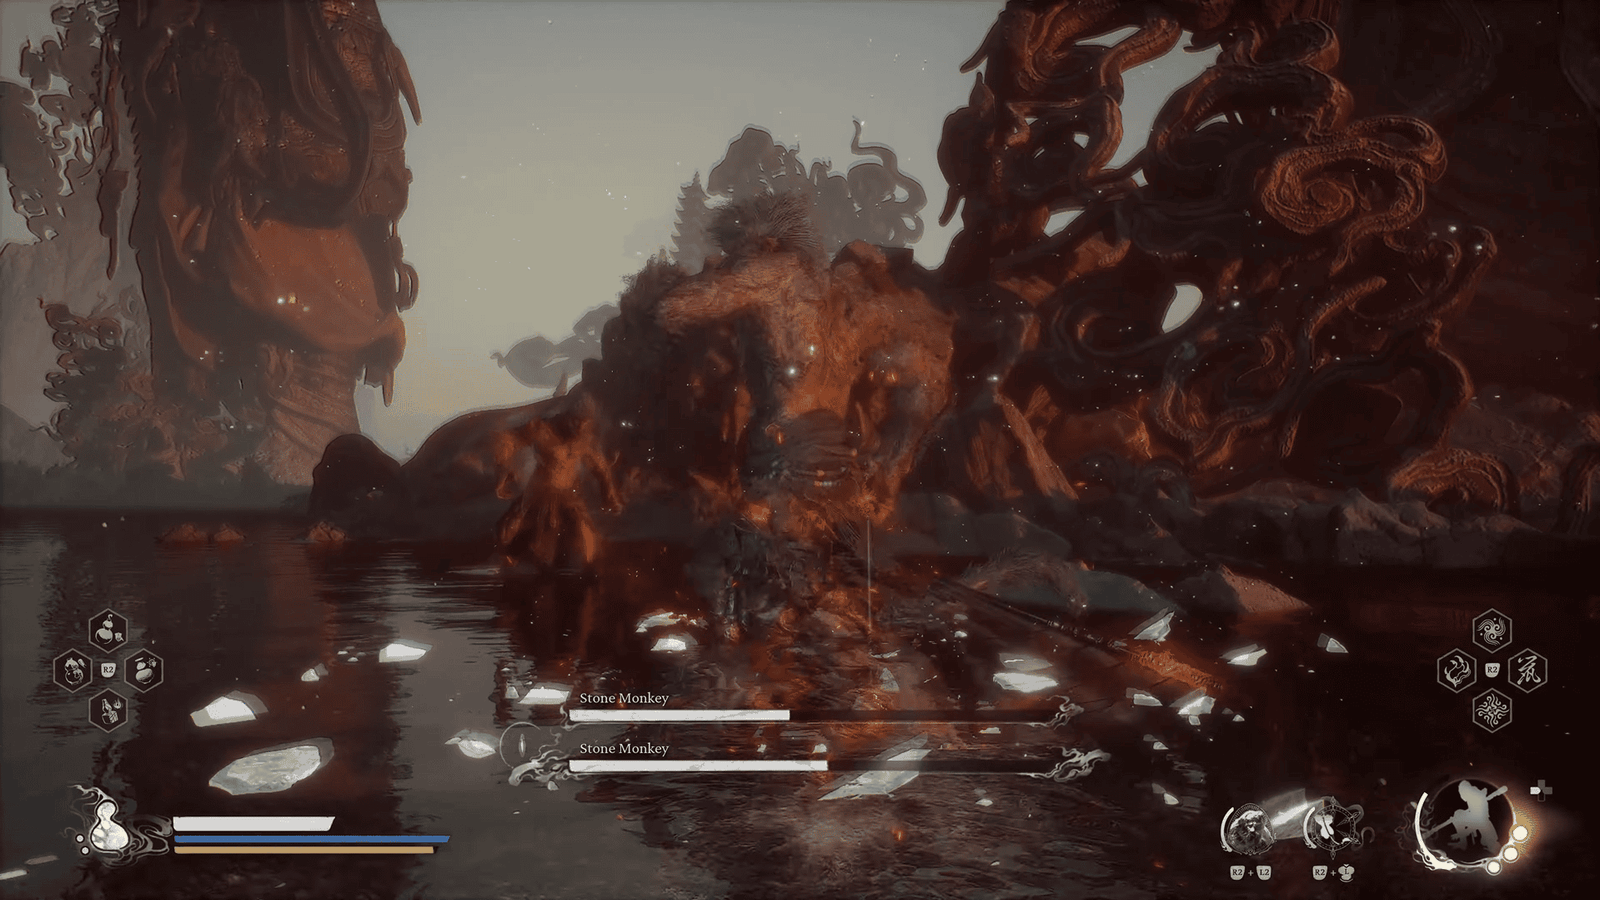
When the boss’s health drops to about half, it will pluck a hair and clone itself (similar to your Pluck of Many skill).
Mechanics: A clone of The Stone Monkey appears. There will be two health bars on screen: the original’s is at the bottom, the clone’s is at the top. One will use Fire, the other Ice, and they will alternate or coordinate attacks against you.

New Attacks (Mostly from clone): Throwing large boulders, consecutively throwing Ice then Fire orbs, and sometimes a gigantic Fireball.
Anti-Clone Strategy:
- GOLDEN RULE: Absolutely focus your attacks on the ORIGINAL (the one with the bottom health bar). The clone will automatically disappear after taking enough damage or after a certain amount of time. Hitting the clone should only be done if you need to safely build more Focus. Don’t waste resources on it!
- Use your own Pluck of Many spell to create chaos and attack both targets.
- Use the Immobilize spell to lock down one monkey (prioritize the one attacking you or the one using the element you’re weak against at that moment), freeing you up to deal with the other or focus on the original.
- Always keep moving and maintain a safe distance when they start using ranged attacks. Prioritize dodging, as you’re now facing attacks from multiple directions.
Finishing the Fight
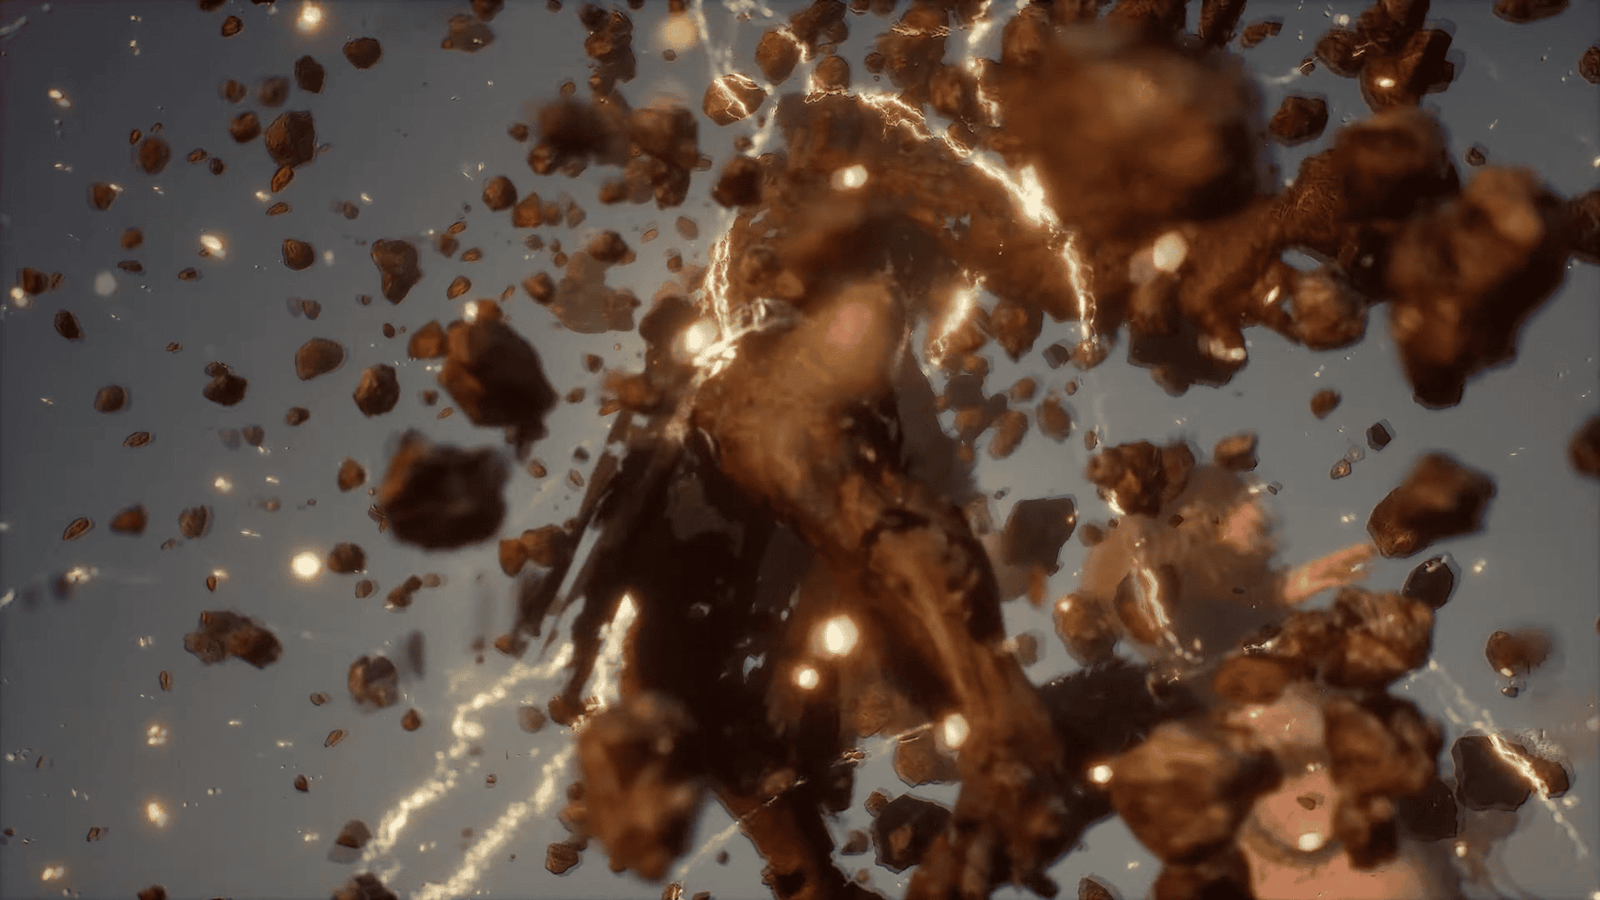
When you deplete the health bar (of the original) for the second time, the final cutscene of this battle will play. The Destined One (that’s you) will confront and defeat The Stone Monkey. The giant boss will stagger and then crumble into rubble.
But don’t celebrate just yet! As soon as The Stone Monkey shatters, lightning will converge, and a new, more powerful foe will appear: The Great Sage’s Broken Shell. Good news: Although you enter the next fight immediately without a break point, your health, Gourd uses, and Spell cooldowns will be fully restored.
Phew! Quite the long haul, right? Phase 2, and especially the clone part, is truly a peak challenge. Stay calm and apply the strategies above!
The Stone Monkey is undoubtedly one of the toughest challenges Black Myth: Wukong throws at the player. However, no mountain is insurmountable. With thorough preparation, sound strategy, and most importantly, perseverance, you are fully capable of defeating the Stone Monkey and moving closer to the story’s conclusion. Don’t be afraid to experiment with different items, spells, or transformations to find the playstyle that suits you best. Good luck, and may you execute some spectacular moves!