
This Bitter Lake Walkthrough will serve as a valuable guide, helping fellow heroes easily conquer this land. From how to defeat the Yaoguai King – Kang-Jin Star, challenge Cyan Loong, to finding The Ruyi Scroll and exploring Zodiac Village, everything will be presented clearly and in detail.
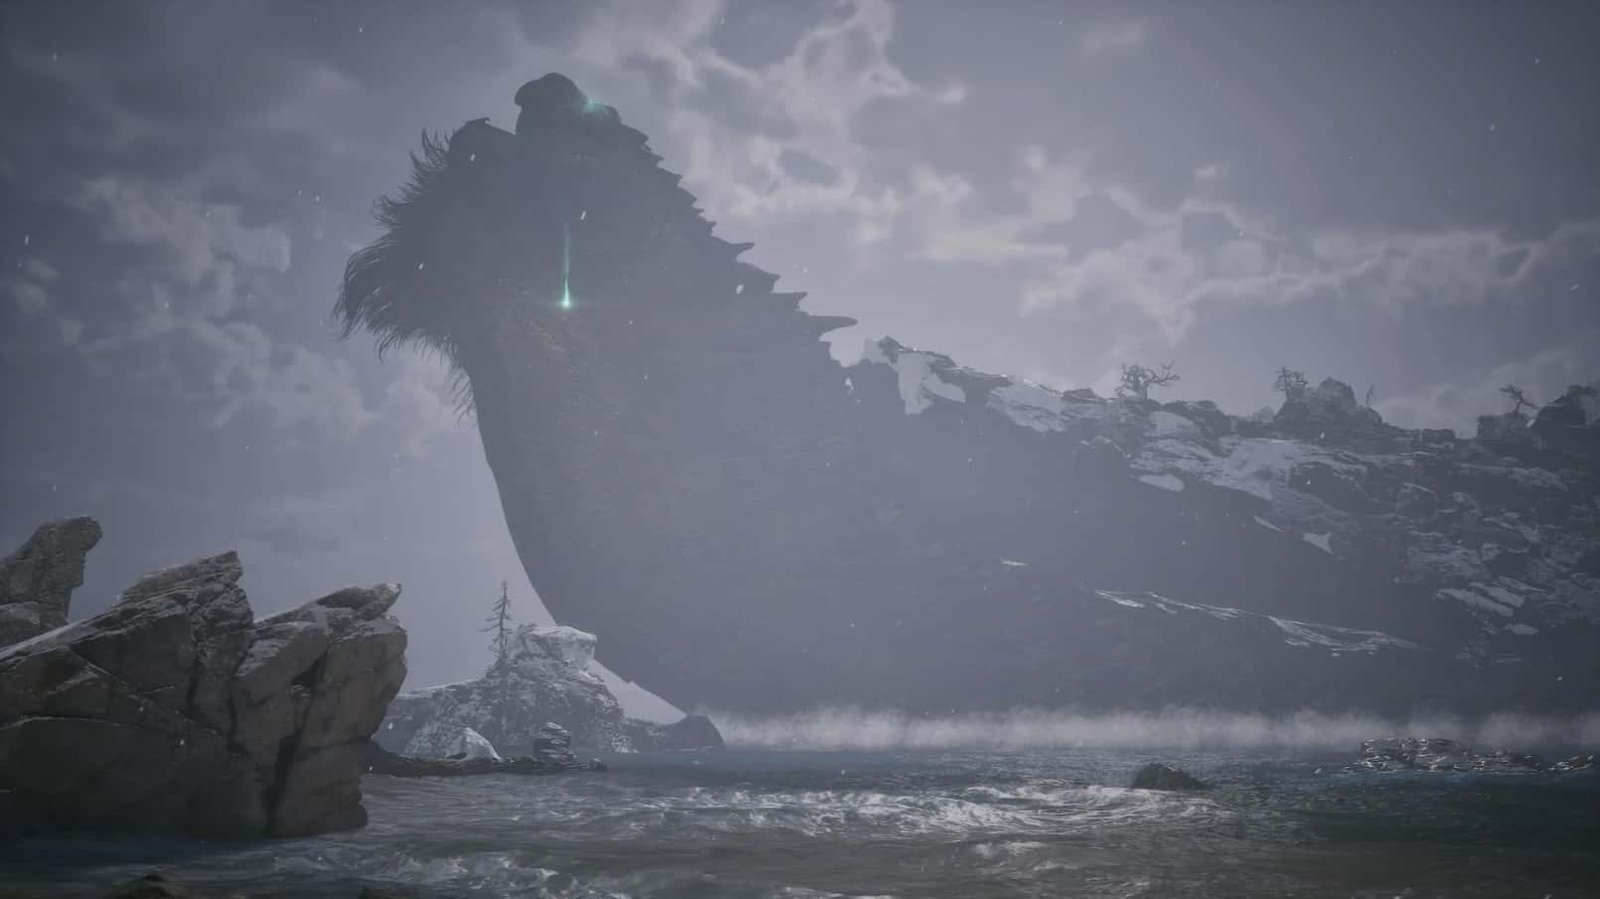
Turtle Island
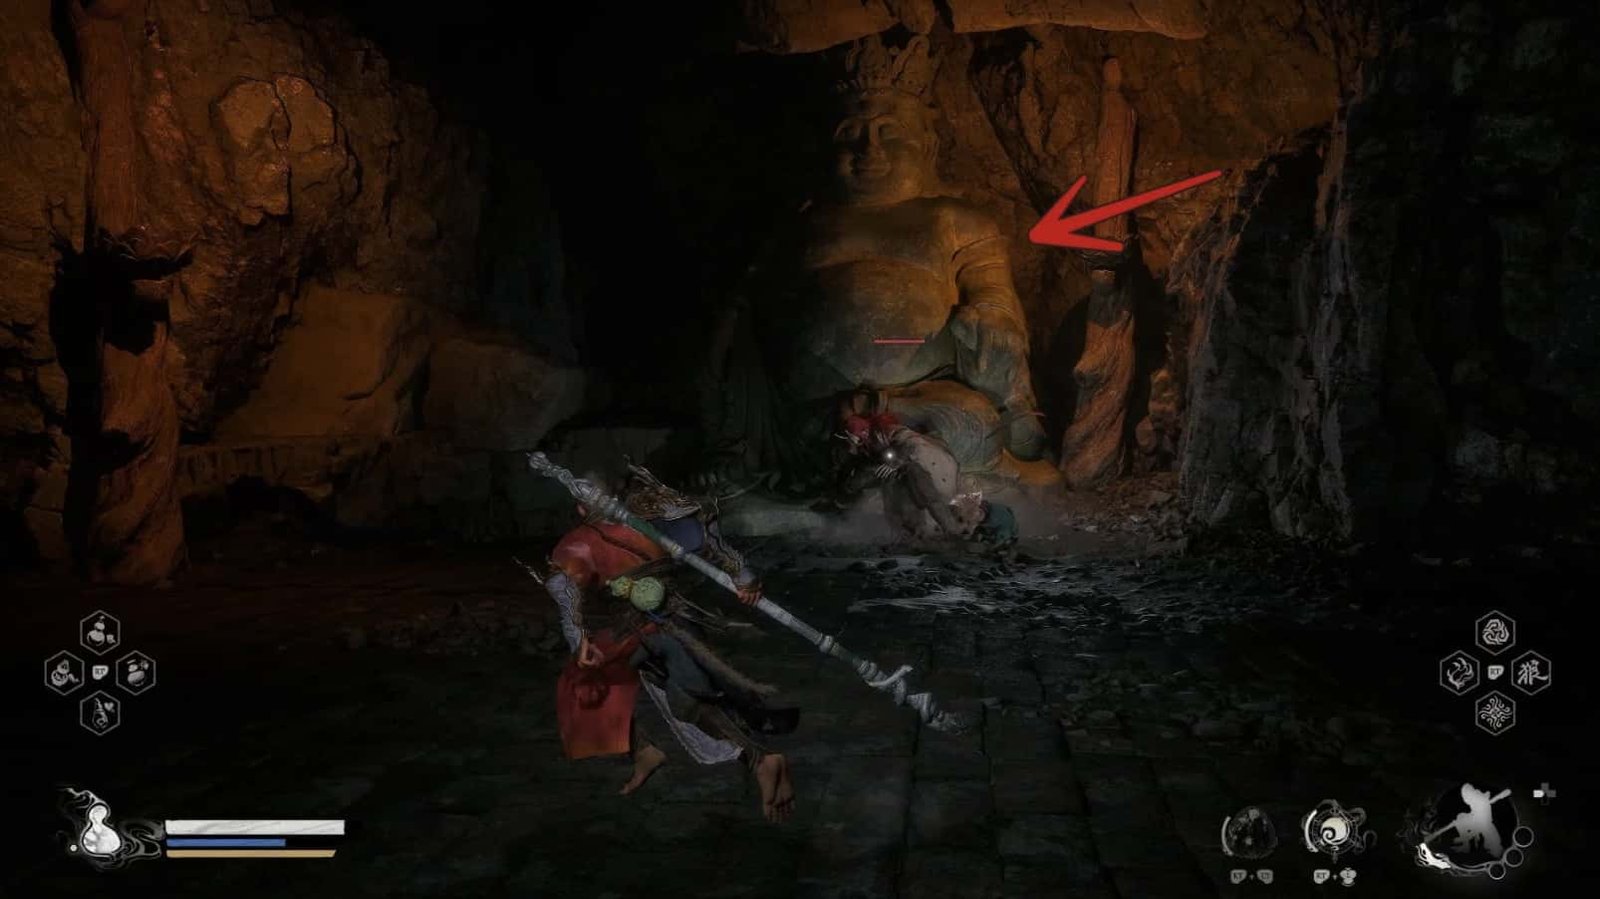
Setting foot on Turtle Island, a place where spiritual energy and demonic aura intertwine, heroes, be cautious. Here, Zhu Bajie is imprisoned, and the first battle at Bitter Lake awaits. The primary objective is to defeat Kang-Jin Star, a dangerous Lightning-type Yaoguai King. After that, rescue Zhu Bajie and begin exploring the secrets hidden on this island.
For now, focus your spirit and ready your weapons to confront Kang-Jin Star. Although she doesn’t move much, her lightning magic is extremely potent. I will explain the method of battle in the next section. Pay close attention!
Kang-Jin Star – Yaoguai King
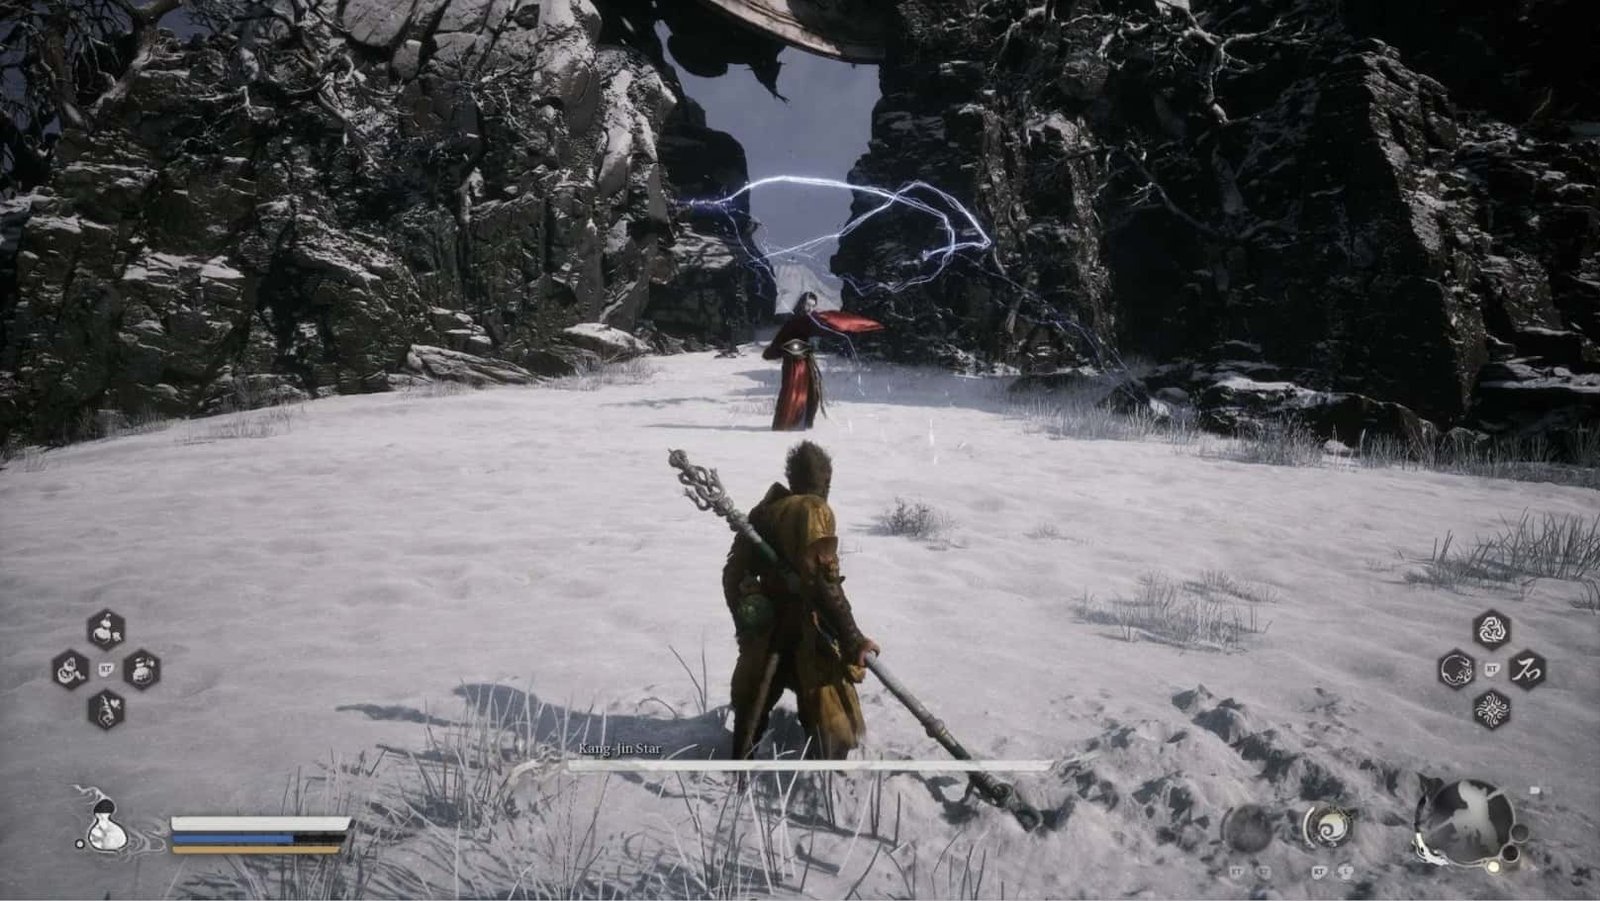
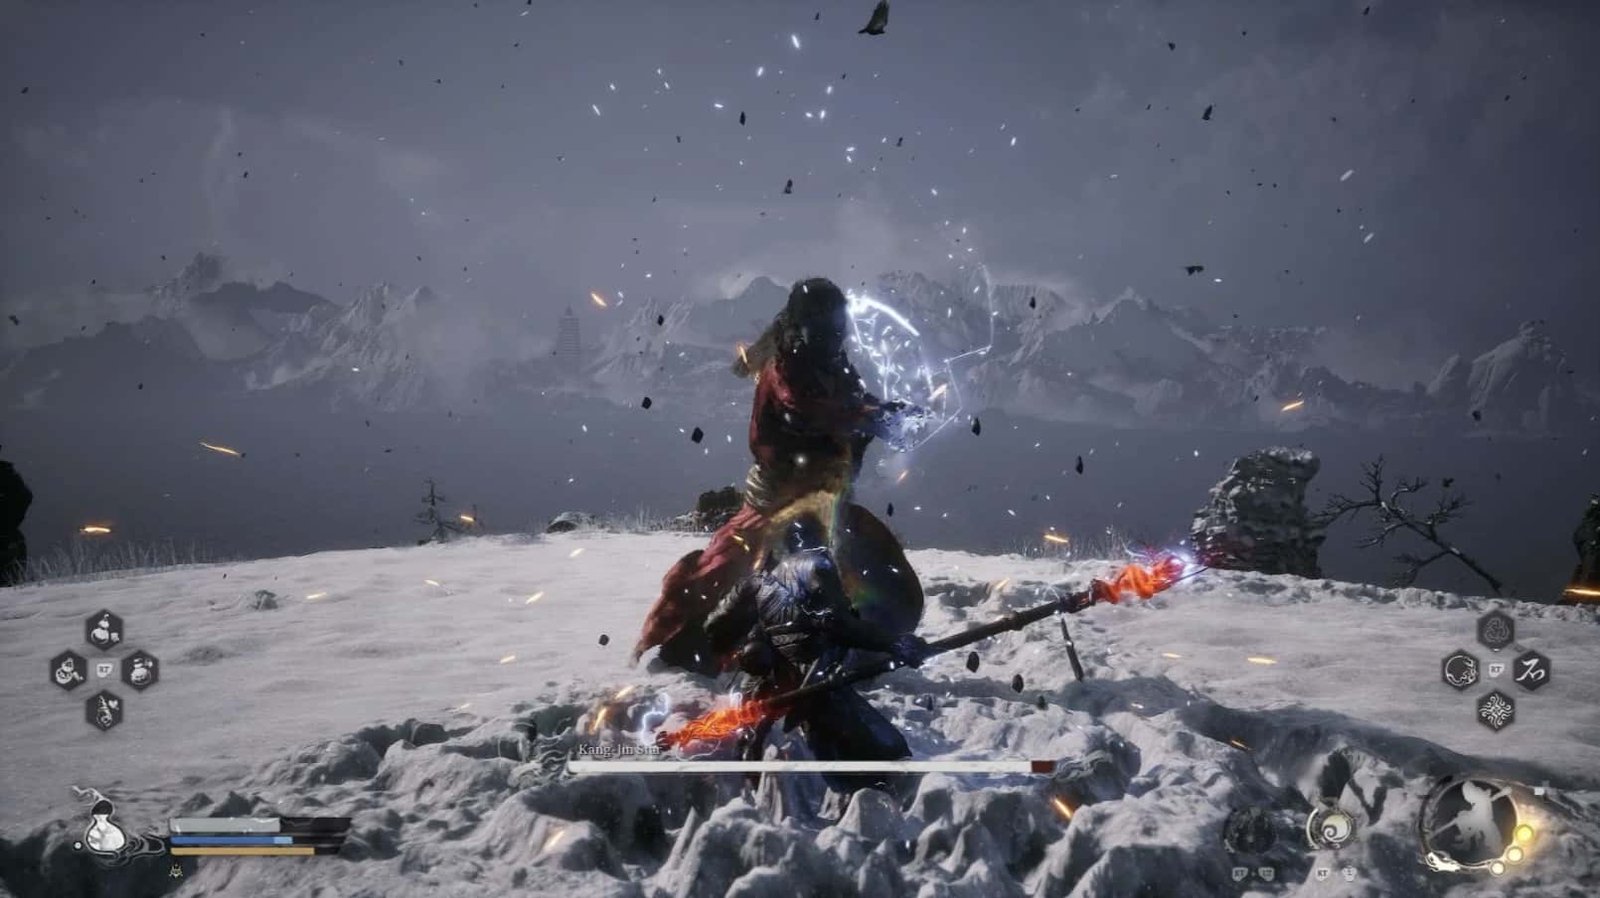
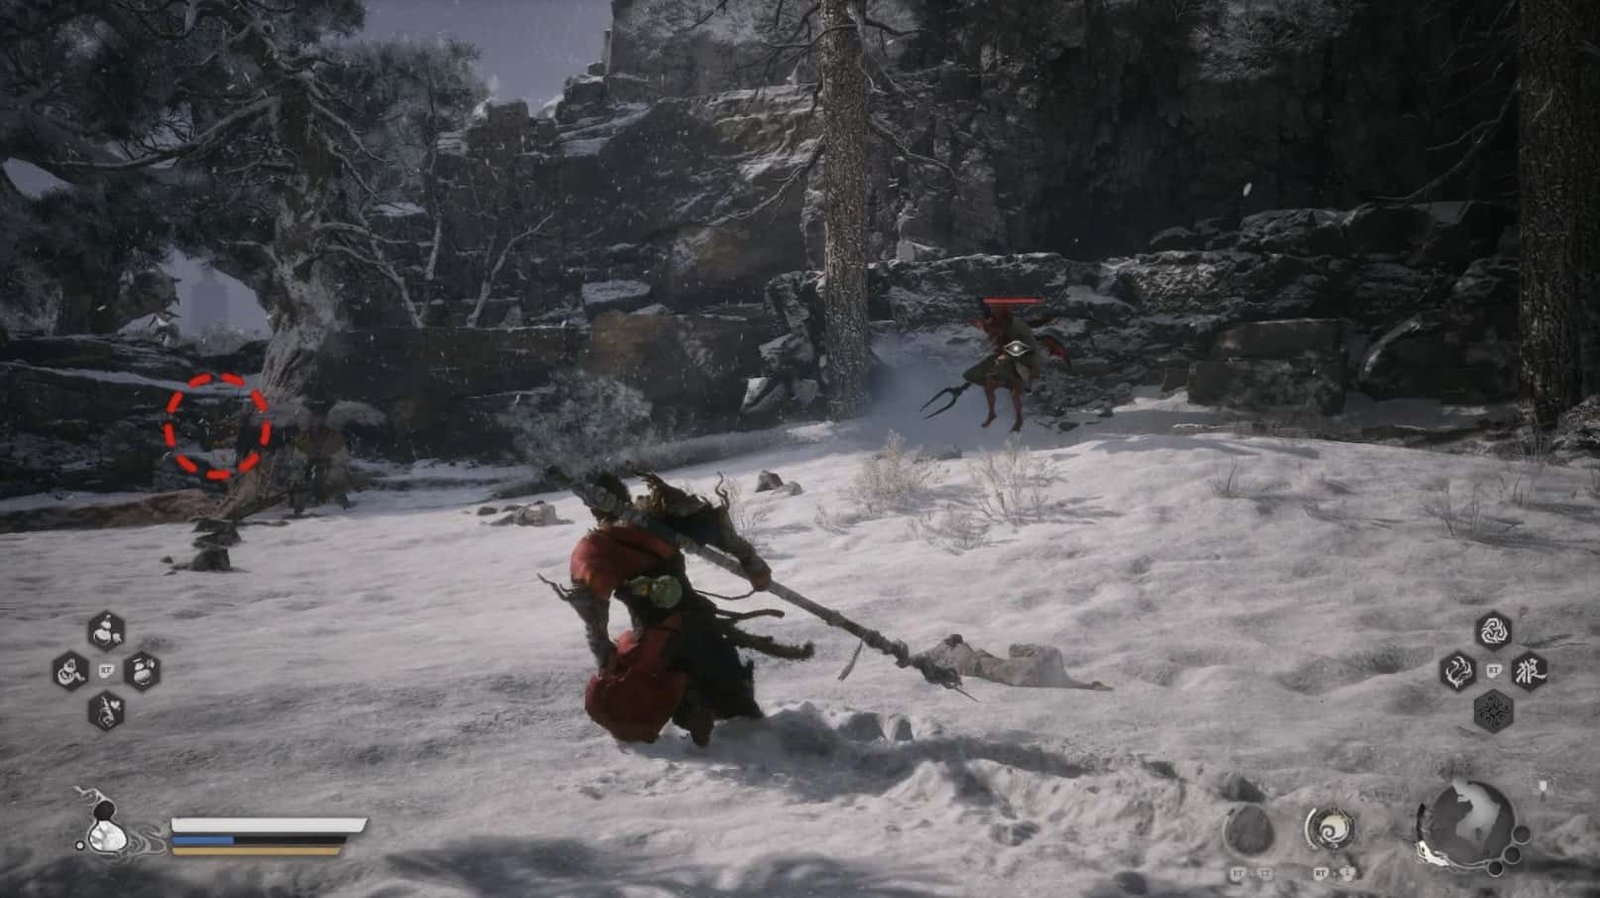
Kang-Jin Star, a Yaoguai King with terrifying lightning magic, she is the first challenge that you heroes must overcome on Turtle Island. Remember, although she doesn’t move much, do not underestimate her, her lightning magic is incredibly versatile and unpredictable.
Before entering battle, prepare thoroughly. Bring Shock-Quelling medicine to minimize damage from her Lightning attacks. Rock Solid will help you withstand her melee attacks, while Cloud Step will help you evade ranged attacks. Ring of Fire, although unable to counter her lightning, can create a safe space for you to recover. Finally, Immobilize will be the key to controlling her, preventing her from unleashing her lightning magic.
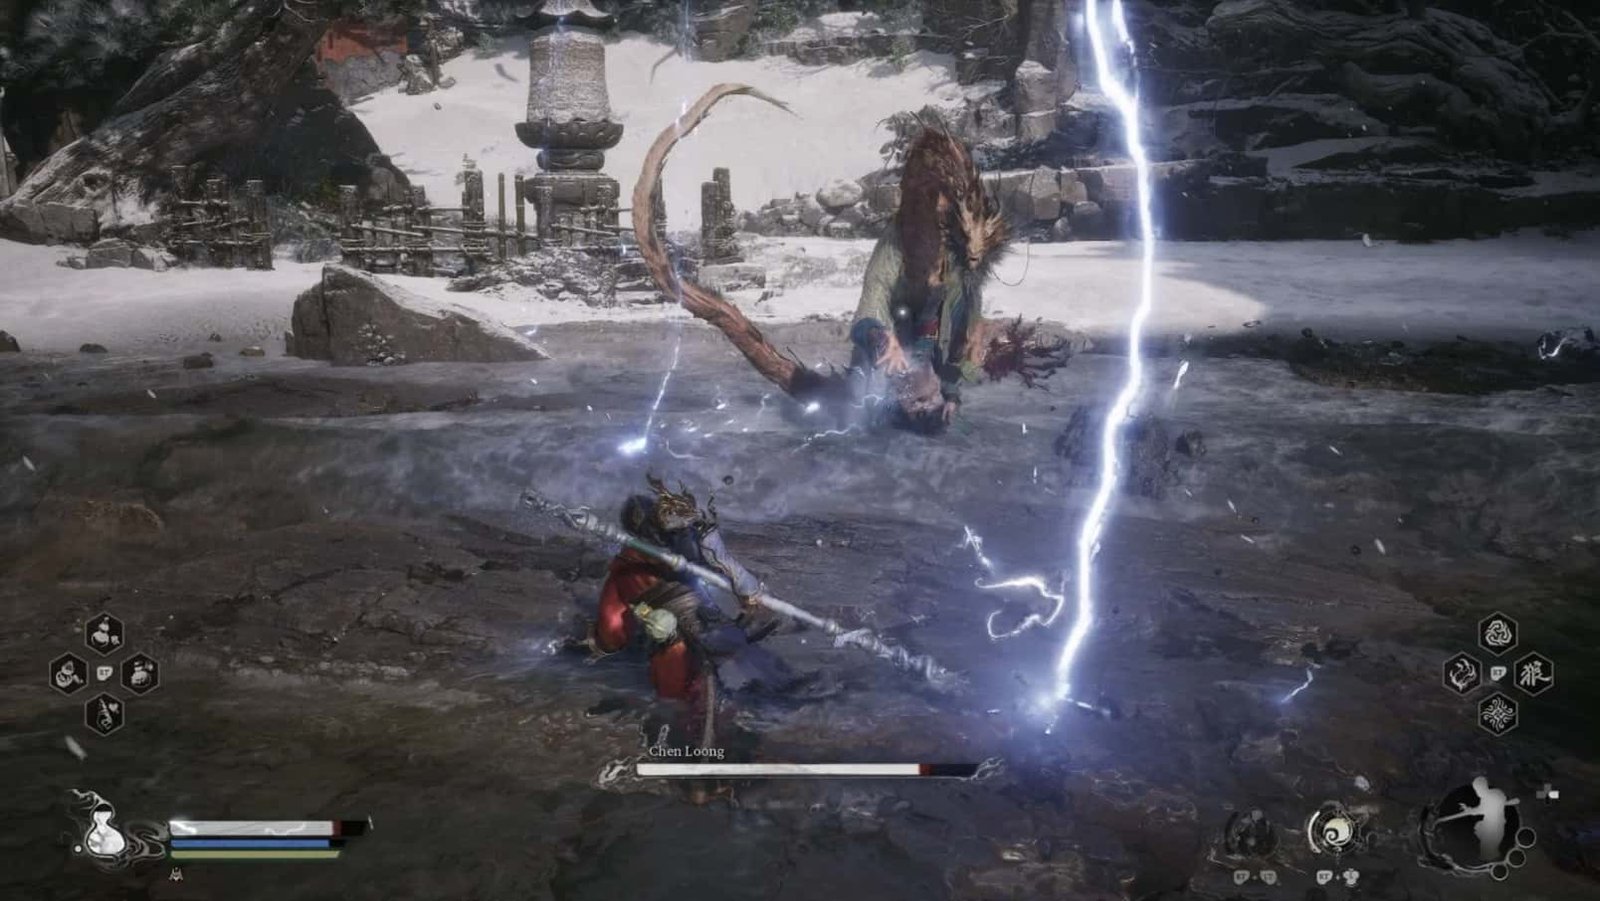
In battle, Kang-Jin Star often deploys serpent-like electric projectiles that fly around, then suddenly shoot towards you.
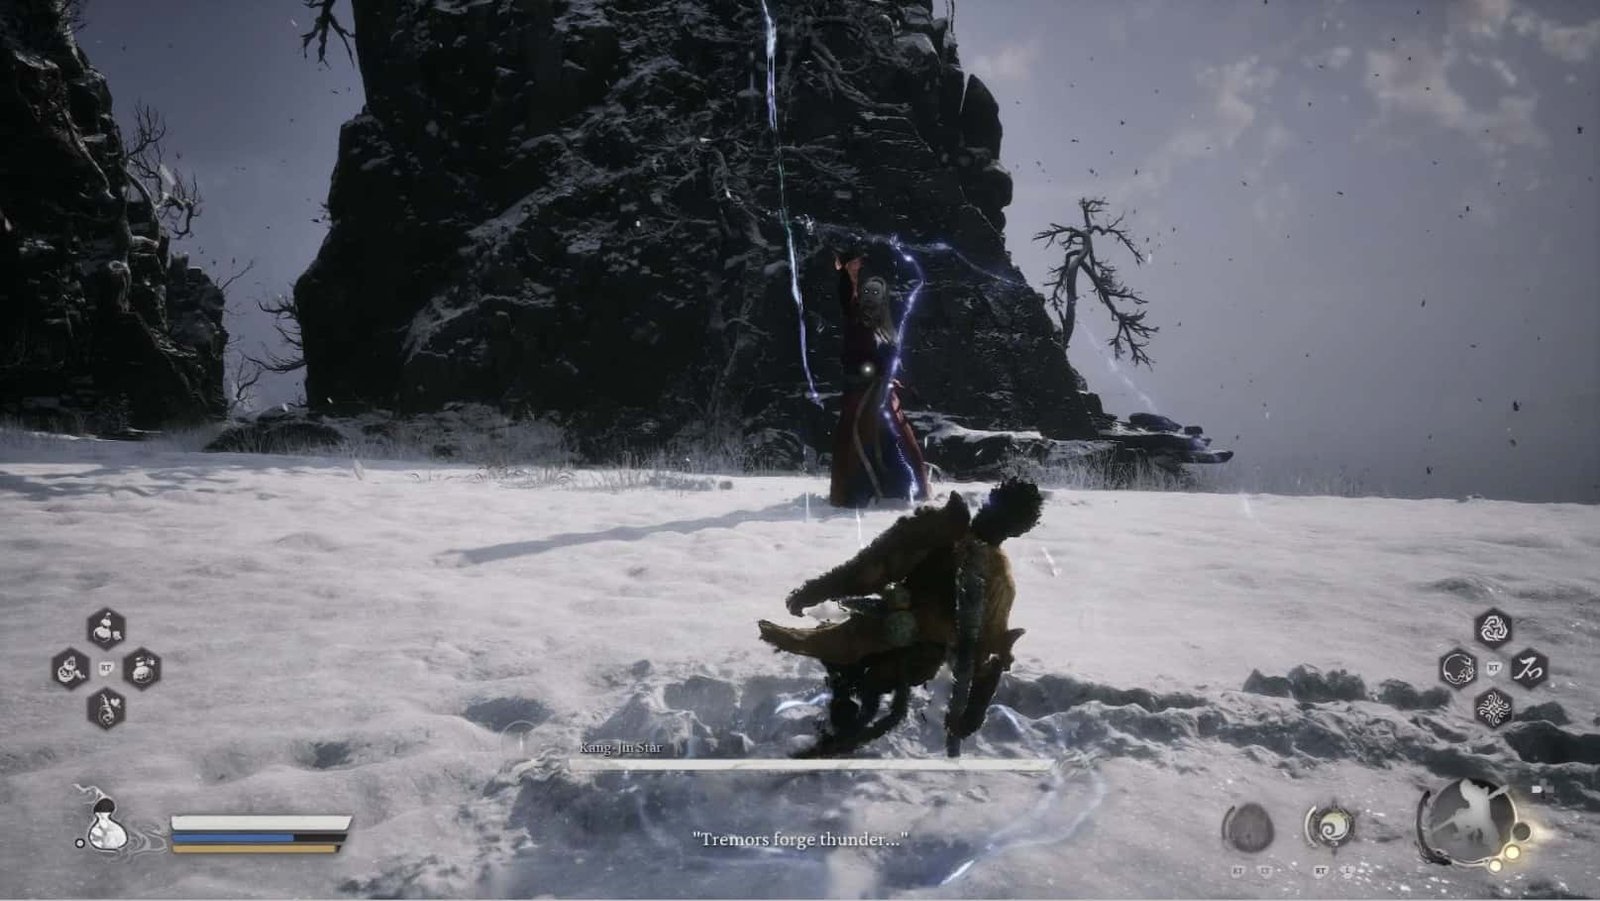
Pay close attention, when she channels her energy, immediately use Cloud Step to dodge. Next, she will often roar, “Tremors forge thunder… clashes form bolts,” the ground will shake, and lightning will strike from the sky. I advise you, when you hear the rumble of thunder, move immediately, do not stand still.
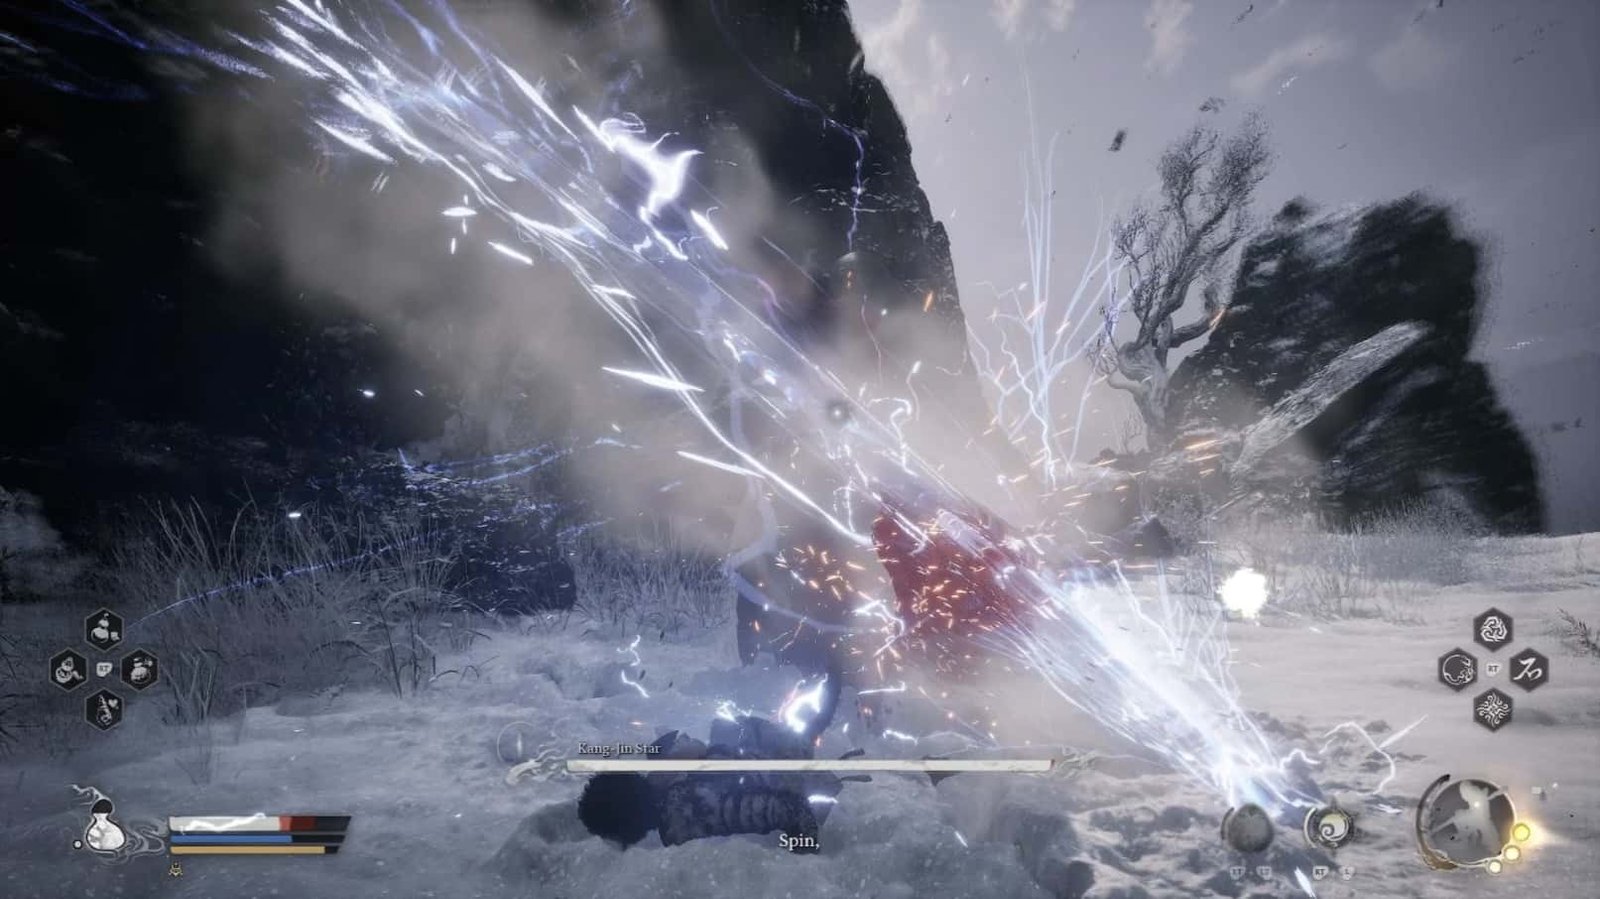
When you close in, Kang-Jin Star will cast “Spin… and flush!”, swinging her weapon to create sweeping Lightning attacks. Stay calm, use Rock Solid to block, or Cloud Step to dodge to the side, creating an opportunity to counterattack. Occasionally, she will suddenly unleash an extremely fast bolt of Lightning, so maintain your focus and dodge in time.
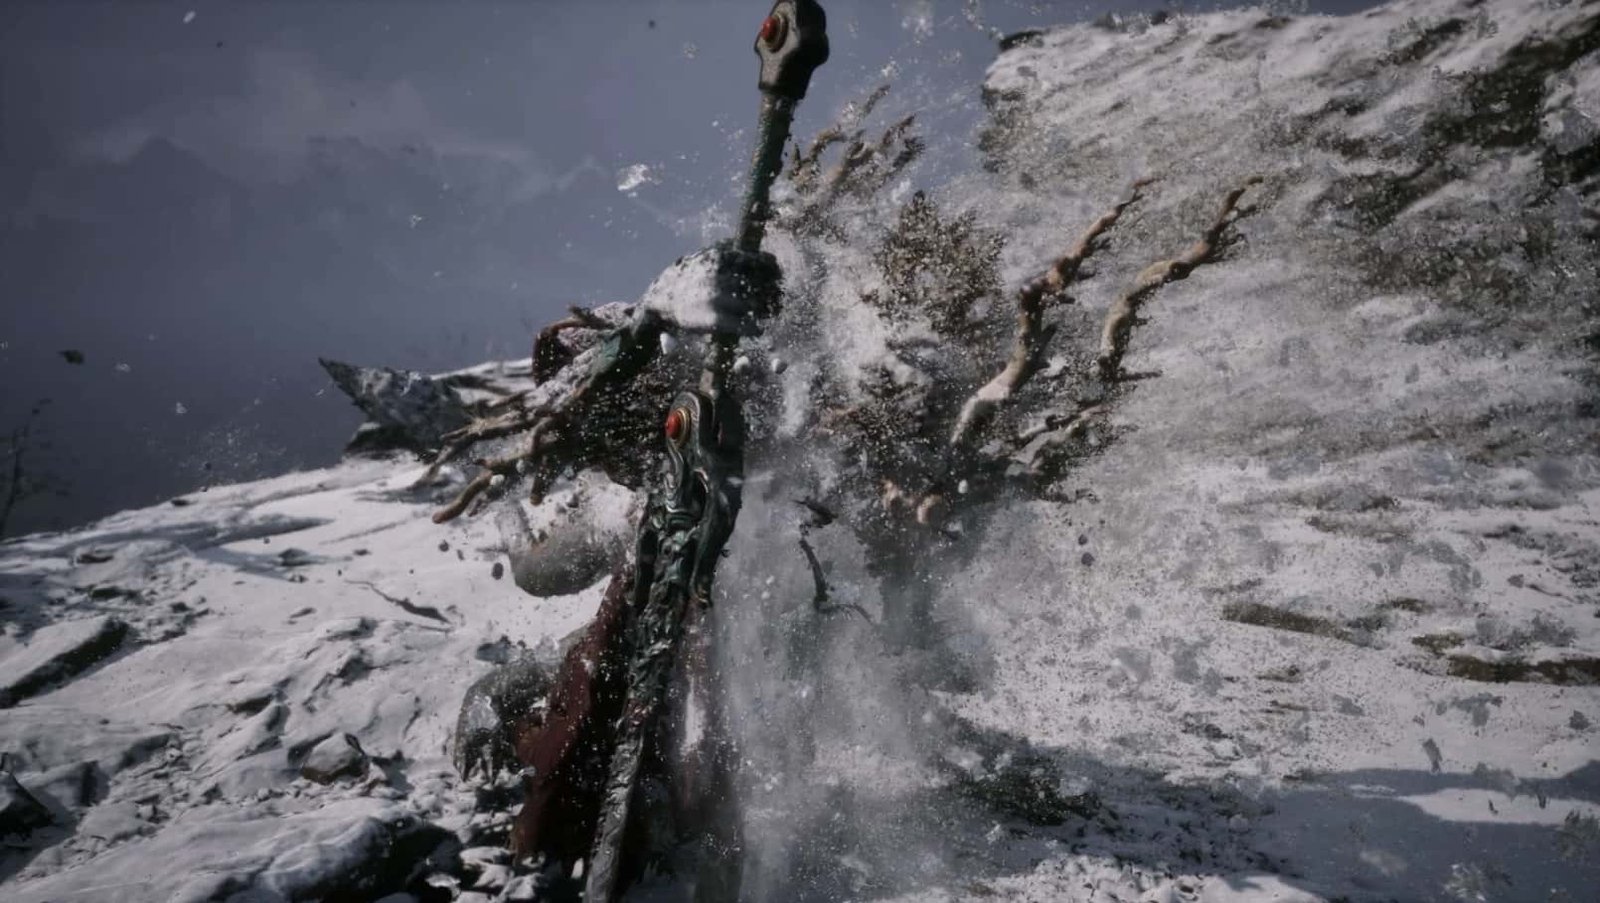
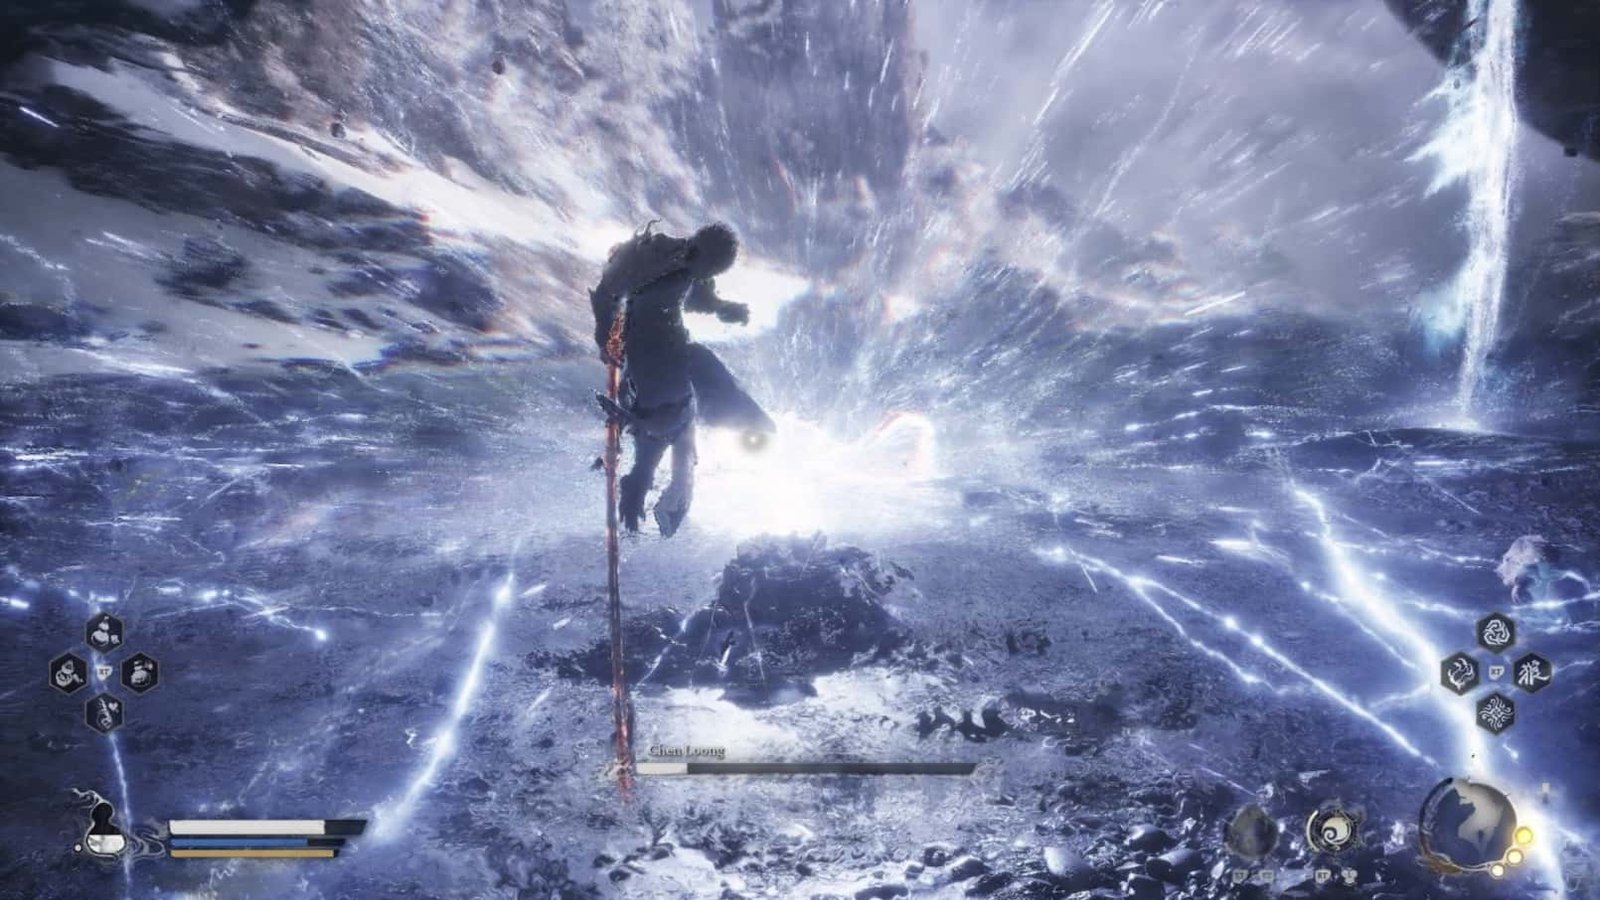
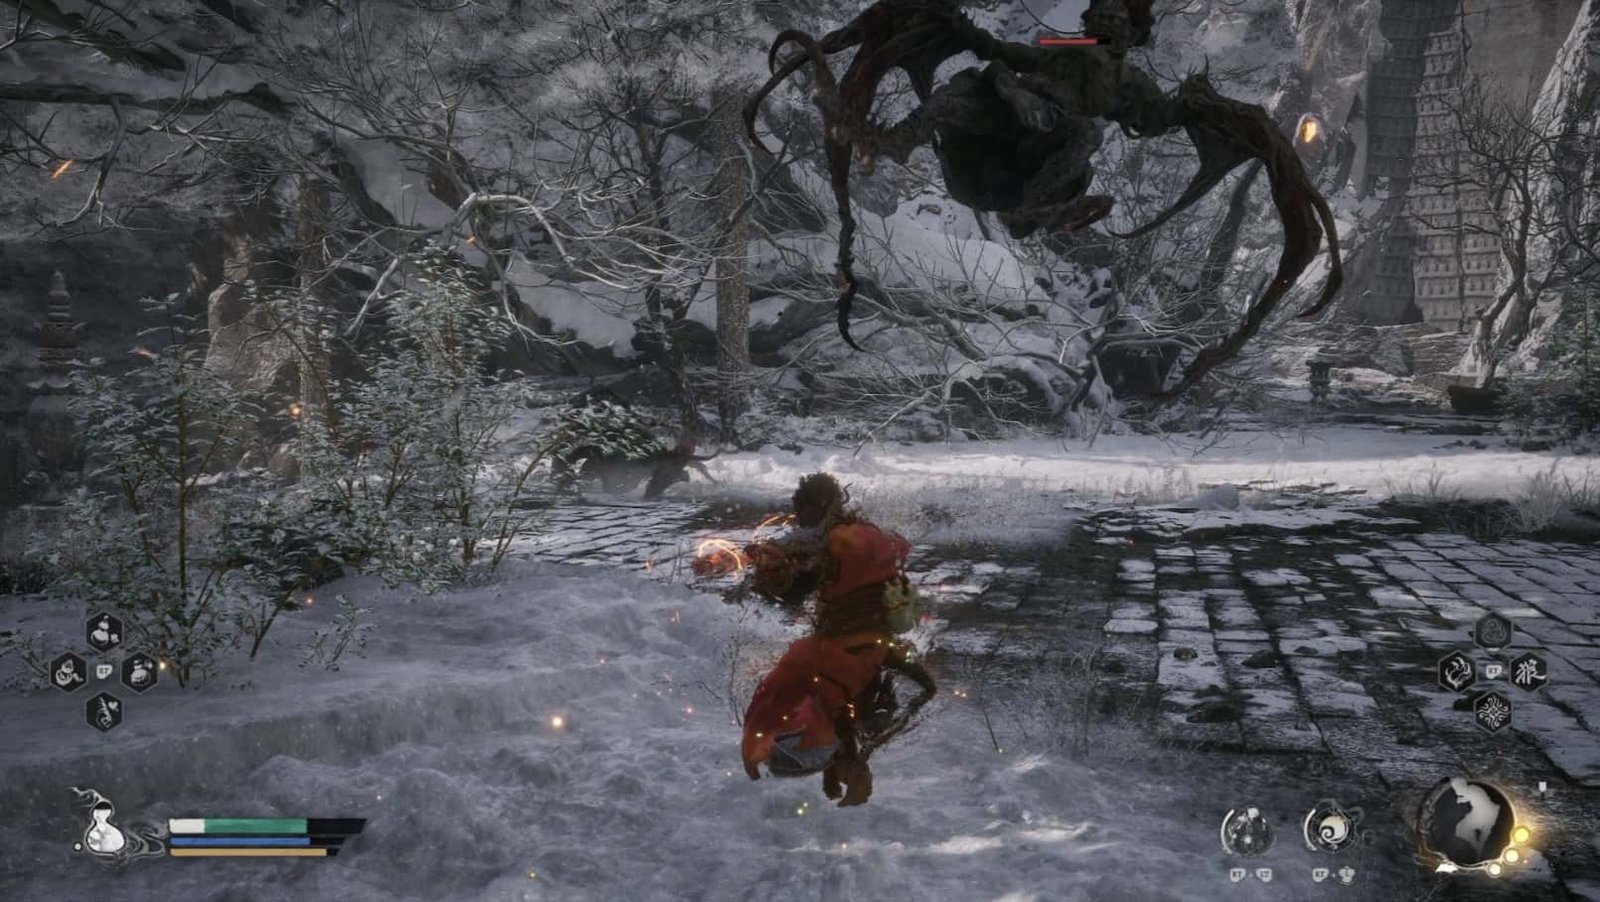
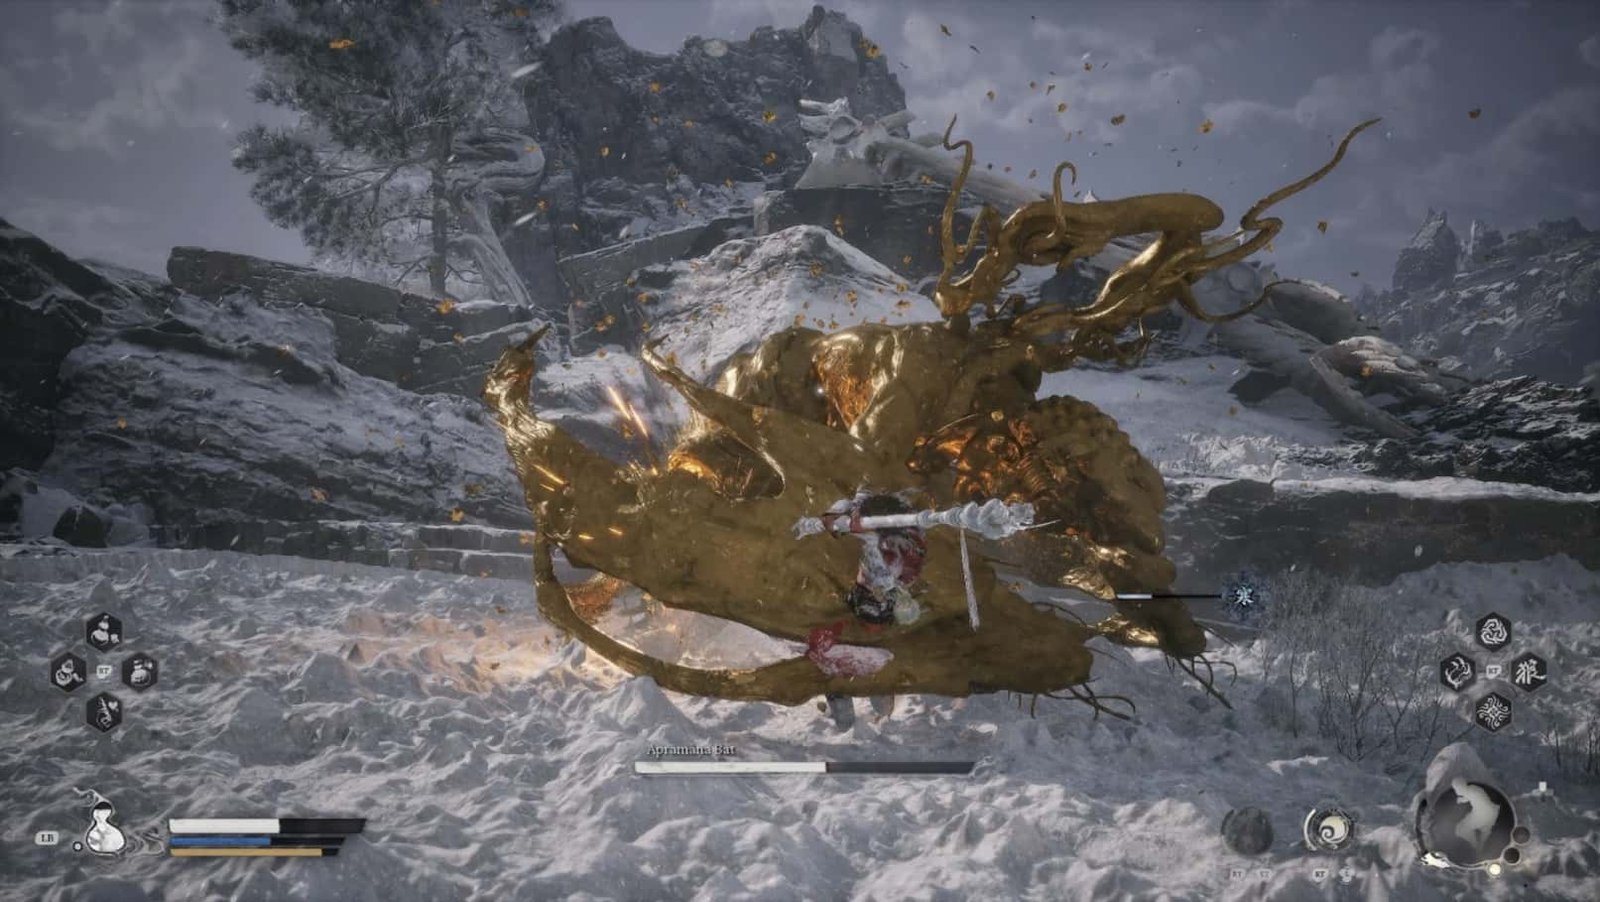
After losing half of her health, Kang-Jin Star will become enraged. She will transform into an electric dragon, flying in the air, creating a rain of lightning spears, or slamming her tail on the ground, creating powerful tremors. At this time, Shock-Quelling medicine will be your lifeline. Continuously move, evade the Lightning attacks with Cloud Step. If possible, use Rock Solid to counterattack when she slams her tail.
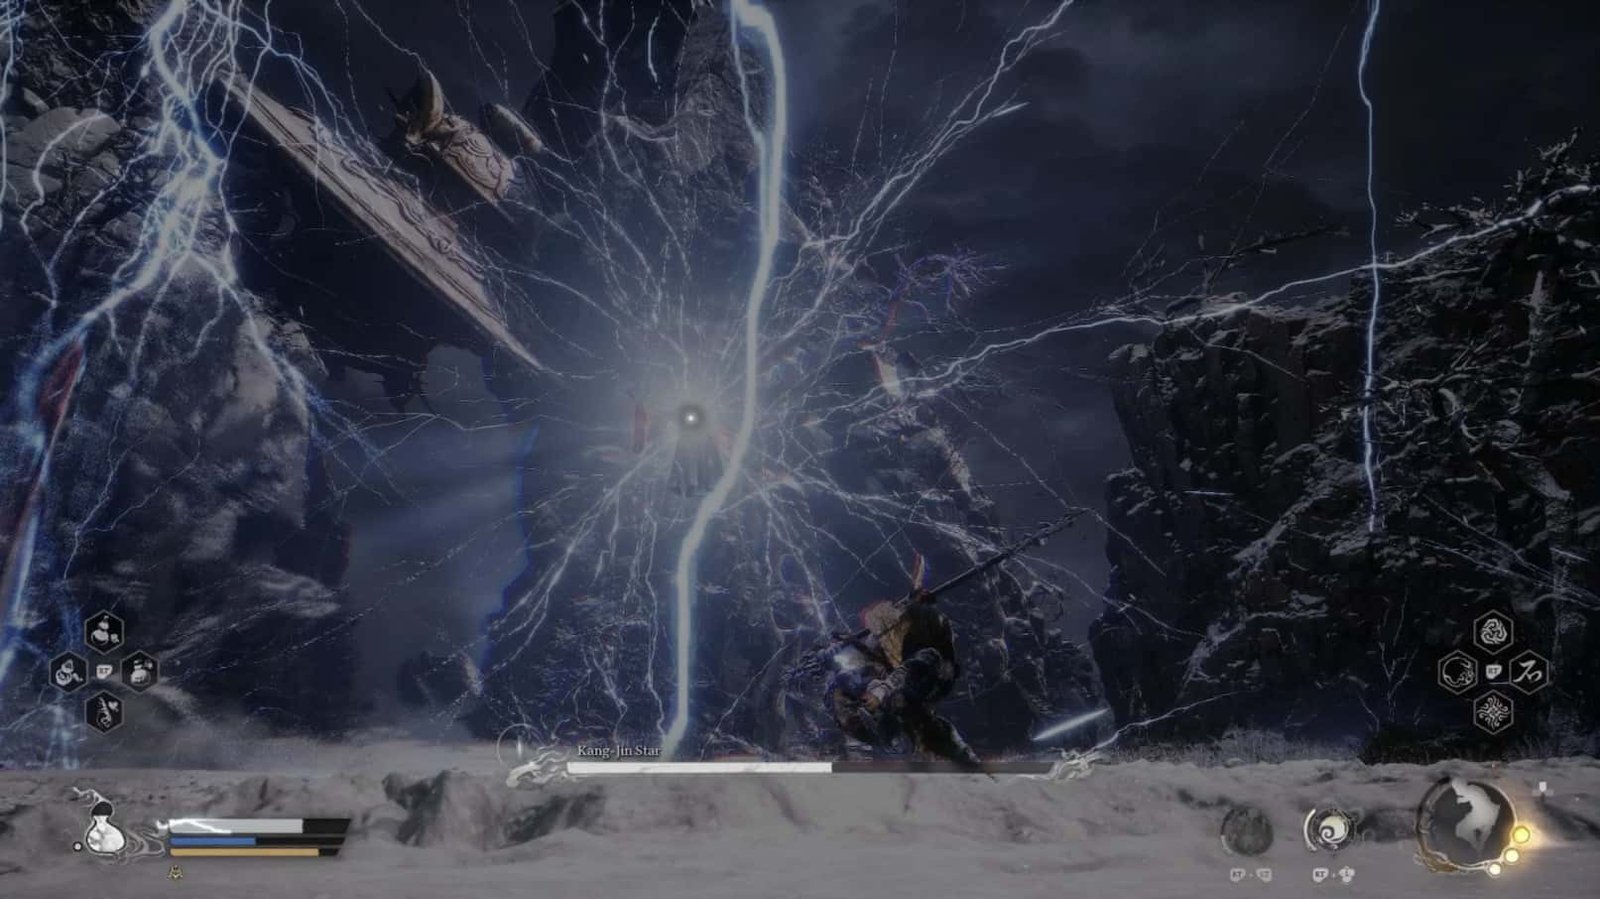
Kang-Jin Star has a very dangerous attack, which is when she flies into the air and creates an expanding electric field, accompanied by a moving electric ring on the ground (“Yield… to your true self!”). Immediately move away from the area of effect, use Cloud Step to escape, or stand on high rock formations to avoid the electric ring.
Defeating Kang-Jin Star will not only free Zhu Bajie but also grant you valuable experience and materials.
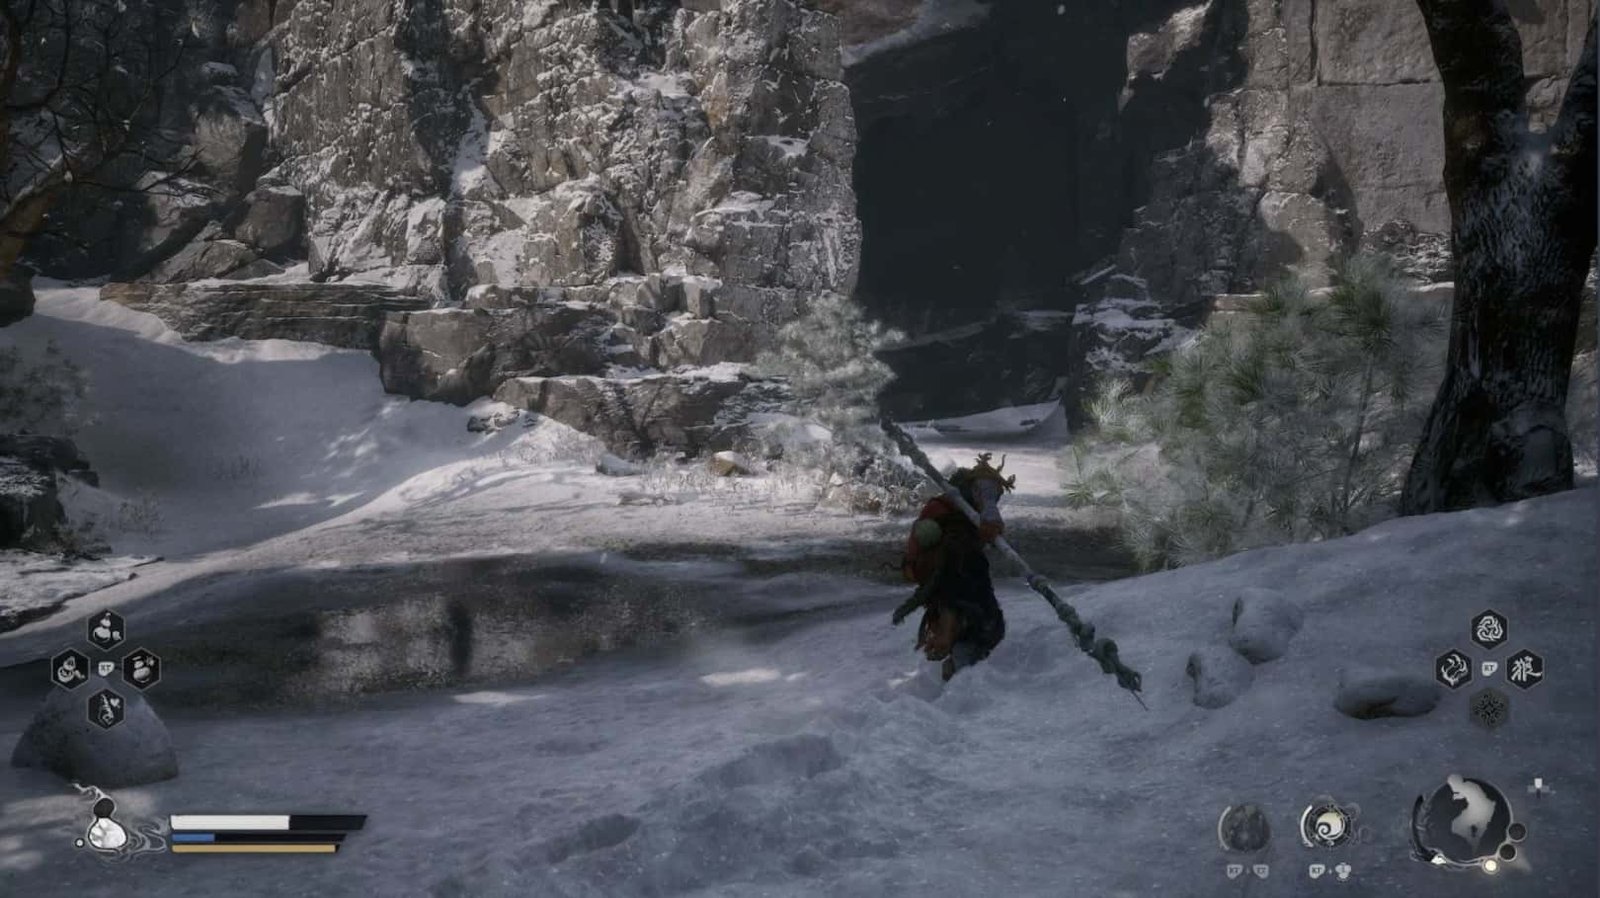
Exploring Turtle Island
First, return to the Turtle Island Shrine area, where you just fought Kang-Jin Star. Looking to the left (when facing the turtle’s head), follow the ledges, and you will find a small altar with a golden vase on it. Inside the vase is the Celestial Jade Lotus Pill, consuming it will increase your Maximum Health – an extremely valuable treasure.
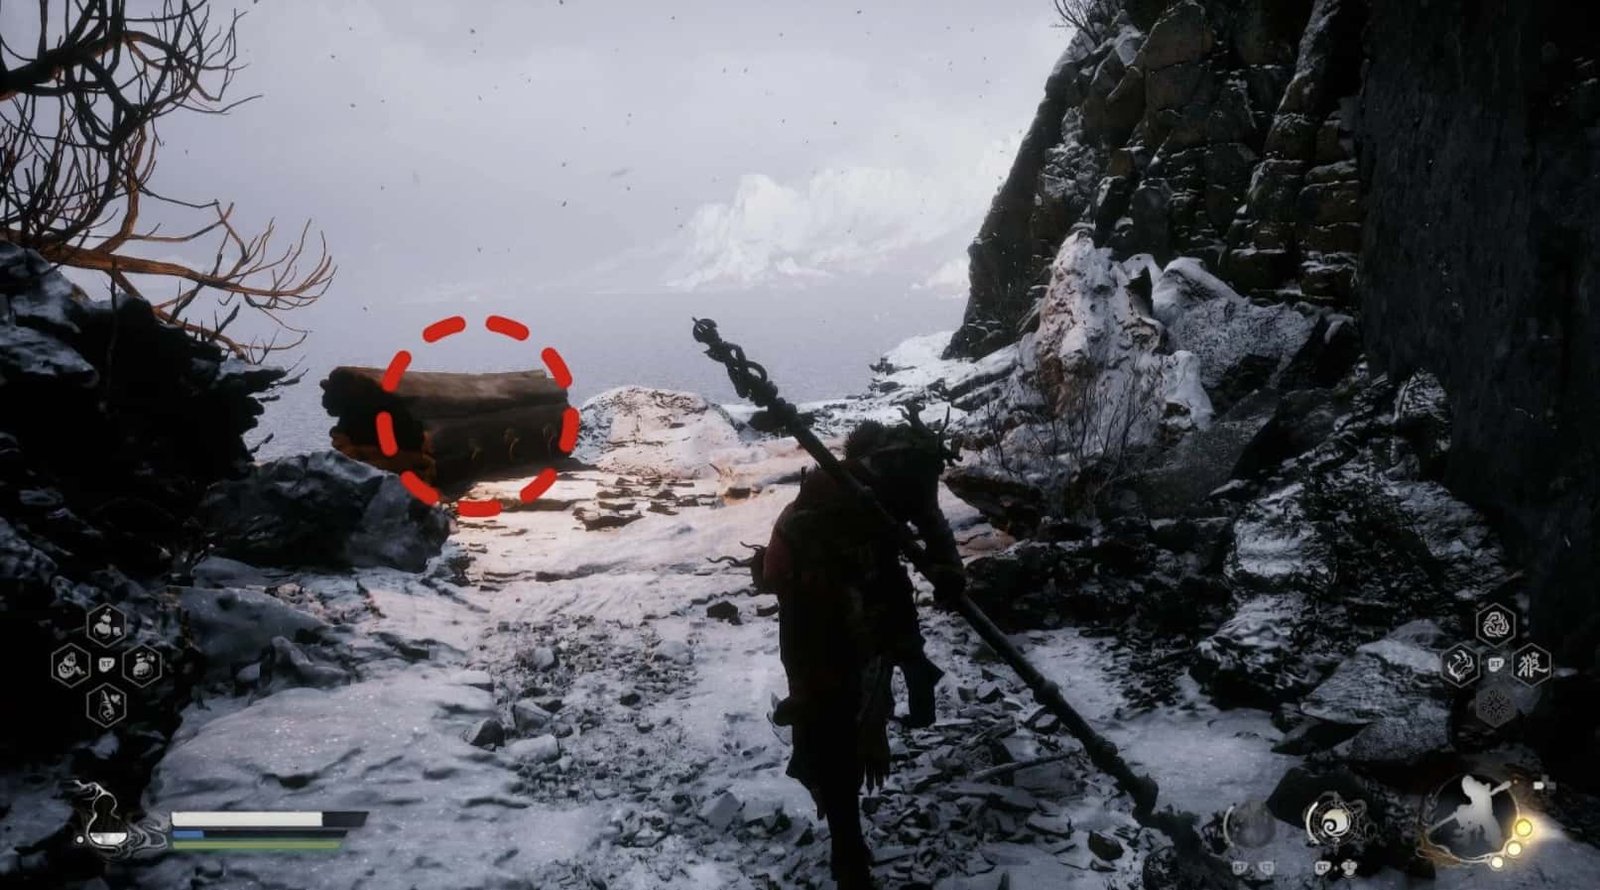
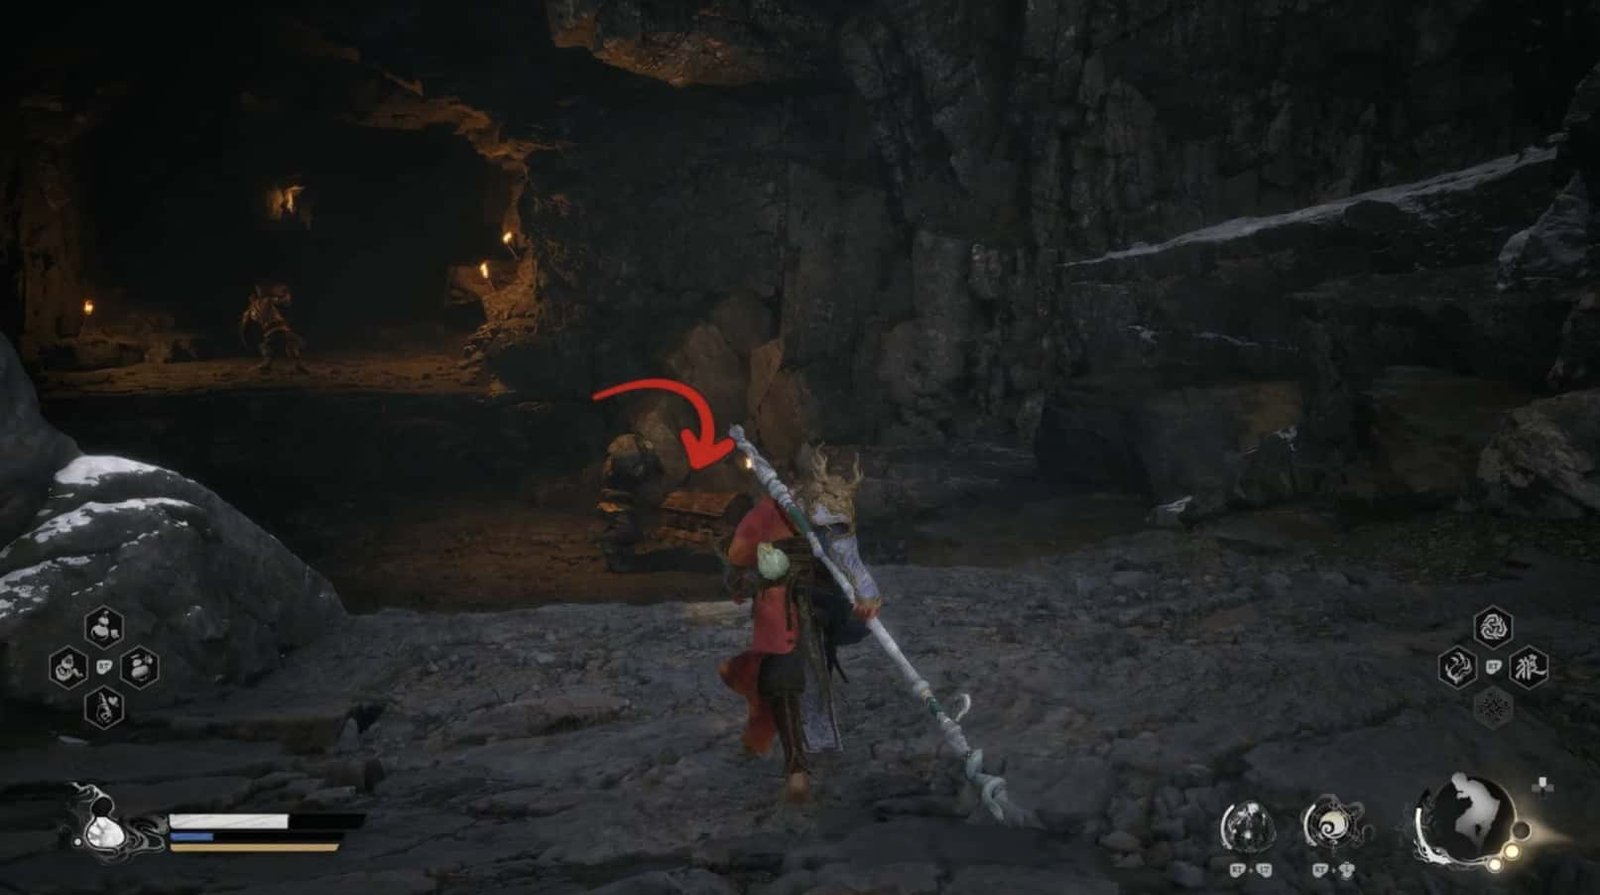
Continue down the lower ledges on the left side, and you will discover a narrow tunnel. Going through this tunnel, you will reach the location of Treasure Chest 1, containing many useful materials.
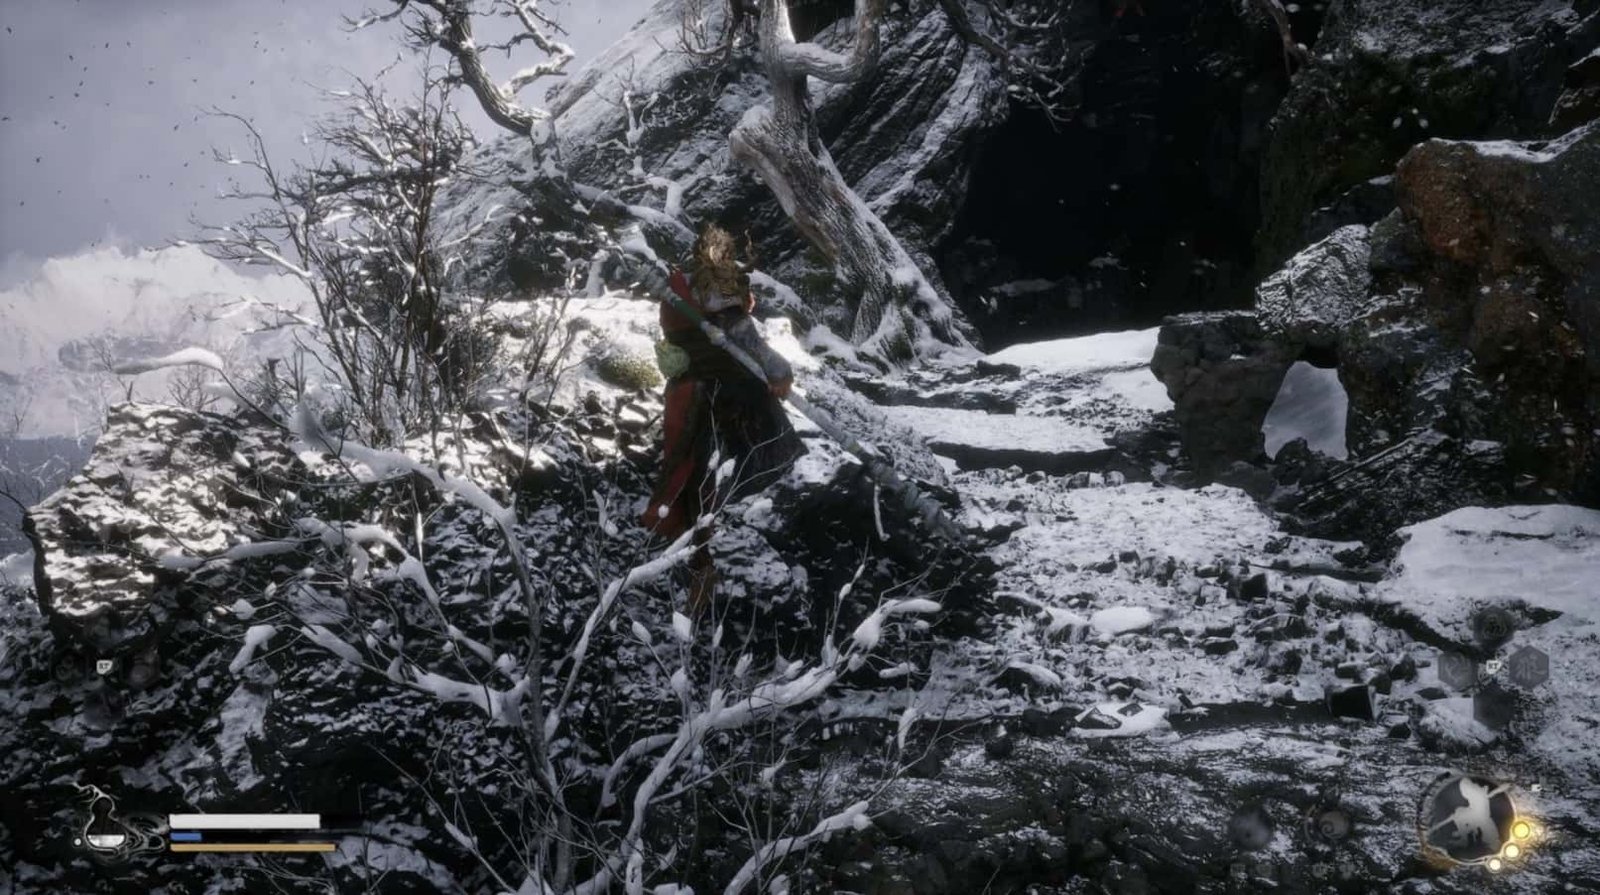
Continuing on the path behind Treasure Chest 1, you will face two Cyan Bats guarding a green Wisp. After defeating them, go through the small tunnel, and you will find the Tree Pearl – a treasure of Turtle Island.
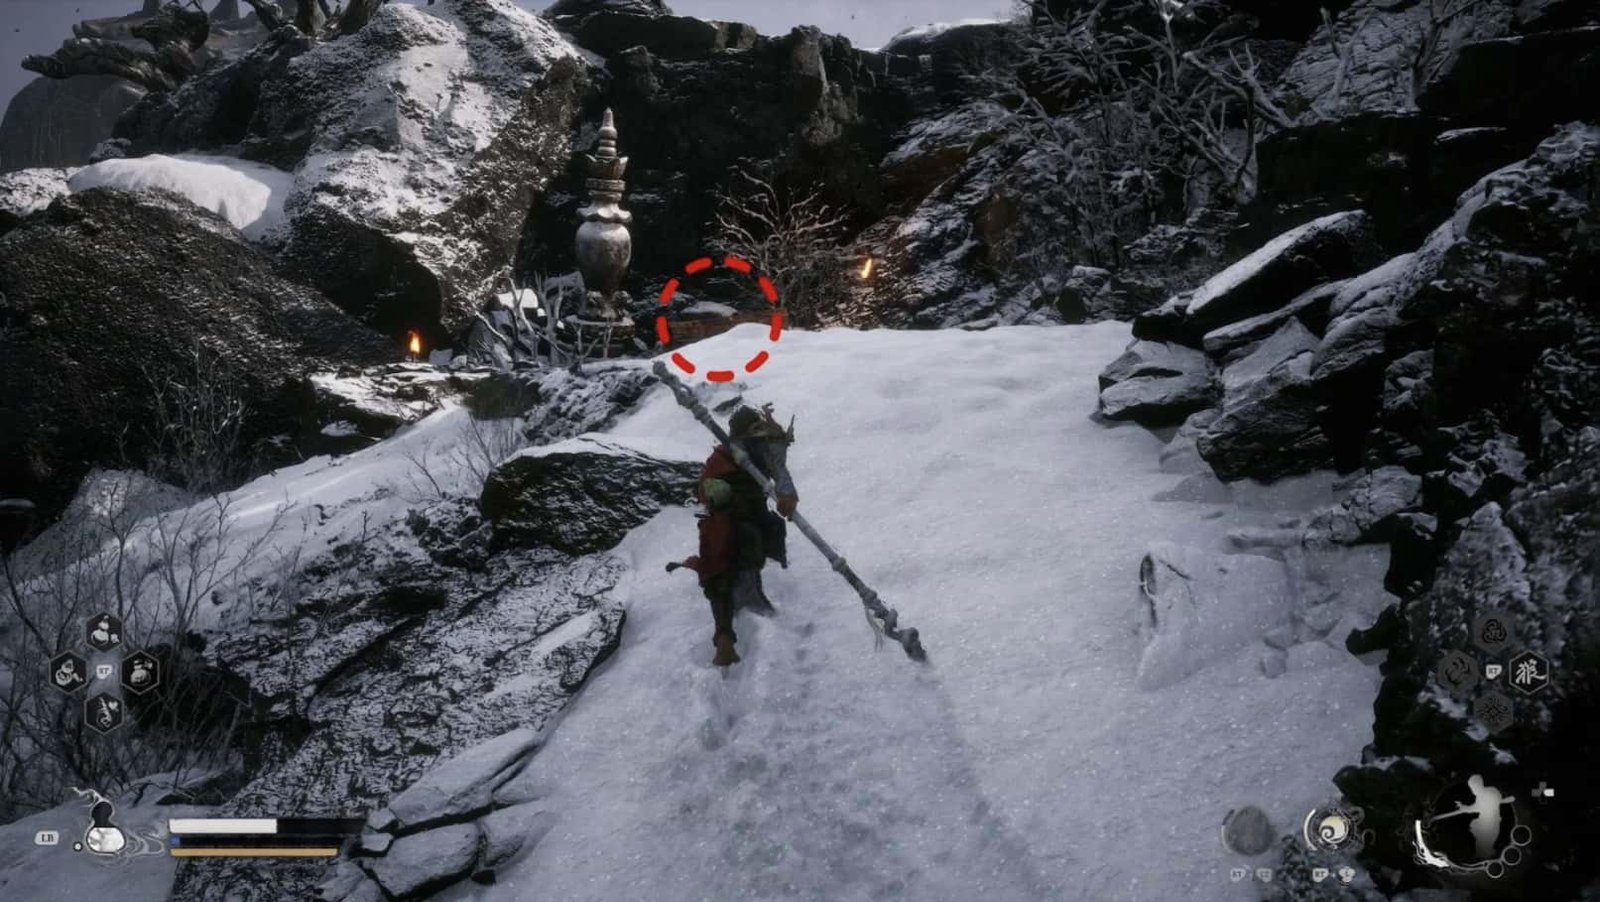
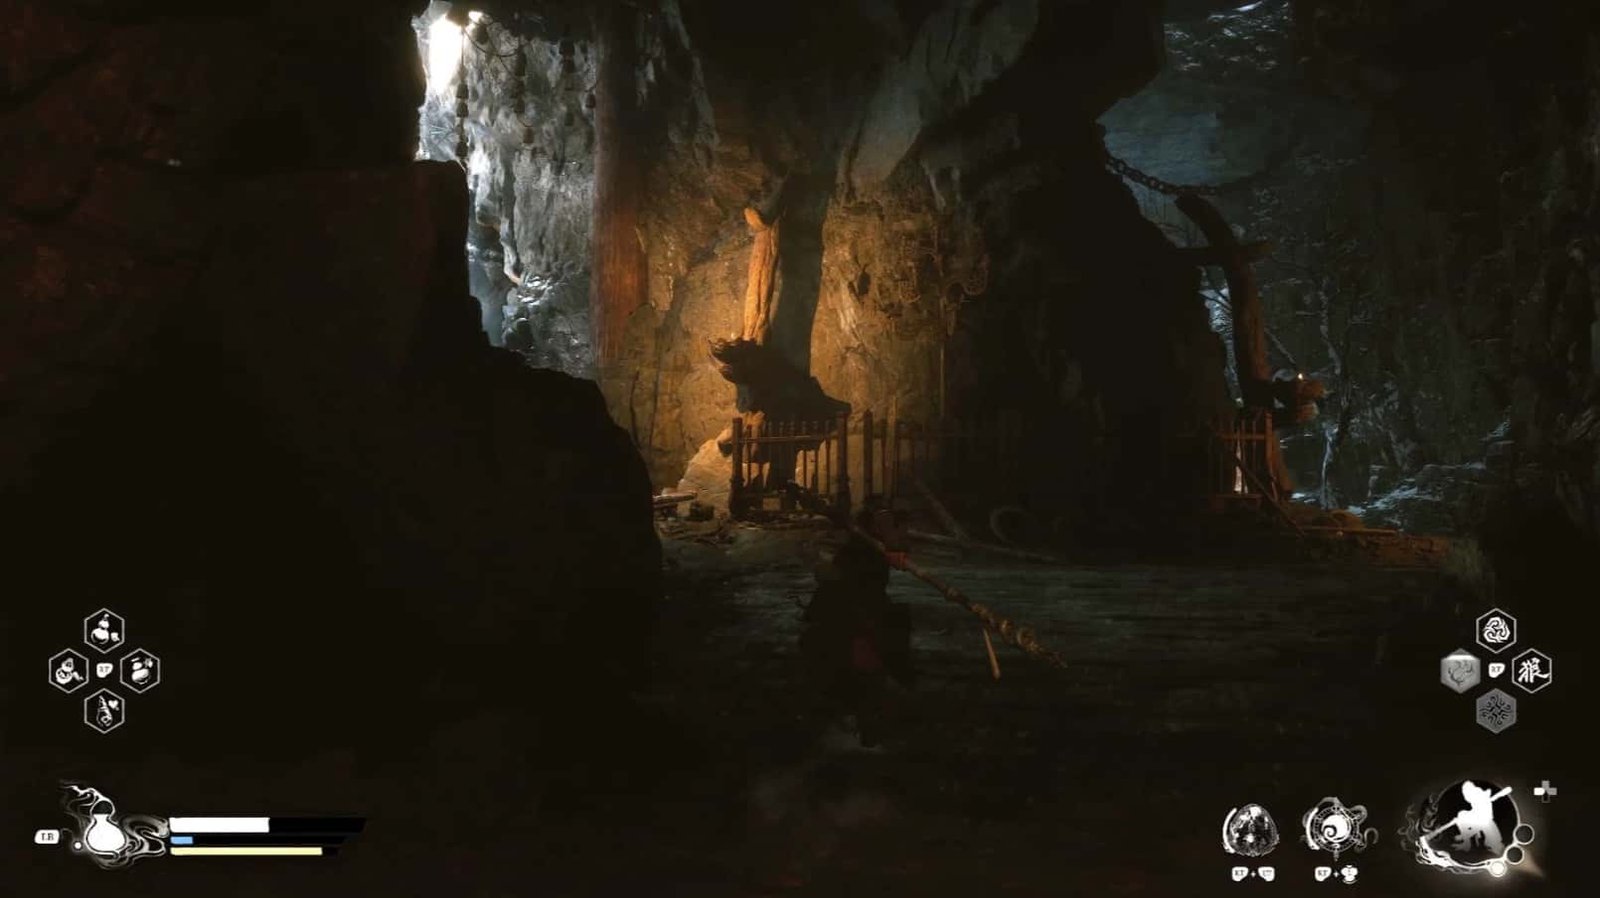
Climbing the ledges above the Tree Pearl, you will see a flat area with a few burning braziers. Here, Treasure Chest 2 lies quietly, waiting for you to open it, also containing many valuable materials.
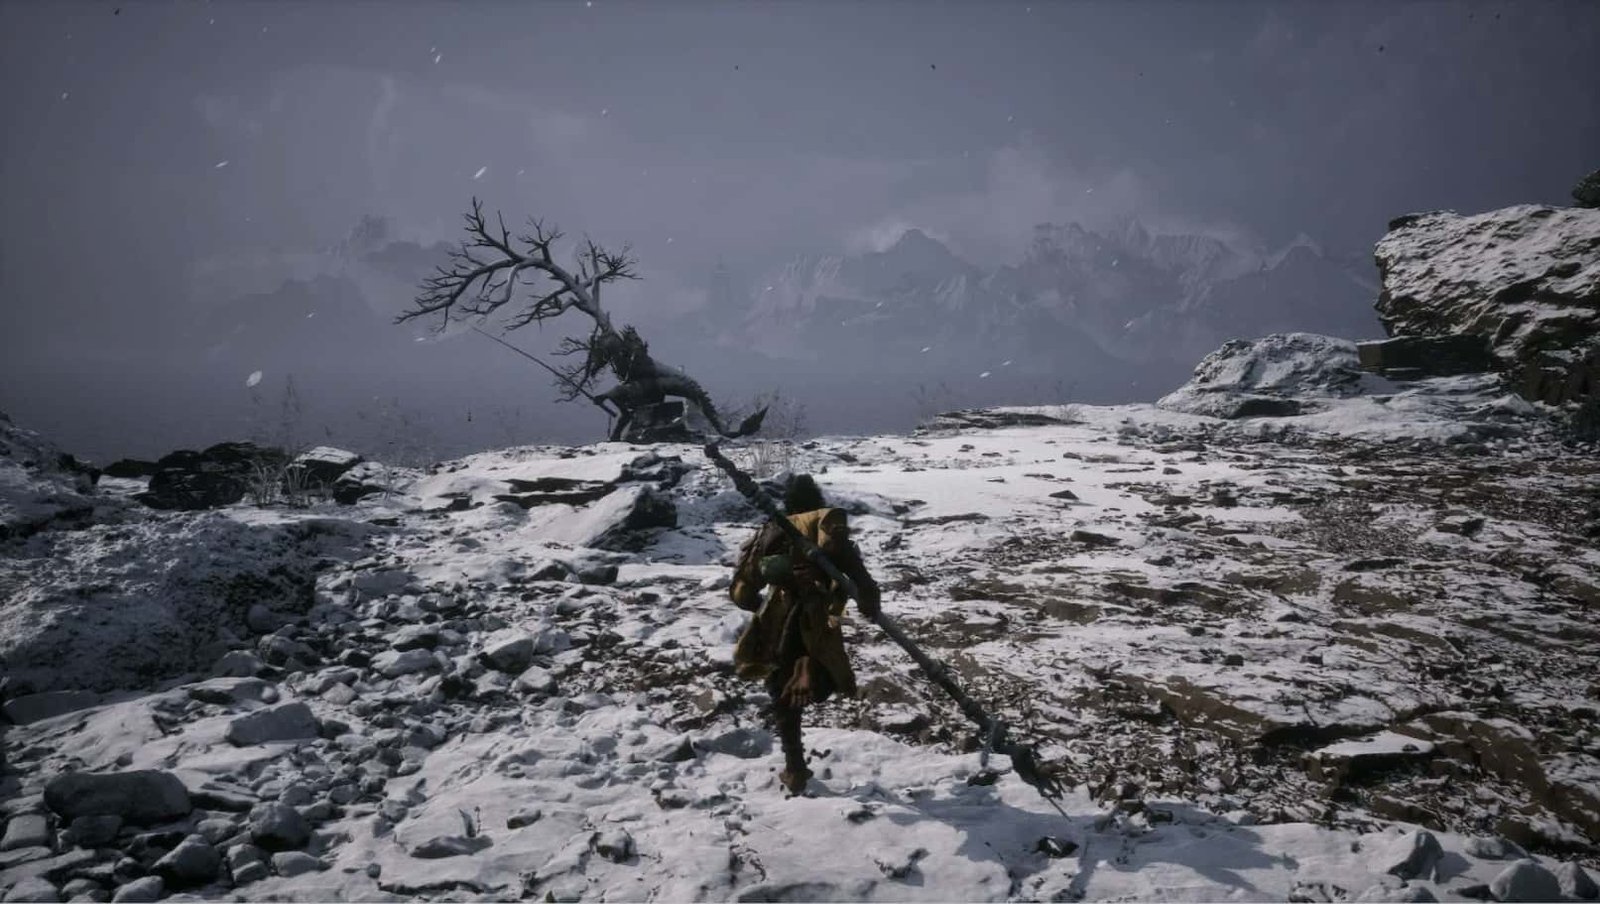
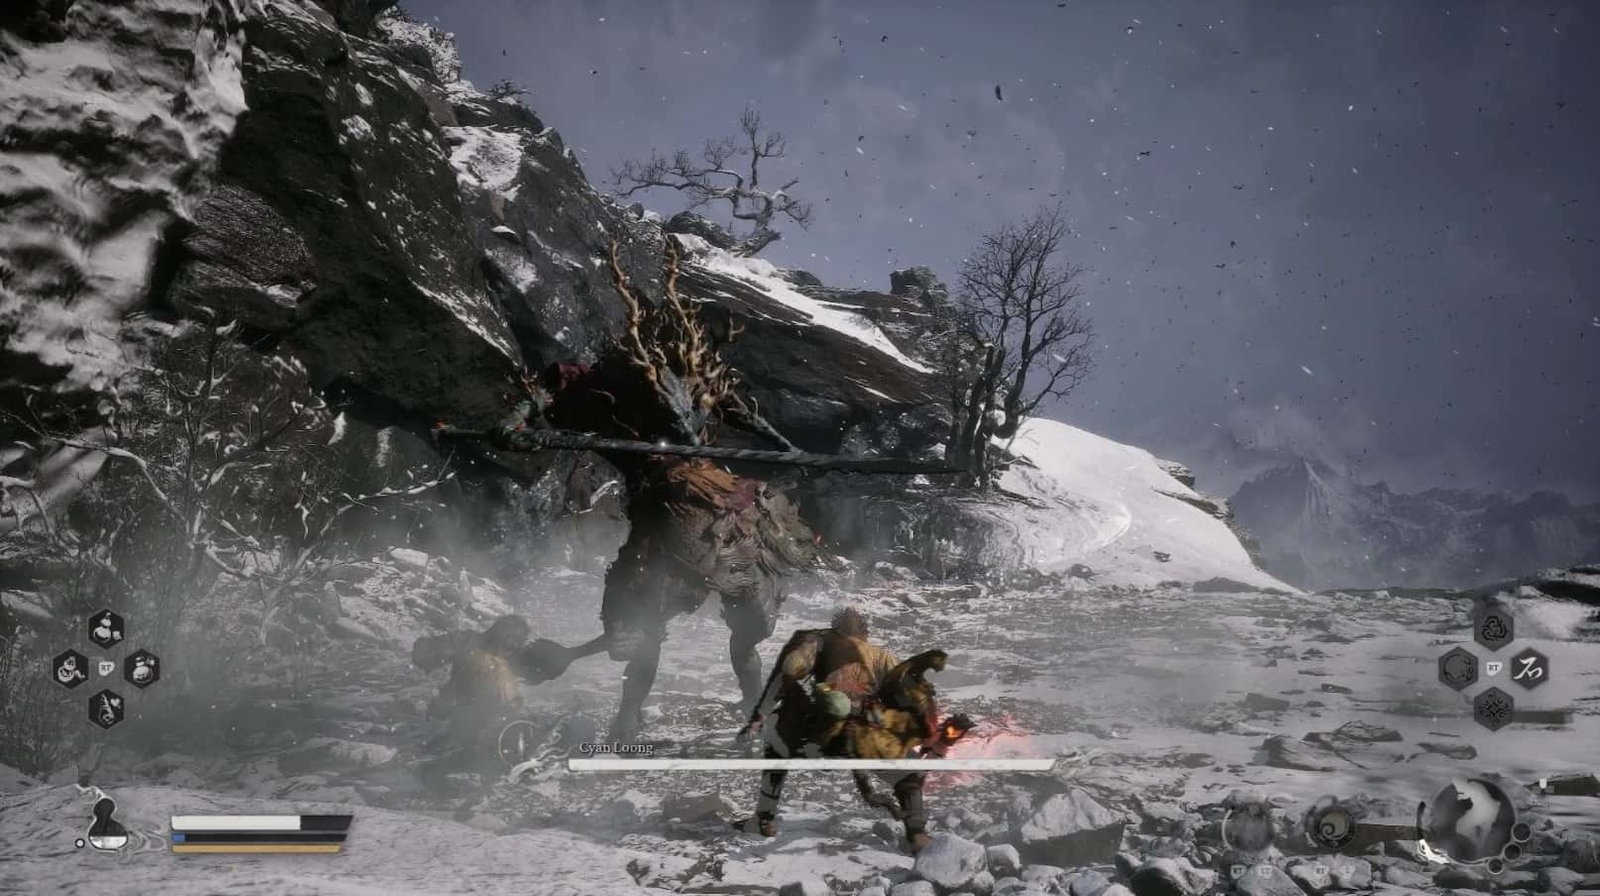
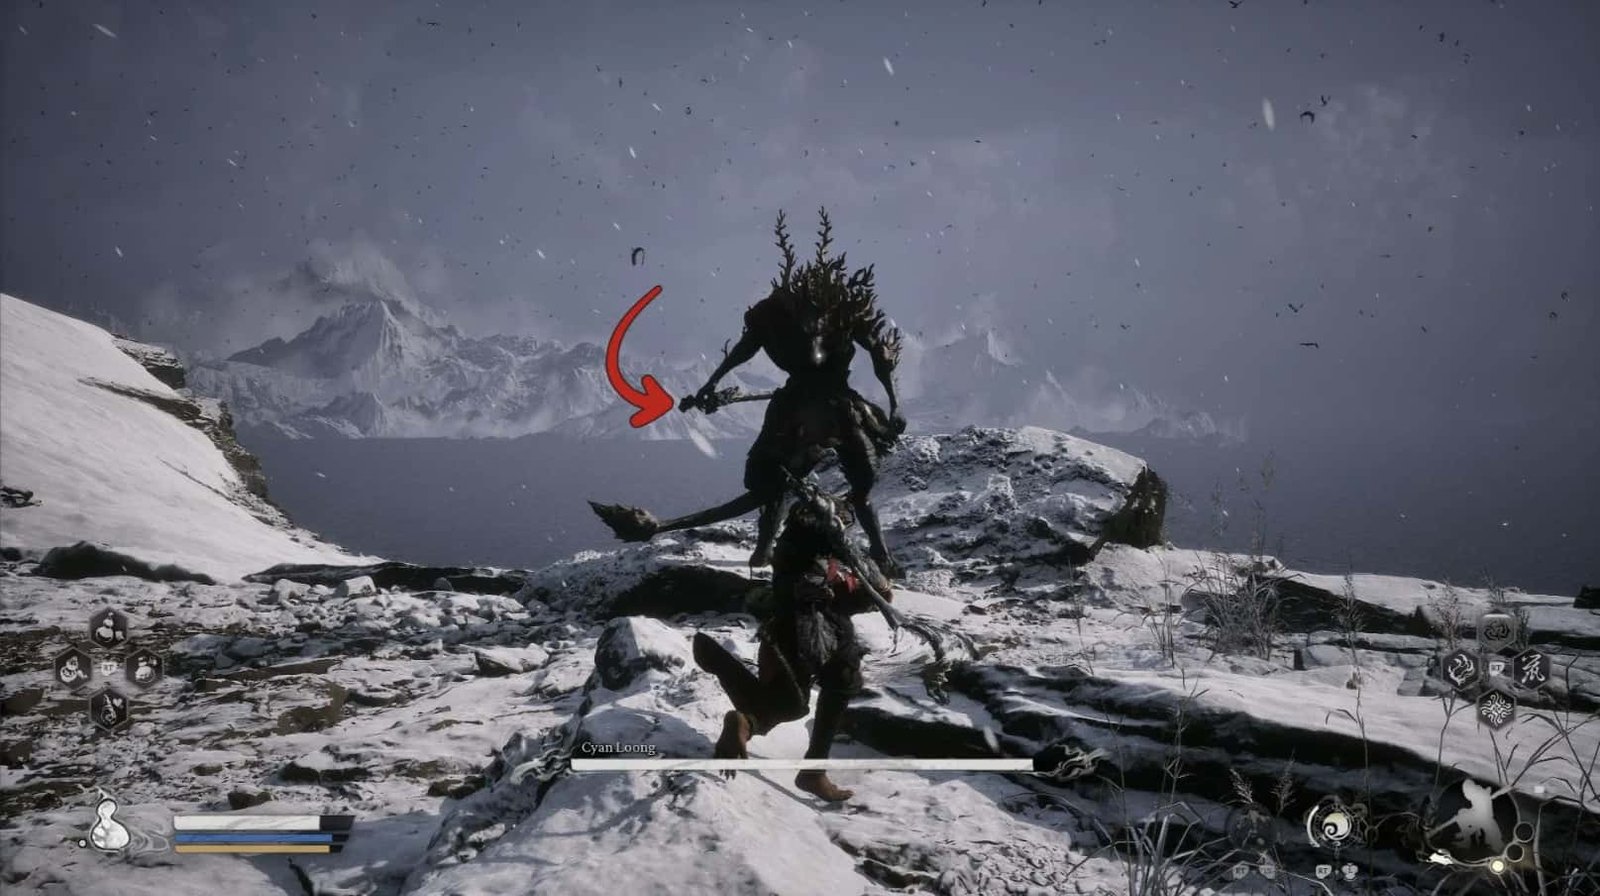
To the right of the Turtle Island Shrine (when facing the turtle’s head) is the dwelling of Cyan Loong. However, you can only challenge him when you possess Loong Scales – spoils from Chapter 2. If you are confident and have the Loong Scales in hand, go meet him. This is a difficult battle, but the rewards are also very worthy.
Remember these locations well, do not miss any secrets on Turtle Island. After exploring everything, proceed to the turtle’s head, where Zhu Bajie is waiting to continue the journey to the North Shore of the Bitter Lake with you.
Alright, so I will continue with a detailed guide to the battle with Cyan Loong, a significant challenge, only for those who have obtained the Loong Scales.
Cyan Loong Boss Fight
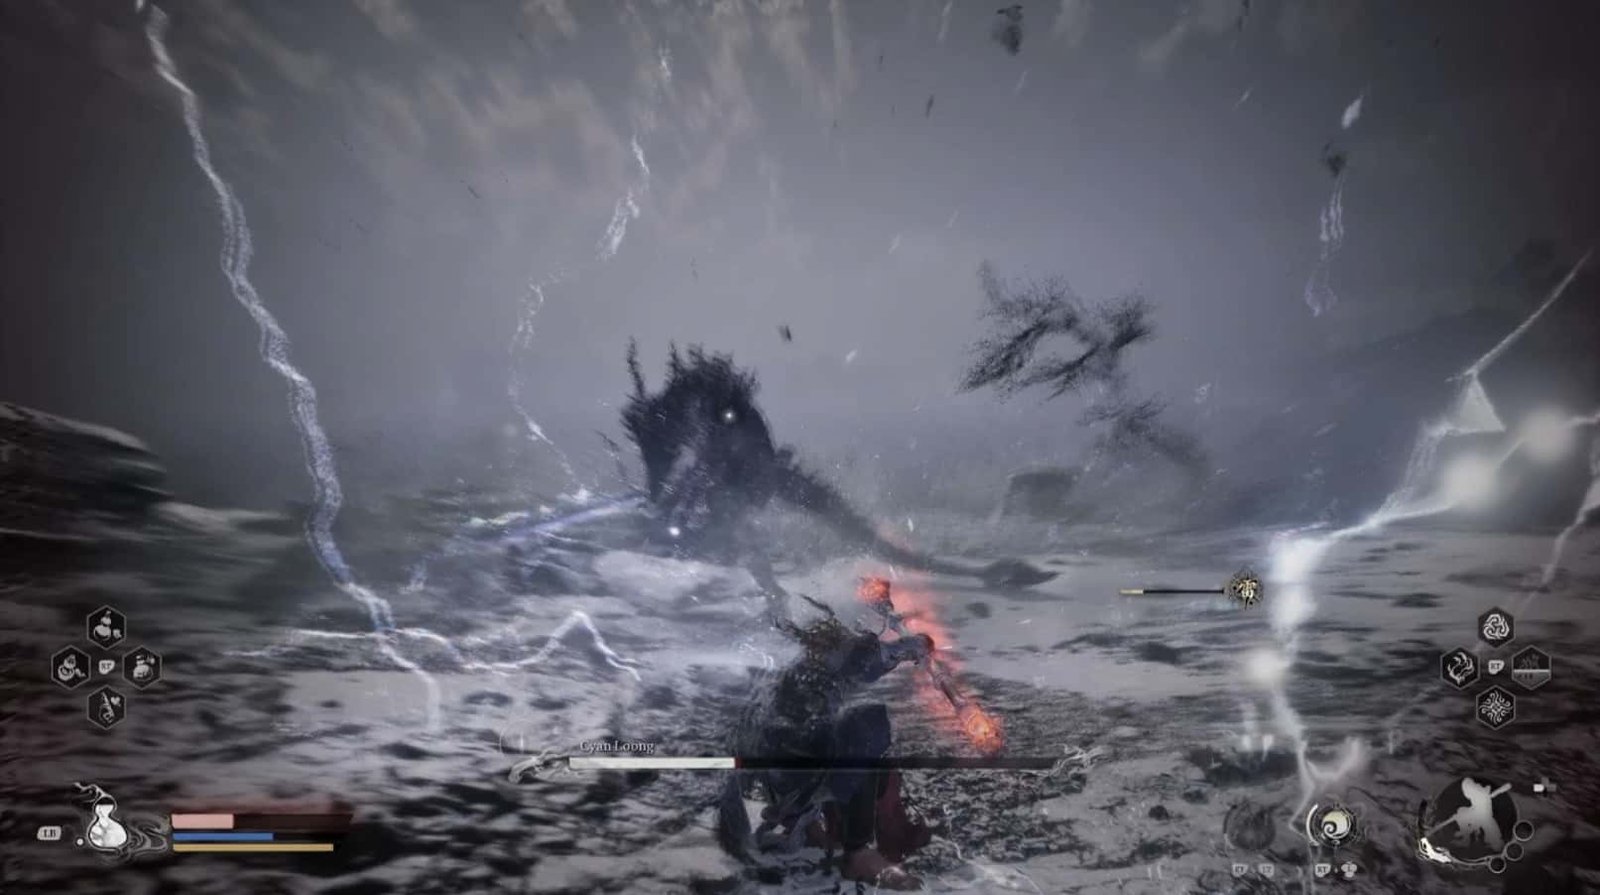
Cyan Loong, a Yaoguai King hidden to the right of the Turtle Island Shrine, is a formidable opponent, worthy of the name Cyan Loong. He is proficient in both swordsmanship and lightning magic, moving quickly and striking like lightning.
You must have Loong Scales – the spoils after defeating the First Prince of Flowing Sands in Chapter 2. If you don’t have them yet, postpone this battle, continue your journey, and return later.
Unlike Kang-Jin Star, Cyan Loong moves very quickly, and his swordsmanship is exquisite. I advise you to equip Loongscale Armor to reduce damage from Lightning attacks. The Loongwreathe/Kang-Jin Staff will help increase your strength. Regarding Spells, Immobilize and Rock Solid are still the best choices, and Ring of Fire is also useful for creating space to recover. Before entering battle, use Evil Repelling Medicament to increase your defense, and don’t forget to bring Shock-Quelling Powder to dispel the Shocked state.
Phase 1: Cyan Loong usually begins by rushing in, unleashing two consecutive slashes, then jumping into the air, charging lightning power into his hand, and then slamming down.
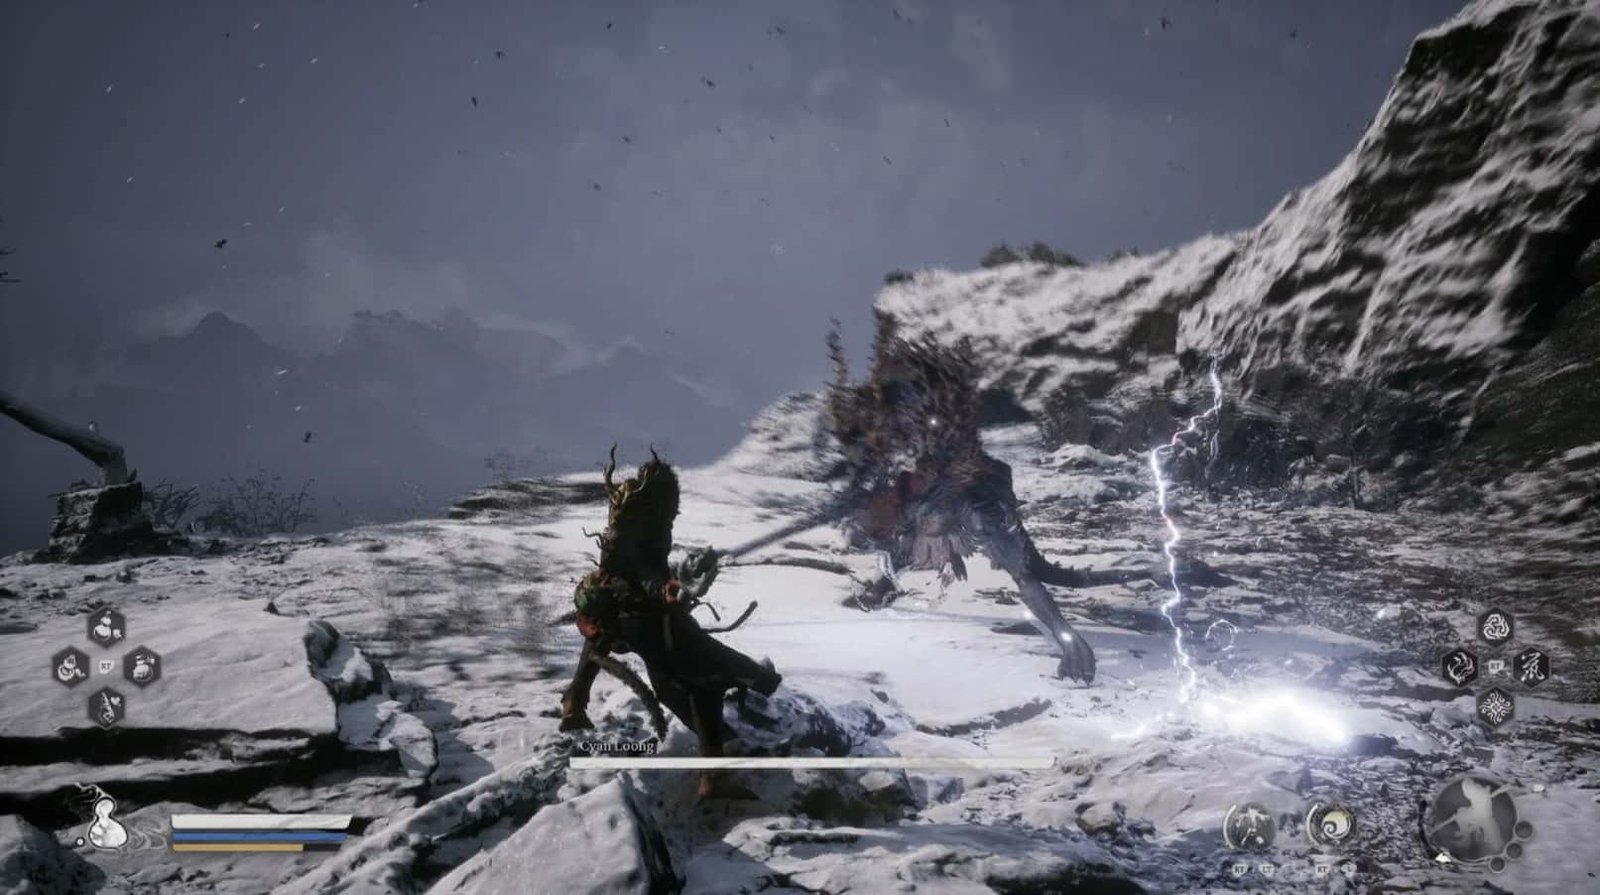
Use Rock Solid to block the first two slashes, then use Cloud Step to dodge the lightning strike. He also often unleashes single sword swings or a lightning palm. Focus on observing, dodging with Cloud Step, or blocking with Rock Solid. A notable attack is when he spins, creating a whirlwind slash, be careful to dodge. His tail slam attack is also very dangerous, pay attention when he curls his tail up, that’s a sign he’s about to attack.
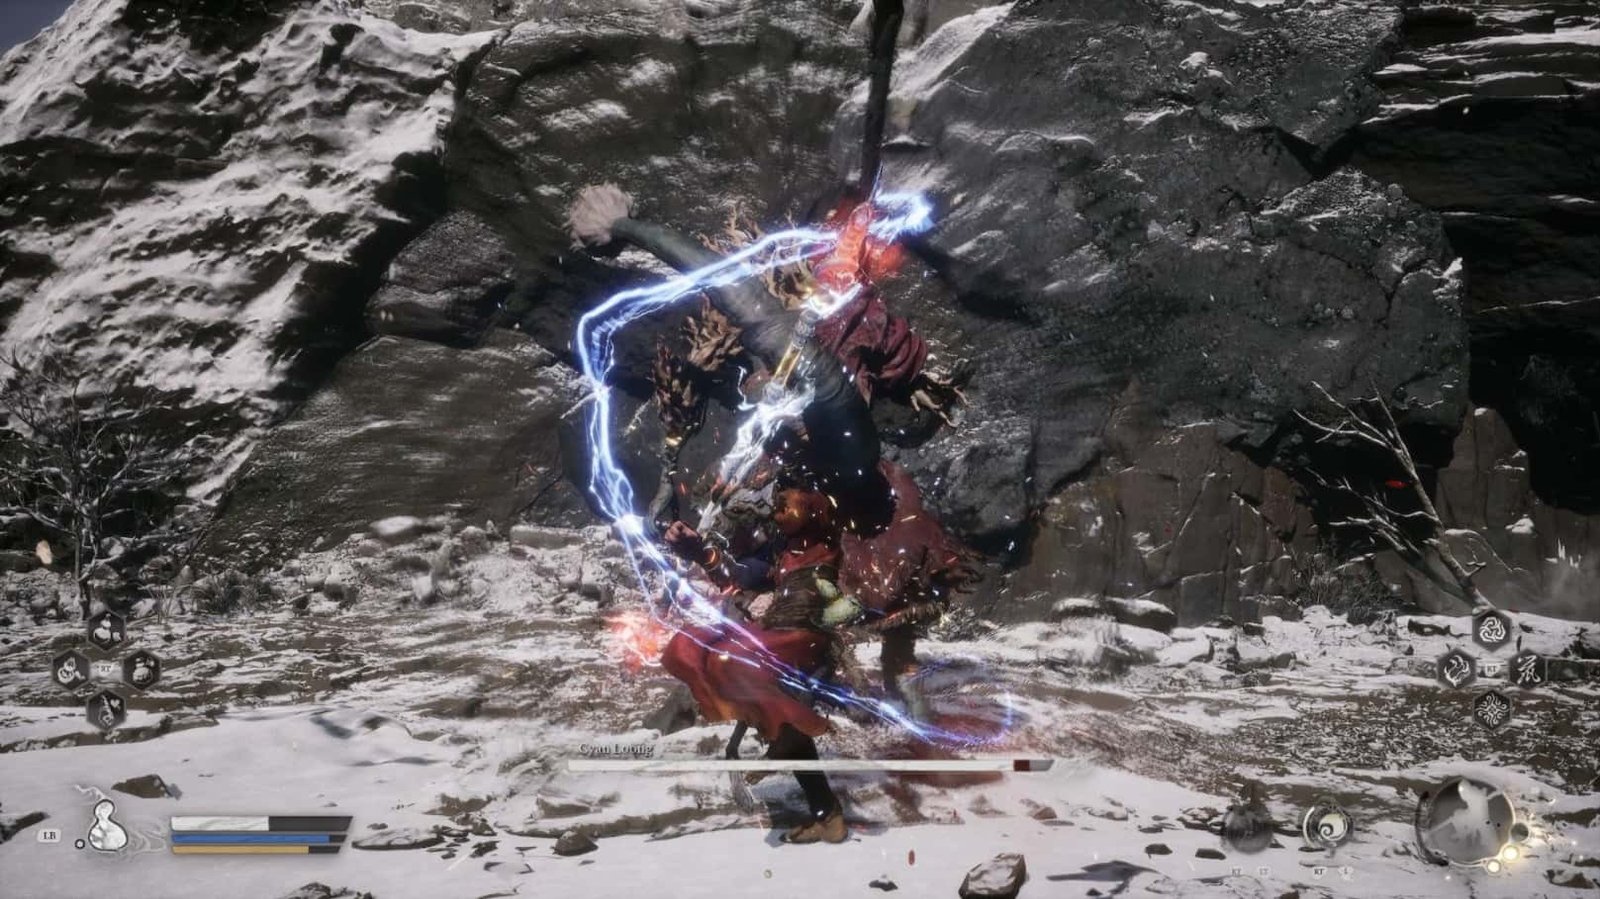
Phase 2: After losing half of his health, Cyan Loong will become more aggressive.
He will enhance his sword with Lightning, making his attacks even more powerful. At this point, every slash, every lightning palm attack contains terrifying power.
Evil Repelling Medicament and Shock-Quelling Powder will be your lifelines. Try to maintain distance, dodge attacks with Cloud Step, and only attack when you have an opportunity.
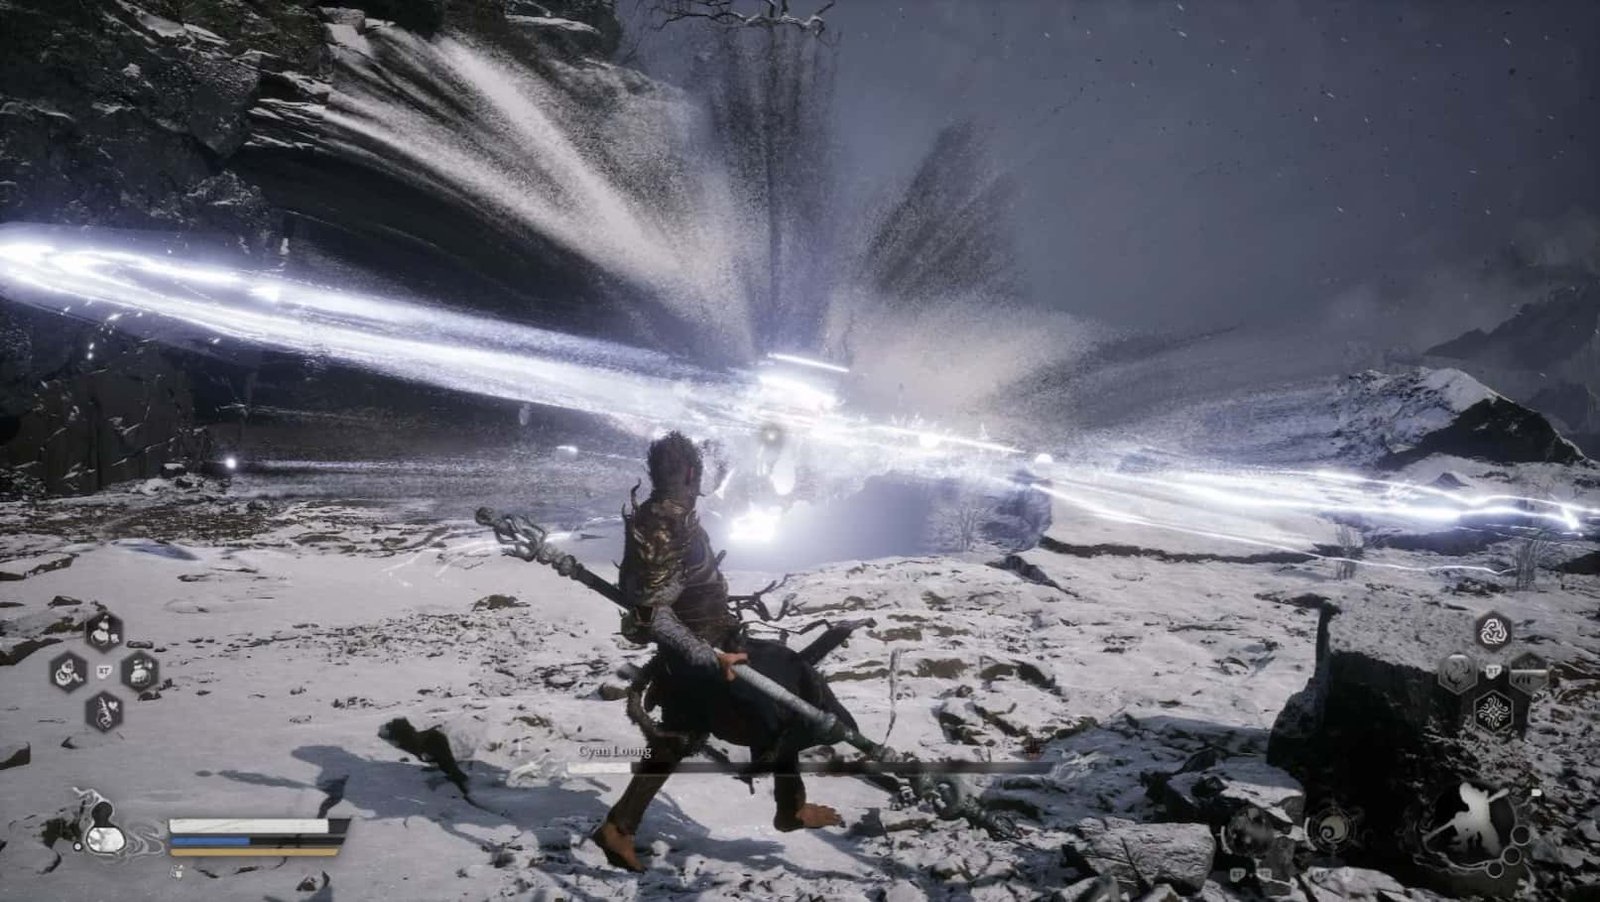
When Cyan Loong holds his sword reversed behind his back, he is preparing to unleash a powerful spinning slash, immediately use Cloud Step to dodge.
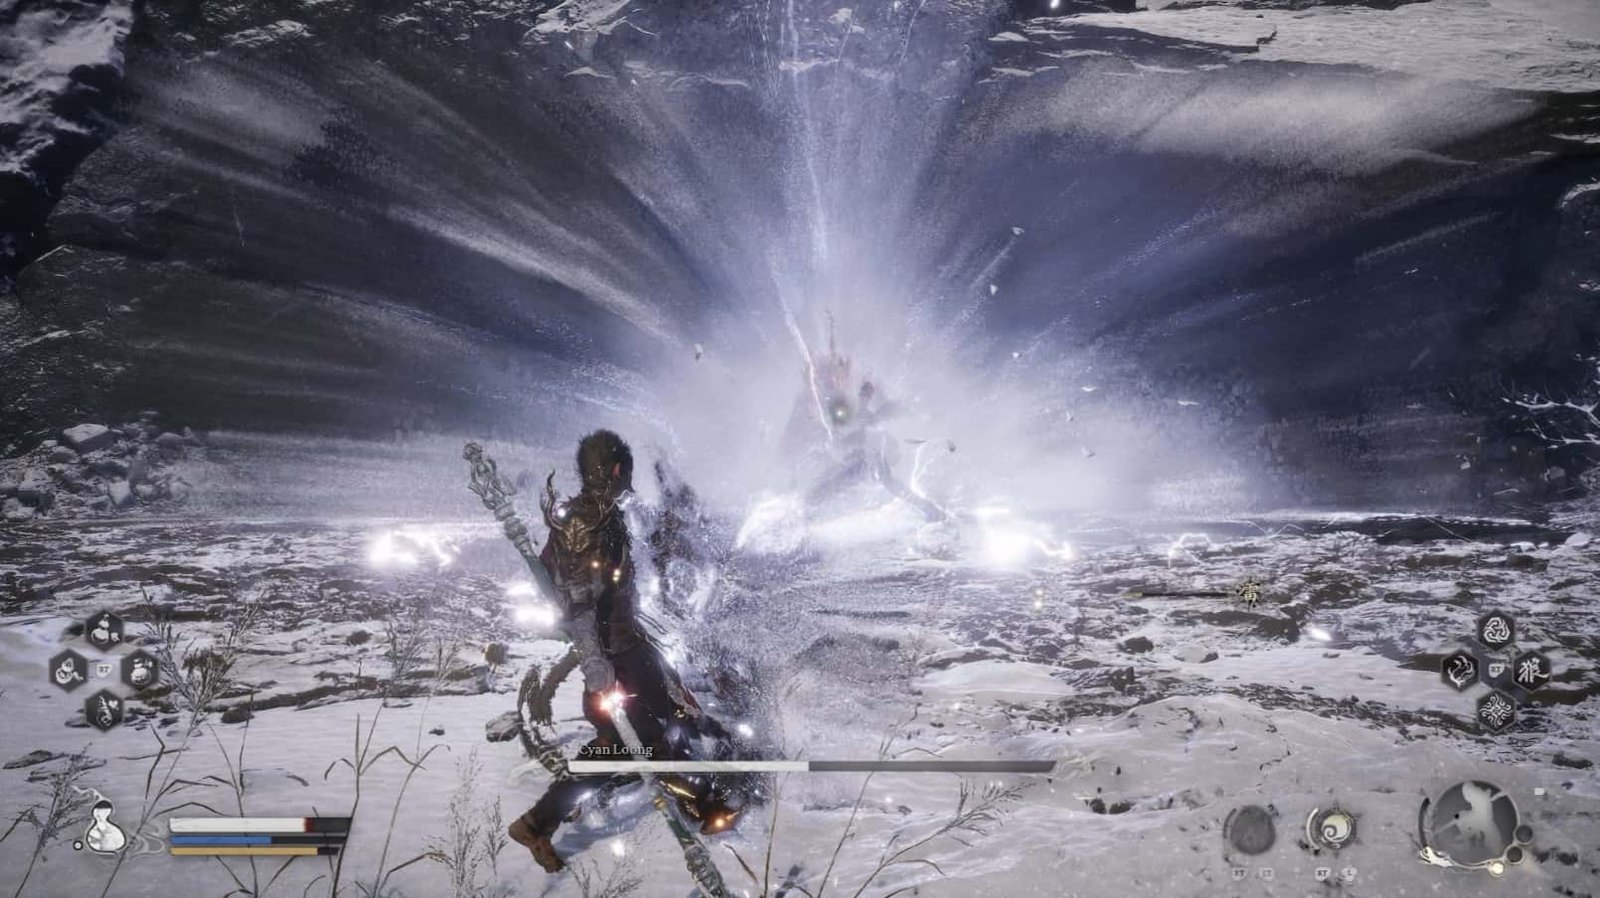
When he stabs his sword into the ground, a wave of electricity will spread out, jump to avoid it. Be especially careful with the tail whip attack, he will whip his tail from above, use Rock Solid to block.
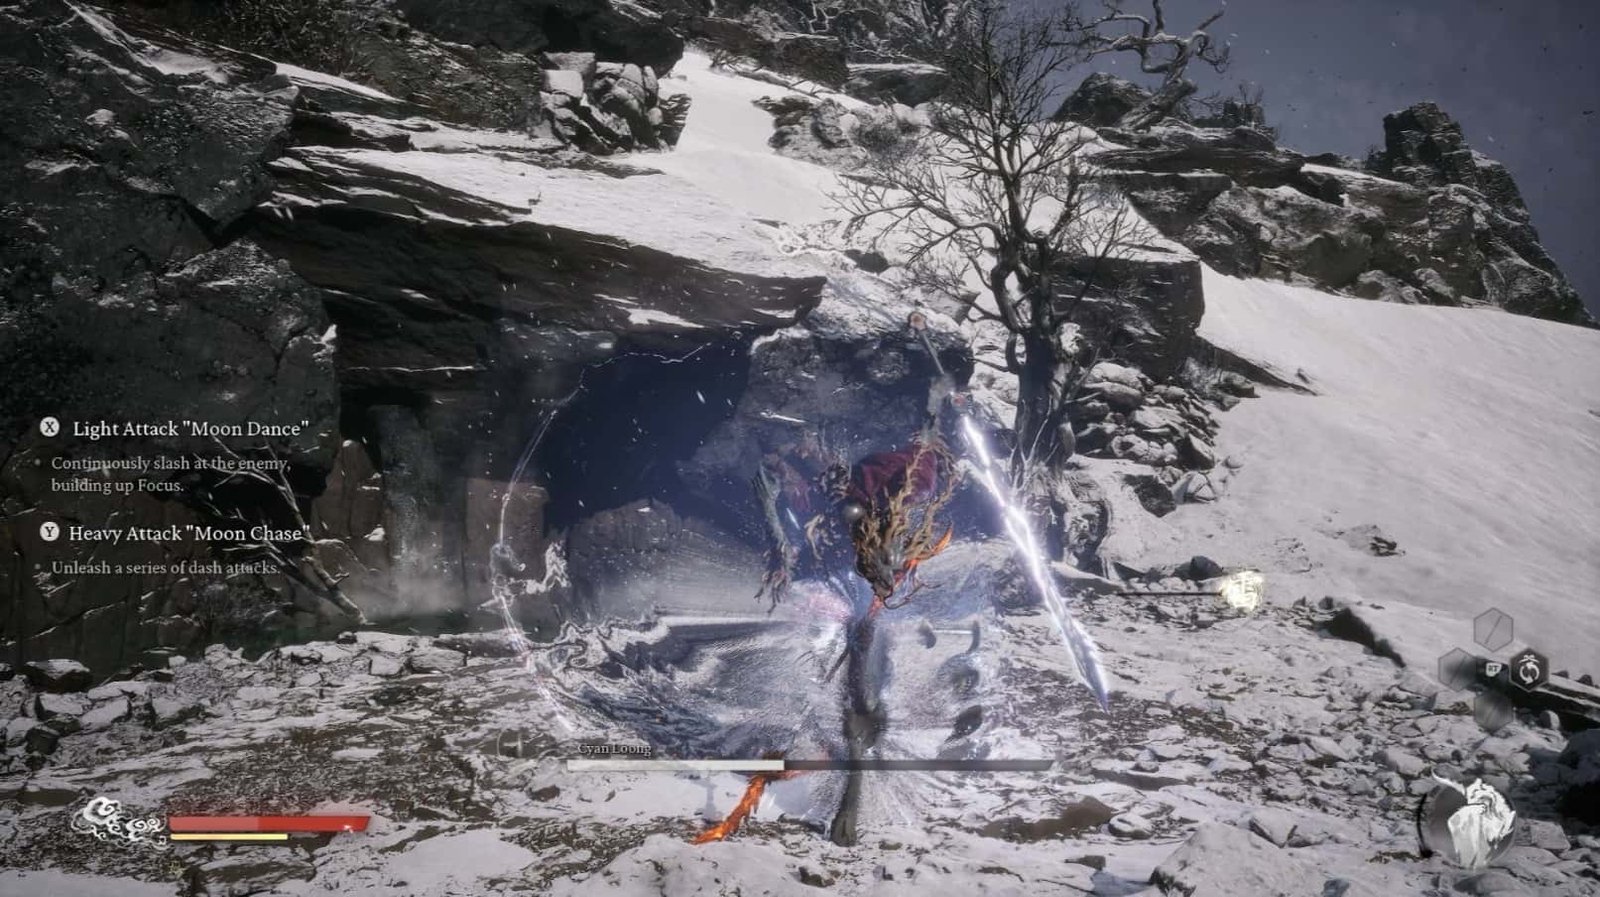
I suggest using the Red Tides transformation spell, dodging while also dealing damage.
Cyan Loong is strong, but he is easily staggered by consecutive attacks. Take advantage of the Light Combo, combined with Smash Stance, Rock Solid, and Spirit Attack like that of the Second Rat Prince to continuously pressure him, not giving him a chance to counterattack.
Upon defeating Cyan Loong, you will receive Fine Gold Thread, Loong Pearl, Mountain-Shaking Claw, and Breath of Fire Soak. Notably, you can use the Mountain-Shaking Claw to upgrade the Loongwreathe Staff into the Golden Loong Staff – a powerful divine weapon.
The battle with Cyan Loong is a real challenge, requiring skill, focus, and the right strategy. Remember my instructions, practice your skills thoroughly, and victory will surely be yours.
North Shore of the Bitter Lake
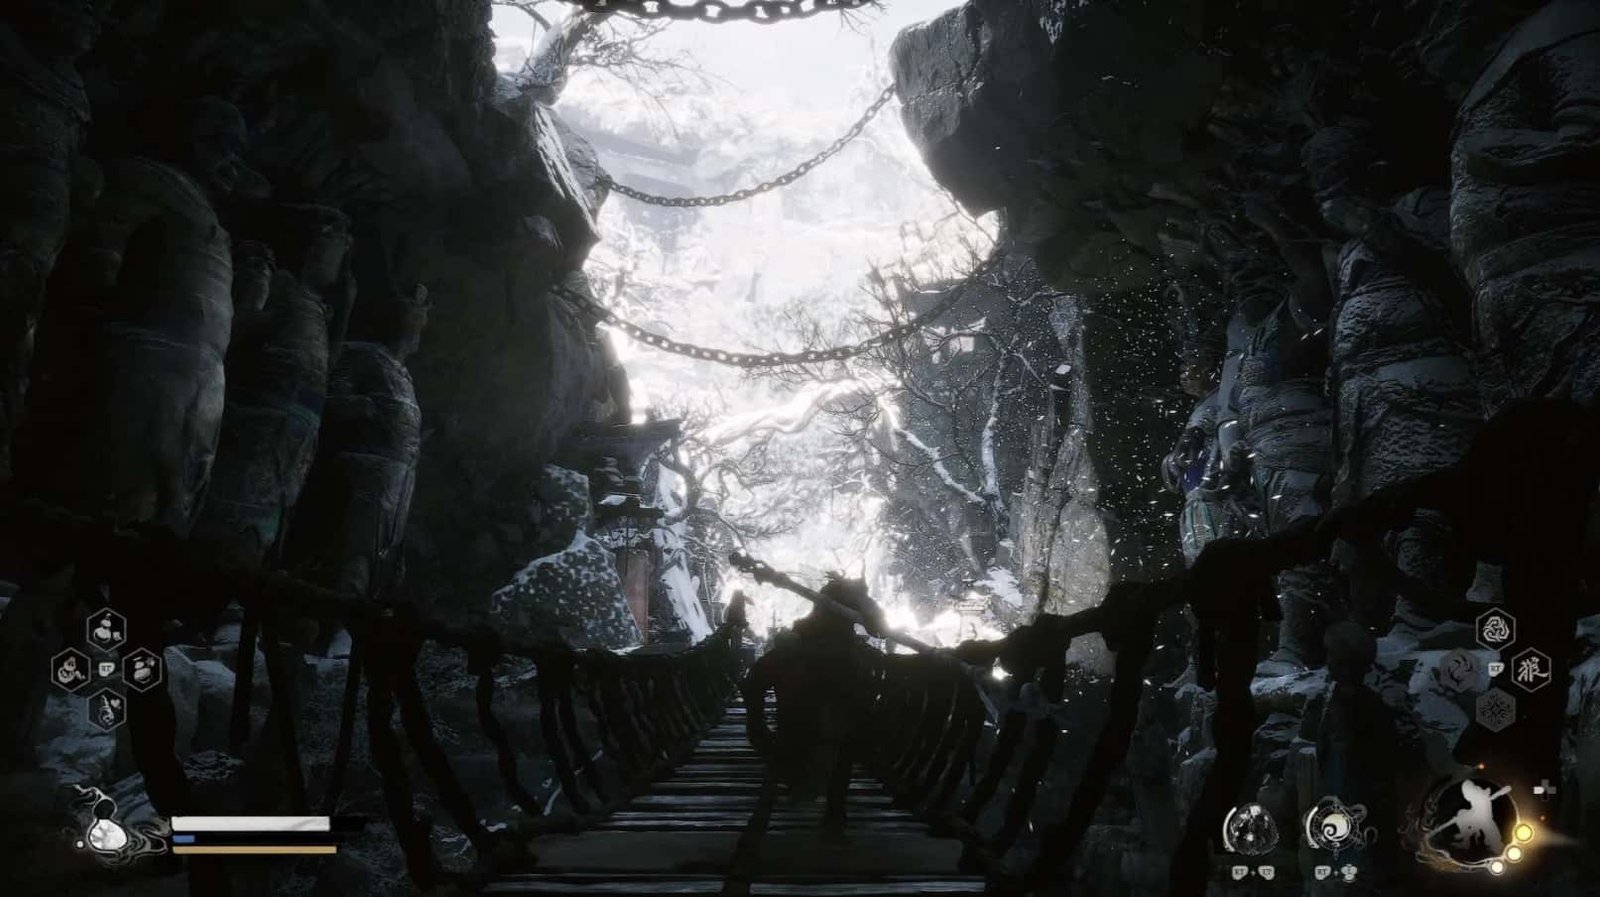
Leaving Turtle Island, Zhu Bajie will lead you to the North Shore of the Bitter Lake. The magnificent but desolate scenery, harboring many dangers, appears before your eyes. From here, Zhu Bajie will officially accompany you, fighting alongside you in the upcoming battles.
From the North Shore Shrine, you can choose many directions.
Turning right, you will encounter the Apramana Bat, a giant demon, and follow the trail of the Snake General along with many other secrets. A nearby tunnel will lead to the Precept Corridor. Turning left, you will face Chen Loong and explore Zodiac Village.
The Left Side Path
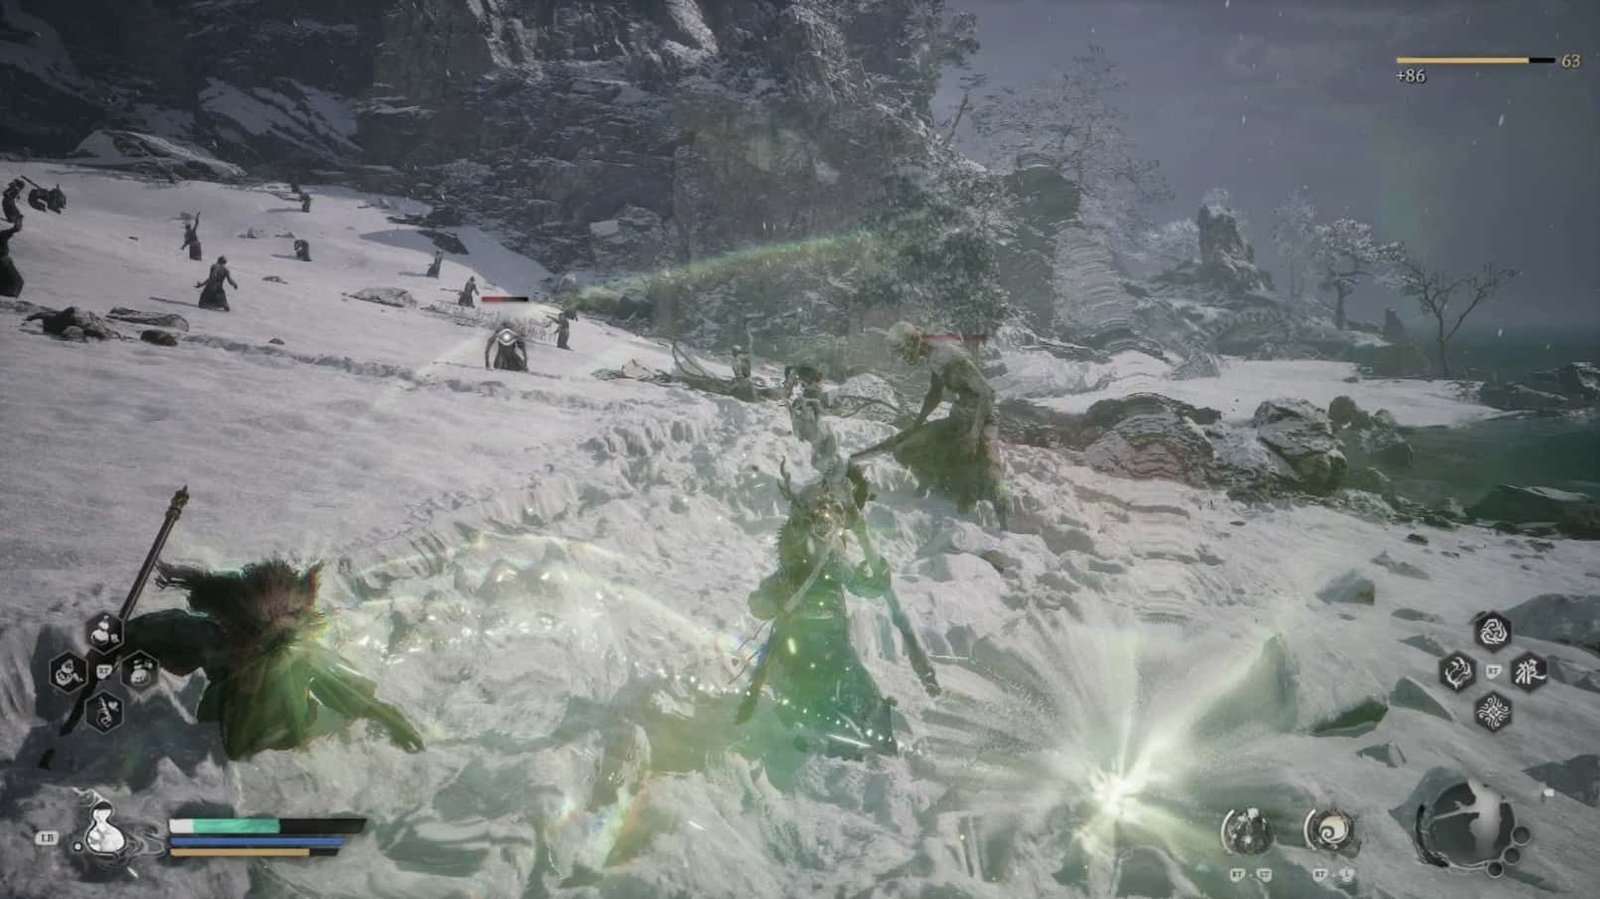
But first, focus on the left side. Here, you will fight Chen Loong, an old dragon man, who, although not very mobile, possesses powerful lightning magic. Don’t worry, I will guide you on how to deal with him right now.
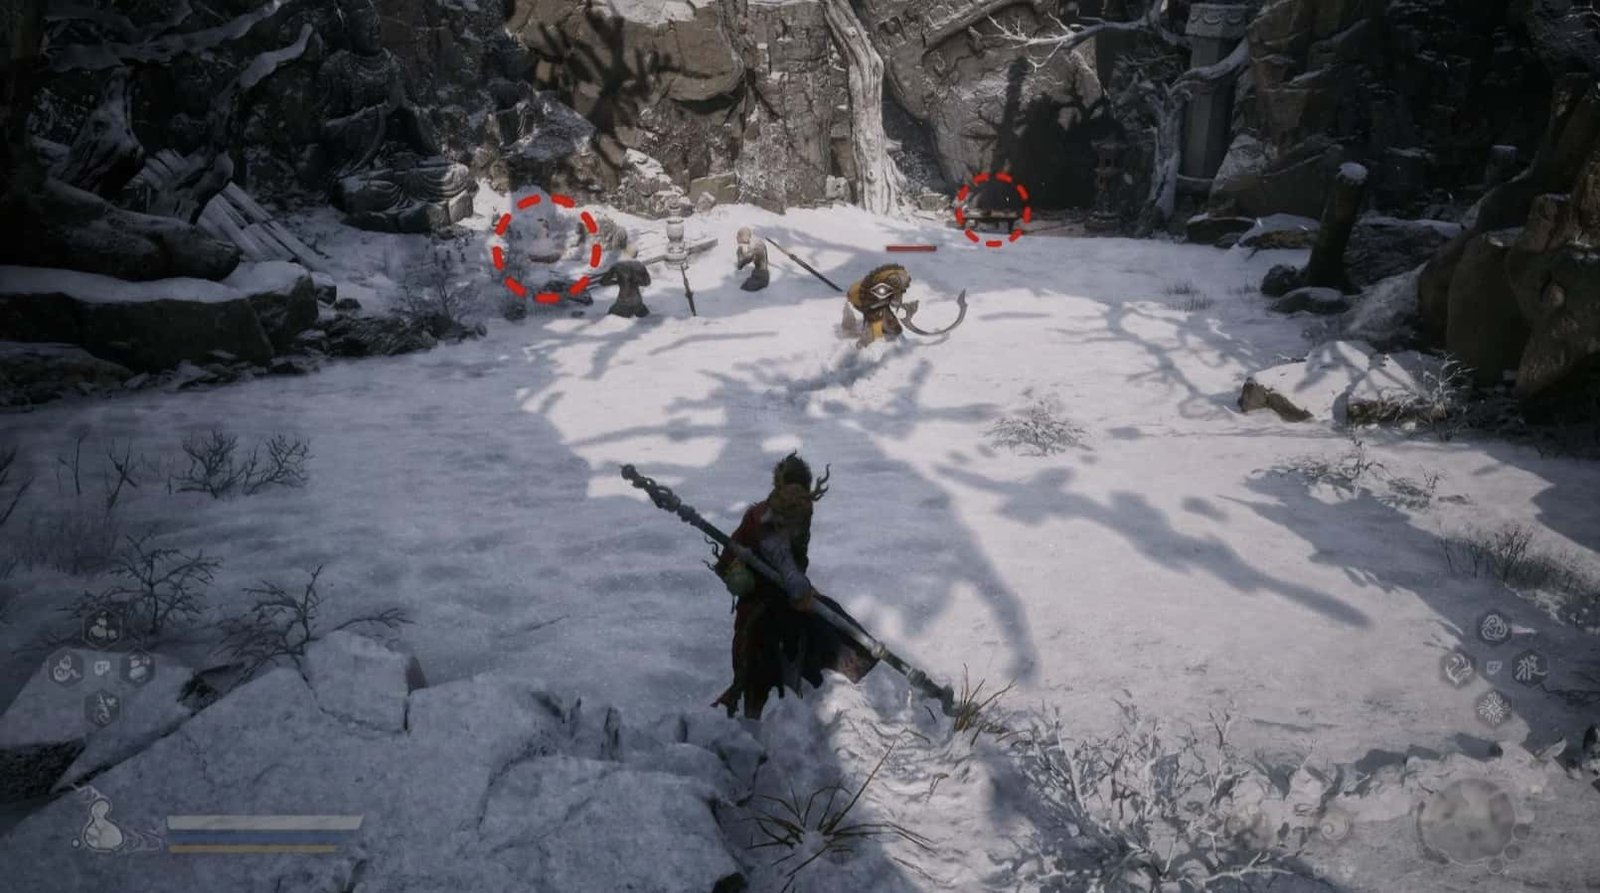
Following the left path from the North Shore Shrine, you will soon encounter Chen Loong, an old dragon man with an aged appearance but possessing terrifying lightning power. He is the boss guarding this area and also the first challenge on the path to conquer the North Shore.
Chen Loong Boss Fight

Before engaging in battle, prepare the Loongscale Armor Set to minimize damage from Lightning attacks. Shock-Quelling Powder is also an essential item, preventing you from being paralyzed when hit by Chen Loong‘s lightning magic. Additionally, equip a Soak that can resist Lightning to enhance your defense.
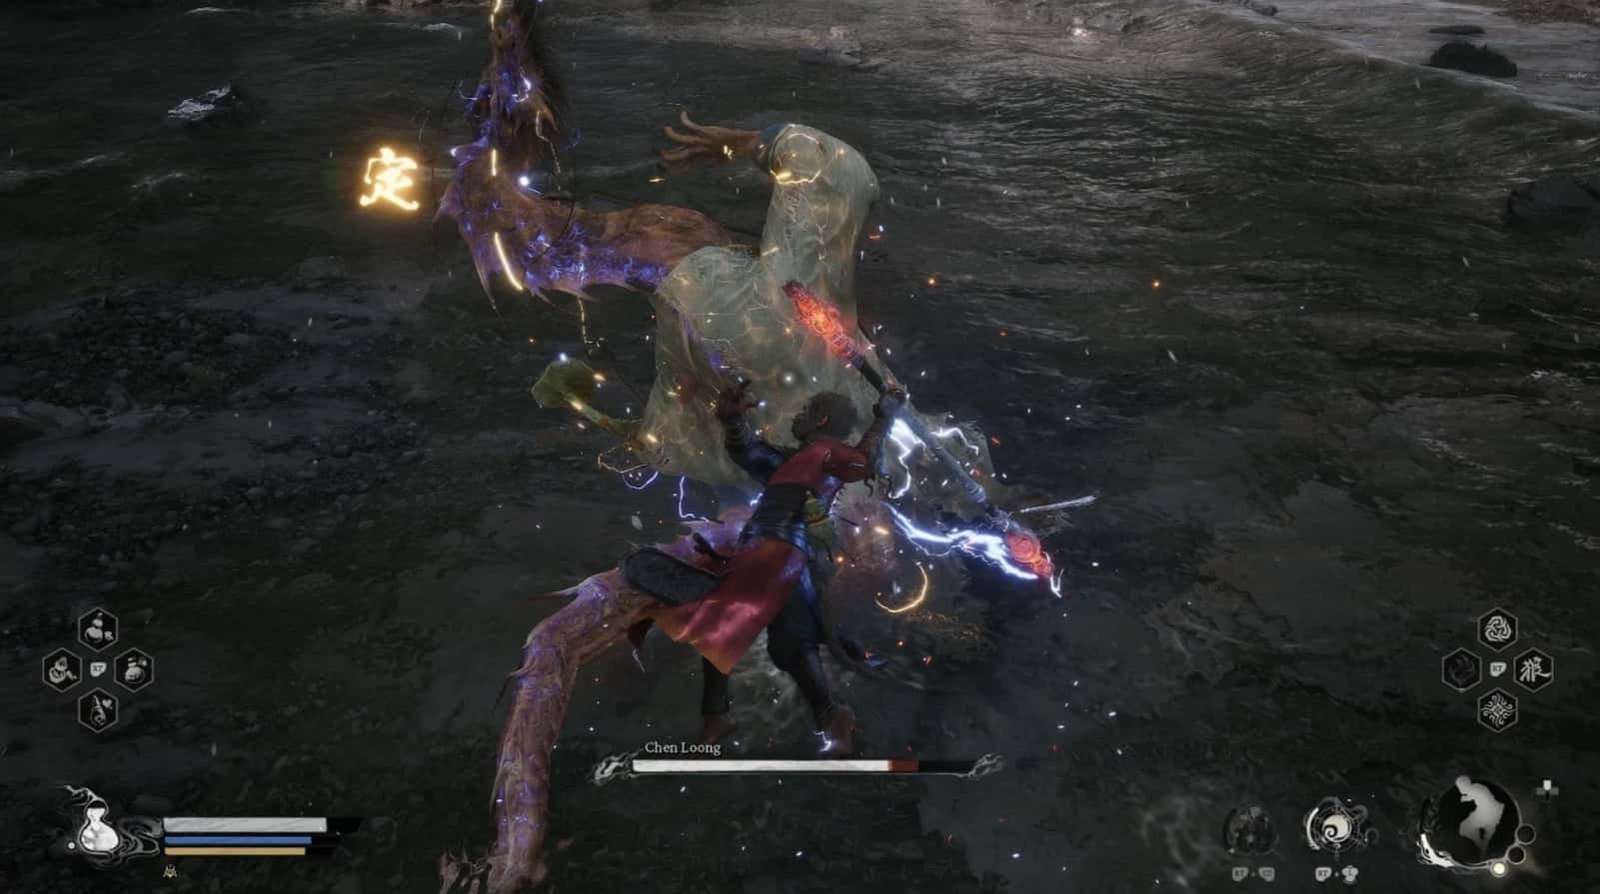
Although Chen Loong doesn’t move much, he possesses many unpredictable ranged Lightning attacks. He usually starts by shooting electric orbs, pay attention and dodge with Cloud Step. After that, he will channel his power, creating a series of lightning strikes on the ground, move continuously to avoid them.
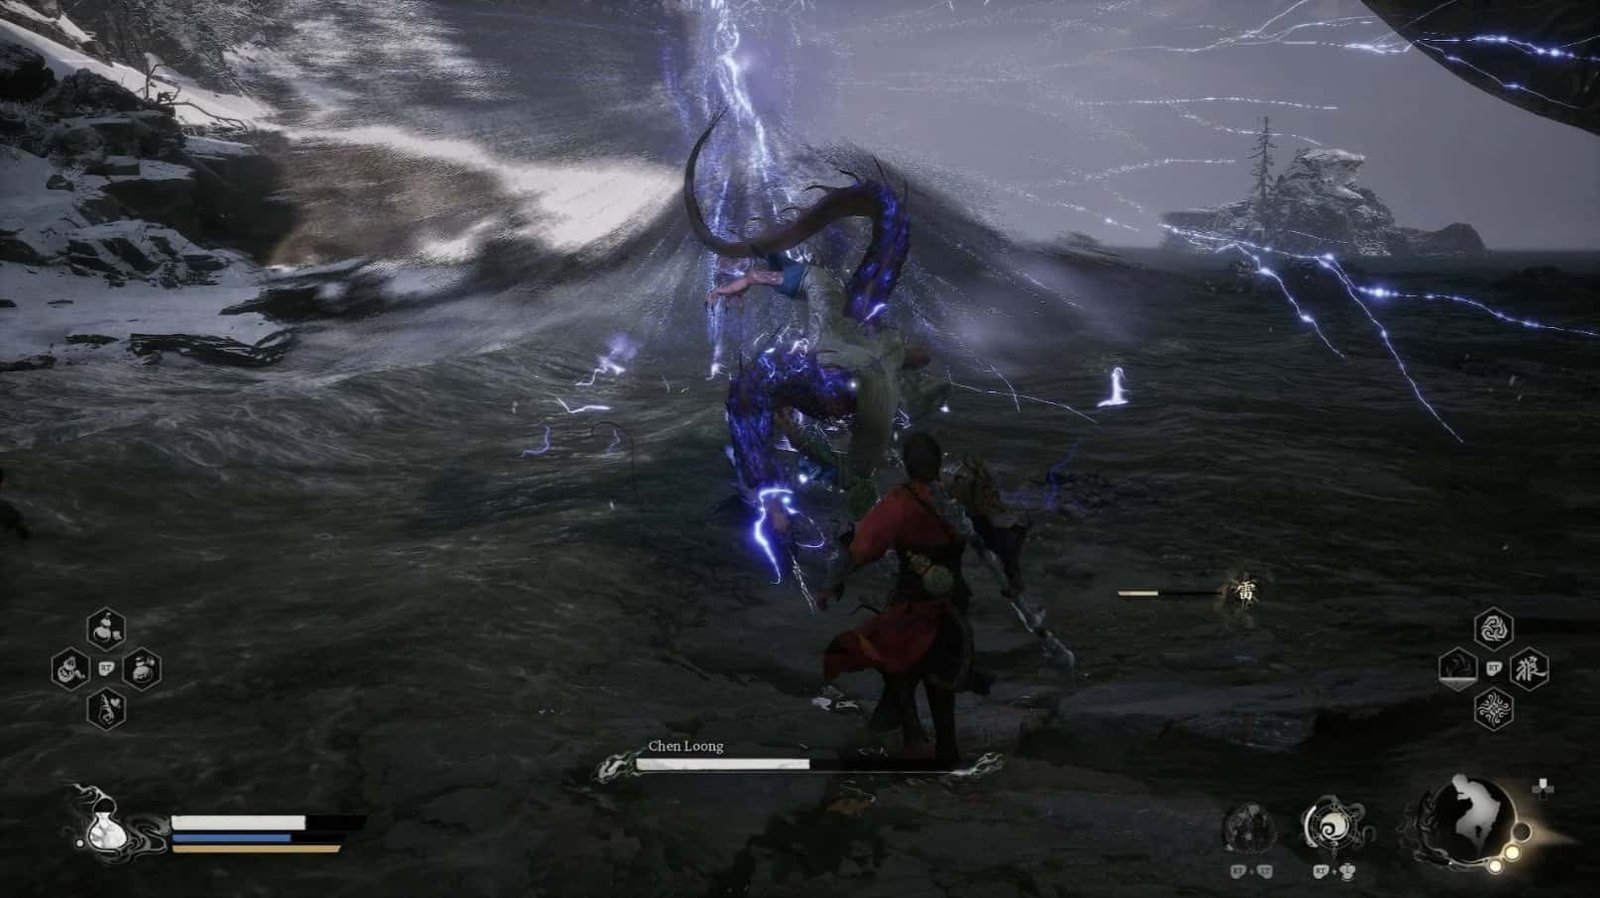
When Chen Loong flies into the air, he will prepare to dive down to attack, be ready to Cloud Step to dodge the attack, and simultaneously create an opportunity to counterattack.
Another dangerous attack of Chen Loong is when he shoots a lightning beam from his mouth. Pay attention when he raises his head, that is a sign that he is about to use this skill.
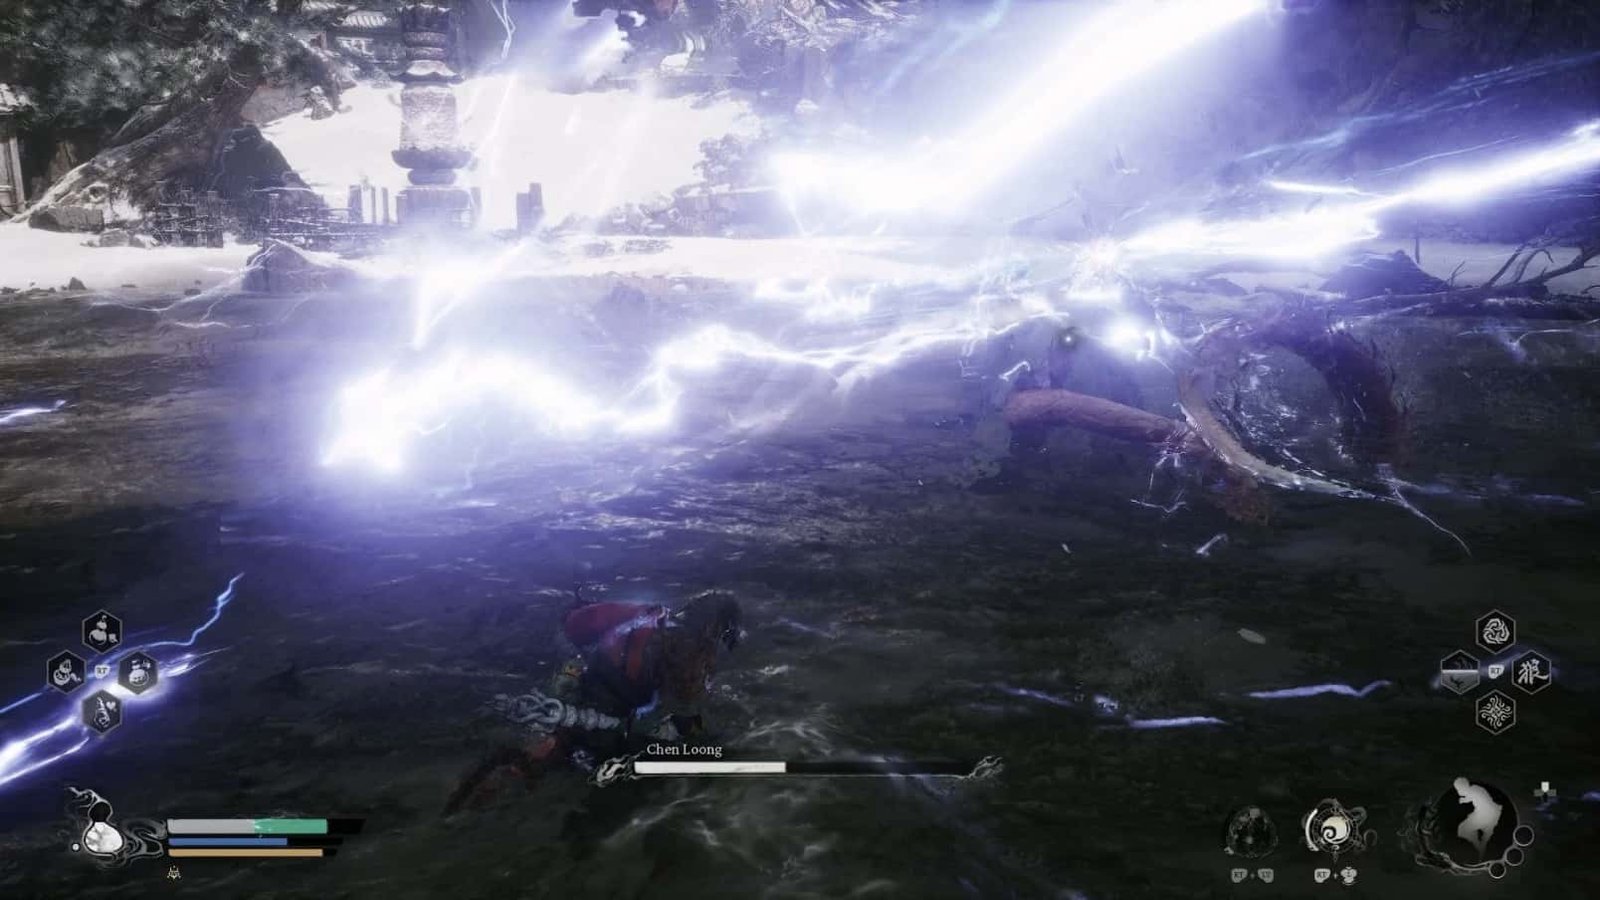
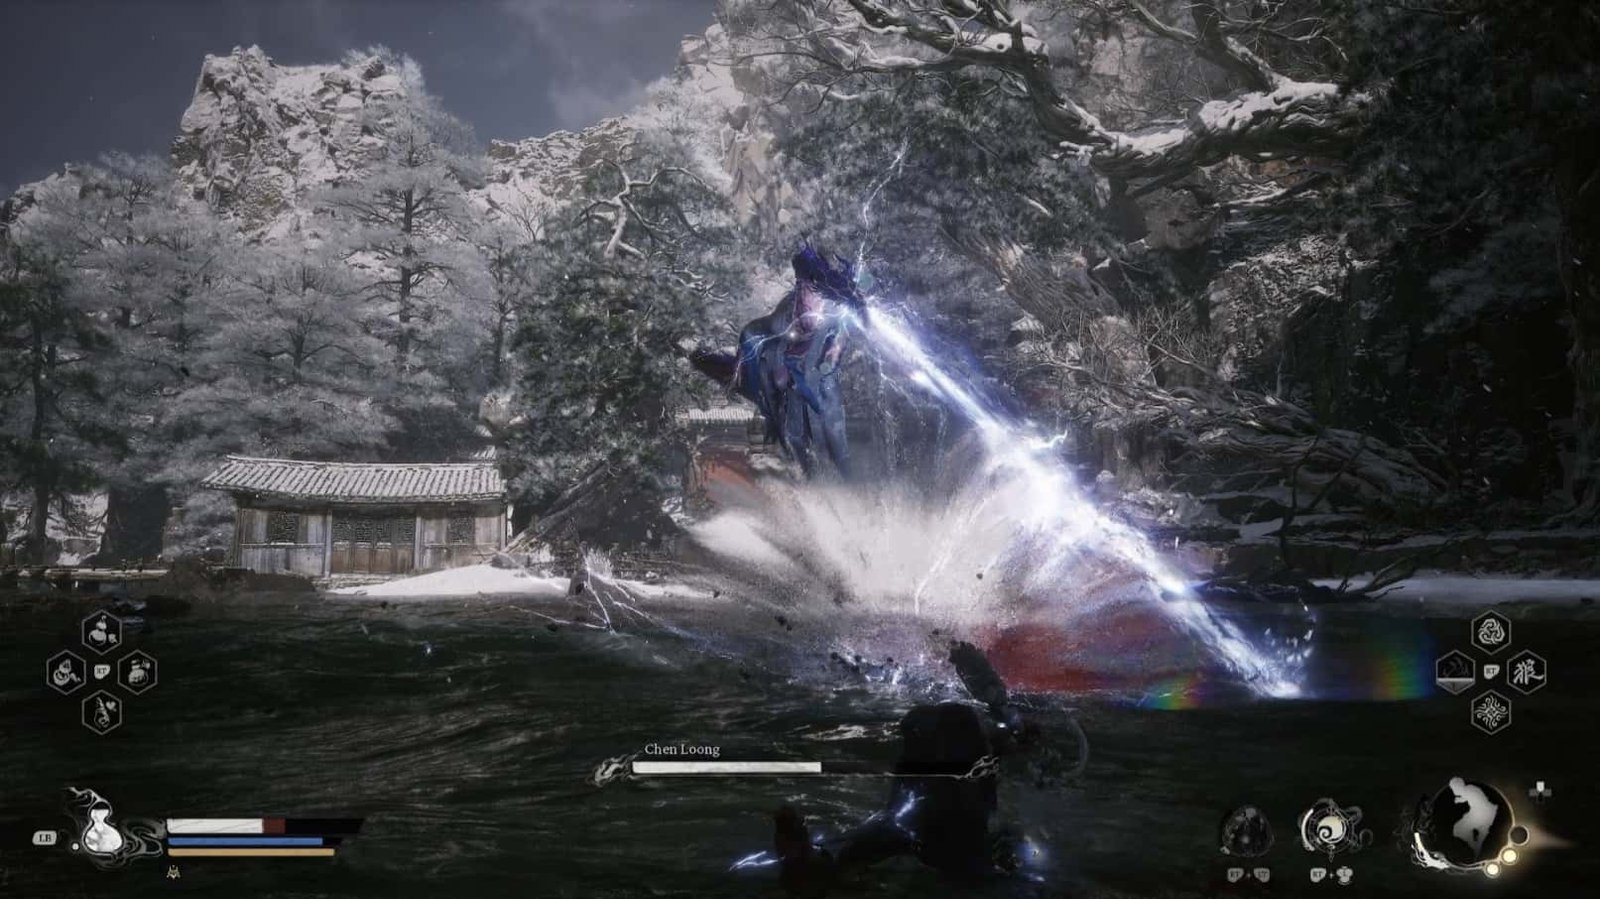
Use Cloud Step to dodge to the sides. Besides, Chen Loong can also attack with tail attacks and create electrified tails that emerge from the ground. Be careful to observe, dodge, and counterattack when you have the opportunity. Especially when he roars “To the deepest trench I dive!”, immediately move away, as he will create many electrified tails around him, then spin to attack in a wide area.
When Chen Loong stabs his weapon into the ground, he will create a large electrical explosion, which then spreads into multiple lightning bolts. Use Pillar Stance to jump into the air, avoiding the explosion and lightning bolts.
Chen Loong’s weakness is that he has relatively low health and is easily staggered. Take advantage of Immobilize to control him, then unleash a combo attack with Light Combo combined with Smash Stance. Don’t forget, Zhu Bajie will assist you in this battle, take advantage of his help to optimize damage.
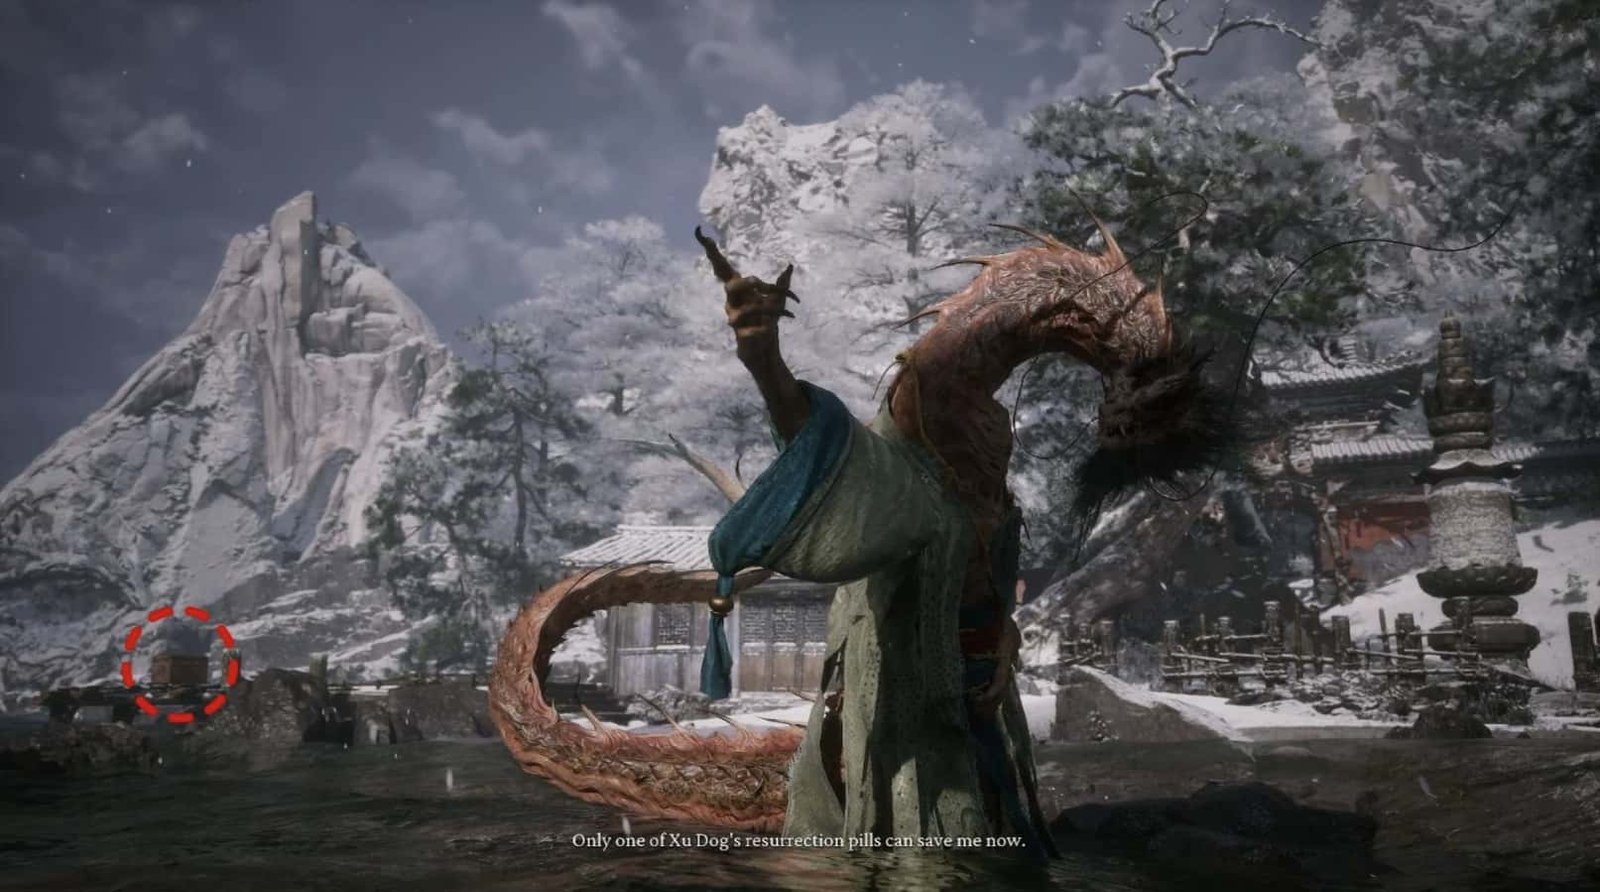
After defeating Chen Loong, you will not only receive experience and materials but also appease his anger. Later, Chen Loong will join Zodiac Village and give you The Ruyi Scroll – an extremely important treasure.
After the battle, although Chen Loong has calmed down, he is still resentful. He will reveal that Xu Dog, one of the Zodiac Deities, is keeping the Special-made Bone-Strengthening Pellet, which can help him feel better.
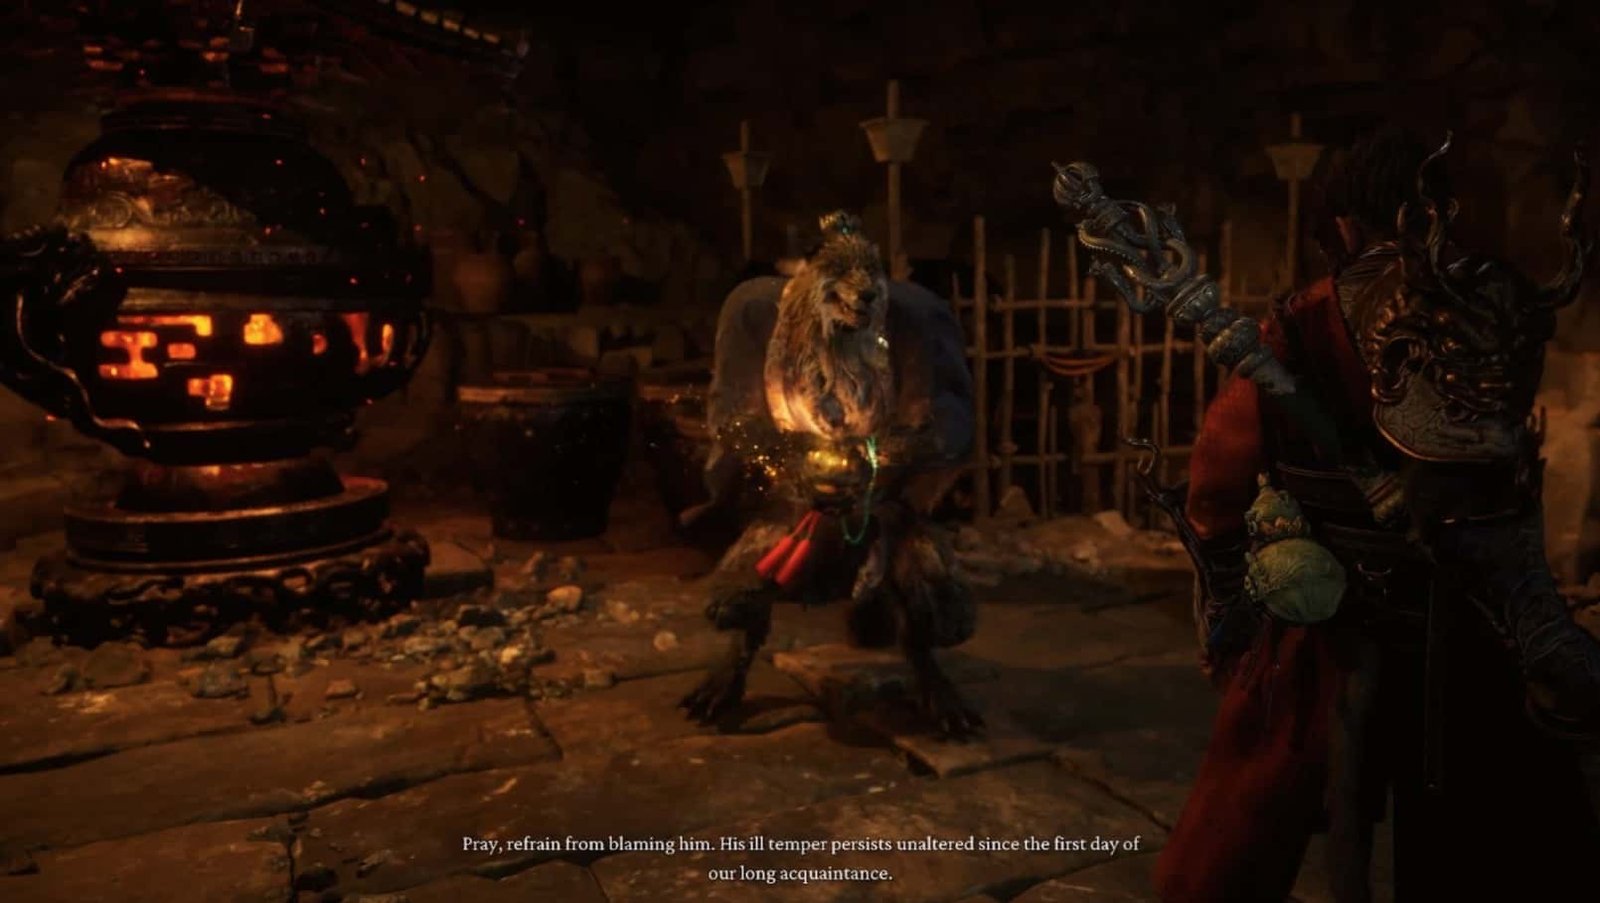
Your task is to return to Yellow Wind Ridge in Chapter 2. Find the Crouching Tiger Temple and go down to the wine cellar, where you previously met Xu Dog. Talk to Xu Dog, and he will give you the Special-made Bone-Strengthening Pellet and the formula for Fortifying Medicament.
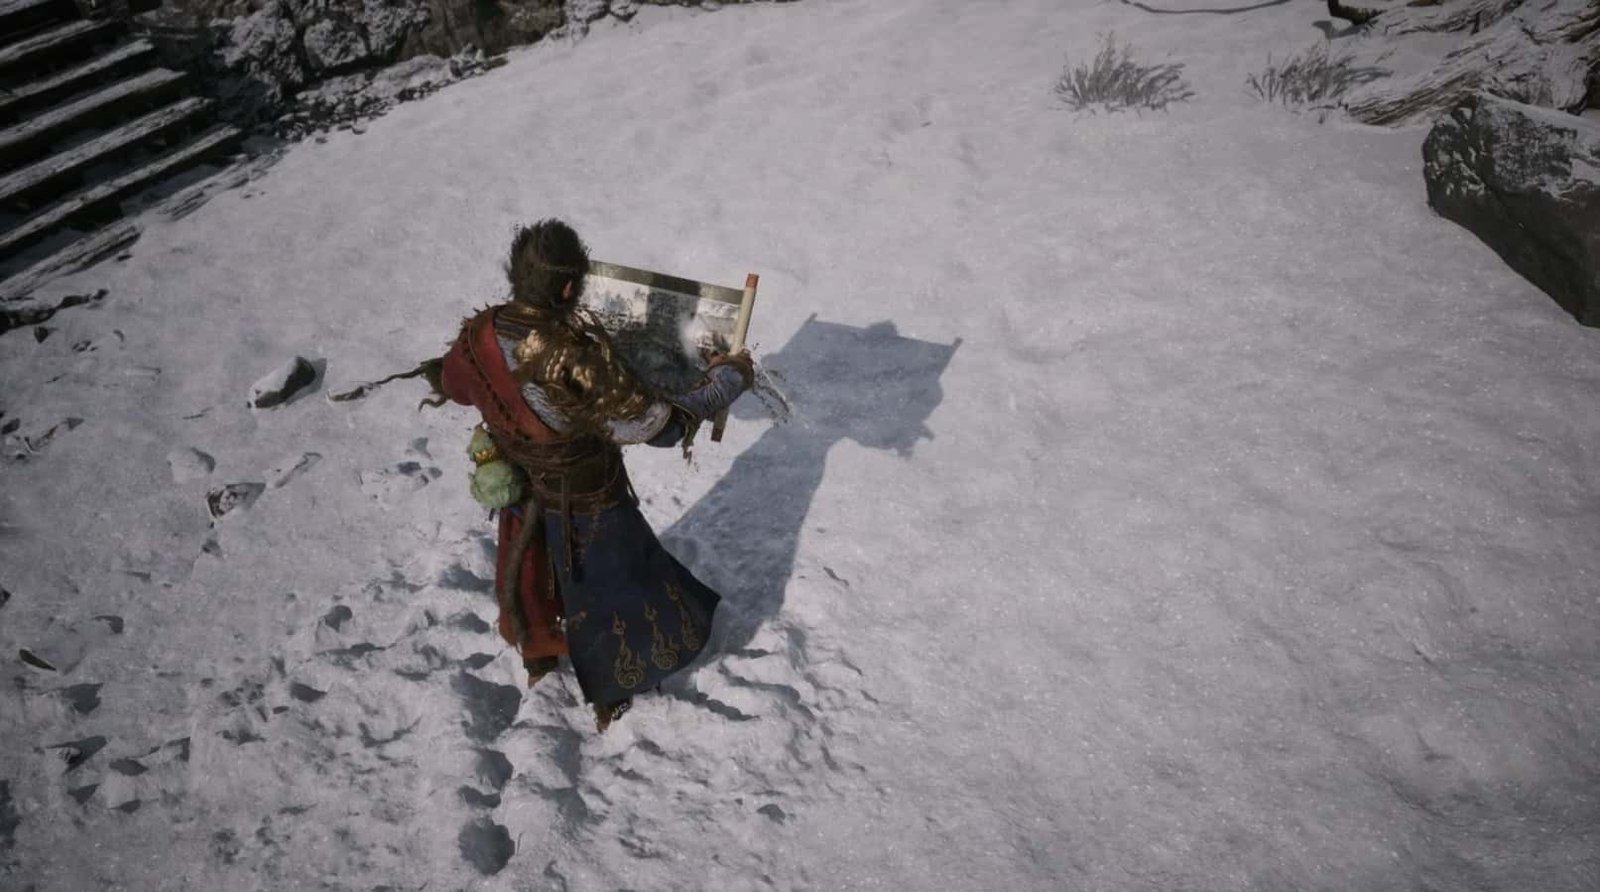
After obtaining the Special-made Bone-Strengthening Pellet, return to Chen Loong. He has now moved outside the hut by the lake. Give him the pellet, and Chen Loong will be very grateful and give you The Ruyi Scroll as thanks. At the same time, he will also announce that he will join Zodiac Village, joining you heroes against the forces of darkness.
Zodiac Village
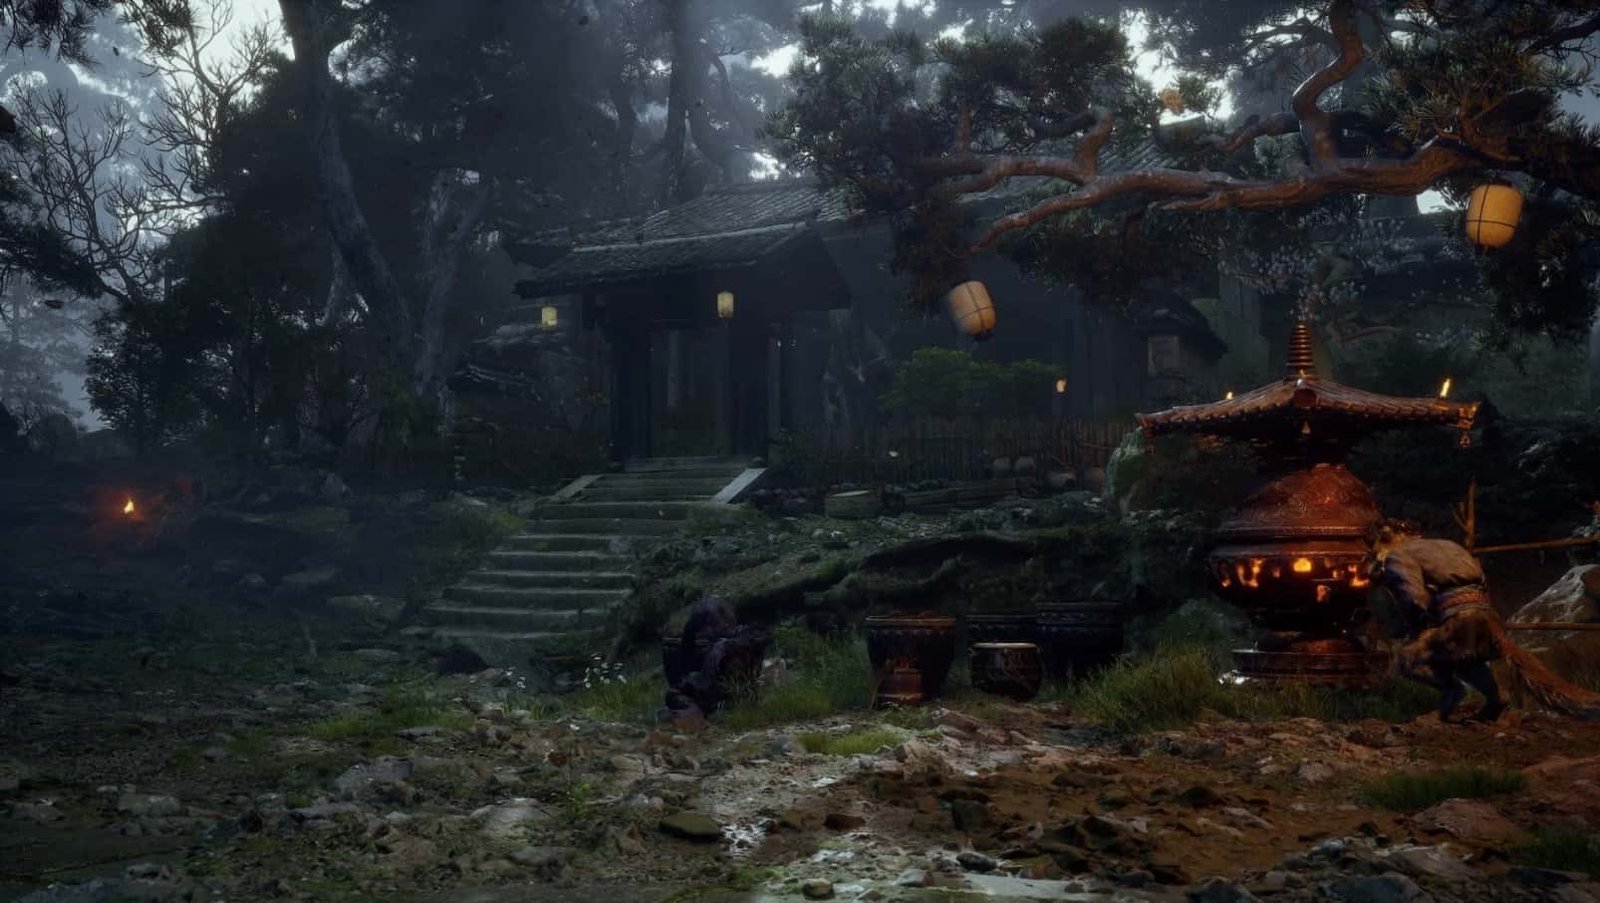
Now, you can enter Zodiac Village, a peaceful oasis in the middle of the dangerous Bitter Lake. This will be your new base, where the Zodiac Deities you have met, including Xu Dog, Shen Monkey, and Chen Loong.
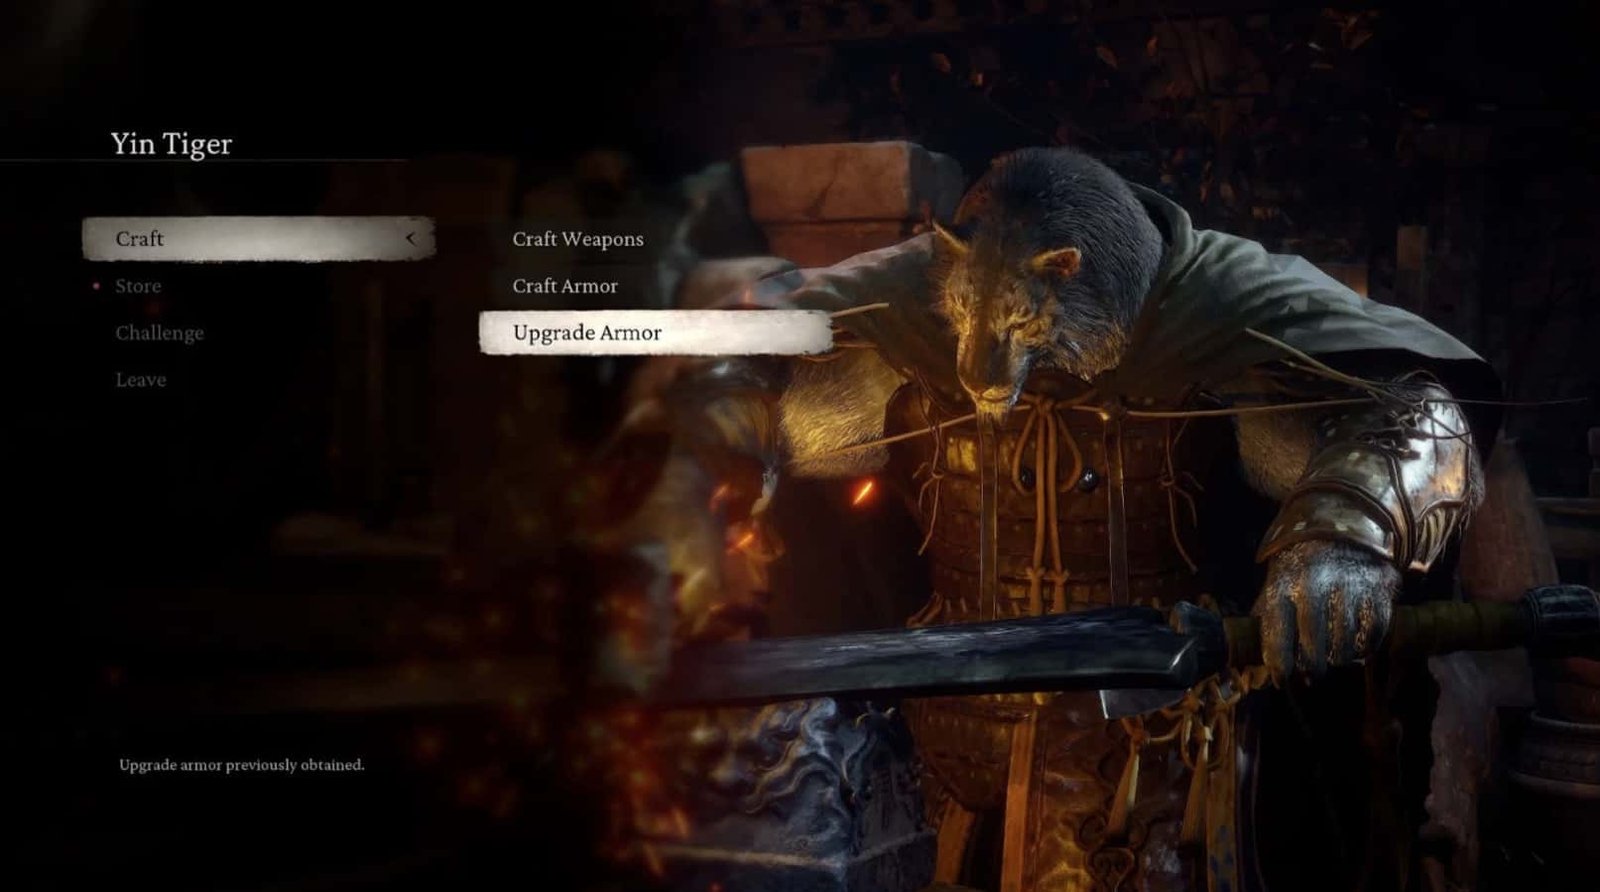
And Ying Tiger – a master blacksmith who can upgrade armor and sell basic materials. You can also challenge him, but be careful, Ying Tiger is an extremely strong opponent. If you win, you will receive a Transformation Spell and a blueprint for a new armor set.
Zodiac Village is an extremely important location, make the most of the facilities here to prepare for the upcoming challenges.
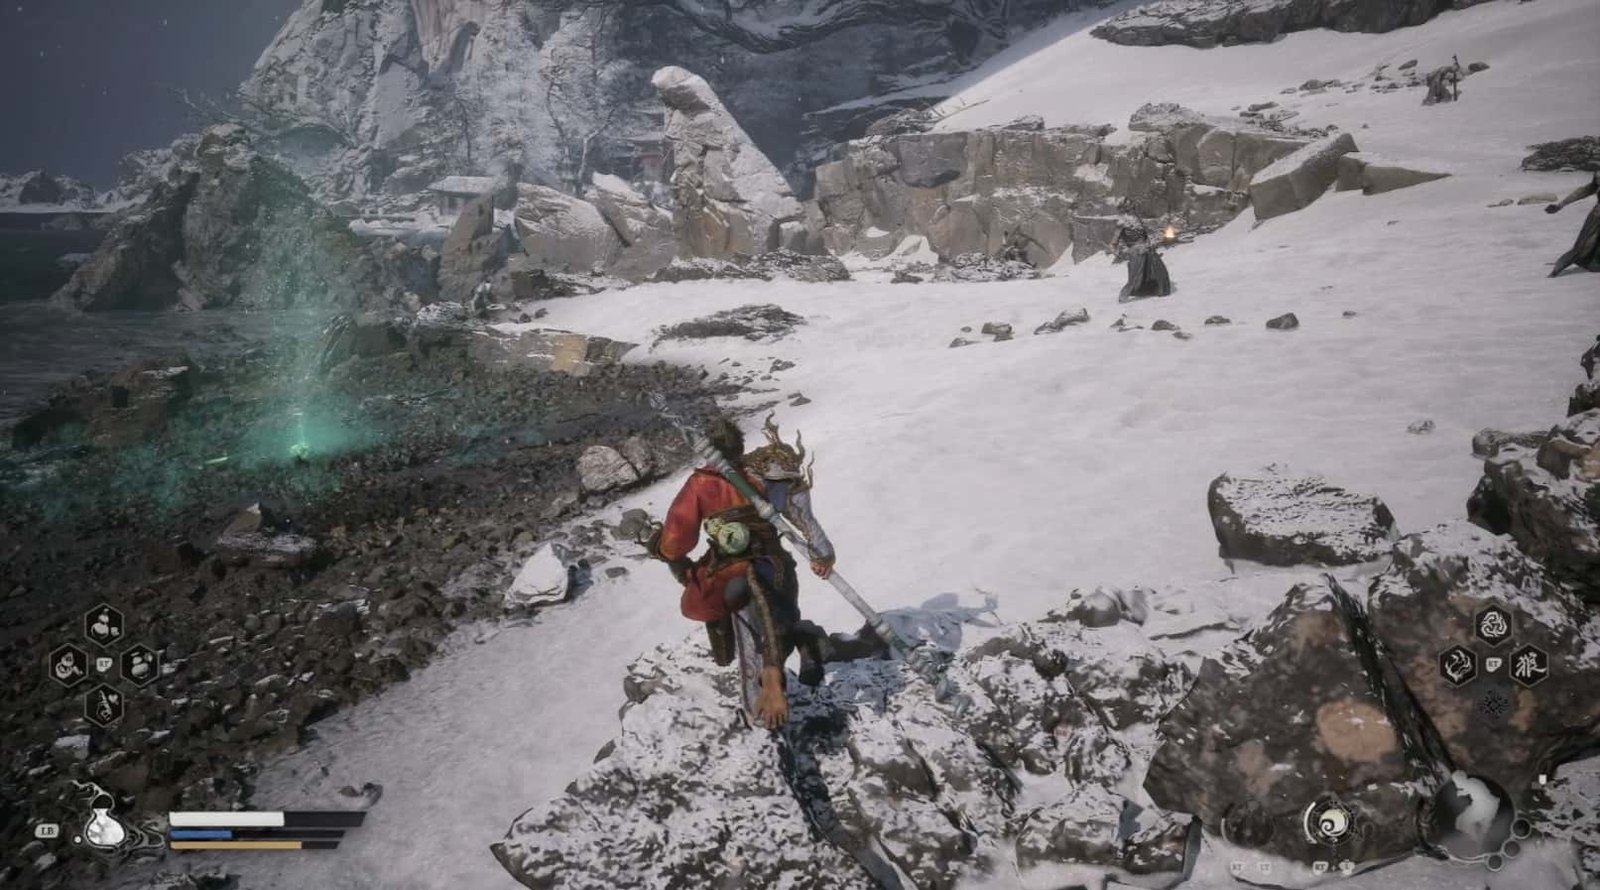
After receiving The Ruyi Scroll from Chen Loong, continue along the path (the direction you took to meet Chen Loong).

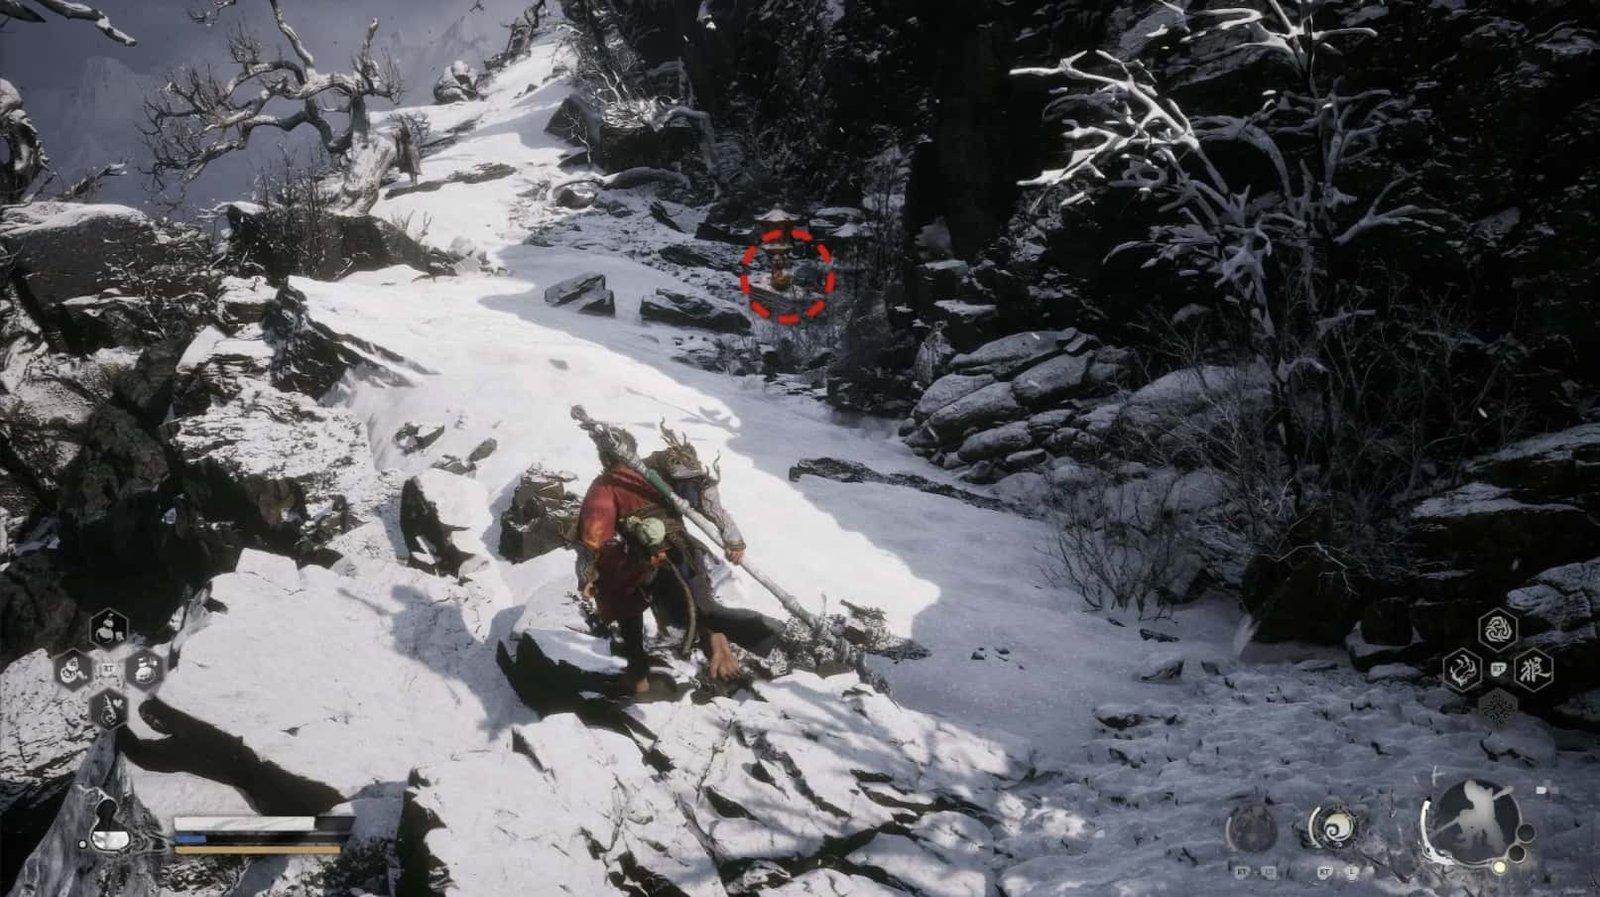
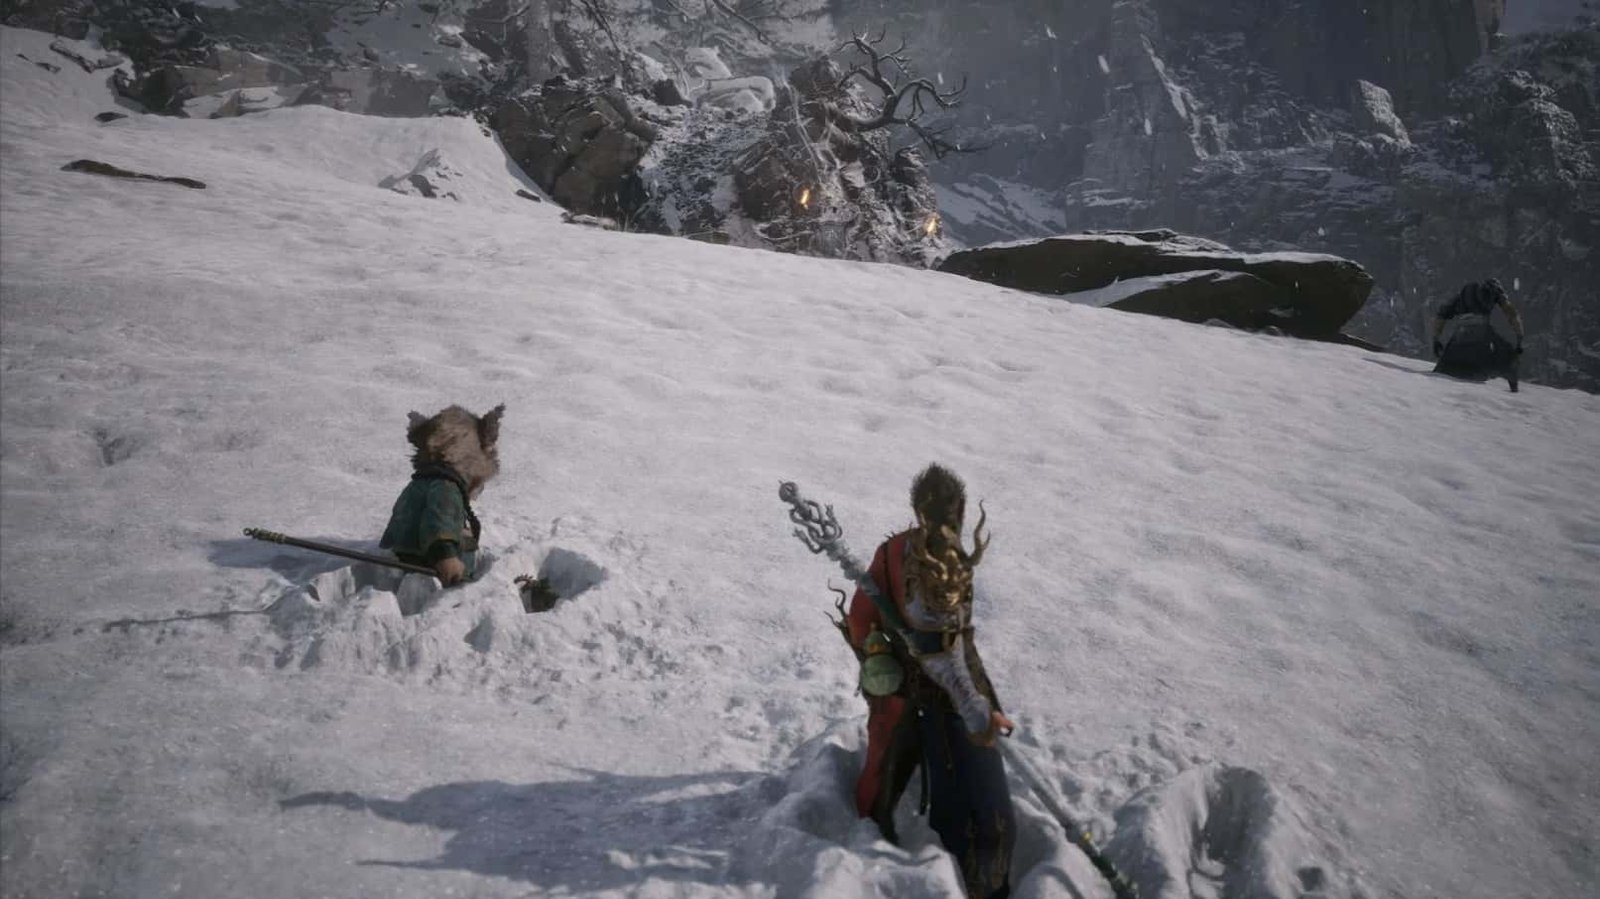
Passing the hut, you will encounter a man being surrounded by three Lesser Apramana Bats.
Act heroically, defeat the three bats to rescue him. This man is the Treasure Hunter.
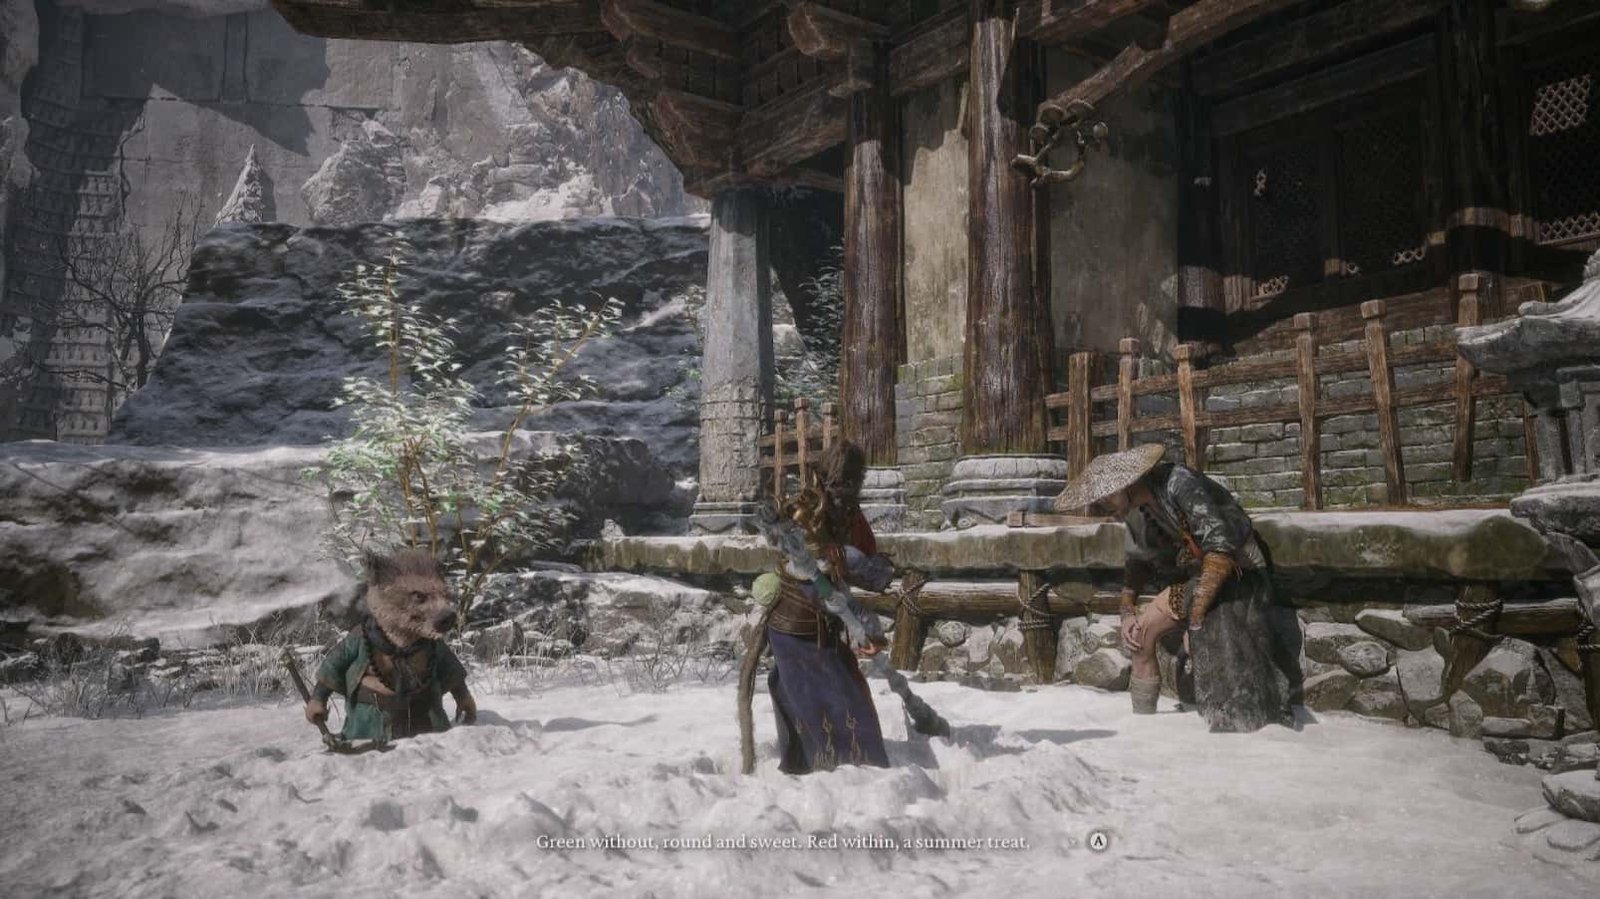
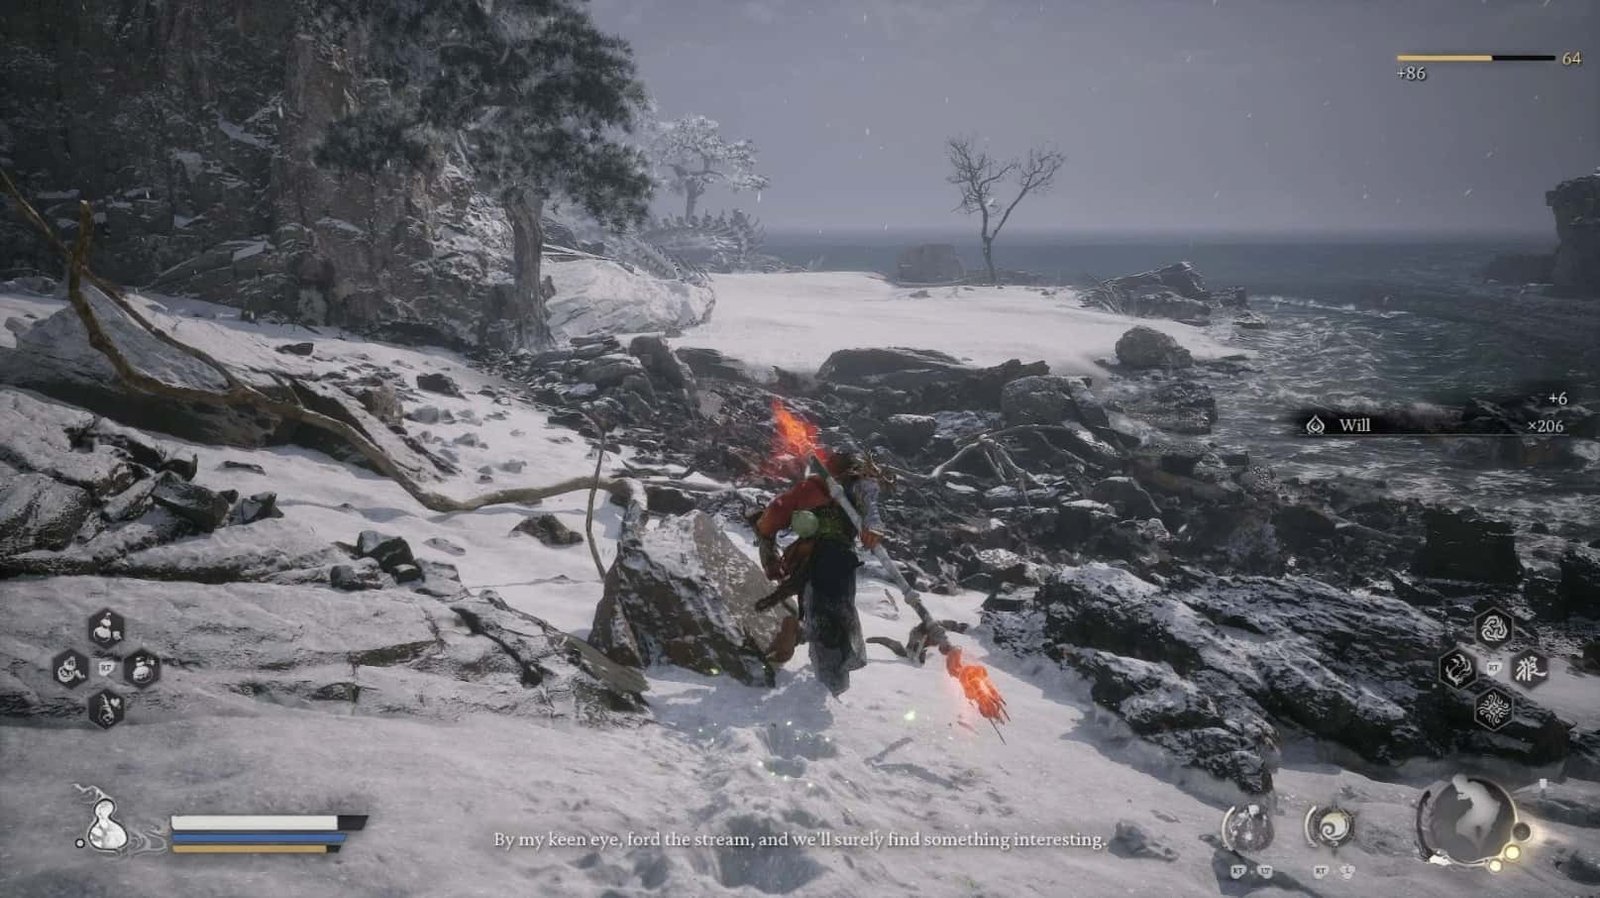
After being rescued, he will introduce himself and share with you about the treasure he is looking for. He will give you a riddle to hint at the characteristics of the treasure: “green without, and red within: a summer treat.”
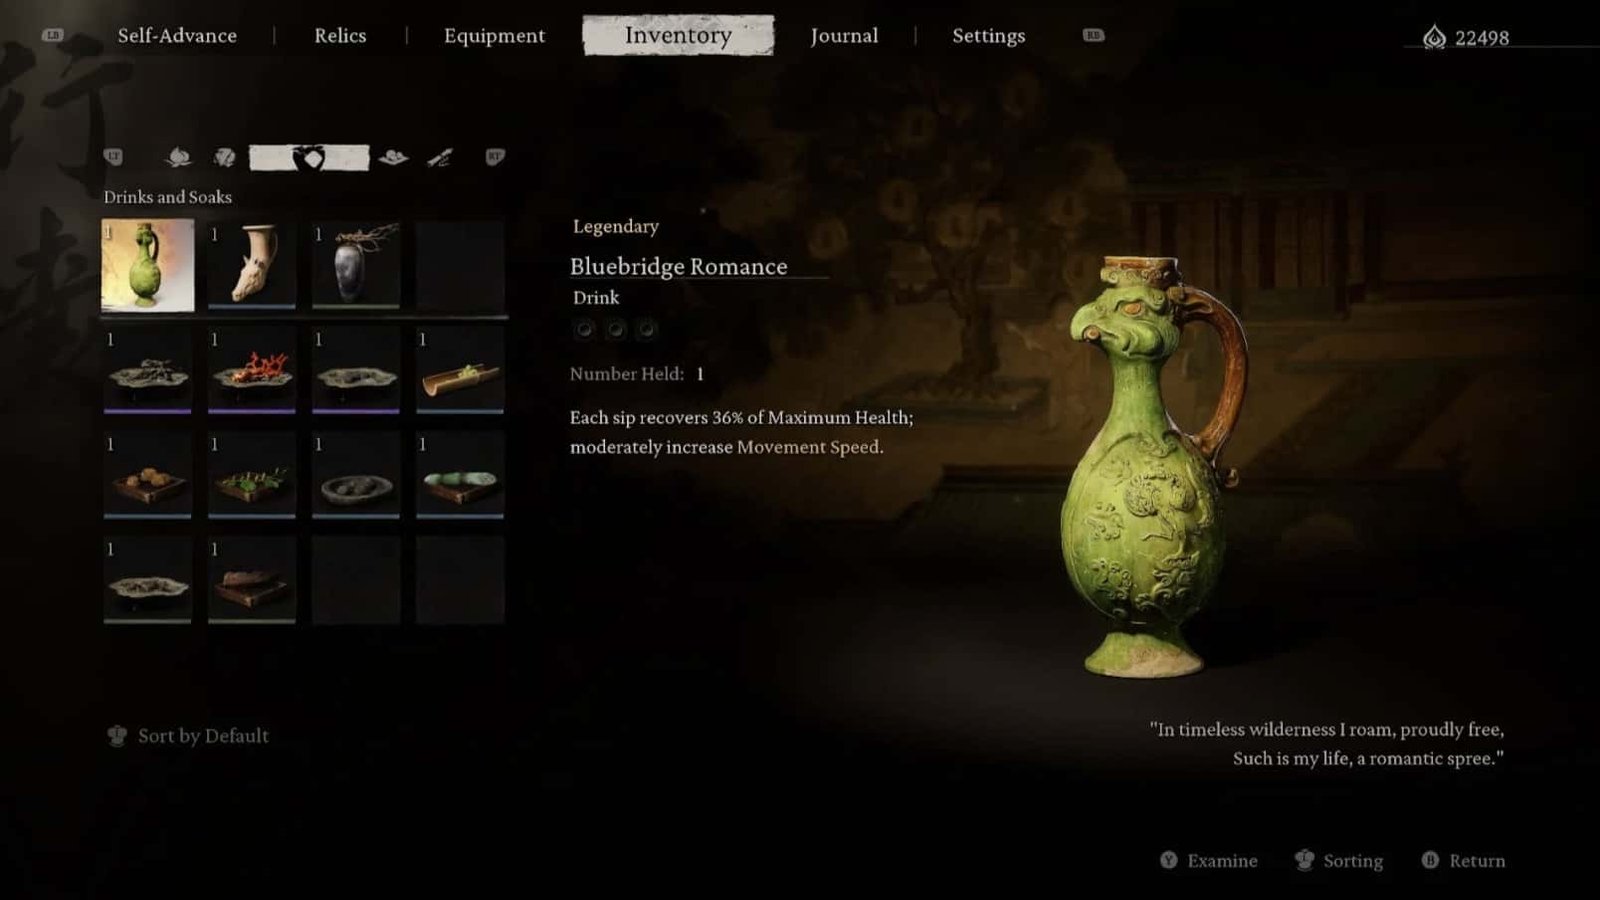
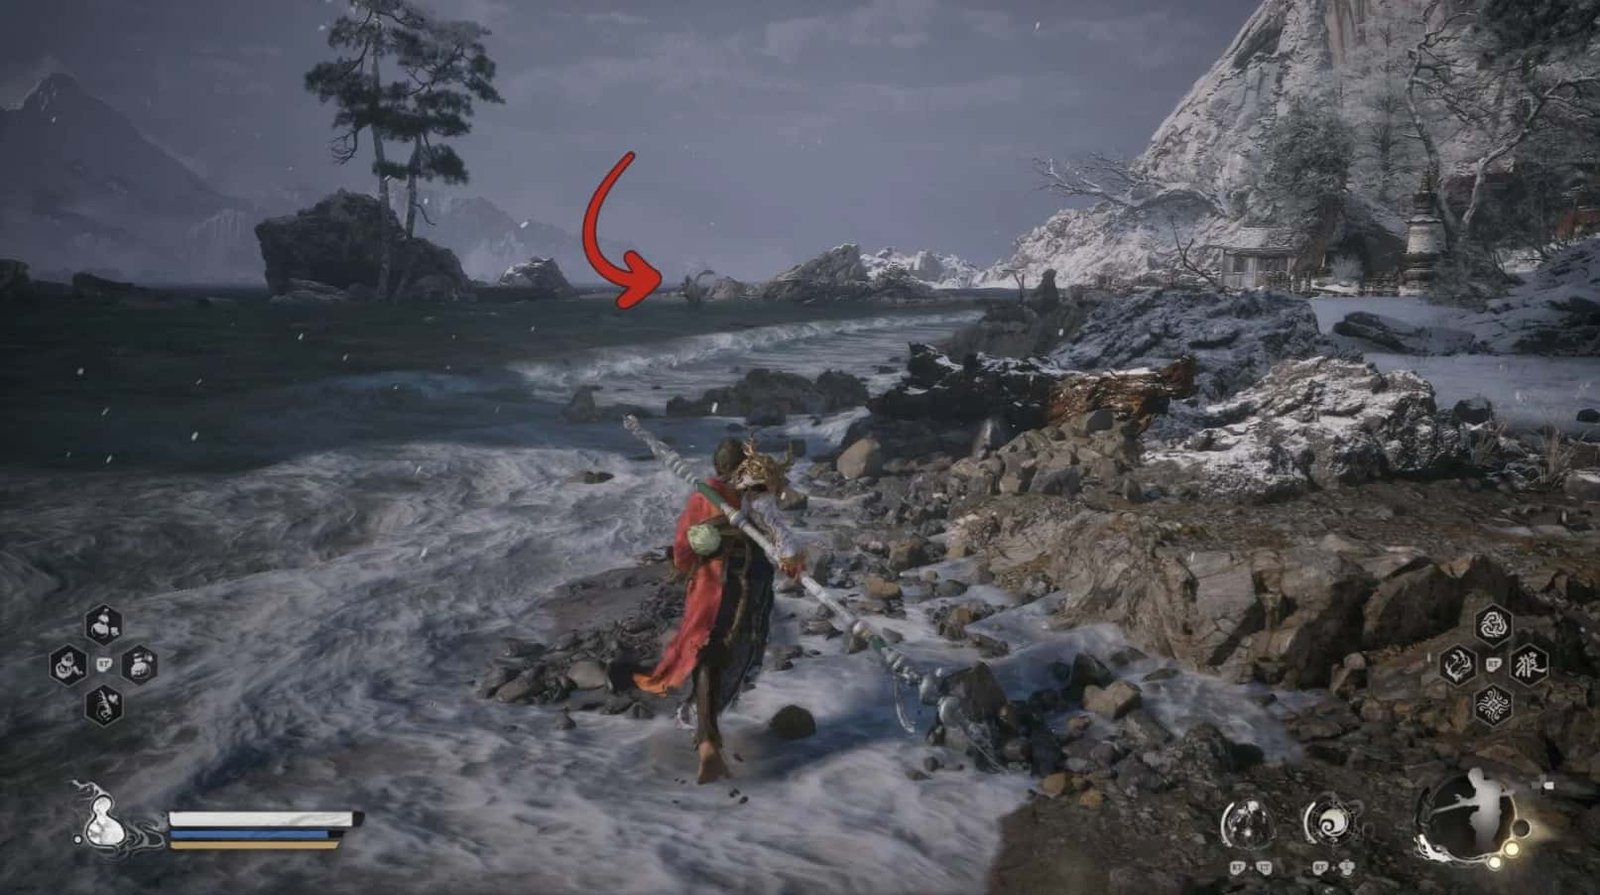
After talking to the Treasure Hunter, pay attention to the small lake on his left side (when you are facing him, looking towards the lake). This is where Bluebridge Romance, a special type of Gourd Drink, is hidden.
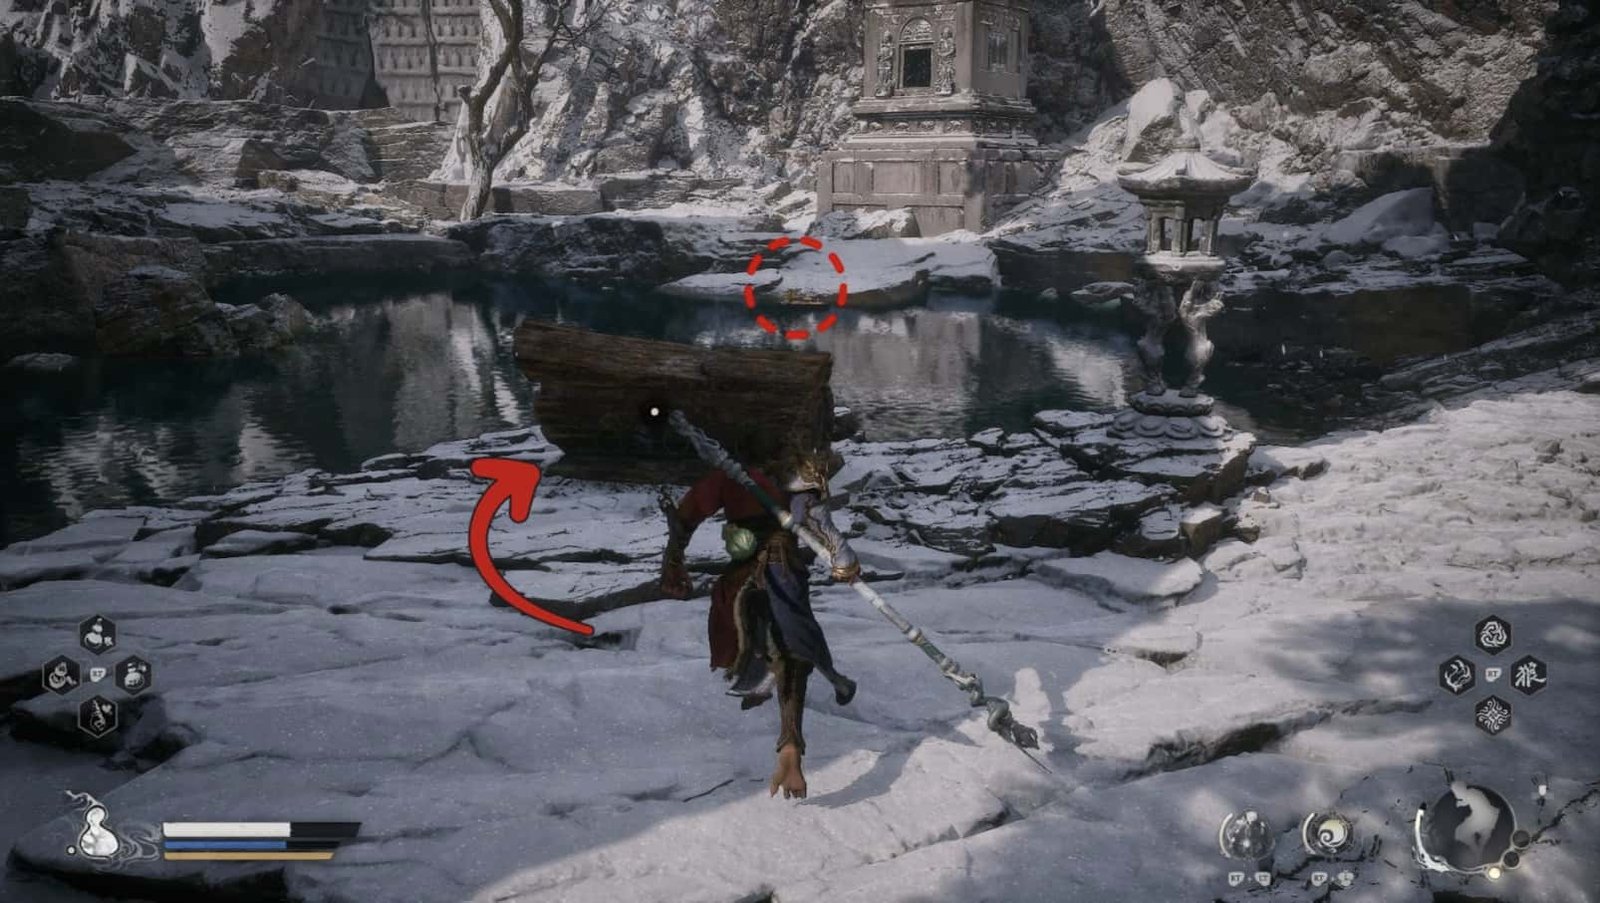
Look down at the lake, you will see a small rock formation protruding in the middle of the lake. On that rock formation is Bluebridge Romance. Swim to the rock formation to get it.
The Right Side Path
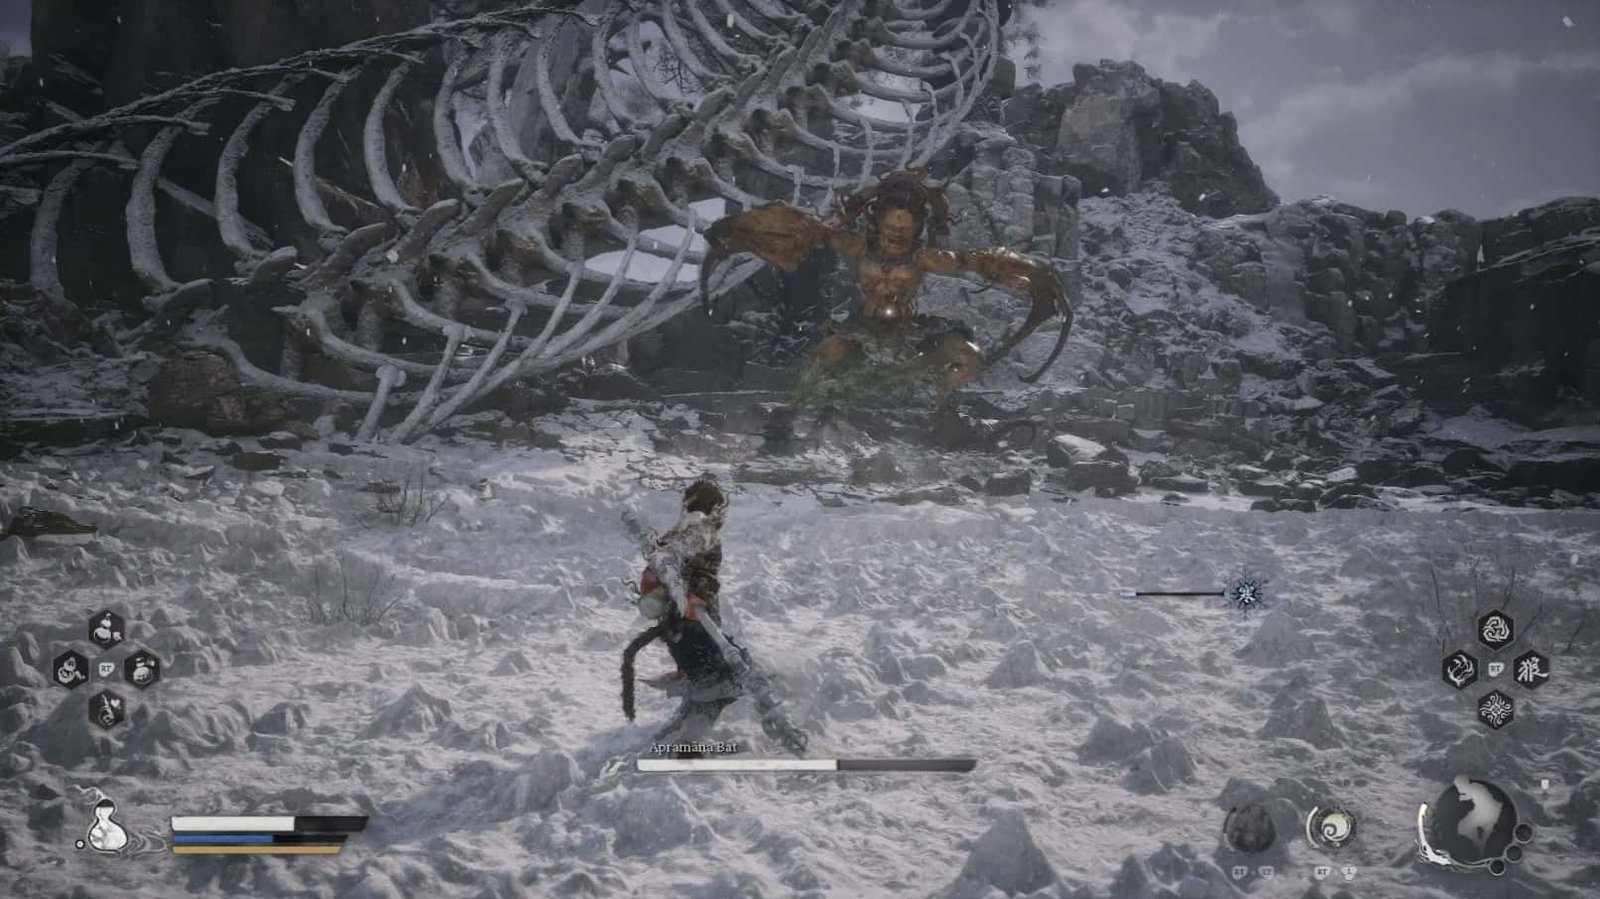
From the North Shore Shrine, go to the right. The scenery here is more desolate, with giant skeletons scattered on the sand. This is where the Apramana Bat, a ferocious Yaoguai Chief, rampages.
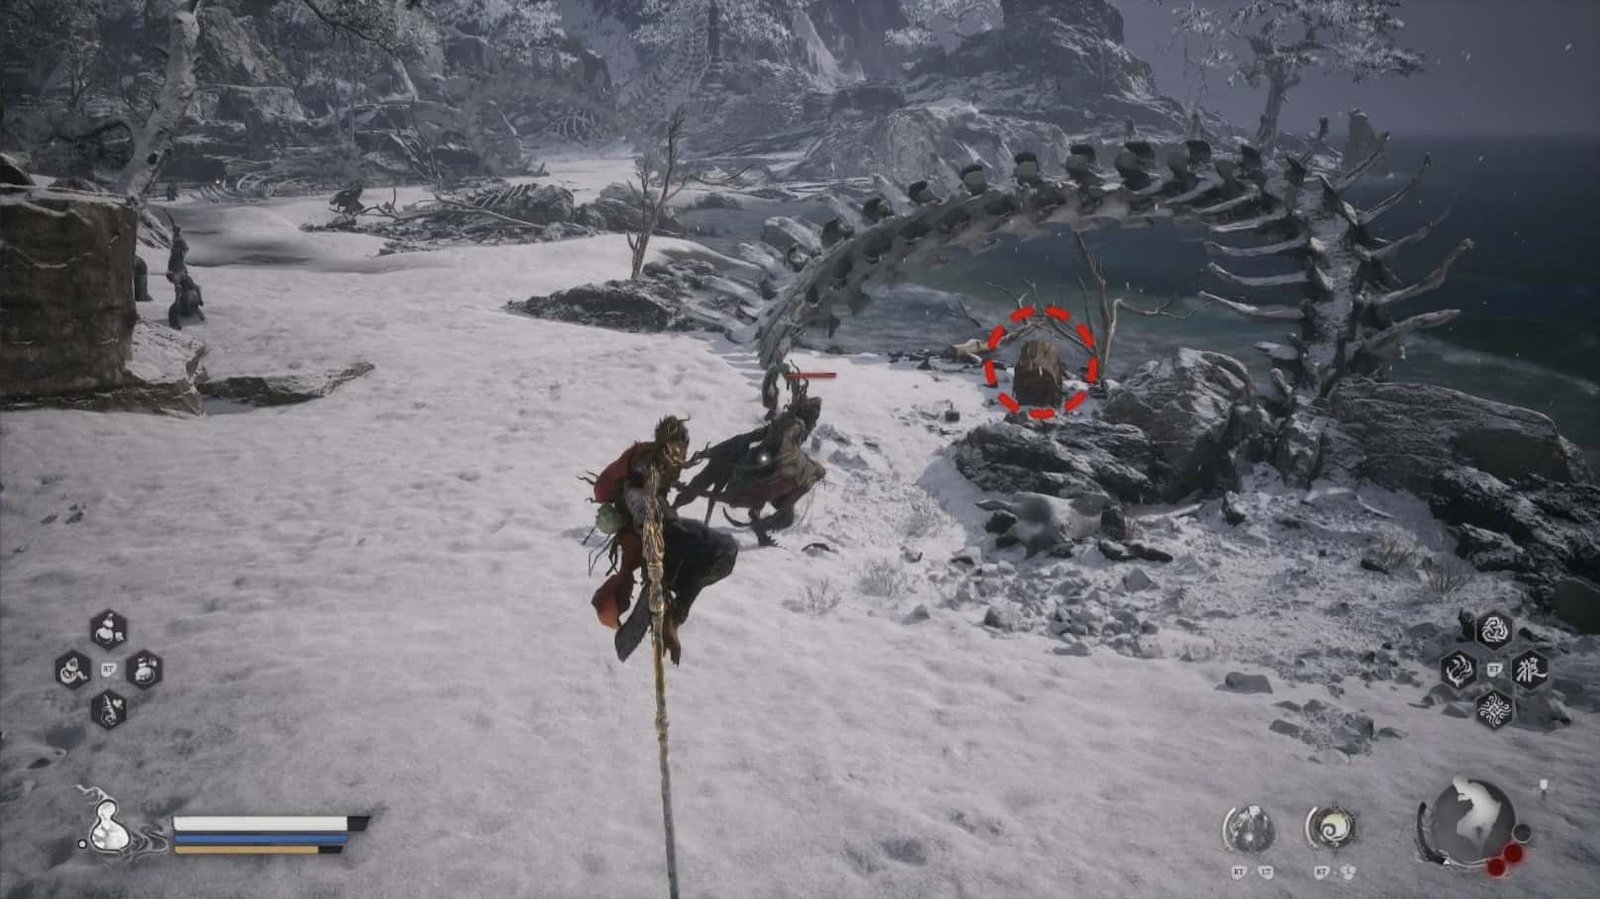
Further on, near the Celestial Pear Tree, there is a Lesser Apramana Bat guarding the second Treasure Chest.
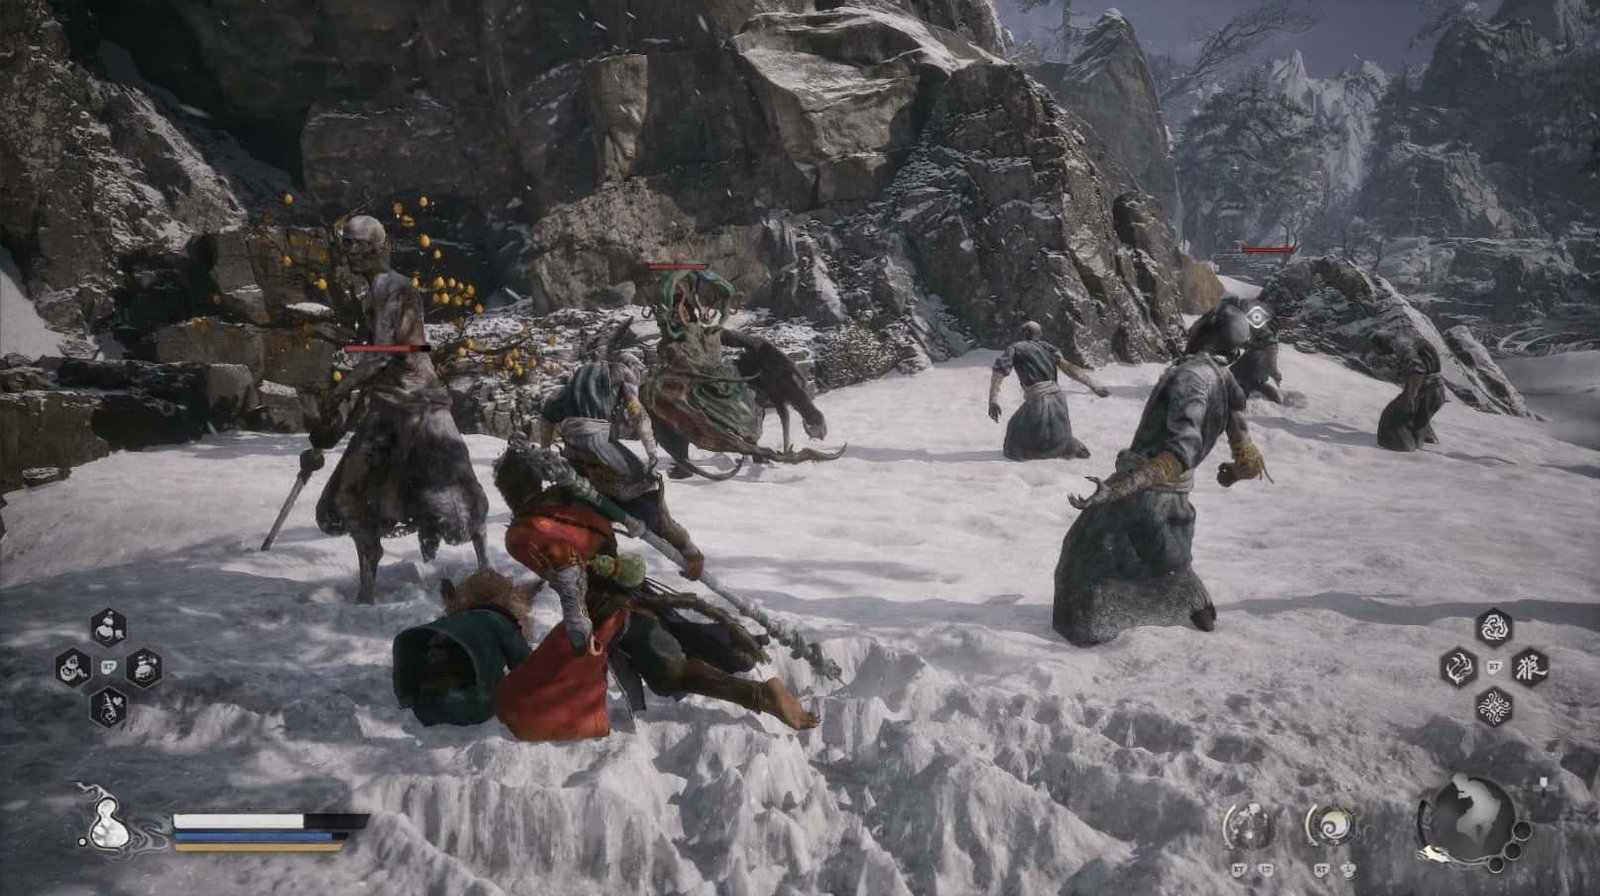
Be careful, as there are quite a few Frozen Corpses around it.
After collecting the Treasure Chests, proceed towards the skeleton of the Snake General. When you get close, the Apramana Bat will appear.
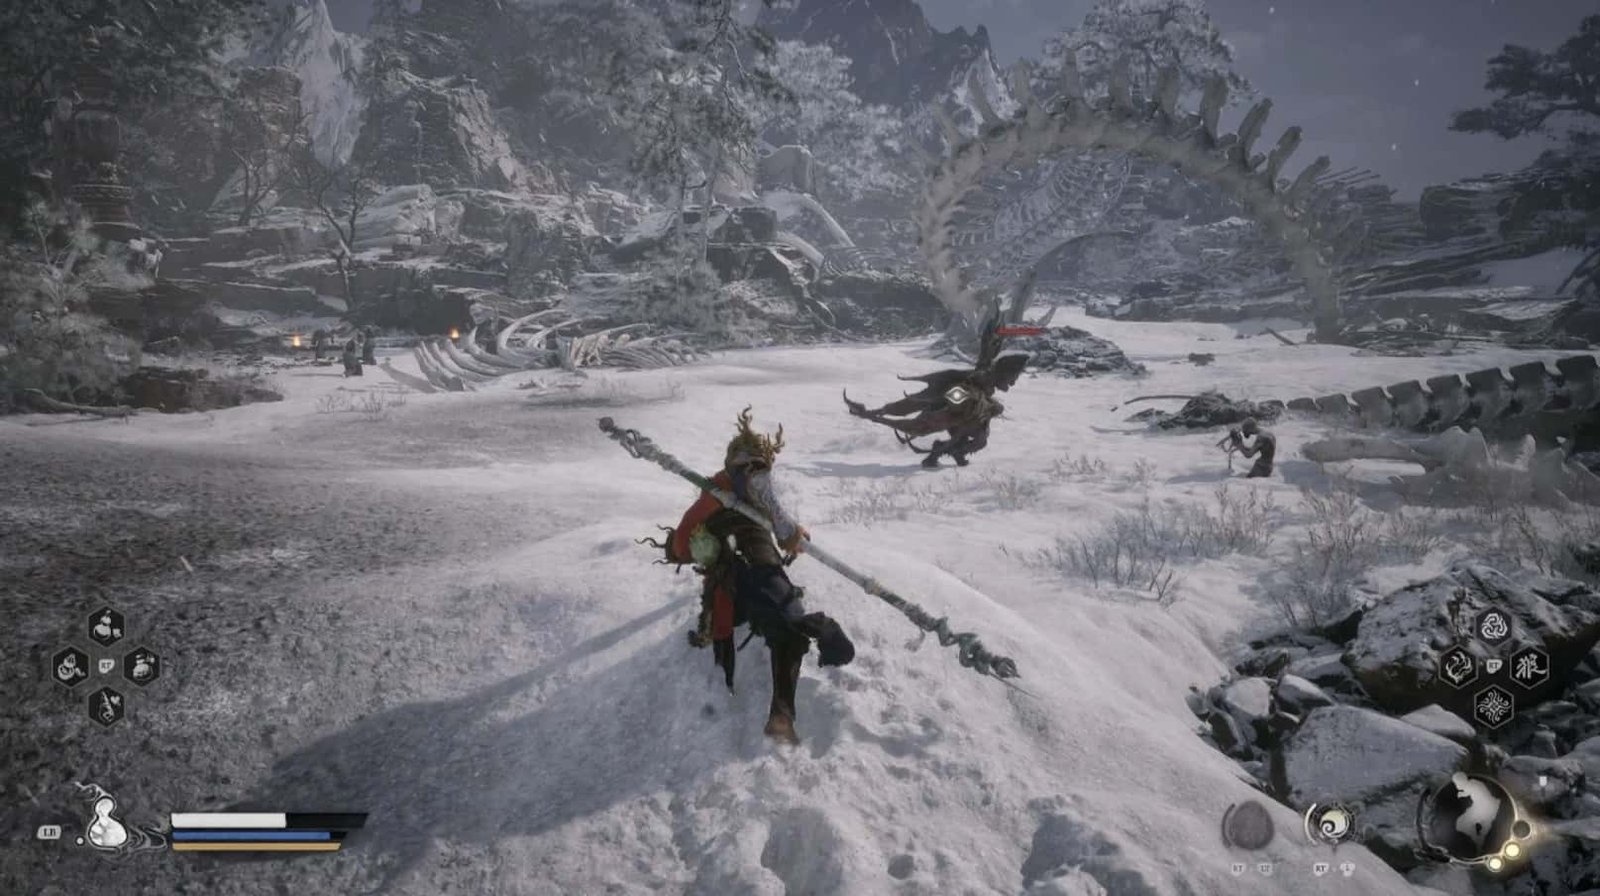
Apramana Bat Miniboss Fight
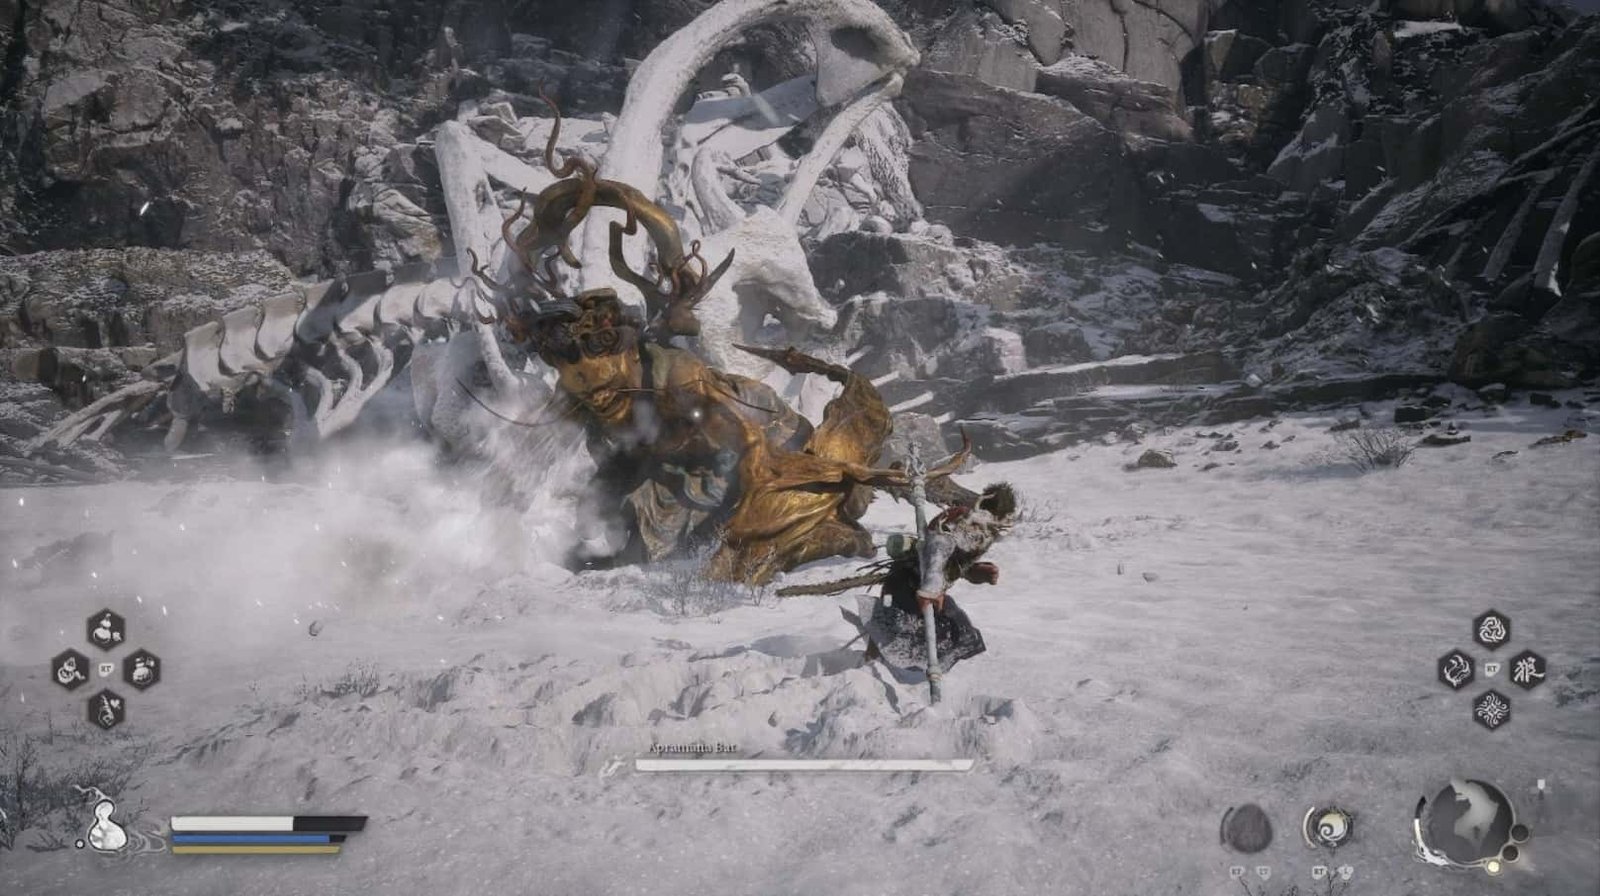
The Apramana Bat is a tough opponent, he flies in the air, continuously attacking from a distance with sound waves and cold wind attacks. Equip Warming medicine or a Curio that can resist Frostbite to minimize damage. Ring of Fire can also help you fight the cold.
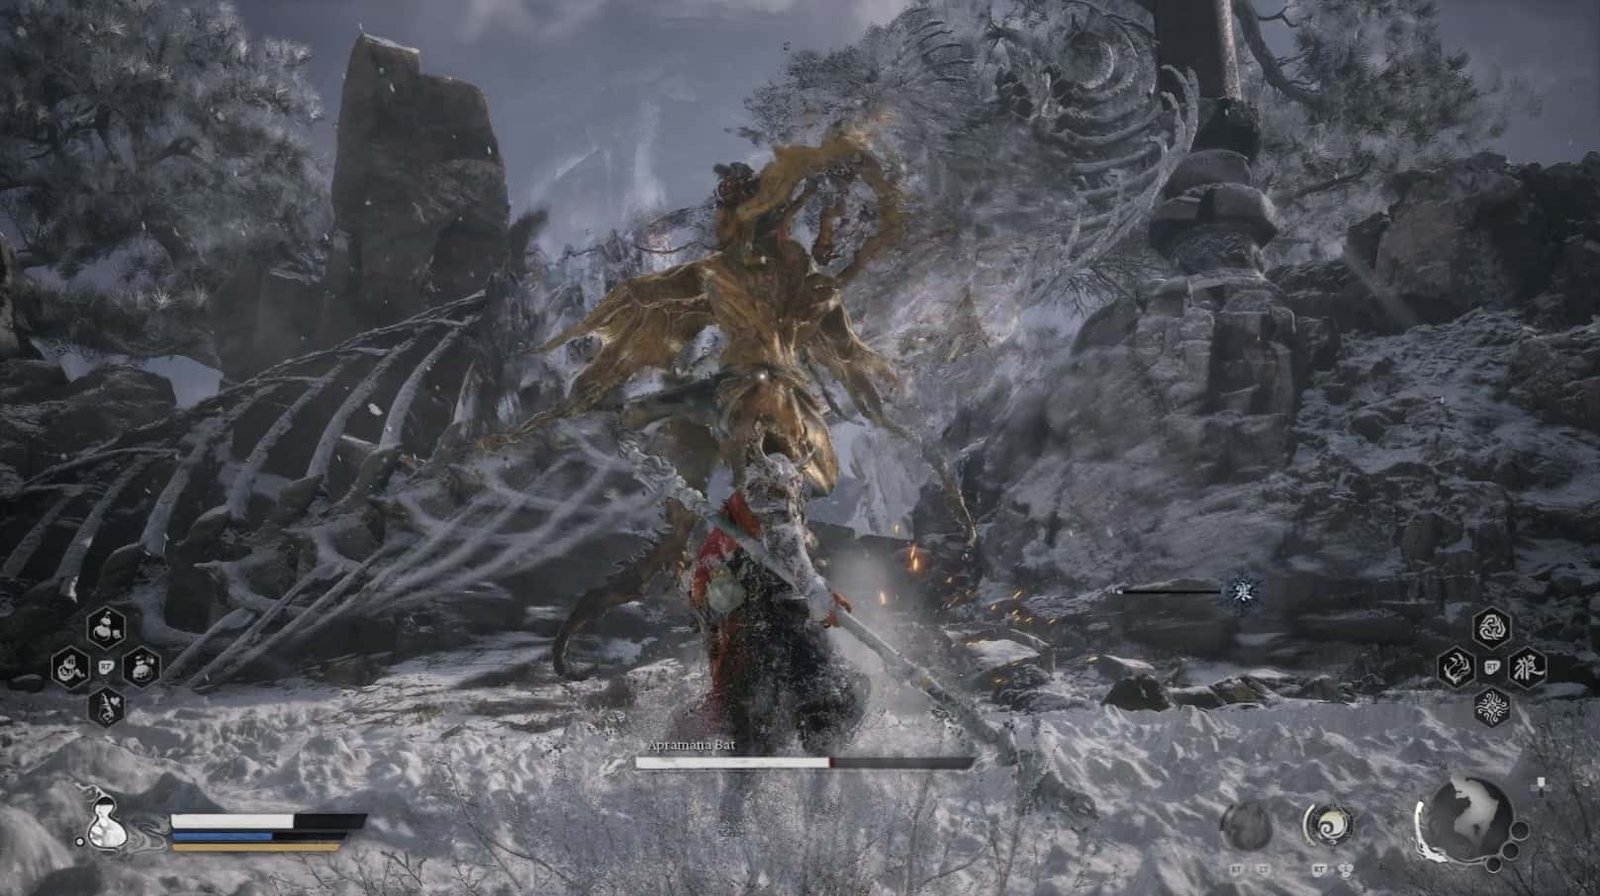
The Apramana Bat usually starts by flapping its wings, creating a powerful gust of cold wind, use Cloud Step to dodge to the sides.
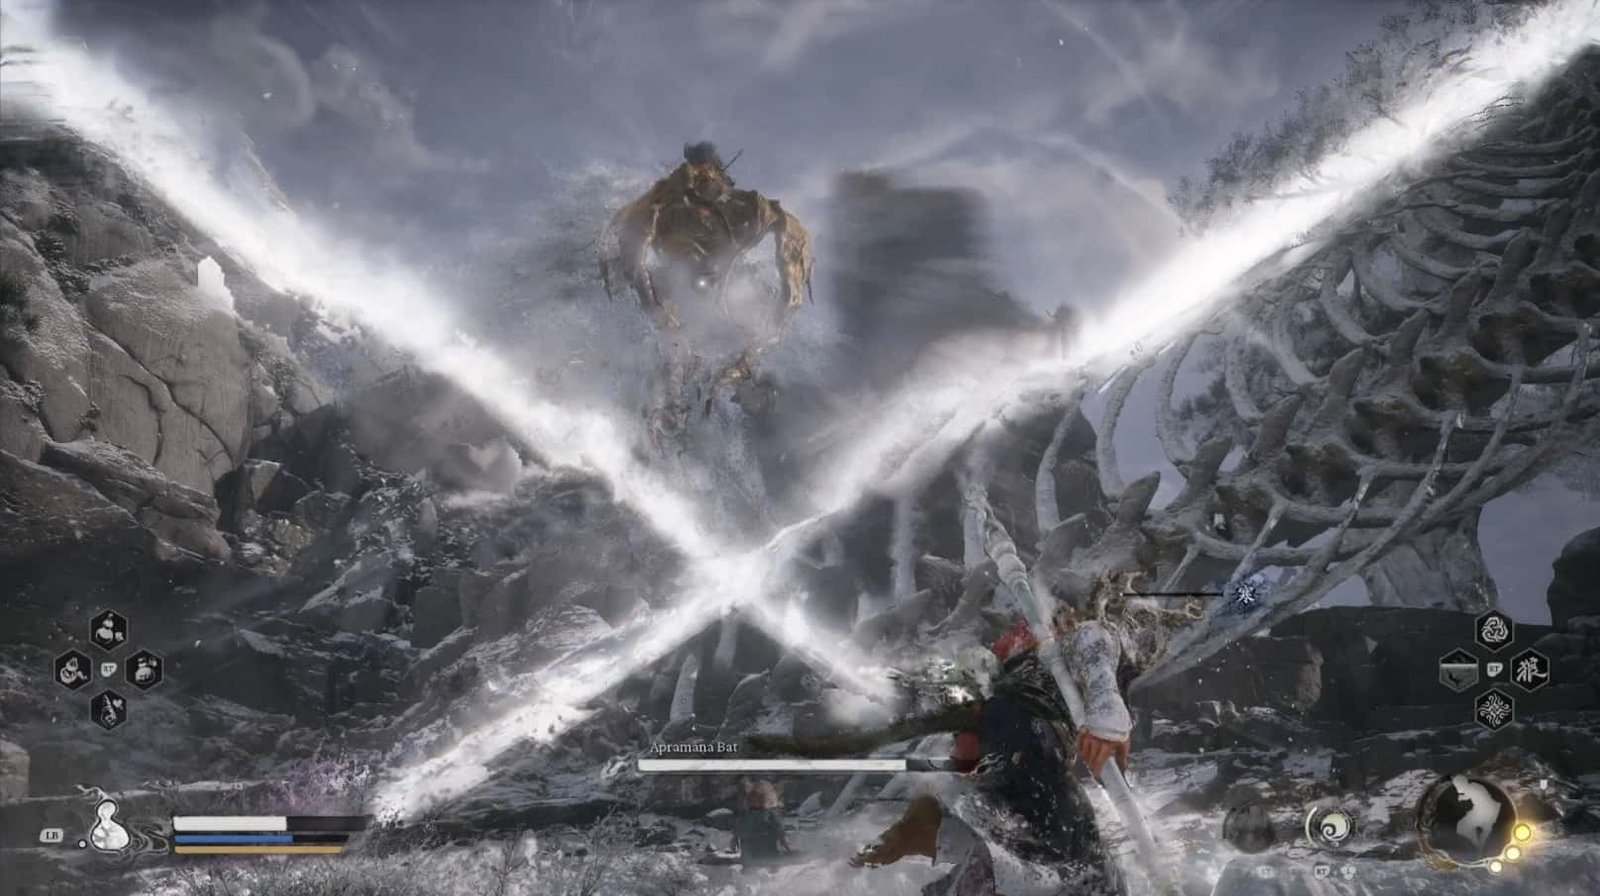
After that, he will fly around and attack with cross slash projectiles.
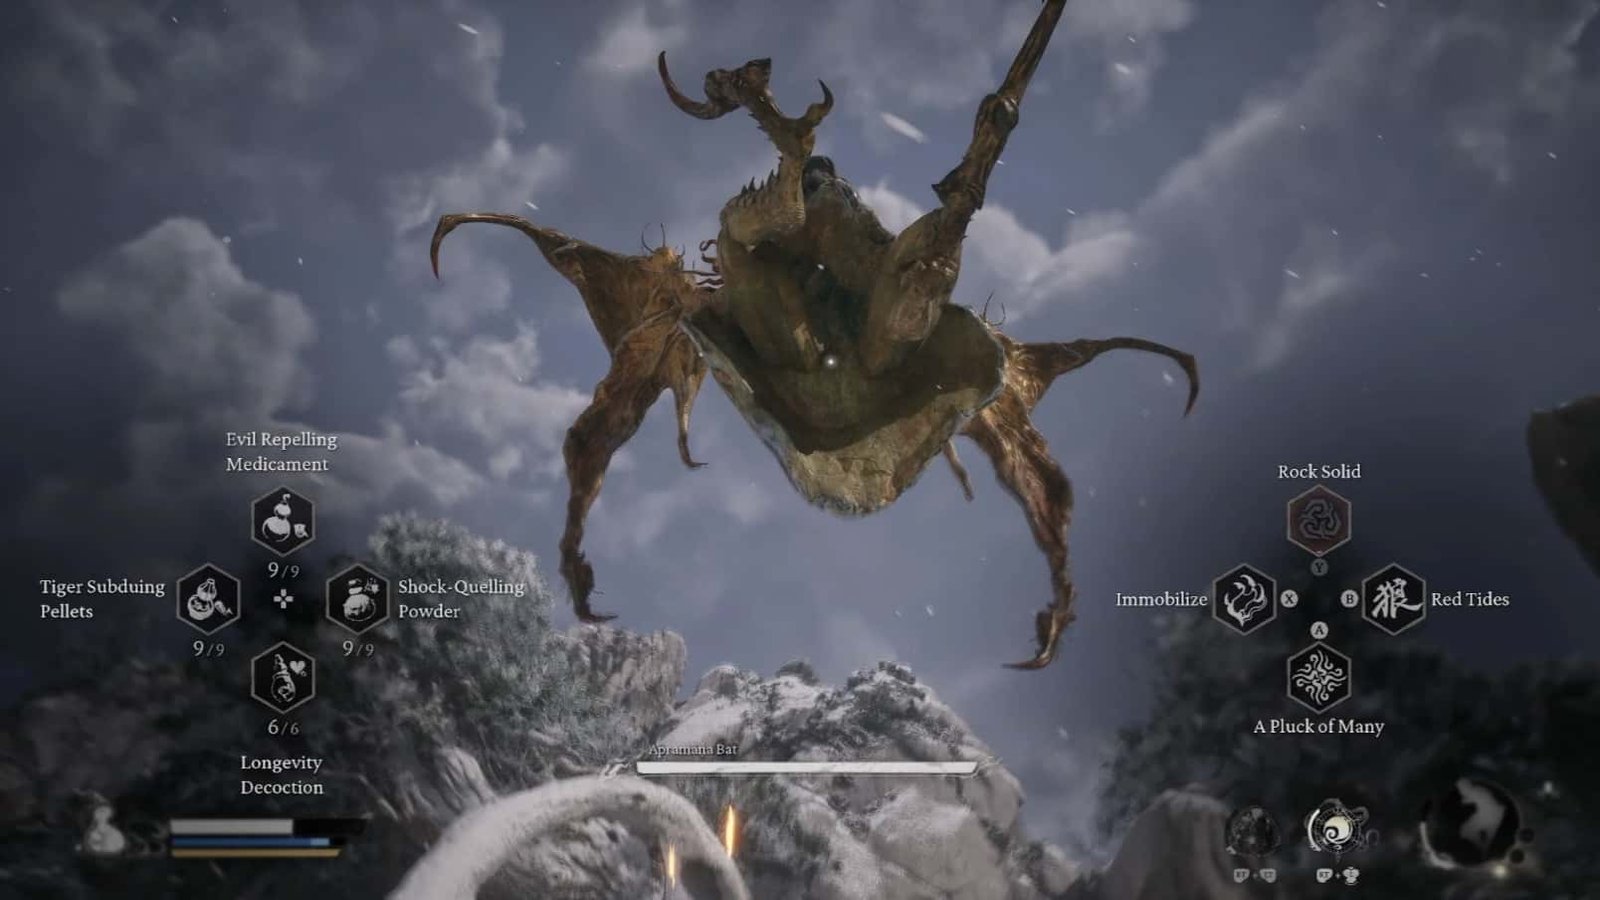
Focus on observing and dodging. When he lowers his altitude, use Rock Solid to counterattack, knocking him into the air and causing him to fall to the ground.
This is your opportunity to attack. Use Immobilize to keep him on the ground, then unleash a combo attack.
Defeating the Apramana Bat will grant you a Journal entry, experience, and materials. However, he will escape and vow to return for revenge.
After defeating the Apramana Bat, return to the Snake General’s skeleton and interact with it. You will see the Turtle General appear, mourning his old friend. A giant teardrop will fall, transforming into Turtle Tear Gourd Soak – a special type of Soak that restores Mana when using a Gourd.
Very good, heroes, you have defeated the Apramana Bat and collected the Turtle Tear Gourd Soak. Now let’s continue to find the Luojia Fragrant Vine and the entrance to the Precept Corridor.

From the Snake General’s skeleton, follow the path leading upwards. You will soon encounter a ferocious Wolf Guardian. Be careful, as they move very quickly and attack very powerfully. After defeating the Wolf Guardian, continue up the stone path.
After a while, you will see a small turn on the left, leading to an area surrounded by a fence. Zhu Bajie will point out the location of the Luojia Fragrant Vine. However, be careful, as this area is guarded by a Falcon Fan-Maker and a Cyan Bat. Use Immobilize to control the Falcon Fan-Maker, then quickly defeat the Cyan Bat.
Continuing to the top of the stone path, you will find a tunnel. This is the shortcut to the Precept Corridor. Before entering, take a quick detour to the left to find a Ginsengling.
Inside the tunnel, you will face a few Monk Supporters. They are quite slow, but be careful with the rocks they carry. Try to defeat them one by one. Near the entrance to the Precept Corridor, you will find a Treasure Chest containing a Mind Core and other materials.

Be careful with the Tentacle Abomination Monk nearby.
Passing through the tunnel, you will reach a fork in the road. To the left, you will find another Treasure Chest near a mural.
To the right, you will reach the bridge leading to the Precept Corridor Shrine – the next fast travel point.
So you have now explored the North Shore of the Bitter Lake. Rest at the Precept Corridor Shrine before entering the new challenge at the Precept Corridor.
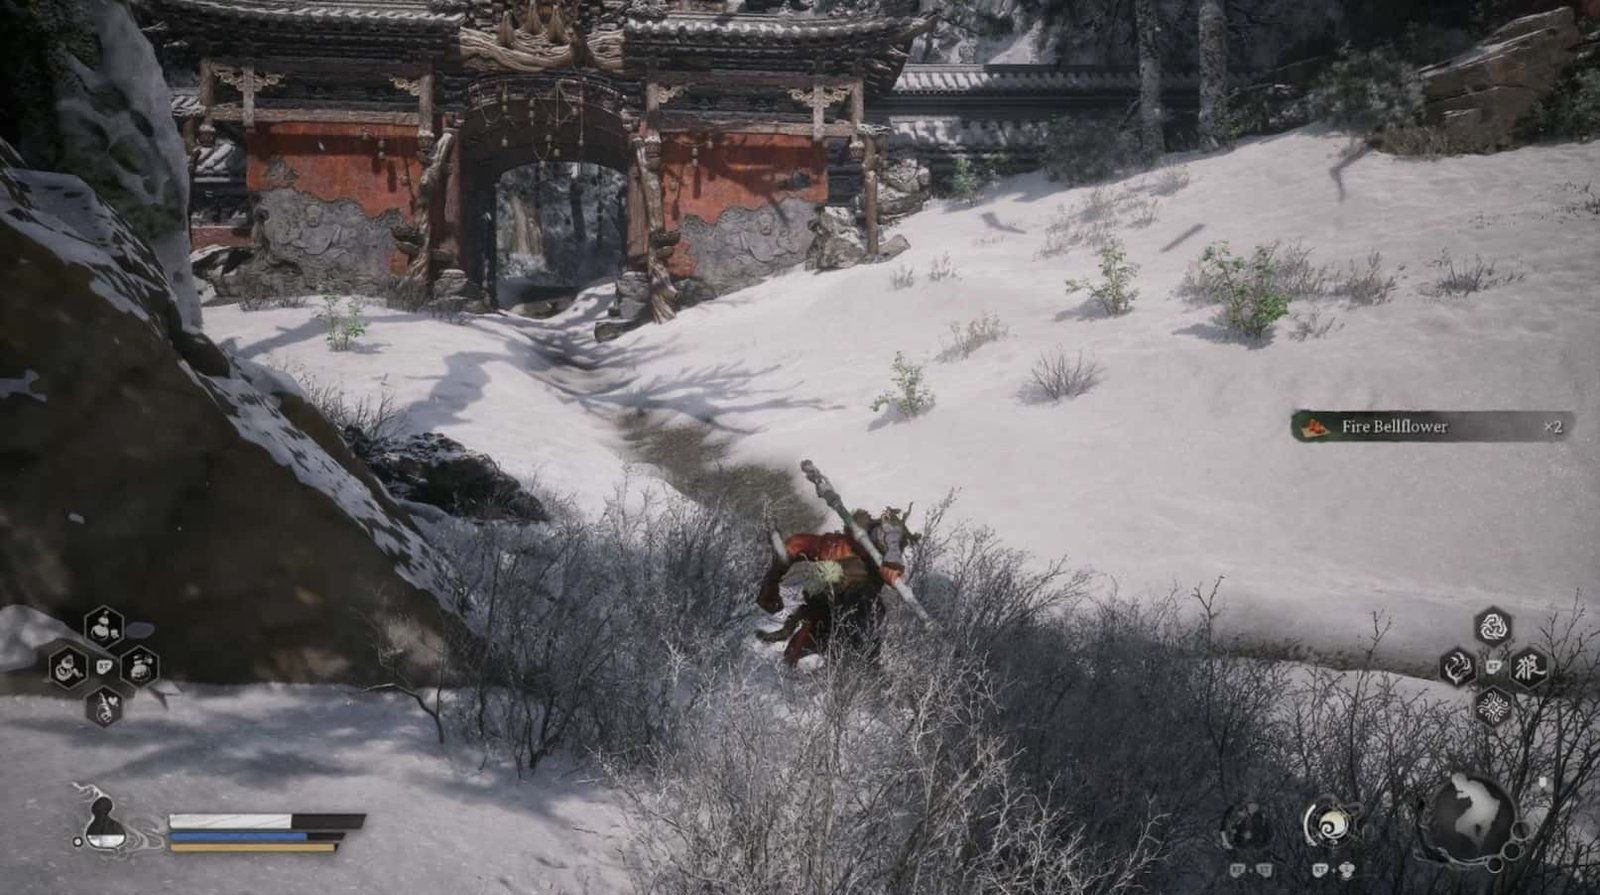
Precept Corridor
From the Precept Corridor Shrine, follow the paved path downwards. You will soon encounter a Wolf Guardian. After defeating it, look to the left, and you will find a Meditation Spot between two statues. Nearby are two Frozen Corpses guarding it, be careful.
Continue down, and you will see a large stone slab blocking the way. At the foot of the slab is a small altar, on which lies a Treasure Chest containing the recipe for Enhanced Tiger Subduing Pellets and a few sample pellets.

From here, take the path on the right, following the stone wall. You will soon encounter a Monk Supporter guarding a green Wisp. After defeating it and absorbing the Wisp, continue up the stairs.
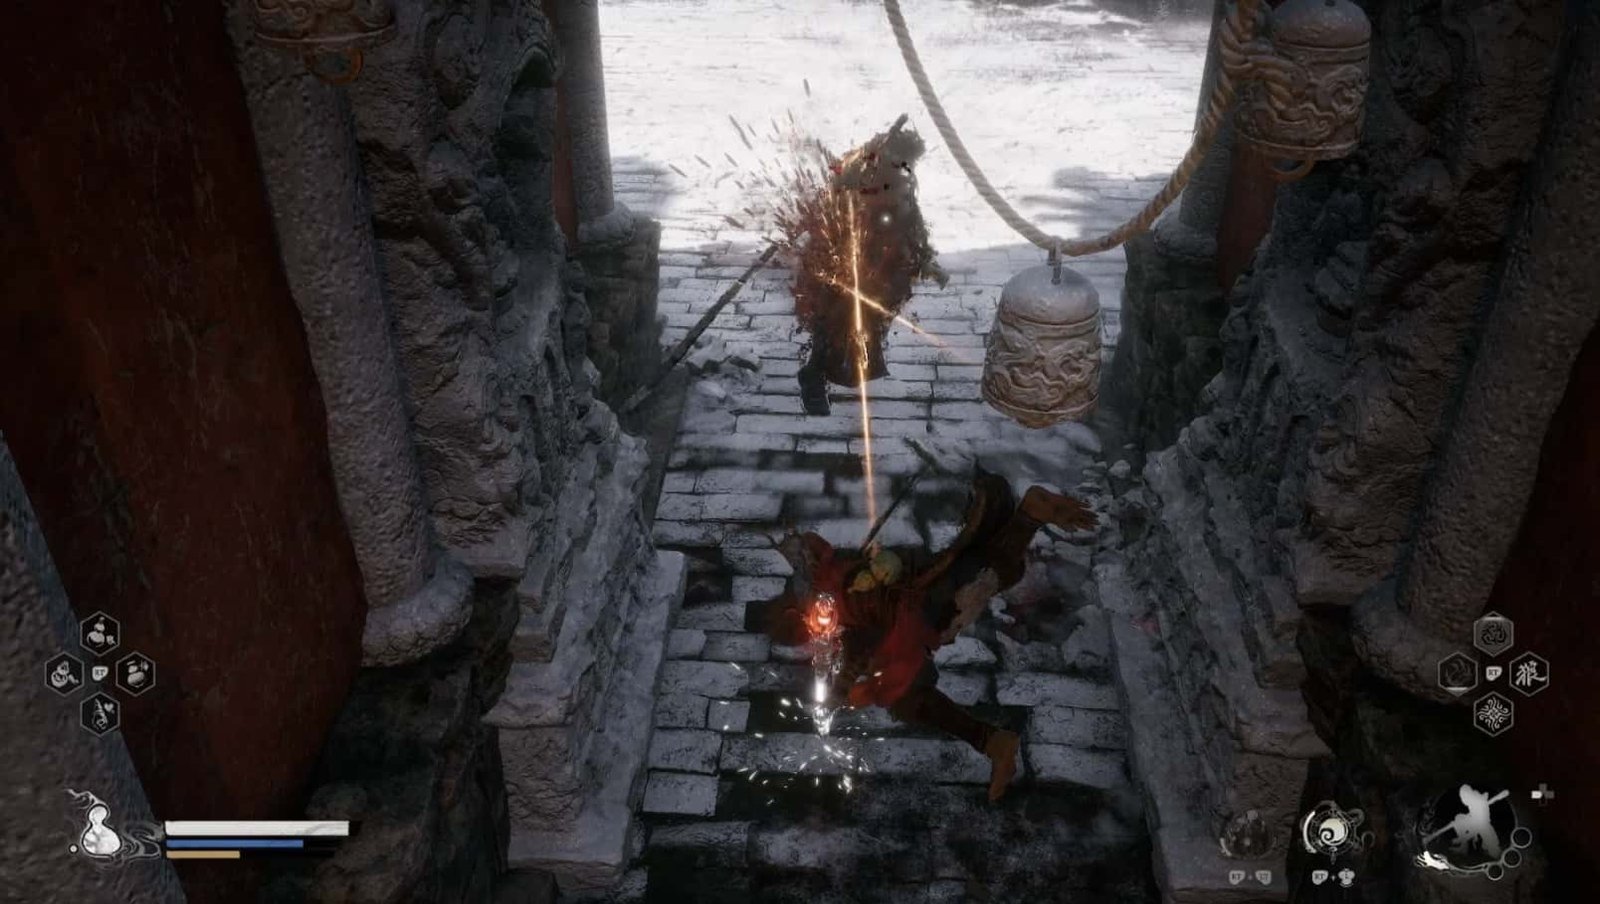
After a while, you will see a left turn leading into a large hall with many statues. Here, you will face a Red-Haired Yaksha – a very powerful enemy who uses advanced martial arts. Be careful with his punches and kicks. Zhu Bajie will assist you in this battle. Take advantage of Immobilize and Rock Solid to control and counterattack him. After defeating the Red-Haired Yaksha, you will receive the Red-Haired Yaksha Spirit.
After defeating the Red-Haired Yaksha, Zhu Bajie will ask you to rest at a nearby pavilion. However, before reaching the pavilion, you will have to go through a small area with two paths.
I advise you to take the right path first. Defeat the Monk Supporter and absorb the Wisp, then take the small left path to go up the stairs. Follow the stairs, and you will reach a small corridor leading into a room. Here, you will find a Buddha statue. However, this is NOT one of the four Buddha statues you need to find. Ignore this statue and exit the room through the other passage. This passage will lead you to a location near the pavilion.
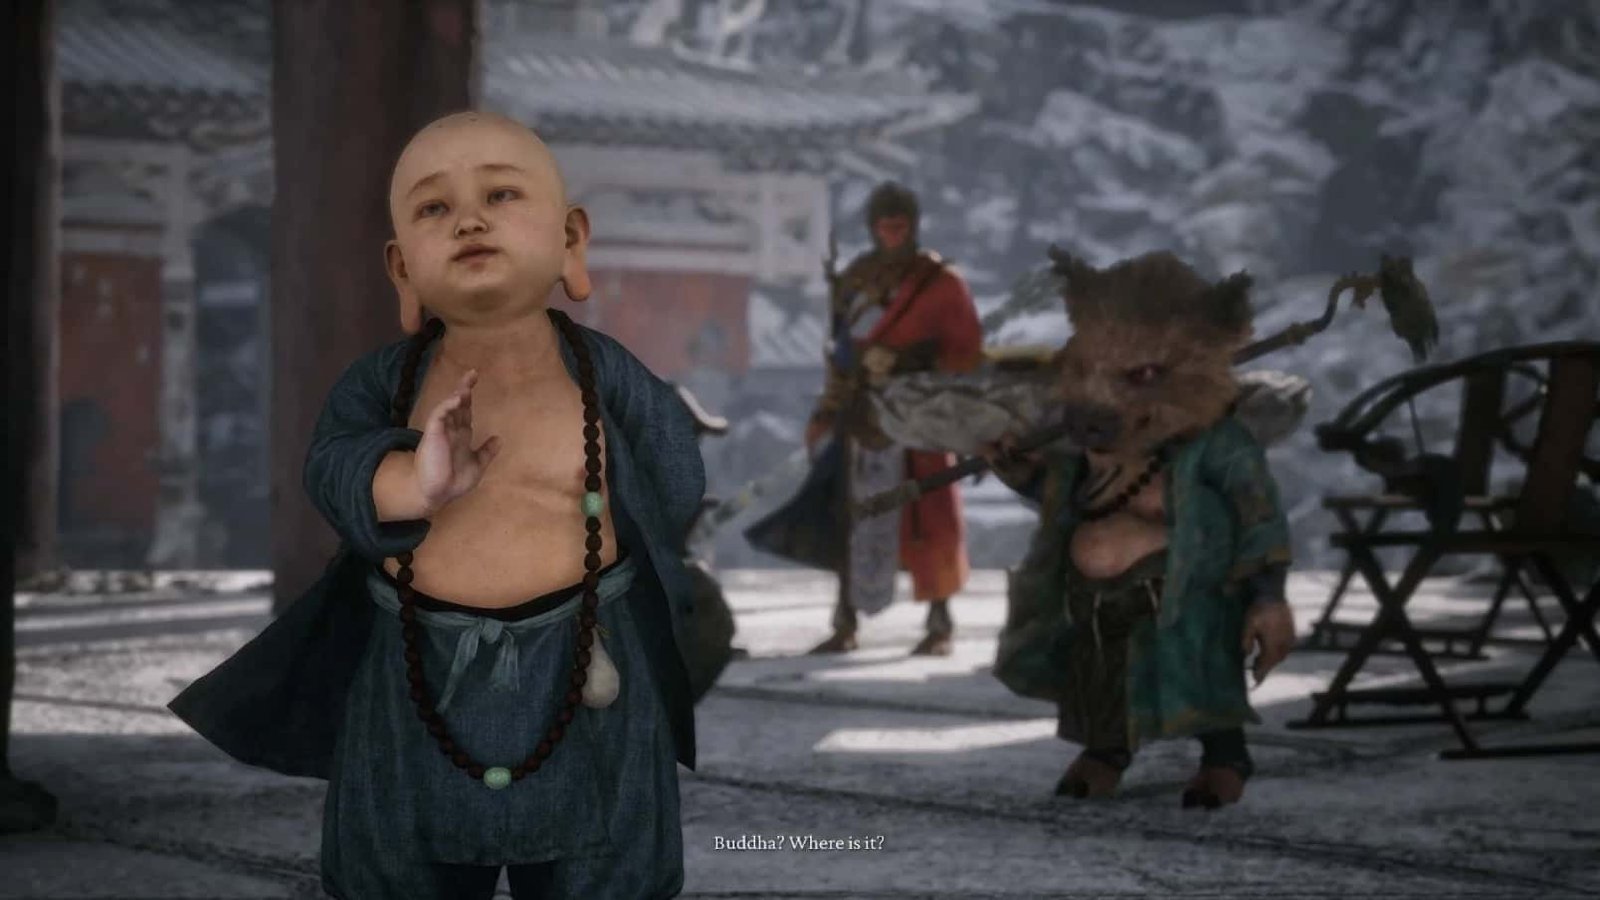
When you reach the pavilion, you will meet the chubby little monk you met at the beginning of Chapter 3. He will hint at the four mysterious Buddha statues, “why not worship around with true hearts, for Buddhas may light your path.”
Your task is to find and pray at these four Buddha statues. They are scattered throughout the Precept Corridor area.
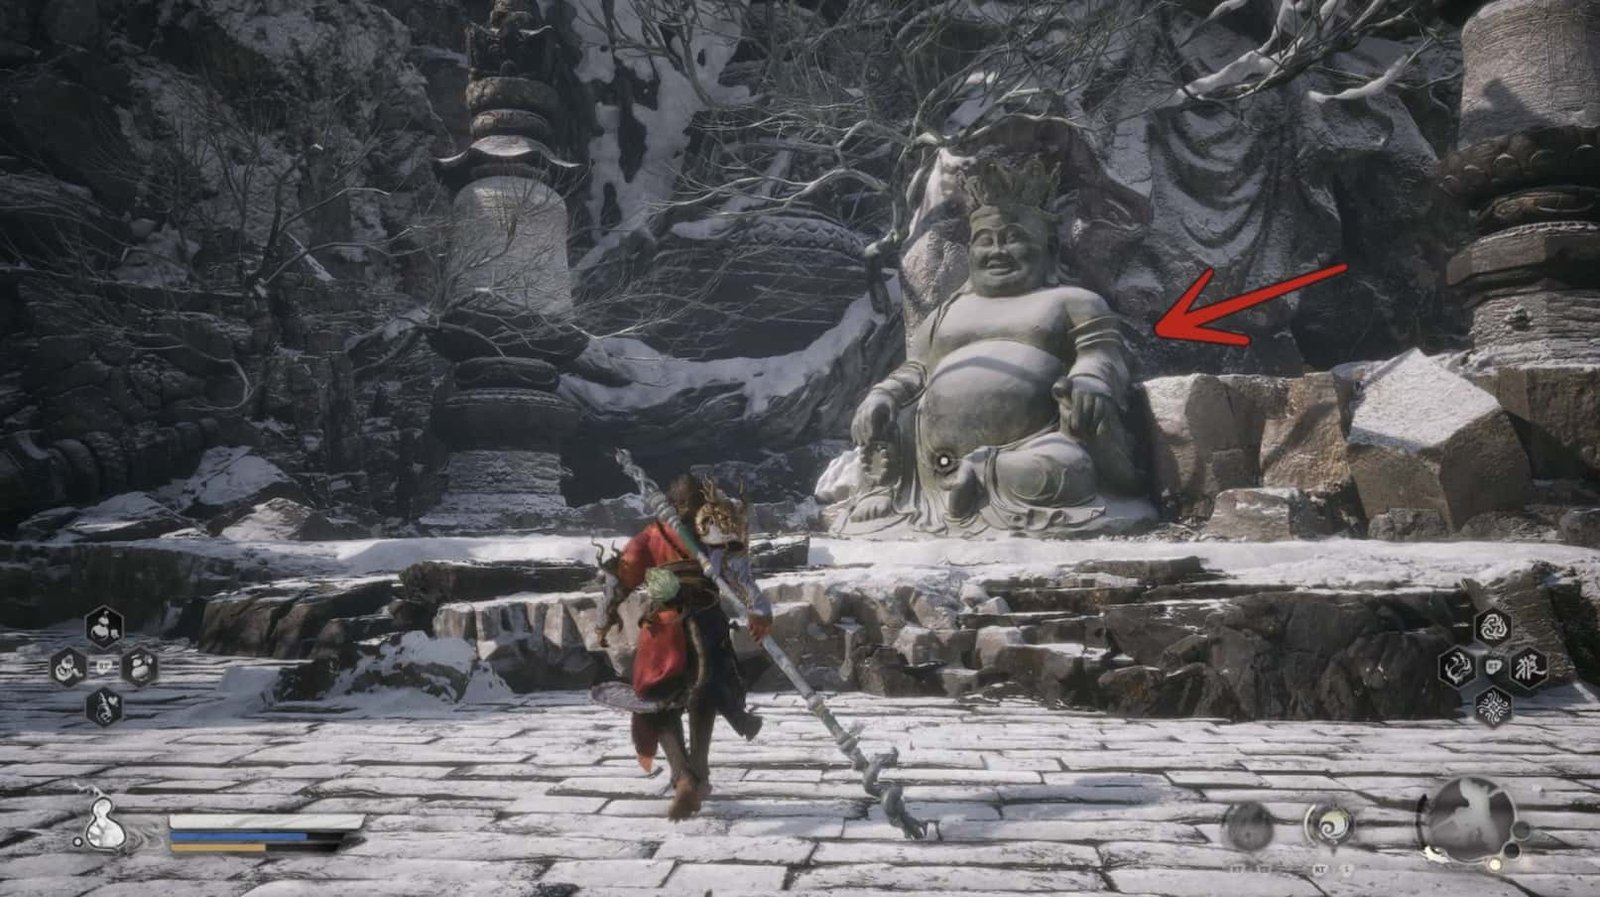
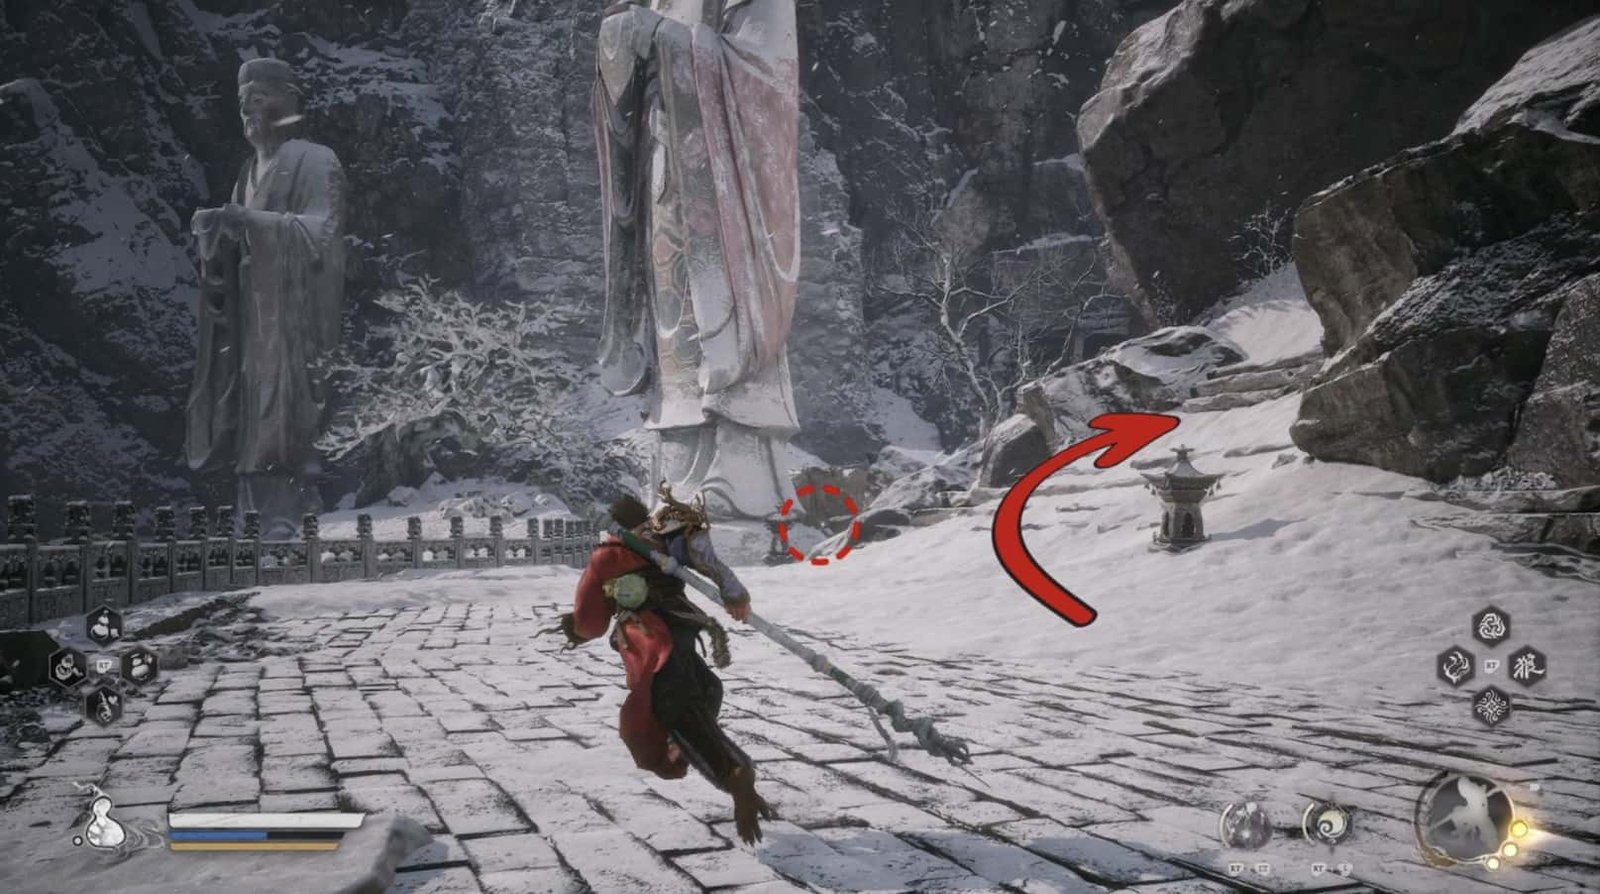
First Buddha Statue, leave the pavilion and go to the left (the opposite direction from where you came to meet the chubby little monk). Follow the path, and you will see the first Buddha statue standing majestically between two pillars. The statue wears a crown and exudes a compassionate and benevolent aura. Pray sincerely here.
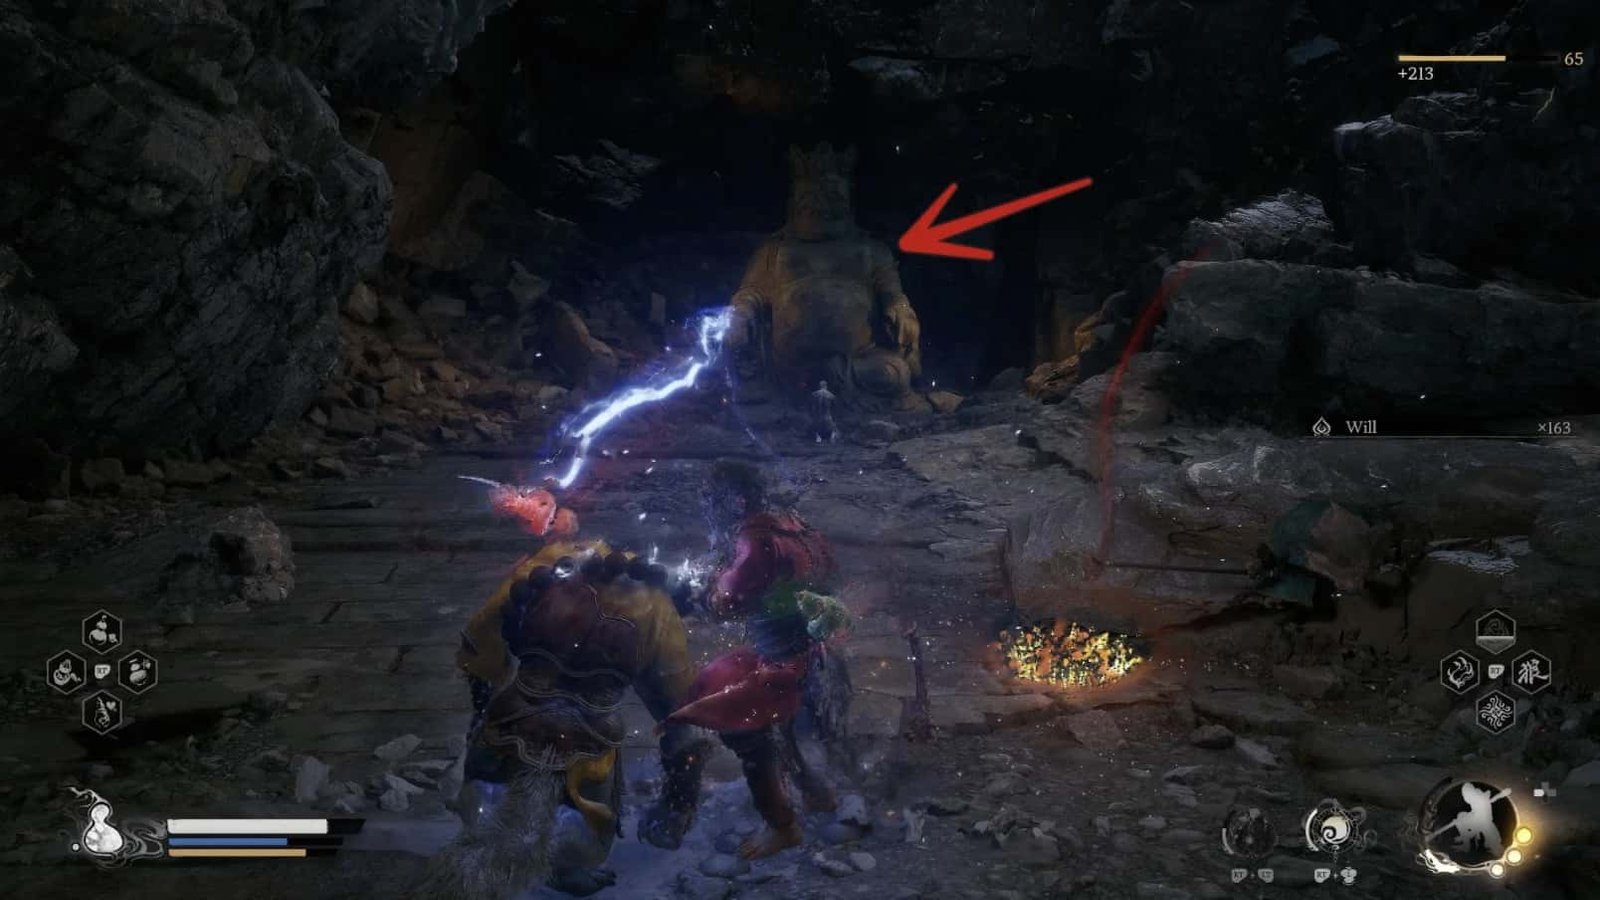
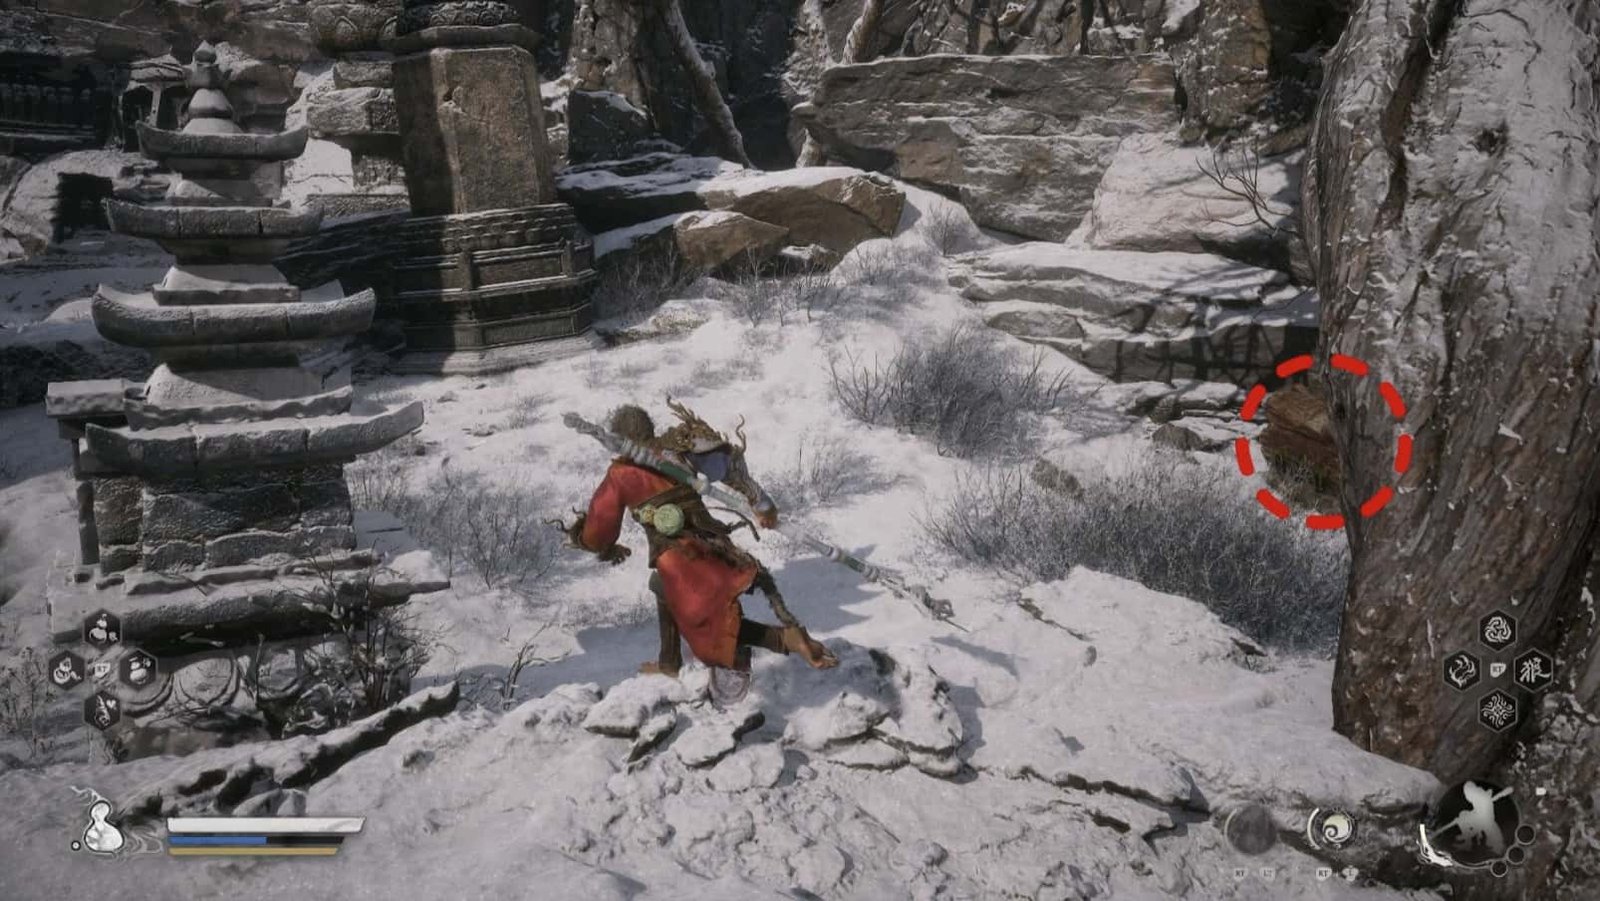
Second Buddha Statue, from the first statue, continue along the path to the left (the opposite direction of the pavilion). You will see a path leading downhill. Go down that path. At the bottom of the slope, you will encounter a Wolf Guardian. After defeating it, look to the right, and you will see the second Buddha statue lying there, hidden behind rocks, next to a Frozen Corpse Censor Holder. Pray sincerely here.
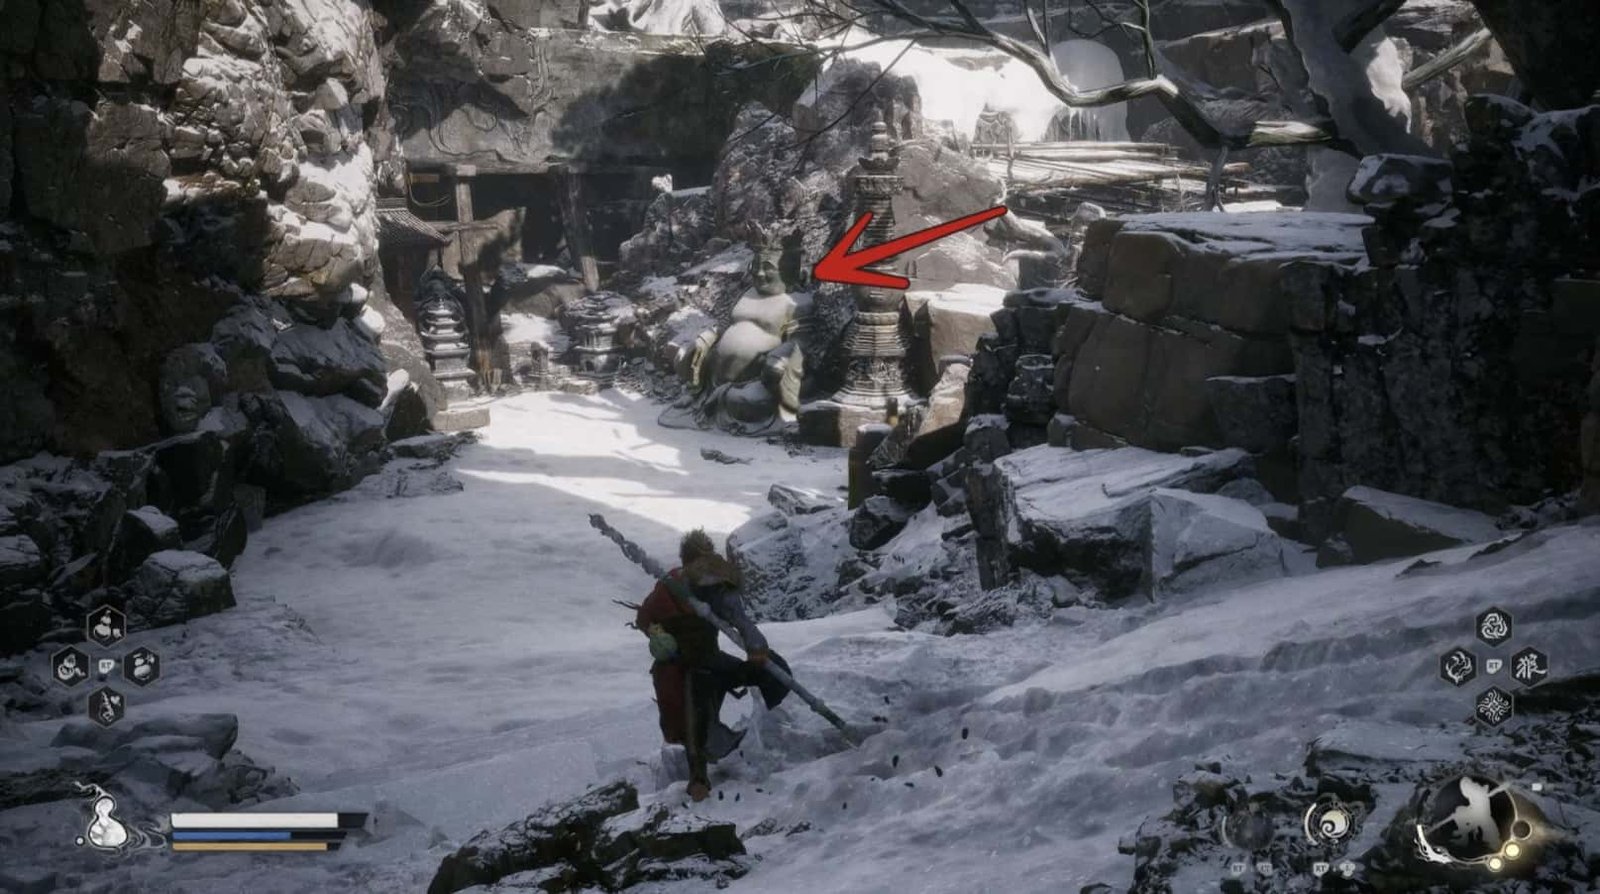
Third Buddha Statue, from the second statue, go to the left (the opposite direction of the downhill path). Follow the narrow path, and you will encounter a Monk Supporter guarding the entrance to a tunnel. Defeat it, then continue straight ahead (ignore the tunnel entrance). Right in front of you, the third Buddha statue will appear, humbly situated beside wooden pillars. Stop and pray.
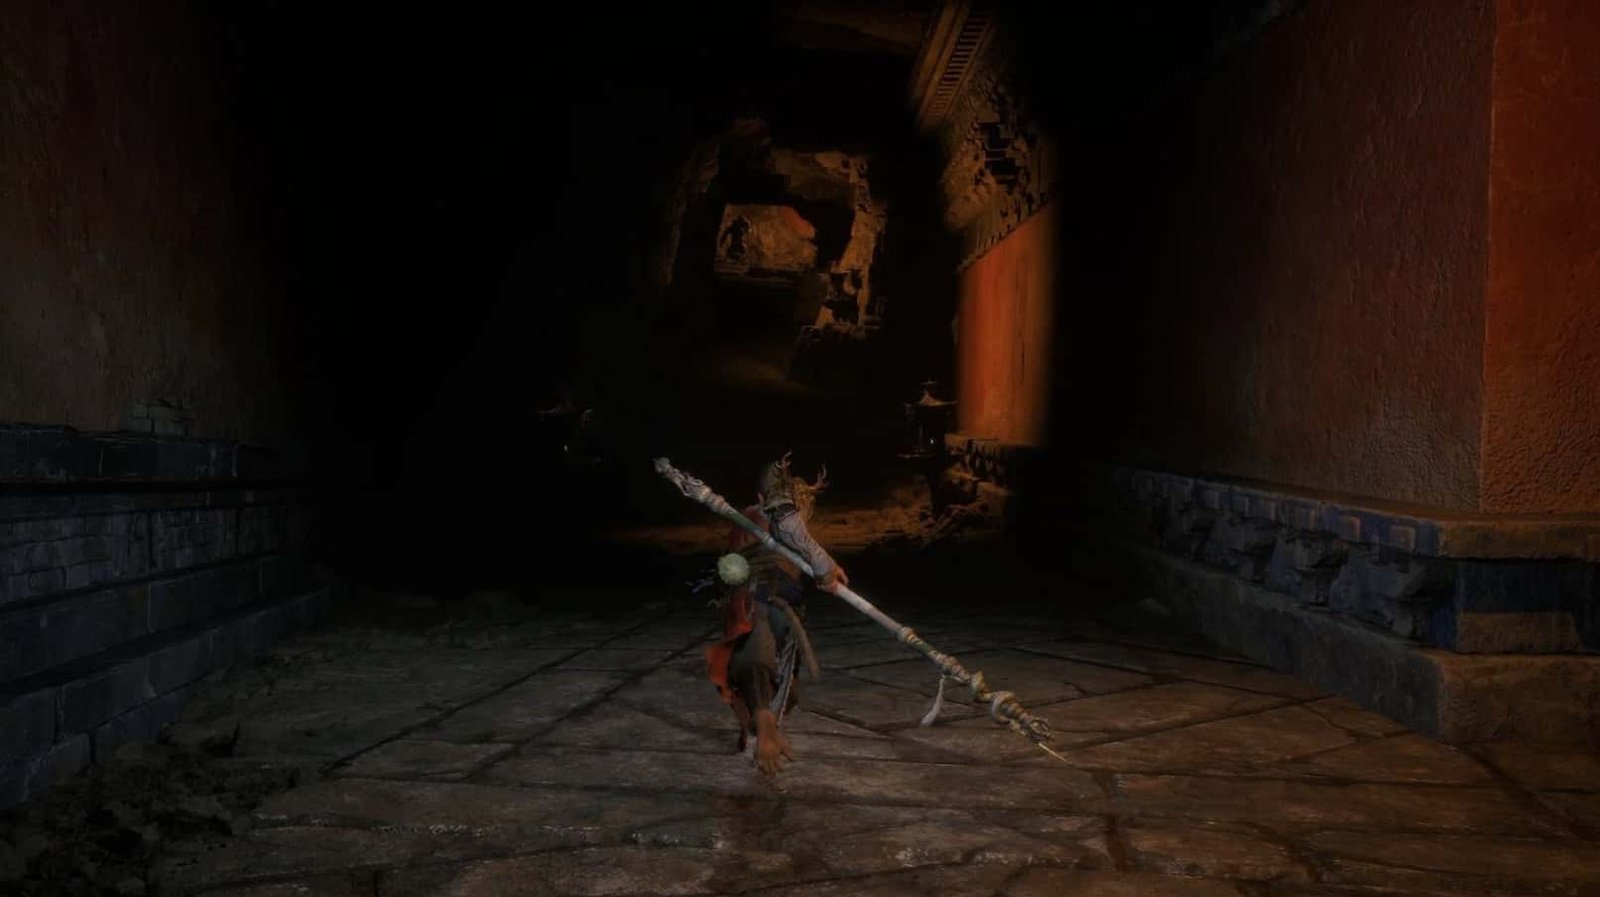
Fourth Buddha Statue, from the third statue, return to the tunnel entrance that you previously ignored. Enter the tunnel, and you will have to climb a slope. On the way, be careful of the two Monk Supporters lying in ambush. Overcome them, and you will reach a small room.
Here, the fourth and final Buddha statue stands majestically, guarded by a Red-Haired Yaksha. After defeating the Yaksha, pray sincerely before the statue.
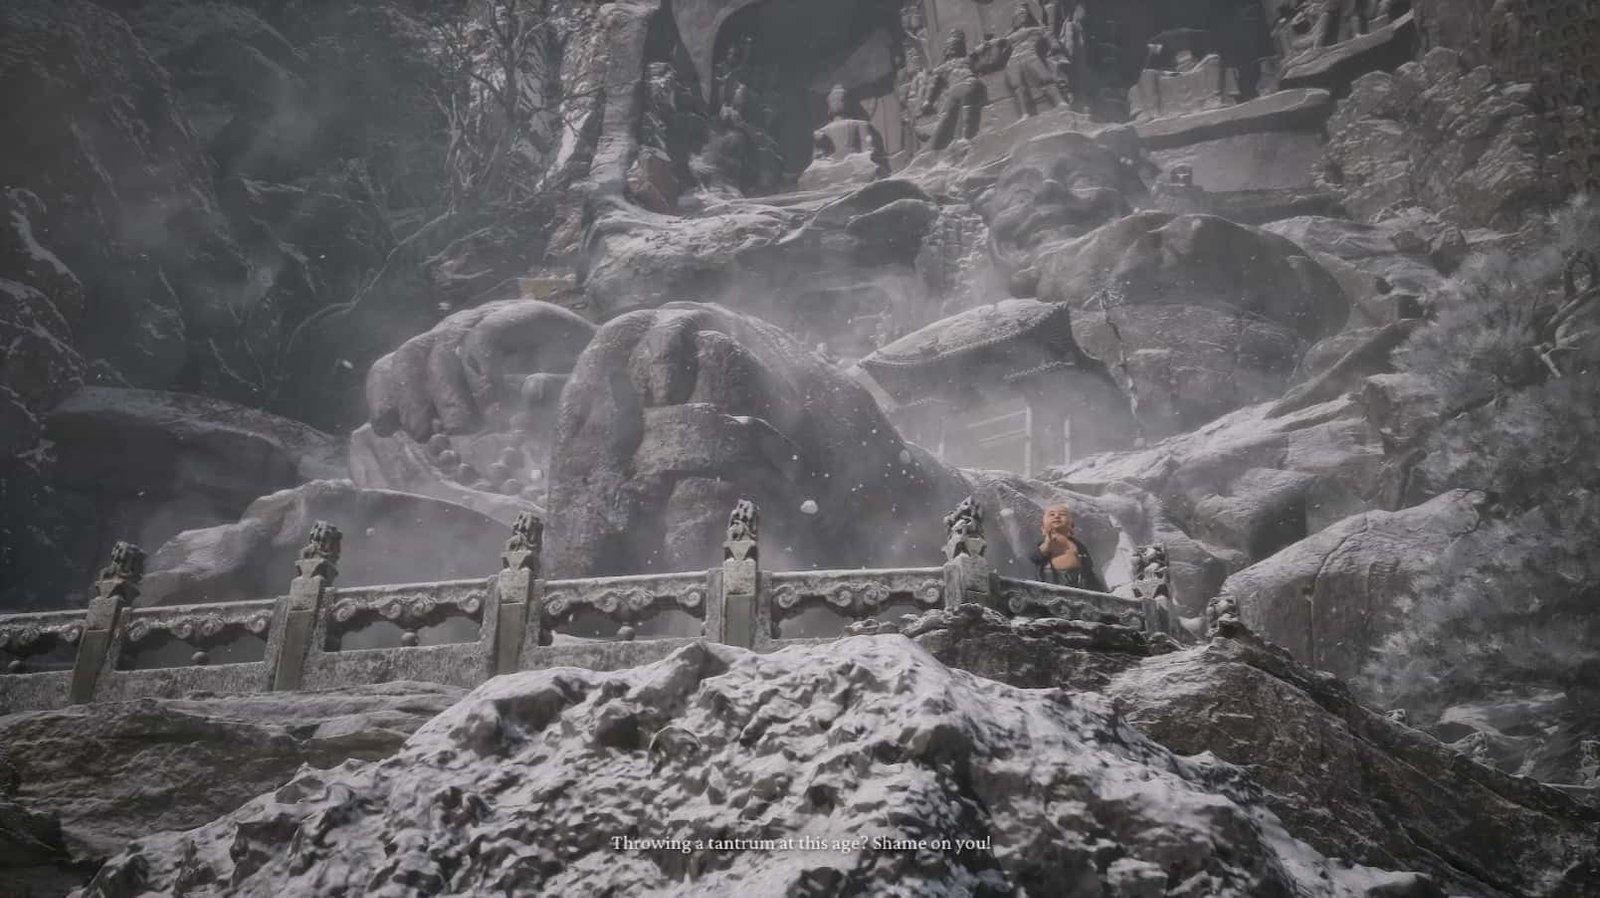
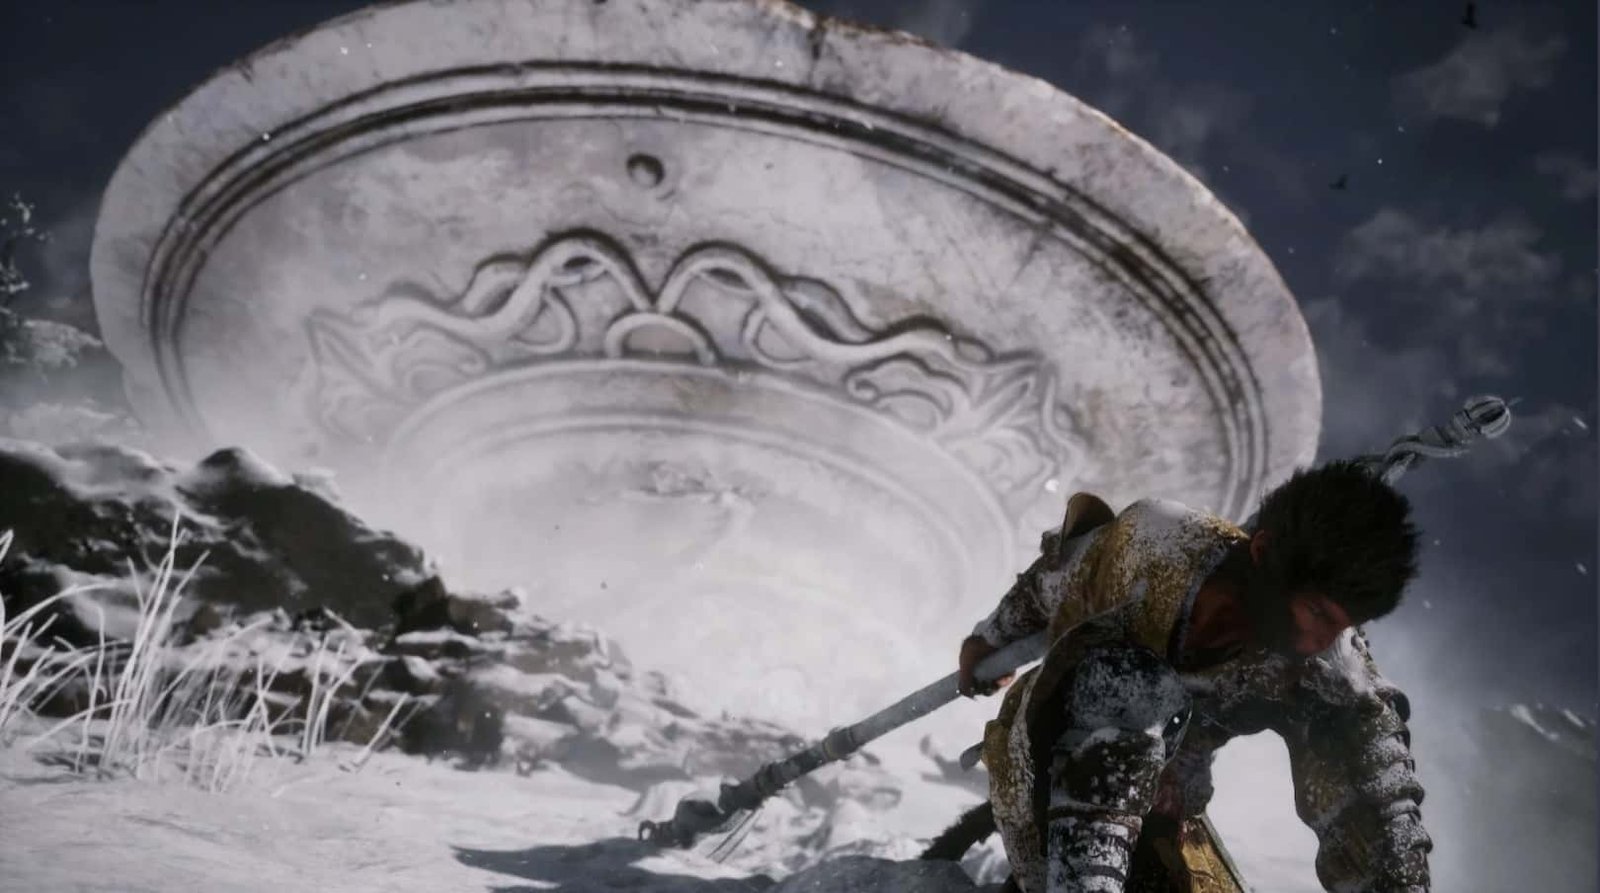
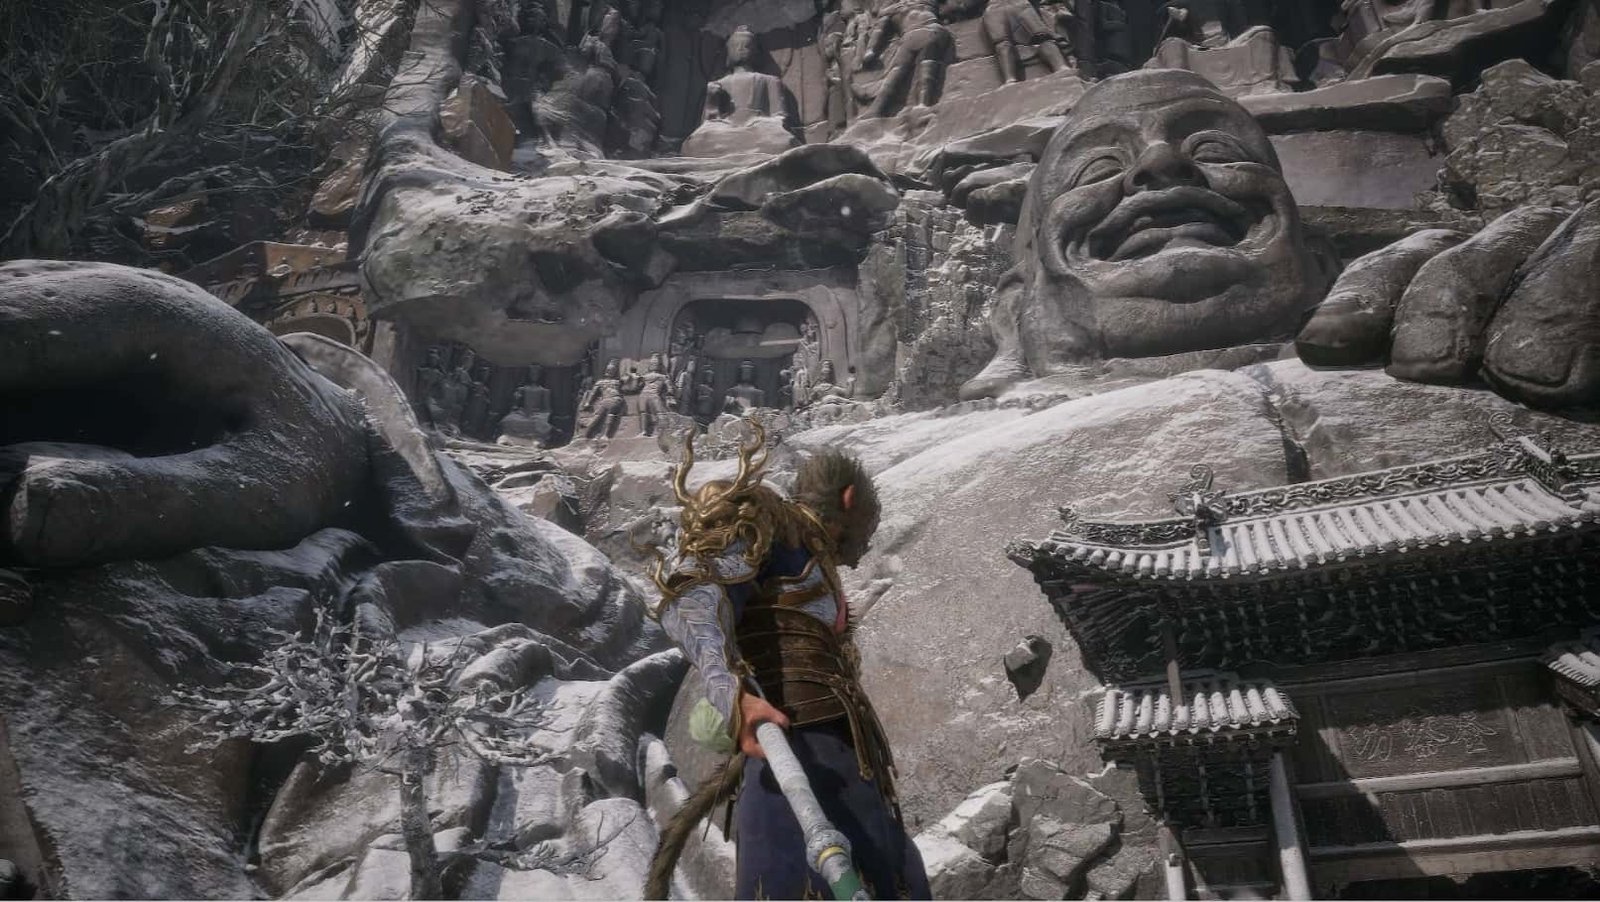
So you have fulfilled your wish, praying at all four Buddha statues. Now, return to the pavilion, where the chubby little monk is waiting. He will congratulate you and guide you to the giant Buddha statue on the cliff. This statue, previously hidden, now appears clearly, with a secret passage in the middle of its belly.
Zhu Bajie will bid you farewell here, and will meet you again in the Valley of Ecstasy. Take the path to the right of the pavilion, climbing the steps leading to the giant Buddha statue.
On the way, be sure to collect the Wisps and look for the Treasure Chest hidden in the rock crevices.
Finally, you will reach the secret entrance in the middle of the giant Buddha statue’s belly. Enter, follow the sloping path to leave Bitter Lake, and proceed into the Valley of Ecstasy – the land of illusions and new challenges.