
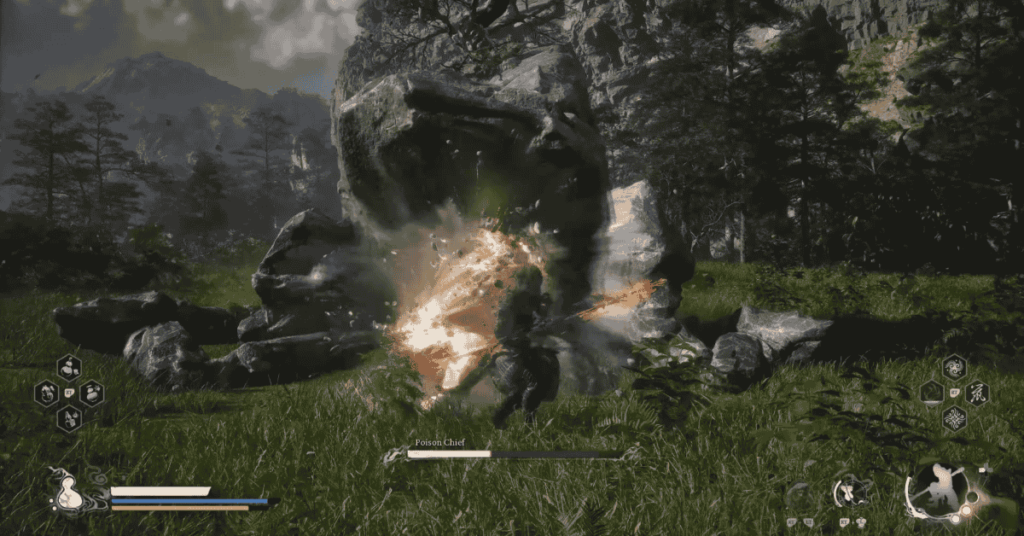
In Chapter 6 of Black Myth: Wukong, the Foothills area is where you can find the Poison Chief, an optional type of Yaoguai Chief. There are a total of four such enemies scattered throughout the area, but don’t worry, as they are identical in appearance and attack patterns. Hunting them down is worthwhile, not just to unlock the Journal entry (defeating just one is enough), but mainly to farm extremely useful upgrade materials like Fine Gold Thread (for armor), Mind Core (for crafting Elixirs), and Cold Iron Leaves (for weapons), while also being a good opportunity to hone your skills. Now let’s see what preparations are needed before facing them.
How to Find Poison Chiefs
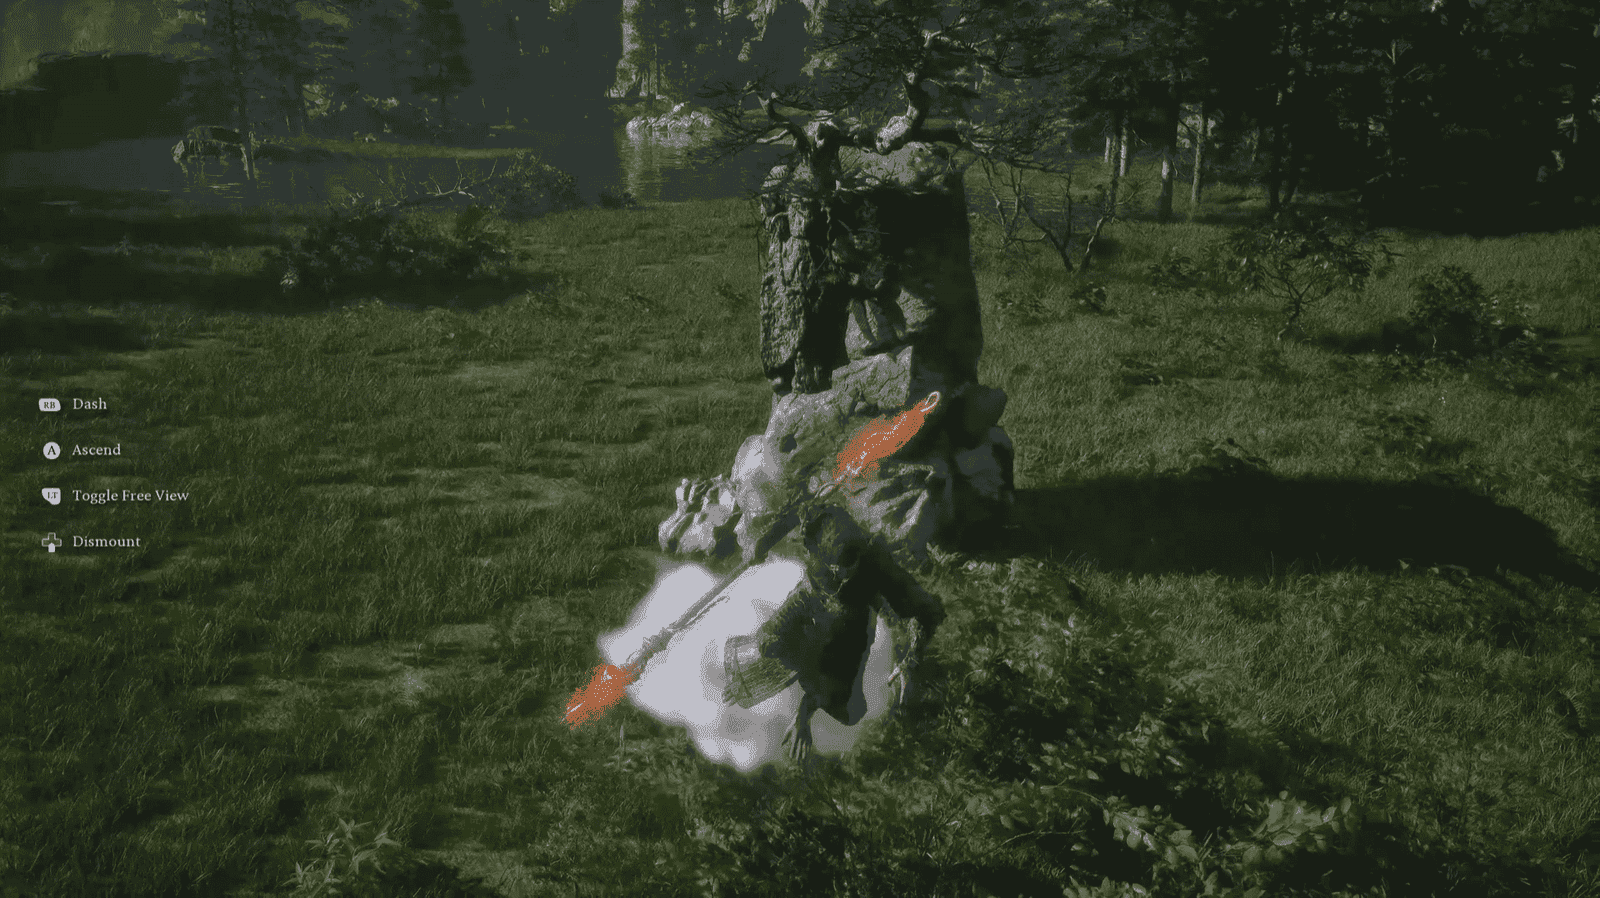
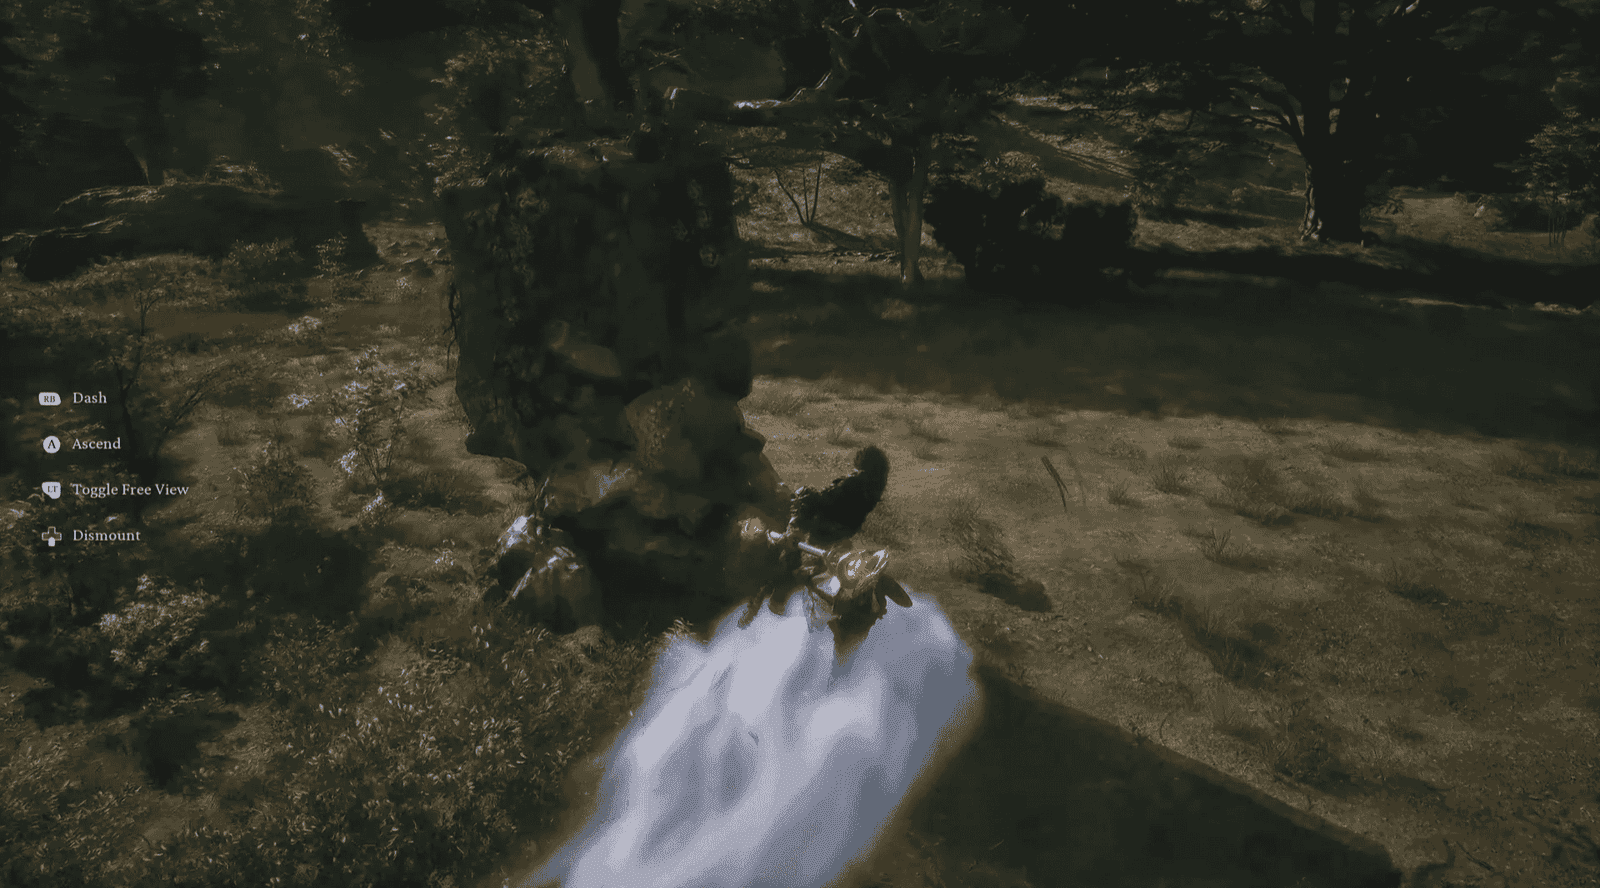
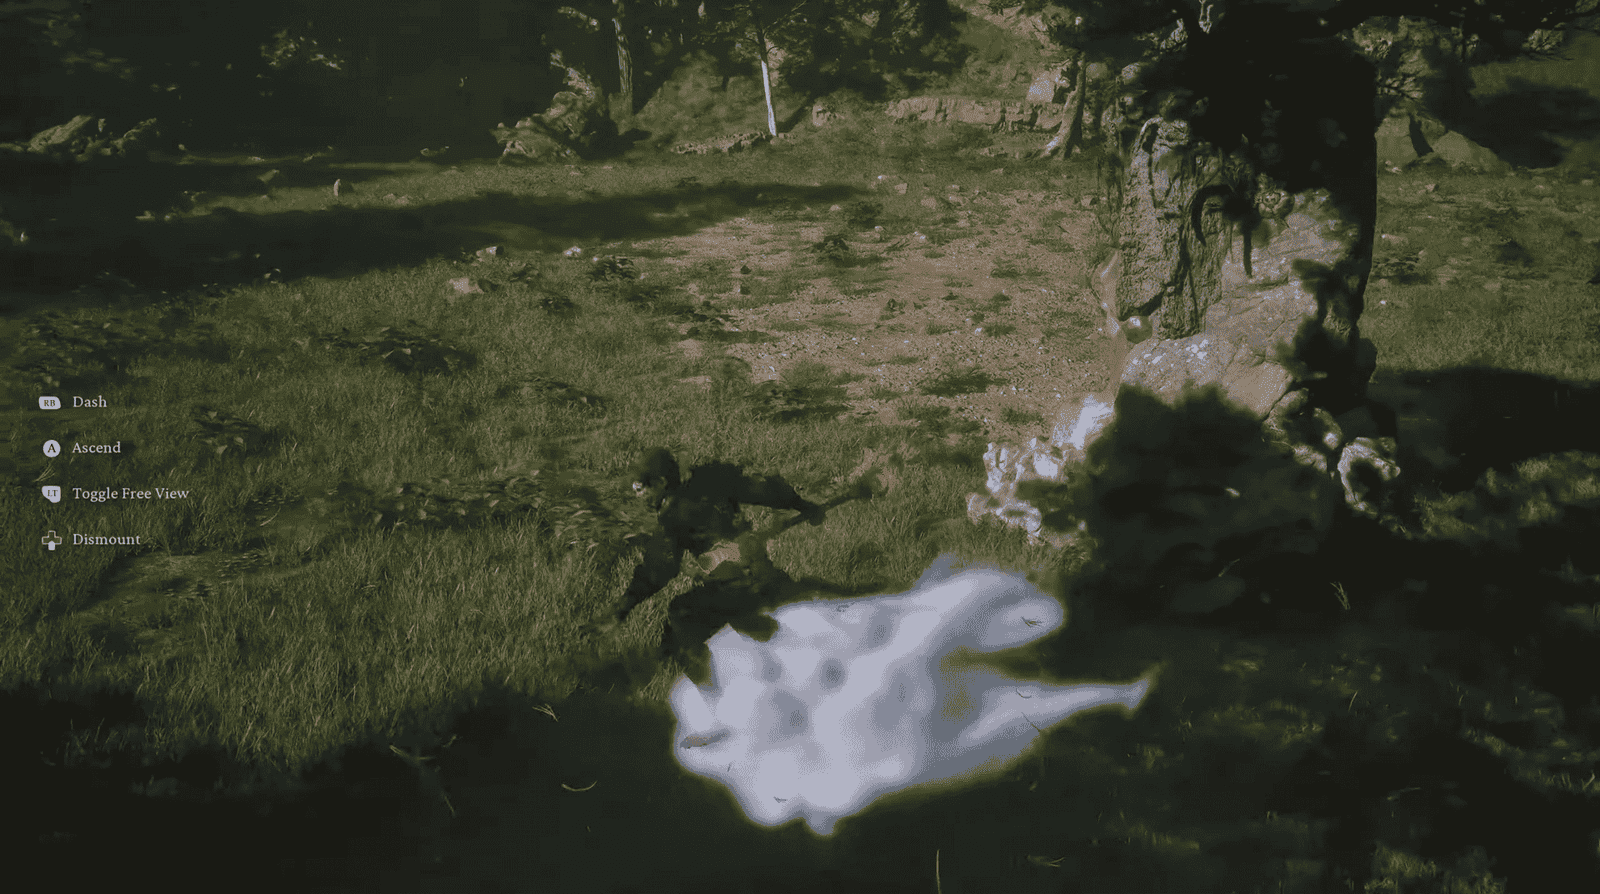
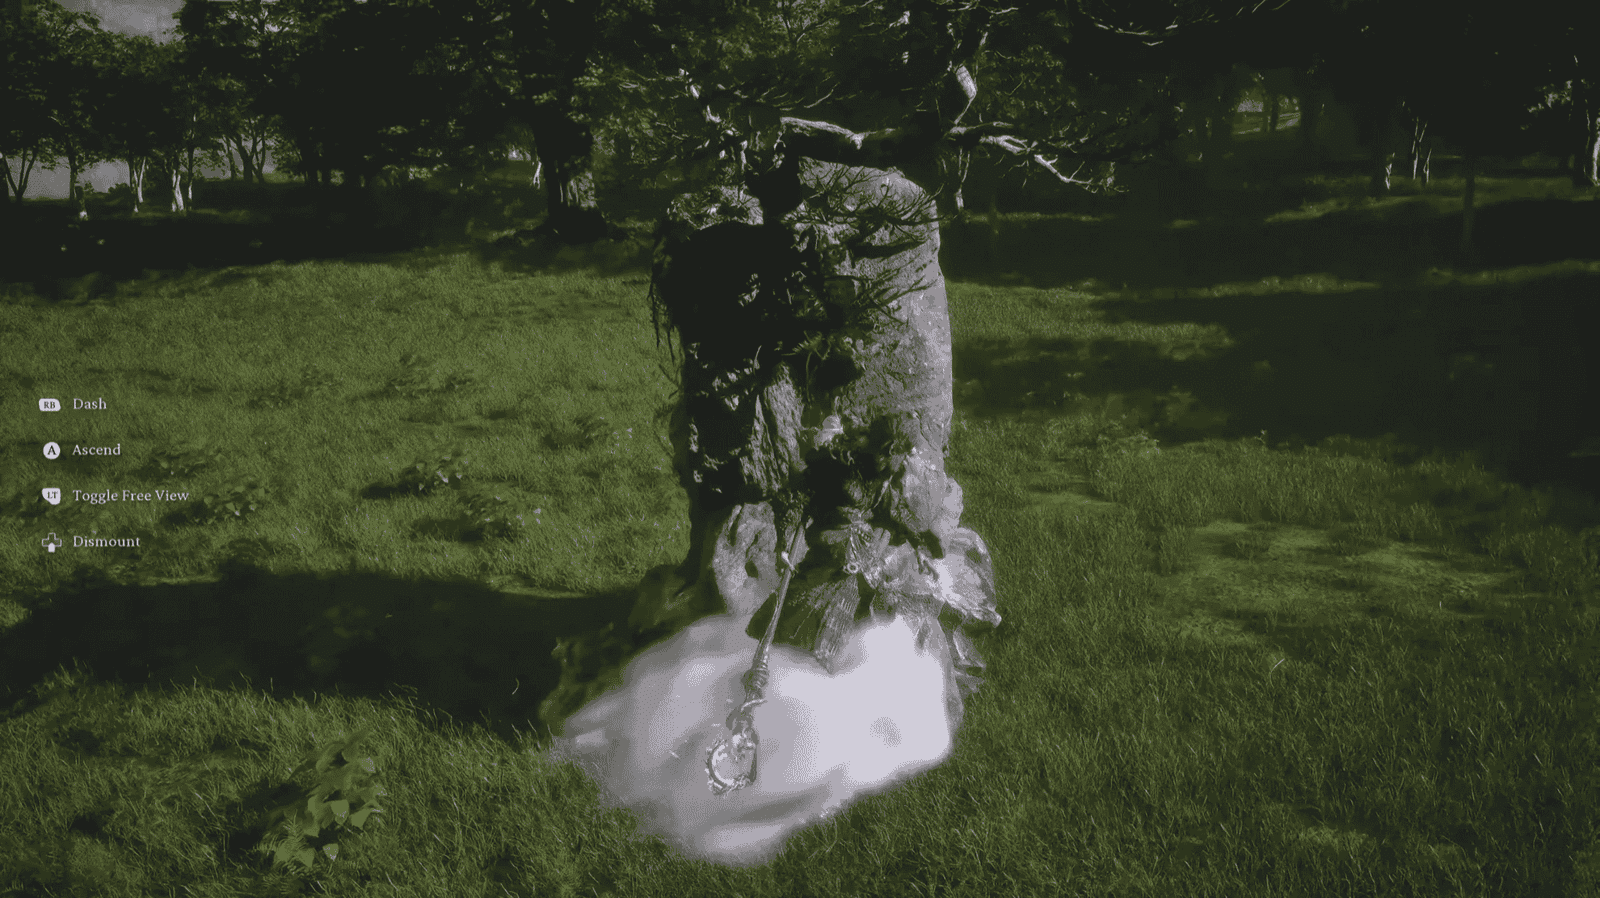
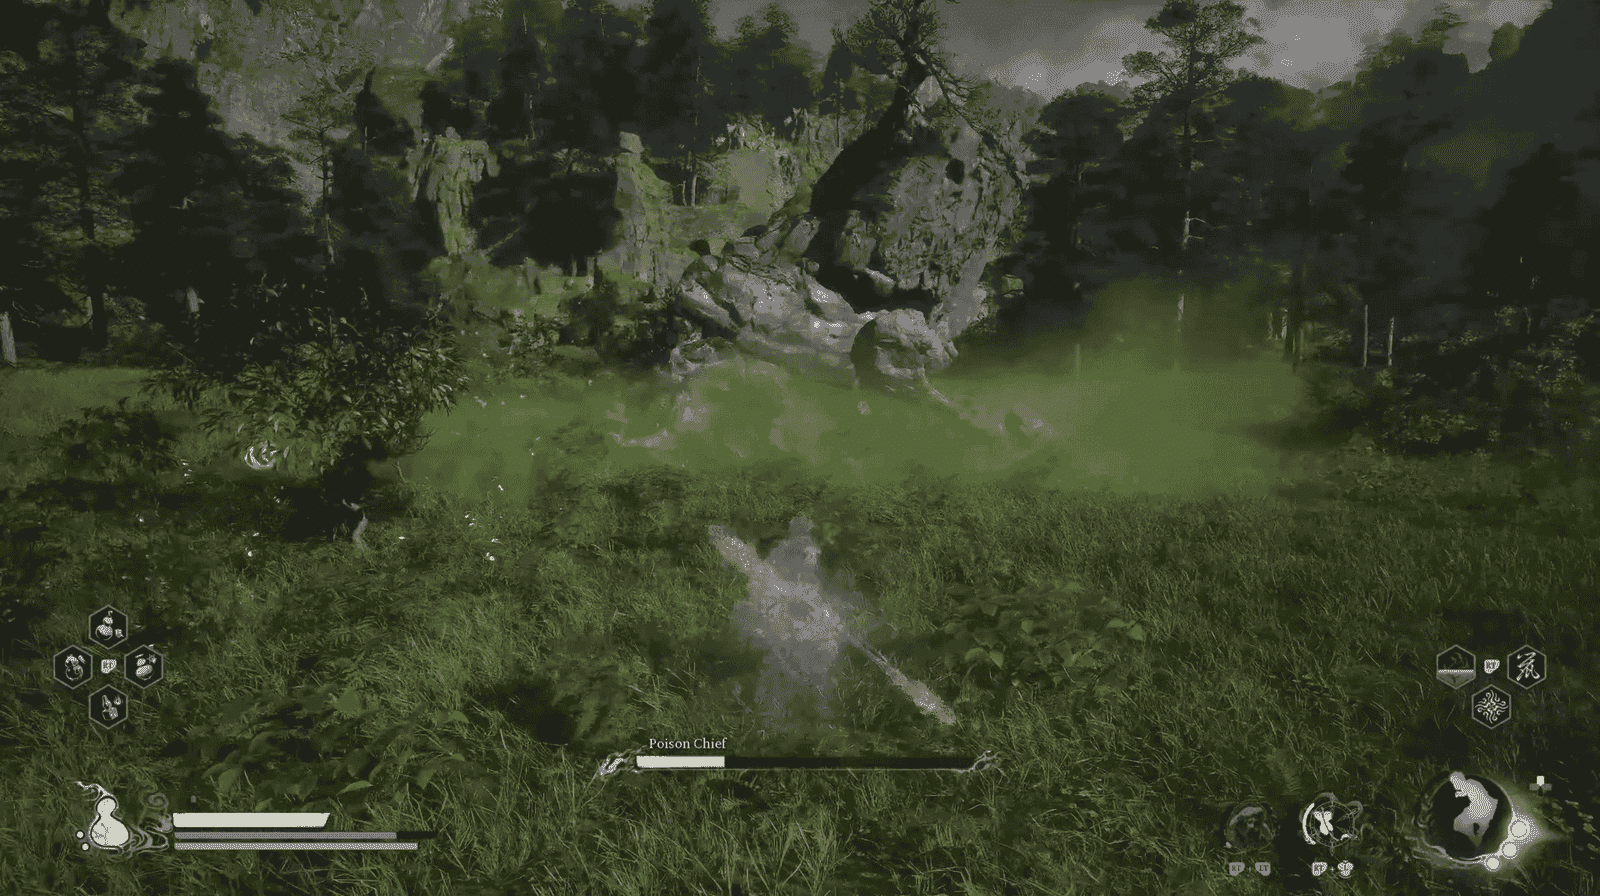
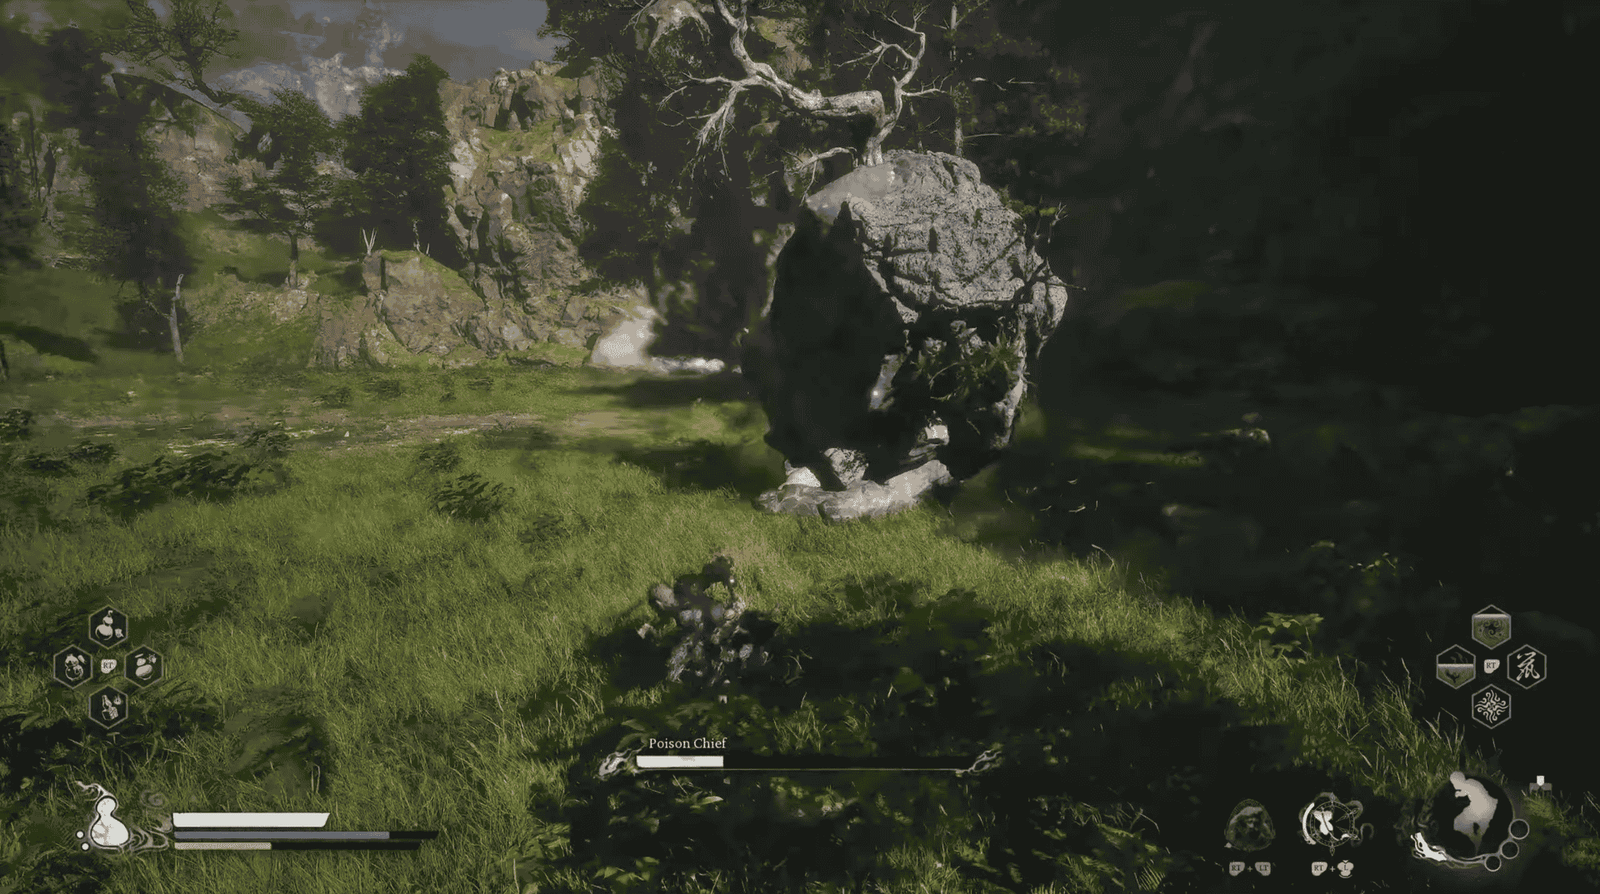
Now it’s time to hunt down each Poison Chief. Remember to use the Somersault Cloud (the flight skill for fast and free movement) to make traversing between locations in this vast Foothills area easier. Note that all four Poison Chiefs initially camouflage themselves as large, inanimate-looking rocks. You need to approach them at close range (usually requiring dismounting from the Somersault Cloud) for them to ‘awaken’ and the fight to begin.
Here are detailed directions to each one’s location:
Poison Chief Location #1
Suggested Starting Point: The area where you just defeated Jiao-Loong of Waves or from the Verdant Path Shrine.
Directions: From the Jiao-Loong battle area, use the Somersault Cloud to fly straight up high and look to the left. You will see another lake situated on a higher part of the cliff. Fly to the opposite side of this lake, and you will land on a fairly large clearing. Look for a large rock near the edge of this clearing – that’s the first Poison Chief. Approach it to trigger the fight.
Poison Chief Location #2
Suggested Starting Point: Rhino Watch Slope Shrine (activated after defeating Feng-Tail General) or potentially flying from the Verdant Path Shrine.
Directions: If starting from the Rhino Watch Slope Shrine, face the shrine, then use the Somersault Cloud to fly high up and look to the right. You’ll see a large rock in the distance. Fly straight towards that rock and pass over it. Continue flying a short distance further and slightly to the right. Amidst the bushes, look for a distinctive small patch of ground with no grass growing. The second Poison Chief is hiding there as a rock.
Poison Chief Location #3
Suggested Starting Point: The area after defeating Lang-Baw-Baw or from the Deer Sight Forest Shrine.
Directions: After defeating Lang-Baw-Baw, use the Somersault Cloud to fly up high and look towards the opposite side of the lake (not the area with the distant red trees). Head towards the landmass on your right side as viewed from Lang-Baw-Baw’s location. As you fly near the cliff edge of this area, you will spot another distinct clearing with a large rock right in the middle. That is the third Poison Chief.
Poison Chief Location #4
Suggested Starting Point: The Shrine near the area where you fought the Cloudtreading Deer or from the Deer Sight Forest Shrine.
Directions: From the Shrine near the Cloudtreading Deer, use the Somersault Cloud to fly very high and look straight ahead, towards another cliff section. It might be a bit hard to see from afar, but just fly straight towards it. An important landmark is a very distinctive tall, white tree. Right next to this special tree is a clearing where the final Poison Chief awaits you in the form of a rock.
Recommended Loadout
Facing the Poison Chief, as the name suggests, the most dangerous element is poison. Therefore, preparation should focus on countering this nasty effect. Firstly, prioritize equipping items, Curios (special items providing passive or active effects), or Spirits (supportive spirits that can be summoned) that increase your Poison Resistance stat. The higher this stat, the less poison damage you take, and the poison status bar will build up significantly slower, making the fight more manageable. Next, don’t forget to bring Antimiasma Powder – a consumable item that instantly cures the poisoned status; equip it in a quick-use slot so you can use it immediately when needed, avoiding unnecessary health loss. In terms of support tools, the Plantain Fan (Curio obtained after completing Chapter 5) is an extremely valuable option. It not only deals damage but also has the ability to push back, stun, and notably interrupt the Poison Chief’s poison-spewing attacks for a decent duration. Lastly, if you have the Immobilize skill (skill that roots enemies), consider using it right after the Plantain Fan’s effect ends to extend the control duration, maximizing the damage you can inflict. With these thorough preparations, you are better equipped to face them.
Poison Chiefs Boss Fight and Guide
As mentioned, the strategy to defeat one Poison Chief applies to all four, so you only need to master it once. The main gameplay loop against them revolves around agile dodging, exploiting openings for counter-attacks, and most importantly, managing the poison effect.
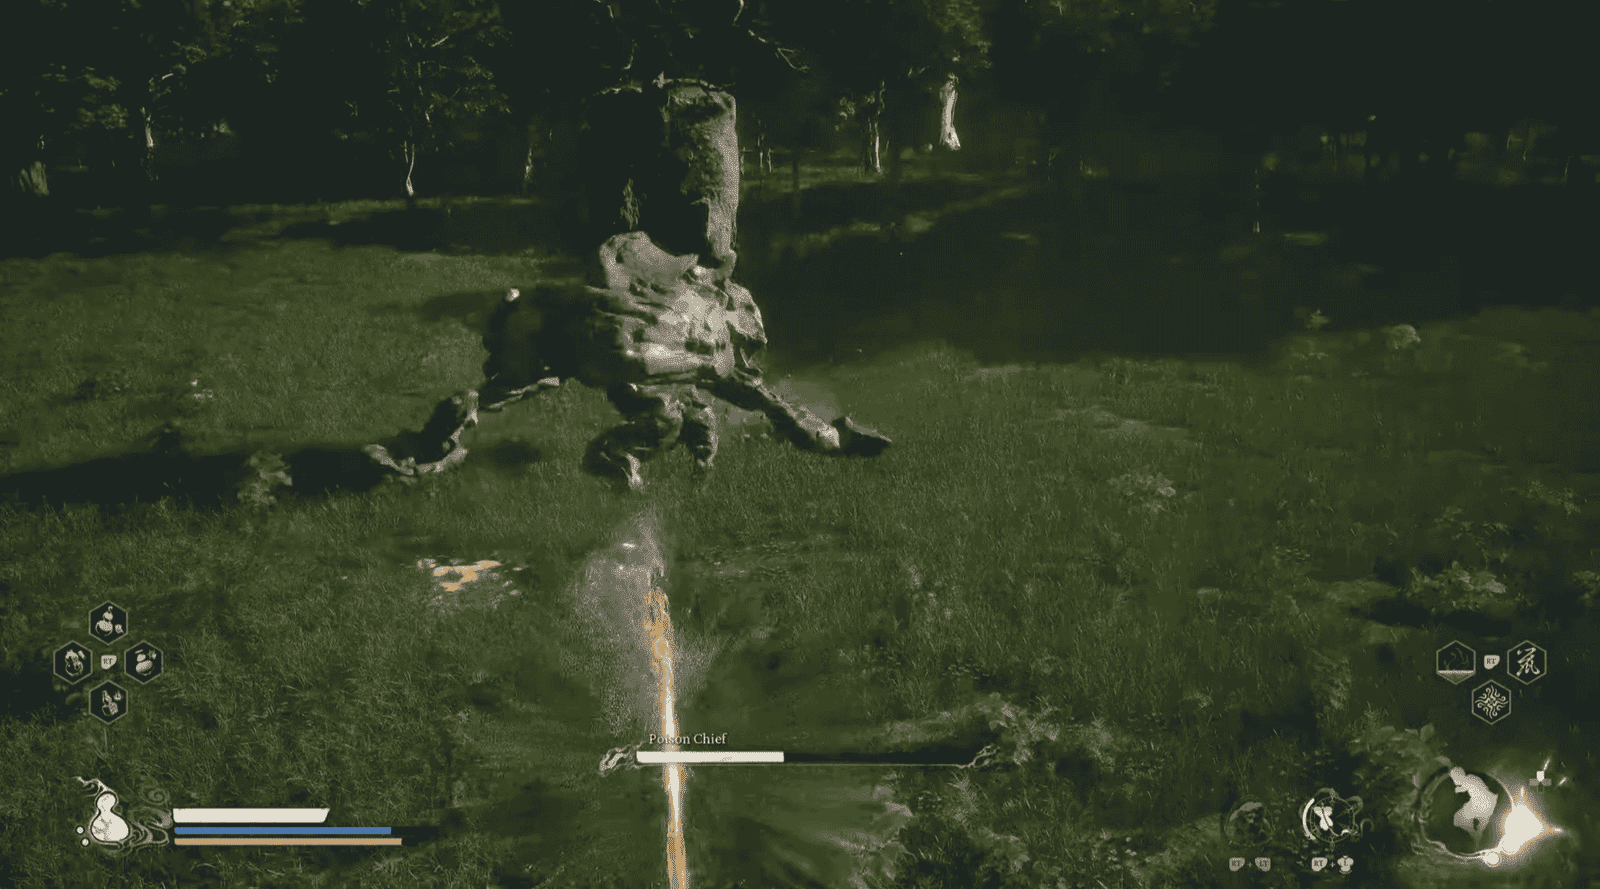
Let’s analyze the main moves of the Poison Chief and how to counter them effectively:
Poison Orbs: This is the most characteristic and troublesome attack. The Poison Chief will continuously throw small poison orbs, creating poison pools that linger on the ground for quite some time, dealing damage over time (DoT) if you stand in them.
How to Counter: Always keep moving, especially moving laterally to avoid the trajectory of the orbs. Absolutely avoid standing still or moving into existing poison pools. Keep an eye on your poison status bar and use Antimiasma Powder as soon as it’s nearly full or when you get afflicted. Always carefully observe where the orbs are about to land to choose a safe dodging position.
Charge: The enemy will brace itself briefly then use its full body weight to charge straight at you.
How to Counter: This move is quite predictable. Time your dash sideways just as the Poison Chief is about to reach you. A perfect dodge might even grant you a brief window for a few counter-attacks.
Slams/Punches: Poison Chiefs will use its hands or entire body to slam the ground hard, dealing physical damage in a small area in front of it.
How to Counter: Similar to the charge, maintain a safe distance or dodge backward/sideways away as soon as you see it raise its arms or rear up preparing to slam down.
To optimize the fight, apply these advanced tips:
- Prioritize Interrupting Poison Attacks: This is where the Plantain Fan shines. When you see the Poison Chief preparing poison-related attacks (especially when it’s about to throw orbs continuously or create a large poison area), immediately use the Plantain Fan. This Curio will create a strong gust that pushes back, stuns, and interrupts its actions for about 12 seconds (according to reference info). This is a golden opportunity to pour on the damage.
- Control Combo Chain: Maximize the time the enemy is controlled. As soon as you use the Plantain Fan, rush in and attack relentlessly. When the fan’s effect is about to expire, if possible, follow up with Immobilize to hold it in place a bit longer and continue dealing damage.
- Smart Poison Management: Never get too greedy with attacks and ignore your poison status bar or your positioning. If you are standing in a poison pool or the poison bar is high, the top priority is to get out of the danger zone or use Antimiasma Powder before continuing to attack. Safety first.
Thus, the Poison Chief are rather unique optional Yaoguai Chiefs you can find in the Foothills area during Chapter 6 of Black Myth: Wukong. Although there are four different locations, the method for dealing with them is entirely the same, with the main challenge coming from their extremely annoying poison abilities. Remember to prepare thoroughly with gear boosting Poison Resistance, carry enough Antimiasma Powder, and especially leverage the power of the Plantain Fan to interrupt attacks and create openings. Defeating them not only helps unlock the Journal entry but also yields incredibly valuable upgrade materials like Fine Gold Thread, Mind Core, and Cold Iron Leaves. Don’t miss the chance to test your mettle against these unique foes and collect the worthy rewards on your journey!