
Destined Ones, this Temple of Yellow Flowers is the final lair of Chapter 4 in the legend of Black Myth: Wukong. Here, demonic energy surges, fog blankets the paths, reminiscent of the Spider Cave where Tang Sanzang once lost his way. Atop the towering mountain peak, beyond even the dark Webbed Hollow, the Temple of Yellow Flowers appears and disappears amidst the perilous wilderness, challenging mortals.
Now, Destined Ones, follow in the footsteps of the Great Sage Equal to Heaven, and unveil the mysteries of the Temple of Yellow Flowers!
Mountain Trail
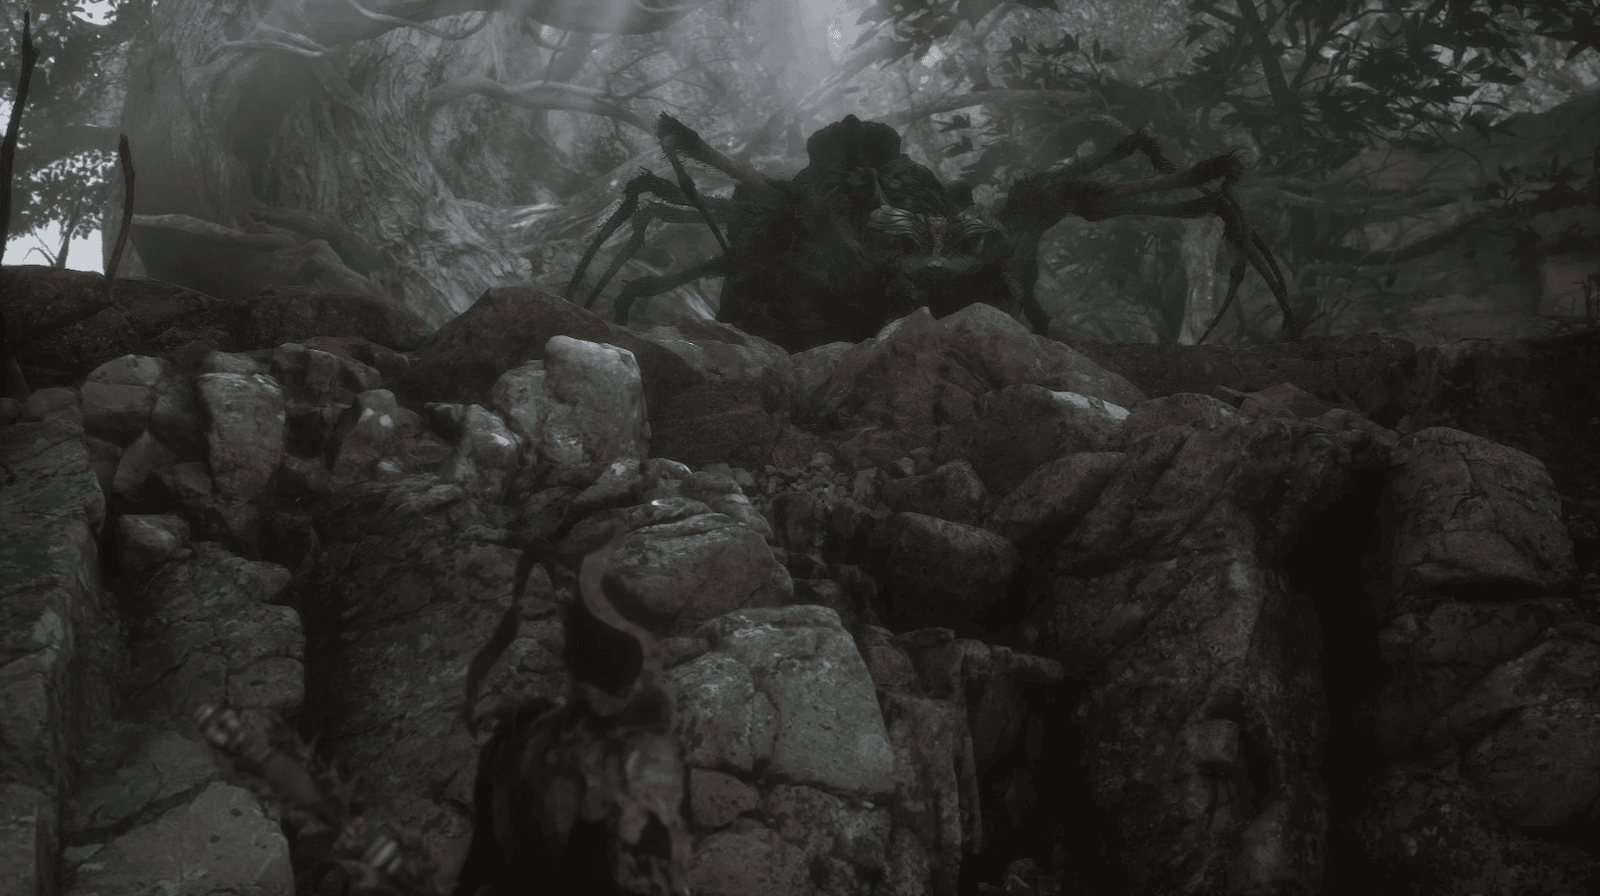
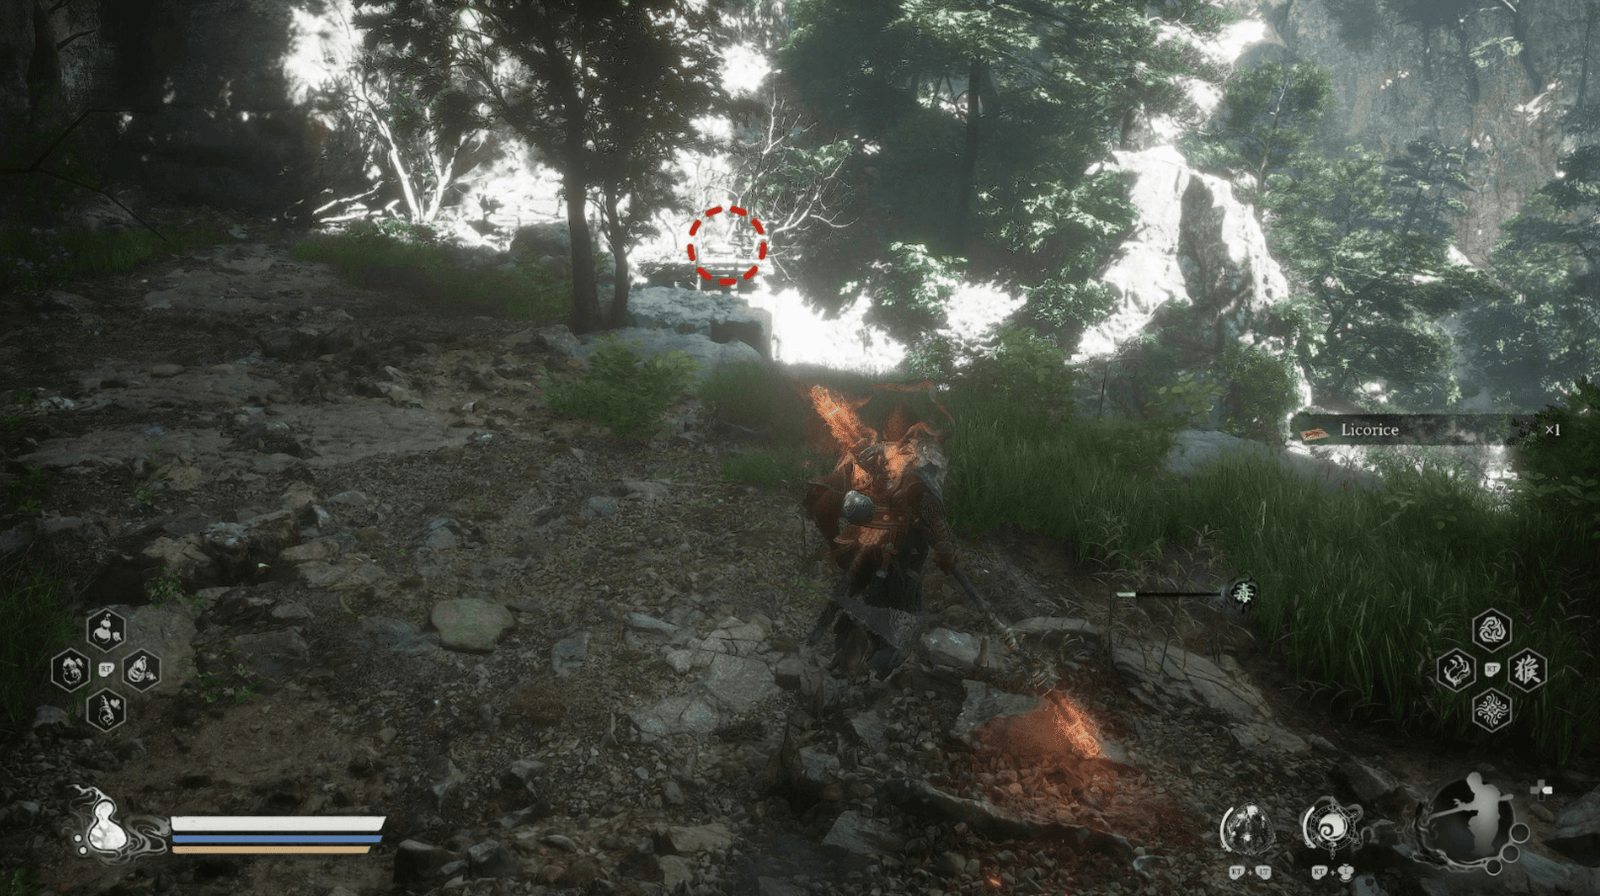
Emerging from the Webbed Hollow, the Destined One will find themselves halfway up the mountain, shrouded in fog, with demonic energy swirling around, signaling the dangerous path leading to the Temple of Yellow Flowers.
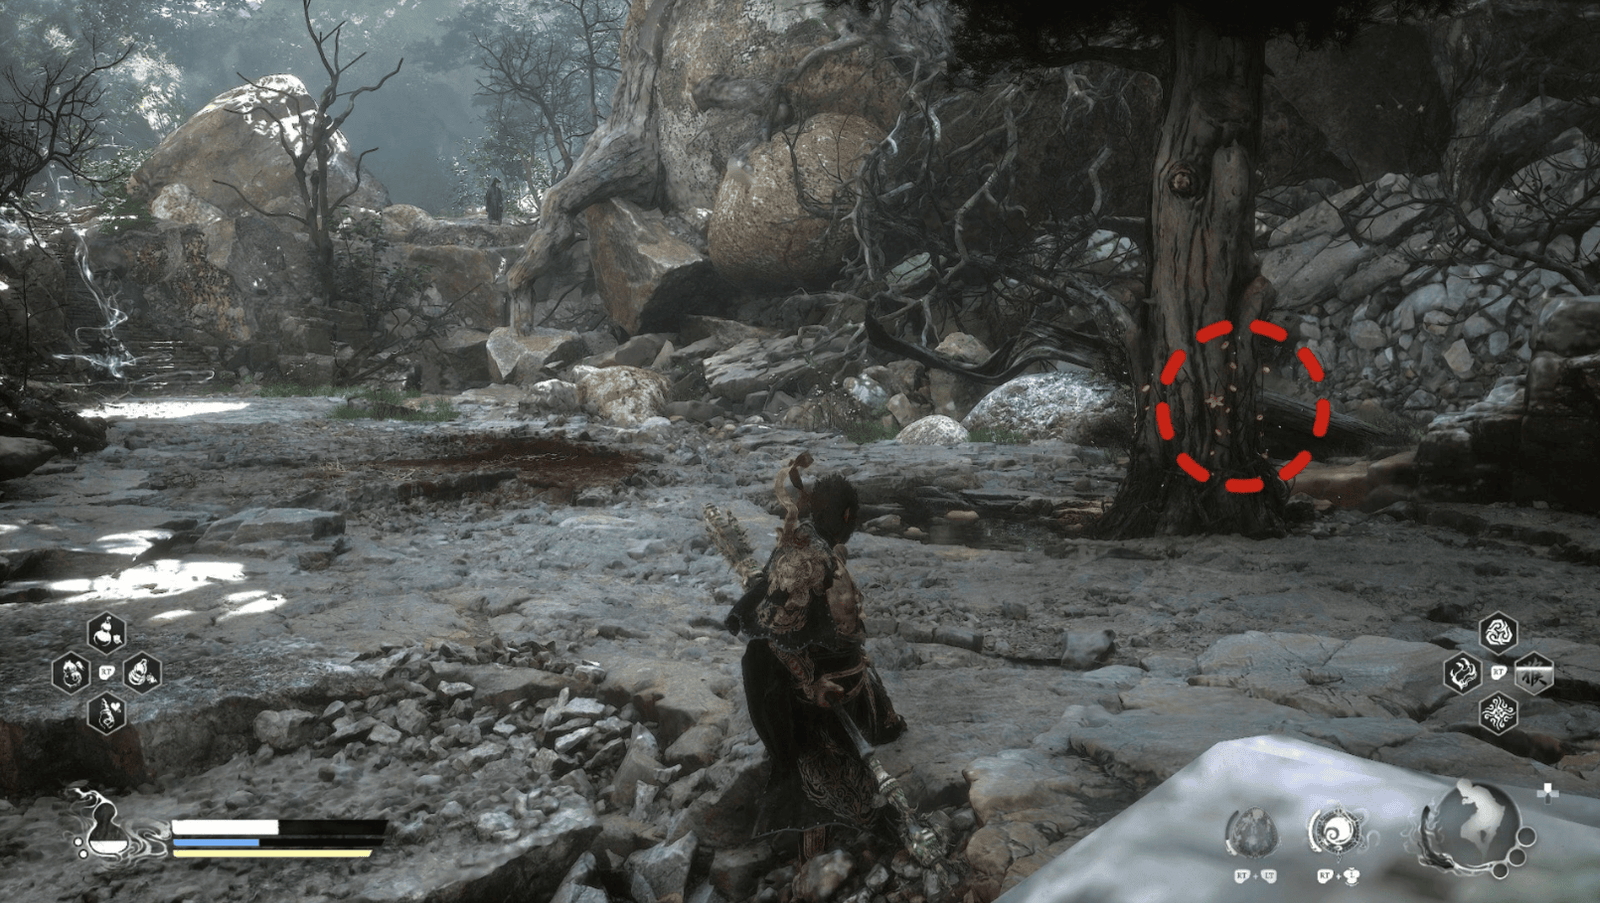
As soon as you regain your composure, look around and pick up the Luojia Fragrant Vine, a rare and exotic flower with a captivating fragrance. Continuing along the path, the Destined One will soon encounter the Mountain Trail Shrine. Stop here, light incense, pray for safety, recover your Stamina, and prepare yourself mentally for the arduous journey ahead.
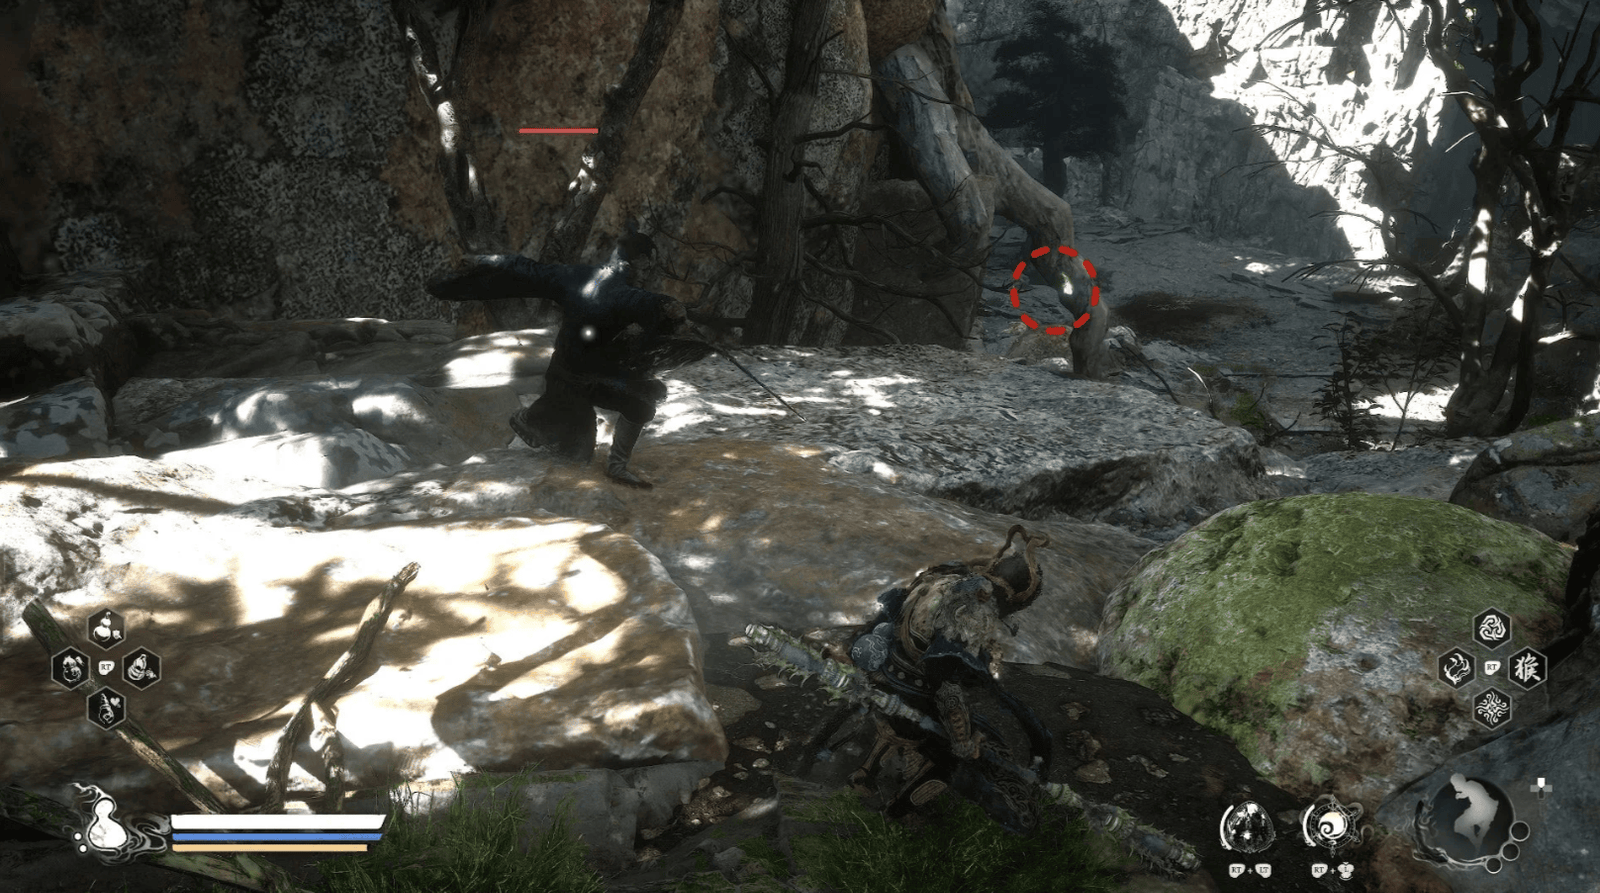
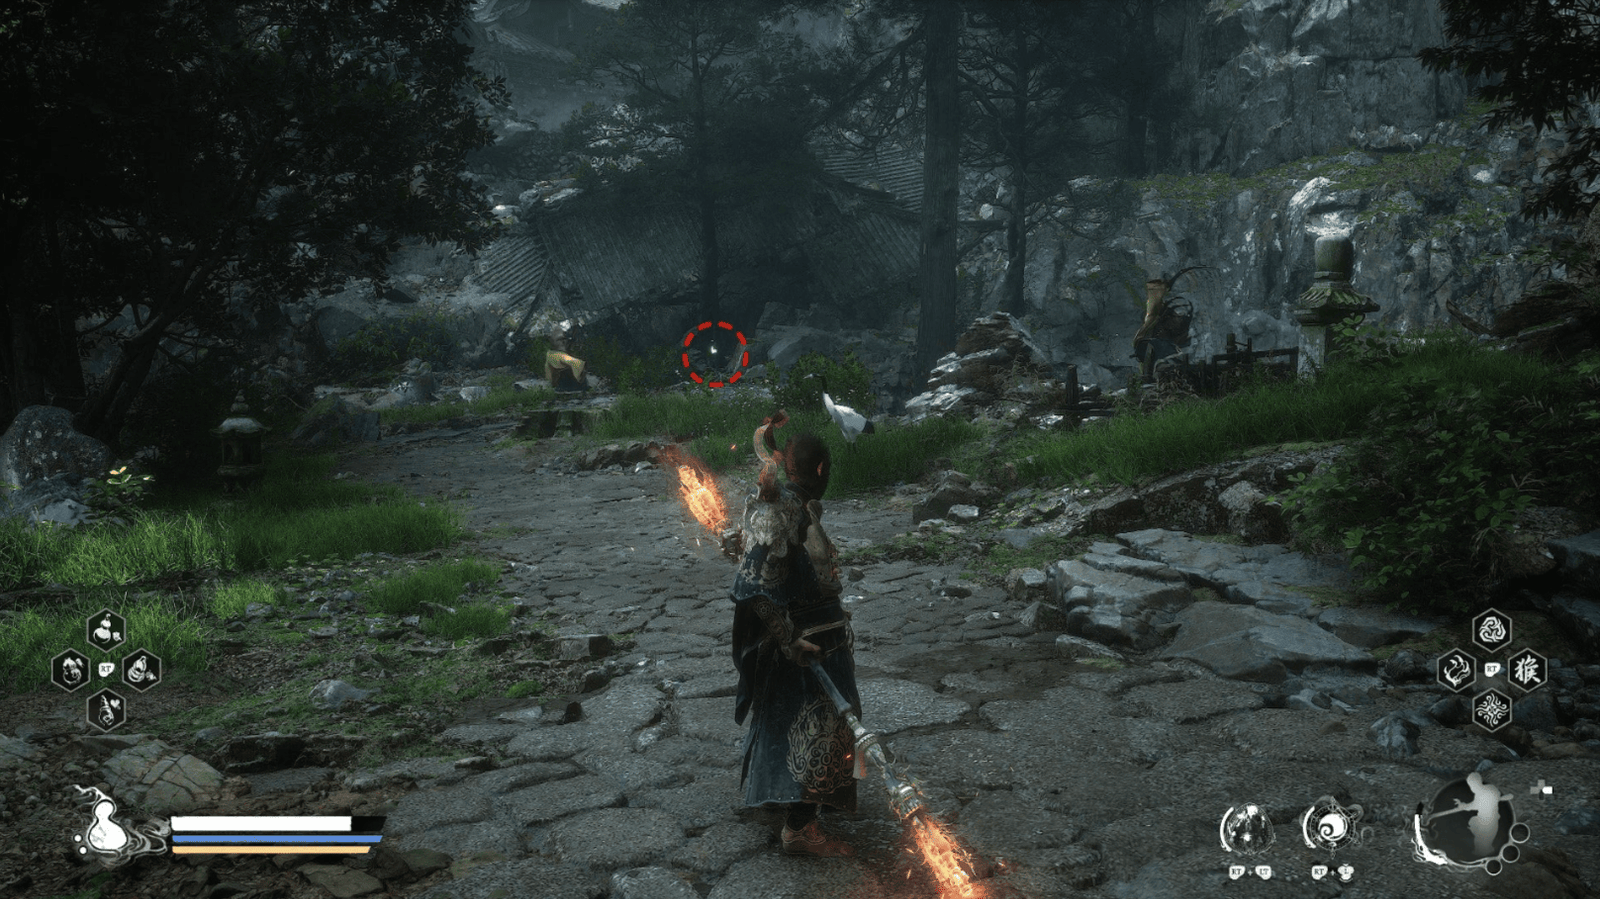
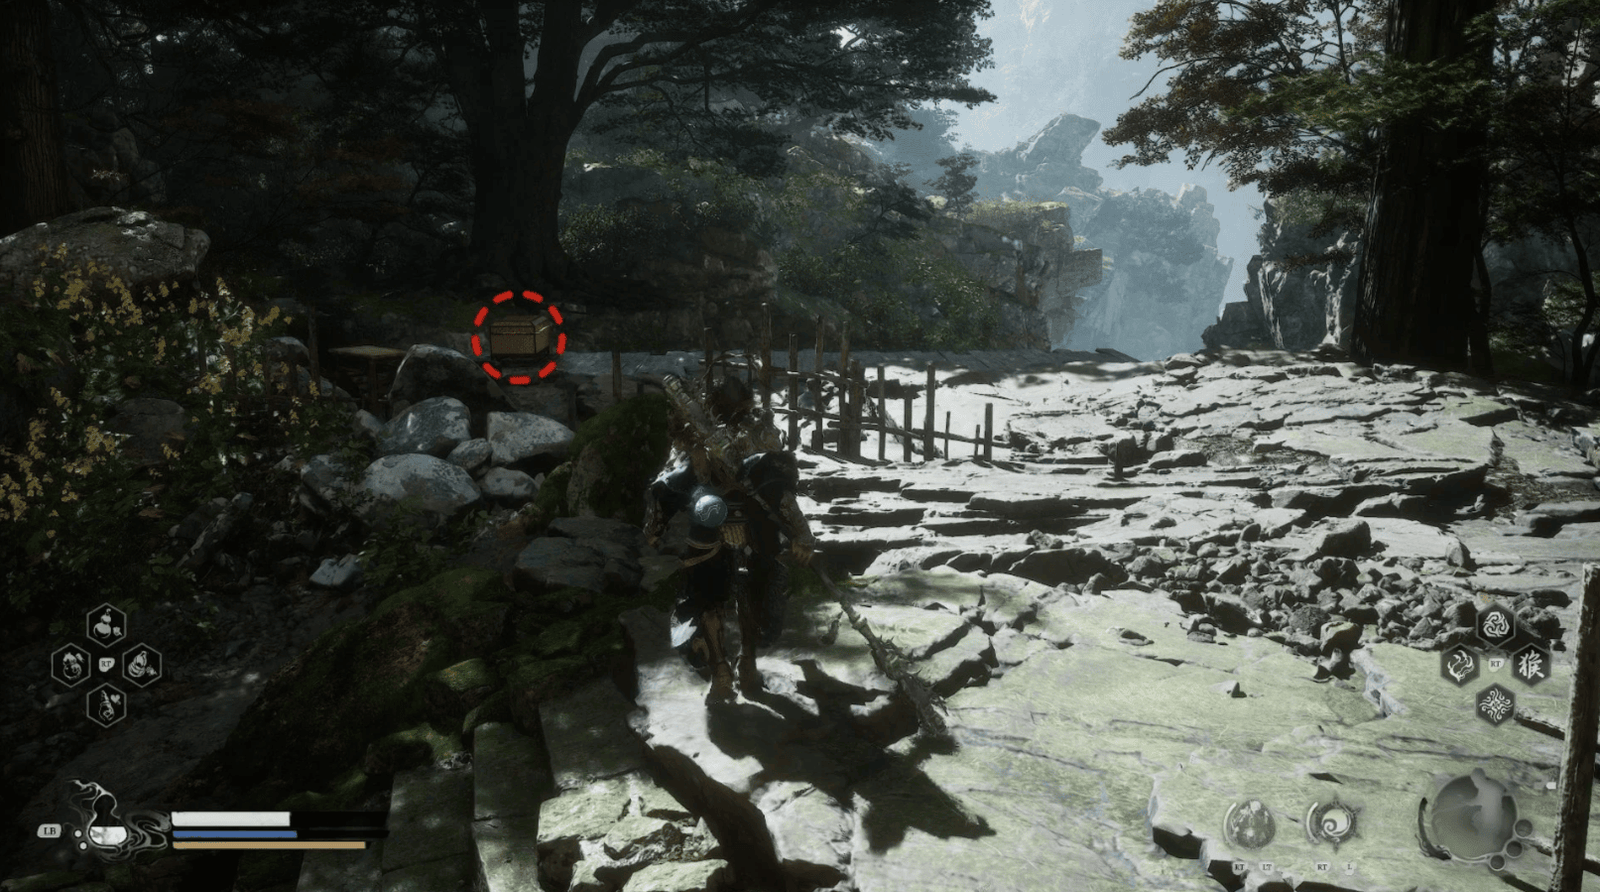
On the way, the Destined One will encounter Sword Daoists wielding their swords in a flurry of attacks, and Fly-Whisk Daoists hiding in the back, using their Fly-Whisks to launch Wind Projectiles and Force Projectiles from afar. Use your Dodge ability to avoid them, or use your Staff to spin, creating a shield that deflects the Wind Projectiles. Continuing forward, the Traveler will find a turtle-shaped treasure chest. Don’t miss it, inside is a Bee Mountain Stone Soak, a rare type of Soak that allows you to regenerate Health without using your Gourd.
Nearby, the Destined One will face a Snake Herbalist, be careful with the Poison Splash they spew. Move up the stairs, continue to face another Fly-Whisk Daoist, next to which there is a small turtle-shaped treasure chest, remember to check it.

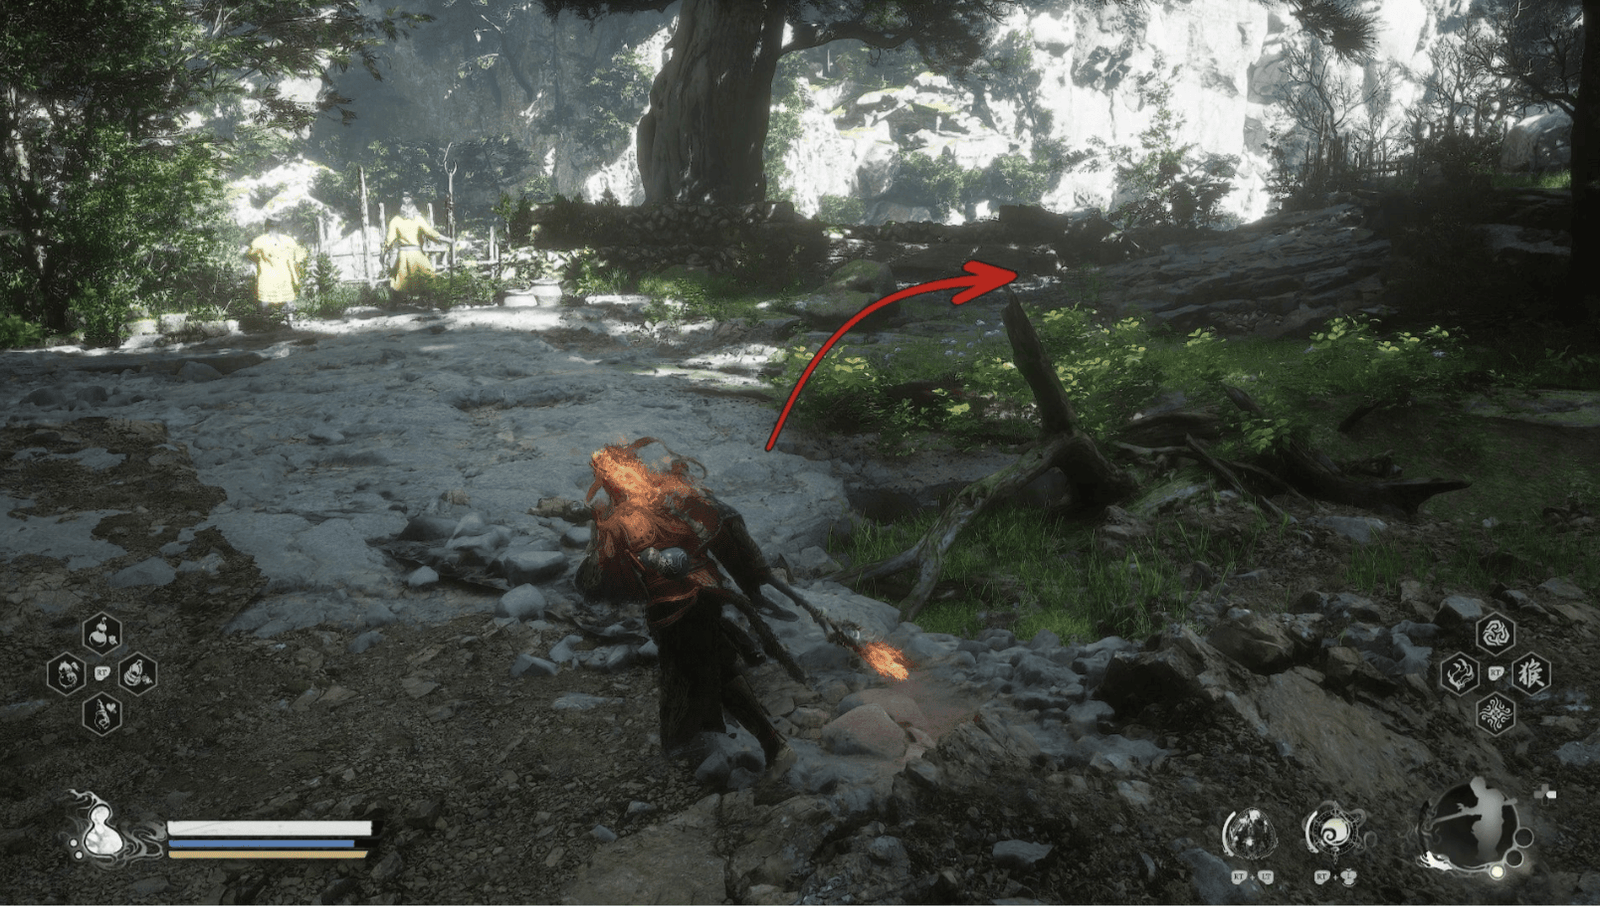
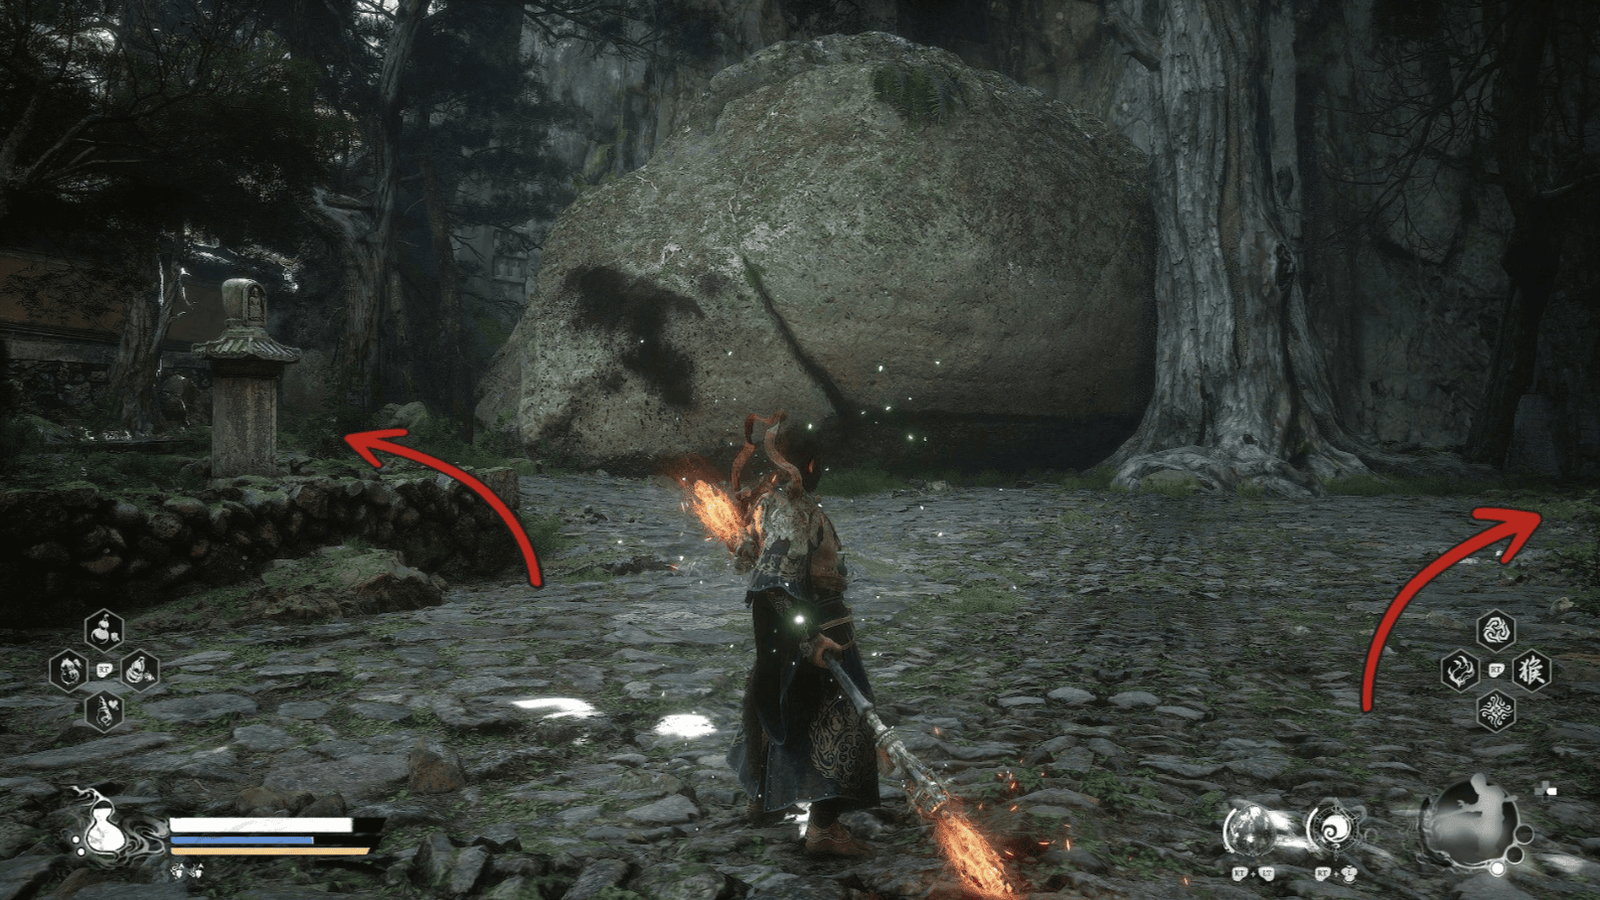
Following the path, the Destined One will arrive at a small square where two Spear Daoists and a Snake Herbalist are patrolling. From here, follow the bloodstains to the left, through a narrow corridor to reach a clearing.
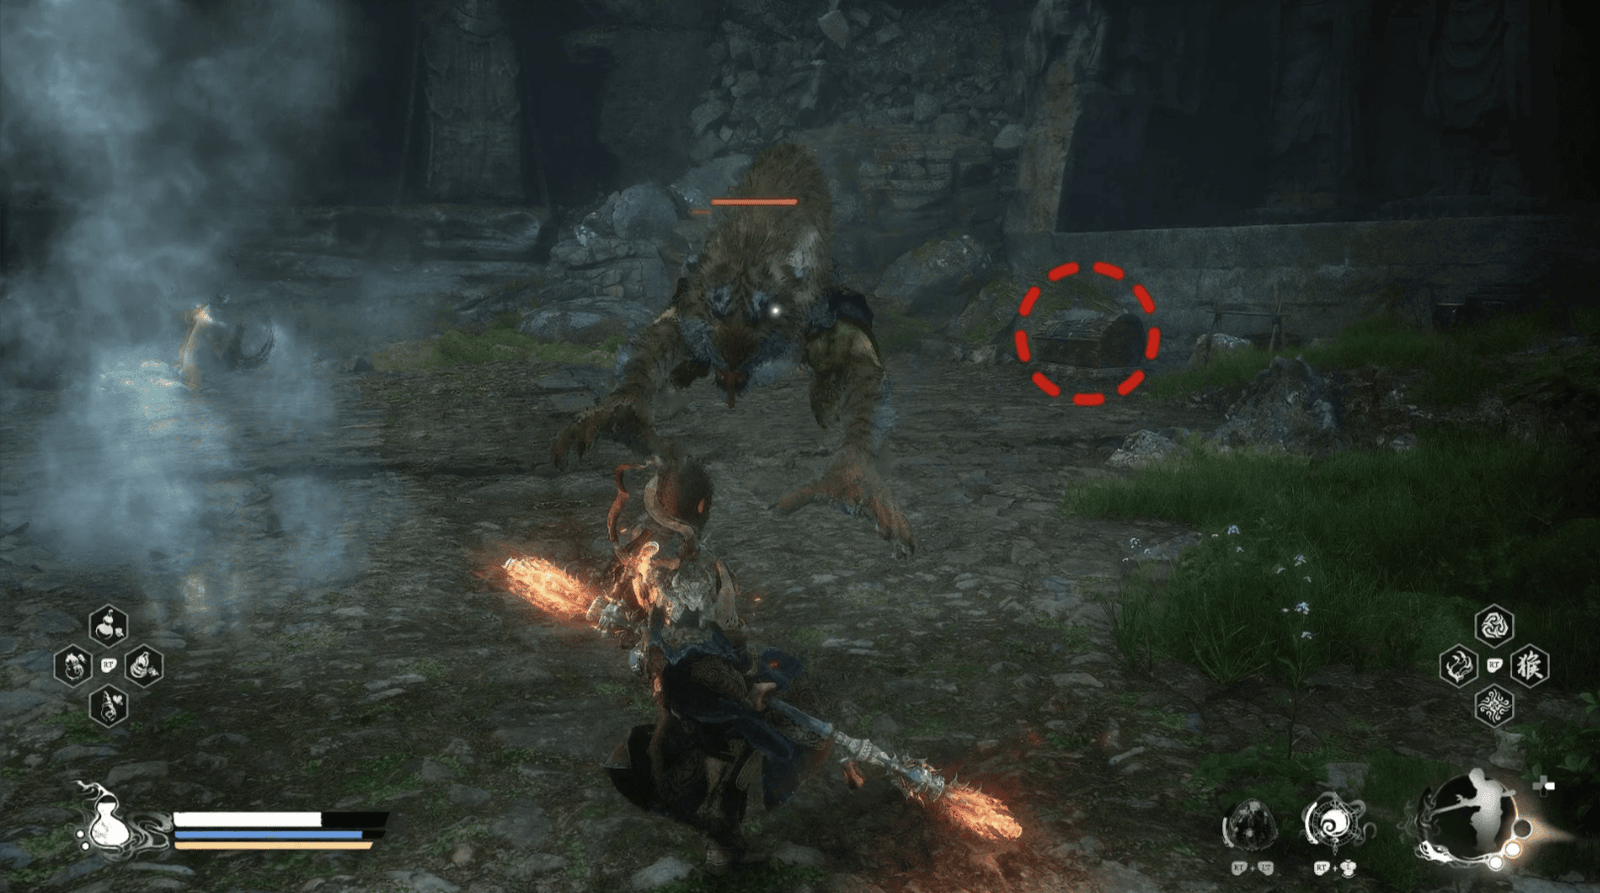
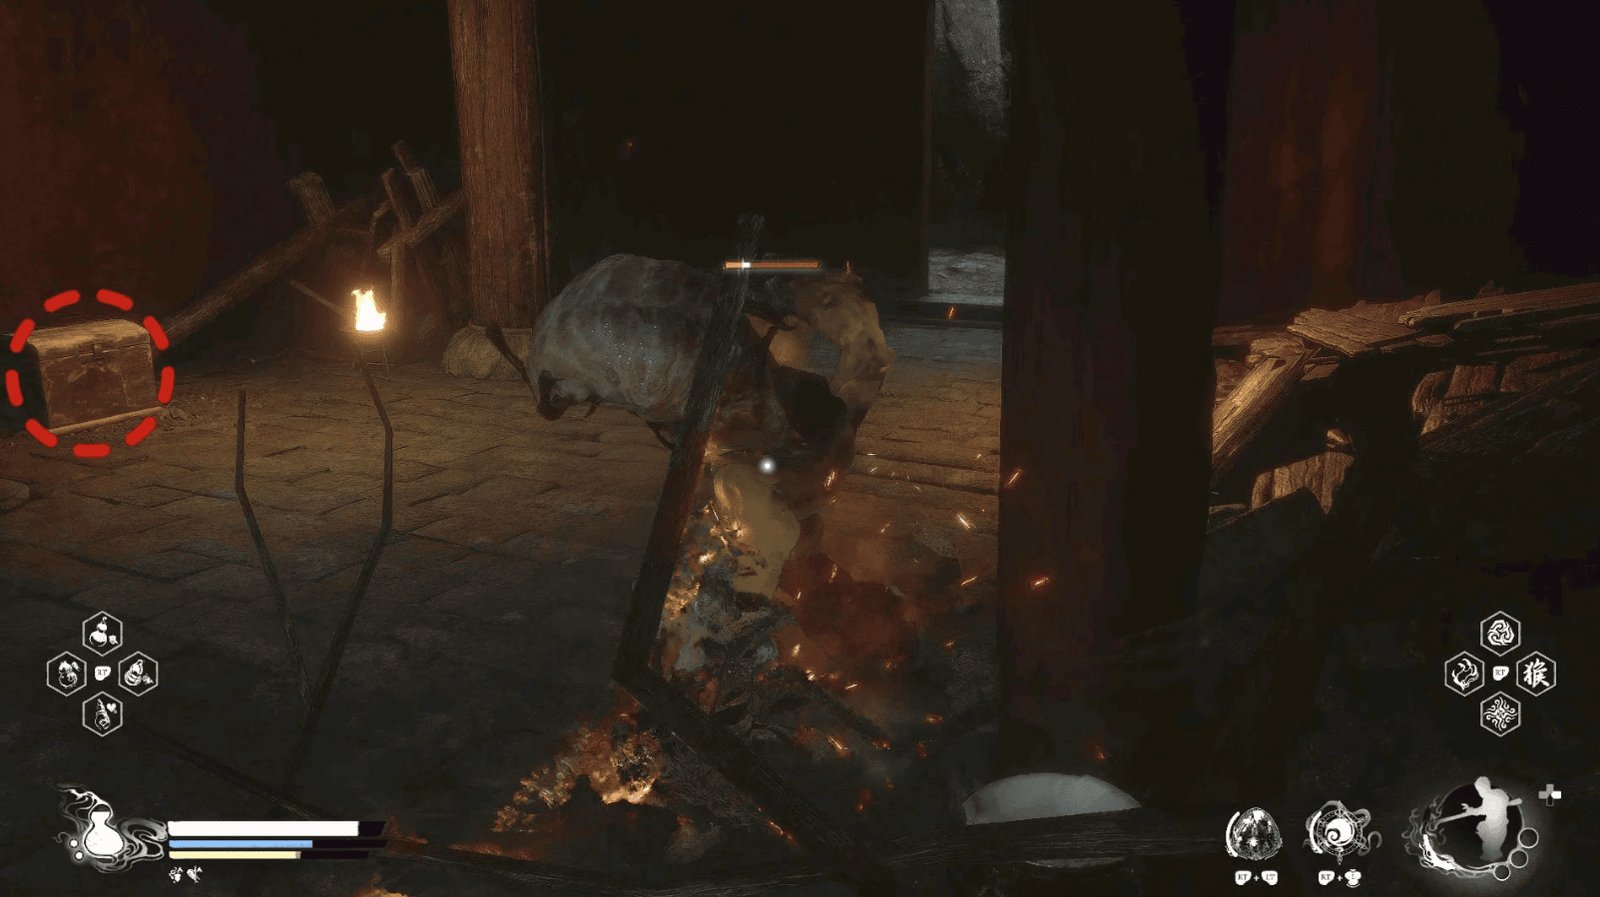
Here, the Destined One will see a treasure chest, but beware of the Snake Sheriff, a ferocious half-snake, half-tiger beast lurking nearby.
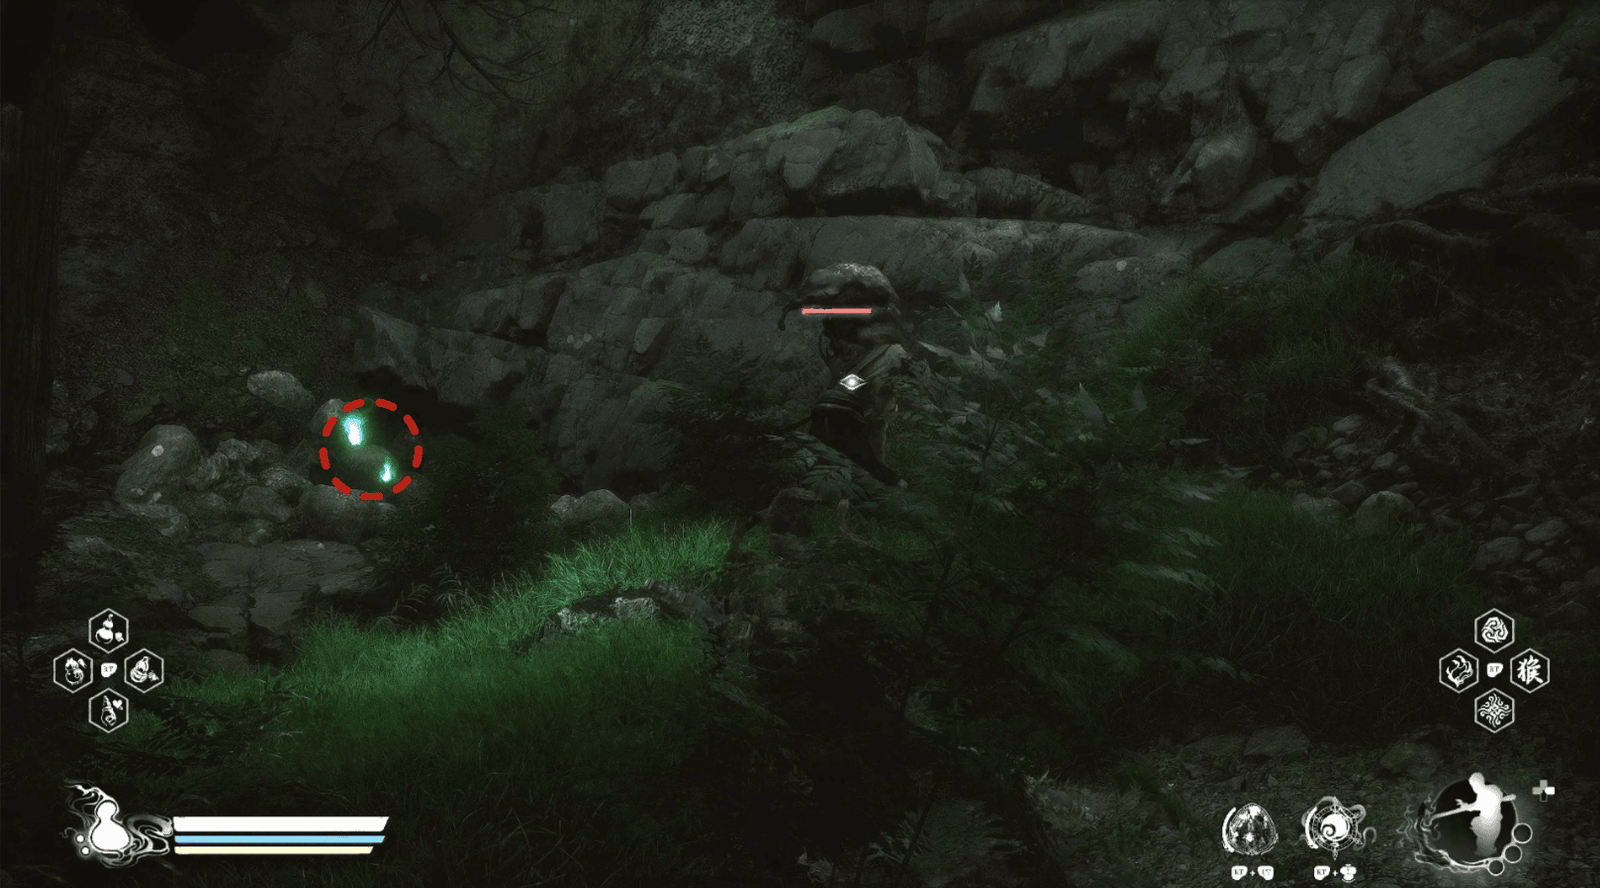
After defeating it, go to the right, follow the narrow path with many trees, the Destined One will find another Wisp and confront a few more Daoists.
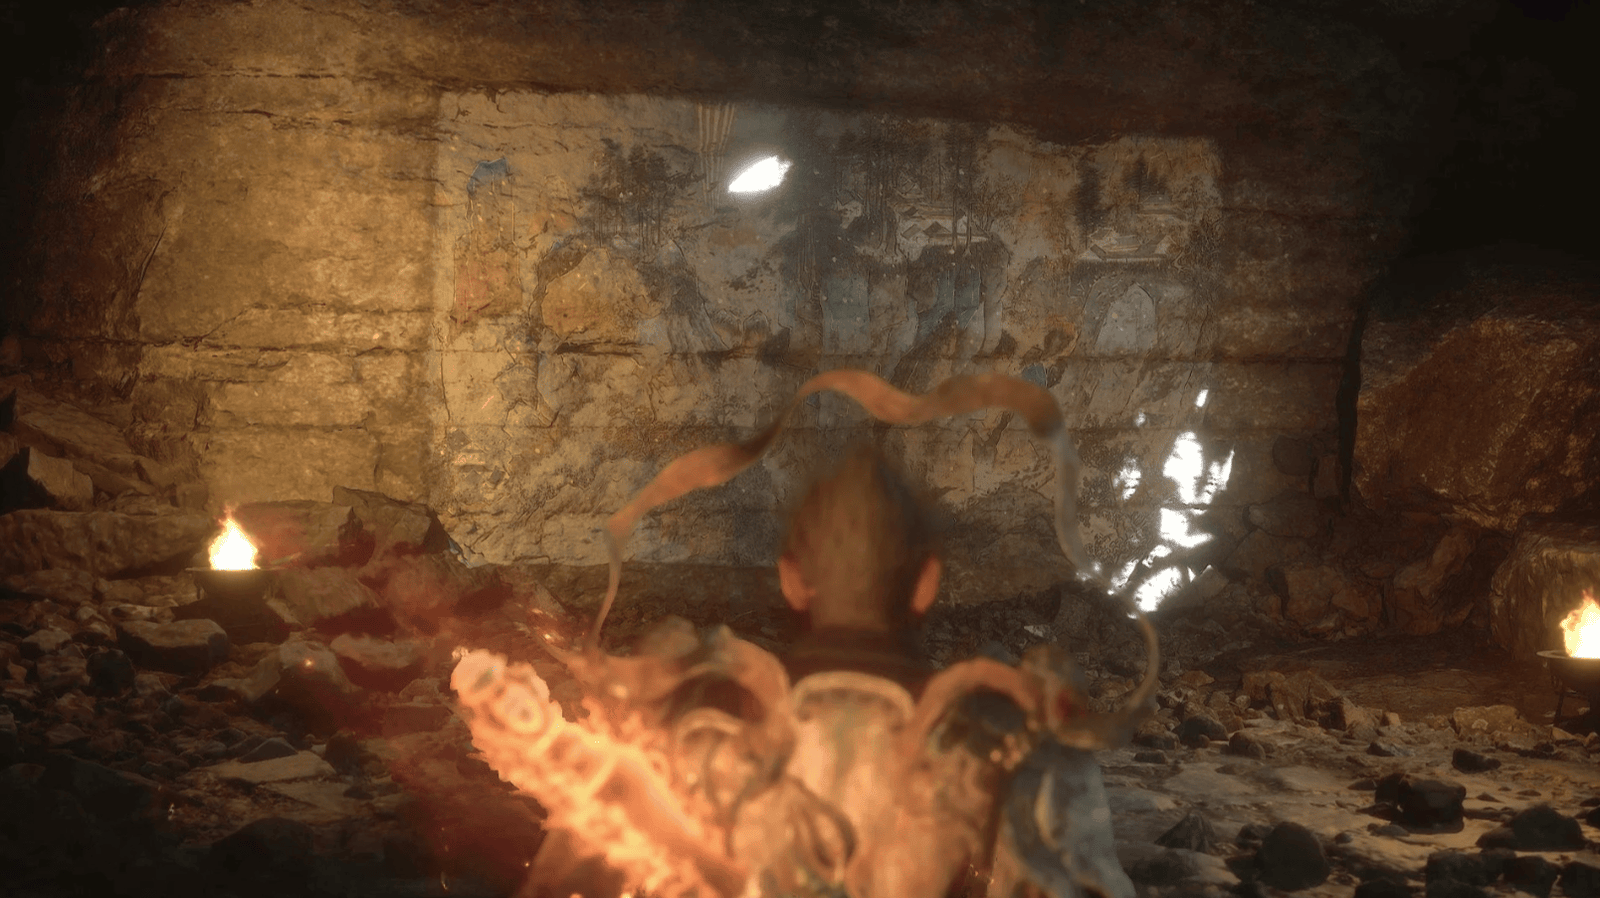
Crossing the bridge, the Destined One will reach a large area with ancient murals. Here, look for a Wisp and another treasure chest. However, be careful, this chest is guarded by a Snake Sheriff and a Worm Practitioner; be cautious of their poisonous tentacles. After collecting the items, go to the right, cross the ravine, and the Destined One will enter the dense forest.
Forest of Ferocity
Entering the dense forest, the Destined One will feel the demonic energy grow even stronger, the trees are thick, blocking out the light, creating a gloomy, eerie scene. Right in the middle of the forest, the Destined One will find the Forest of Ferocity Shrine, quickly stop, rest, and recover your Stamina.
From the Shrine, the Destined One has two directions to choose from. If you go to the left, the Destined One will face a Snake Herbalist. After defeating him, continue to explore the cliff in the distance, where a small rock ledge with the Meditation Spot – The Height, Forest of Ferocity is hidden. Sit down, calm your mind, absorb the spiritual energy, and the Destined One will receive a free Skill Point.
After that, return to the Shrine and go in the opposite direction. Here, the Destined One will encounter a group of Sword Daoists practicing, and a little further on, two Worm Practitioners guarding a ruined building along with a Wisp. Defeating them, the Destined One will receive the Virtuous Bamboo Engraving Curio, a treasure containing spiritual power.
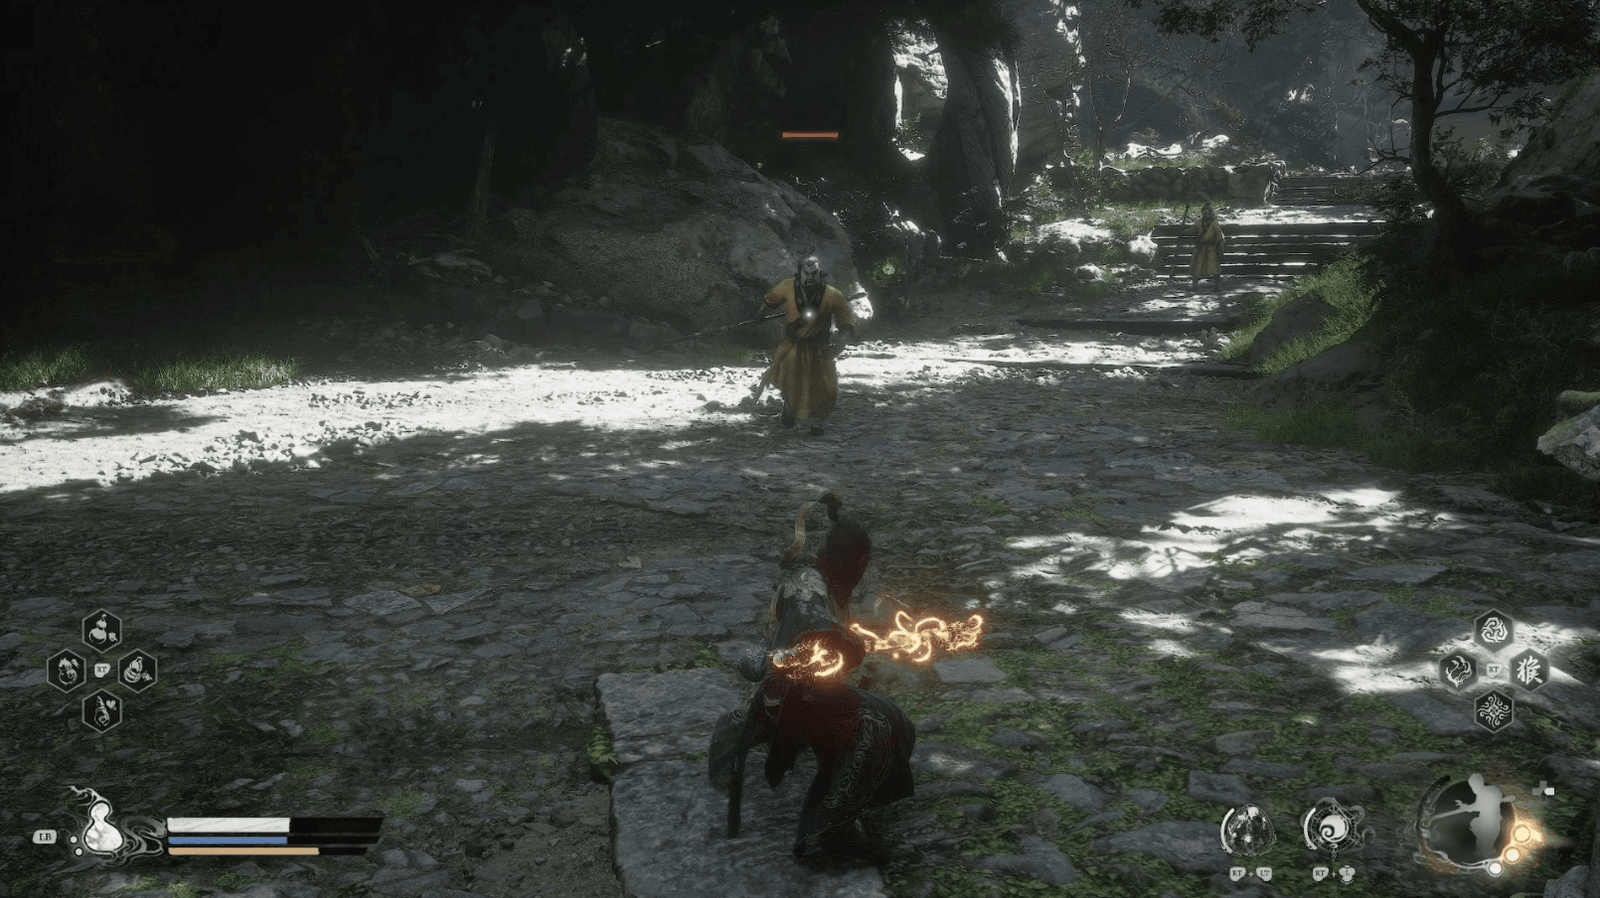
From here, follow the stone path through the forest, passing a group of Daoists and a Snake Herbalist on patrol.
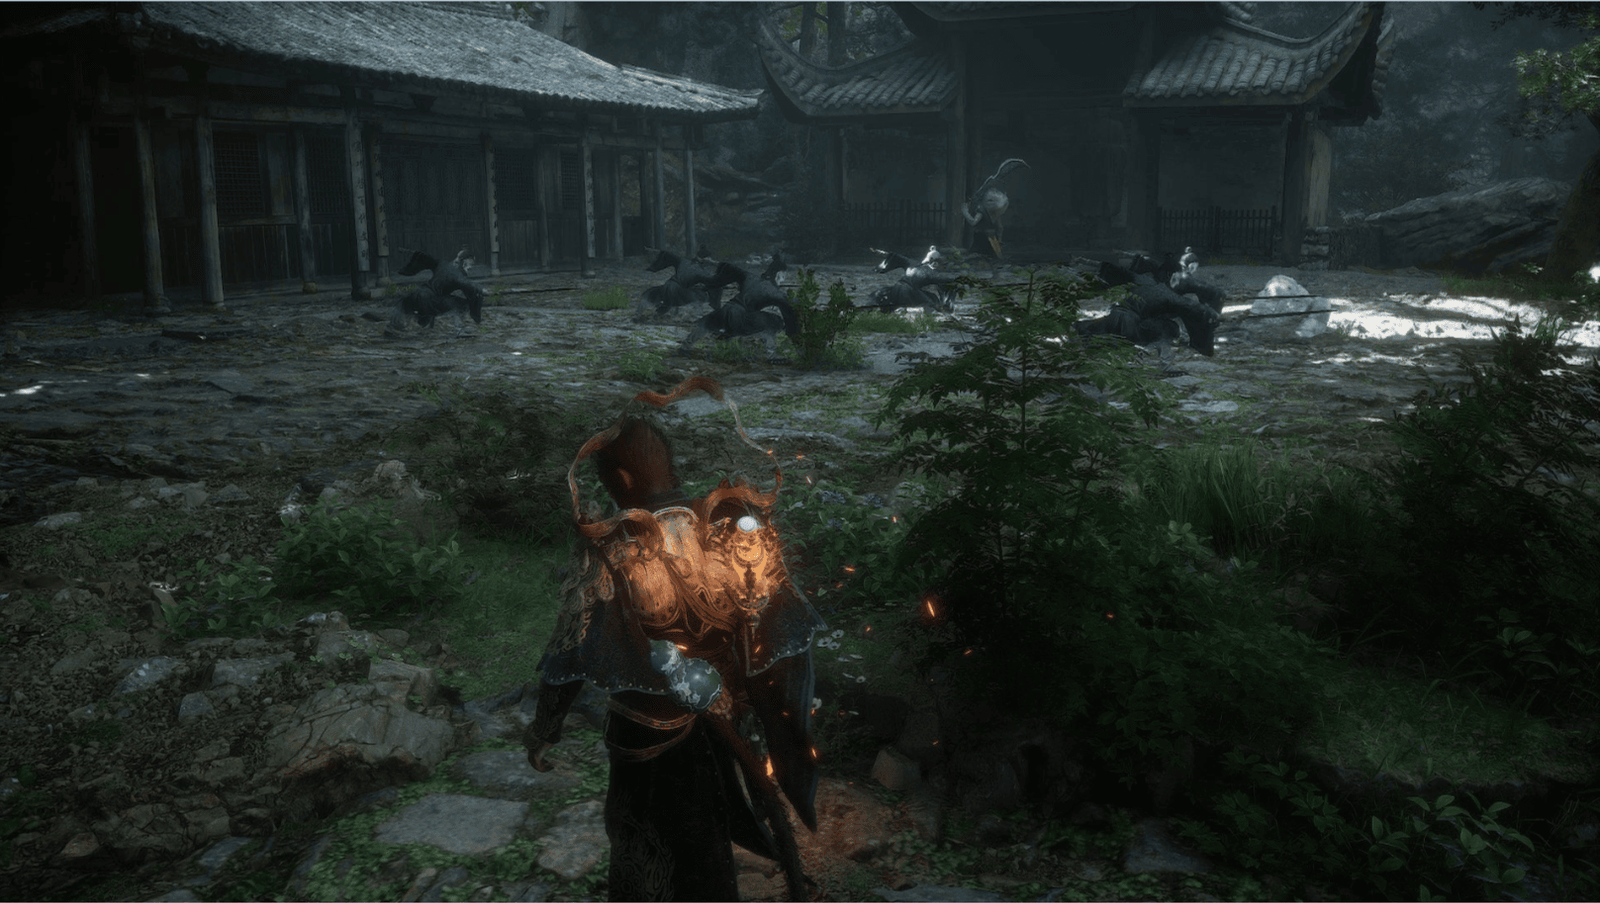
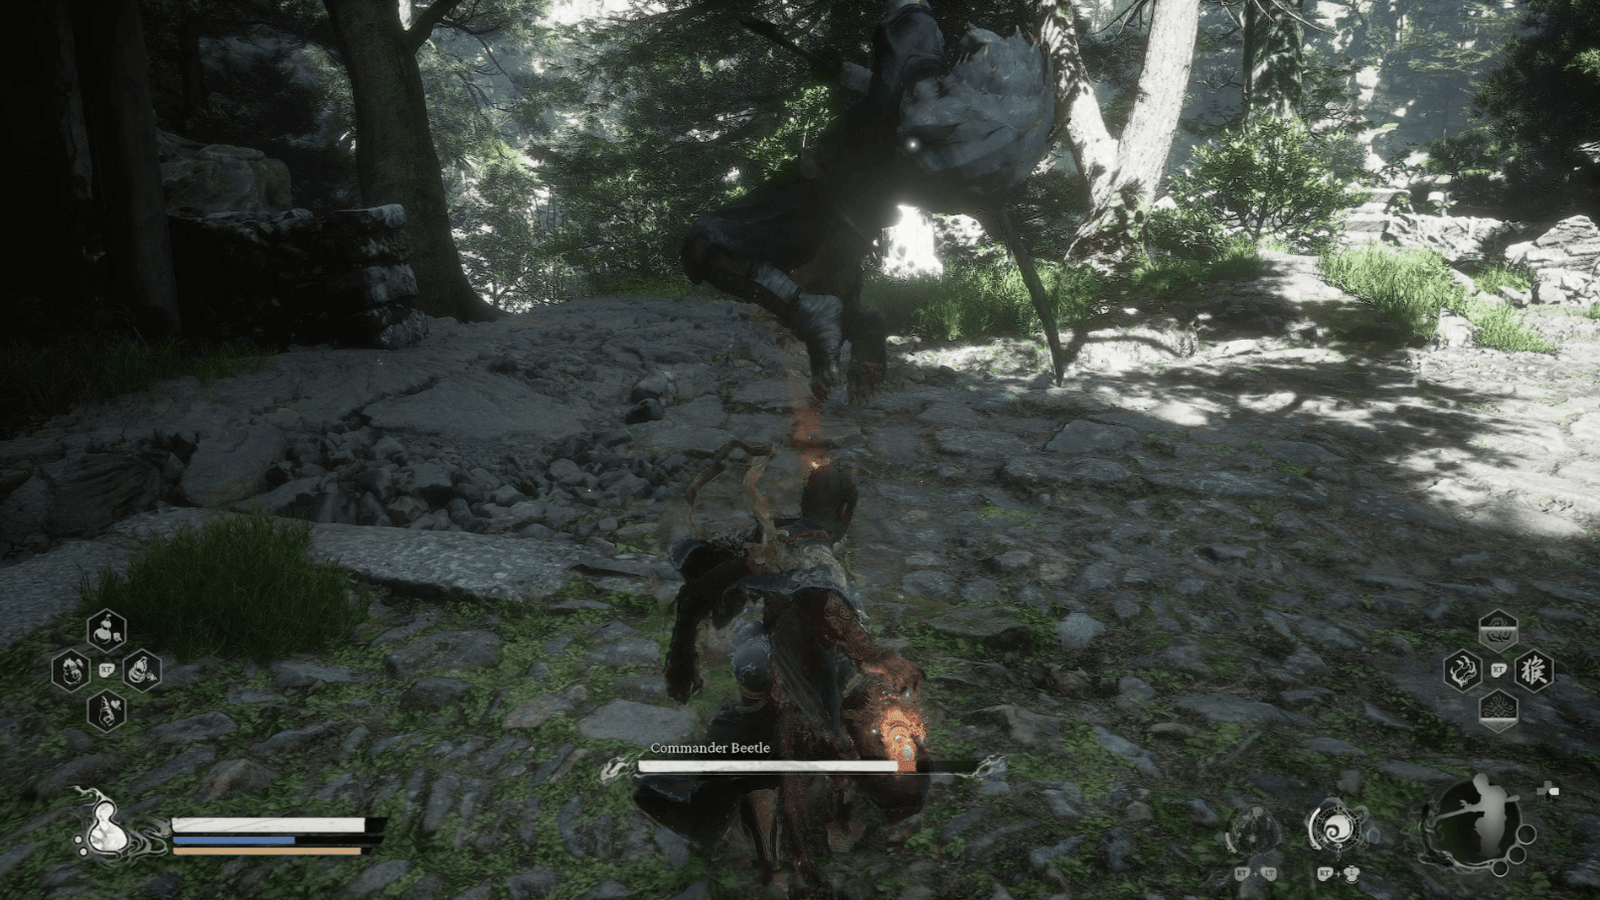
At the end of the path, the Destined One will ascend to a large training ground, where a Yaoguai Chief in the form of a Commander Beetle is training a group of Sword Daoists.
Commander Beetle Miniboss Battle
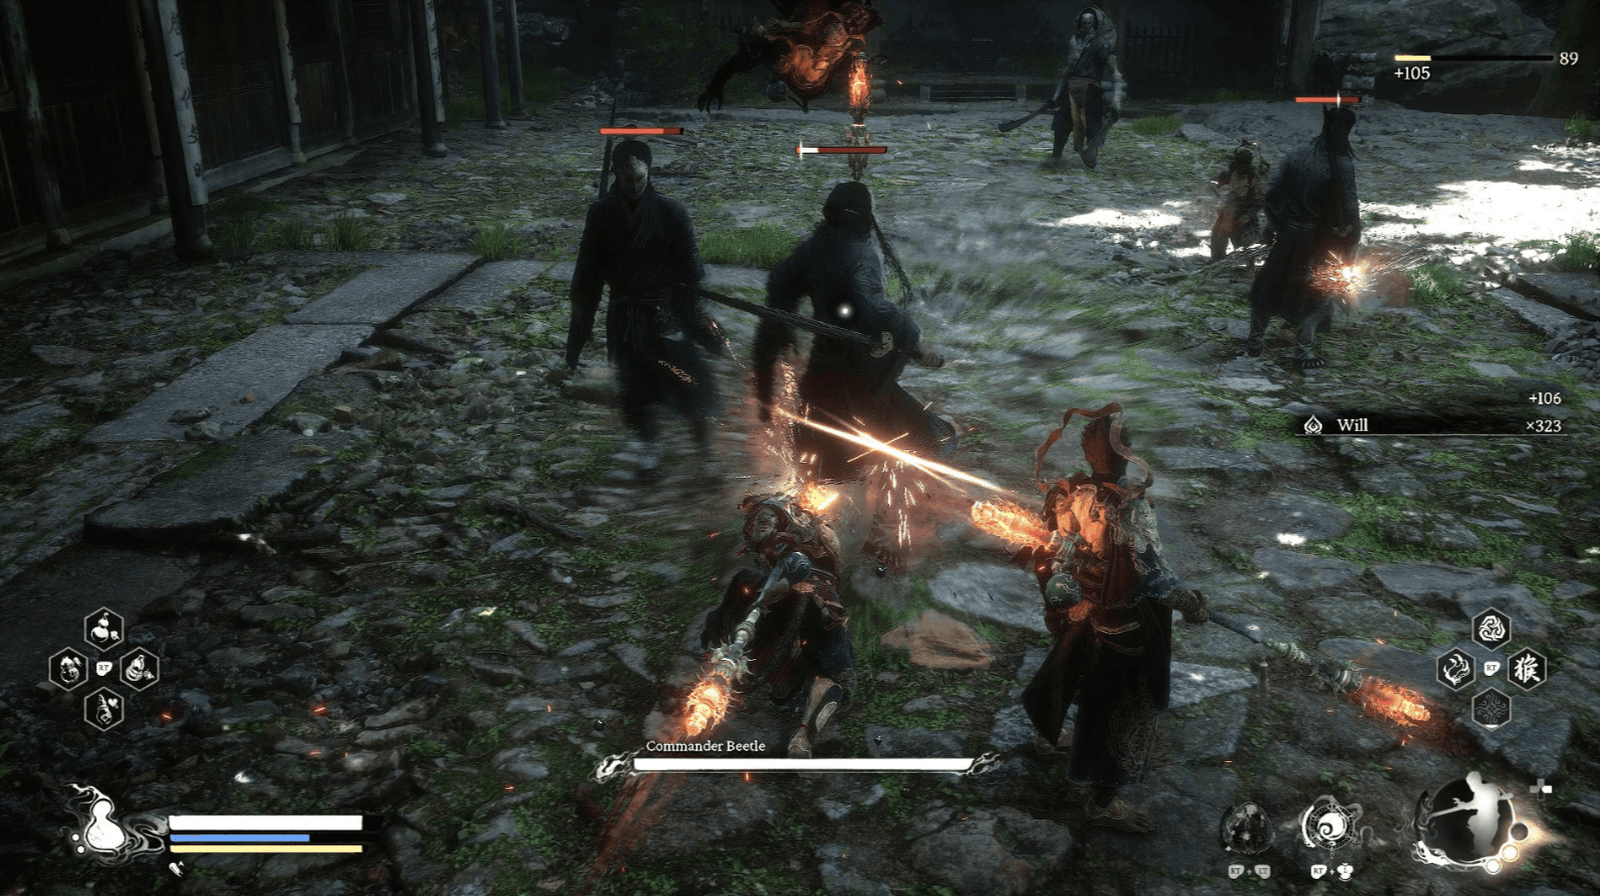
This Commander Beetle is strong but not alone. He will constantly order the surrounding Sword Daoists to join the fight. To deal with this, the Destined One should use the Pluck of Many Spell, transforming into multiple Monkeys, creating an overwhelming advantage. Pay attention, the Commander Beetle can use his large sword as a shield, and will counterattack if attacked continuously. Use Rock Solid at the right time to defend and counterattack.
After defeating him, the Destined One will obtain the Knot of Voidness, the Commander Beetle Spirit, and can loot the Fruit of Dao Soak from the Sword Daoists. Don’t forget to enter the building to pick up the Tablet of the Three Supremes Curio in the treasure chest.
Leaving the training ground, continue up the stairs, the Destined One will encounter a few Spear Daoists and a Snake Herbalist.
Be careful, they often hide in the dark. Look to the right, the Destined One will see a small path leading to a rocky alcove, where a treasure chest is hidden.
Temple Entrance
Passing through the dense forest, the Destined One finally arrives at the Temple Entrance. Before you is the Temple Entrance Shrine, take the opportunity to rest and recover your Stamina.
From the Shrine, go up the stairs, the Destined One will see a small alcove on the left, where two Worm Practitioners are guarding a Wisp.

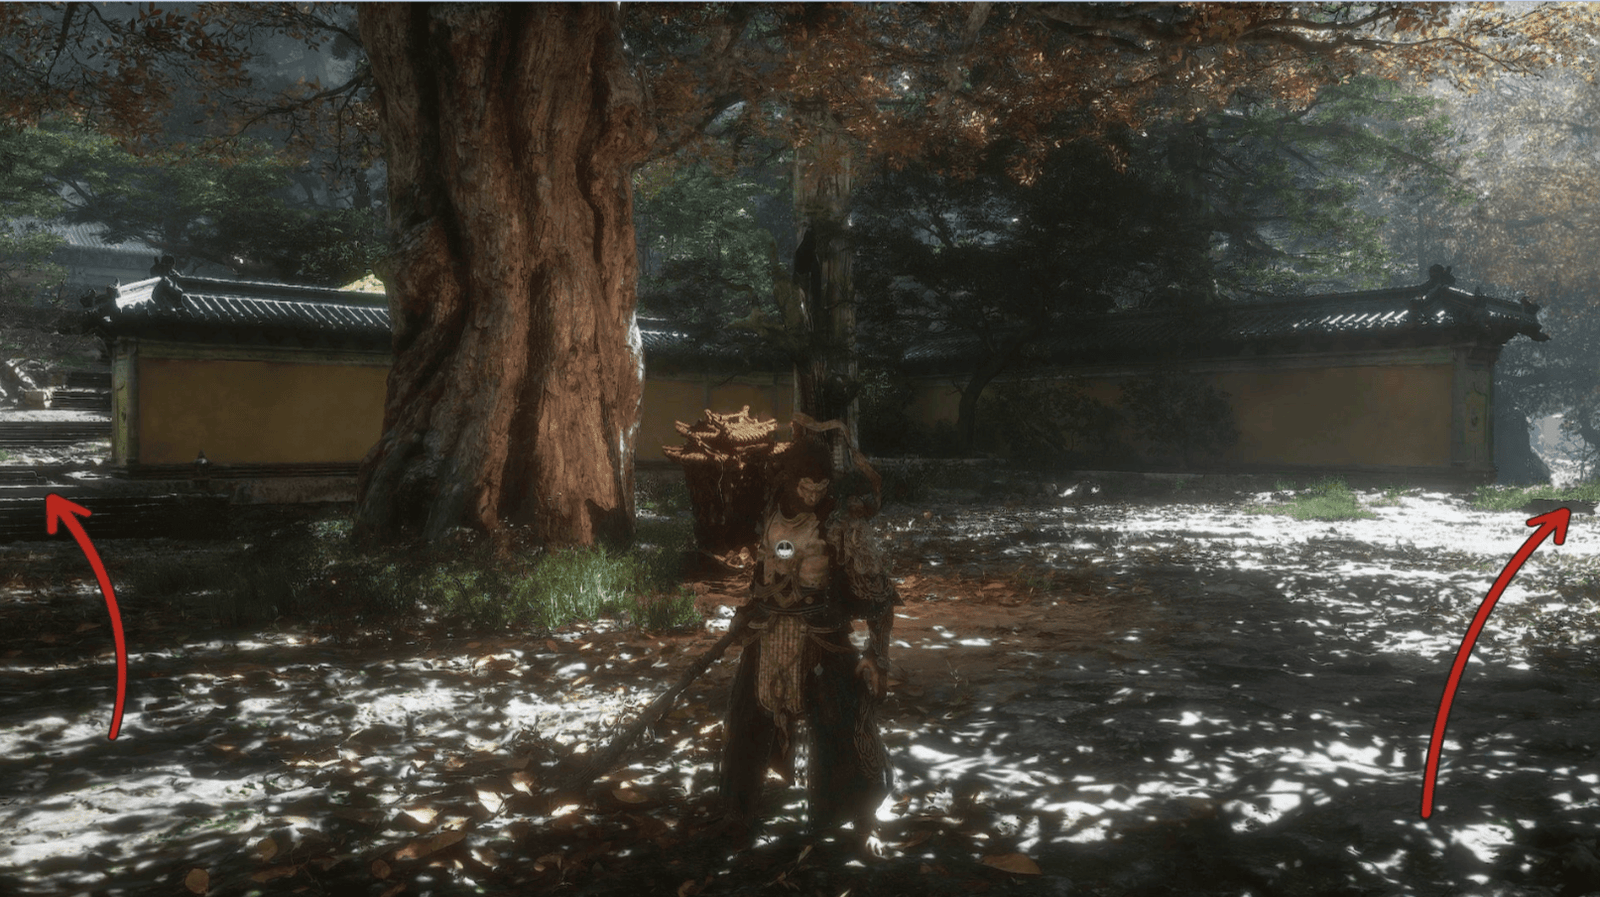
Be careful, they often play dead, lying in ambush in the grass. Continue through the gate, and the Destined One will enter a large courtyard. In the middle of the courtyard is an ancient tree, next to which is a treasure chest.

However, don’t rush, from here the Destined One should go to the right, follow the yellow wall, to another entrance. Inside, the Destined One will discover a room full of Worm Practitioners scattered around. Be cautious, eliminate them step by step, or the Destined One can choose to ignore them, sneaking away in the dark.
Regardless, remember to find the Meditation Spot – The Pines, Temple of Yellow Flowers in the left corner, behind a large tree. Opposite, the Destined One can absorb another Wisp.
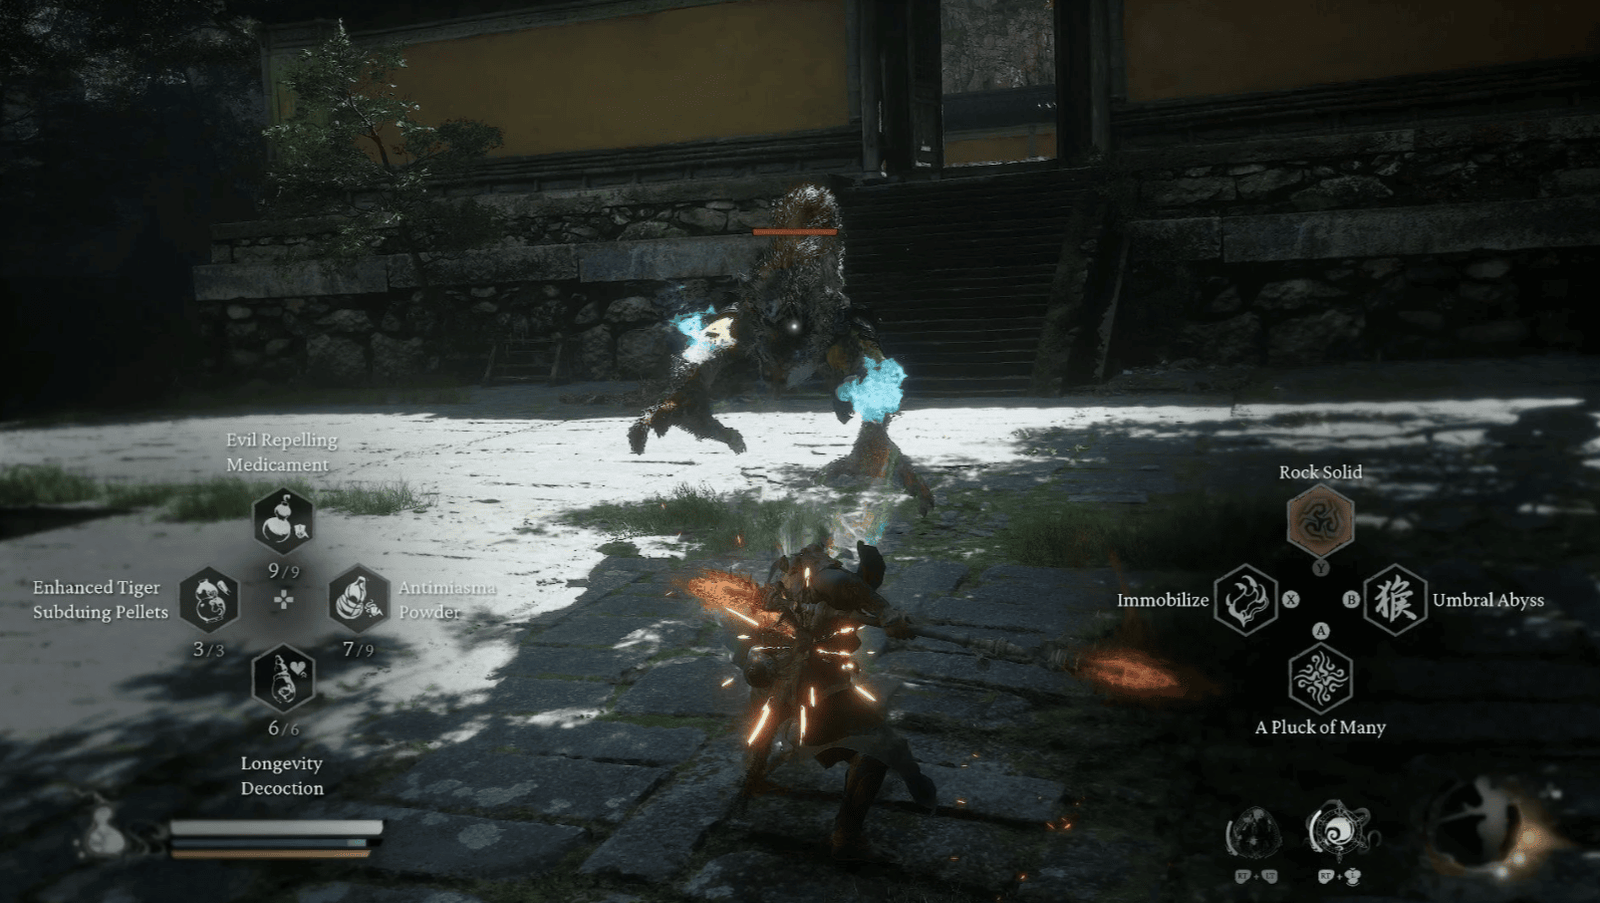
Continuing forward, the Destined One will face an enhanced Snake Sheriff. Use all your skills, defeat it to obtain the Snake Sheriff Spirit.
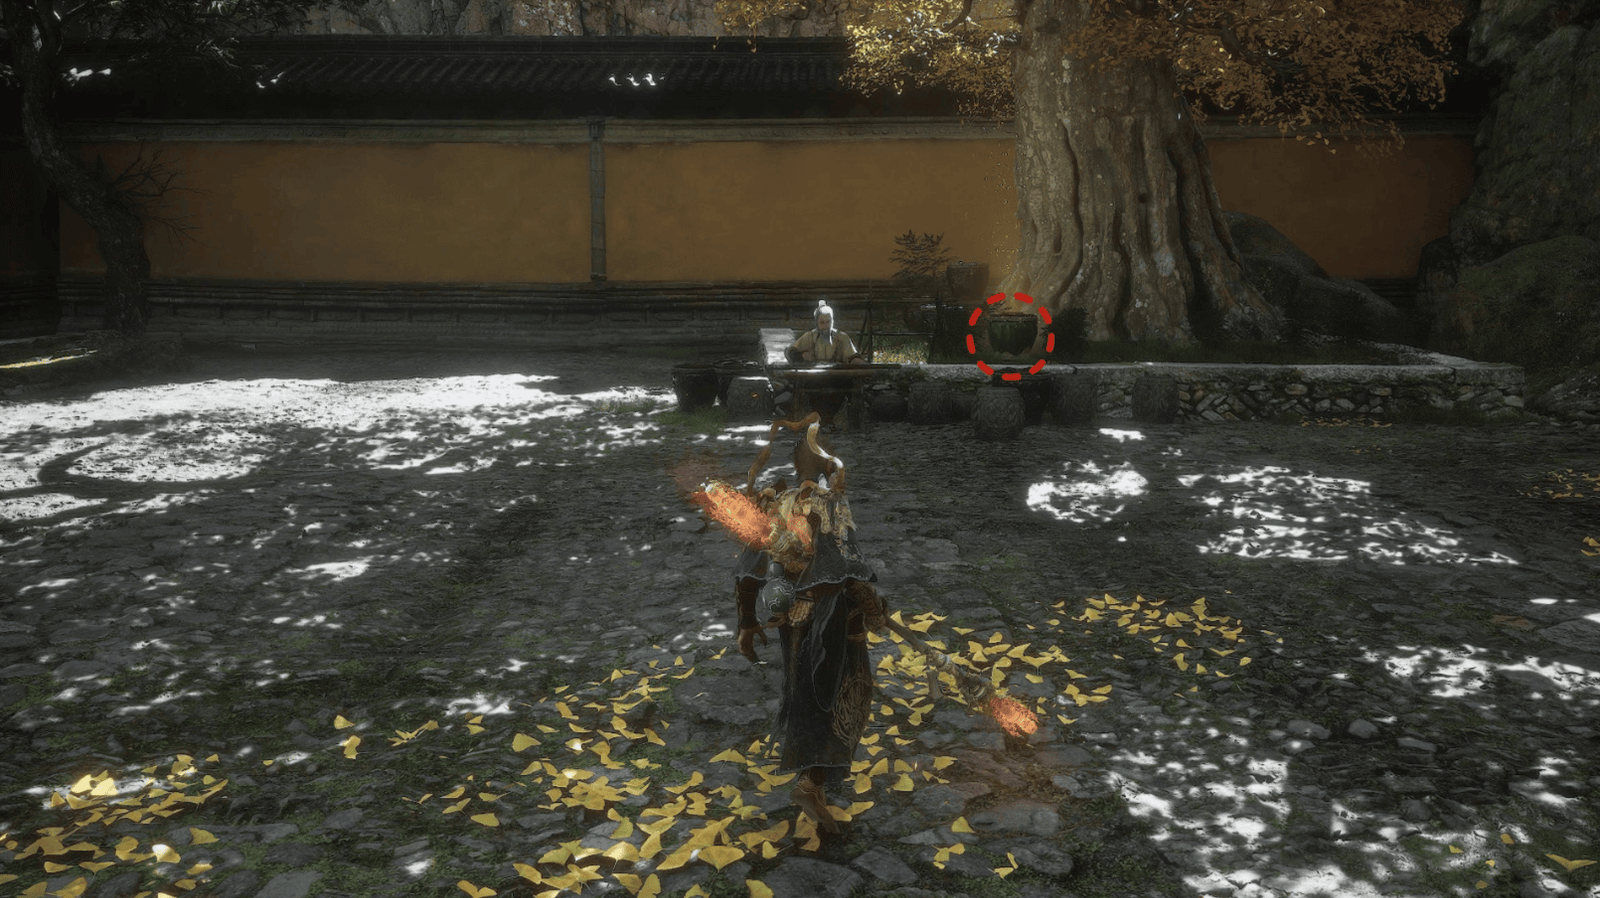
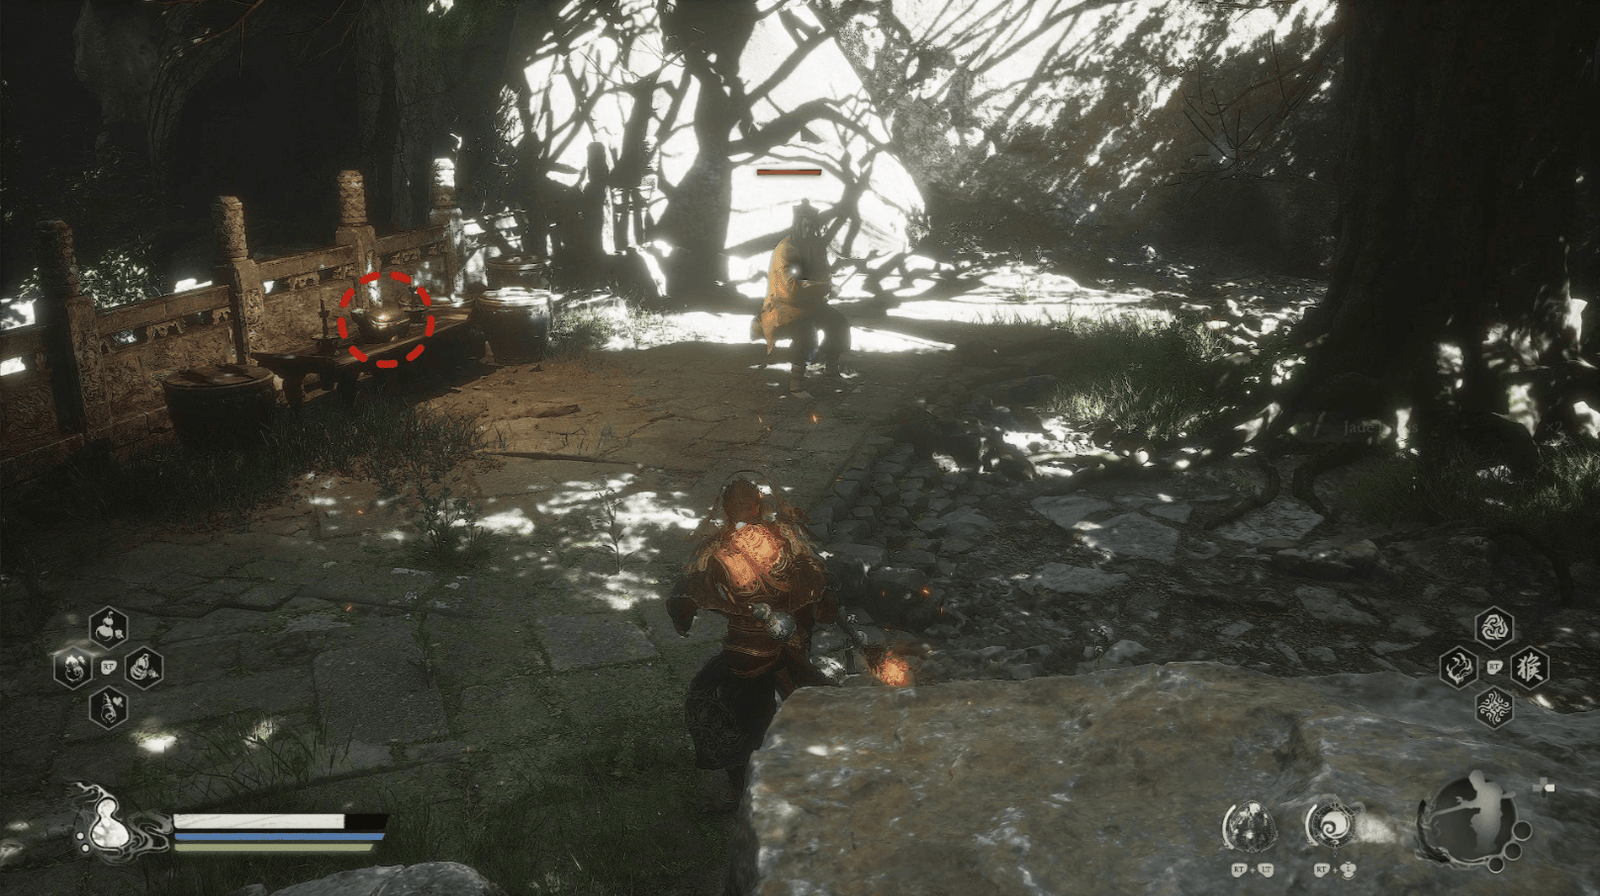
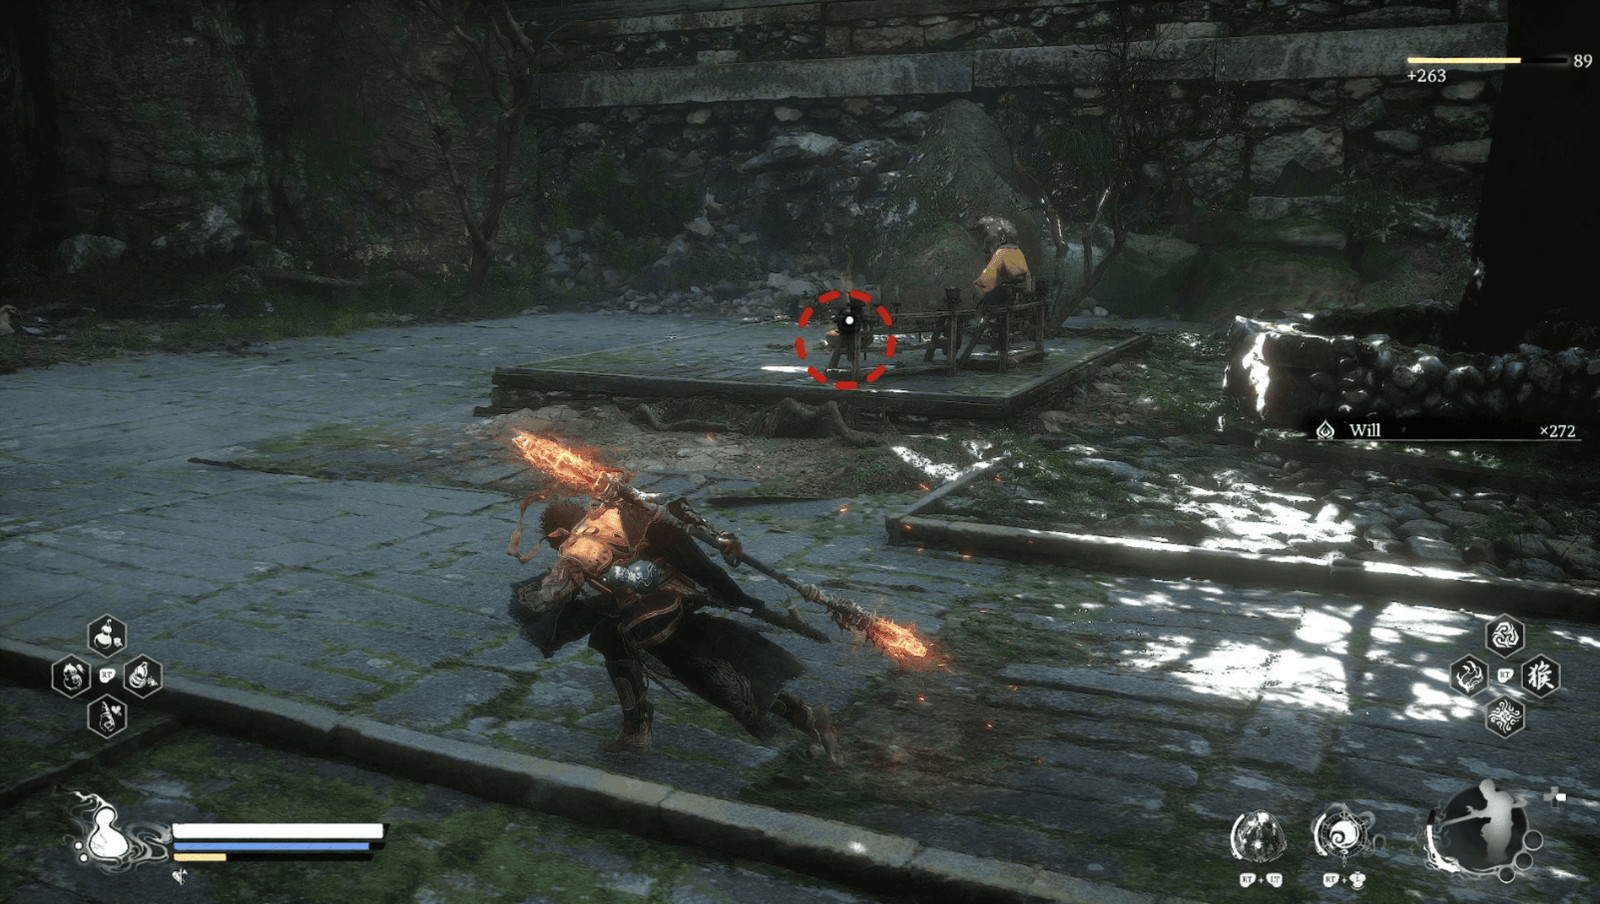
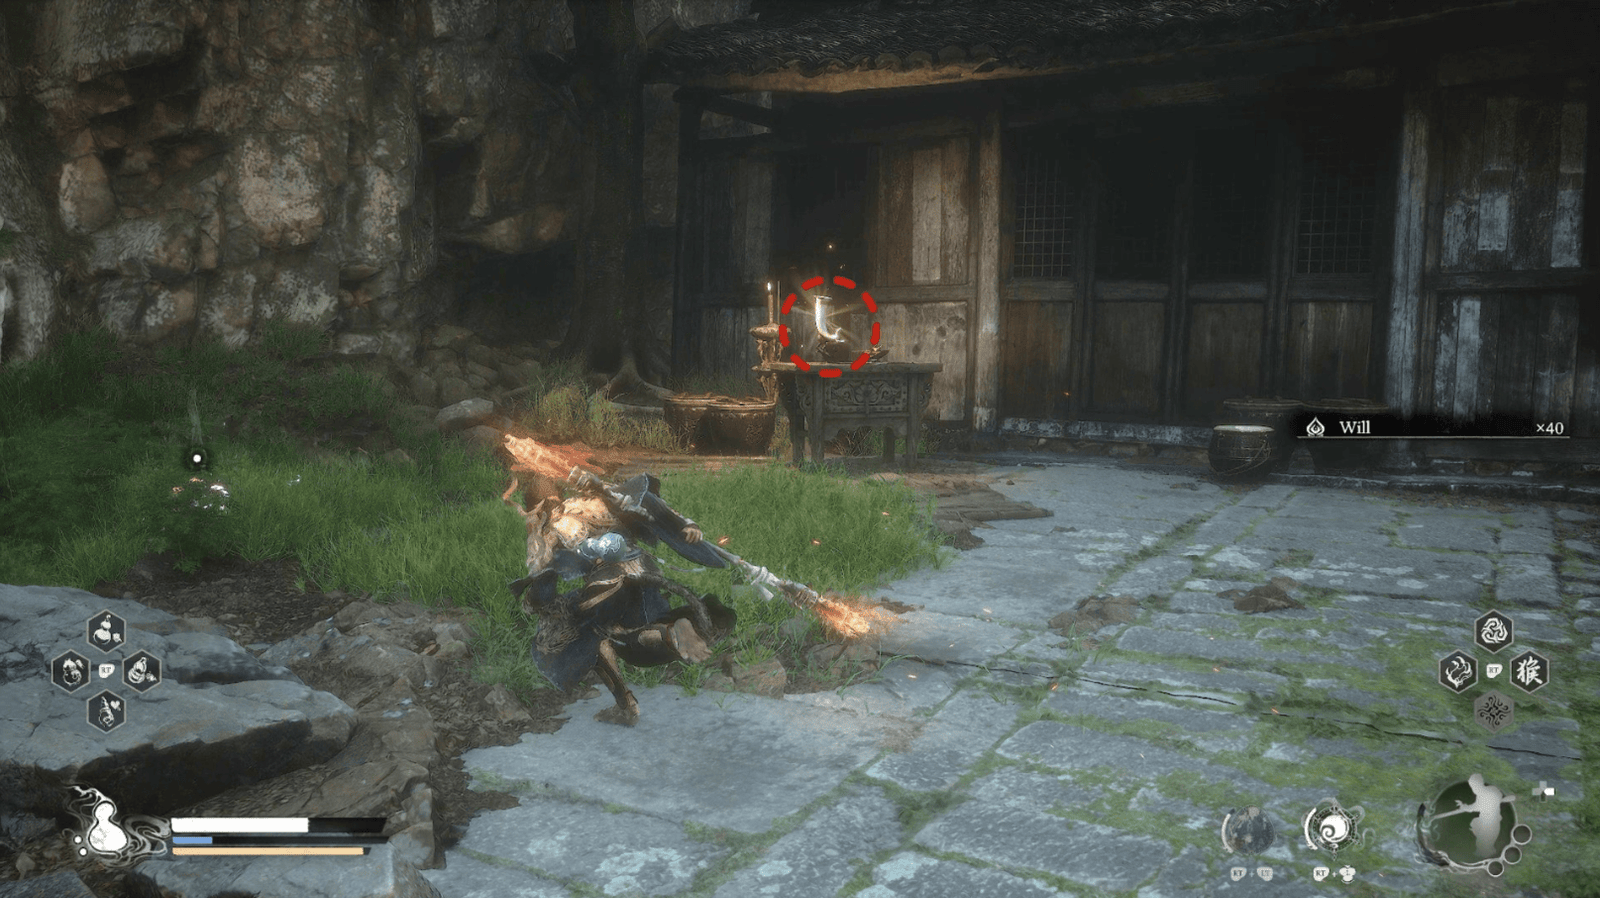
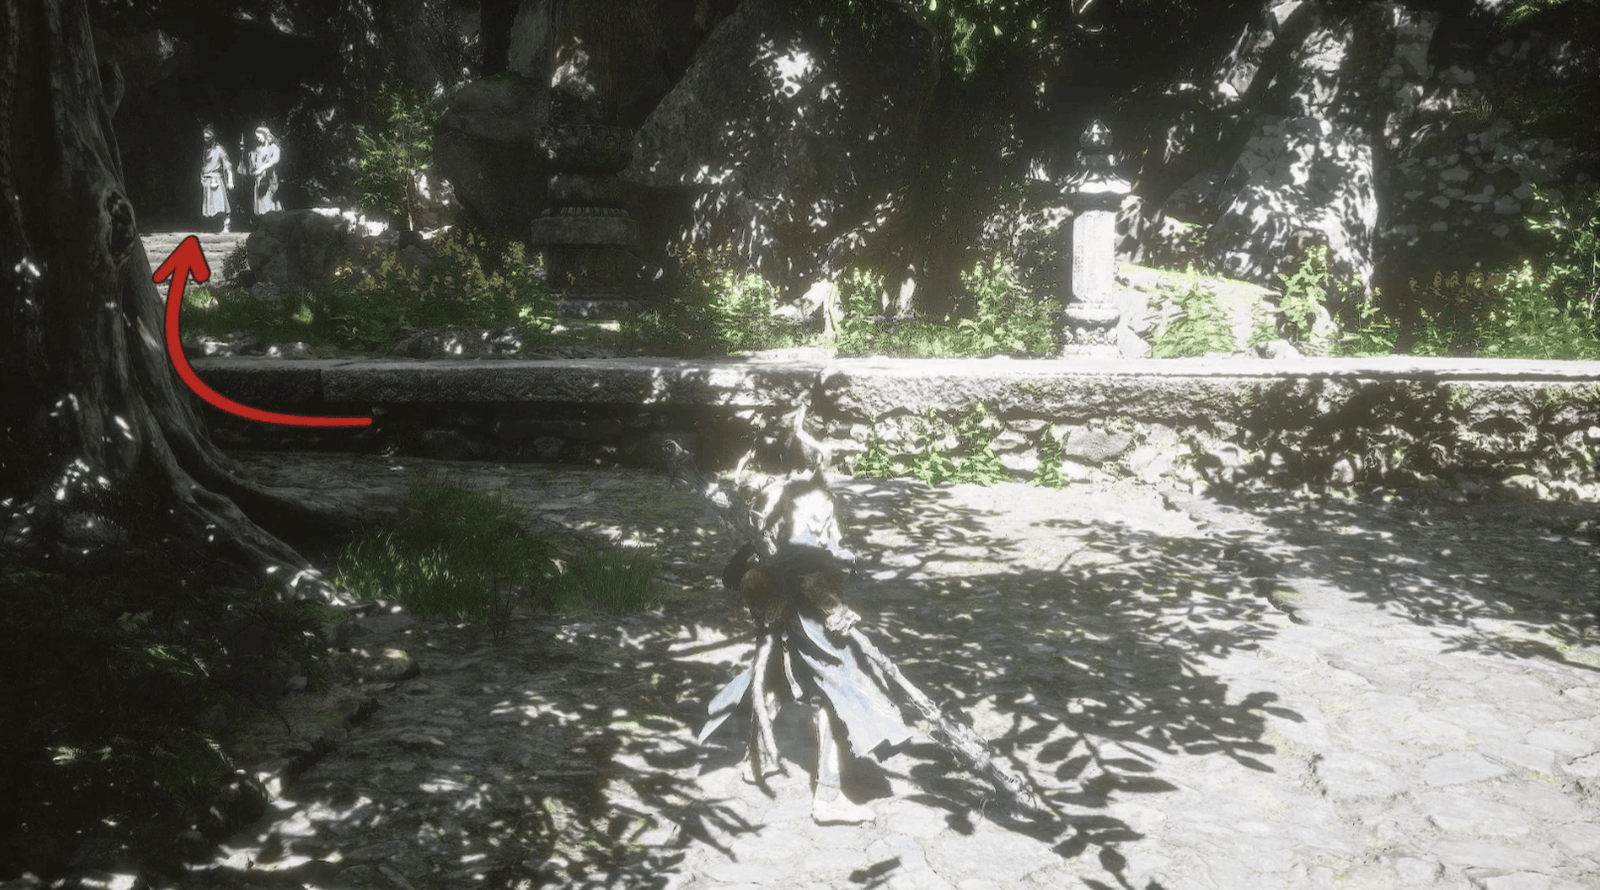
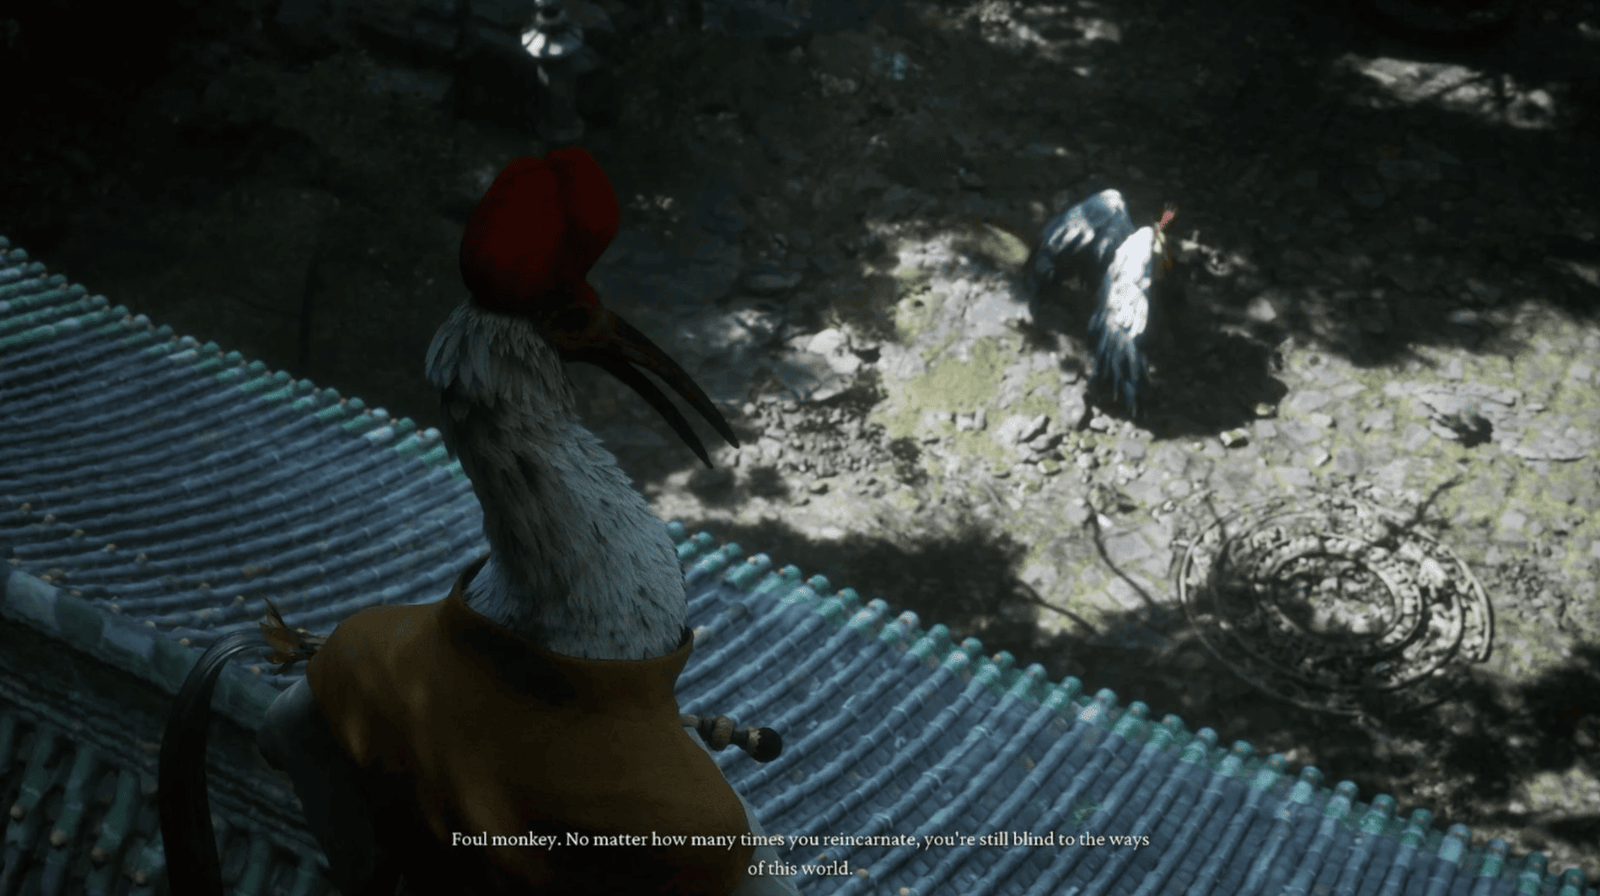
Going deeper, the Destined One will meet an Ancient Master playing the Guqin. Talk to him to learn more about the Violet Spider. Don’t forget to pick up the Awaken Wine Worm in the glowing jar behind the Ancient Master.
After exploring this area, return to the original courtyard. This time, follow the bloodstains, go up the path on the left. Passing a few Daoists, the Destined One will reach the second staircase, where a Snake Herbalist is ambushing on the right. Continue along the stone path, and the Destined One will come to a fork in the road.
Court of Illumination & Rematch with Venom Daoist
At the fork, if the Destined One goes to the left, they will reach the Court of Illumination Shrine. But first, turn right.
After defeating a Worm Practitioner, look for the treasure chest he was guarding.
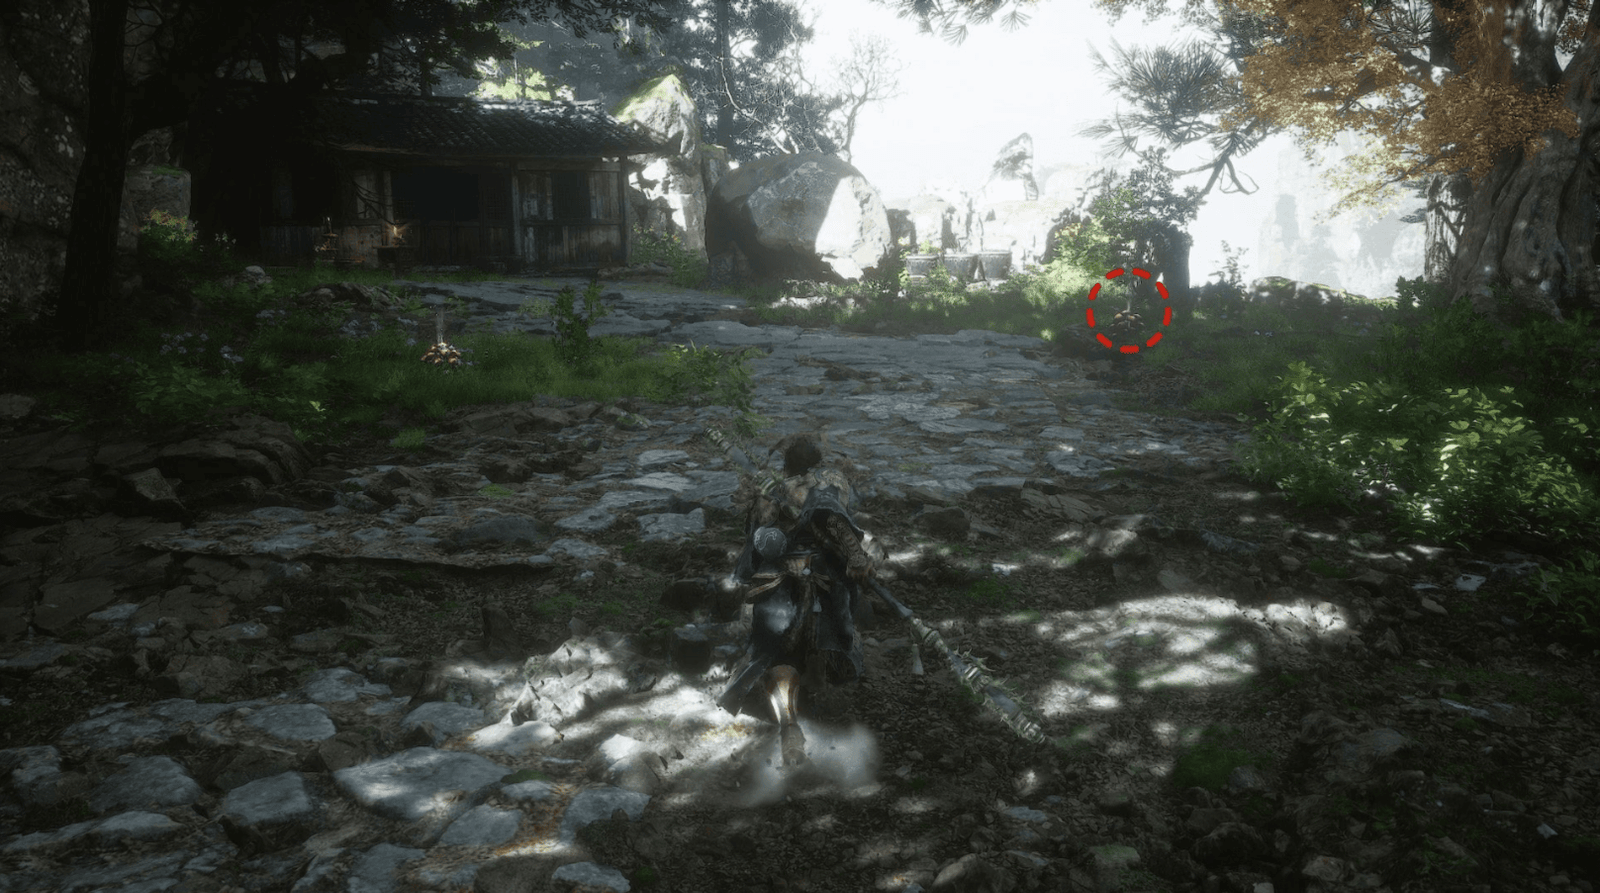
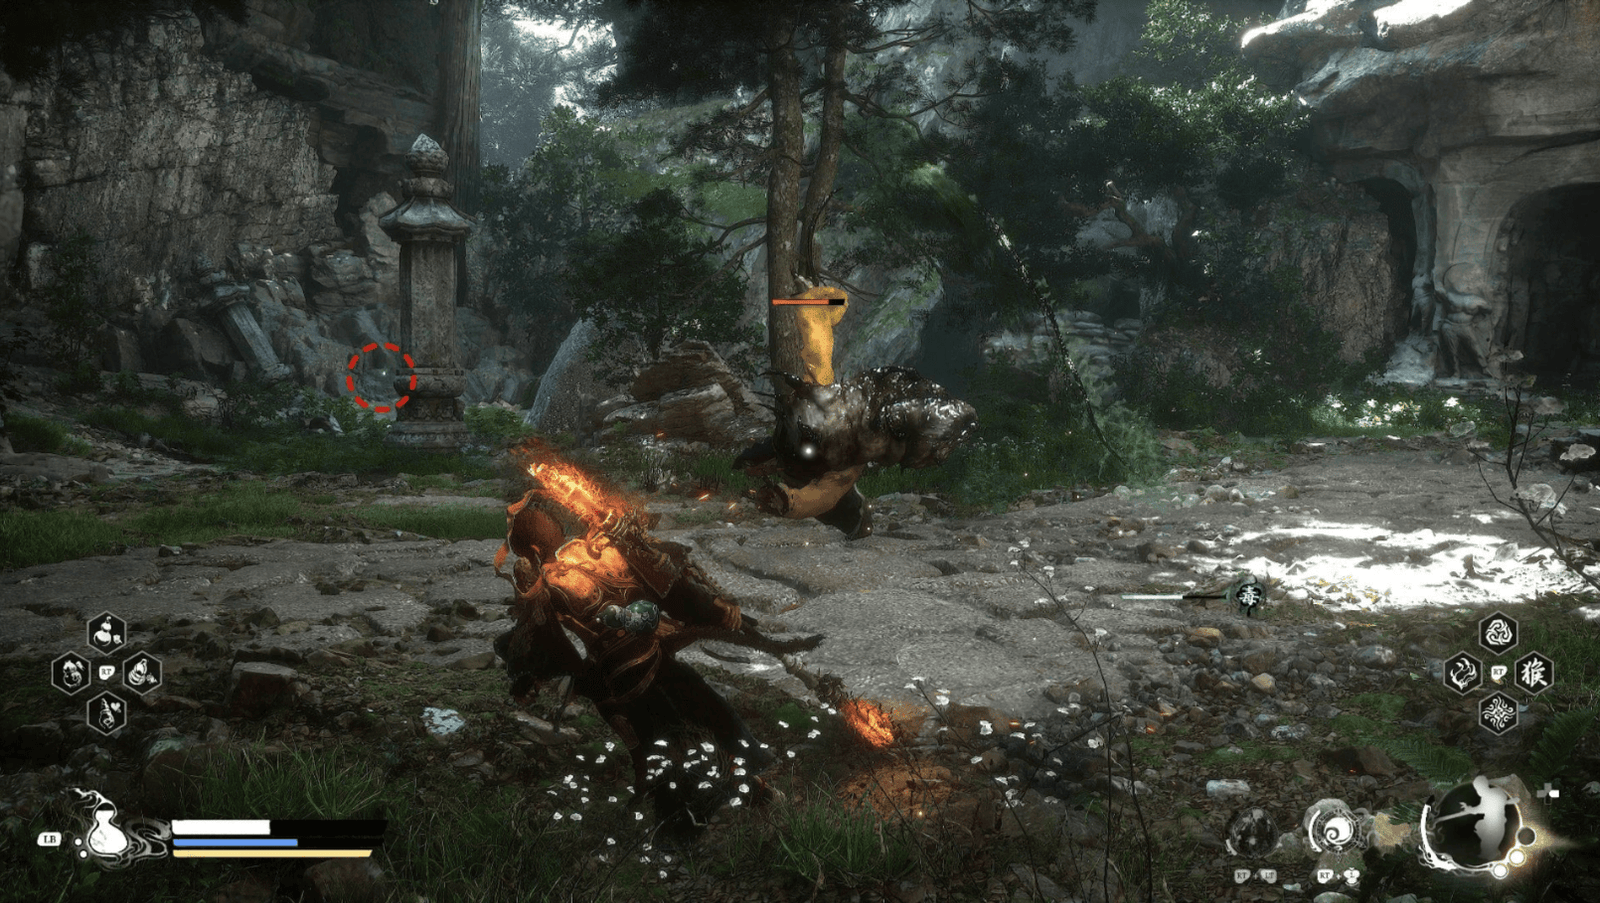
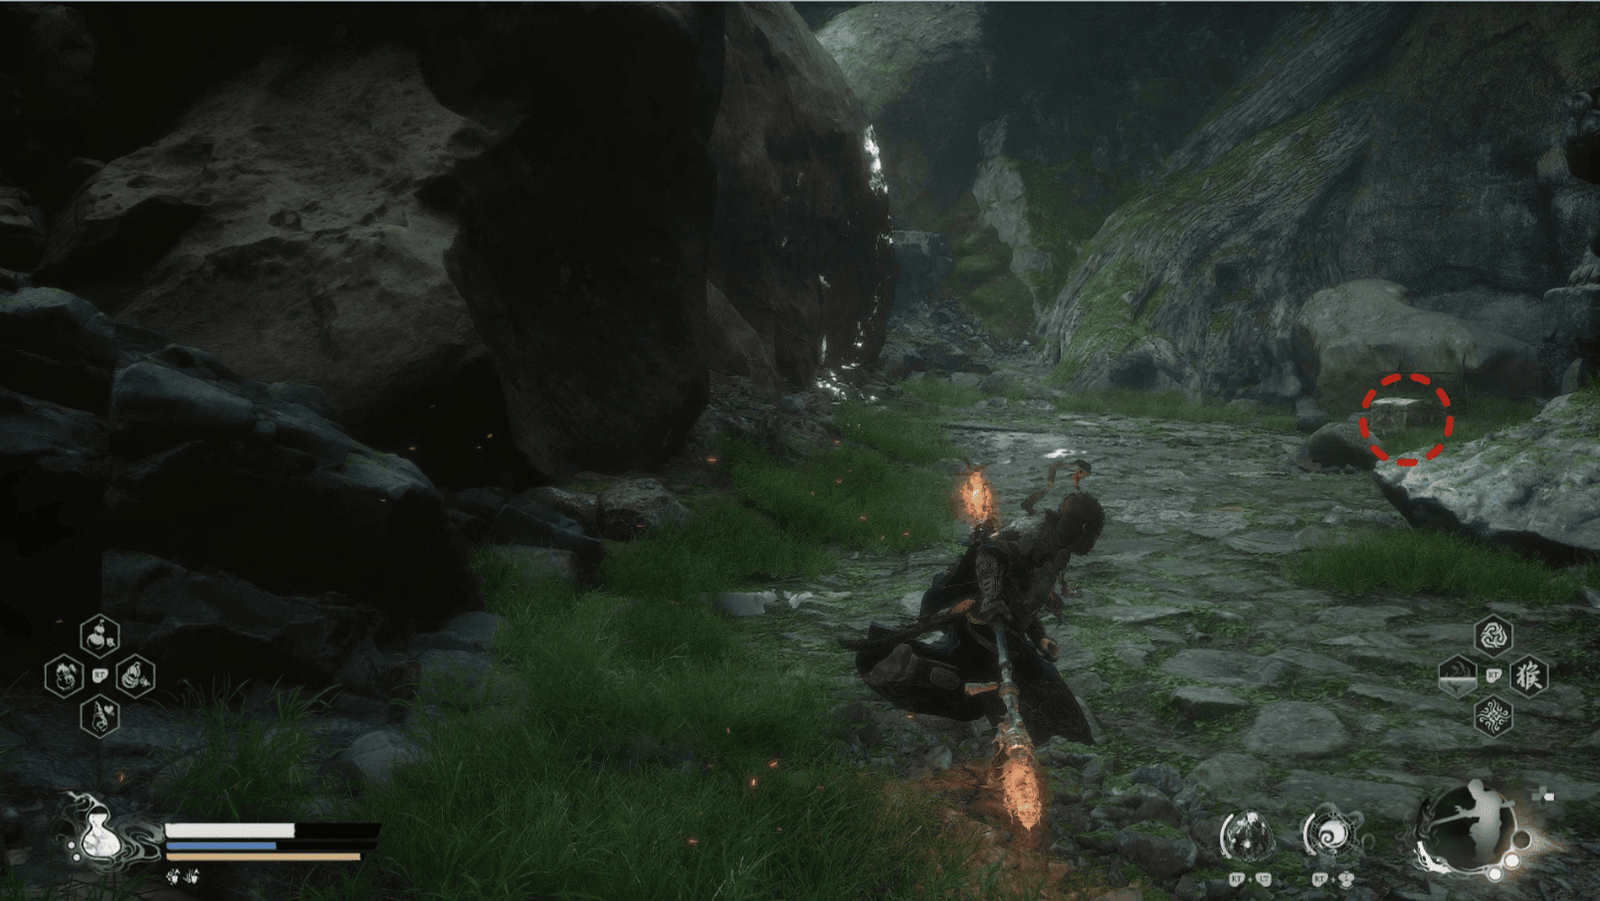
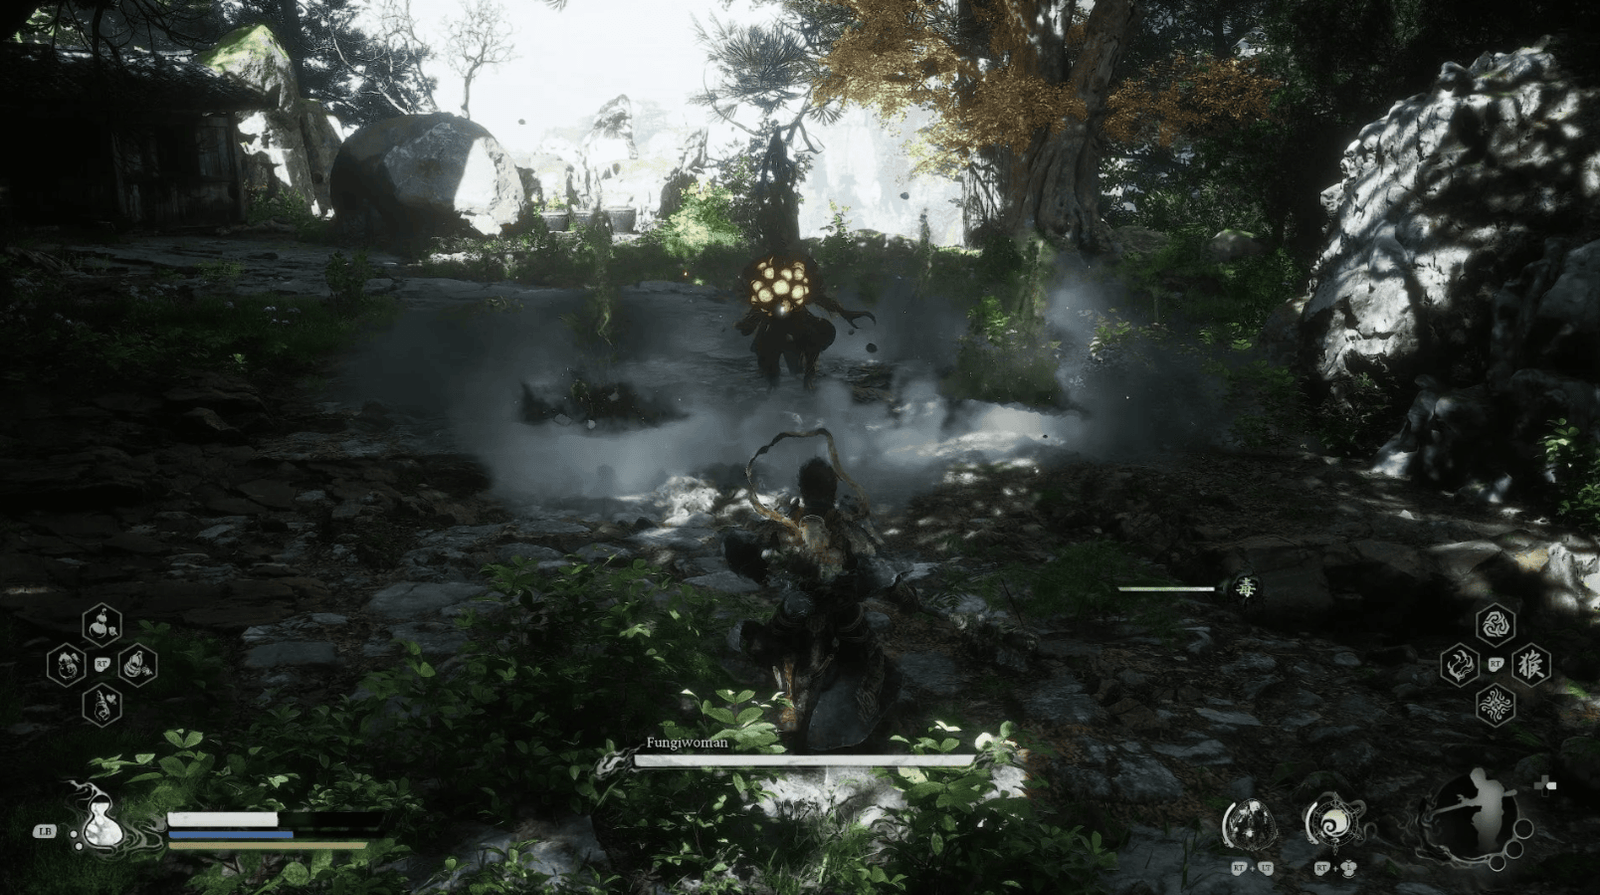
Continue along the winding mountain path, avoiding or eliminating other Worm Practitioners, and the Destined Onewill reach the top of the mountain. The path will widen, leading to a cliff, where there is a small house with Snake Head Mushrooms growing around it. Be careful, one of them is actually a Fungiwoman in disguise.
Fungiwoman Miniboss Fight
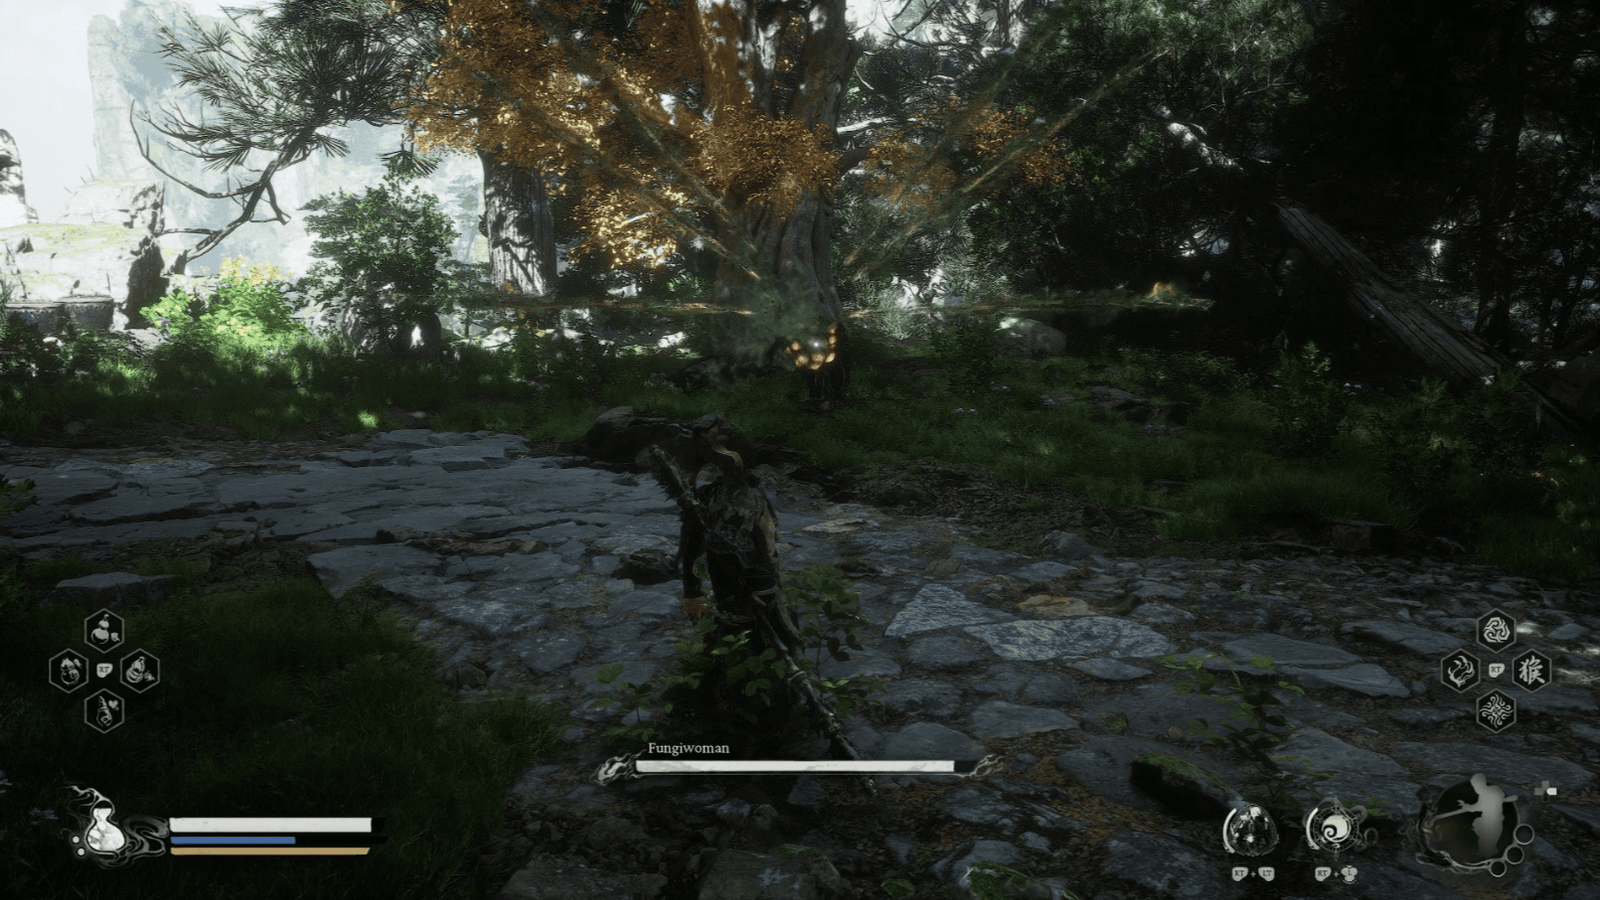
This Fungiwoman has a similar fighting style to the Fungiman that the Destined One encountered in the Pagoda Realm. Be careful with her Poison, use Immobilize to stun her and attack continuously.
After defeating her, the Destined One will receive a Knot of Voidness, a Monkey-Head Fungus Seed to take back to the Zodiac Village, and the Fungiwoman Spirit.
Search the house, and the Destined One will find the Sunset of the Nine Skies Drink.
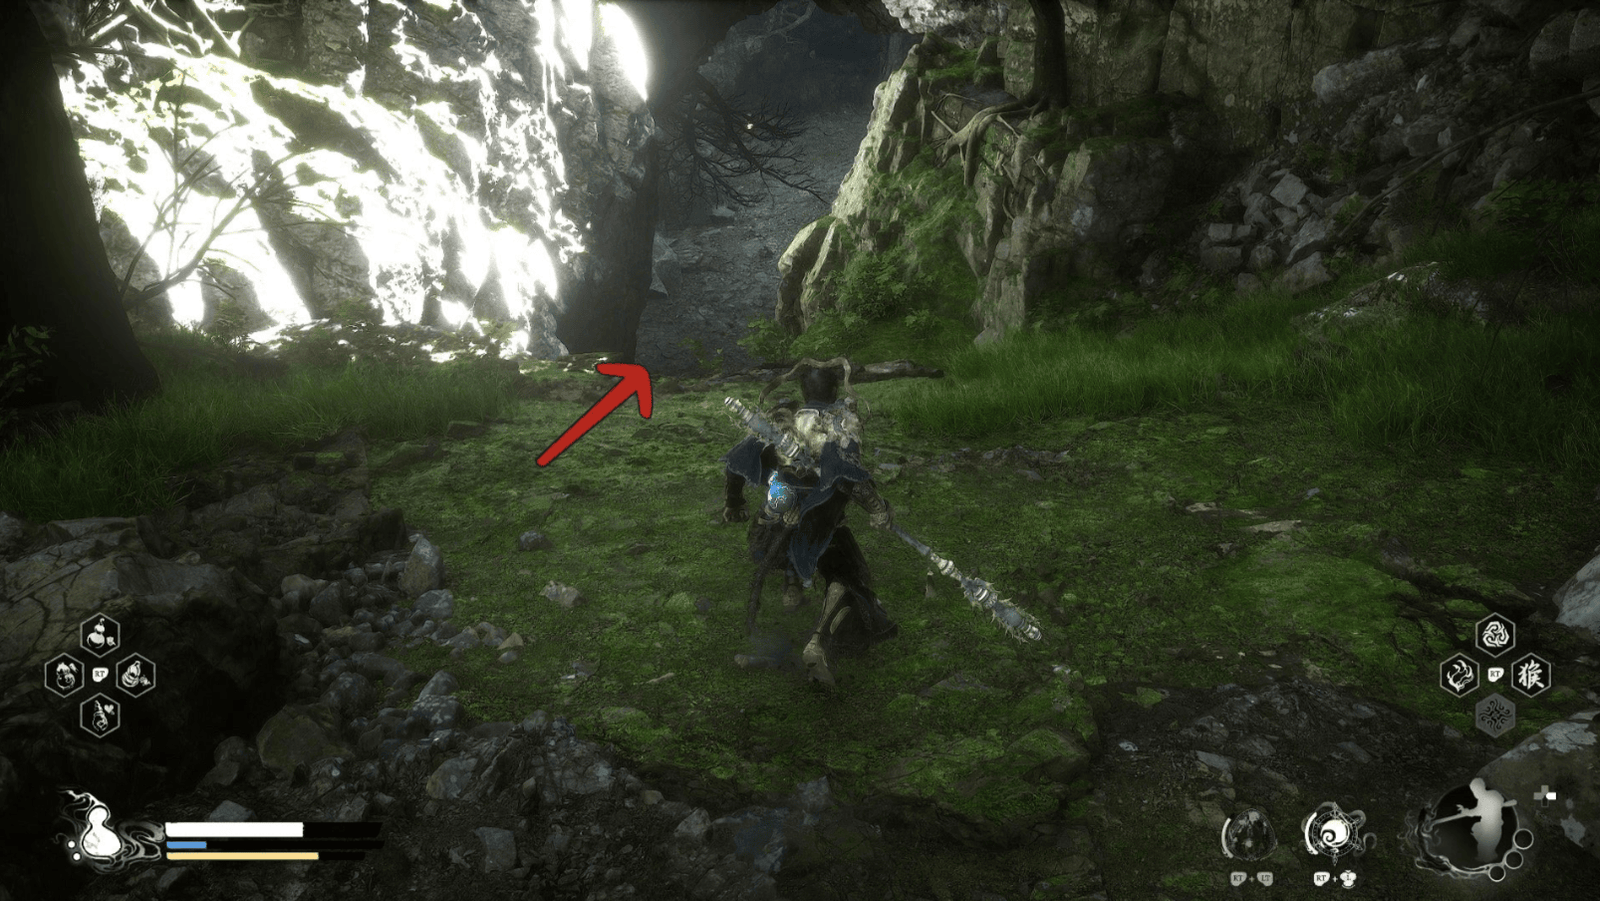
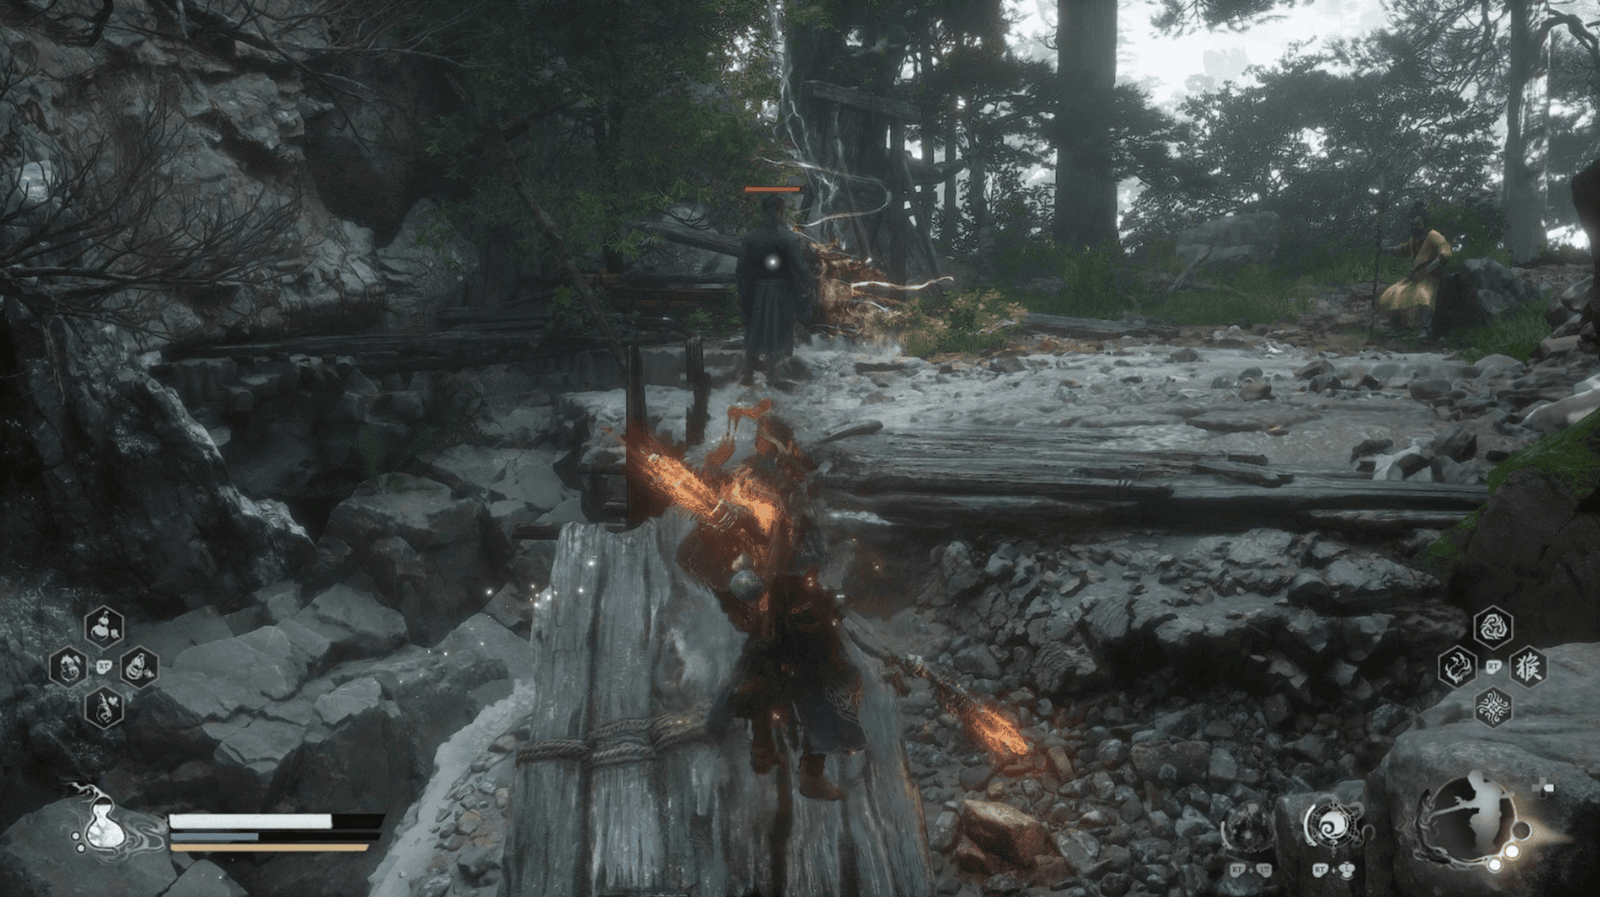
Once completed, return to the previous path. When you reach the top of the stairs leading down to the Temple of Yellow Flowers, look to the right, and the Destined One will see a long slope. Slide down this slope, and the Destined One will reach a large arena, and here, the Destined One will reunite with an old enemy – the Venom Daoist.
Venom Daoist Boss Fight – Second Encounter
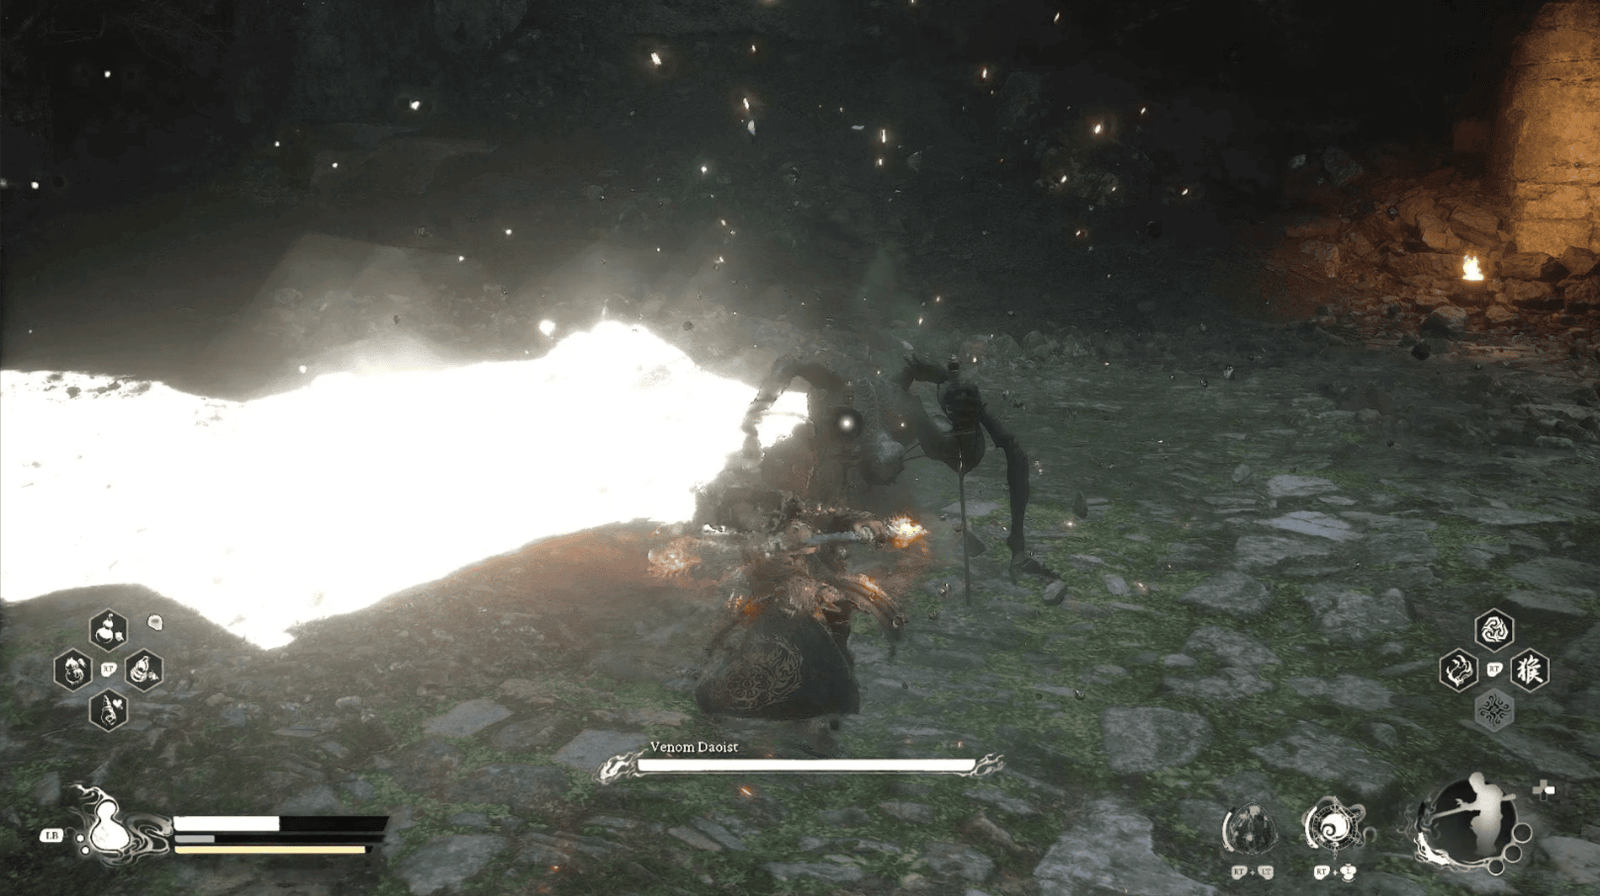
This time, the Venom Daoist only has two extra arms, but the danger has not diminished. In the first phase, he still uses the same old moves.
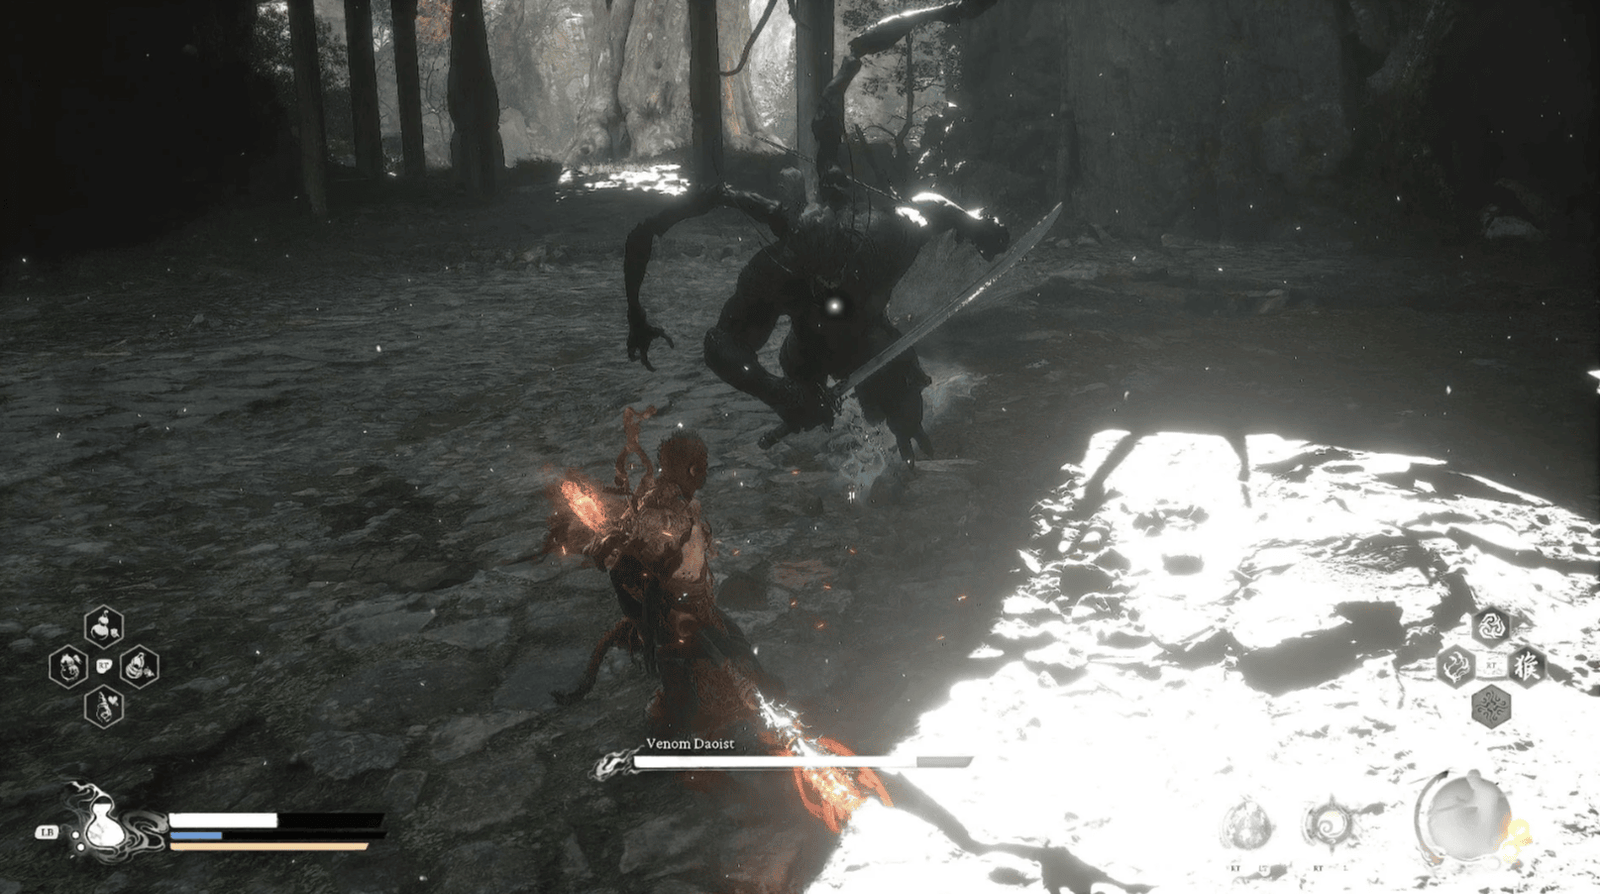
Take advantage of the opportunity when he bends down to slash twice to attack his extra arms, dealing significant damage and quickly transitioning to the second phase. In this phase, he is more aggressive, moves more flexibly, and attacks continuously. Focus on dodging, waiting for an opportunity to counterattack.
When the Venom Daoist falls, he will leave behind the Gold Tree Core and reveal the Purple Cloud Mountain – the Secret Area of Chapter 4.
After the battle, go through the nearby gate, and the Destined One will reach a large field with an ancient tree in the middle. Look around, the Destined One will see a wooden ledge, where there is a treasure chest containing items and a Soul Remigration Pill.

After completing the Purple Cloud Mountain Secret Area, return to the Court of Illumination Shrine. If you haven’t activated the Shrine before, the Destined One will need to defeat two Spear Daoists. Next to the Shrine is a small pond, where a Tiger Sheriff is hiding along with a Wisp. Defeating it, the Destined One can obtain the Tiger Tendon Belt Curio.
From the Shrine, the Destined Onewill see a path leading straight ahead and another path leading up the stairs on the right.
Go up the stairs, and the Destined One will find the final Altar. But before getting there, turn left, follow the narrow path guarded by two Sword Daoists.
Crossing the path, the Destined One will reach an area where there is a treasure chest containing a Knot of Voidness, a Loong Aura Amplification Pellet, and a Life-Saving Pill.
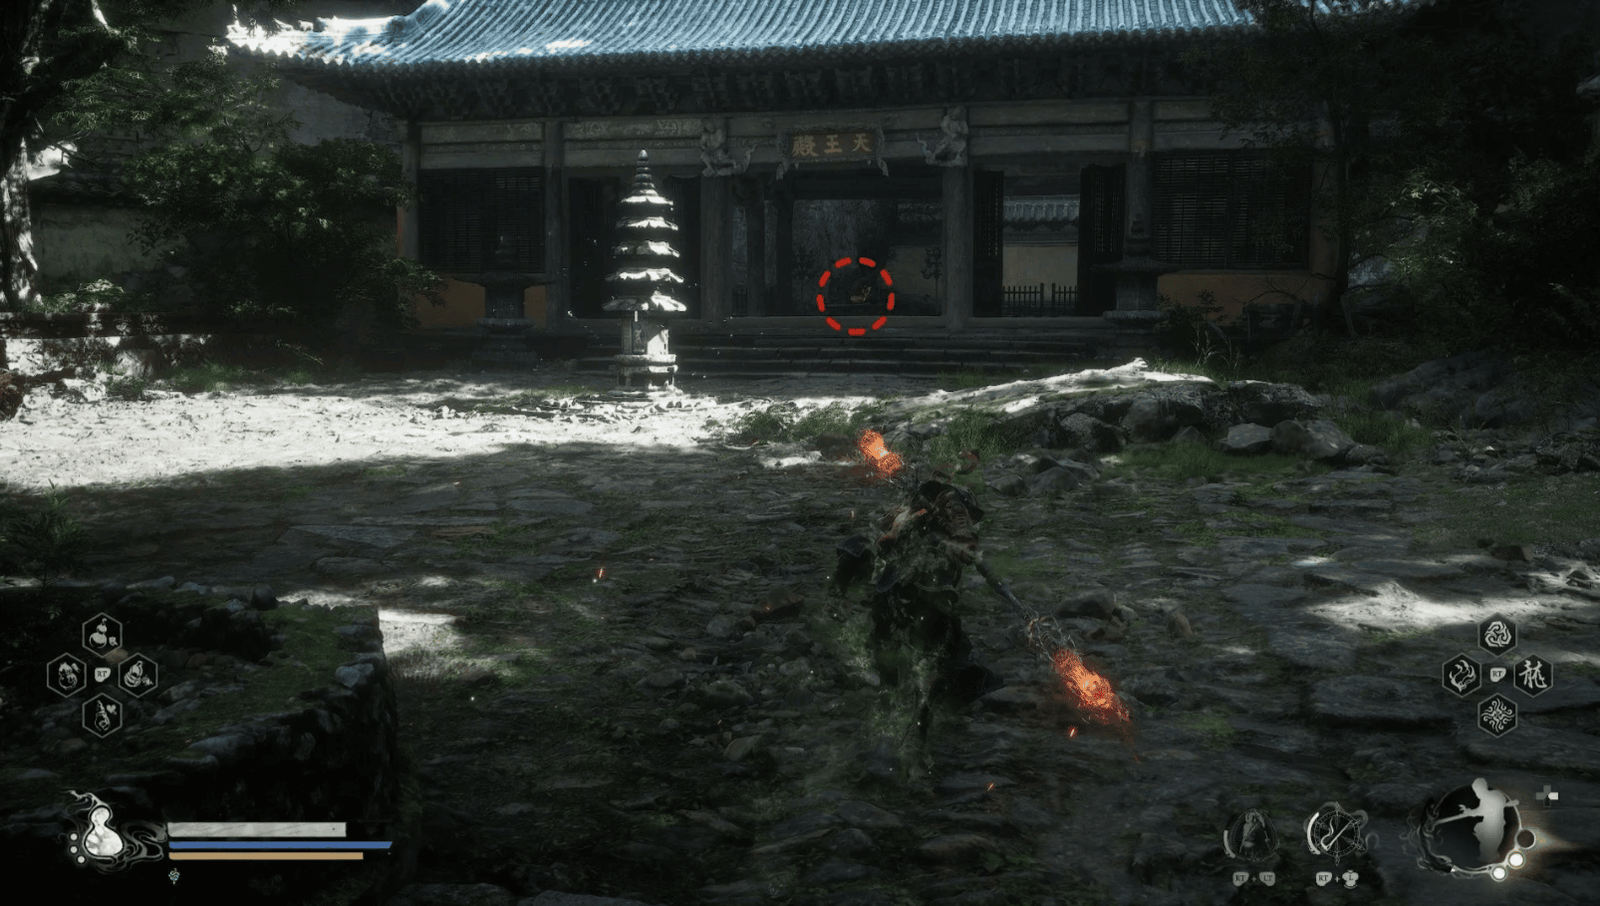
Return to the Altar, and pull out the final Purple Talisman. Immediately, a giant monster with a hideous face and large hands instead of wings – the Supreme Inspector – will appear, attacking the Destined One.
Supreme Inspector Boss Fight
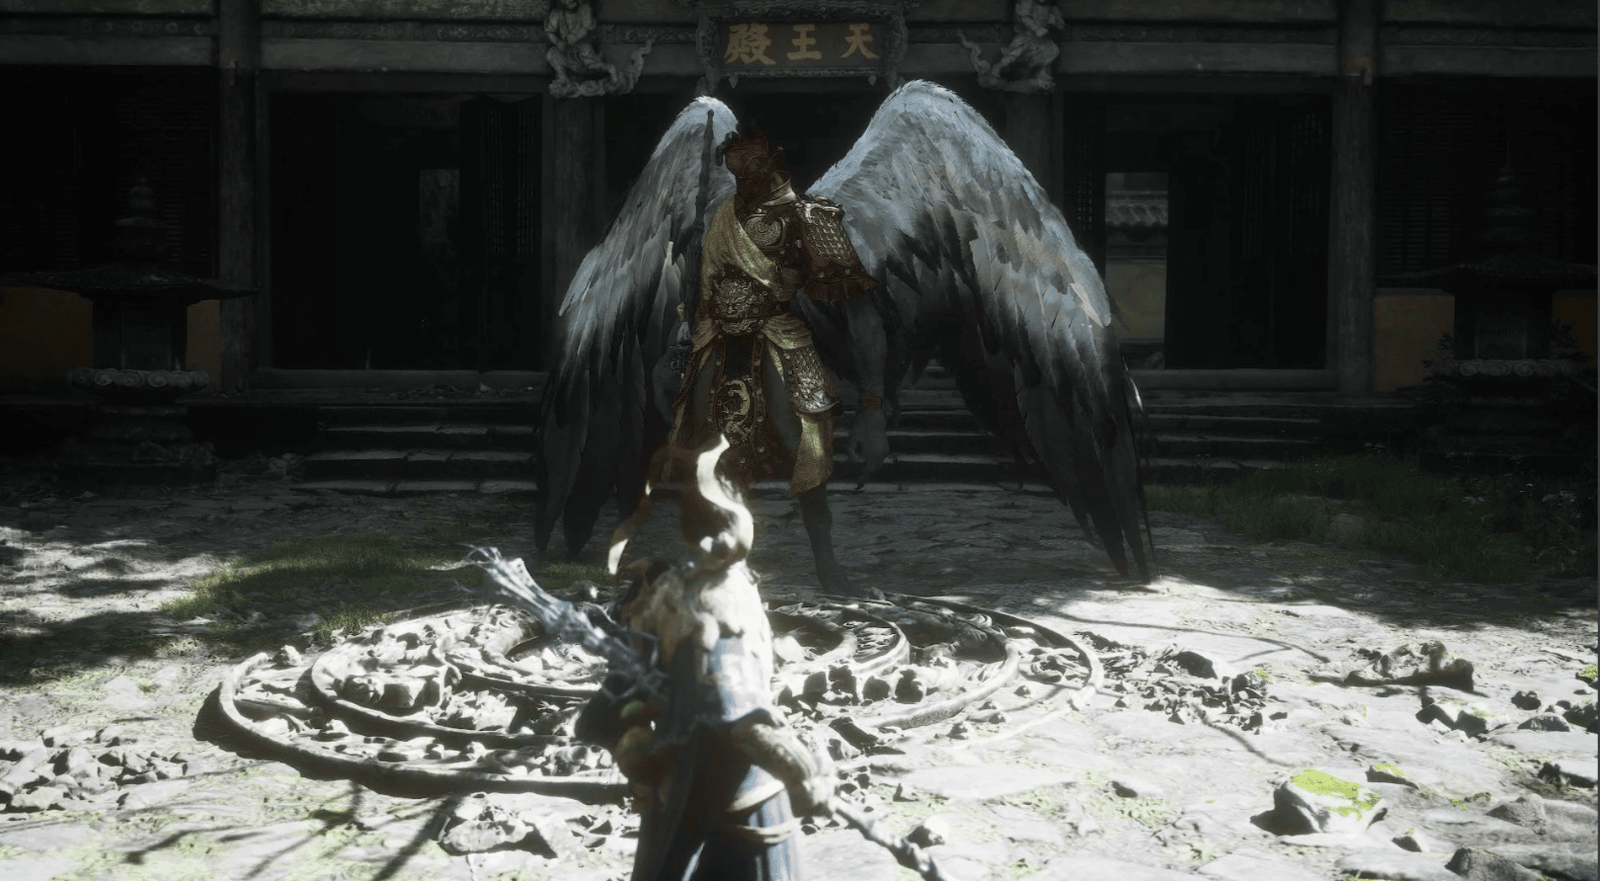
In fact, this is not the real fight with the Supreme Inspector. The Destined One only needs to reduce about 10% of his Health to end the fight. Focus on dodging the powerful wing flaps and the kicks from above, while unleashing the strongest staff techniques.
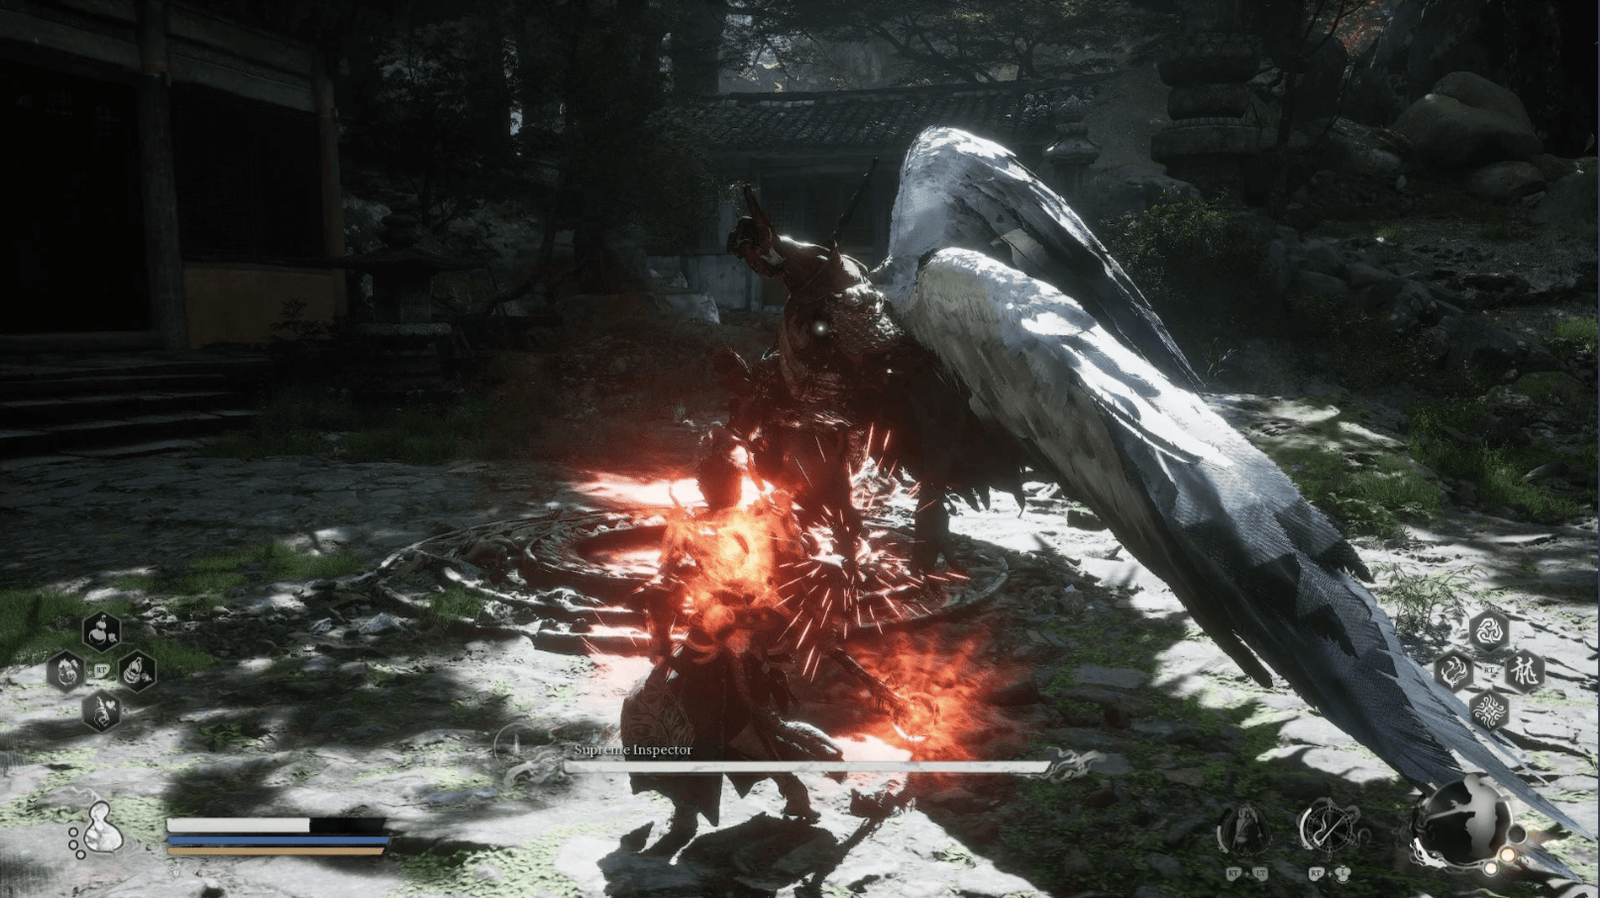
The Destined One can use Immobilize, stunning him and then counterattacking to quickly end the fight. When the battle is over, a Heron Noble will appear and intervene.
After the battle, go to the stone platform behind the Altar, where the Destined One pulled out the Purple Talisman, here the Destined One will find the Celestial Nonary Pill, which increases Stamina.
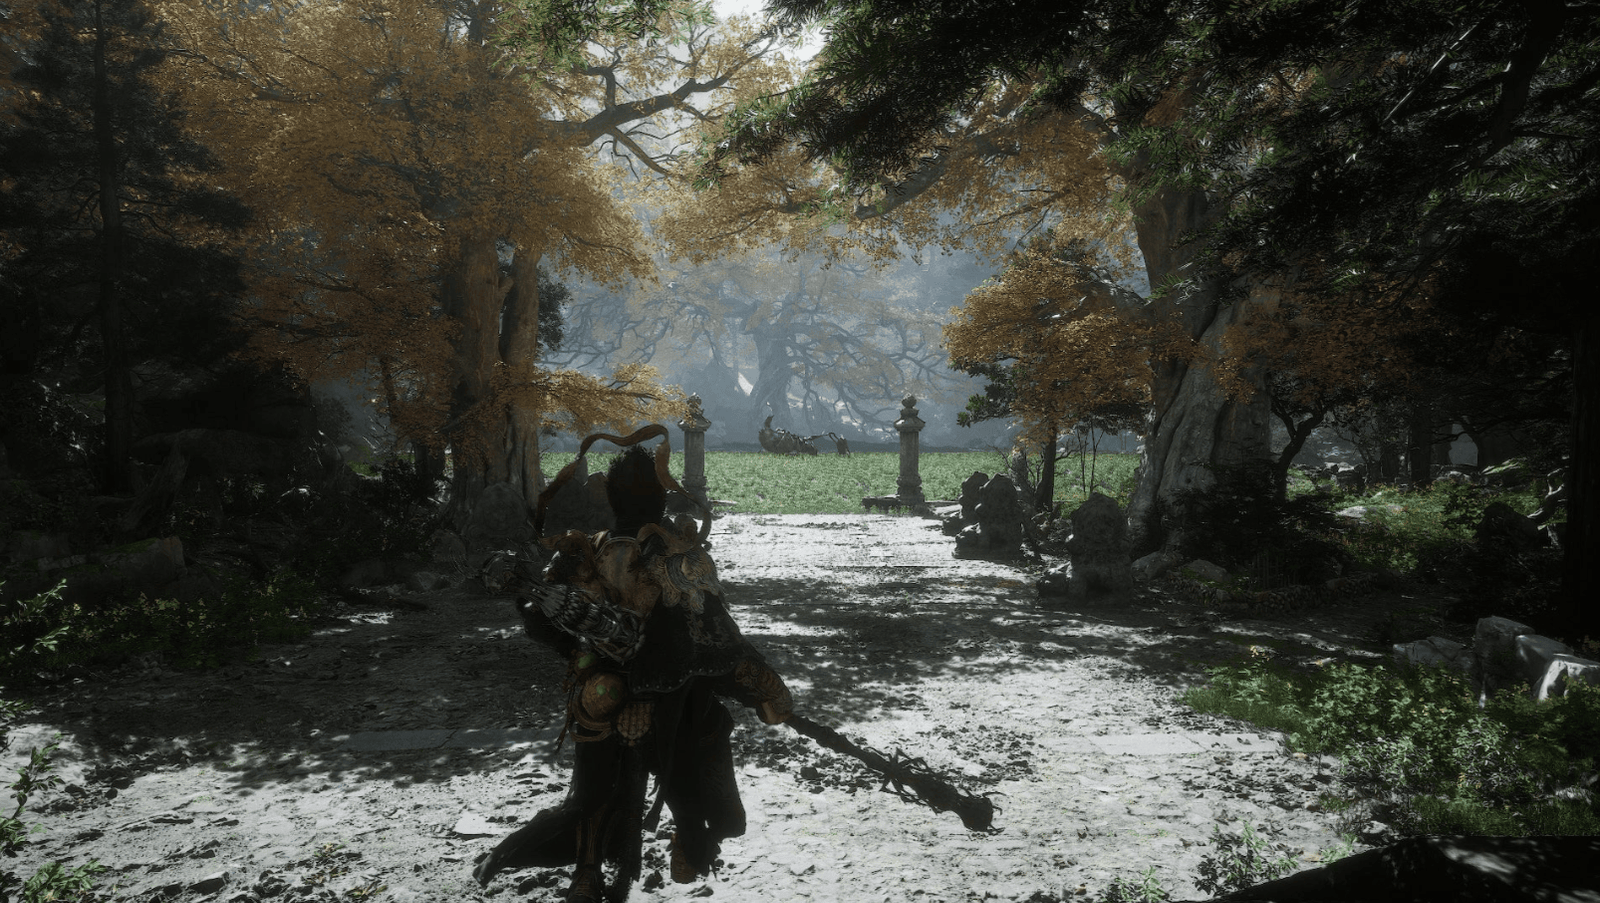
After completing everything, return to the Court of Illumination Shrine, rest, and prepare for the final battle. From the Shrine, follow the path leading to the large field ahead.
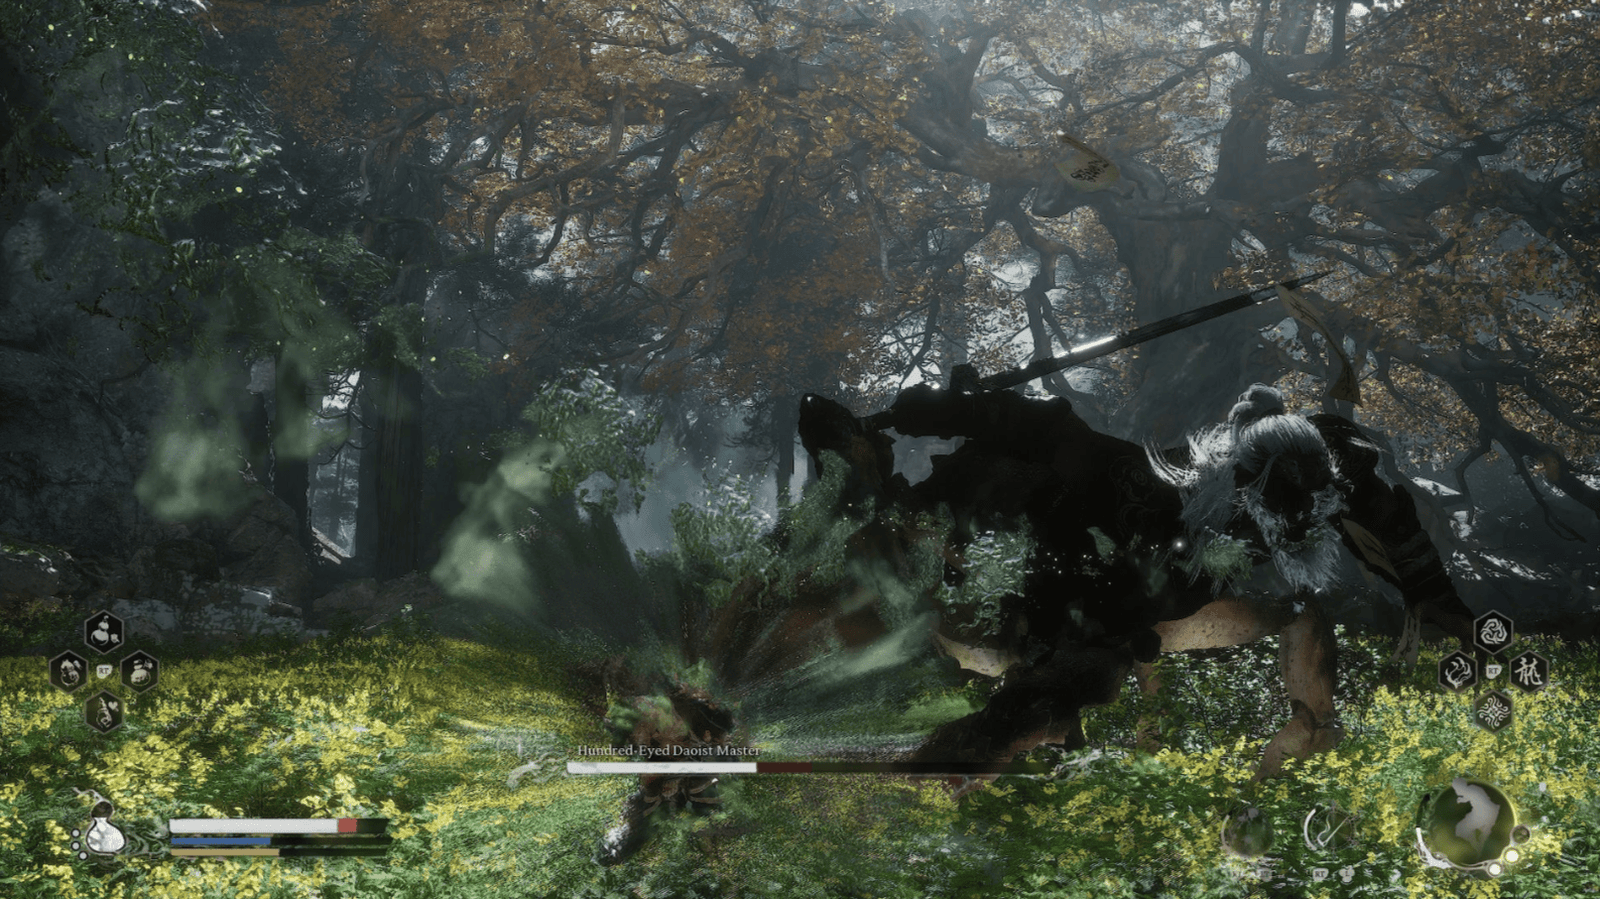
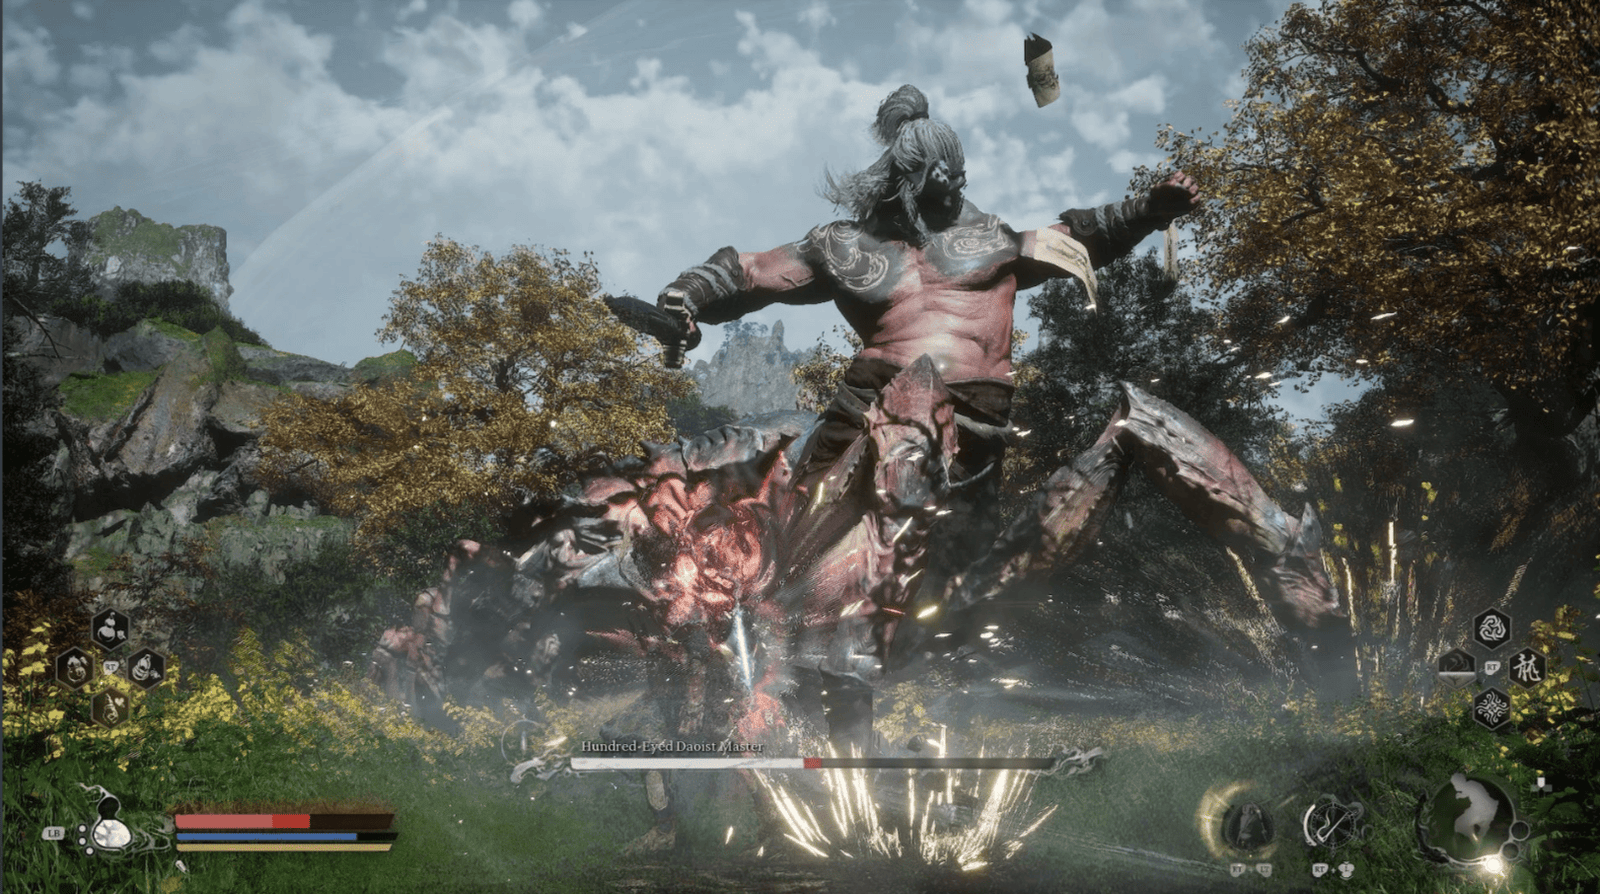
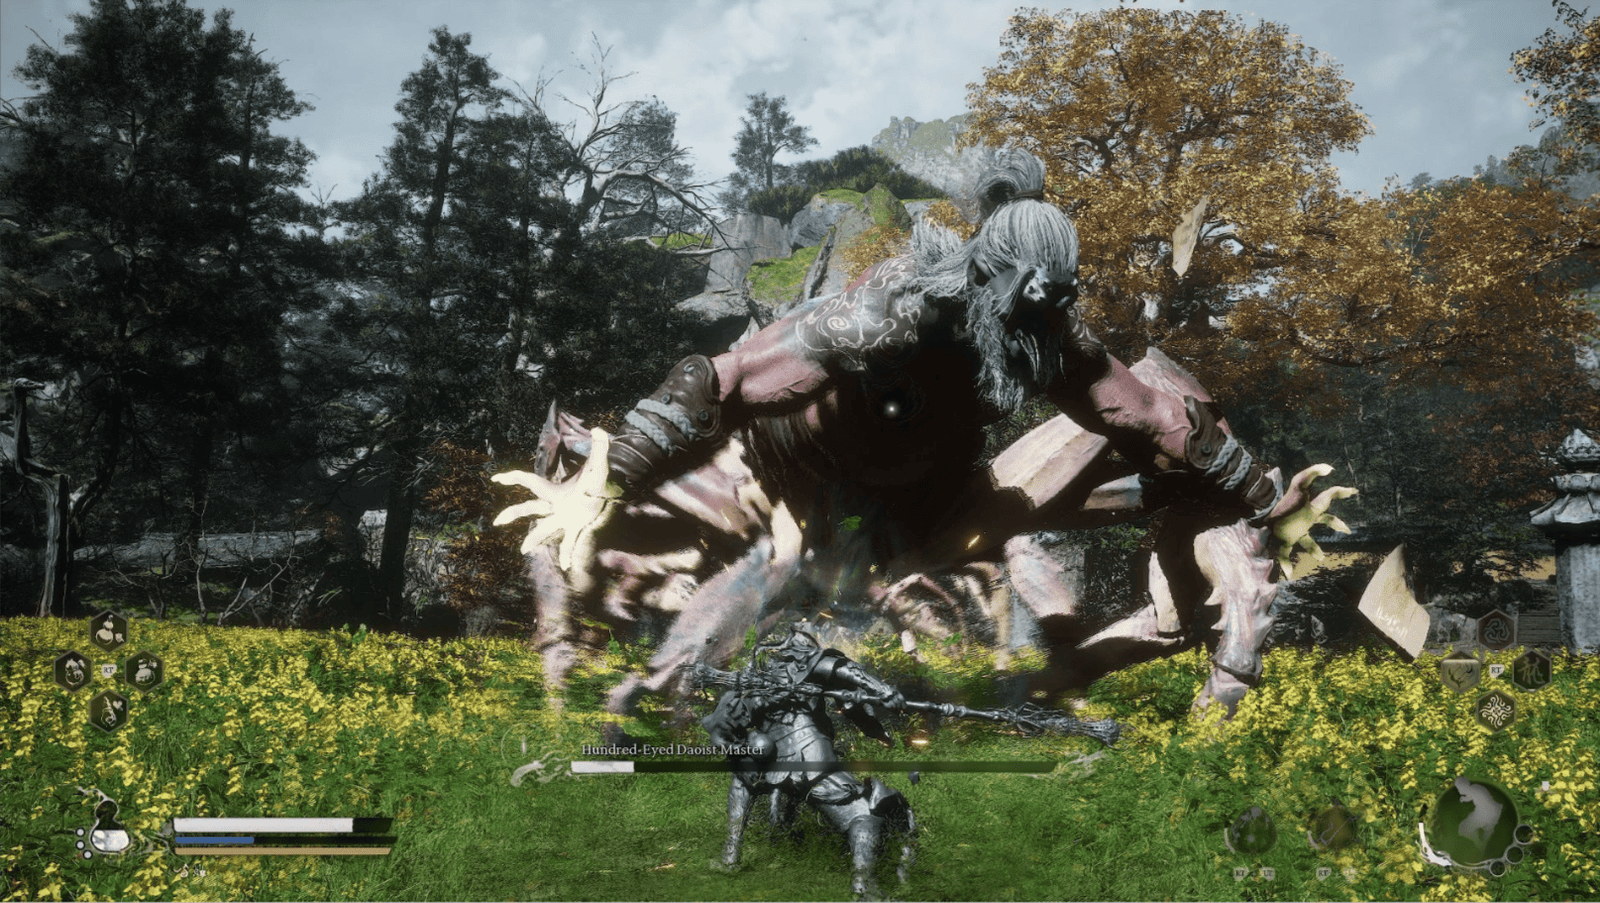
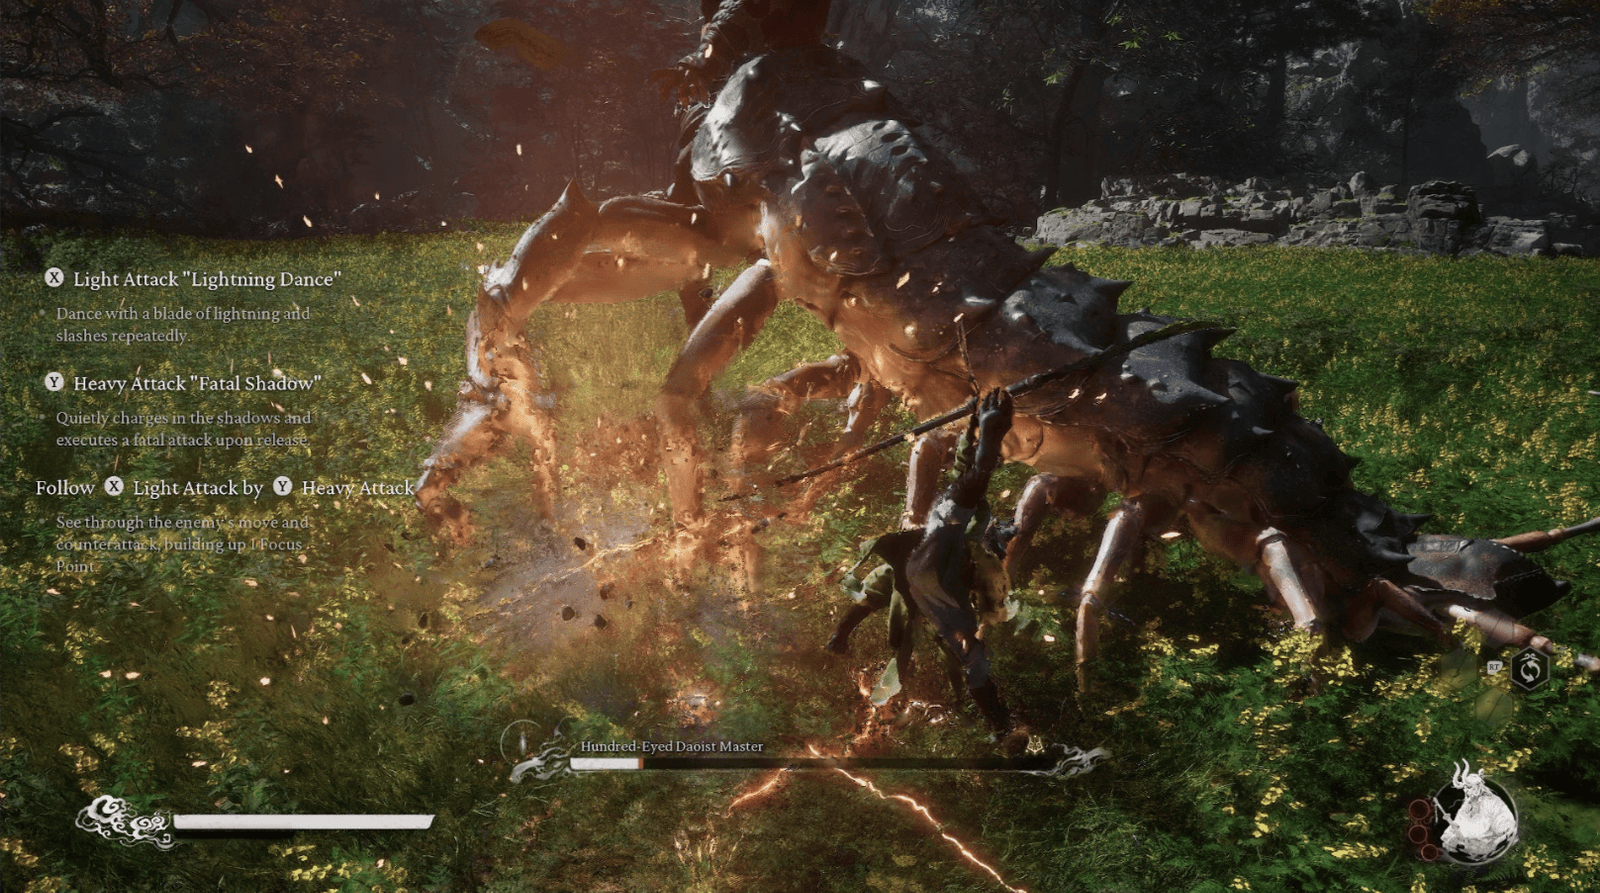
Here, the Destined One will witness a cutscene, the Hundred-Eyed Demon Lord absorbs the Violet Spider, transforming into a giant demon centipede, wielding a Sword, emanating a terrifying demonic aura.
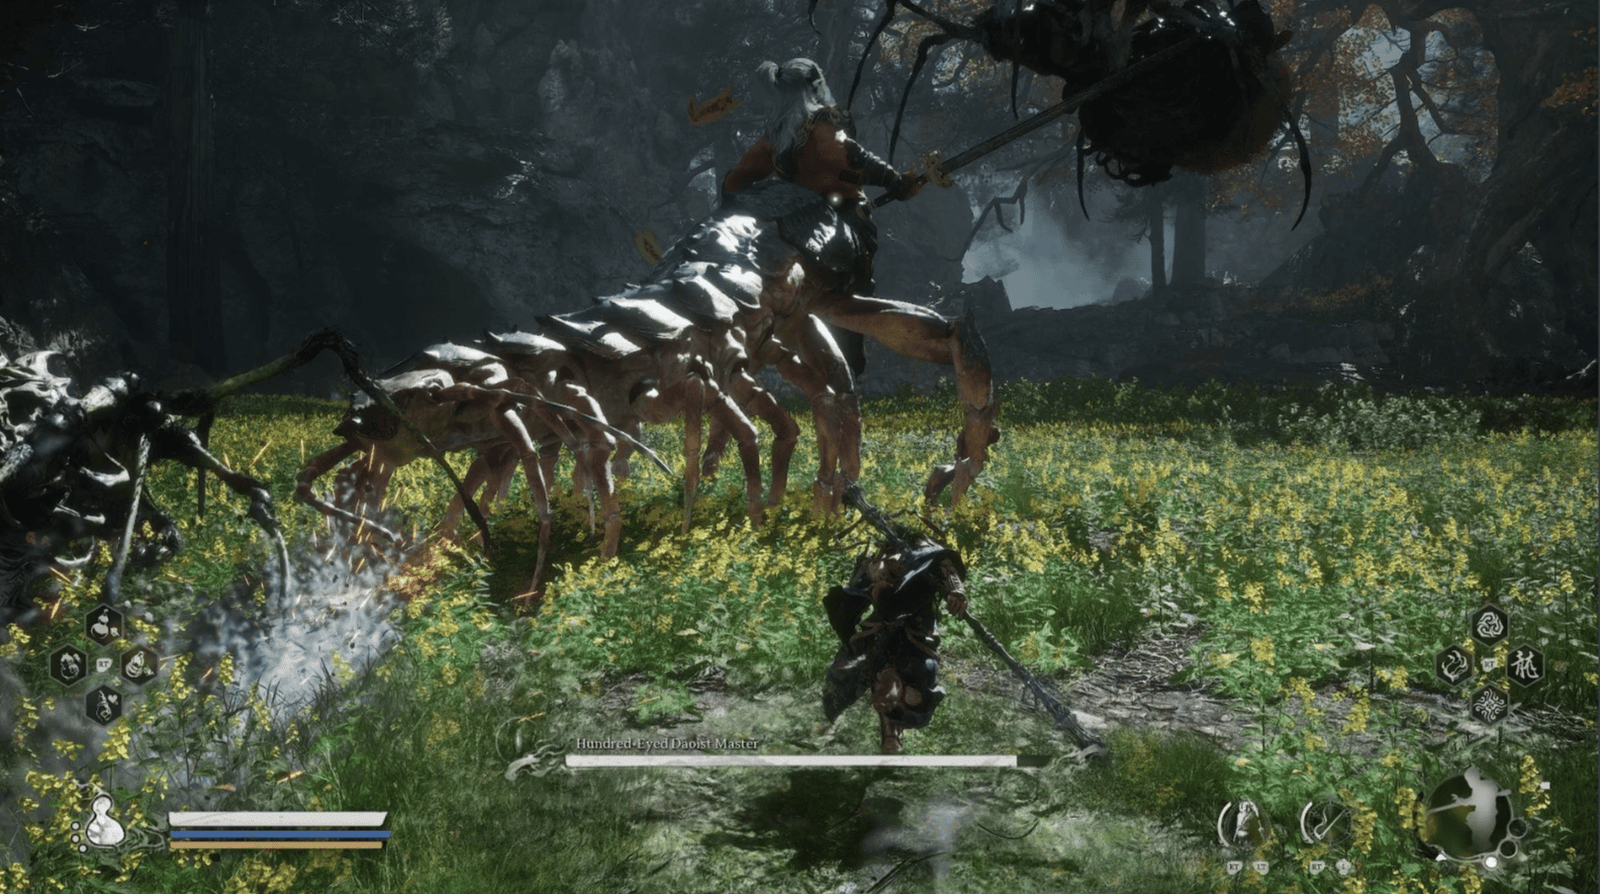
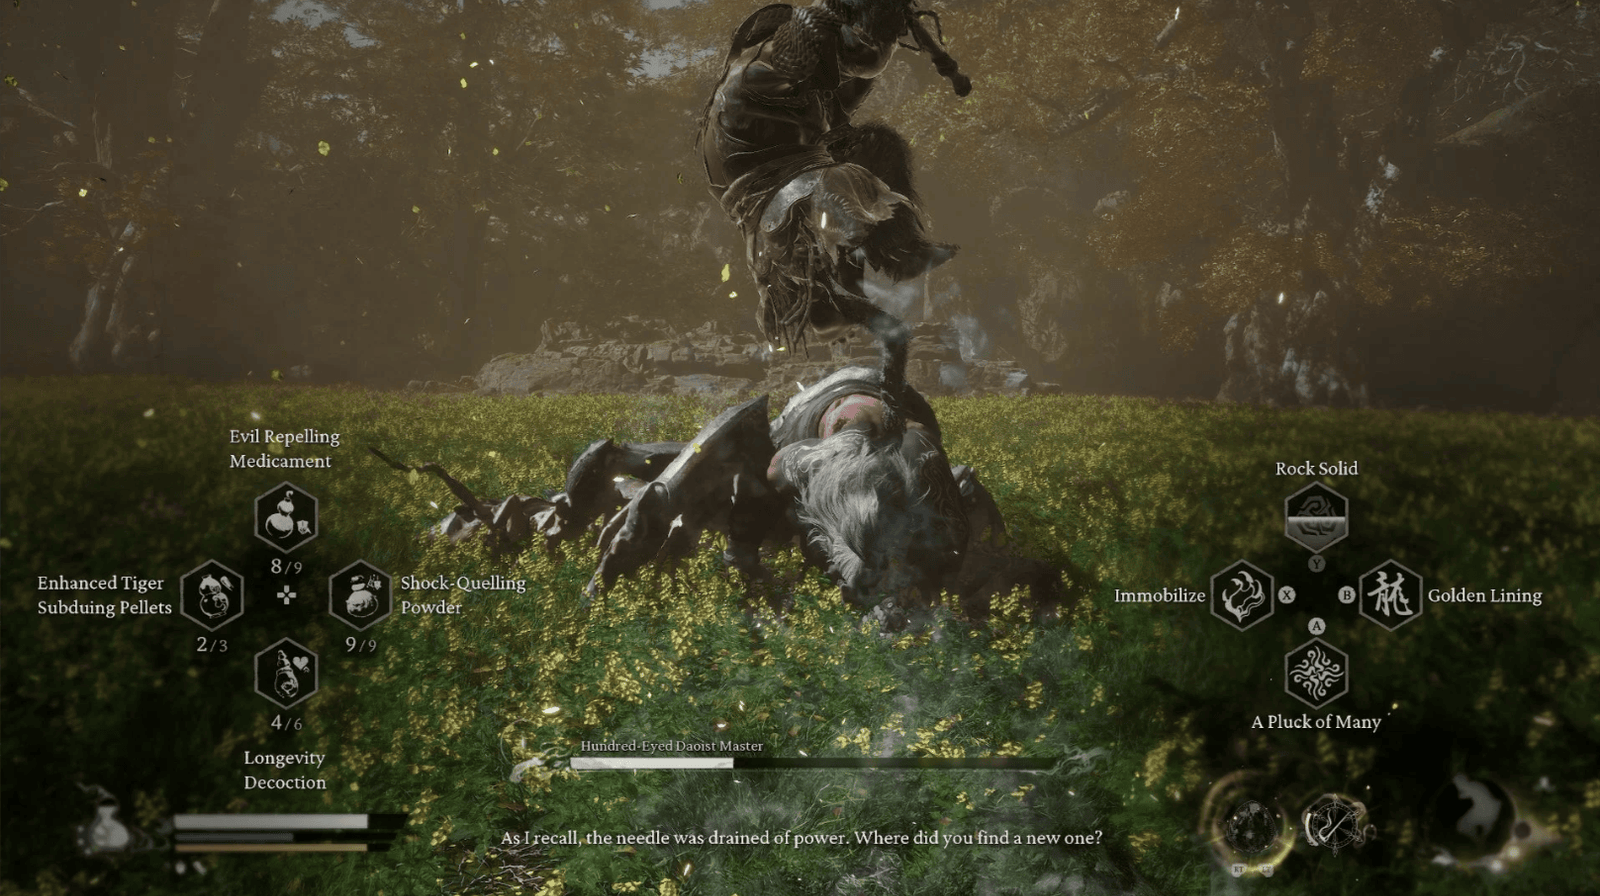
Hundred-Eyed Daoist Master Boss Fight
Before starting, make sure the Destined One has equipped Shock-Quelling Powder and Antimiasma Medicine. In particular, the Destined One needs to complete the Purple Cloud Mountain Secret Realm and obtain the Weaver’s Needle Vessel, otherwise, this battle will be extremely difficult.

When the fight begins, the Spider Sisters will rush to attack the Hundred-Eyed Demon Lord. Take advantage of this time to attack him together, dealing damage. If the Destined One unfortunately fails the first time, don’t be discouraged, the Hundred-Eyed Demon Lord will have his Health permanently reduced by 15% in subsequent attempts. There are small areas on both sides of the arena, the Destined One can explore them in subsequent attempts, where you can find Wisps and treasure chests.
Phase 1
The Hundred-Eyed Demon Lord will continuously attack with his Sword, combined with Electric Attacks from the three Paper Talismans floating around him.
He can also spew Poison, be careful to avoid it.
The Destined One can use Rock Solid to deflect close-range attacks and close-range Electric Attacks, creating opportunities to counterattack. However, be careful, if the Traveler uses Rock Solid too much, the Hundred-Eyed Demon Lord will become enraged and burrow underground, then suddenly emerge to attack – this attack is very difficult to dodge, the Destined One needs to run as soon as he burrows and pay attention to the lightning streak on the ground, when you see lightning flash, immediately use Dodge.
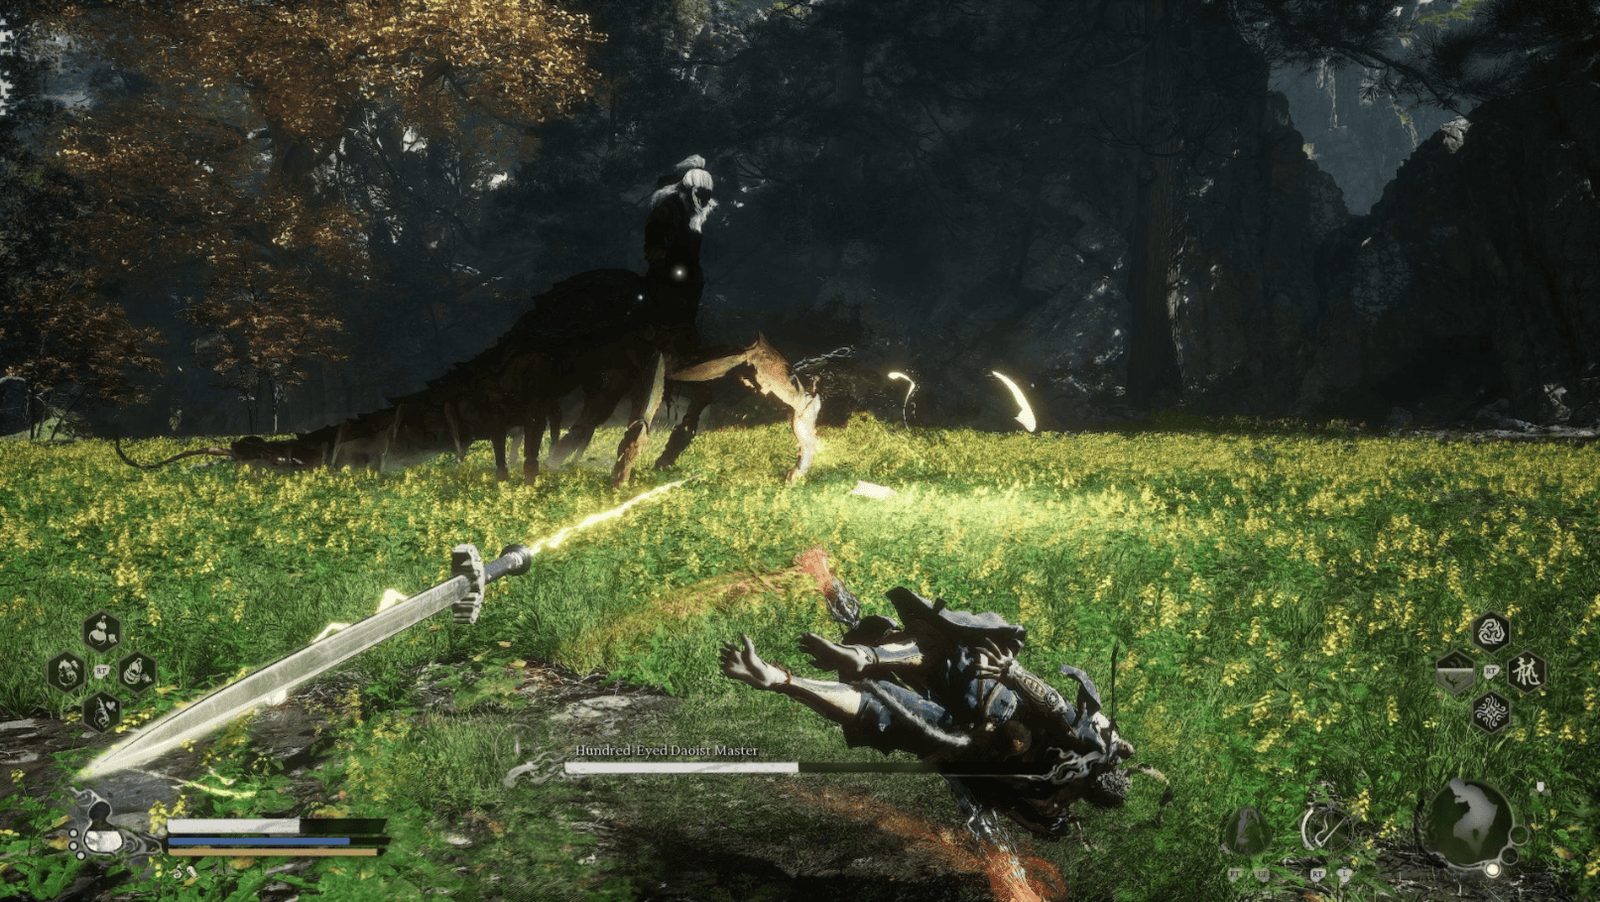
In addition, the Hundred-Eyed Demon Lord can also throw his Sword far away, the Destined One should dodge to the side and quickly close in on him to attack, but be careful when he retrieves his sword.
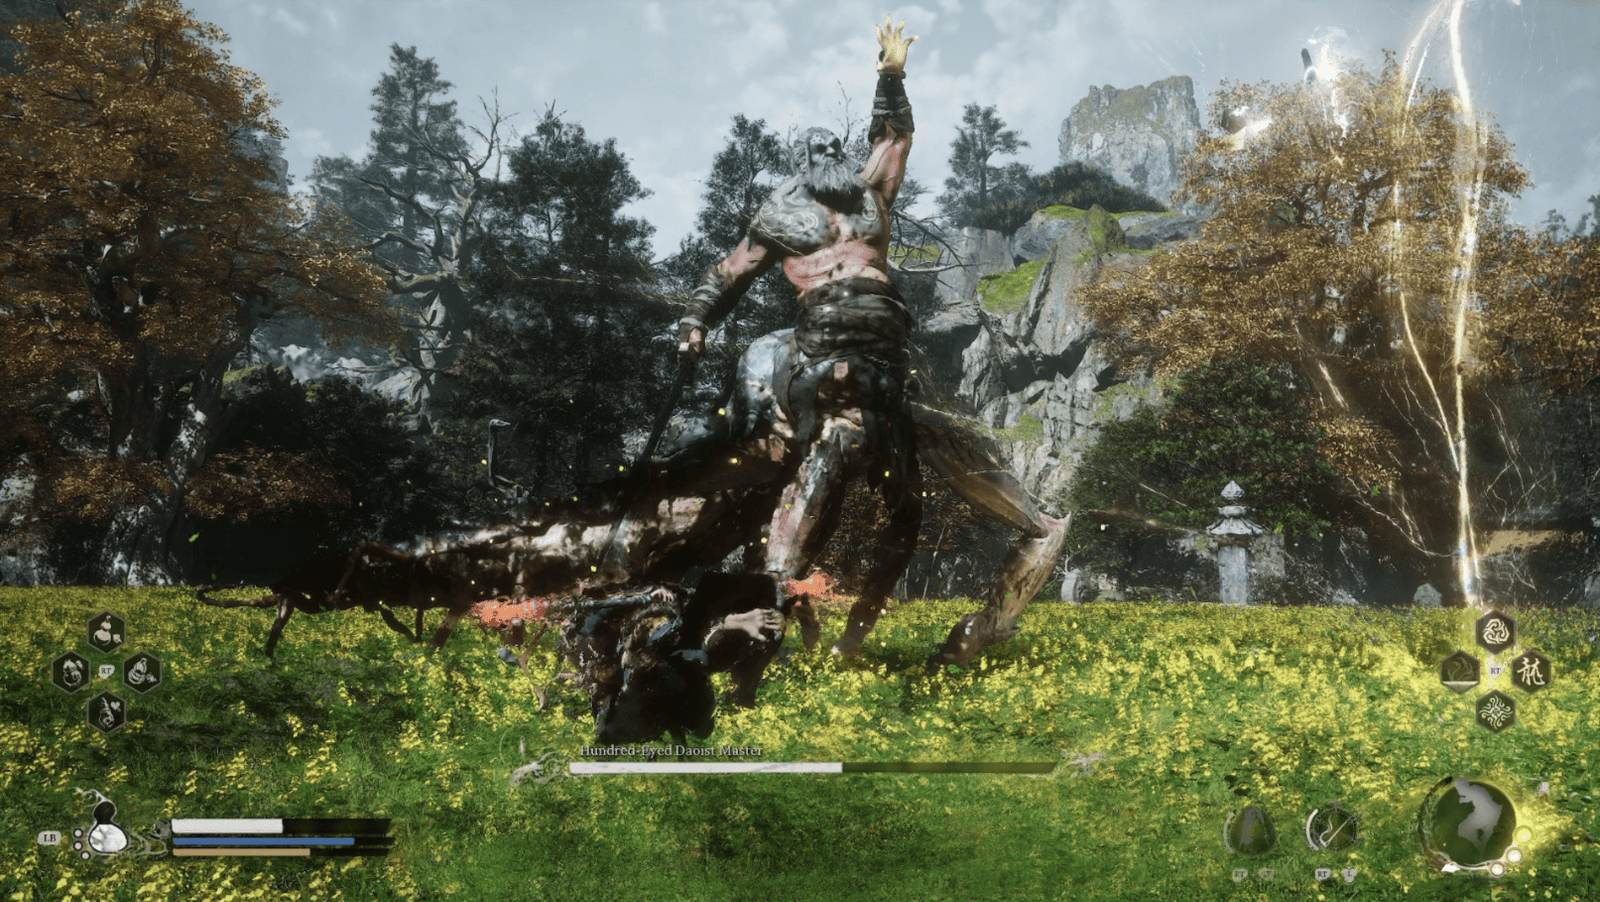
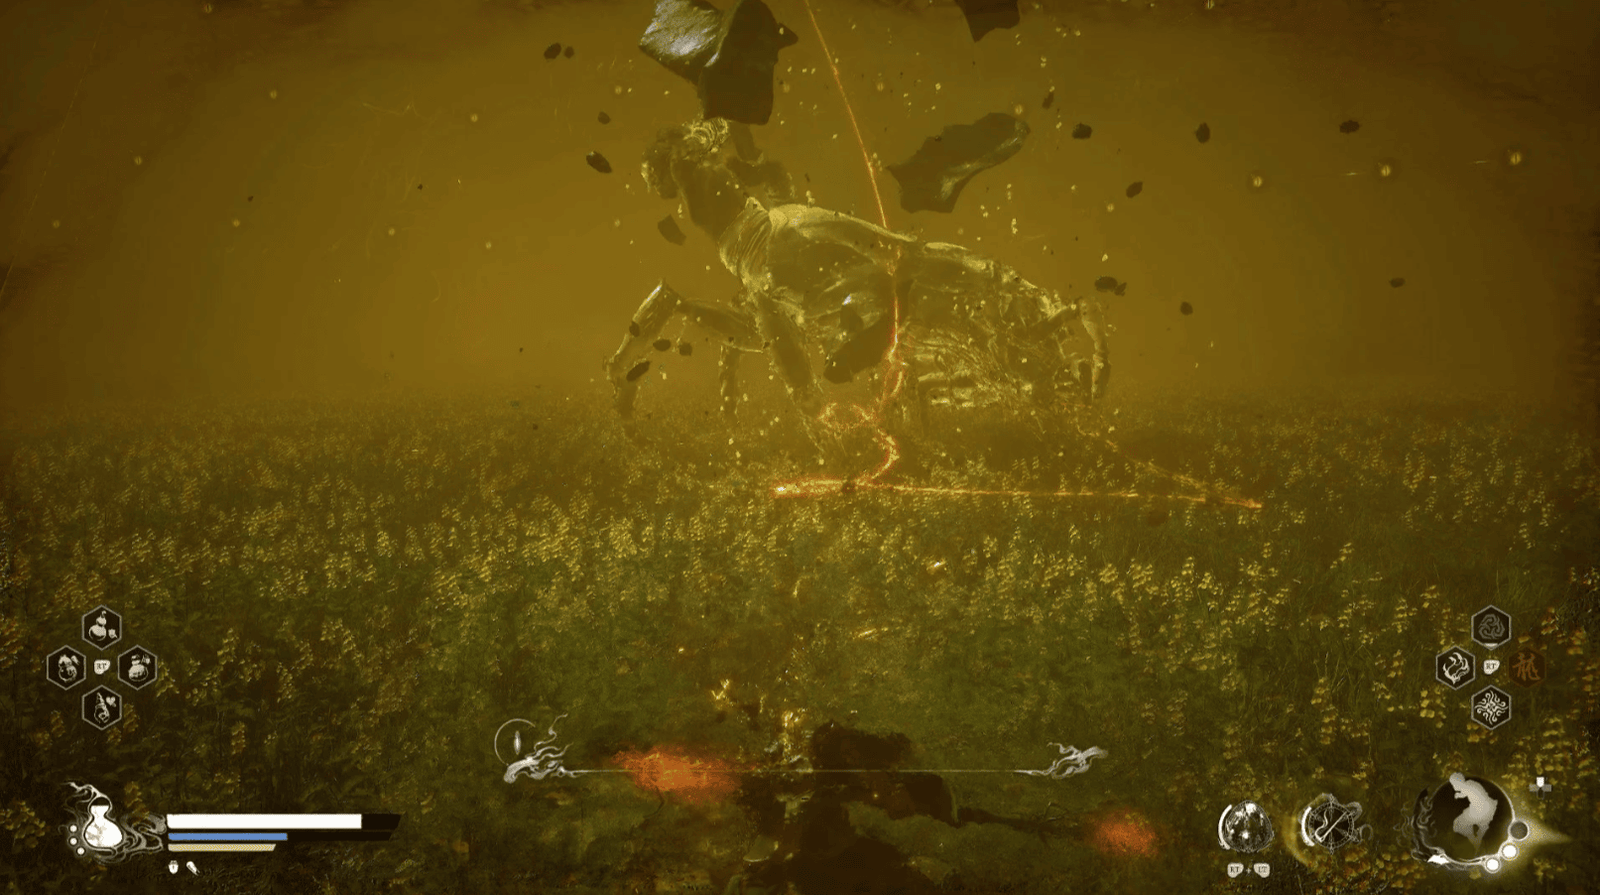
Phase 2 (34% Health)

When the Hundred-Eyed Demon Lord‘s Health drops to about 34%, he will clutch his head, tense up, creating a dome of light covering the arena. At this time, the Destined One cannot deal damage to him. This is the right time for the Destined One to use healing items and enhance themselves.
When the Hundred-Eyed Demon Lord charges with his Sword, quickly use the Weaver’s Needle Vessel. The Weaver’s Needle Vessel will break the demonic spell, stunning the Hundred-Eyed Demon Lord, creating an opportunity for the Destined One to attack.
In this phase, the Hundred-Eyed Demon Lord will not use his sword, instead, he will use Electric Fists and his Tail, attacking faster and stronger.
He will also continuously use the three Paper Talismans to create large explosions.
Be careful to dodge, focus on counterattacking with Rock Solid and Immobilize. The Destined One can also use Transformation Spells such as Golden Lining to increase resistance to Shock damage, or Hoarfrost, Umbral Abyss to slow and stun him.
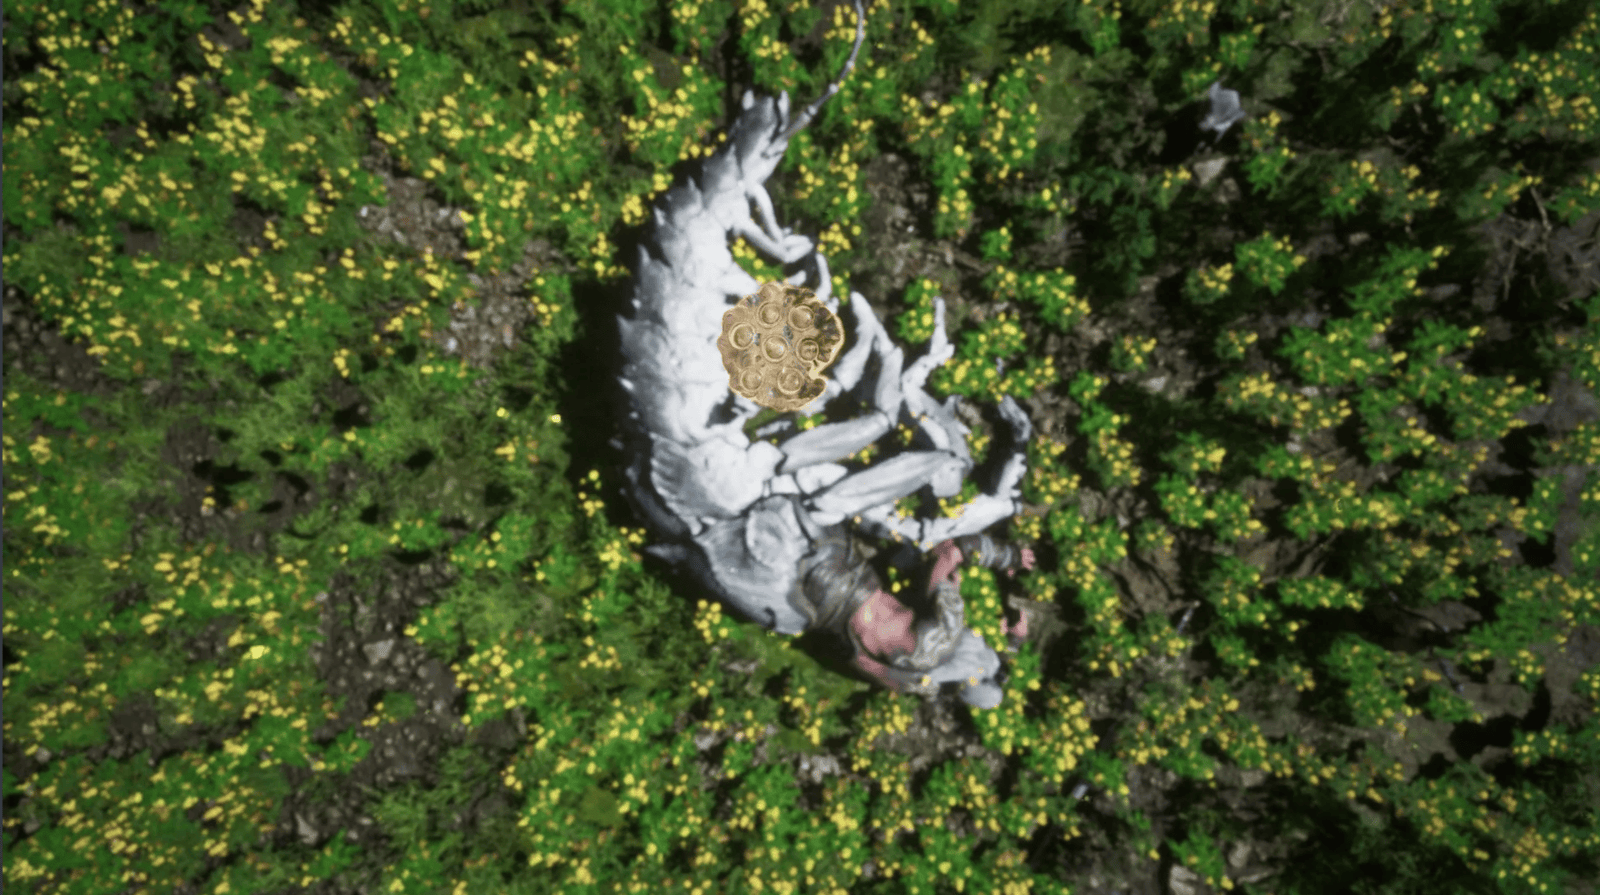
After defeating the Hundred-Eyed Demon Lord, the Destined One will witness the fate of the Spider Sisters and their Mother. The Destined Onewill receive the Envious Tongue, unlocking new abilities.
Congratulations, Destined One, on overcoming the Temple of Yellow Flowers, defeating the Hundred-Eyed Demon Lord, rescuing the Spider Sisters and their Mother, and collecting the Envious Tongue. This perilous journey in the Spider Cave of Black Myth: Wukong has temporarily come to a close, opening the door to the Flaming Mountains, where the Destined One will continue to search for the fifth Relic. Prepare yourself, hone your staff techniques, for countless challenges still lie ahead.