
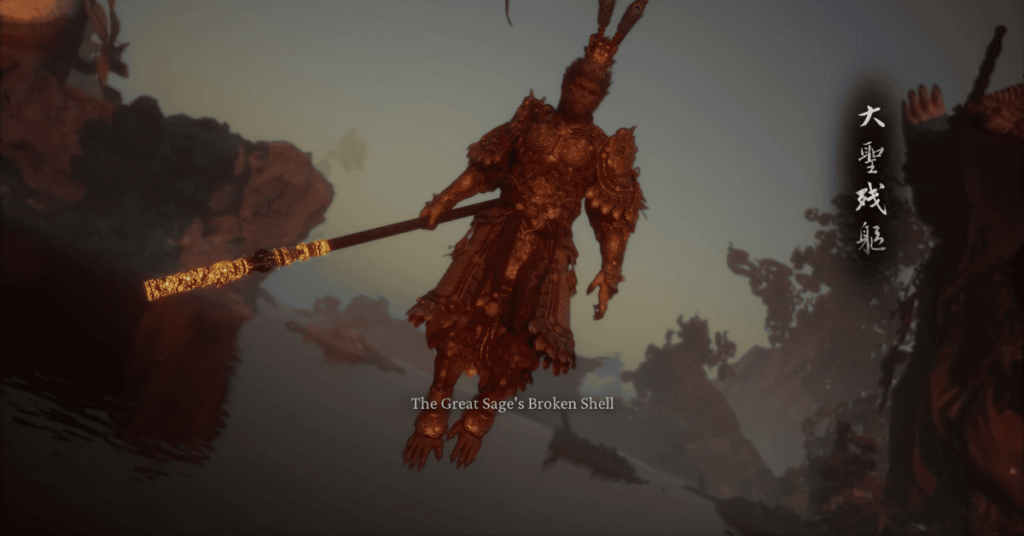
Prepare yourself for the final battle in Black Myth: Wukong as you face The Great Sage’s Broken Shell, the final boss of Chapter 6 and the ultimate boss of the game. Appearing right after defeating The Stone Monkey at the Birthstone deep within the Water Curtain Cave’s Peak of Innocence, this enemy is essentially the mindless but combat-instinct-filled body of Sun Wukong. Defeating him through 2 challenging phases is mandatory to see the ending, where you will have to confront a more skilled and powerful version of yourself. This is undoubtedly the ultimate challenge you must overcome.
The Great Sage’s Broken Shell Boss Fight and Guide
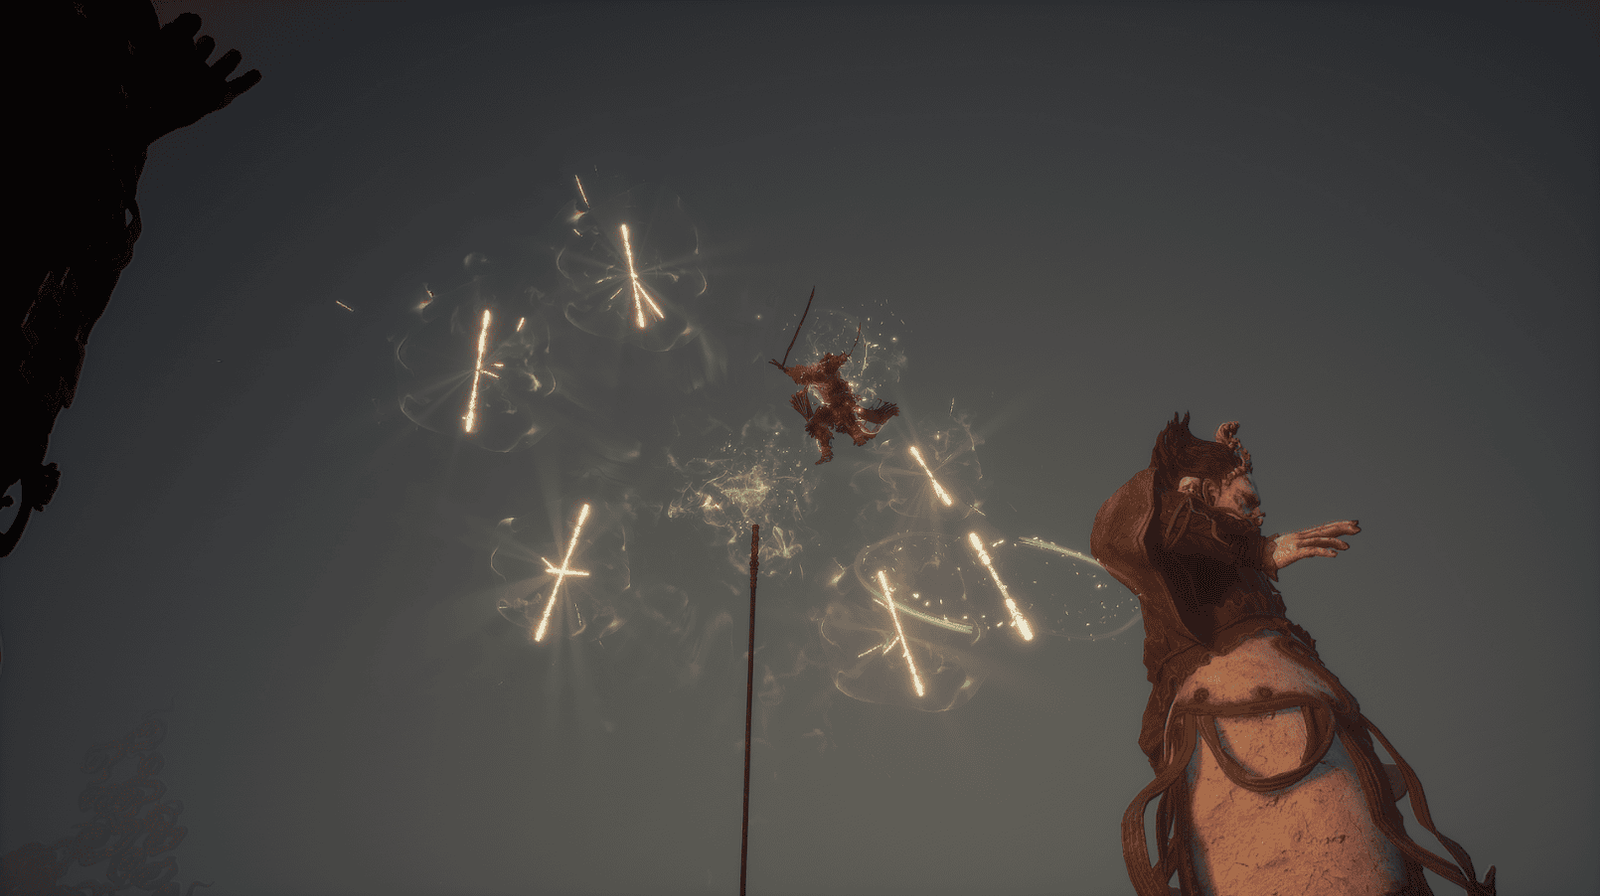
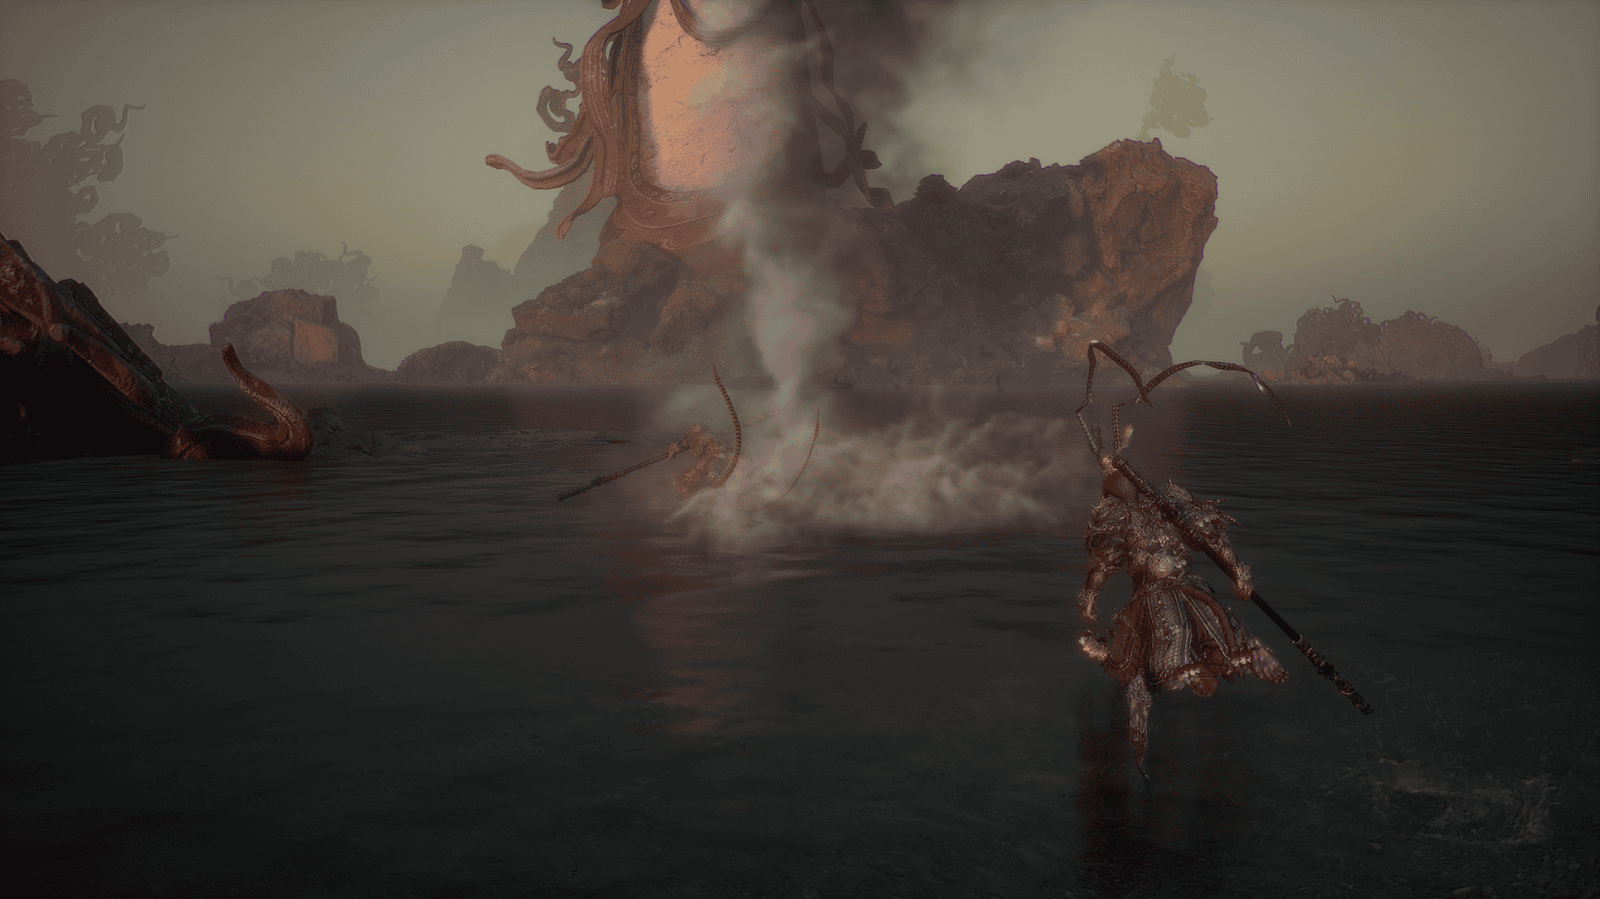
Phase 1
As soon as you enter the fight, you’ll find The Great Sage’s Broken Shell extremely agile. He will constantly perform perfect dodges whenever you try to unleash a combo chain, leaving behind a series of exploding afterimages thanks to the Vengeful Mirage skill. This is a deadly trap!
Smash Stance Heavy Attack: The staff will glow yellow, he jumps up and slams down hard. Dodging this attack not only keeps you safe but can also help you build more Focus.
Overall Strategy for Phase 1: Focus on dodging the exploding afterimages from Vengeful Mirage. Don’t get greedy with long combos; prioritize heavy attacks when you have enough Focus (especially the 4th Focus point for optimal damage). Exploit any openings after the boss’s major attacks. Don’t forget to use Ebon Flow to parry or summon Wandering Wight to deal significant damage when the opportunity arises.
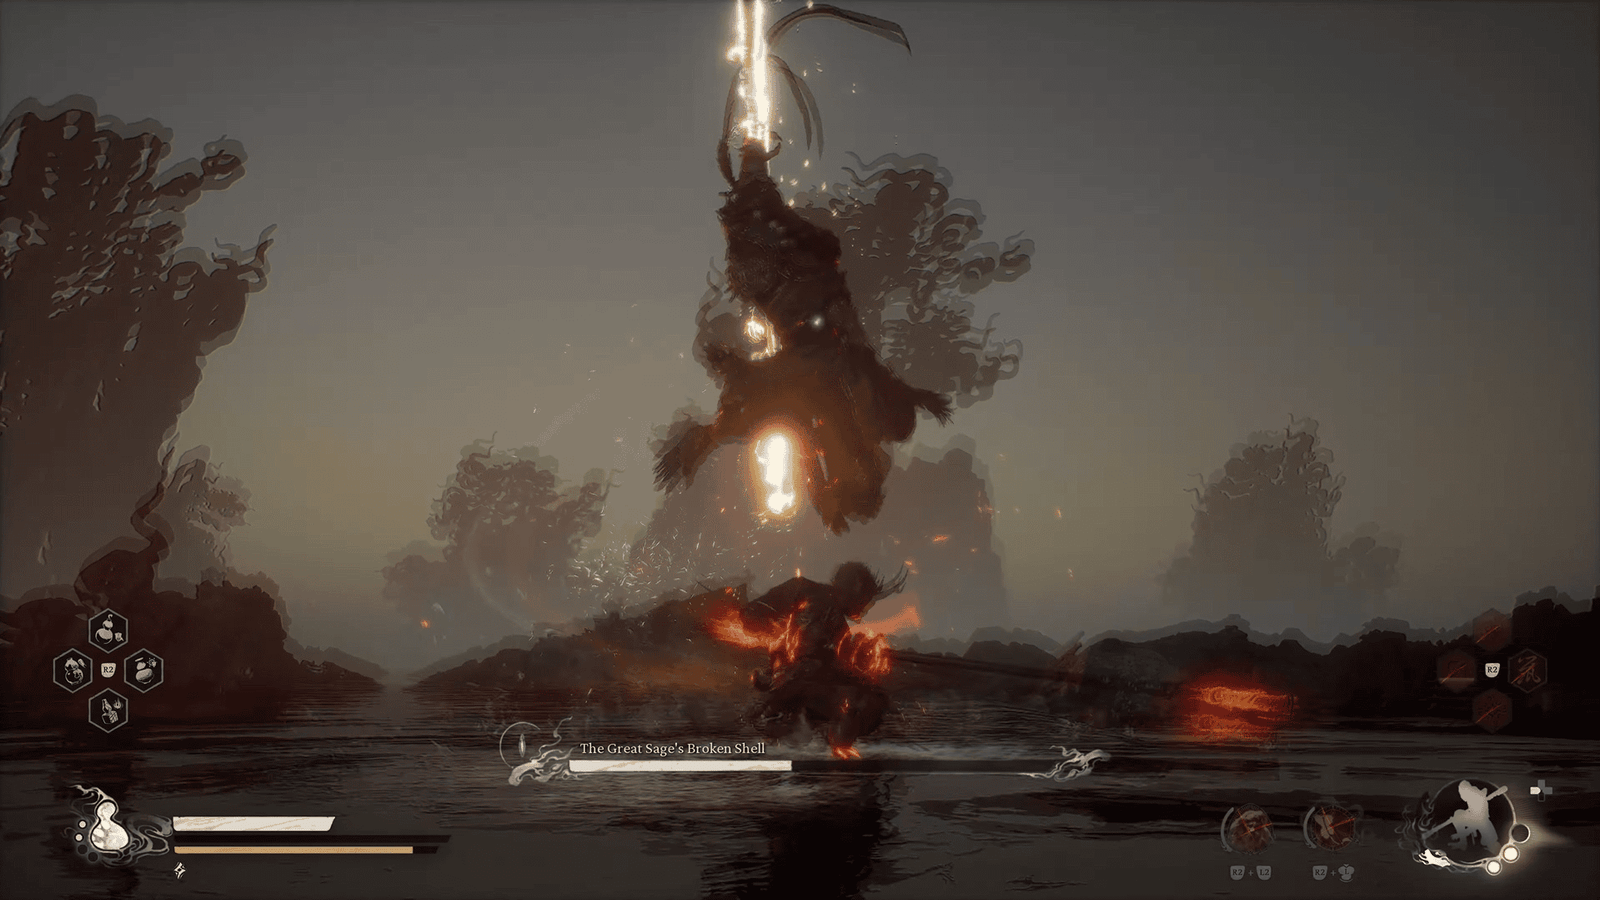
Phase 2

Upon entering Phase 2, a major event occurs: The Great Sage’s Broken Shell will absorb and strip you of all equipped Relics. This means you lose all the powerful buff effects from them.
- Adapting to the loss of Relics: Now, you must rely more heavily on Medicines, Curios (if any), and Spells. This is the time to maximize the effectiveness of the prepared Pellets that increase Focus (the resource used for special skills or heavy attacks) and damage. Tip: Use Ring of Fire cleverly to gain Focus faster, partially compensating for the loss of Relics.
- Extremely Important Warning – Using the Healing Gourd: Be extremely careful when you intend to drink from the Gourd. The Great Sage’s Broken Shell can use Immobilize right when you are drinking, then calmly approach, snatch your gourd, take a hearty swig, before throwing it back. You lose health, lose the chance to heal, and get mocked! Tip: If you must drink, try to dodge immediately after finishing or find a truly safe moment. It’s best to limit its use unless the situation is critical.
The boss’s old attacks not only become stronger and faster but also gain new, extremely dangerous variations and skills:
- Upgraded Pillar Stance: He still climbs to the top of the staff like in Phase 1, but this time, instead of slamming down immediately, he will fire a series of projectiles towards you. After that, he will slide down, glide across the water, and charge straight at you to attack. How to counter: When you see him firing projectiles, continuously press the dodge button and strafe sideways to avoid them and build Focus. Immediately after, be ready to dodge his subsequent charge.
- Aggressive Aerial Combo: You’ll see him leap high into the air, spin his staff multiple times (the staff will glow bright red at this point), then slam down with full force. This attack deals tremendous damage. How to counter: You absolutely must time your dodge and get out of the impact zone. There’s no other way!
- Somersault Cloud: The boss will use this divine ability to dash extremely quickly around the combat area and try to grab you. If caught, the consequences are disastrous: you’ll be dragged into the sky, slammed back down, and then crushed by an enlarged Ruyi Jingu Bang. How to counter: Try to learn the rhythm of his charges and roll continuously to avoid being grabbed. This is one of the most annoying skills.
- Taunts: Sometimes, he will pause to taunt you by yawning, shouldering his staff and pointing, or even pulling out a peach, taking a bite, and throwing it at you. Tip: Don’t get distracted or angered by these actions. Keep a cool head!
Overall Strategy for Phase 2: Playing safely is the top priority. Attempting long light attack combos is almost suicidal, as he will interrupt them or perfectly dodge and counter-attack. Patiently dodge, look for opportunities to counter with Heavy Attacks when Focus is sufficient (prioritize using Smash Stance). Continue using the Plantain Fan as soon as it’s off cooldown to create space. Always be wary of Rock Solid and its annoying counter-attack.
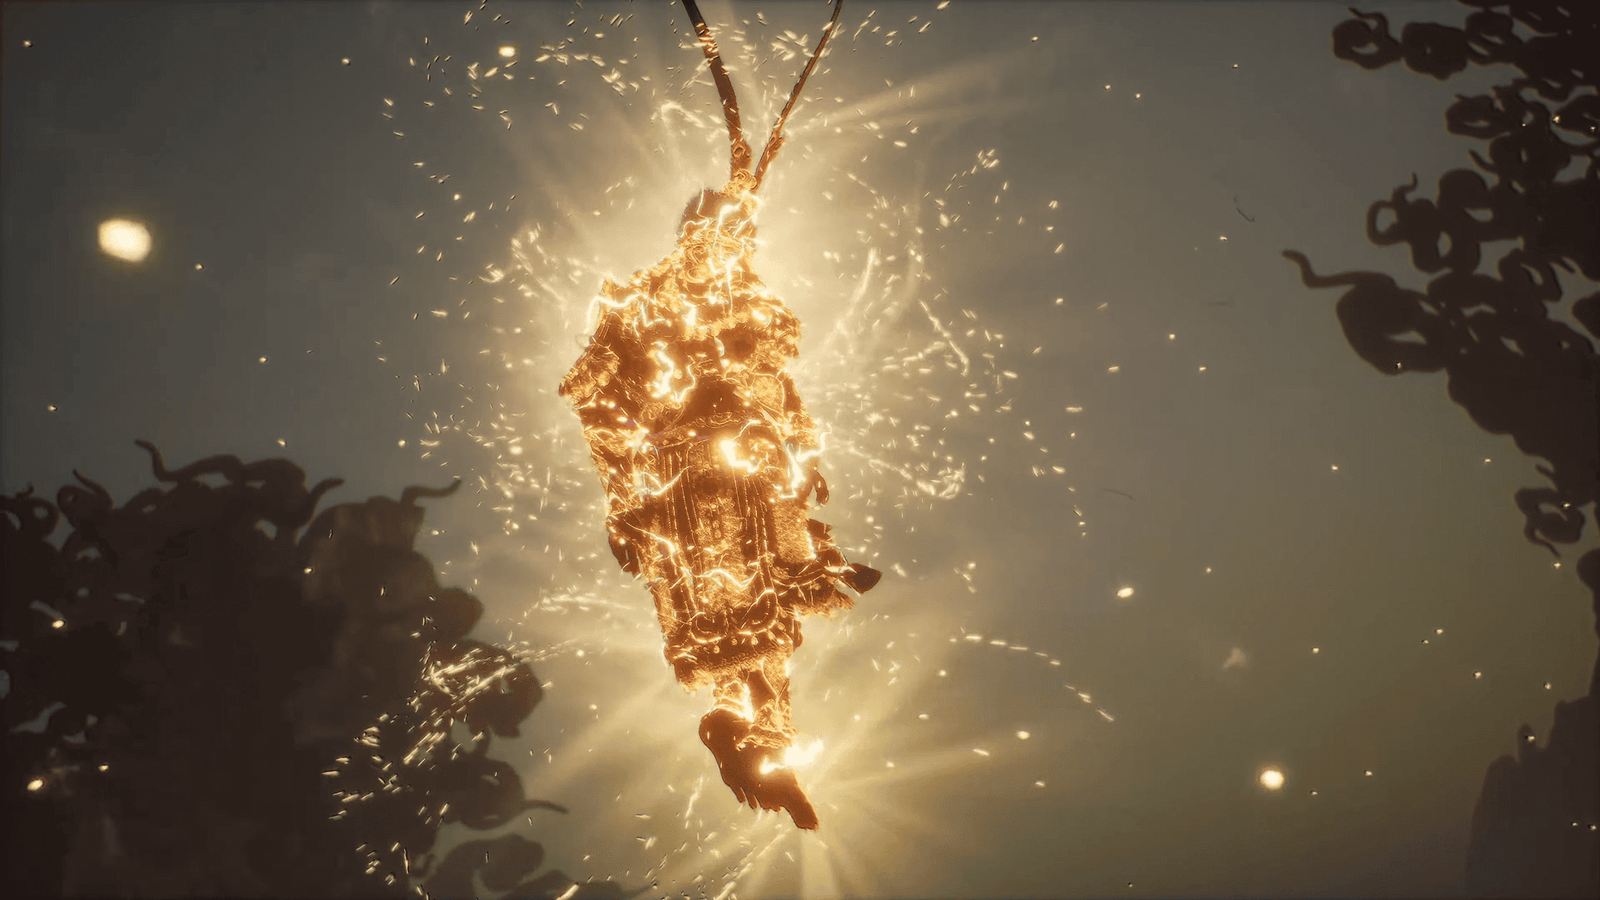
When The Great Sage’s Broken Shell’s health bar is depleted, a meaningful cutscene will begin. You will see the Great Sage staggering in the water, and the Relics he had previously absorbed now leave his body as brilliant golden orbs of light.
Each of these light orbs will fly straight into the body of the Destined One (i.e., your character), while the Great Sage’s body gradually disintegrates. Finally, the golden fillet on his head falls into the water. Old Monkey appears again at that moment, picks up the fillet, and solemnly places it on your head, completing the story of Sun Wukong.
Regarding the actual rewards you receive:
- Immediately after defeating him: Unfortunately, no items drop immediately from this final boss. Rewards in New Game+: This is when valuable rewards appear.
- You will receive the “Free Mind” Relic only if you have previously completed Erlang Shen’s side quest chain.
- A Portrait of The Great Sage’s Broken Shell will also be unlocked when you start New Game+.
- After this battle, depending on the choices and quests you’ve completed, you might continue to confront or learn more about Erlang, The Sacred Divinity.
Congratulations on defeating The Great Sage’s Broken Shell! This was a pinnacle challenge, requiring you to overcome difficulties like his perfect dodge ability paired with Vengeful Mirage in Phase 1, the loss of Relics and the risk of having your Gourd stolen in Phase 2, along with powerful new attacks. The key to victory lies in patience: focus on dodging to build Focus (the resource for skills/heavy attacks), prioritize Heavy Attacks from the Smash Stance when openings appear, and make full use of the Plantain Fan to gain an advantage. Remember, learning the boss’s patterns through each attempt is crucial. Once again, congratulations on this resounding victory!