
O Destined Ones, the treacherous Lower Hollow awaits your exploration. This place, deep underground, is a part of the vast Webbed Hollow, a giant, gloomy spider labyrinth full of dangers. As if lost in the Spider Cave of old, you will face evil spider demons, deadly traps, and even the Yaoguai Queen – Violet Spider, the cruel spider queen who weaves dark plots day and night. Come, let us unveil the secrets of Webbed Hollow – Lower Hollow! Get ready for a challenging but exciting journey.
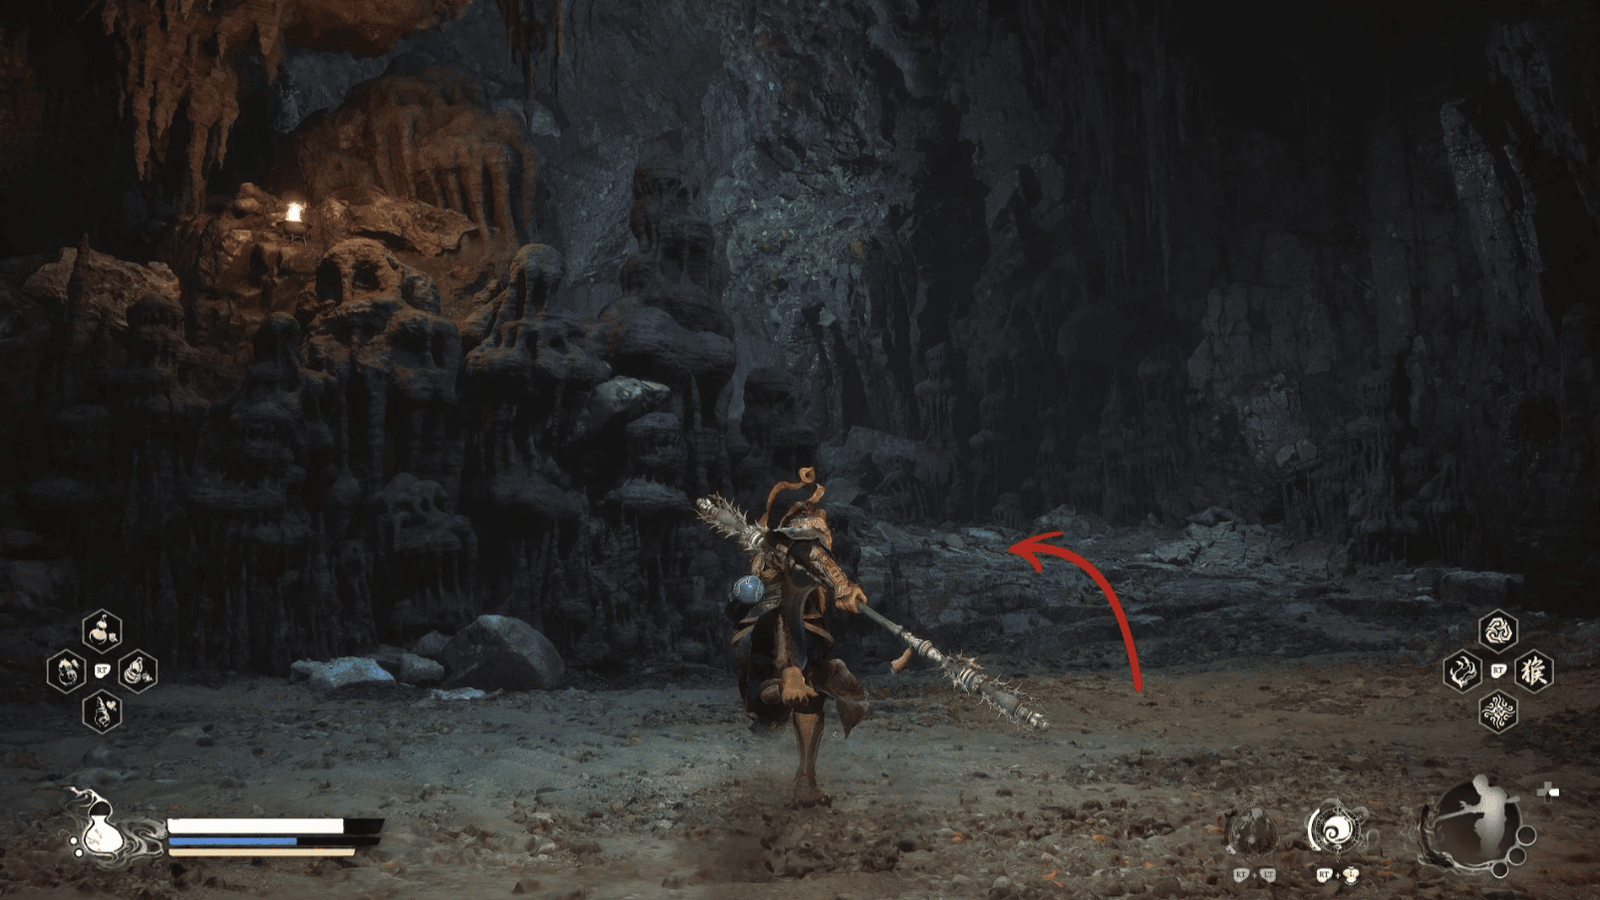
Cliff of Oblivion
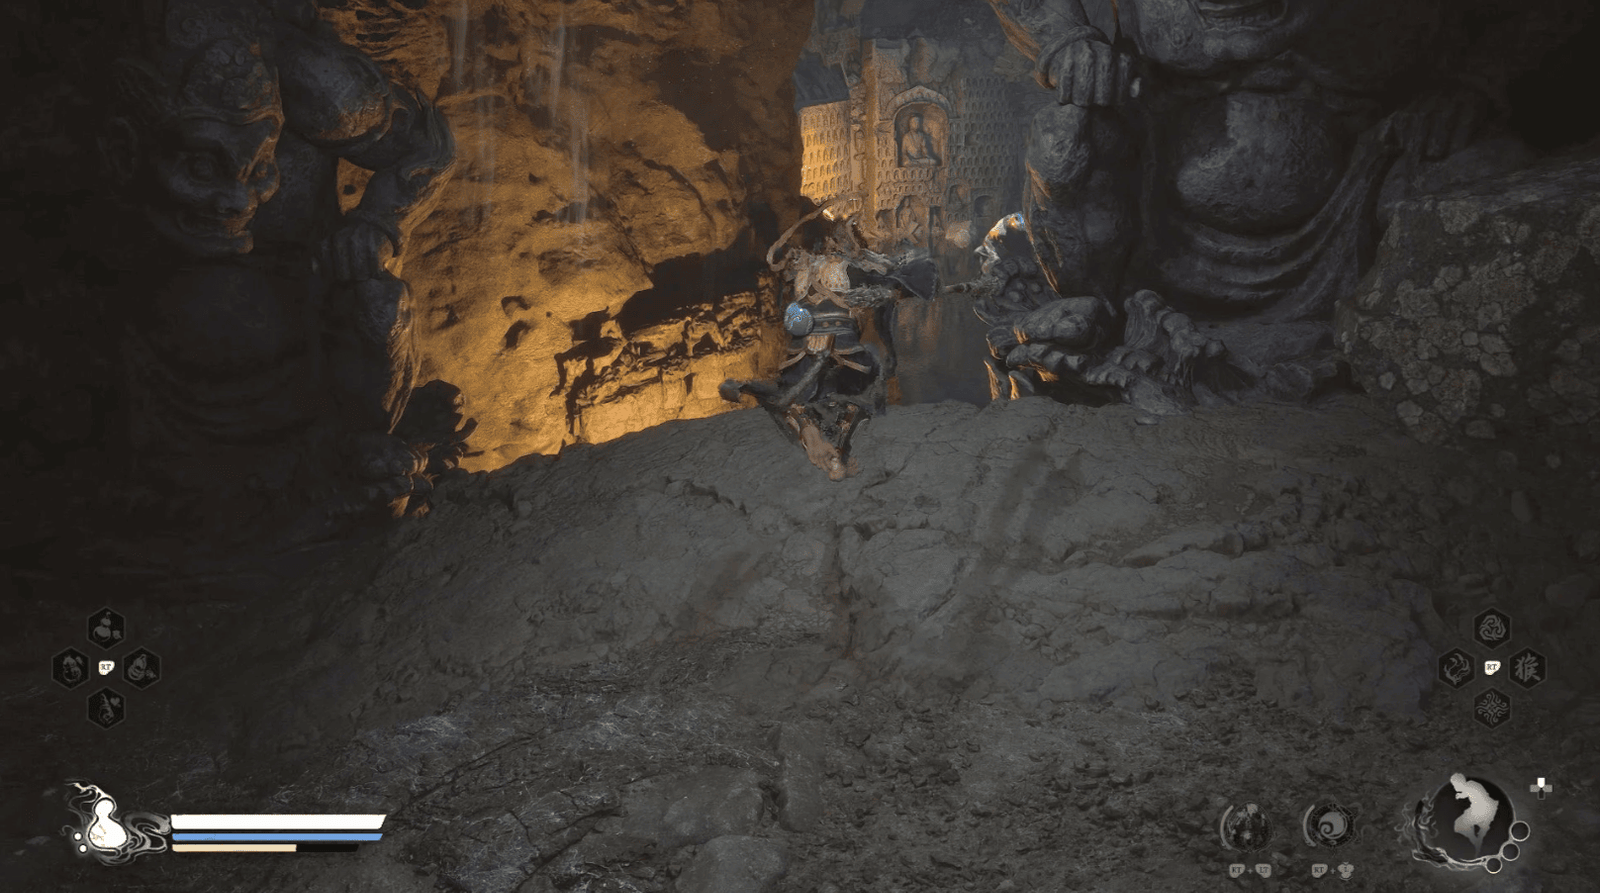
After defeating Buddha’s Right Hand, a powerful enforcer, you will set foot on the Cliff of Oblivion, a perilous beginning to the journey into Lower Hollow. The scenery here is desolate, with steep cliffs that seem to swallow travelers, like the abyss of the Spider Cave of old, where the seven spider demons once terrified Tang Sanzang.
As soon as you pass the enforcer, be careful, don’t jump down yet! Follow the path leading up the cliff on the left.
This path looks ordinary at first glance, but it hides a secret – a Celestial Taiyi Pill (mana-increasing elixir), which will help you increase your inner strength, ready to face the upcoming challenges.
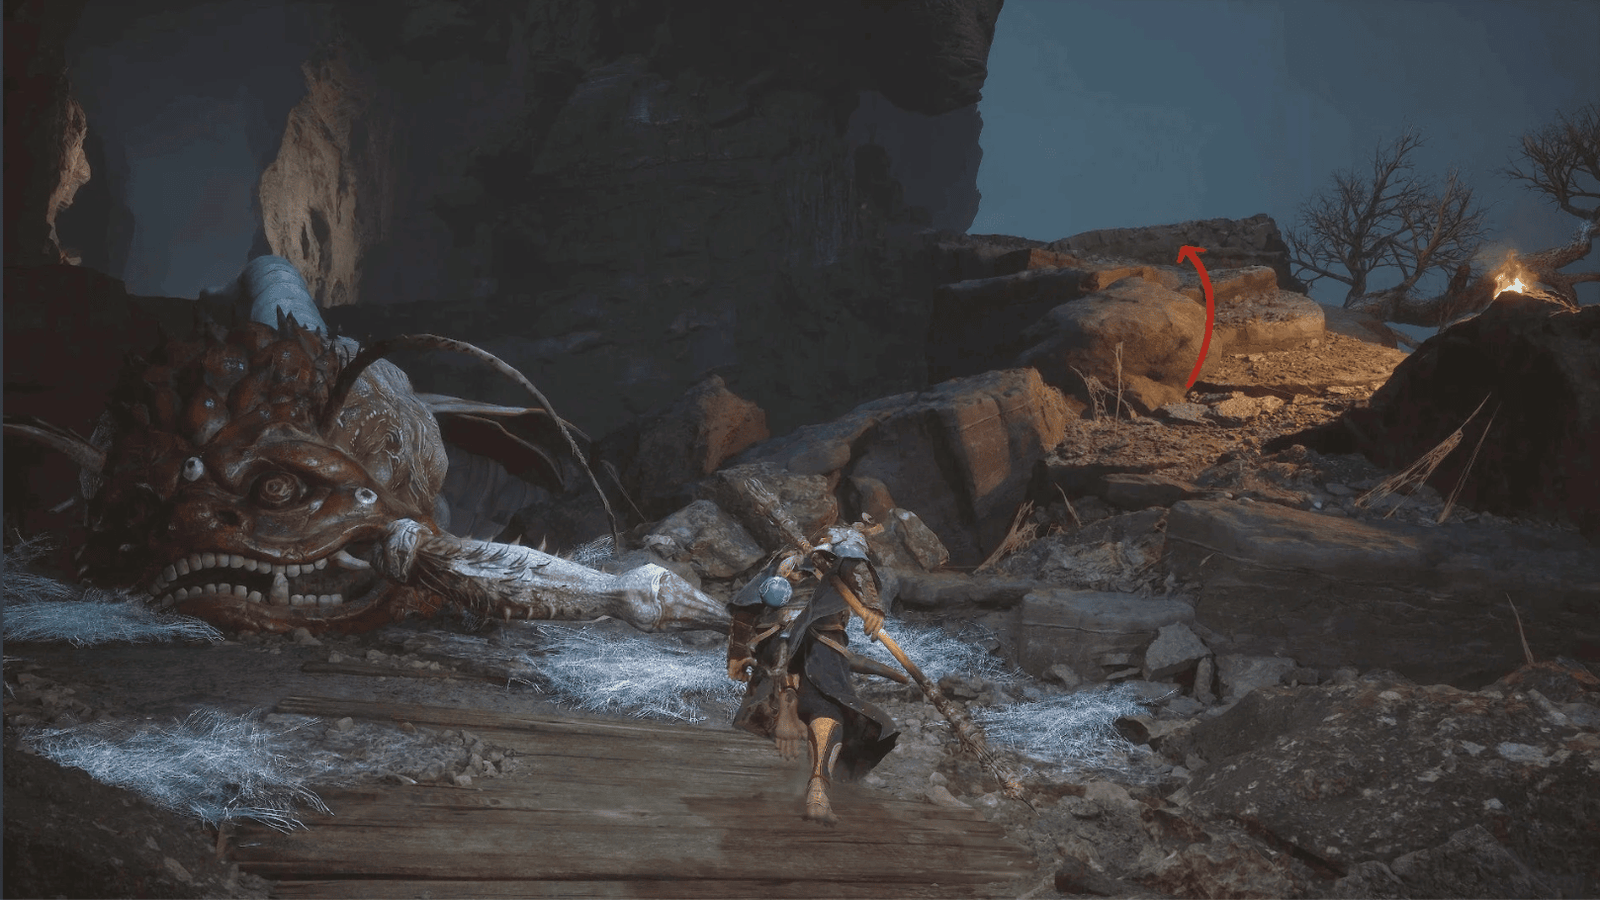
After collecting the Celestial Taiyi Pill, return and jump down from the corpse of Buddha’s Right Hand. Looking down, you will see two paths, one on the right is flat, one on the left is bumpy leading to a fragile rope bridge. Choose the dangerous left path (the right path will be taken later).
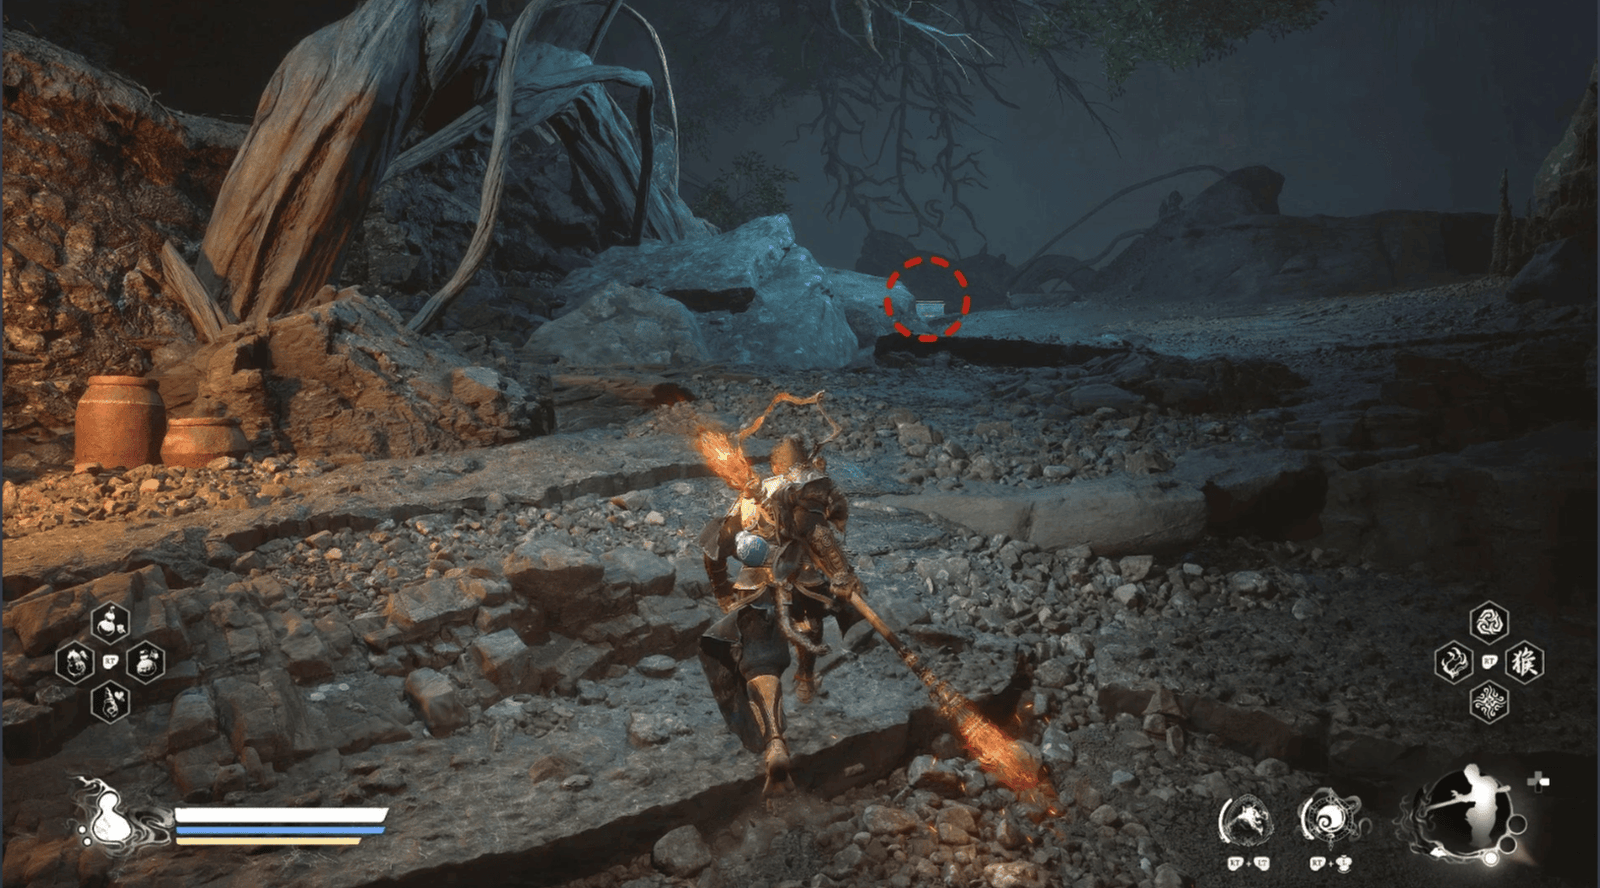
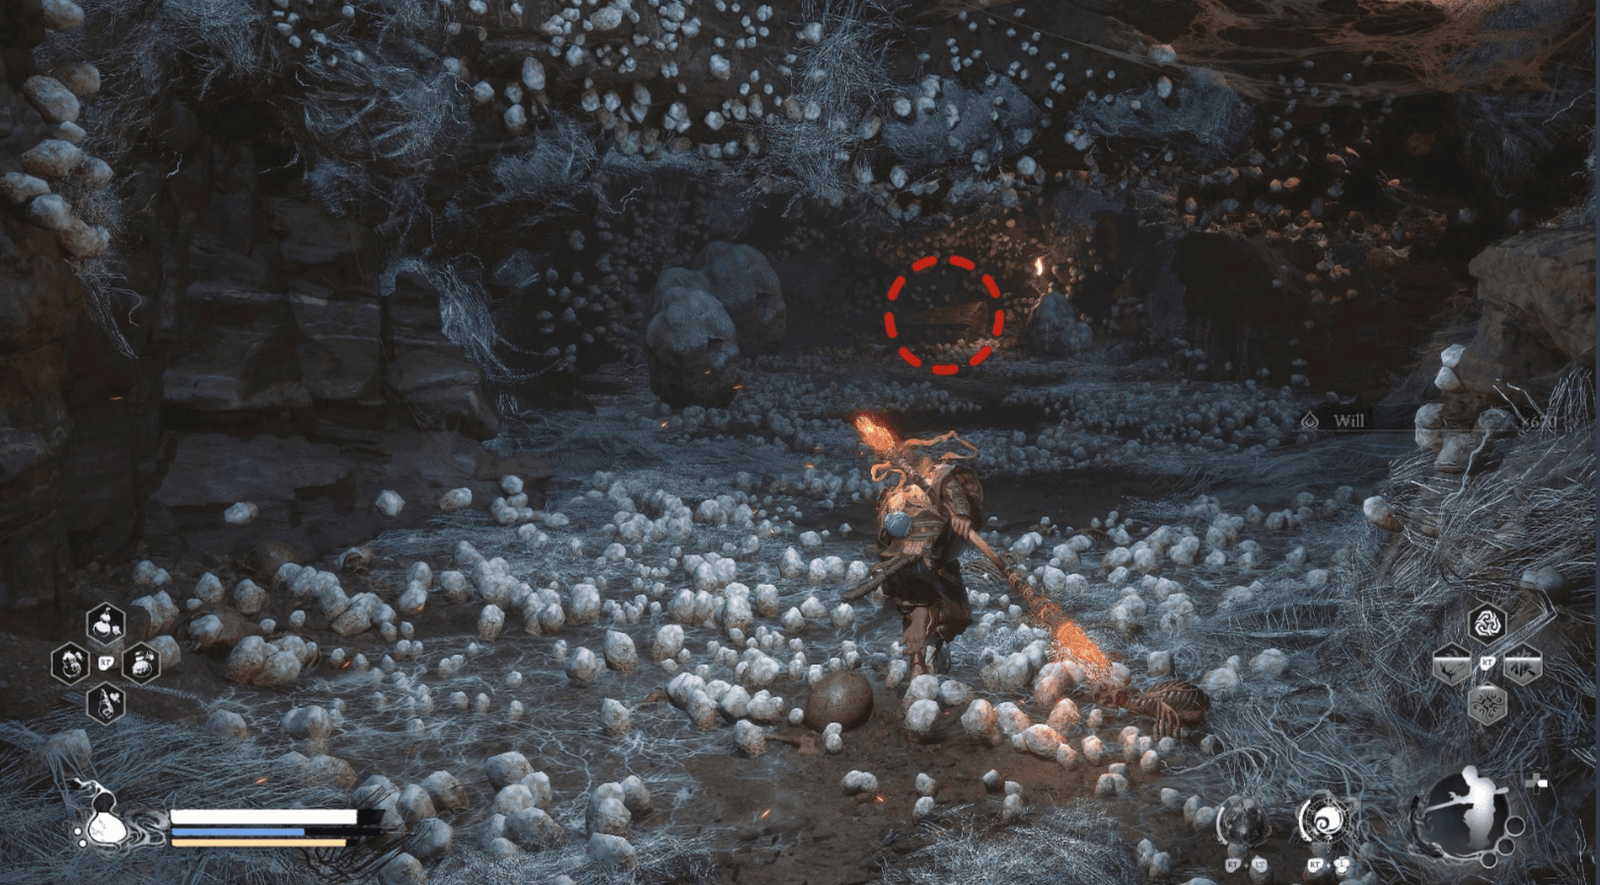
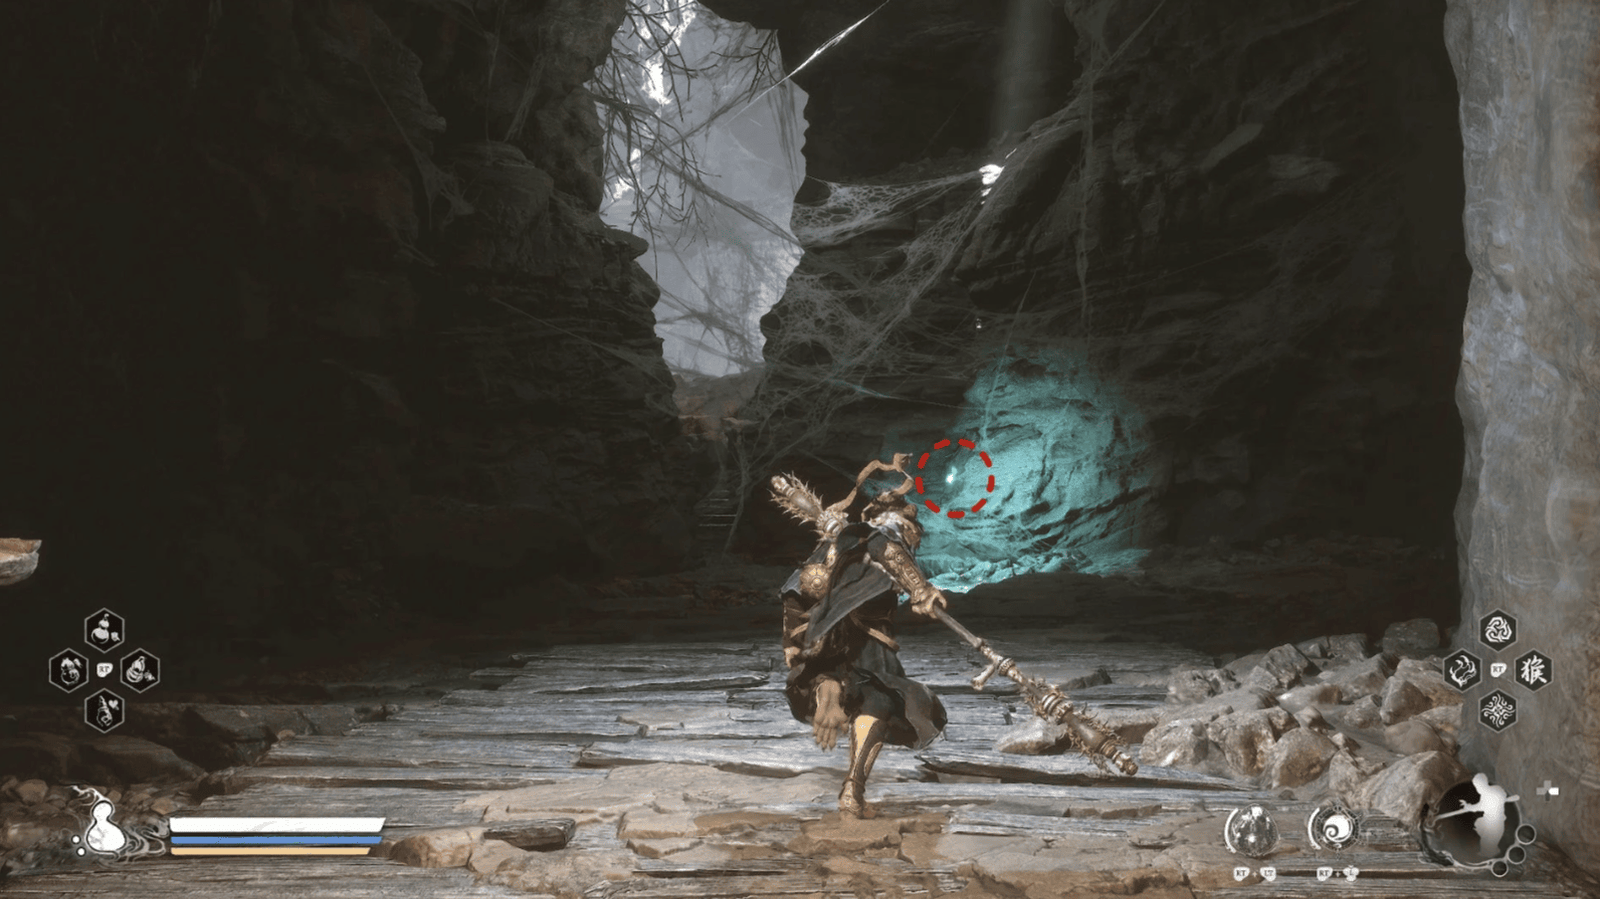
Crossing the first rope bridge, you will come to a large area with a giant stone disc in the center, surrounded by dilapidated scaffolding.

Be cautious, this place hides Skeletal Snakes that flit in and out of sight. Explore behind the large stone disc, follow the dark path, you will find a Treasure Chest containing random items, open it, luck may smile on you.
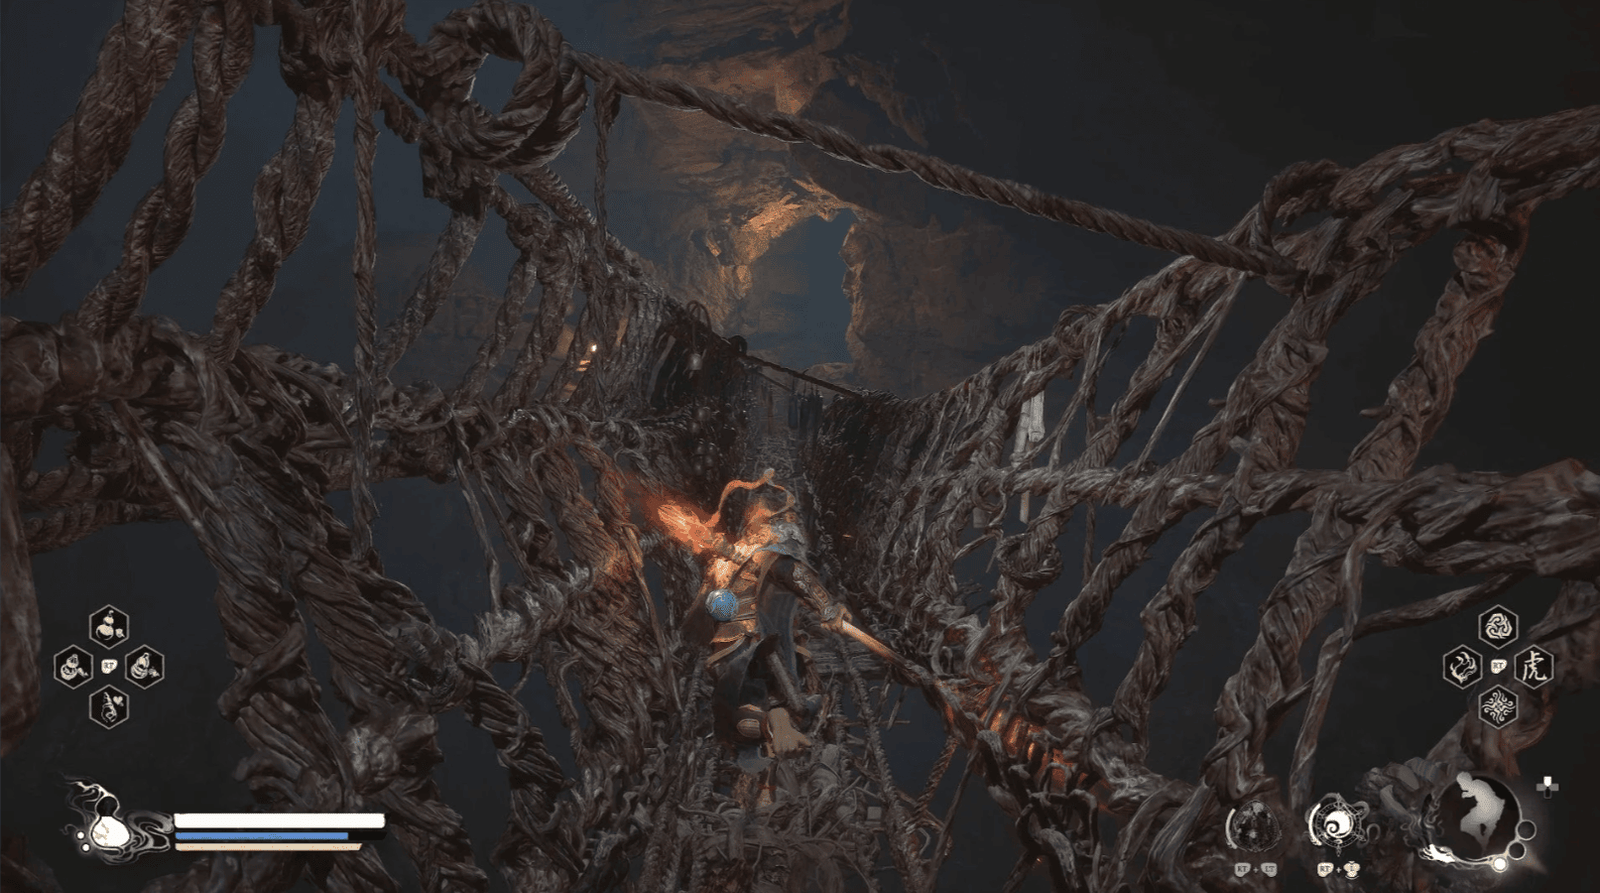
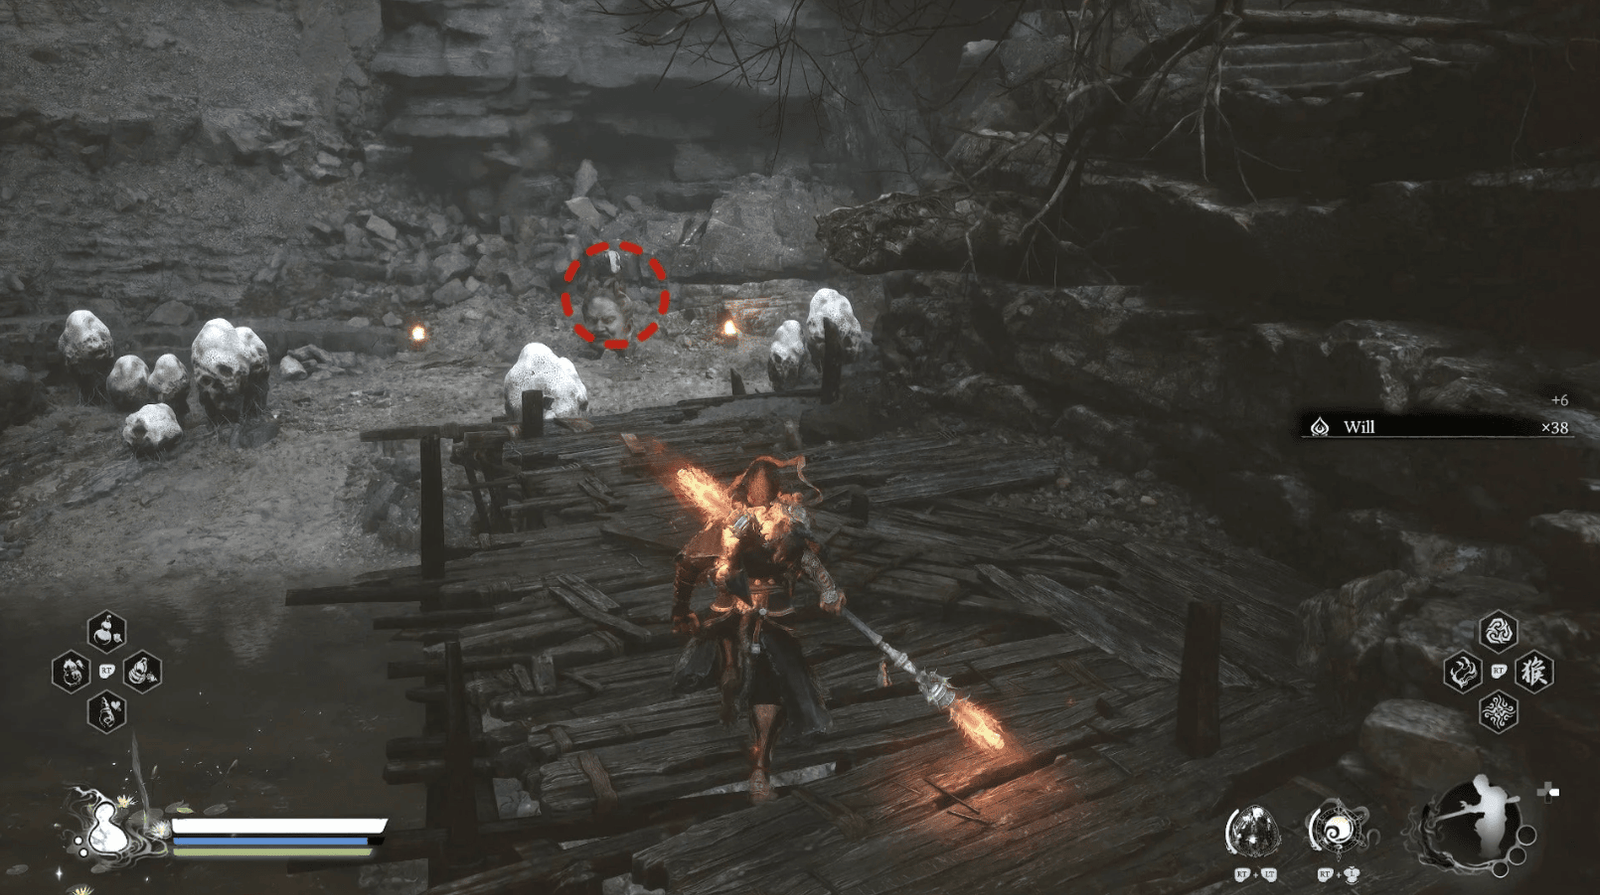
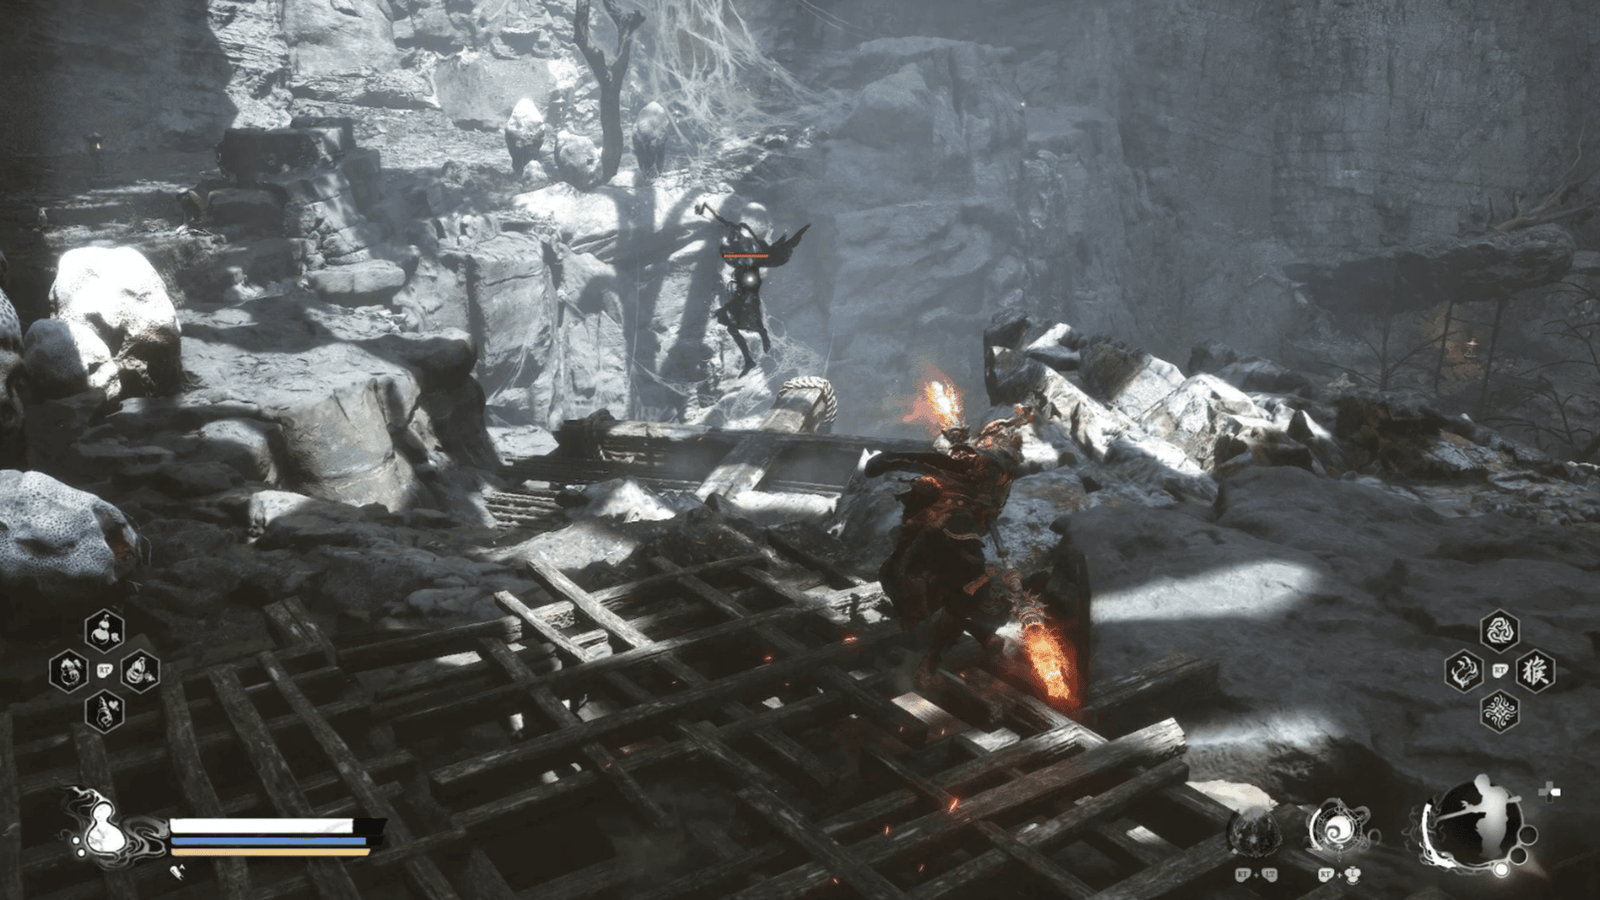
Continue on, you will face the second rope bridge. This bridge is a real trap, on both sides of the bridge are countless Clawed Cocoons hanging, ready to attack at any time.
Moreover, in the air, Dragonfly Guai will continuously fire poison arrows at you. Remember, unlike the first bridge, this bridge has no guardrails, just one misstep, and you will fall into the deep abyss. A tip for you: Use Cloud Step, glide across the bridge like the wind, leaving the frenzied demons behind.
Relief of the Fallen Loong
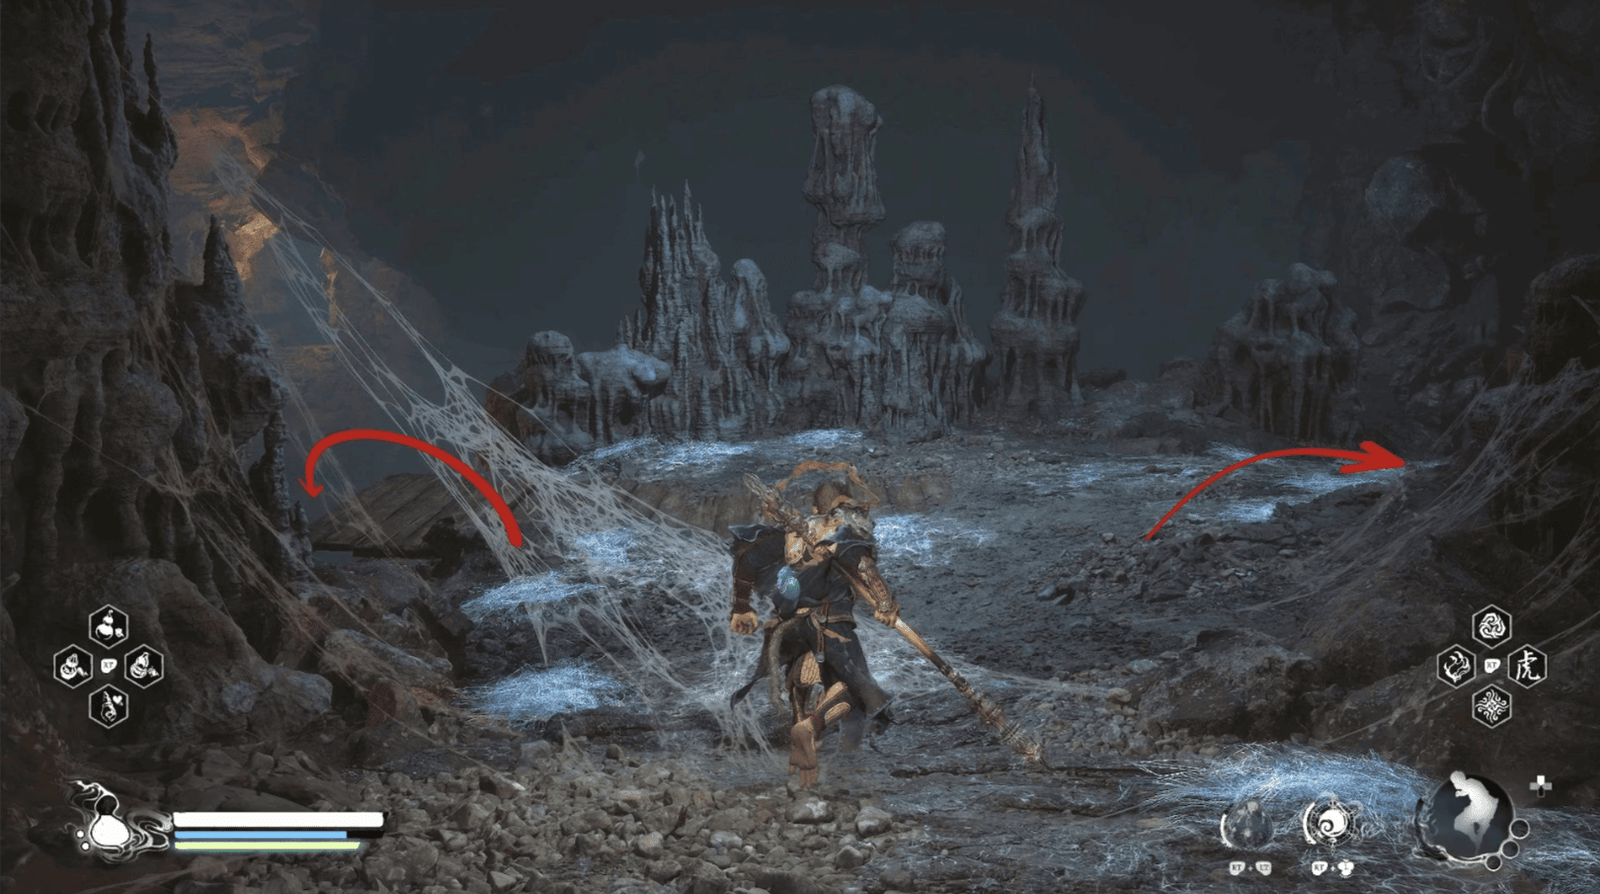
Overcoming the rope bridge trap, you will enter the Relief of the Fallen Loong, an area outside Lower Hollow but still thick with demonic aura. Unlike the desolation inside, the trees here are green, but that also makes it harder to detect hidden demons. The entrance to this area is full of cobwebs, reminiscent of the tangled webs in the Spider Cave, signaling the dangers that lurk.
Stepping off the second bridge, you will be greeted by a lush natural landscape, unlike the darkness of Lower Hollow. Take a moment to breathe in the fresh air, but don’t let your guard down, as this place is full of Beetle Captains.
Collect the rare herbs scattered around, they will help you in crafting potions. Pay special attention to the large tree growing on the right, above a small pond, where the Luojia Fragrant Vine (a precious vine) is hidden.
From the large tree, follow the sloping path on the left. Be careful, Beetle Captains often patrol this area. You can use the terrain to hide and launch sneak attacks to quickly take them down.
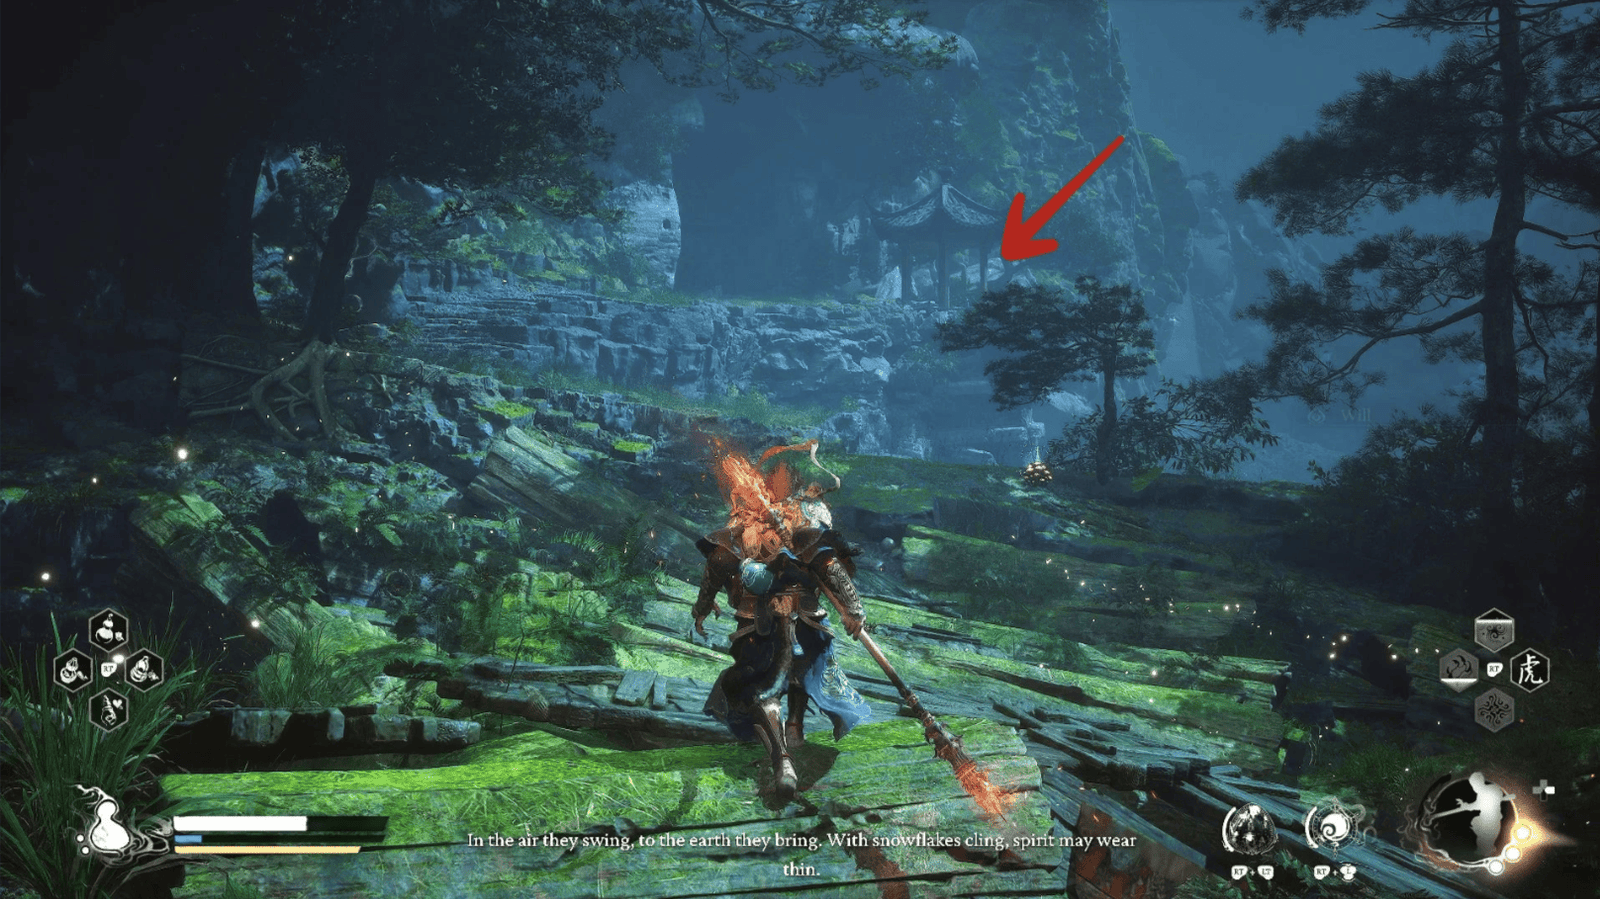
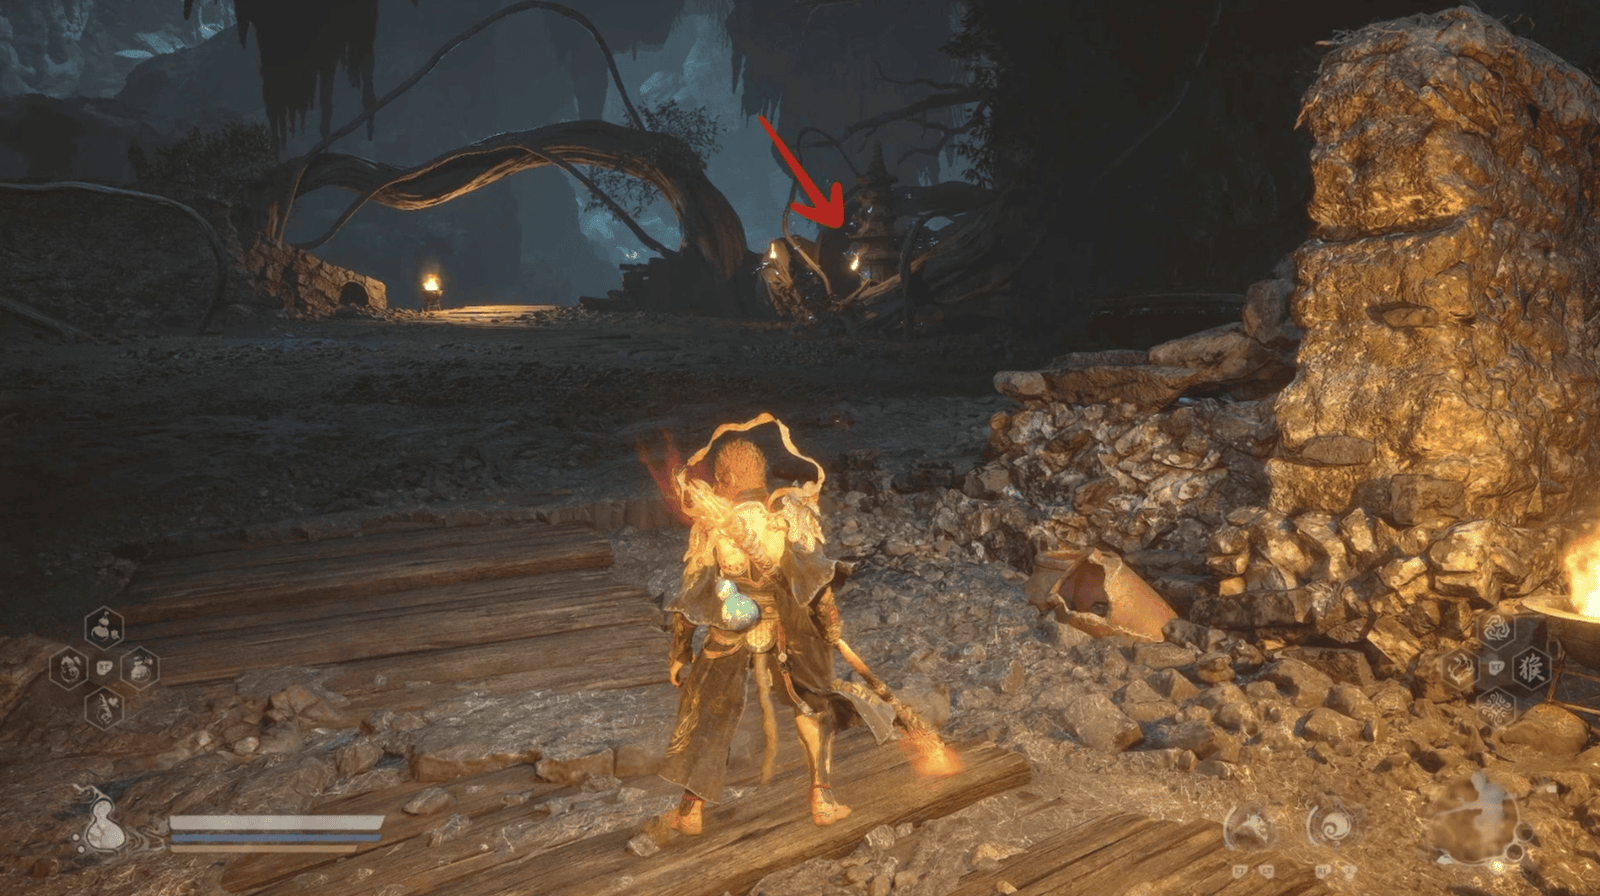
Following the path, you will come to an ancient temple, which is the Shrine (Teleport Point), activate it to save your progress and recover your strength. Nearby, you will see an Ancient Master standing thoughtfully under the pavilion.
Don’t be fooled by his appearance, that is Yellow Loong, one of the fallen dragons, a hidden enemy that you must defeat. He has disguised himself by hiding in the clothes of the Ancient Master. Be cautious, Yellow Loong is an extremely powerful opponent, especially at this stage of the journey. If you don’t feel strong enough, you can temporarily skip him and come back later when you are stronger.
(Optional) Fight with Yellow Loong: If you decide to challenge yourself, prepare for a fierce battle. Yellow Loong uses Loong Scales as weapons, and can unleash powerful lightning attacks. Take advantage of the dodging and counterattacking skills you have practiced, and don’t forget to use support items. Defeating Yellow Loong, you will receive worthy rewards, including materials to craft the powerful Loong Staff, the Golden Carp Curio (increases item drop rate), and the Golden Lining Spell (transforms into Yellow Loong).
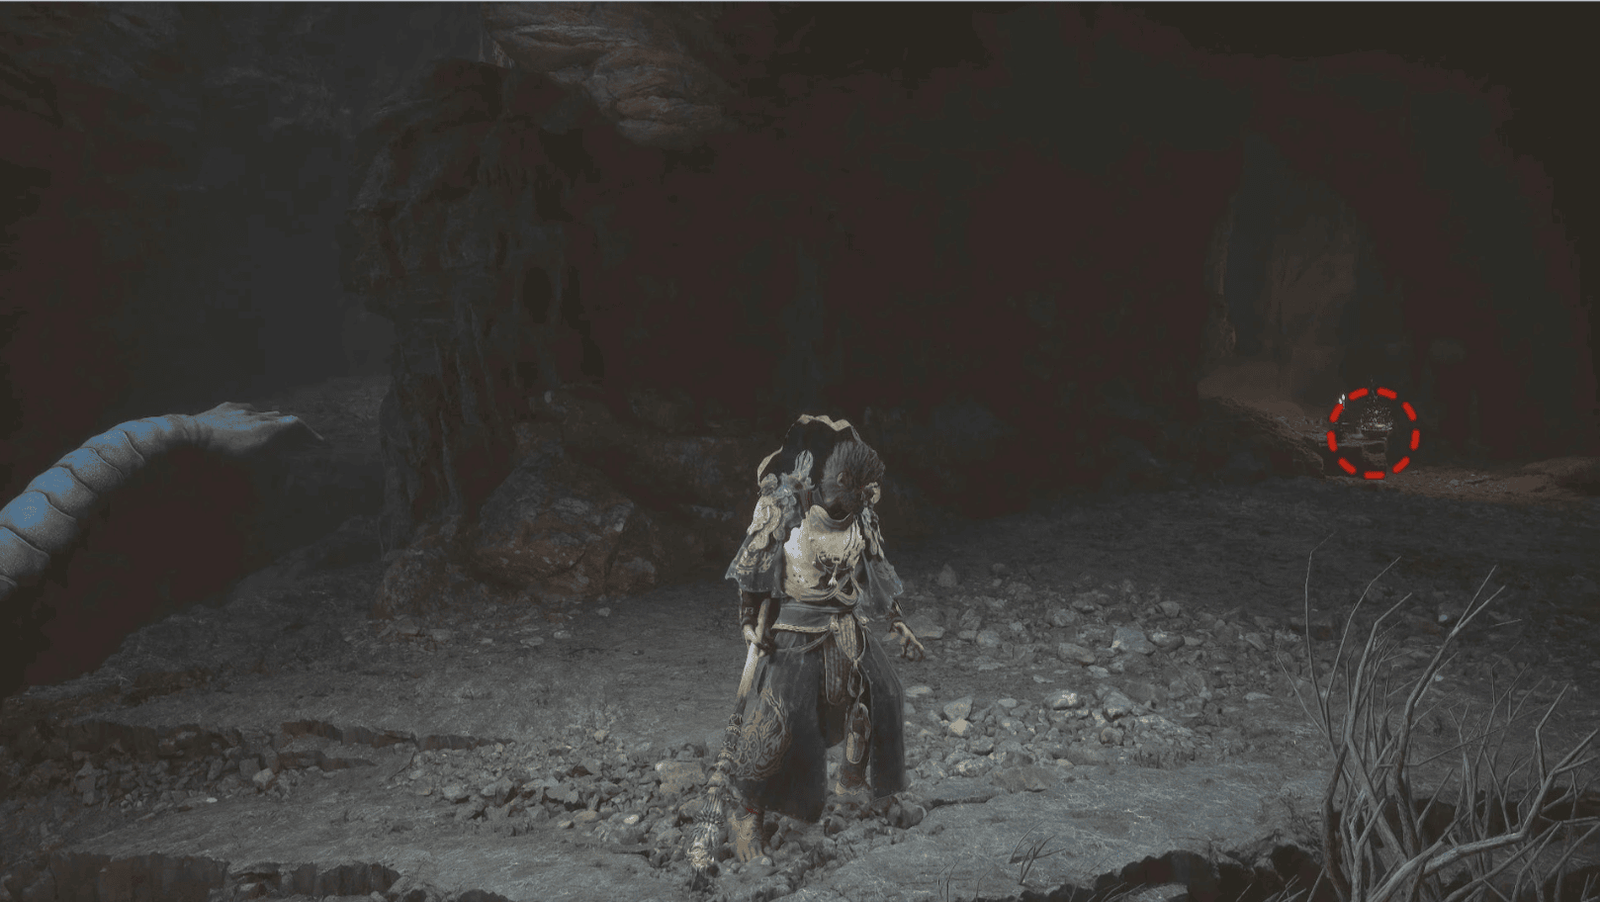
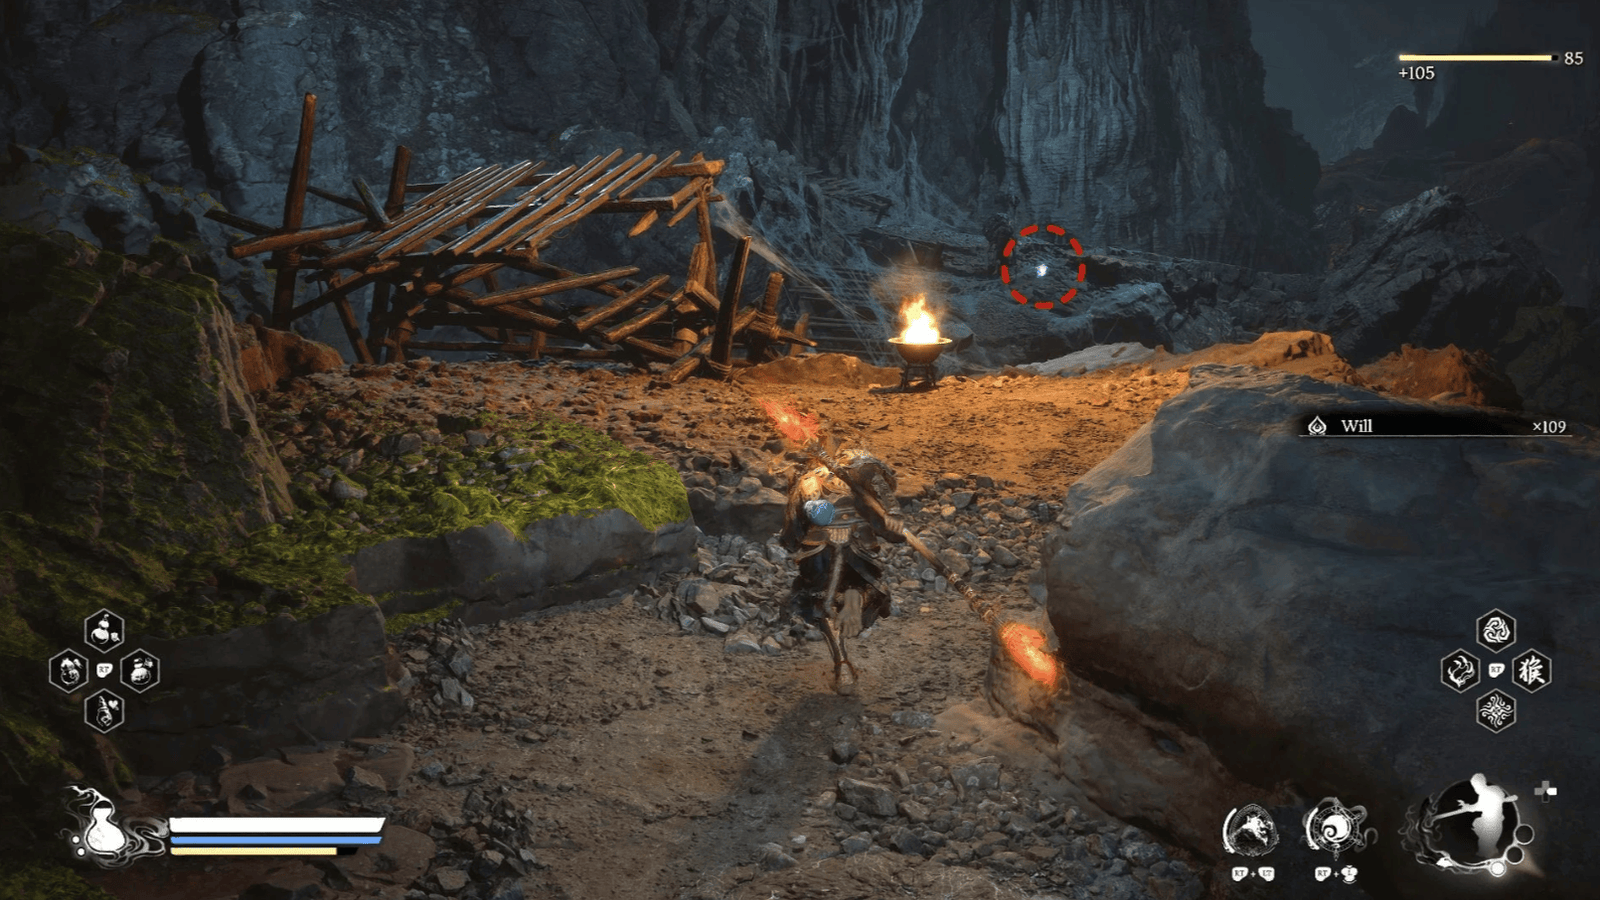
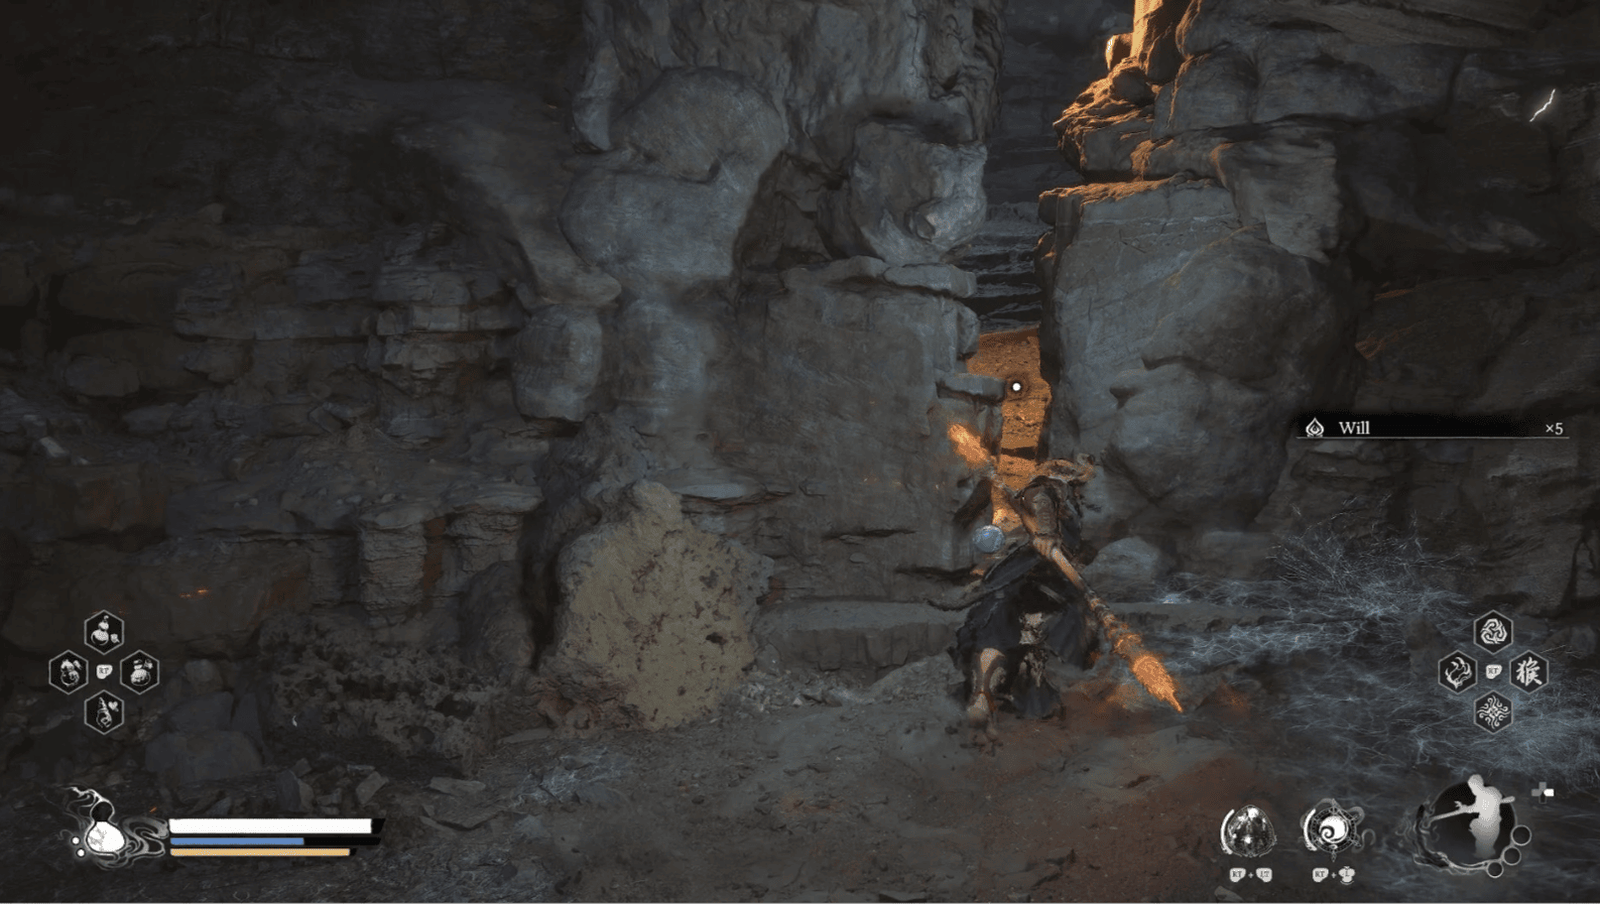
After leaving the area of Yellow Loong, follow the path leading to another cave entrance of Webbed Hollow. This path is marked by old, broken treasure chests, be careful of the Scorpion Prince guarding the entrance.
Inside the cave, you will come to a large area that was once part of Middle Hollow. Go to the left to find the broken bridge, where a Green Wisp (restores health and stamina) is hidden.
Then, turn around and follow the path on the right, crossing the puddles. You will encounter Grasshopper Guai and three Puppet Ticks setting a trap. Be careful, these Puppet Ticks can use webs to slow you down and summon Stone Spiders. Defeating them, you will receive the Puppet Tick Spirit.
Continue forward, you will find a Treasure Chest guarded by an elite Dragonfly Guai. Take him down and open the chest, inside are rare items like Septenary Heartfire Pill, Knot of Voidness, or Blood of the Iron Bull.
Nearby, you will find the third Purple Talisman, collect it, this is an important key to unlocking the seal.
From the Purple Talisman, find a small hole nearby and jump down. You will return to the area of the two bridges at the beginning of Lower Hollow, now you have completed exploring the Relief of the Fallen Loong.
Lower Hollow
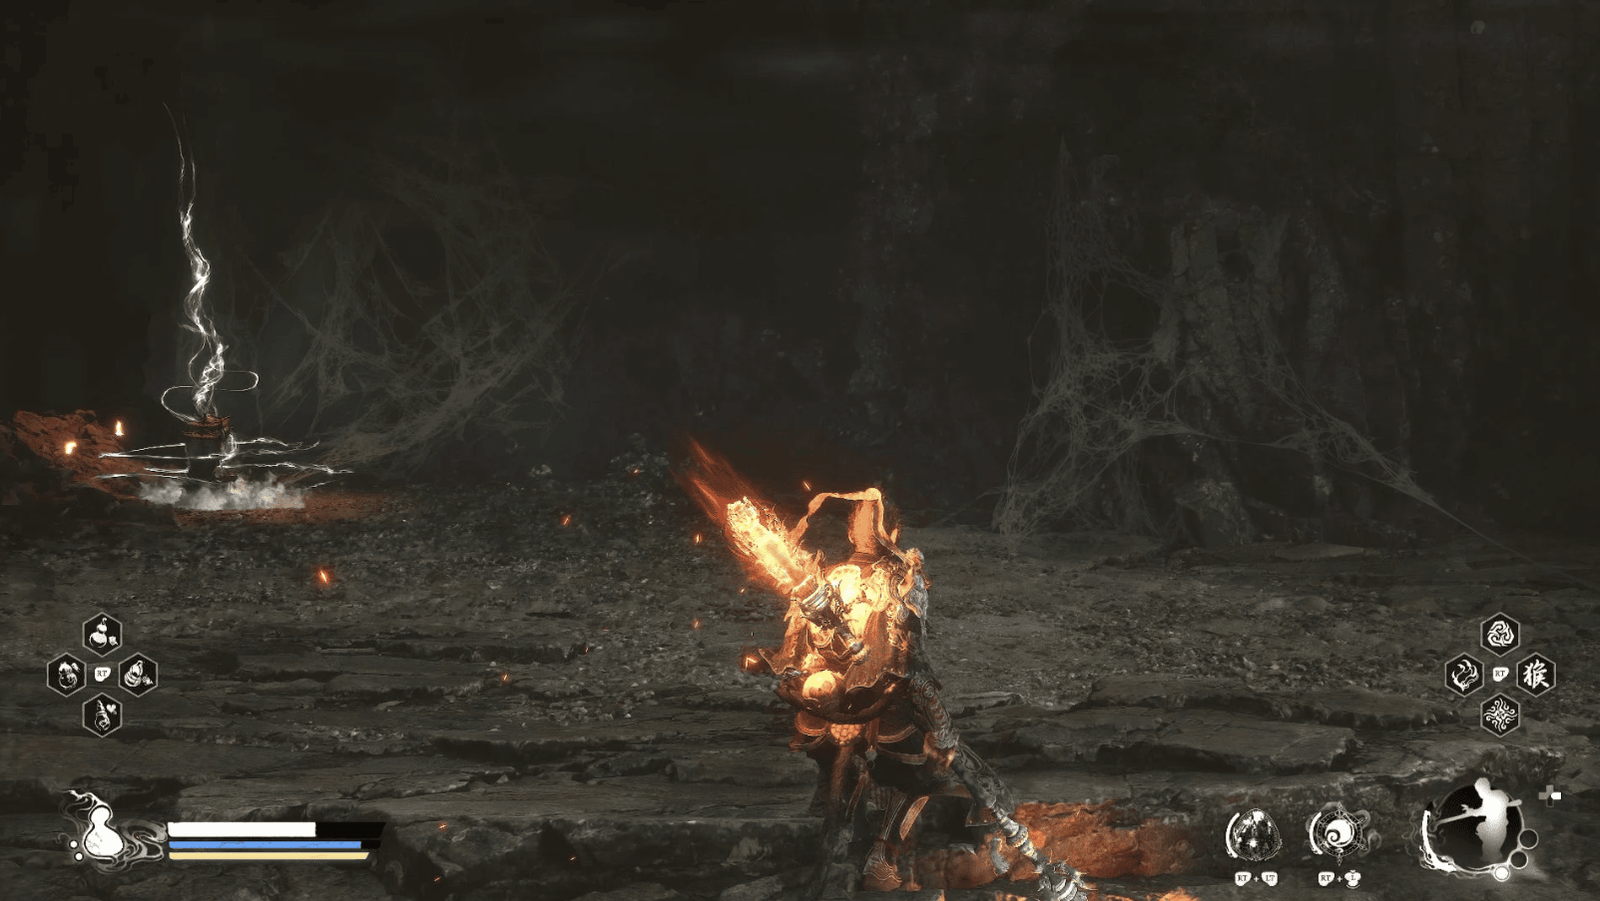
After leaving the Relief of the Fallen Loong, you have returned to Lower Hollow, where cobwebs cover the paths and demonic aura emanates from every dark corner. This is the heart of the Spider Cave, where the Violet Spider is holding Zhu Bajie captive, and where you must venture to uncover the secrets and rescue your comrade. Remember, in the Cliff of Oblivion section, you chose the left path leading to the rope bridge, now we will explore the right path.
From the jumping point at the end of the Relief of the Fallen Loong (near the two bridges), follow the path on the right (you previously took the left path). This path leads down to a deep valley where you will encounter Dragonfly Guai. Be careful, they can attack from afar and inflict negative status effects.
Continue down the large slope, you will witness Zhu Bajie being captured by the Second Sister (one of the seven spider demons). This scene is reminiscent of when Tang Sanzang was captured in the Spider Cave, a dangerous and trap-filled place.
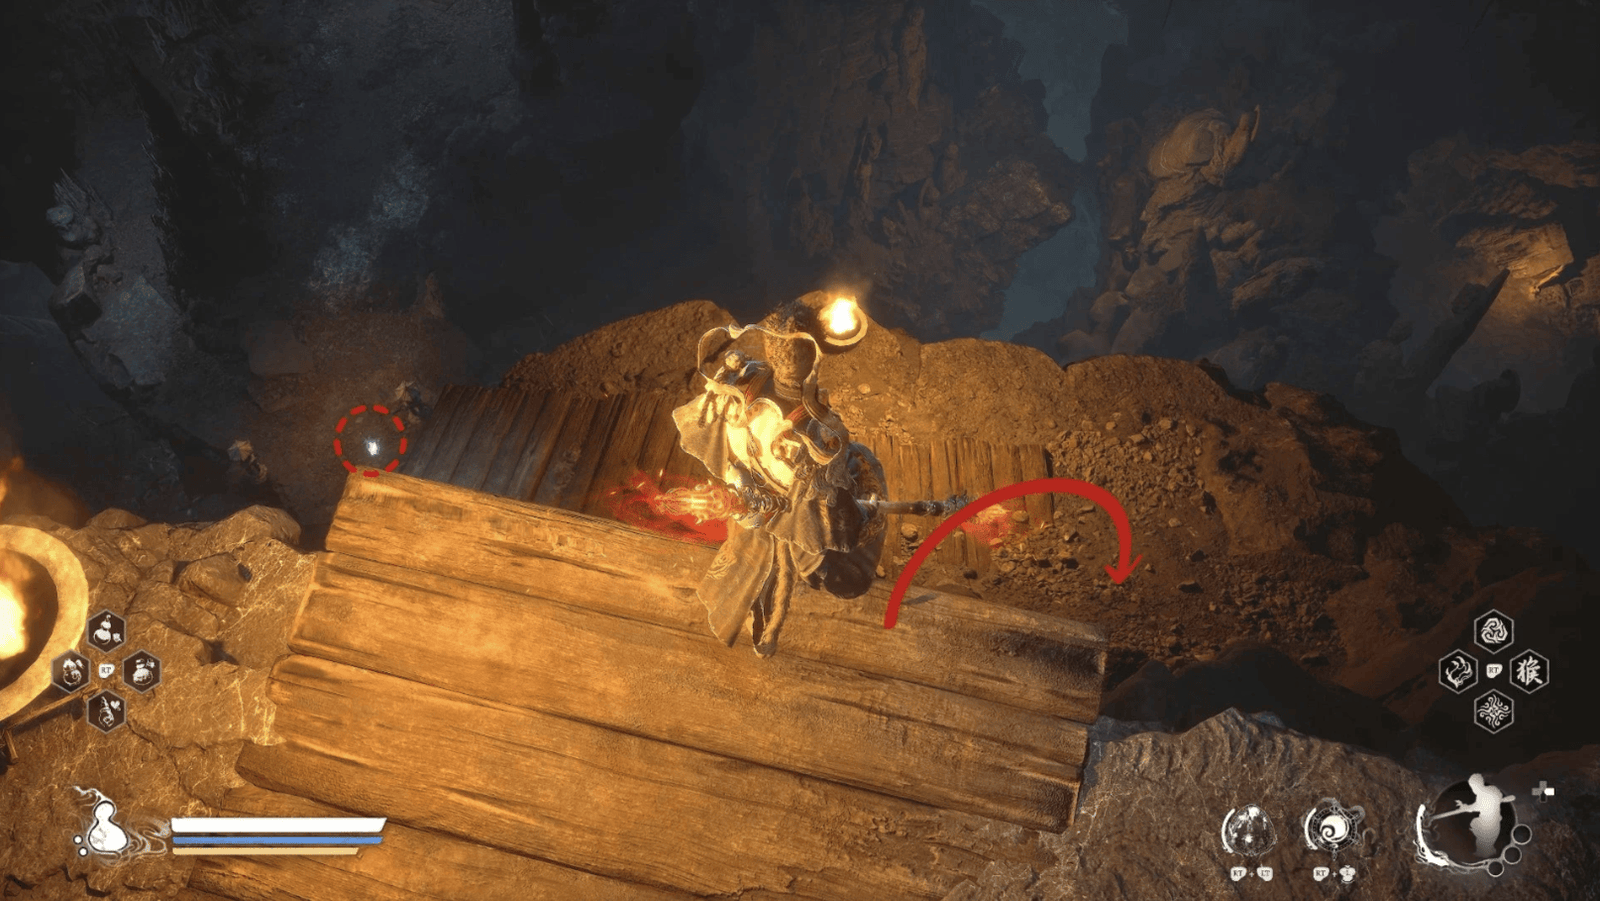
Before jumping down the pit, look for a Green Wisp floating above, it will help you recover health and stamina.
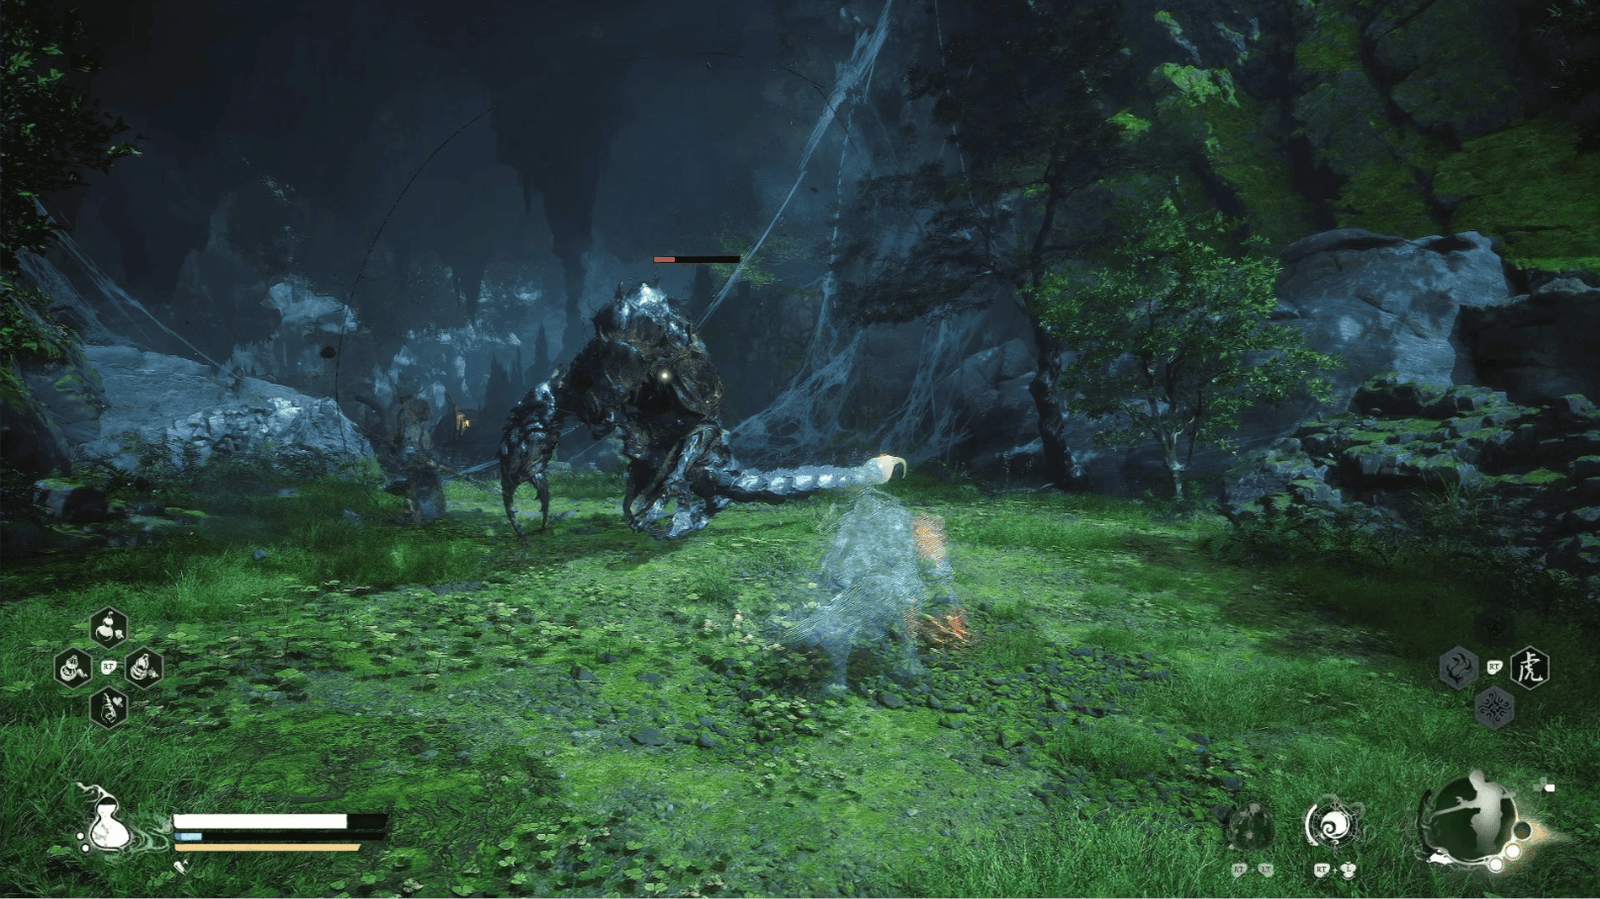
Jumping down the pit, you will fall into a dark tunnel full of Stone Spiders. Be careful, they can suddenly attack from hidden corners.
After clearing out the Wasp Guai, be brave and jump into the hole. At the bottom of the hole, you will face ferocious Amourworms. Be careful, they can spit webs to slow you down and deal damage.
Fight patiently, overcome them, you will find a Treasure Chest in the distance, a worthy reward for your courage.
Out of the hole, you will see an exit in the distance. Follow that exit, continue to fight Stone Spiders and Puppet Ticks that block the way.
Look for a small entrance on the right, it leads to a hidden area where you can temporarily avoid the Dragonfly Guai hovering above.
In this hidden area, you will find a Meditation Point. Nearby, there is a small entrance on the left, follow this path to ambush the Dragonfly Guai guarding a high passage.
From the position of the defeated Dragonfly Guai, follow the high path, ignoring the area with many Clawed Cocoons below.
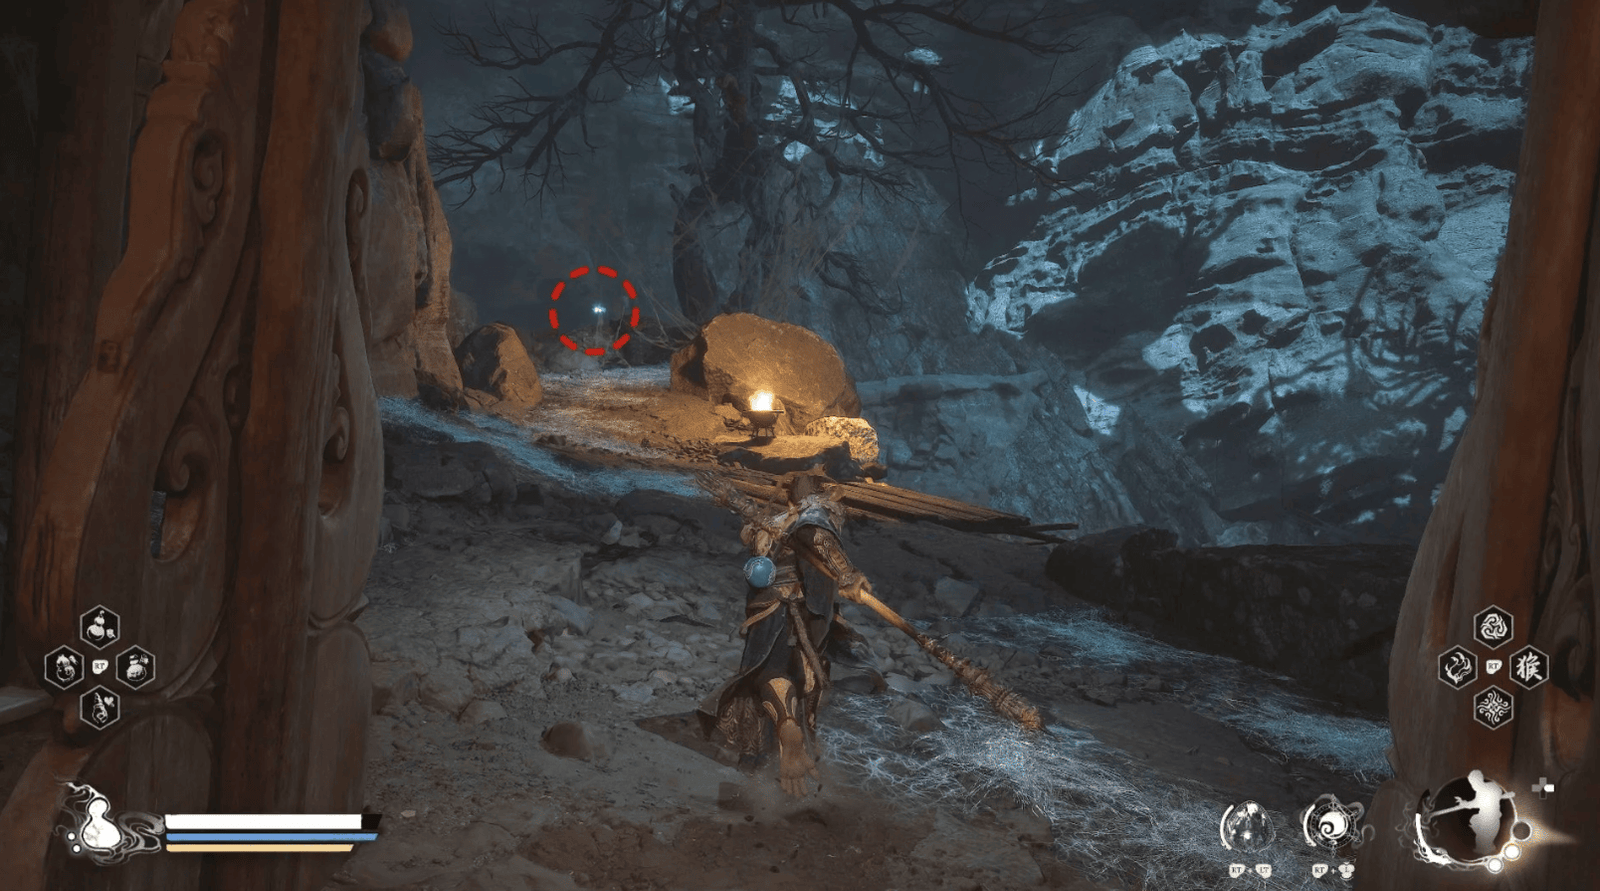
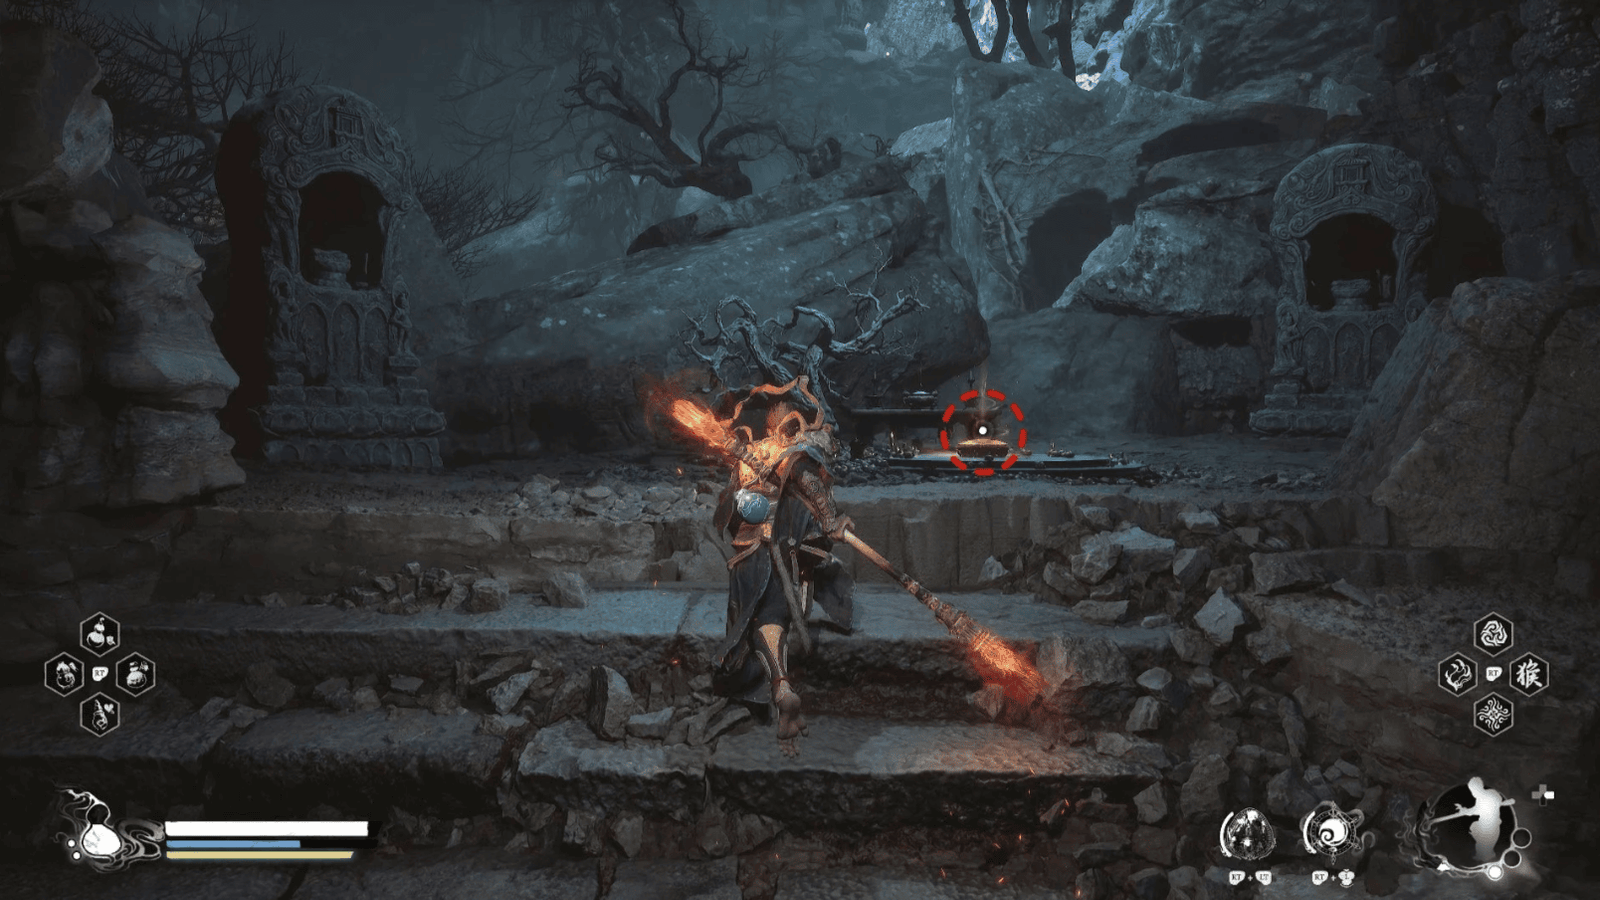
Jumping down from the high path, you will see a Green Wisp floating, collect it. Right in front is the Lower Hollow Shrine, activate it to save your progress.
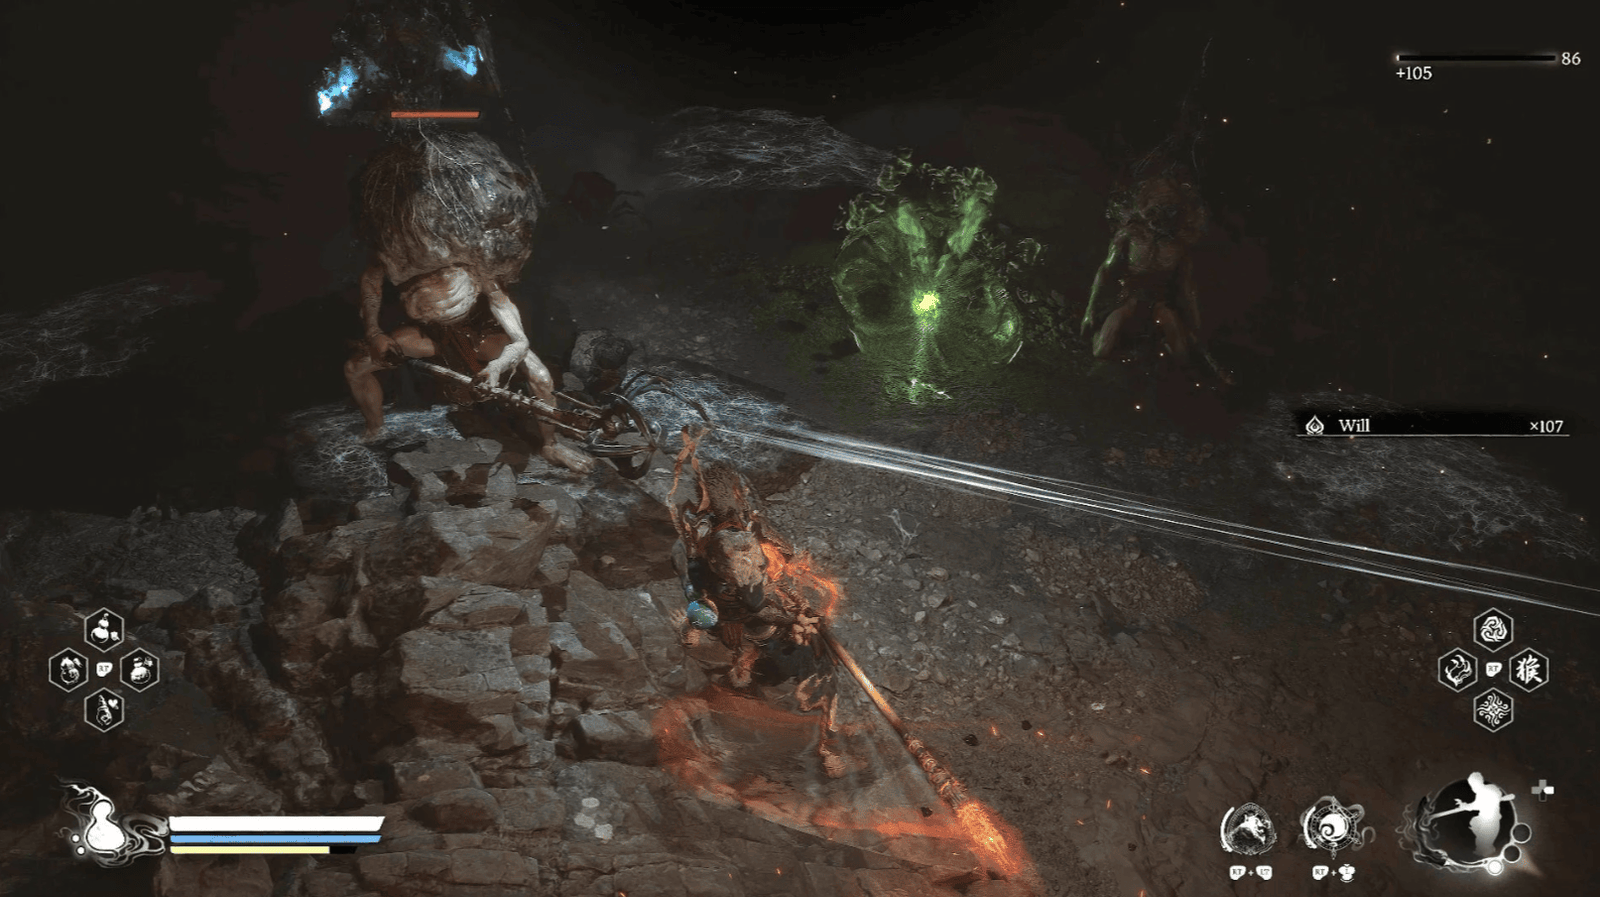
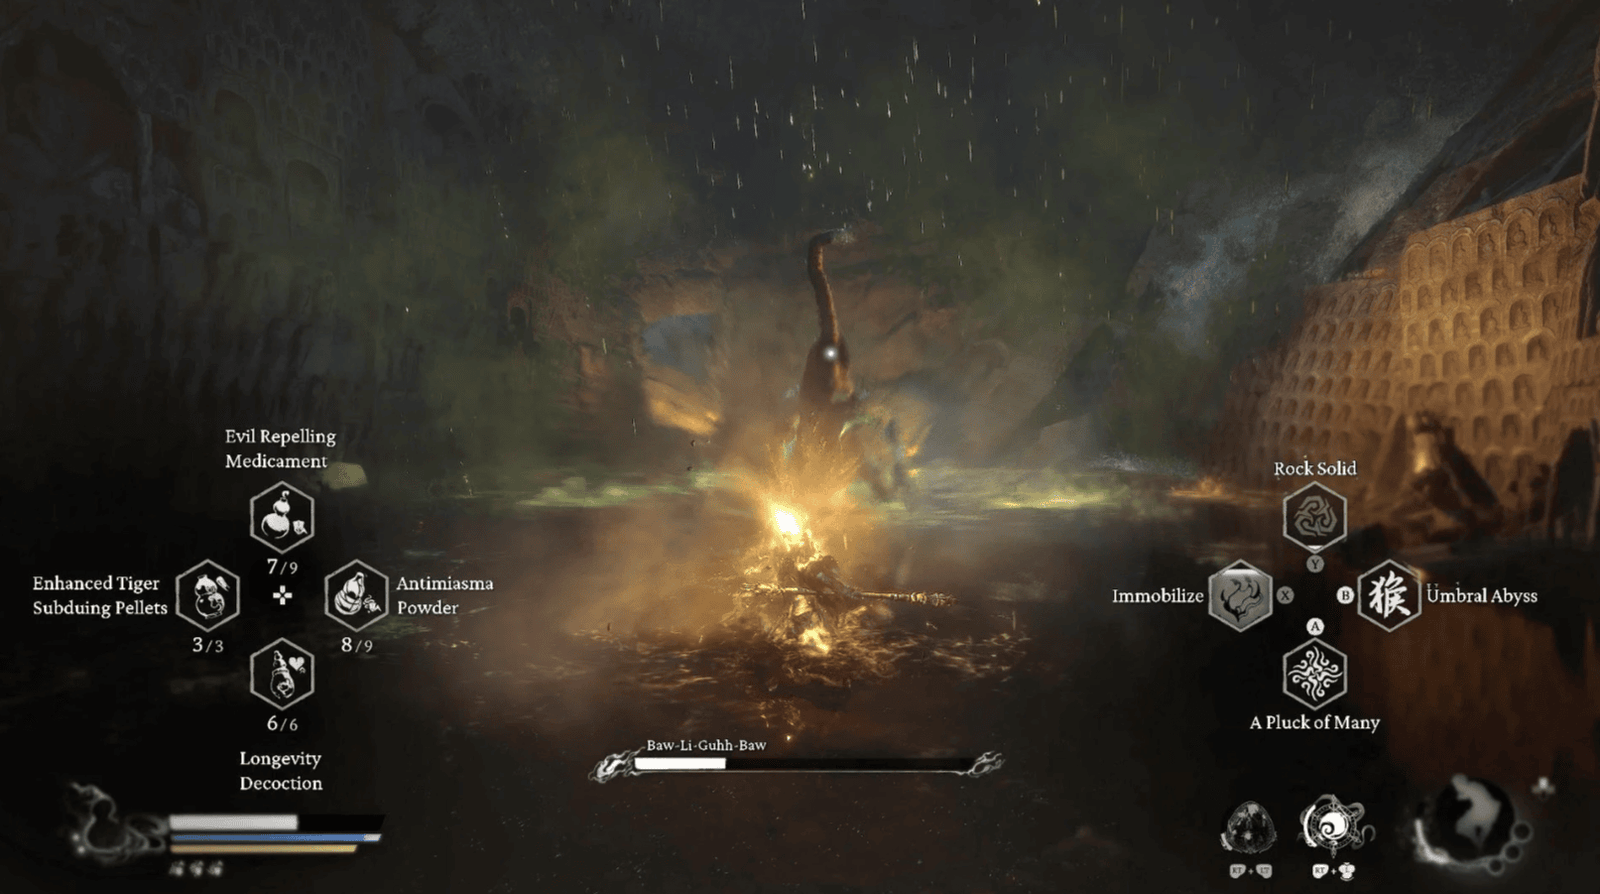
From the Shrine, climb back up the high path (you can use a jumping heavy attack to get up more easily), continue to follow the path leading to an area with water, where Yaoguai Chief – Baw-Li-Guhh-Baw (poison toad demon) is waiting.
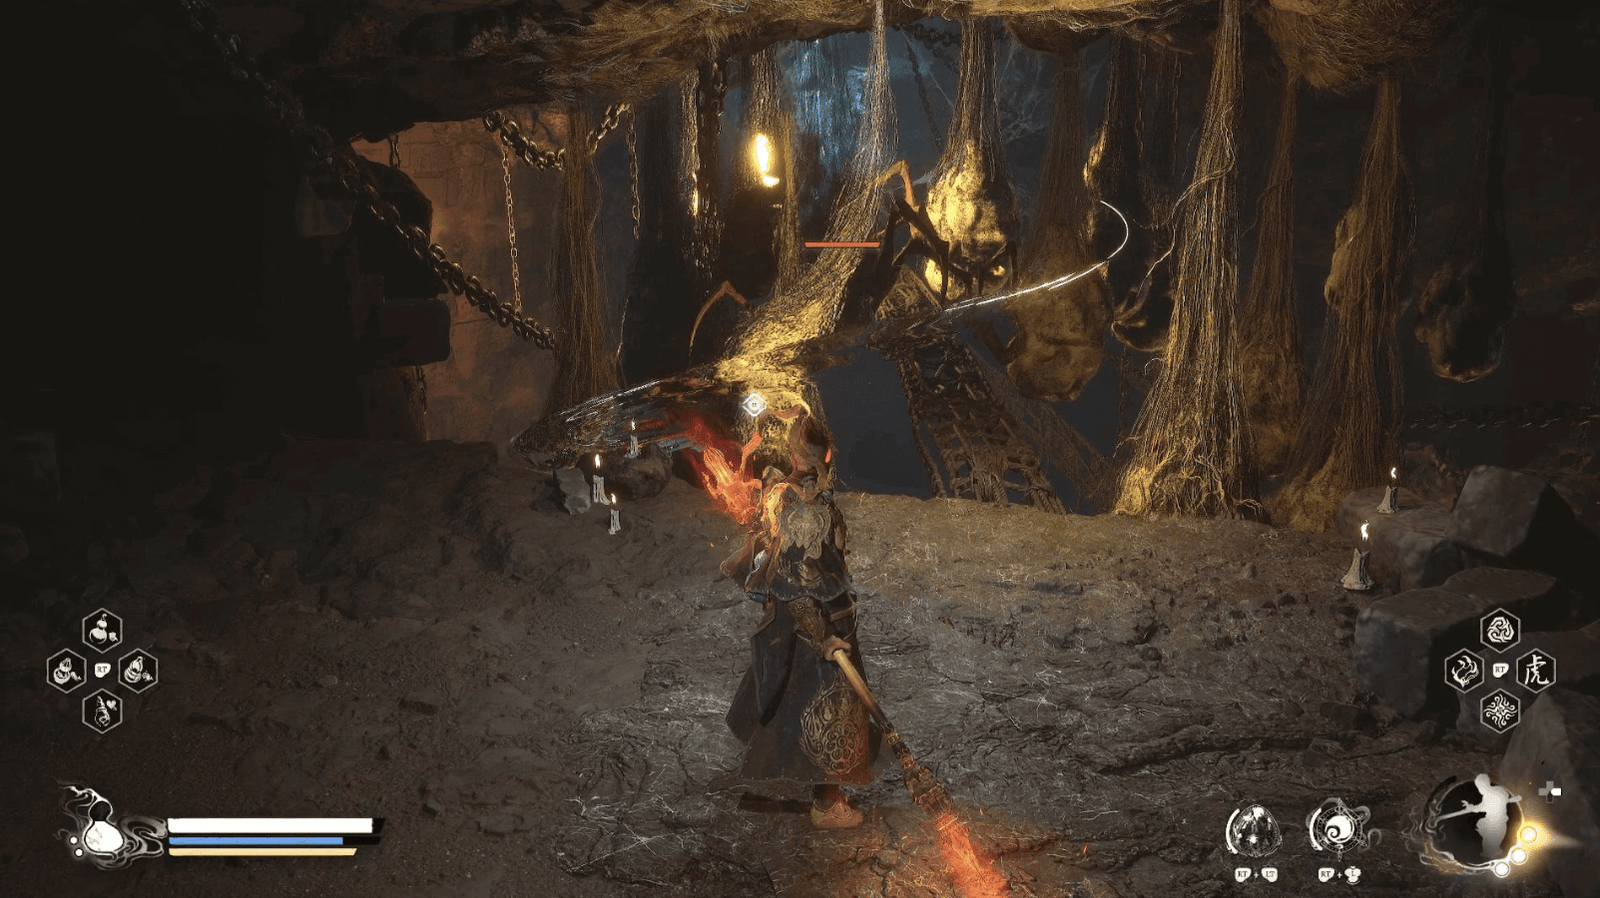
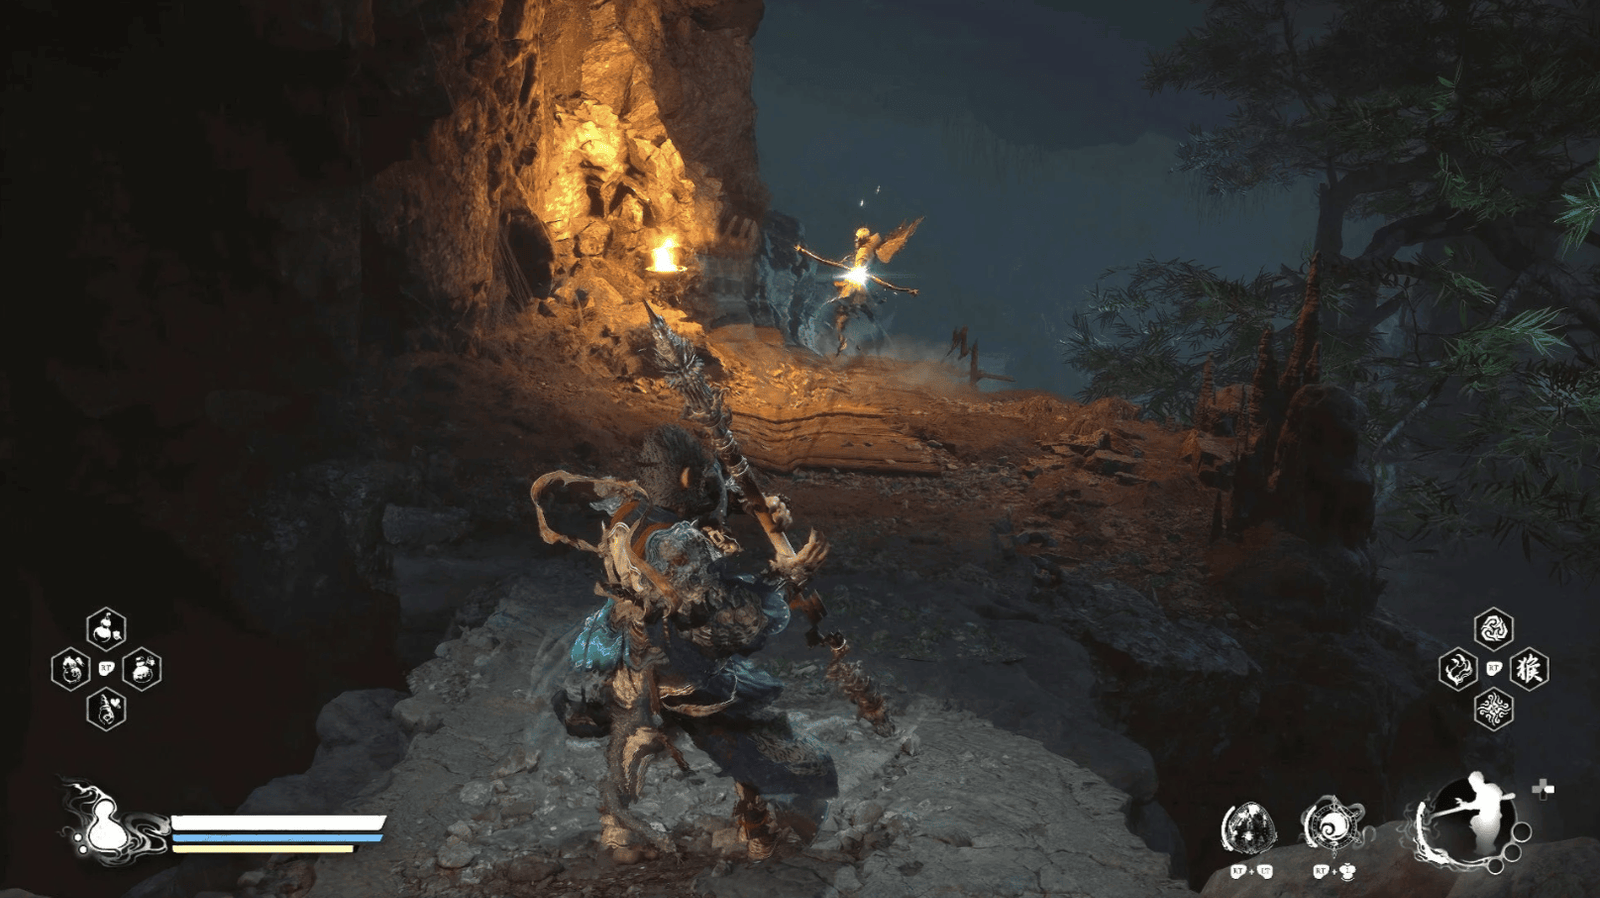
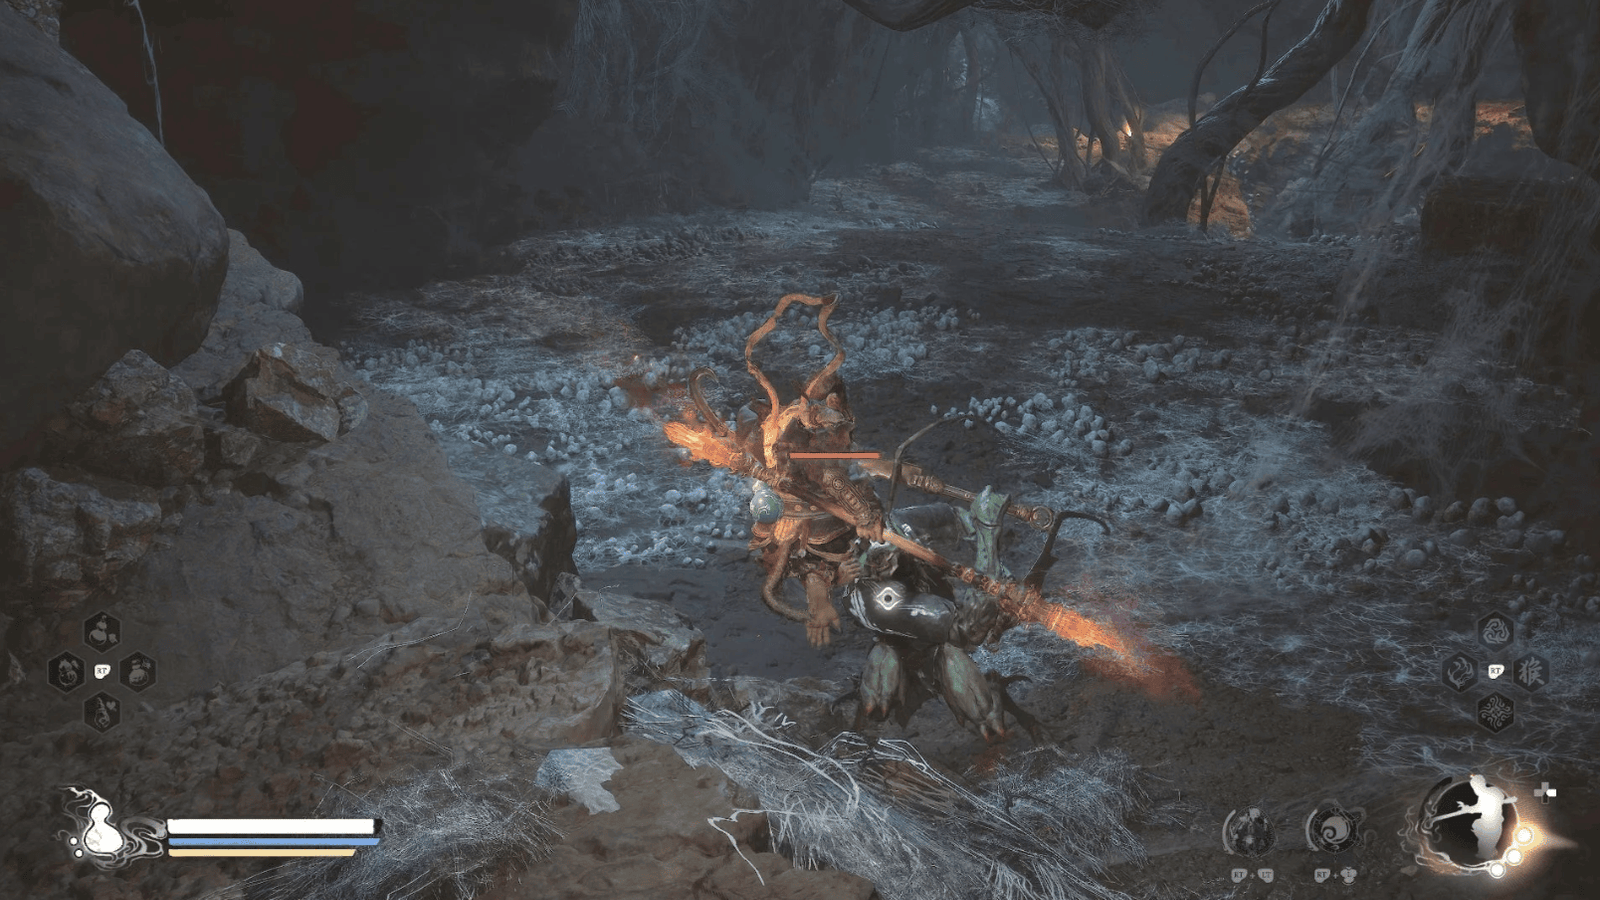
Baw-Li-Guhh-Baw Boss Fight
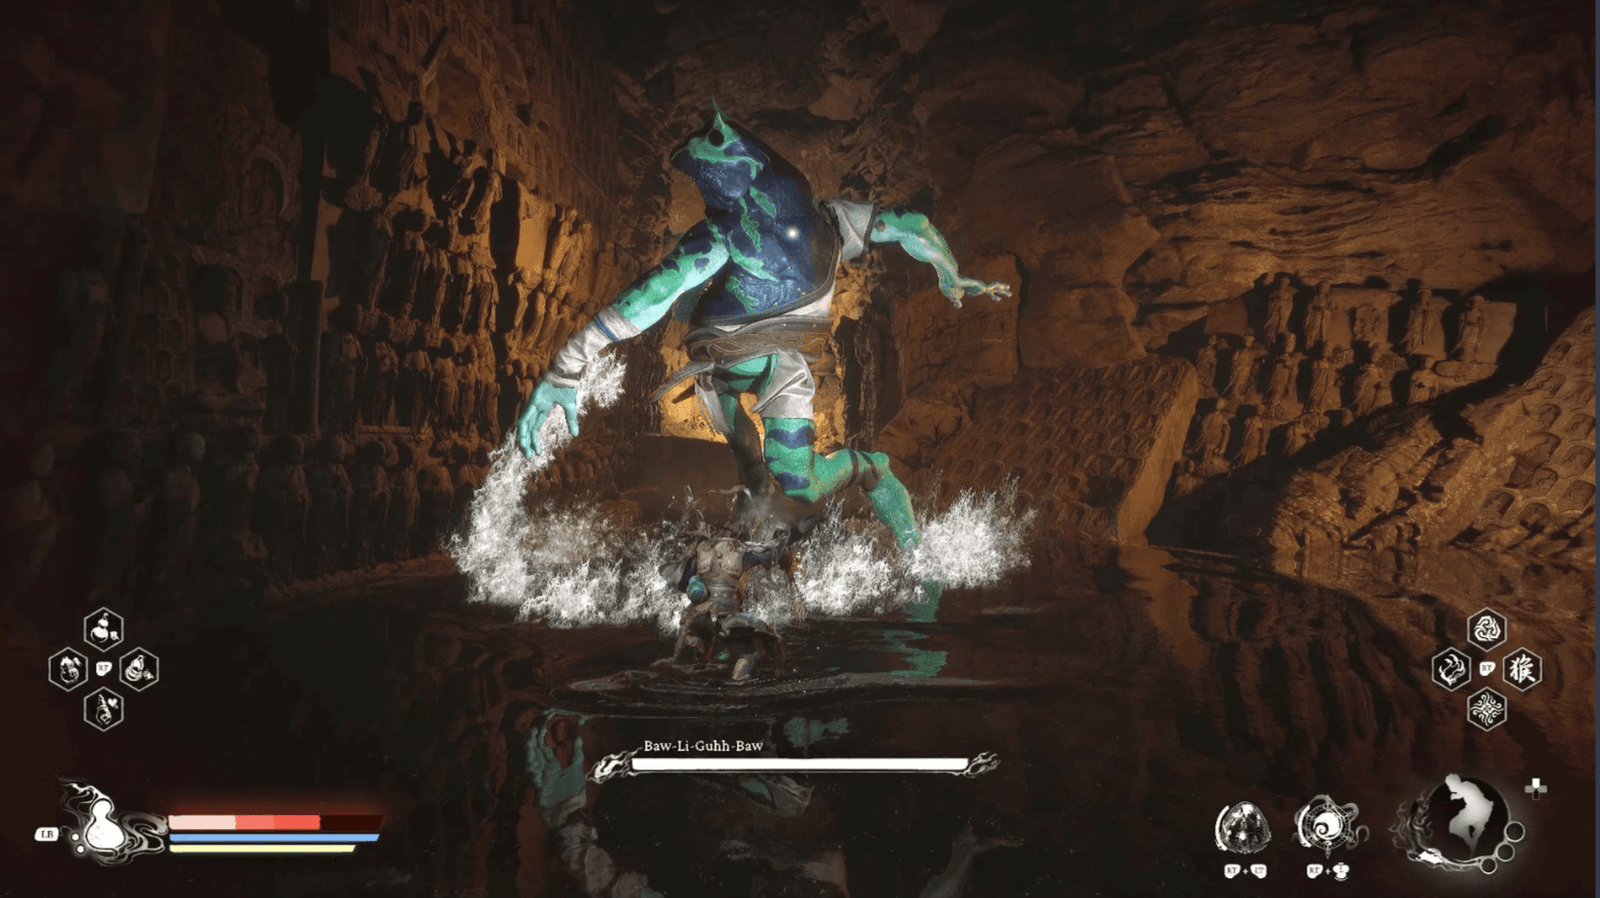
Yaoguai Chief – Baw-Li-Guhh-Baw is a giant poison-type toad demon, a descendant of the toad demons that once plagued Chen Village. He possesses terrifying strength and the fearsome ability to spit poison. The battle with him will take place in a damp cave, with puddles of poison that he creates, reminiscent of the deadly swamp that Tang Sanzang and his disciples once faced.
Before entering the battle, make sure you have prepared enough Antimiasma Pills, as Baw-Li-Guhh-Baw will continuously spit out powerful streams of poison.
He has basic attacks similar to other toad demons you’ve faced: jumping up and slamming down, swiping with his front legs, and kicking back. Be careful with his jumps, as he can jump very far and land unexpectedly.
Baw-Li-Guhh-Baw has the following special attacks:
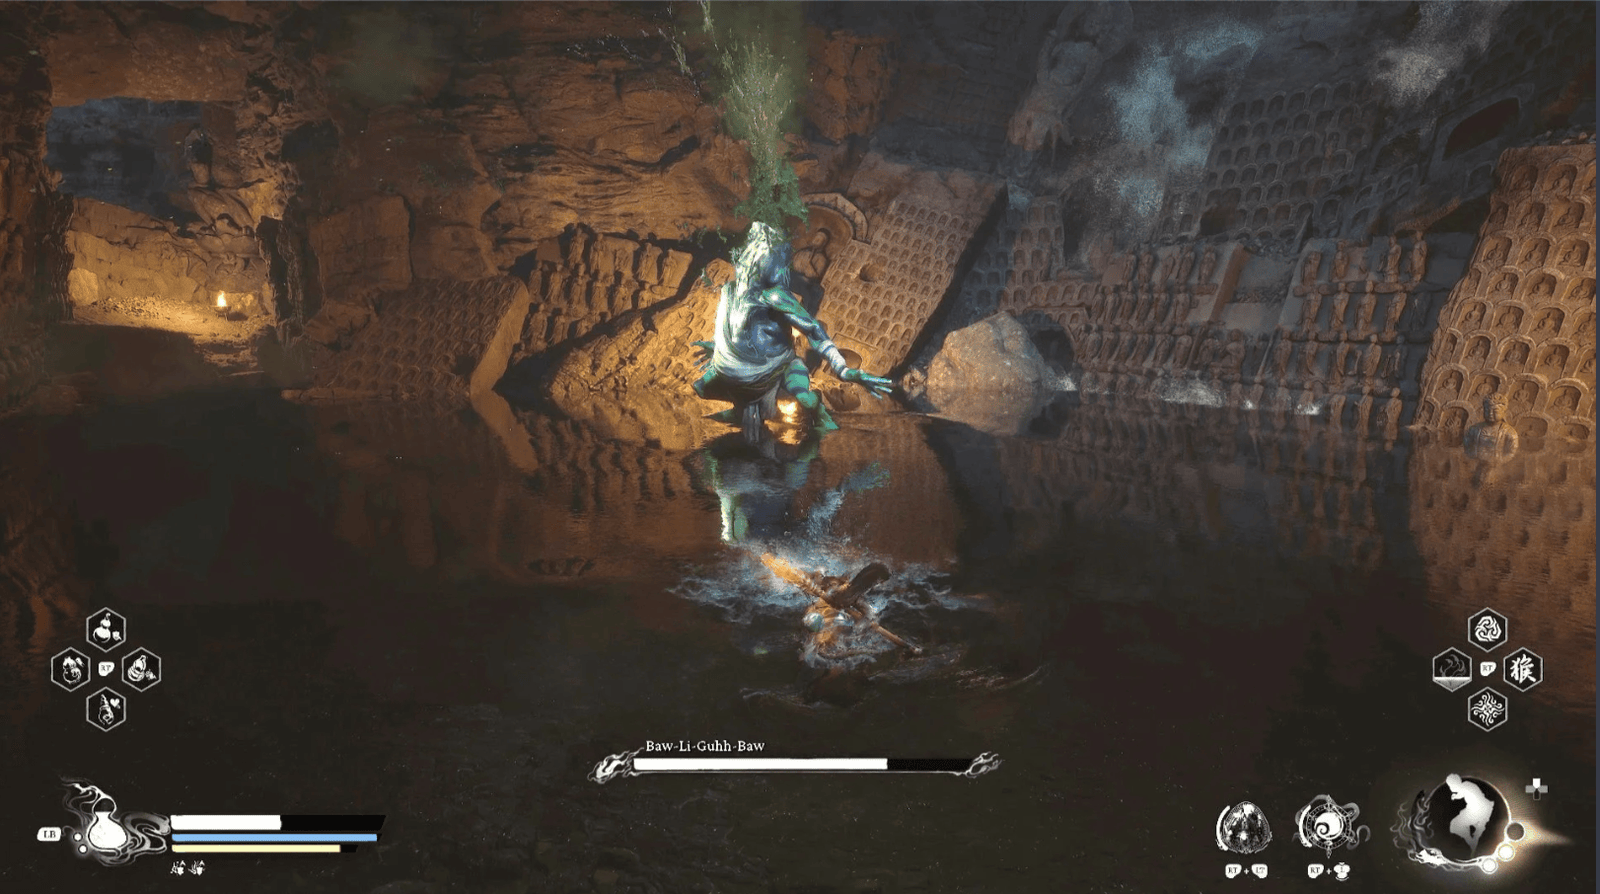
Poison Rain: He will tilt his head back and spit out a stream of poison rain that covers a large area. Quickly move out of the affected area, or use Pillar Stance to withstand it.
Poison Spew: He will spit out a stream of poison directly at you. Dodge to the sides to avoid the attack.
Tongue Attack: His most dangerous attack, actually the Left Hand of Buddha transformed. He will shoot out this arm like a long tongue, wrapping around you, dealing damage and poisoning you. Moreover, he can also swing this “tongue”, creating unpredictable combo attacks.
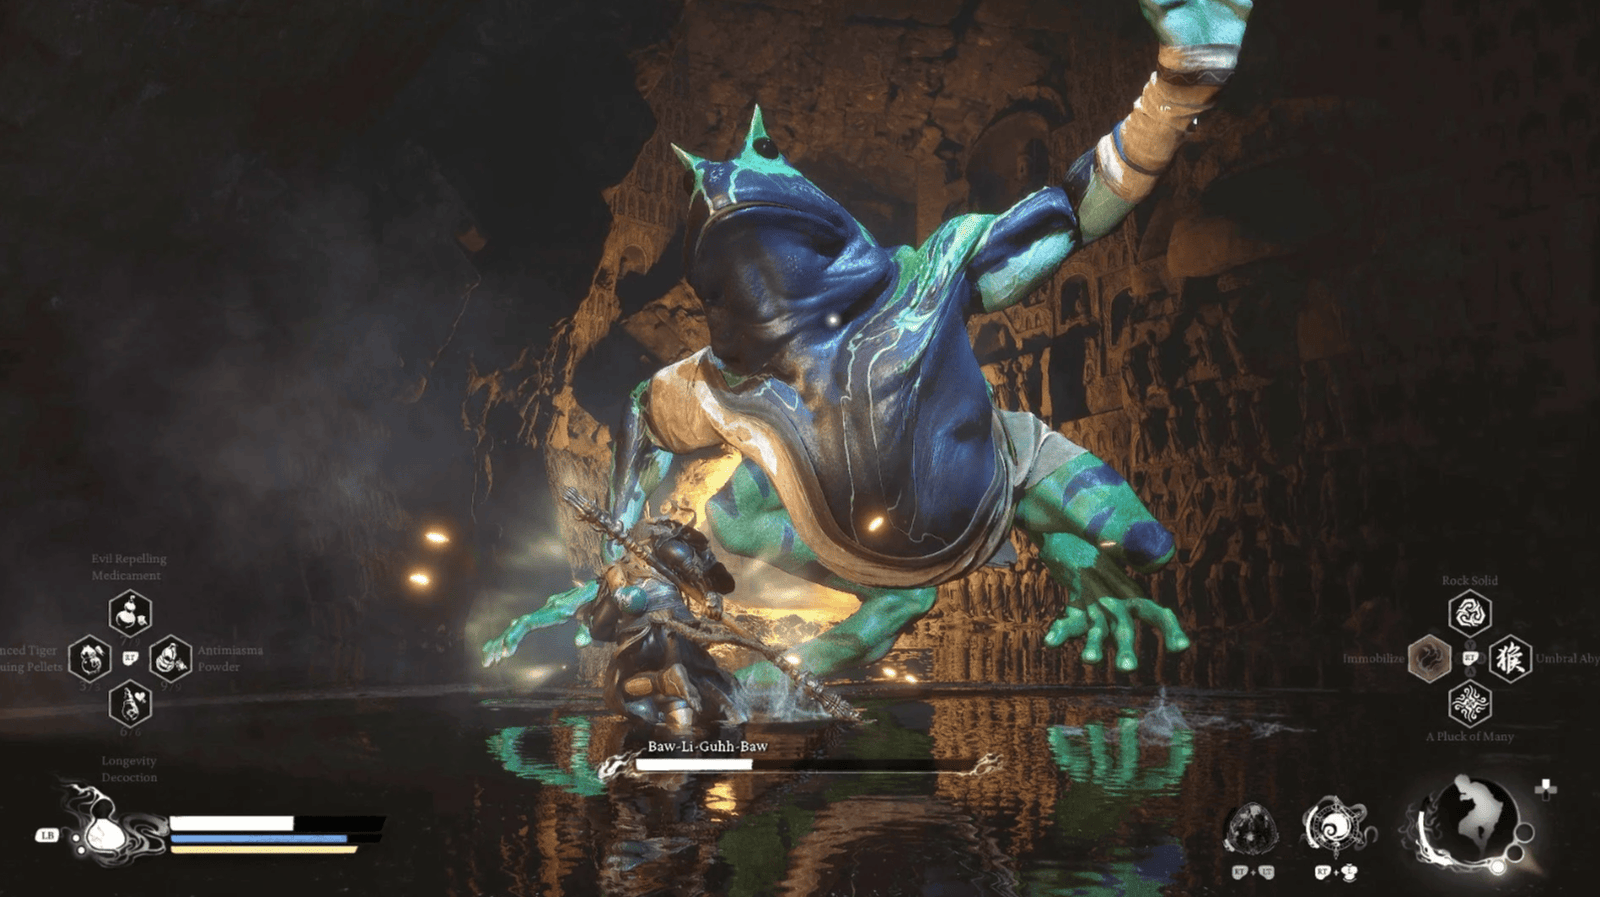
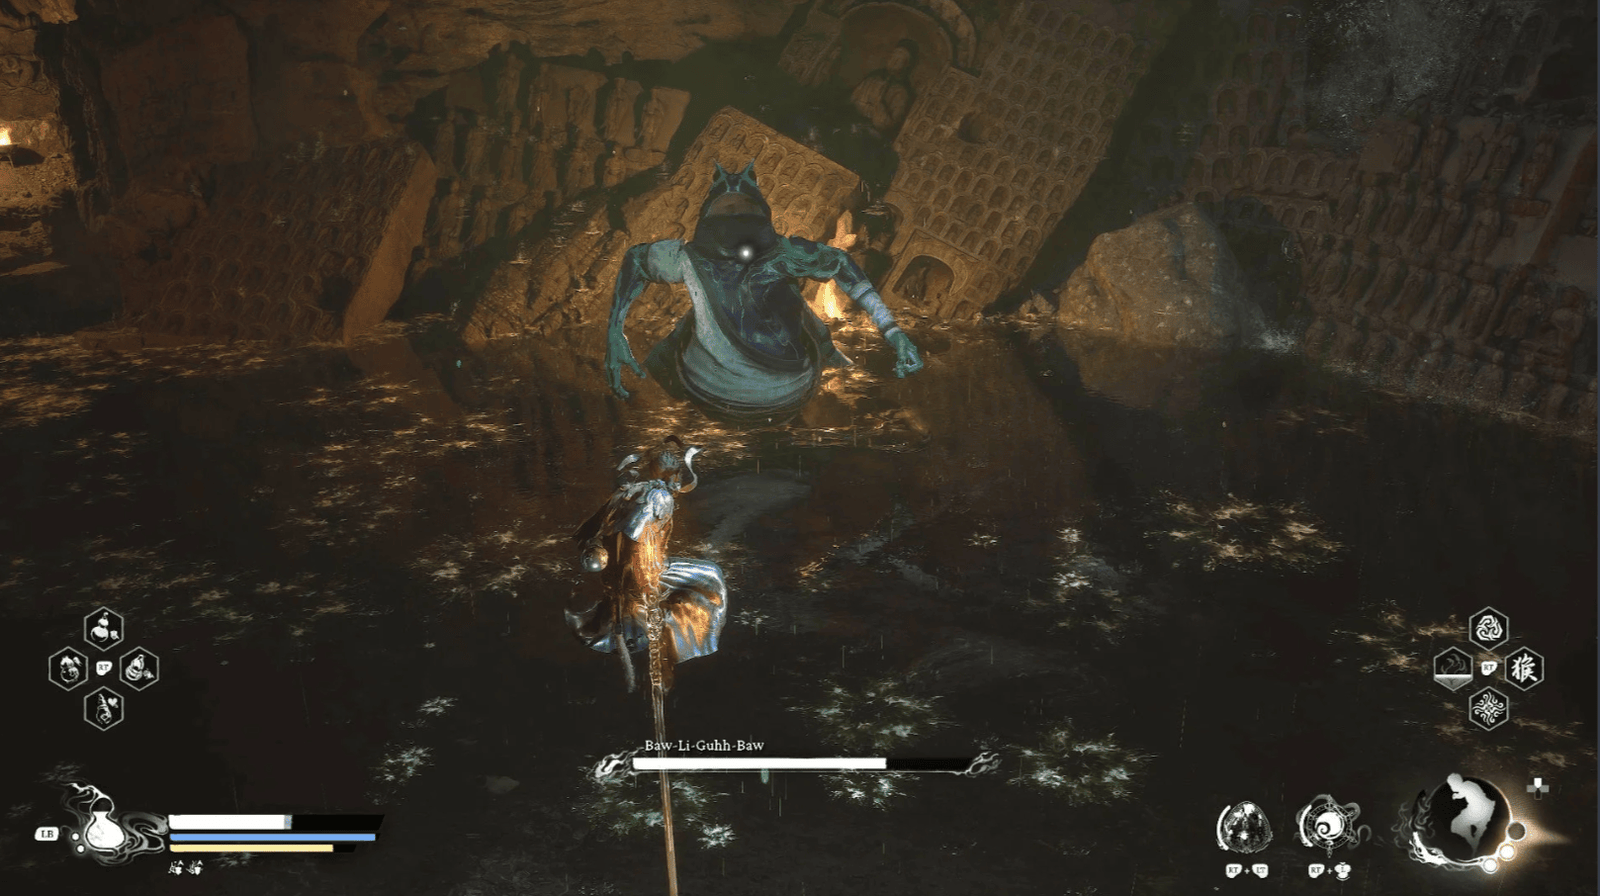
When Baw-Li-Guhh-Baw is low on health, he will become more frenzied. Be careful with his combos and poison.
Defeating Baw-Li-Guhh-Baw, you will receive a Tadpole, and more importantly, the Left Hand of Buddha. With the Left Hand of Buddha and the Right Hand of Buddha obtained earlier, you can craft a special Immortal Blessing Gourd when you meet Shen Monkey in Zodiac Village.
Hut of Immortality
After defeating Baw-Li-Guhh-Baw, the path leading to the Hut of Immortality will open. This is a rickety wooden house where Zhu Bajie is imprisoned under the control of monstrous spiderwebs. The atmosphere here is gloomy, dark, and permeated with a strong demonic aura, just like the demon dwelling in the Spider Cave of old.
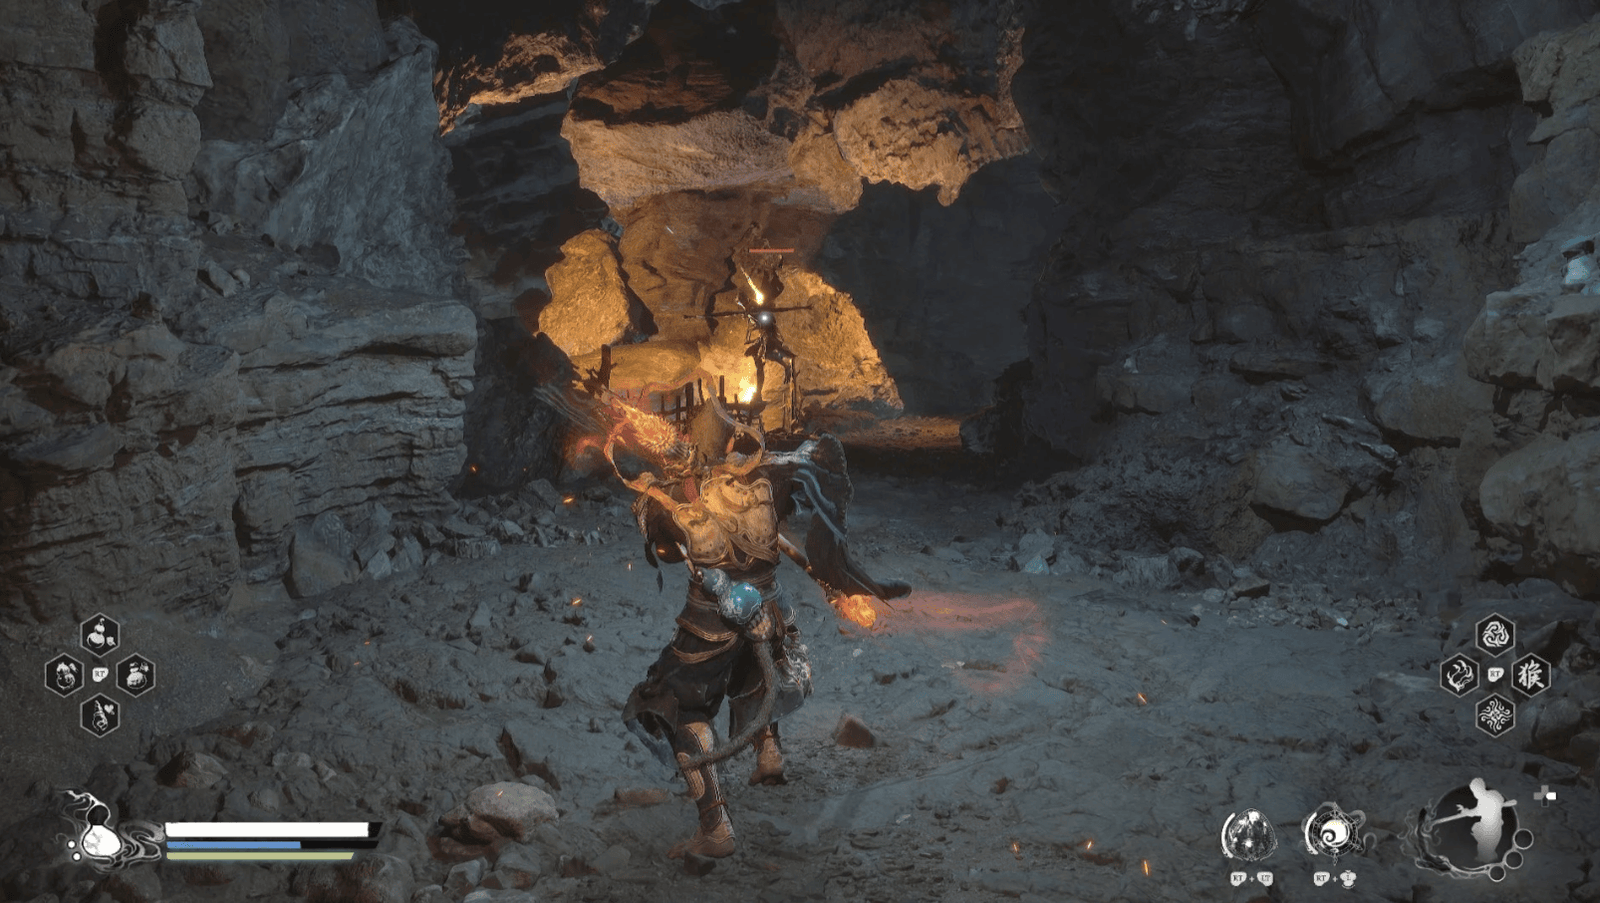
Go through the dark tunnel after defeating the Frog Boss, you will reach the Hut of Immortality. Be careful, this path is full of ambushing Stone Spiders.
As soon as you exit the tunnel, you will see a Shrine nearby. Activate it, this is an important save point before entering the difficult battle with Zhu Bajie.
Take the time to recover, upgrade equipment, and adjust your strategy. Although Zhu Bajie is an old comrade, when controlled by a dark spell, he will become an extremely dangerous opponent.
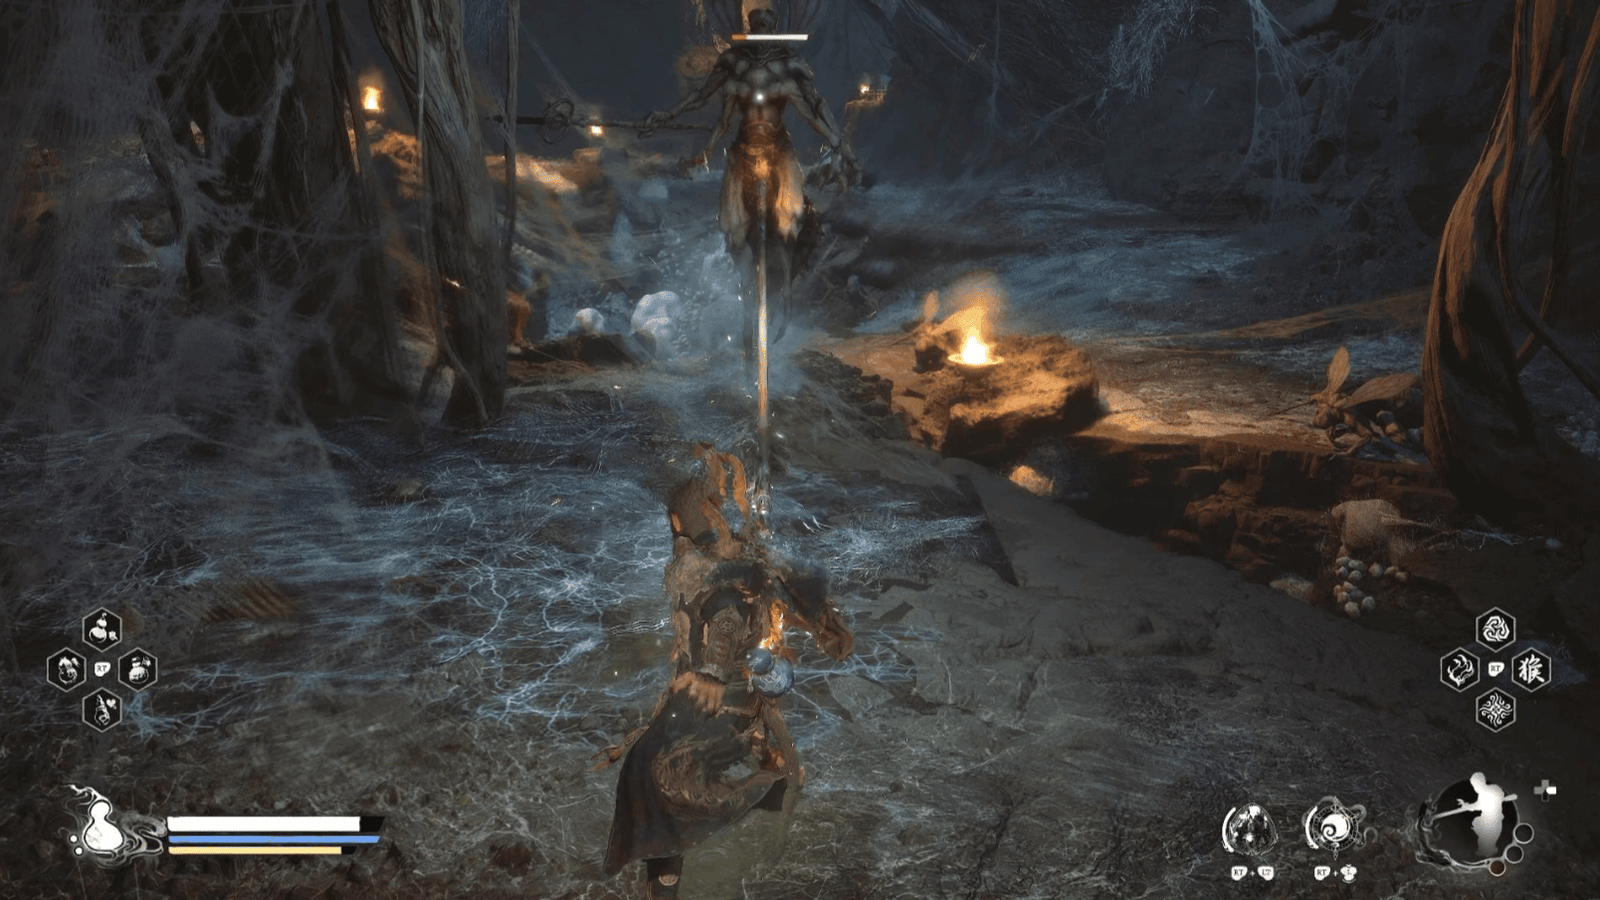
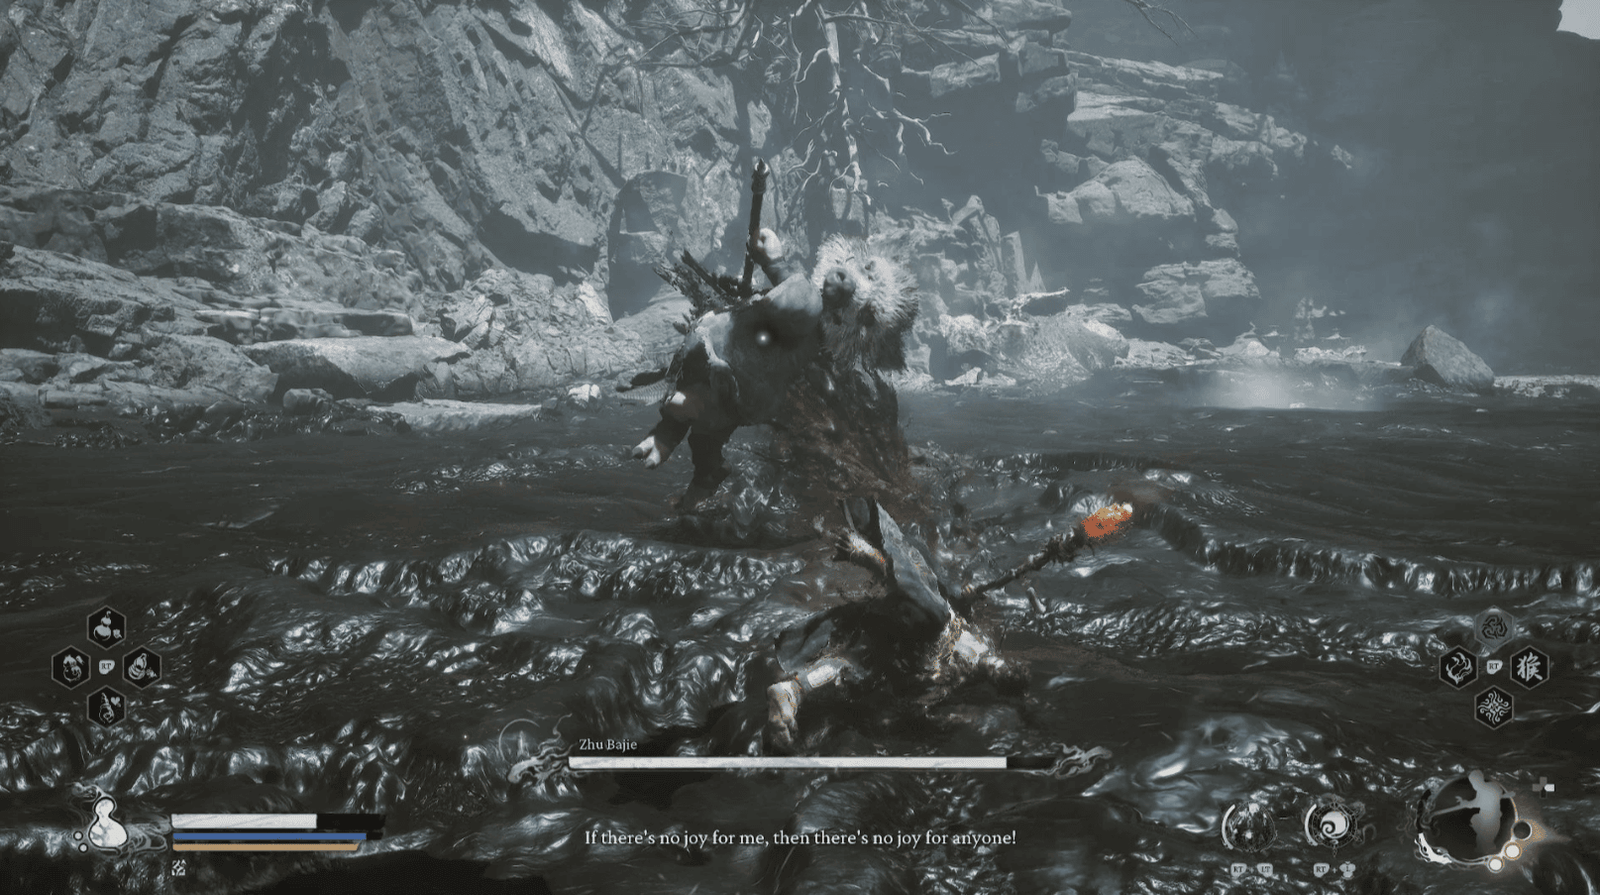
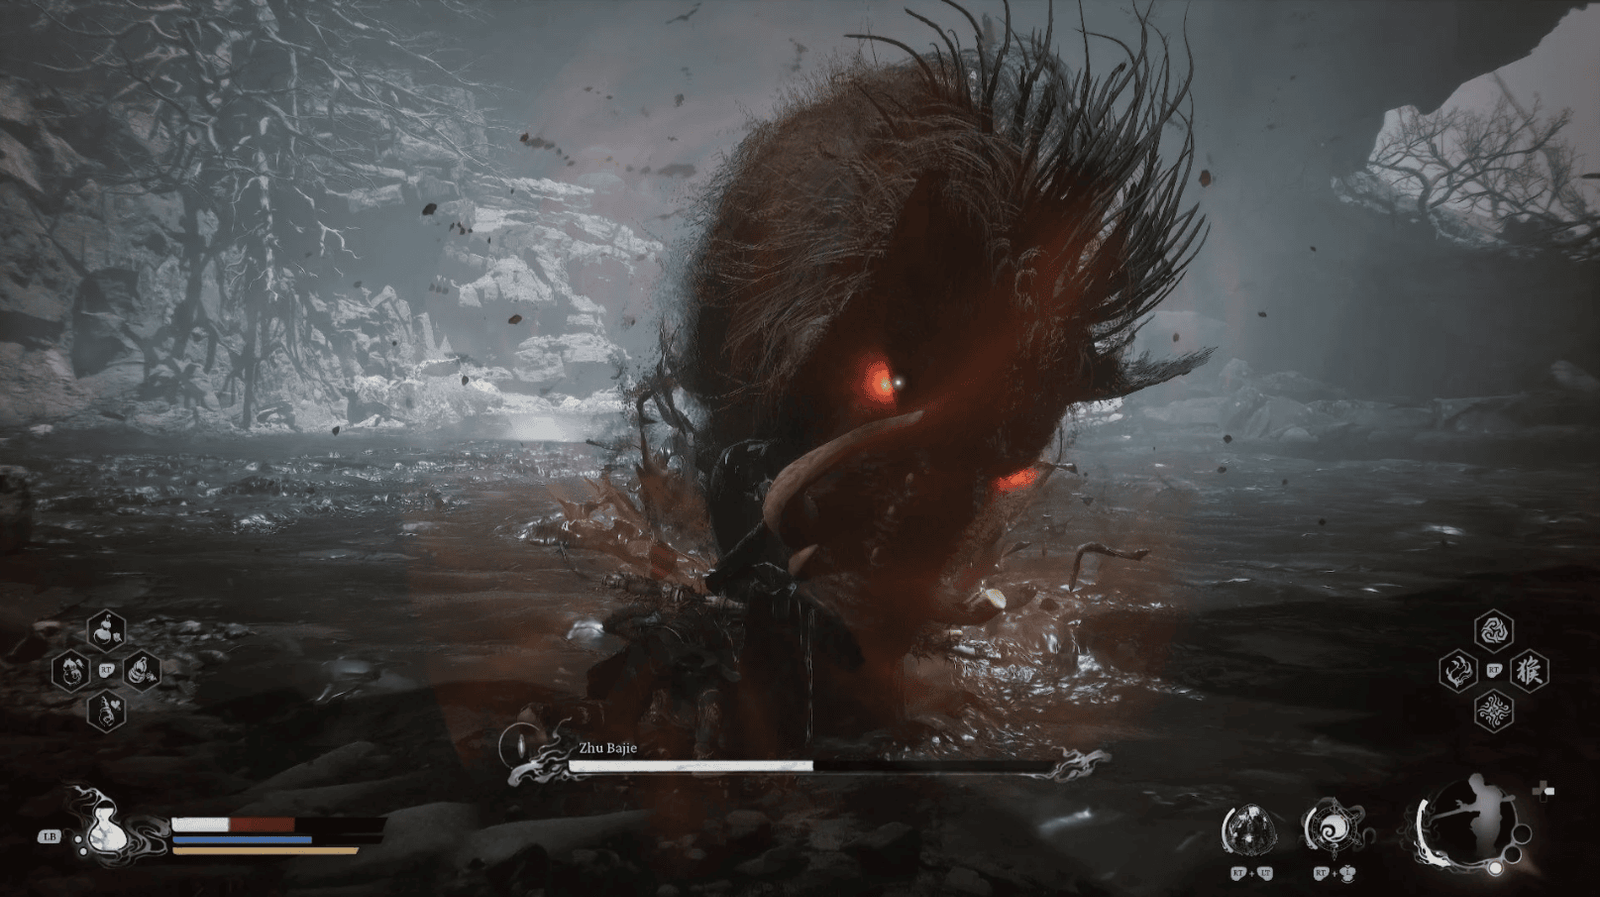
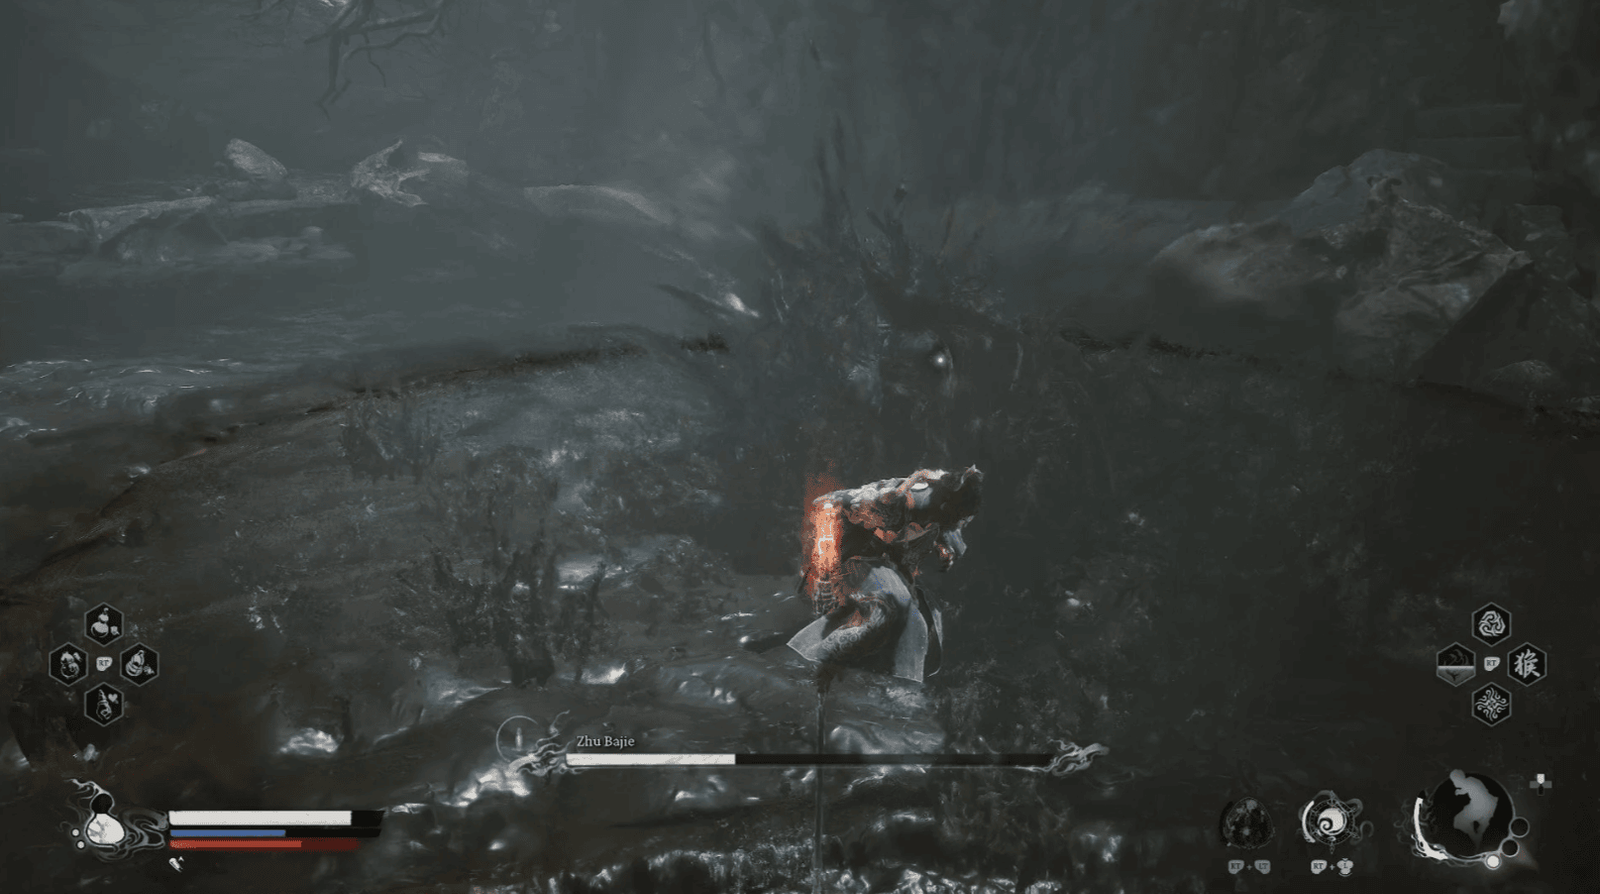
Zhu Bajie Boss Fight (Two Round)
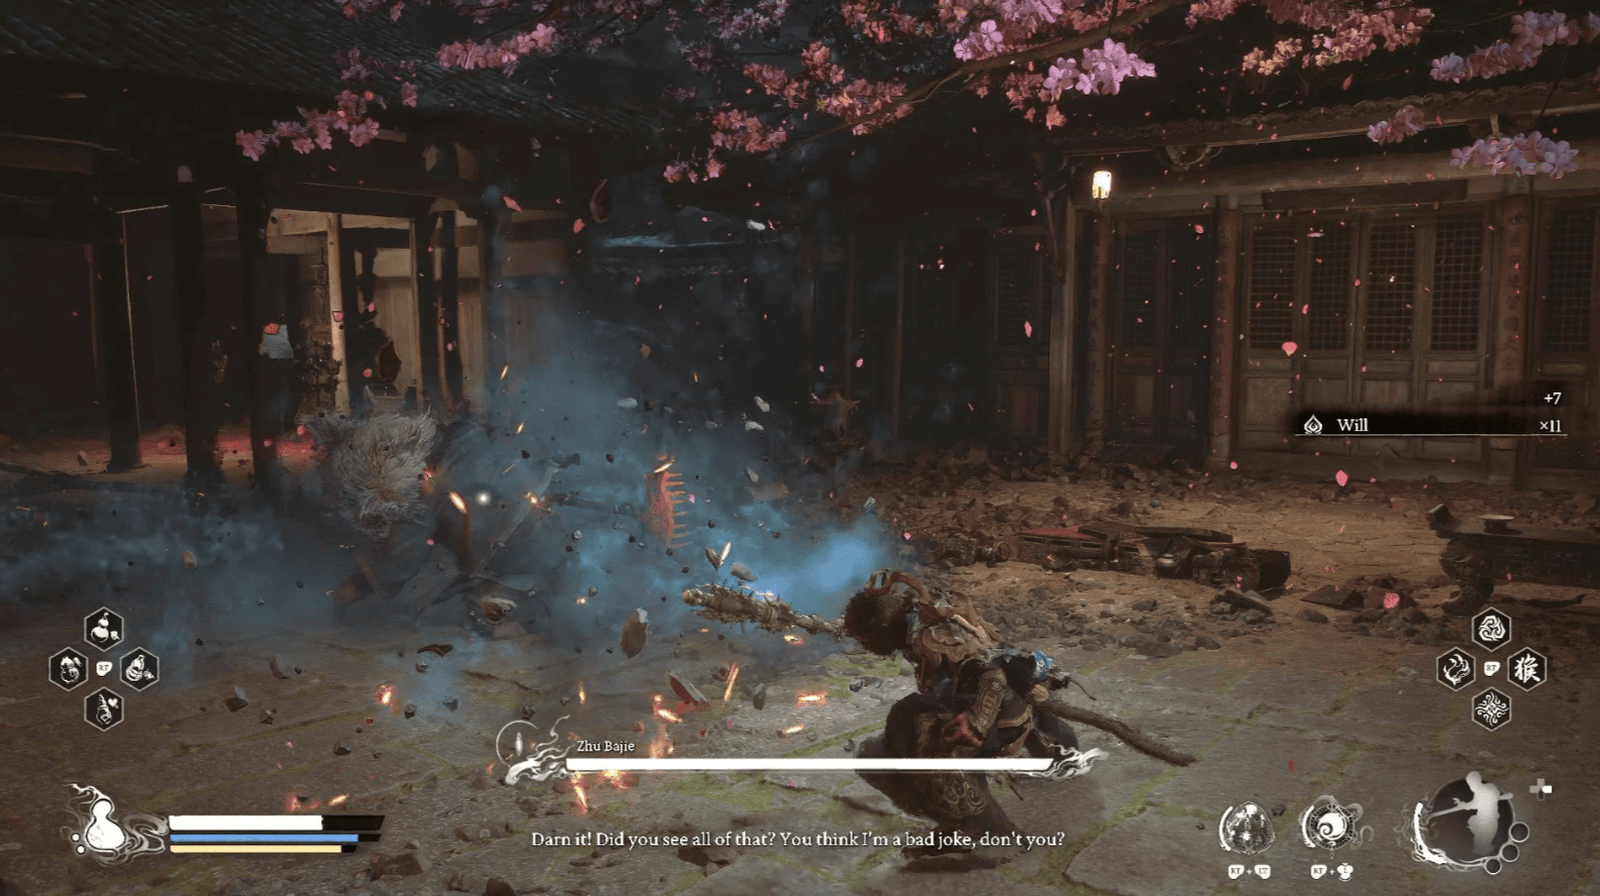
Zhu Bajie, your former comrade on the journey to the west, has now been controlled by the Violet Spider‘s dark magic, becoming a ferocious puppet, ready to attack you. This battle is reminiscent of the times Wukong had to fight Bajie due to misunderstandings, but this time, things are even more dangerous.
Round 1
Zhu Bajie will use his 9-pointed rake as his main weapon. This rake has been enchanted, becoming sharper and able to create fearsome demonic winds.
Be careful with his regular attacks, although slow, they are very powerful. In particular, when the rake emits a red glow, it is a sign of enhanced attacks that can knock you into the air.
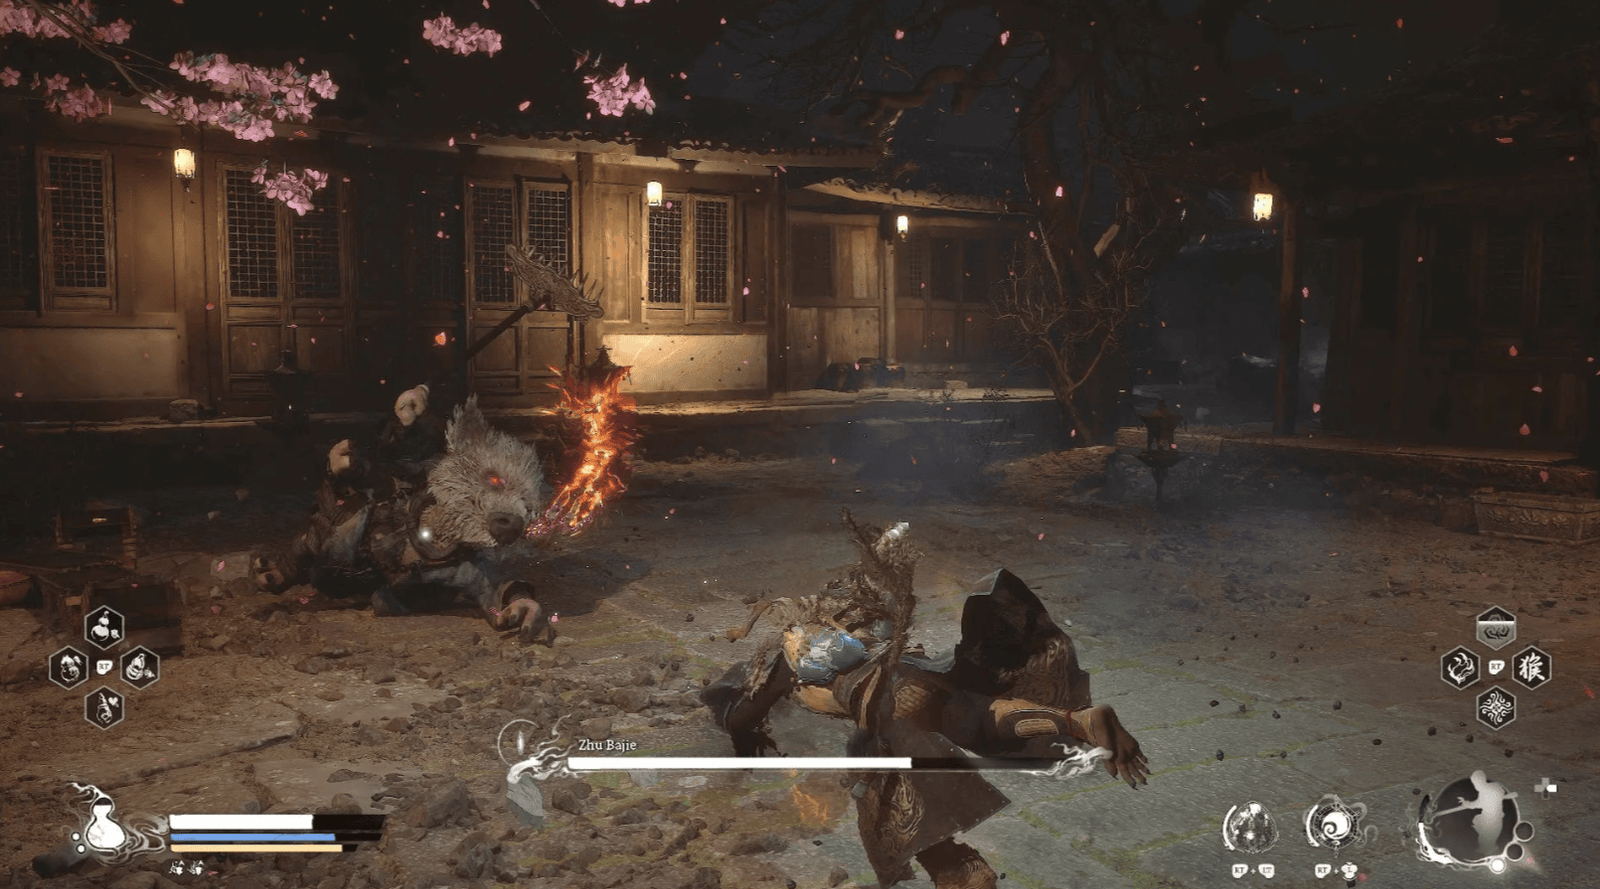
Zhu Bajie has some special attacks:

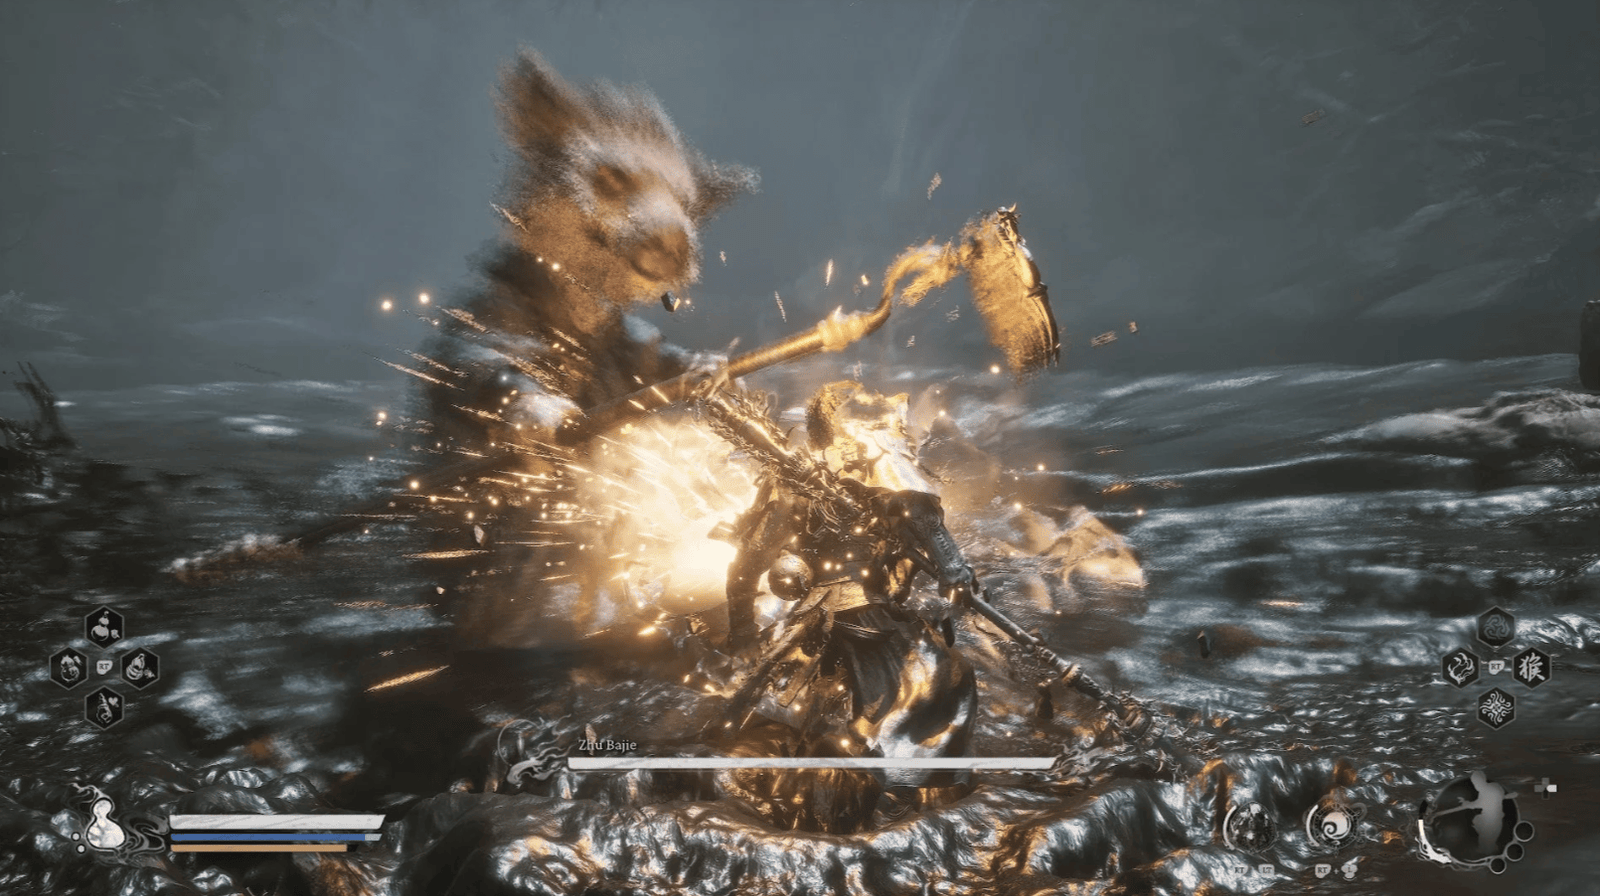
Pogo Stick: He will use the rake as a fulcrum, jump into the air, and then slam down, creating a shockwave.
Tornado: He will spin the rake, creating a tornado that knocks everything around him. Quickly move out of range, or use Cloud Step to dodge.
Take advantage of the moments when Zhu Bajie is stunned after using a skill to attack. Attacking from the sides will be more effective, as he can suddenly charge forward. Use charged attacks and Spirit Attacks to deal heavy damage. Sometimes Zhu Bajie will stop to spit, this is also a good time to attack.
After losing the first battle, Zhu Bajie ran away from the gate.
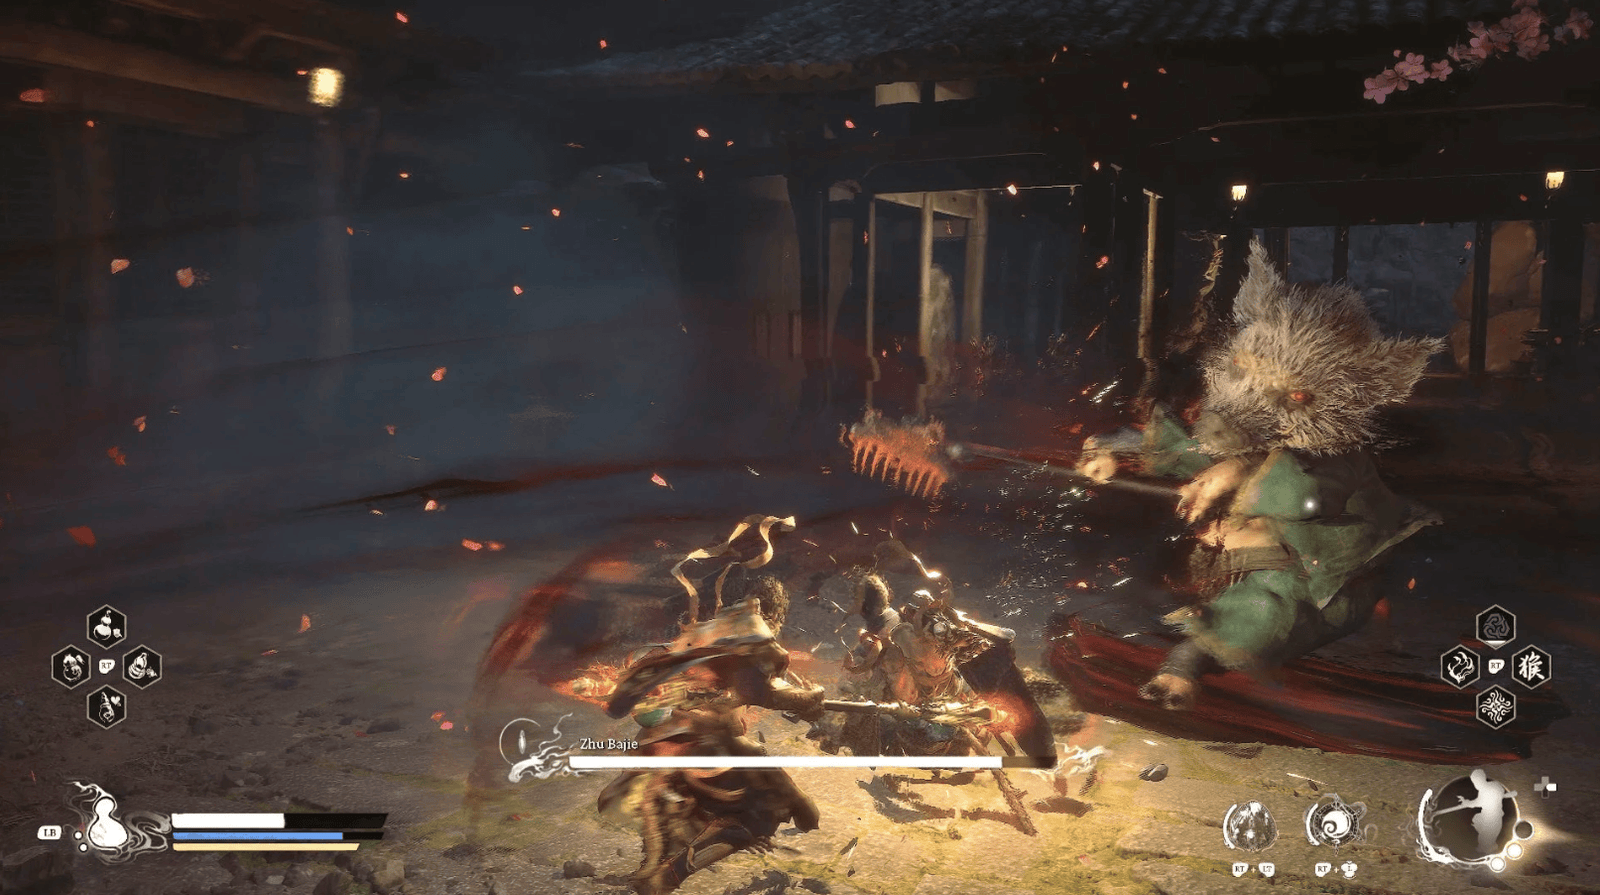
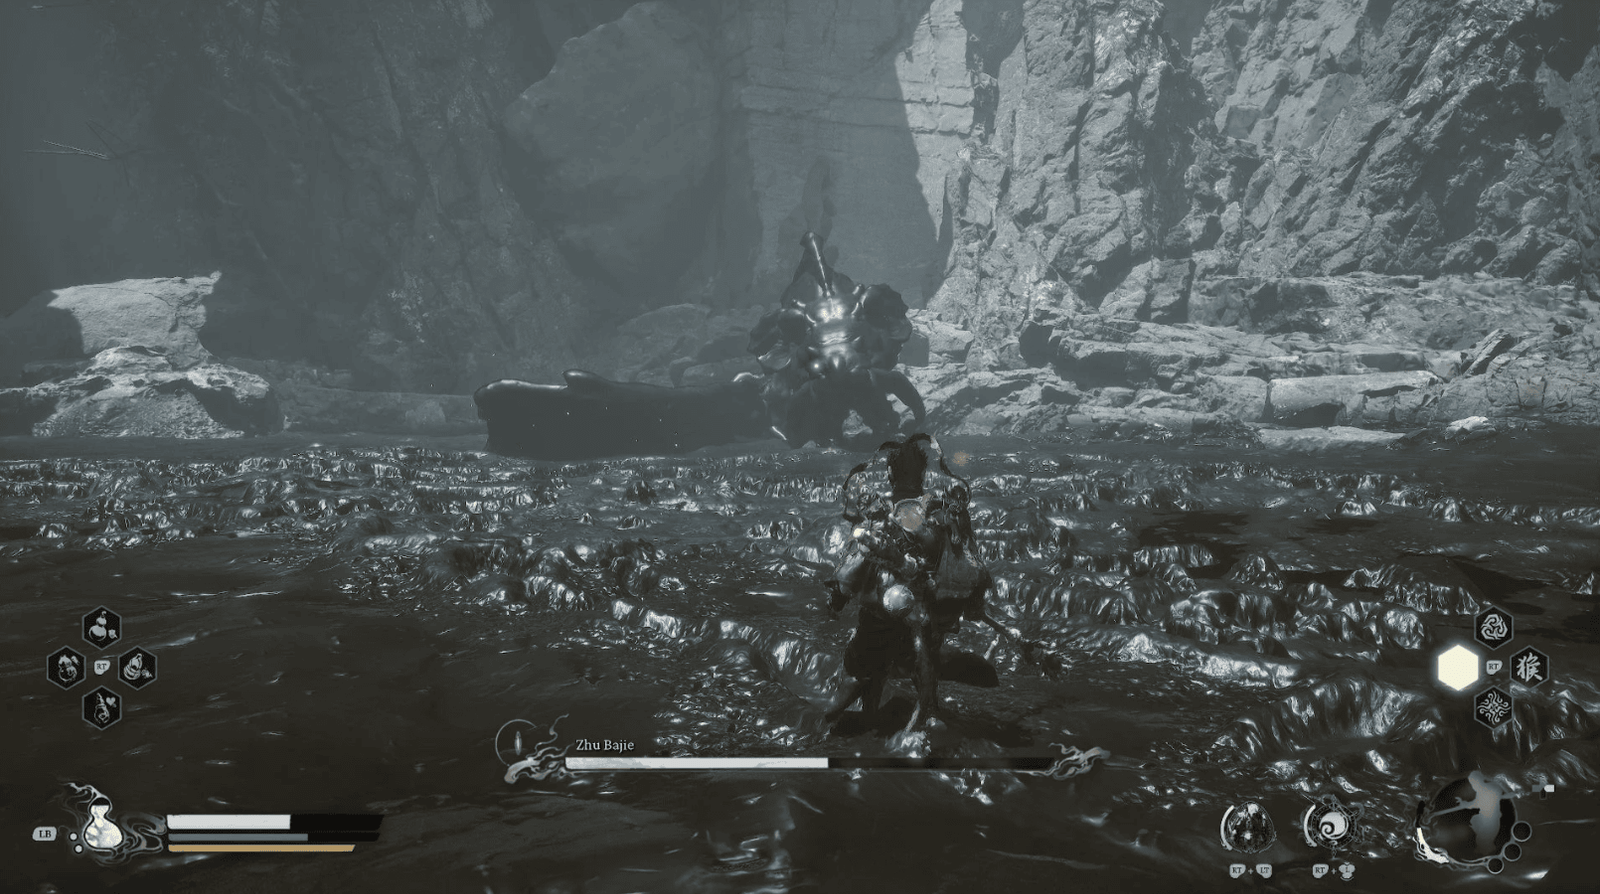
Round 2
After being defeated in the first battle, Zhu Bajie will flee to a mud pit. Here, he will continue to transform and become even more dangerous. The muddy pit scene is reminiscent of the demon swamp in Journey to the West, where Sha Wujing once fought the White Dragon Horse.
This battle will take place in a mud pit, reducing your movement speed and dodging ability. Use skills like Immobilize, Rock Solid, or Cloud Step to counter his attacks.
In some cases, sprinting will be more effective than dodging in this mud pit. Zhu Bajie will have two main forms of transformation: Carp and Boar. When transformed into a Carp, he will roll around, ramming into you.
When transformed into a Boar, he will charge straight ahead at high speed, or stomp the ground, creating columns of mud that shoot up.
Zhu Bajie has a continuous transformation sequence: Carp -> Rhino -> Carp -> Mud Glob. This is when he is most dangerous.
When he transforms into a Carp and jumps up, use Pillar Stance to defend.
When he transforms into a Rhino, he will summon two other rhino illusions, charging towards you together. Focus on dodging, as it is very difficult to block this attack.
After that, he will transform into a Carp again, then turn into a Mud Glob that flies towards you.
Finally, he will return to Boar form and be stunned for a moment. This is the best time to attack.
Defeating Zhu Bajie after two arduous battles, you will free him from the dark spell and receive the Blood-Stained Needle and the Jade Moon Rabbit Curio (an item that increases defense).
The Purifying Spring
After rescuing Zhu Bajie, a new path will open, leading you to The Purifying Spring, a sacred spring with the ability to cleanse evil aura. The scenery here is different from the darkness of Lower Hollow, soft light filtering through the trees, bringing a rare sense of peace. This stream is like the Tongtian River in Journey to the West, where the boundary between good and evil becomes fragile.
From the mud pit where the battle with Zhu Bajie took place, find a cave entrance in the distance. This path will lead you to The Purifying Spring Shrine.
Right next to the cave entrance, you will find a Treasure Chest filled with useful items.
Activate the Shrine to save the game and recover. You can also craft the new Non-Pure Armor Set, which has good poison resistance, very useful in this area.
Out of the cave, you will see a Green Wisp floating above, collect it.
Go down the slope, you will come to a large valley with The Purifying Spring flowing through the middle. Be careful, this area has many hidden Skeletal Snakes.
Go to the far side of the stream, where a Lantern Holder is patrolling. Take him down, then follow the path on the left leading up to a high ledge, where a Dragonfly Guai is guarding.
However, don’t attack the Dragonfly Guai yet. Look to the left, you will see a small narrow path leading to a niche. Follow this path, you will find a Buddha statue, and on the head of the statue is the mysterious mouse that you have met many times before. Interact with the statue, you will collect Skandha: The Skandha of Choice, one of the five aggregates needed to complete a great secret.
Return to the main path, take down the Dragonfly Guai (which has been empowered by a Spirit). Then, follow the path, you will encounter a Grasshopper Guai and finally a Scorpion Prince along with a few Skeletal Snakes. Be careful, this is a rather difficult battle.
The Gathering Cave
The Gathering Cave is the lair of the Violet Spider, where she is holding the Sage’s Relic and plotting to dominate Webbed Hollow. This is a large cave, with countless cobwebs, creating a creepy and mysterious scene, just like the Spider Cave of old. The atmosphere here is thick with demonic aura, signaling the final, arduous battle.
From The Purifying Spring area, follow the path leading up. You will see a Green Wisp on the left, collect it. Be careful, nearby a Fungiman is hiding in the mushrooms.
Continue up, you will come to a fork in the road. Turn left, you will see a sloping path leading up to a plateau.
On the plateau, you will find the final Shrine in the Webbed Hollow area. Activate it, this is the last chance for you to prepare before facing the Violet Spider.
Check your equipment, items, and skills. Make sure you have enough Antimiasma Pills and equip items with the best poison resistance.
When you are ready, enter the large cave in front of you.
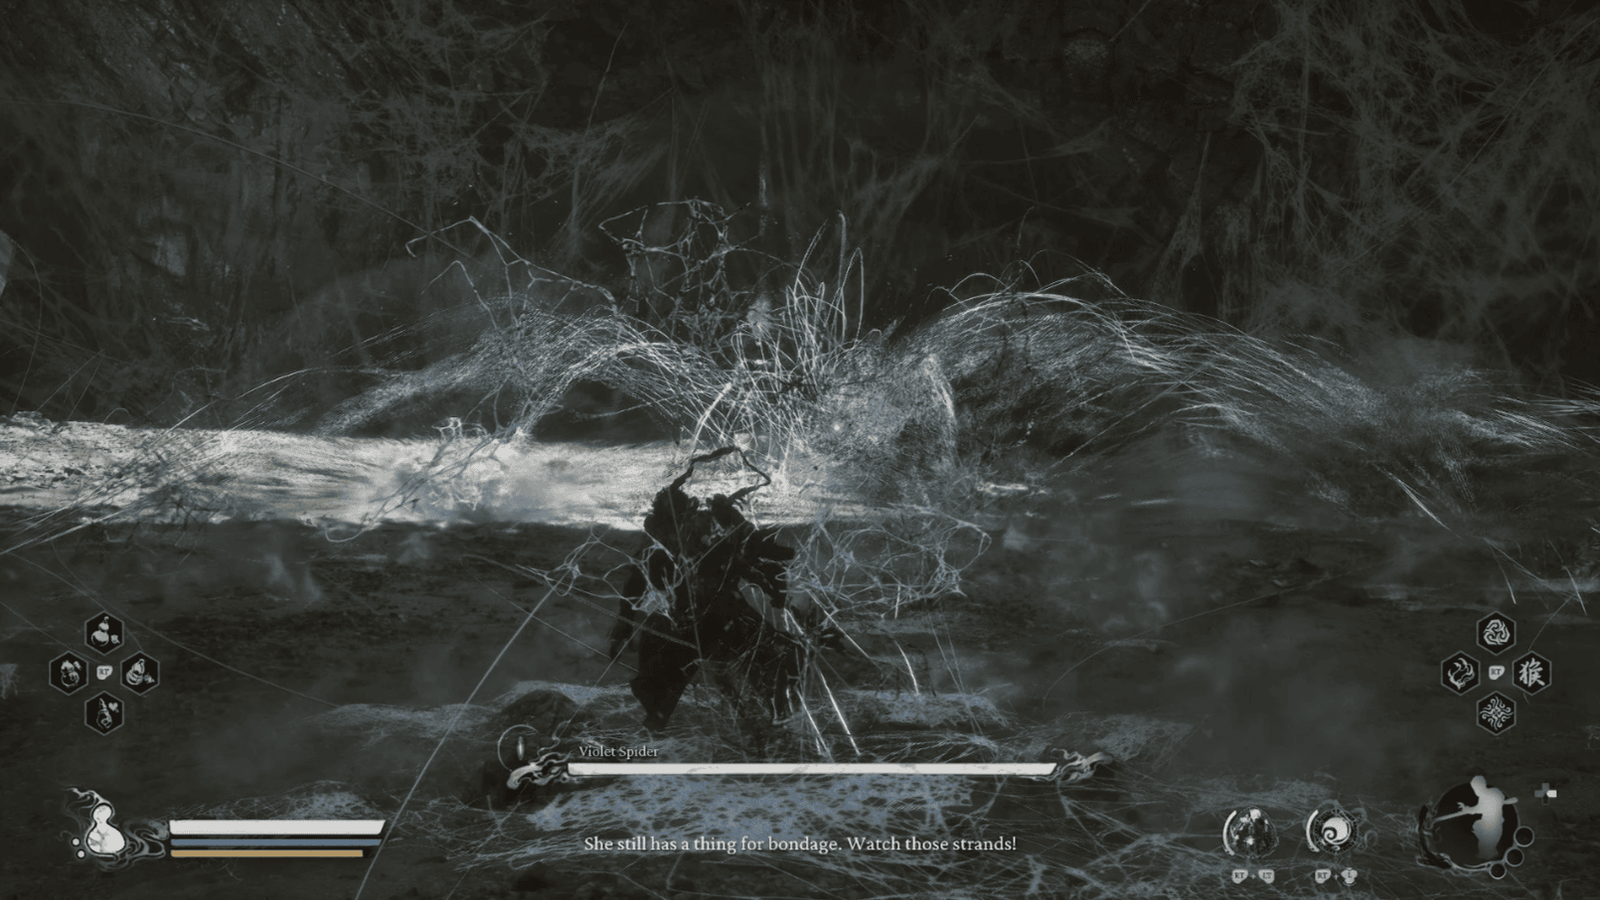
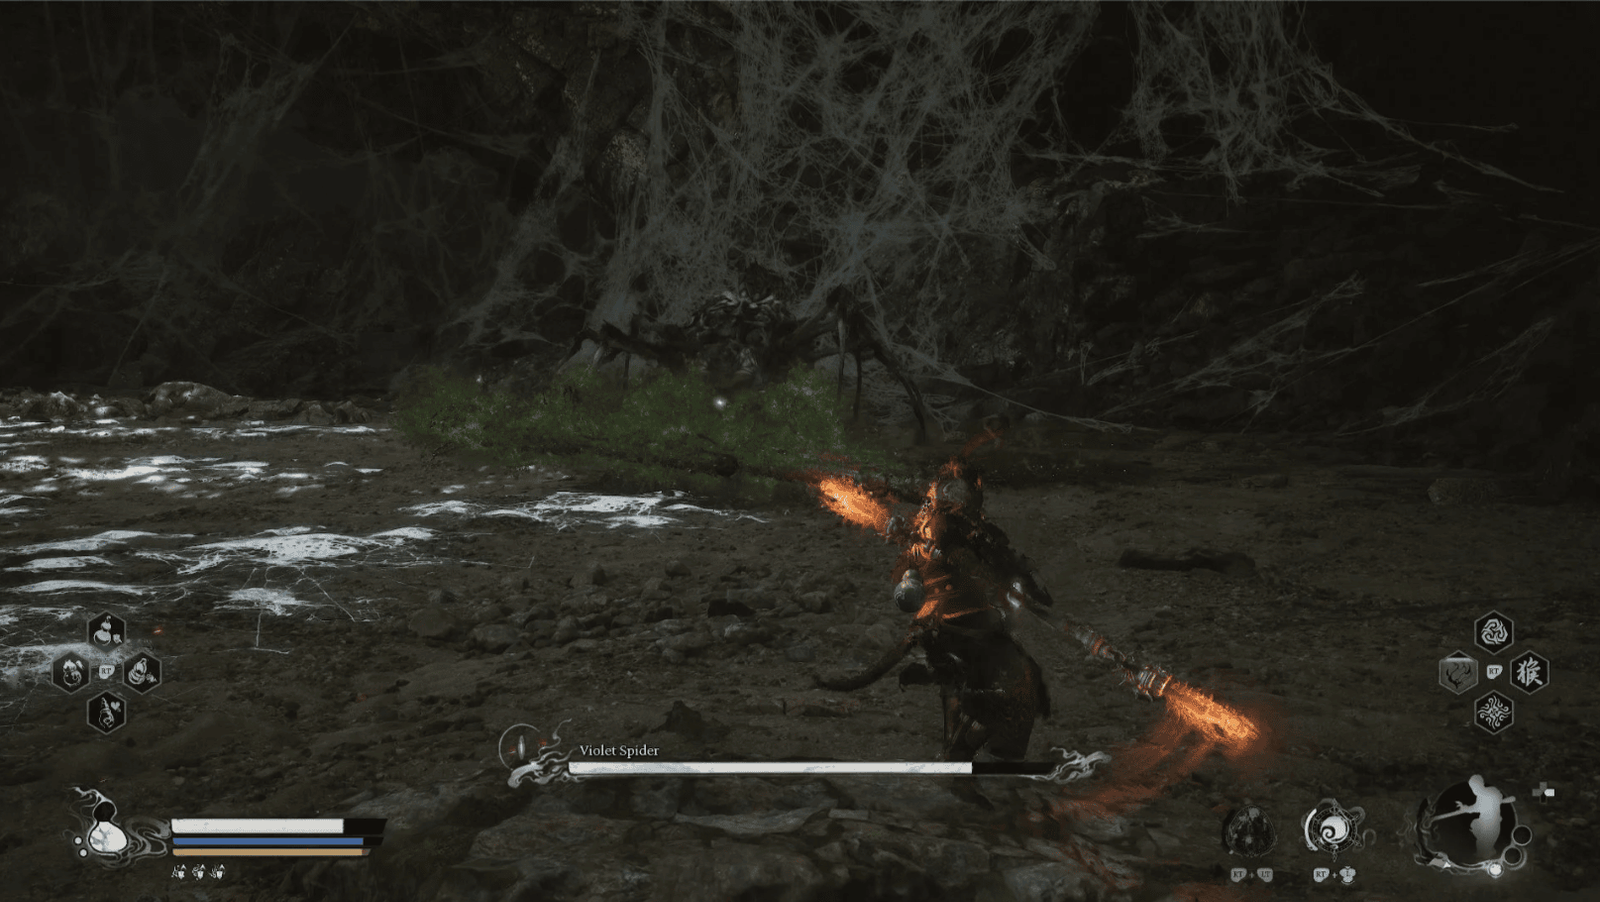
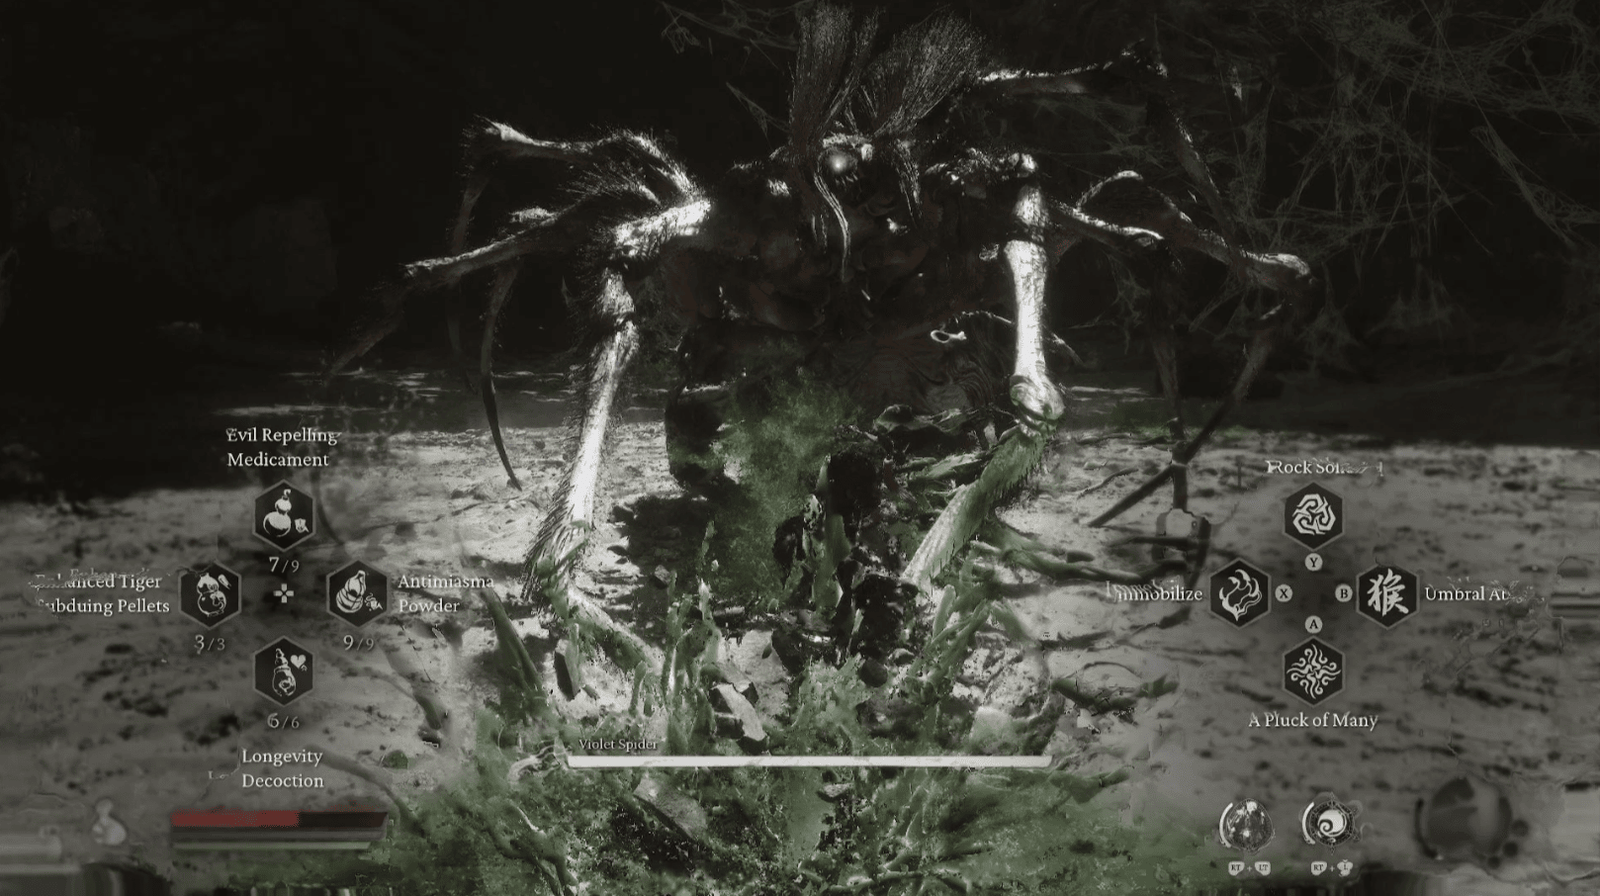
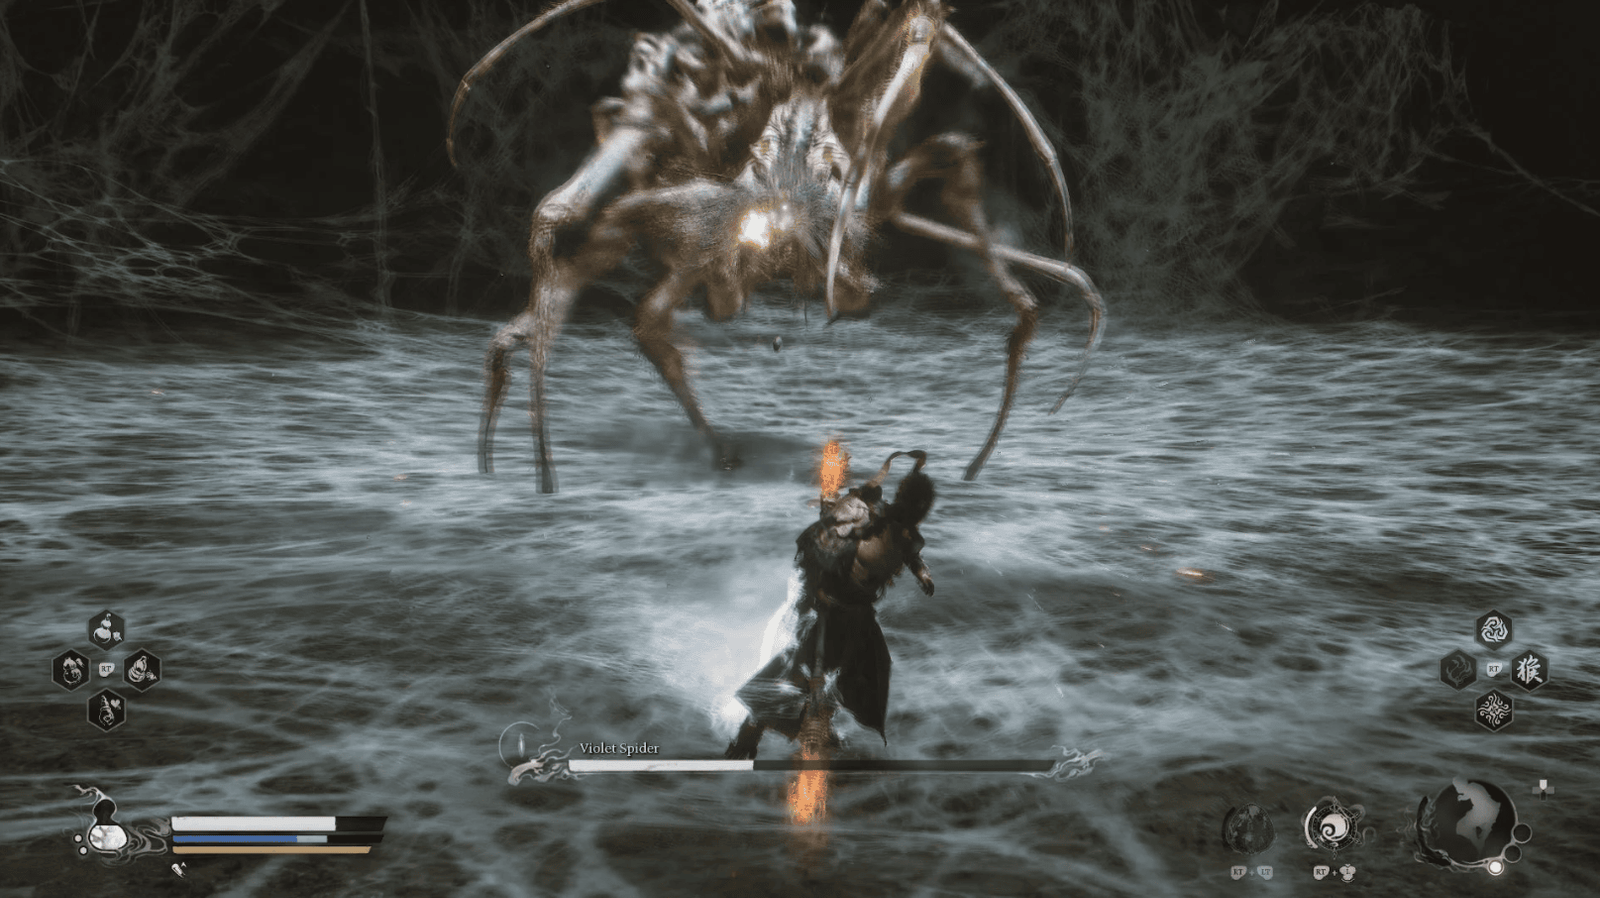
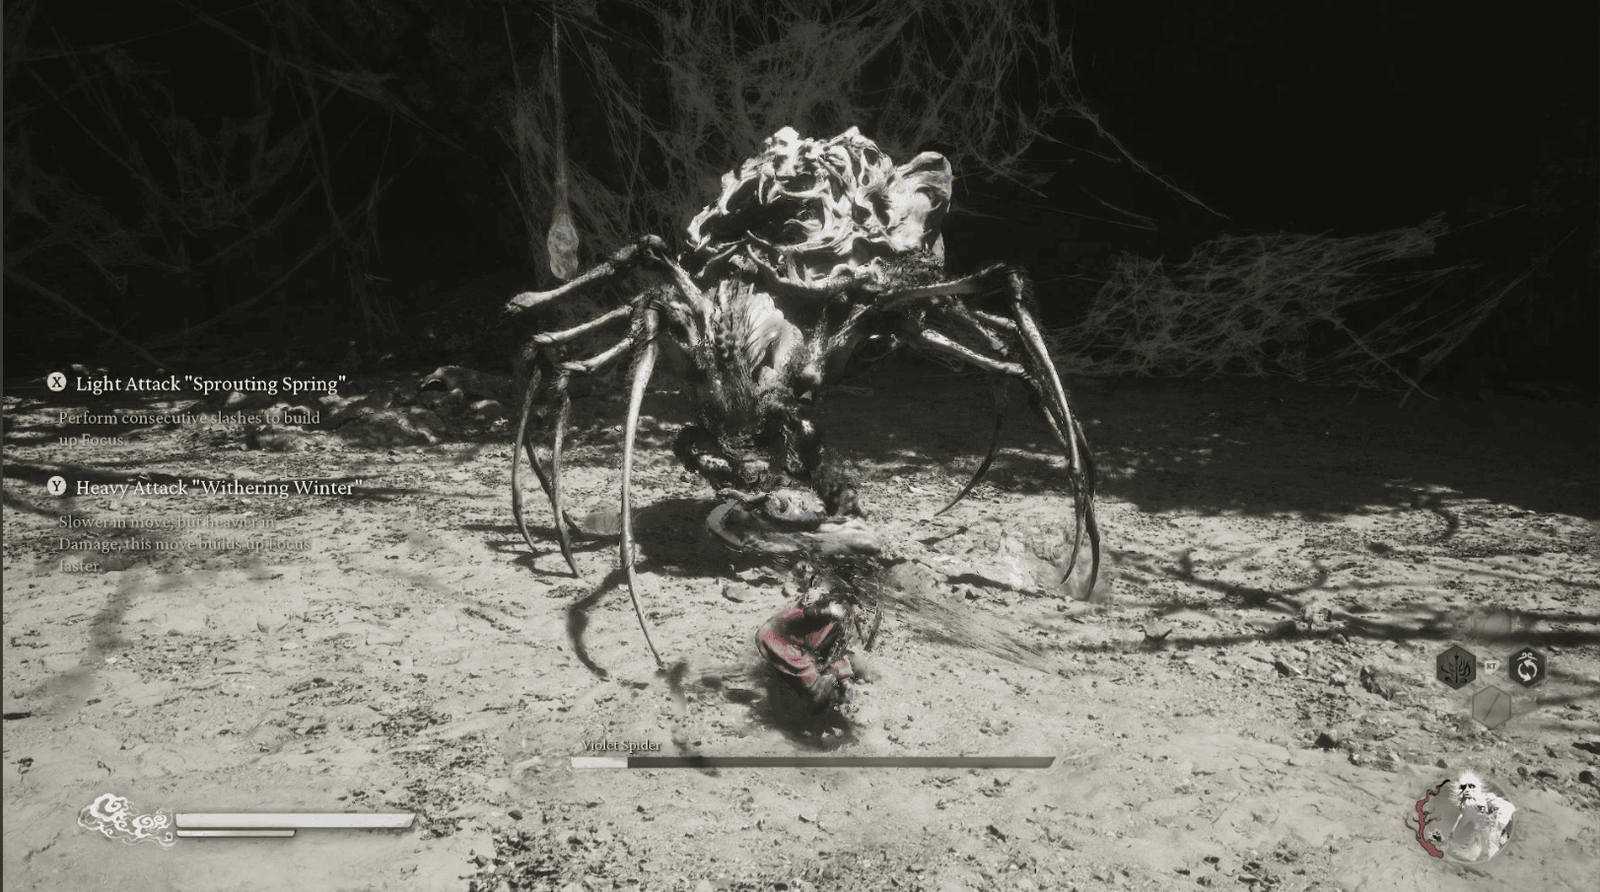
Violet Spider Boss Fight
Yaoguai Queen – Violet Spider is a giant spider, the ruler of Webbed Hollow, and the final enemy you must face in this area. She is one of the seven spider demons who imprisoned Tang Sanzang in the Spider Cave. This battle is reminiscent of the battle of old, but with a much higher level of danger. Violet Spider not only possesses superior physical strength but also has the ability to spit deadly webs and poison.
Violet Spider will begin the battle by spitting a series of webs at you. Be careful, these webs not only cause damage but also slow down your movement. Use staff spin to deflect the webs, or dodge them. Watch out for the puddles of webs on the floor, they will slow you down.
After that, she will spit poison projectiles. These projectiles are homing, be careful to dodge, or use staff spin to deflect them.
Violet Spider possesses extremely powerful attacks with her talon-like appendages, similar to The Second Sister. Pay attention to how she moves, when she raises her leg, be prepared to dodge the upcoming attack.
She can also leap slam, creating a shockwave. Dodge this attack, or use Rock Solid to withstand it.
Violet Spider can spit a powerful stream of poison directly in front of her. Be careful, if hit, you will be poisoned and continuously lose health.
Sometimes, she will turn around and attack with her rear slam, knocking you into the air. Be prepared for this surprise attack.
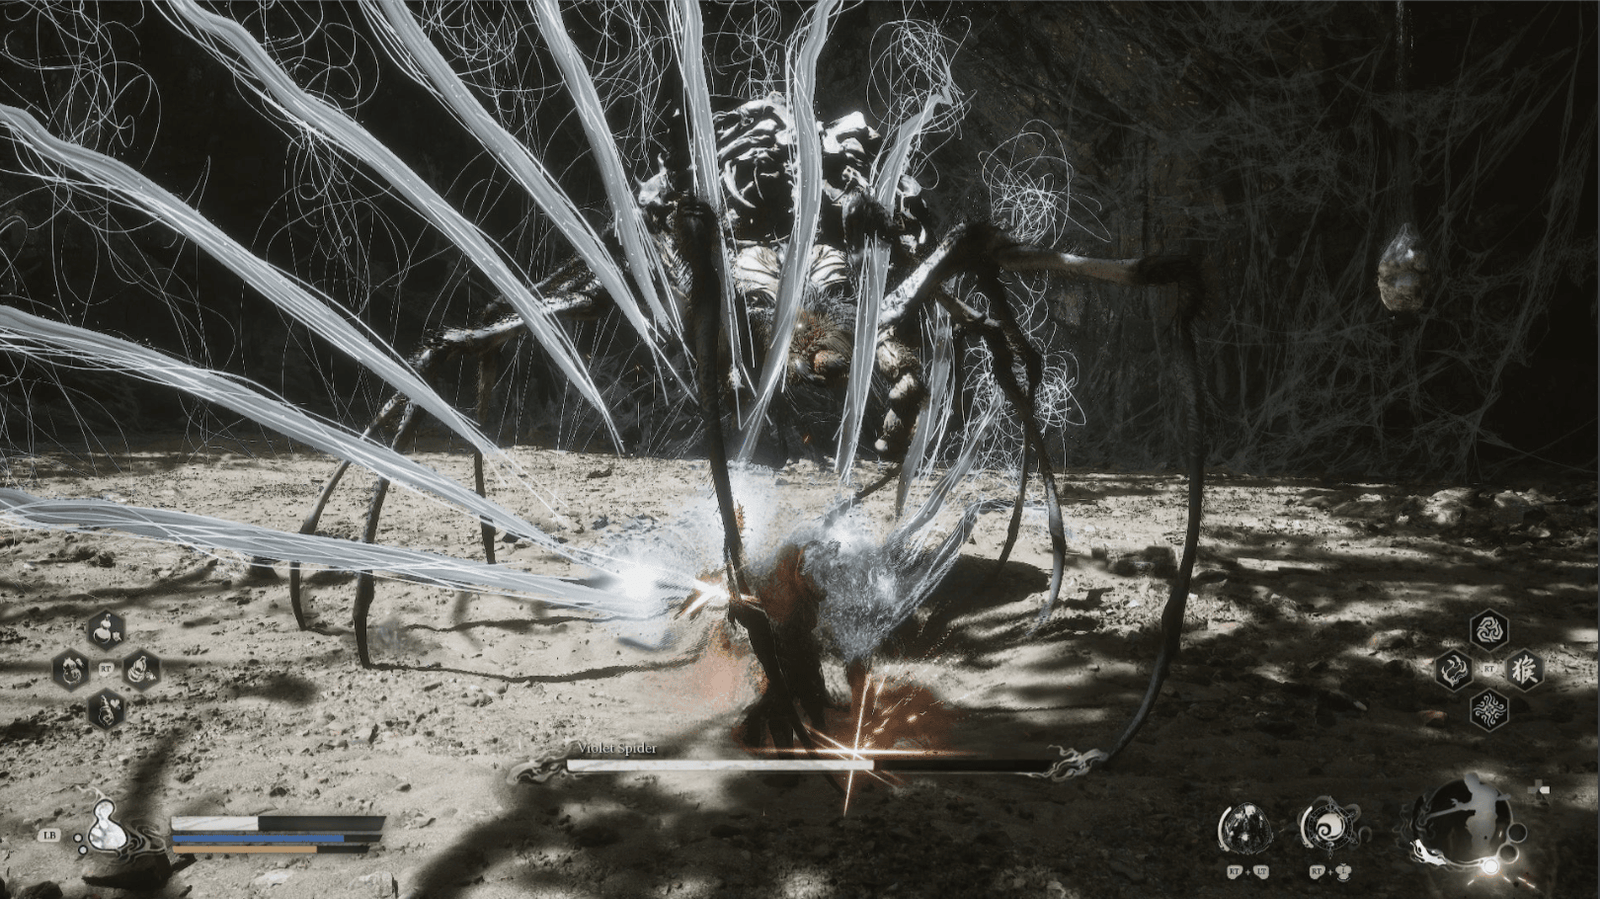
Violet Spider can summon webbing strands from her back, floating in the air and chasing you. These strands not only cause damage but can also bind you, making you an easy target for subsequent attacks. Use staff spin to destroy these strands.
When Violet Spider is low on health, she will burrow underground and prepare to unleash a powerful poison explosion. Quickly move away, or use Pillar Stance to withstand it.
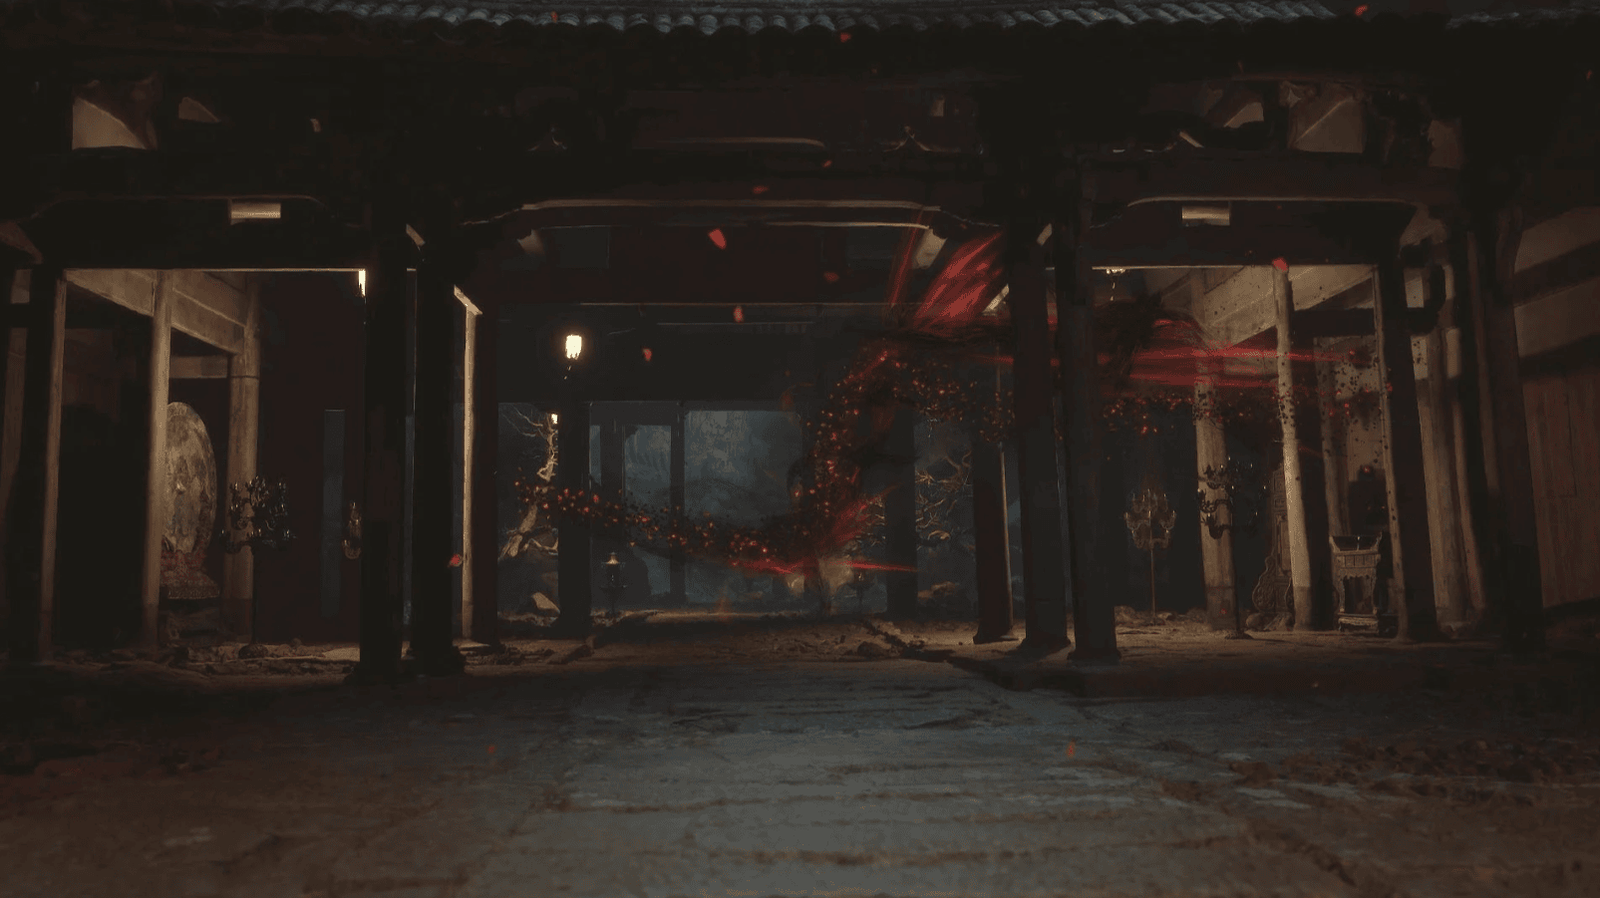
After that, Violet Spider‘s eyes will glow, signaling that she has entered the most dangerous phase. She will cast an illusion, taking you into an illusory realm, a virtual space created from spider silk. In this realm, you will move slower and be more vulnerable.
Use Immobilize to slow down the Violet Spider, or use a Transformation Spell to change to another form, helping you survive this phase. Defeating the Violet Spider, you will liberate Webbed Hollow from her tyranny and collect well-deserved rewards. Quickly leave The Gathering Cave, as her spiderlings will soon give chase. A new path will open, leading you to the Temple of Yellow Flowers.