
This guide will delve into every detail, every small area, ensuring you don’t miss anything. Pay special attention to the tough enemies, the sophisticated traps, and especially the task of collecting Rice Cocoons, an important item for a side quest later. Also, remember to look out for Green Wisps to recover, they are very useful.
Revival Point
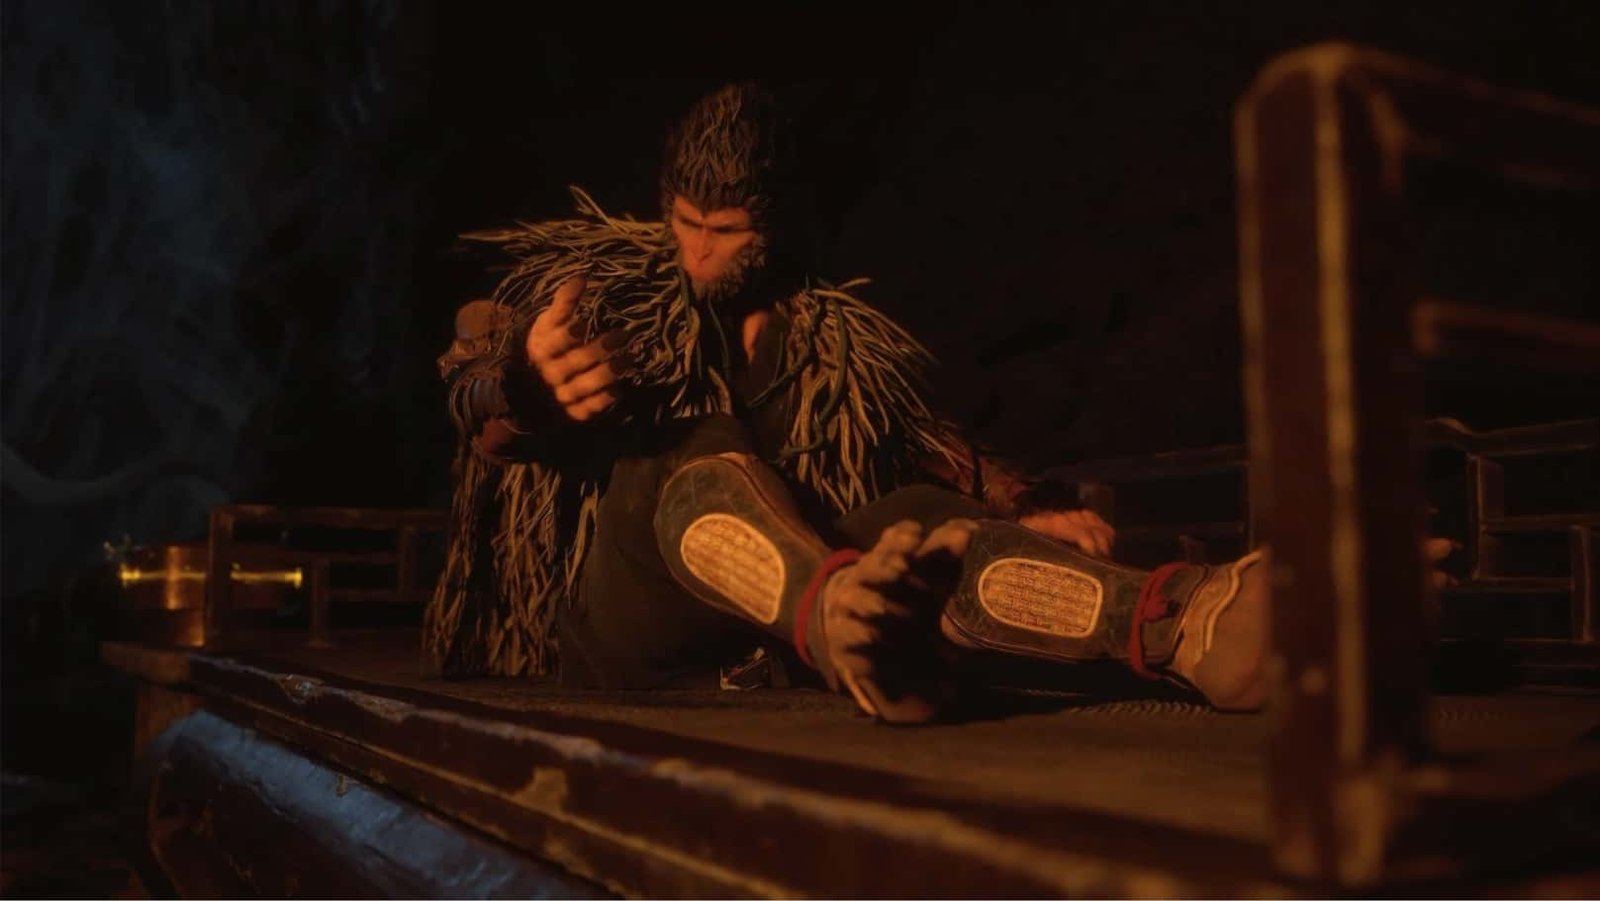
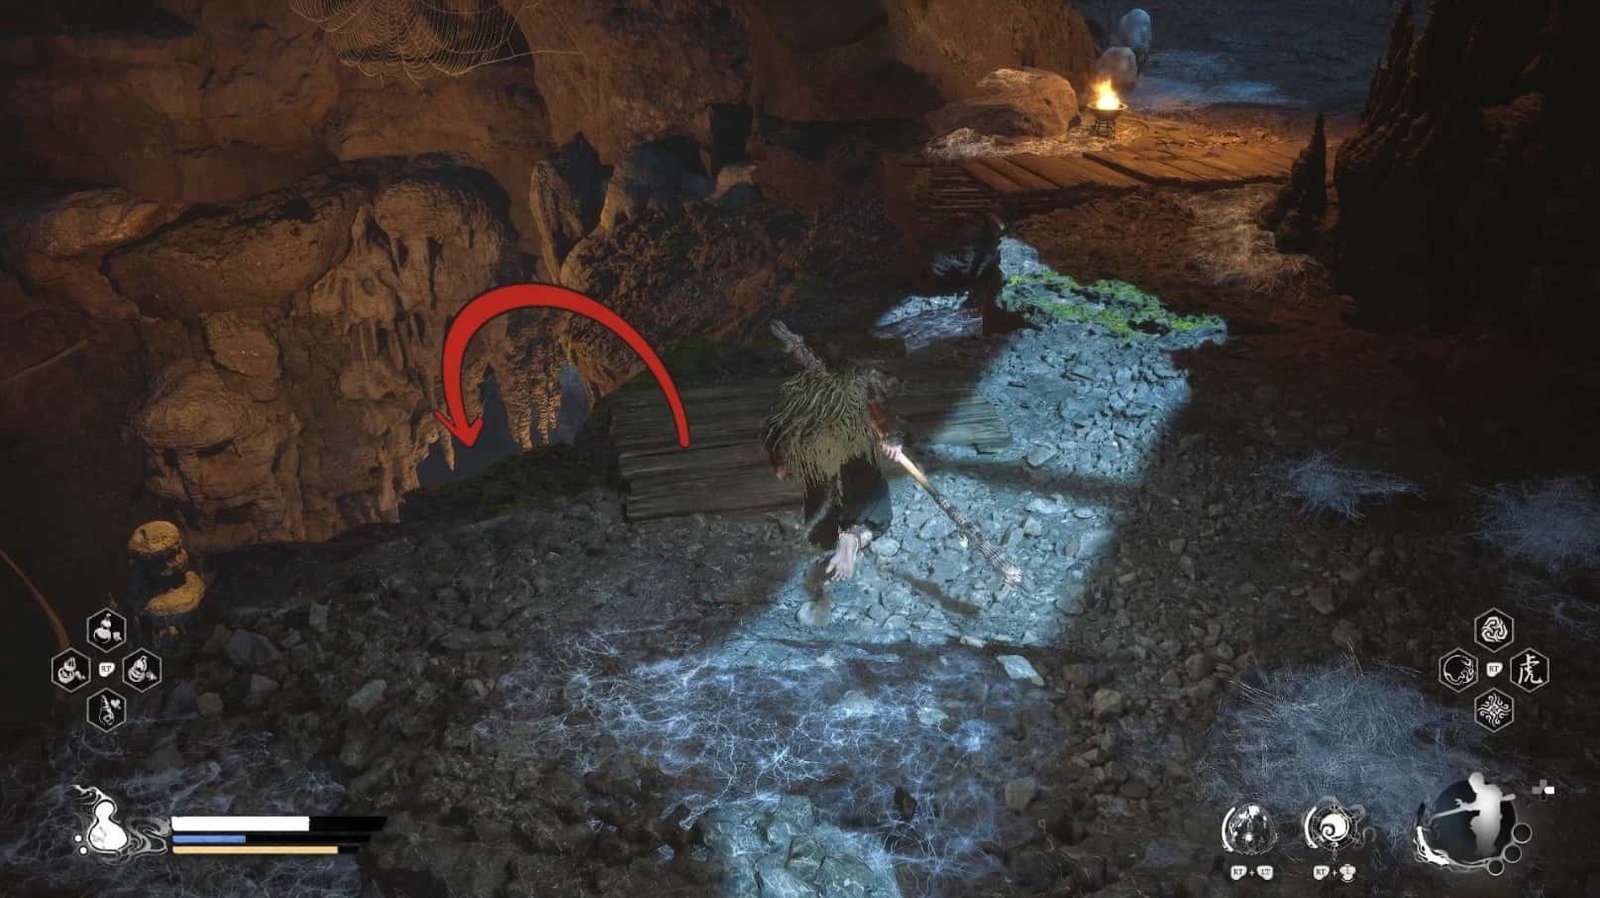
After an unexpected “rest”, you will wake up on a comfortable bed – a rare sight in Black Myth: Wukong. Don’t celebrate yet, this is just the starting point for a dangerous area.
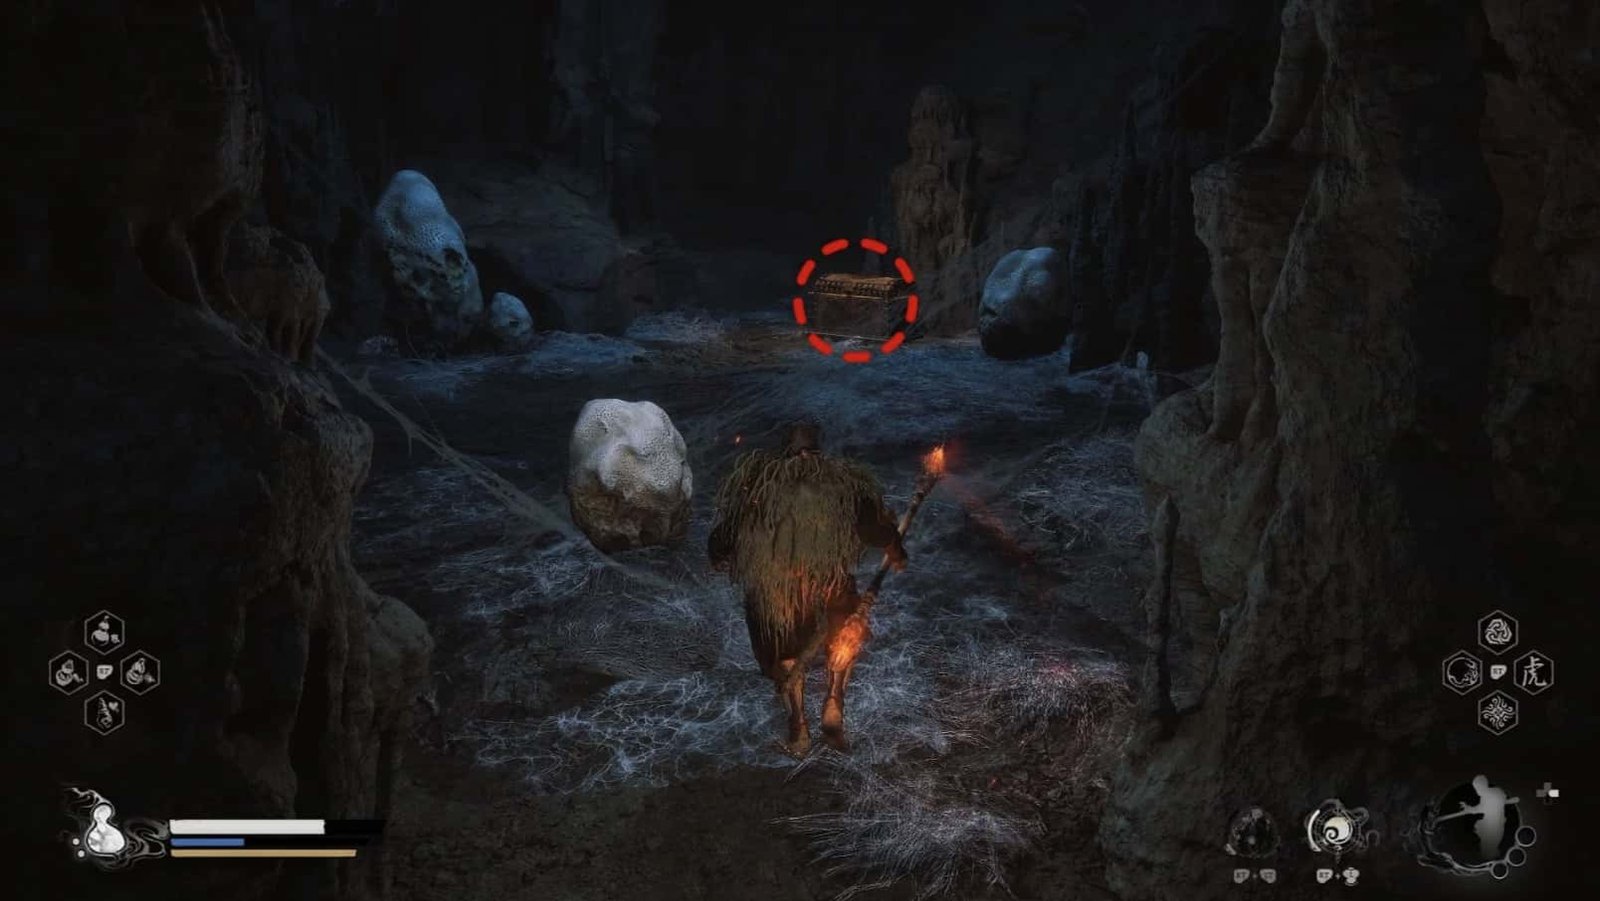
Right next to the bed, you will see a shimmering golden Treasure Chest. Opening it, you will receive 3 Antimiasma Powder and 1 Longevity Decoction. These are extremely useful items for this poison-infested area.
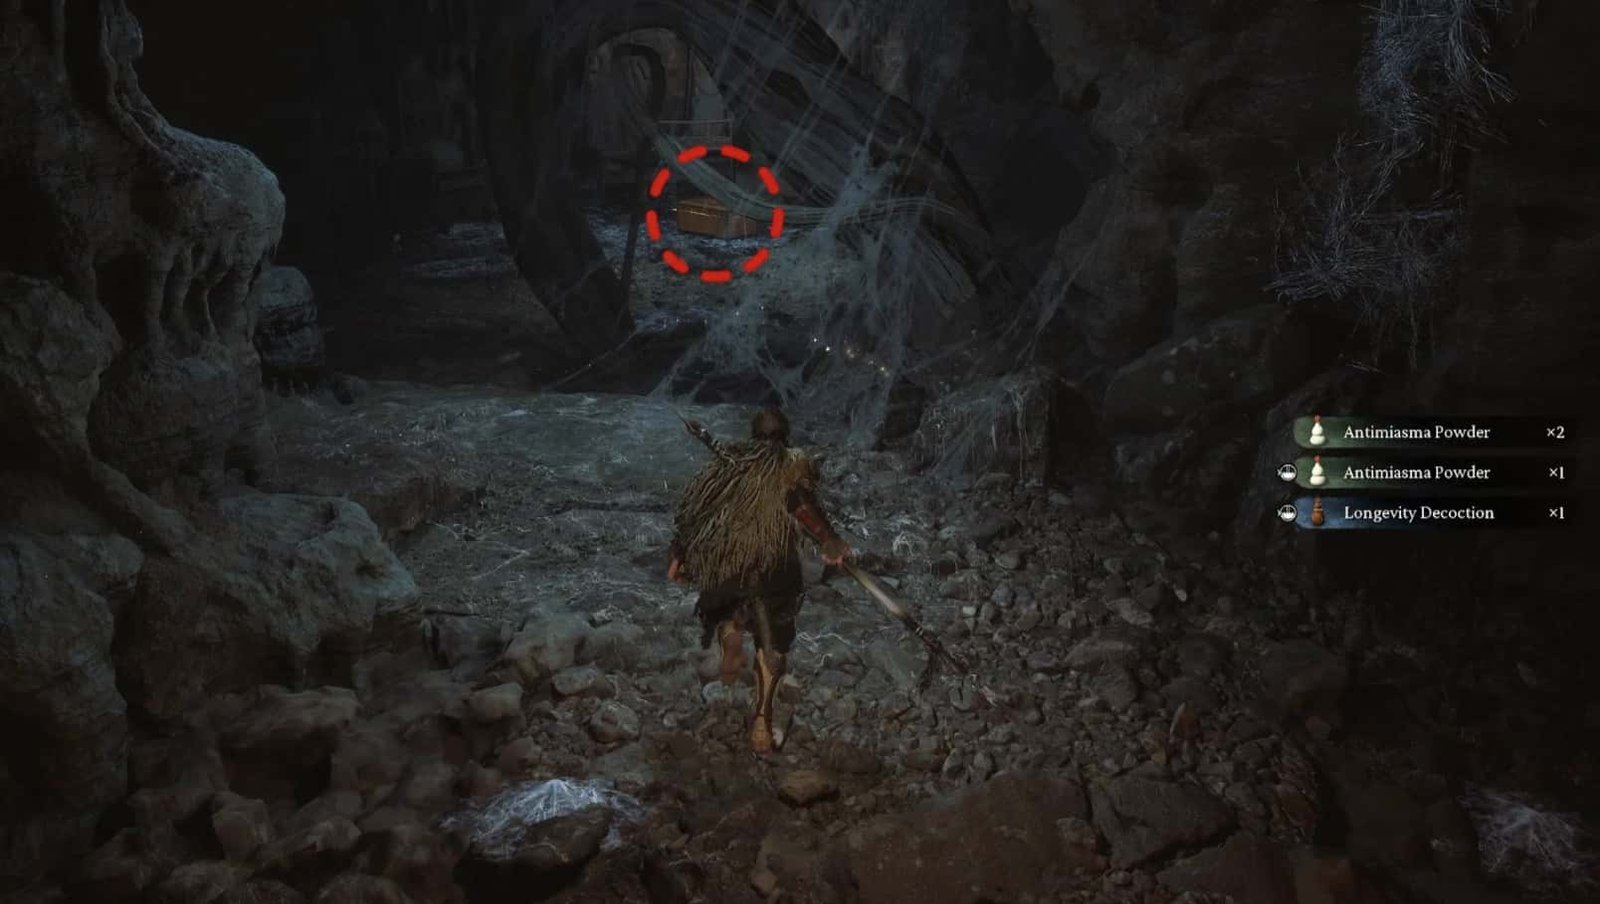
But wait, don’t leave yet! Look to the left of the bed, follow the small path behind the previous treasure chest. You will find a larger Treasure Chest that is quite well hidden. Inside this treasure chest is the Cuo Jin-Yin Belt Hook Curio – a treasure (Curio) that significantly increases poison resistance. Equip this item immediately, it will save you many times!
So that’s it for the respawn area, although small, it contains extremely important items. Remember the location of these two chests, especially the Cuo Jin-Yin Belt Hook Curio.
Upper Hollow Shrine
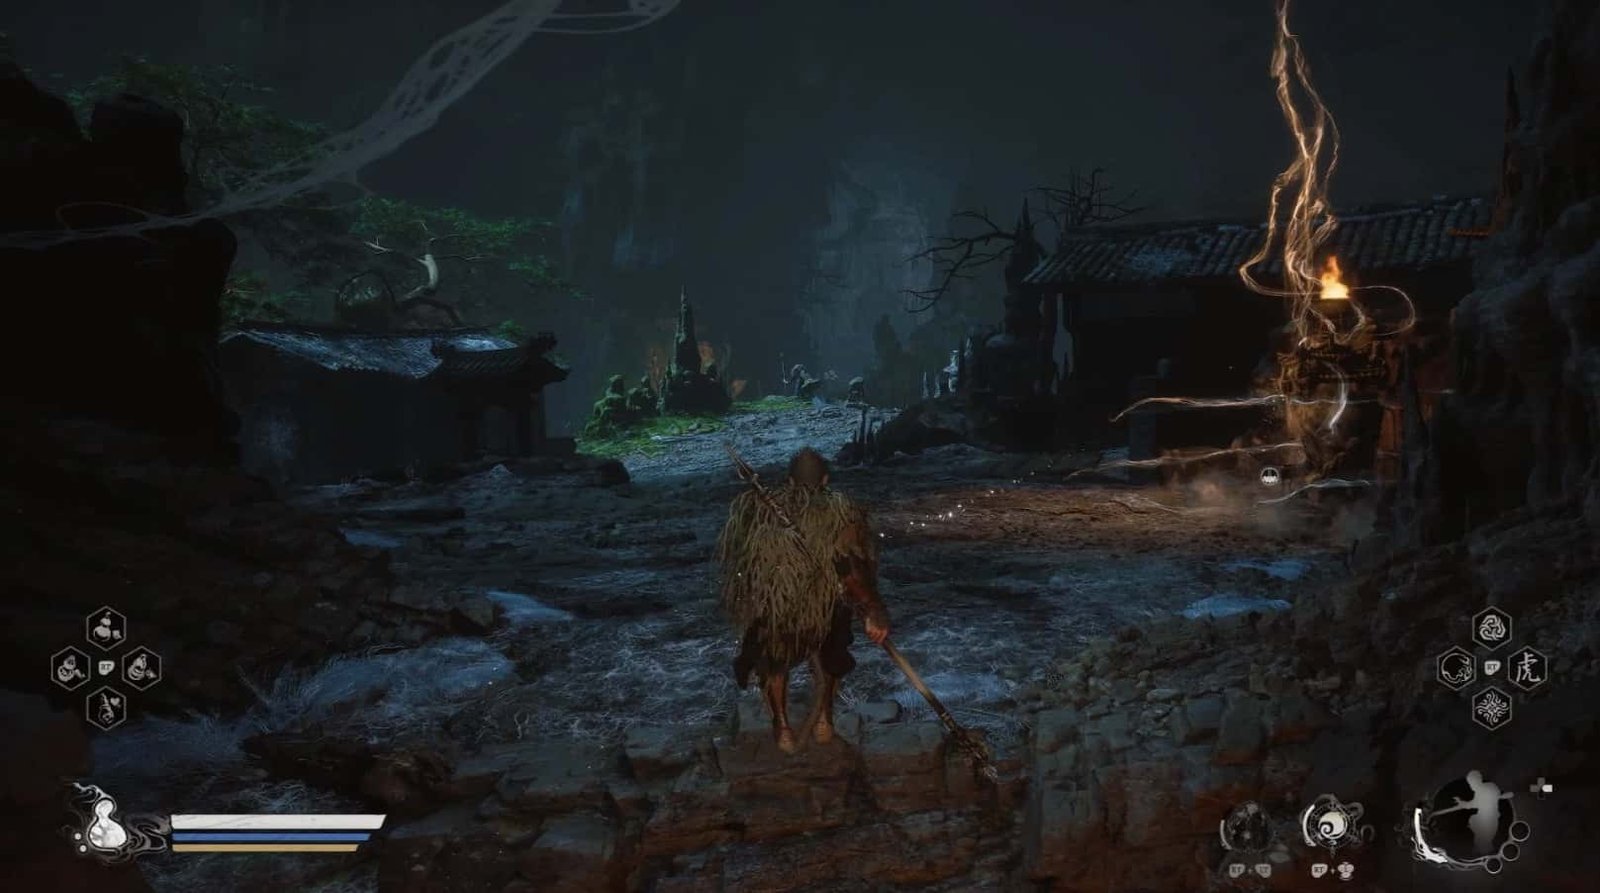
Leaving the respawn area, go up the slope, you will reach the Upper Hollow Shrine (save point). This is an important stop where you can save the game, recover, and upgrade.
Right at the Shrine, take this opportunity to craft the Chitin Staff – a new staff with superior power, crafted from materials obtained from The Second Sister. This staff will be a powerful assistant for you throughout the upcoming journey.
You can return to Zhu Estate in the previous area by using the Shrine to teleport. Here, you will see that the village has changed, and you will have the opportunity to defeat the Lantern Holder to collect the Lantern Holder Spirit – a useful Spirit for your collection.
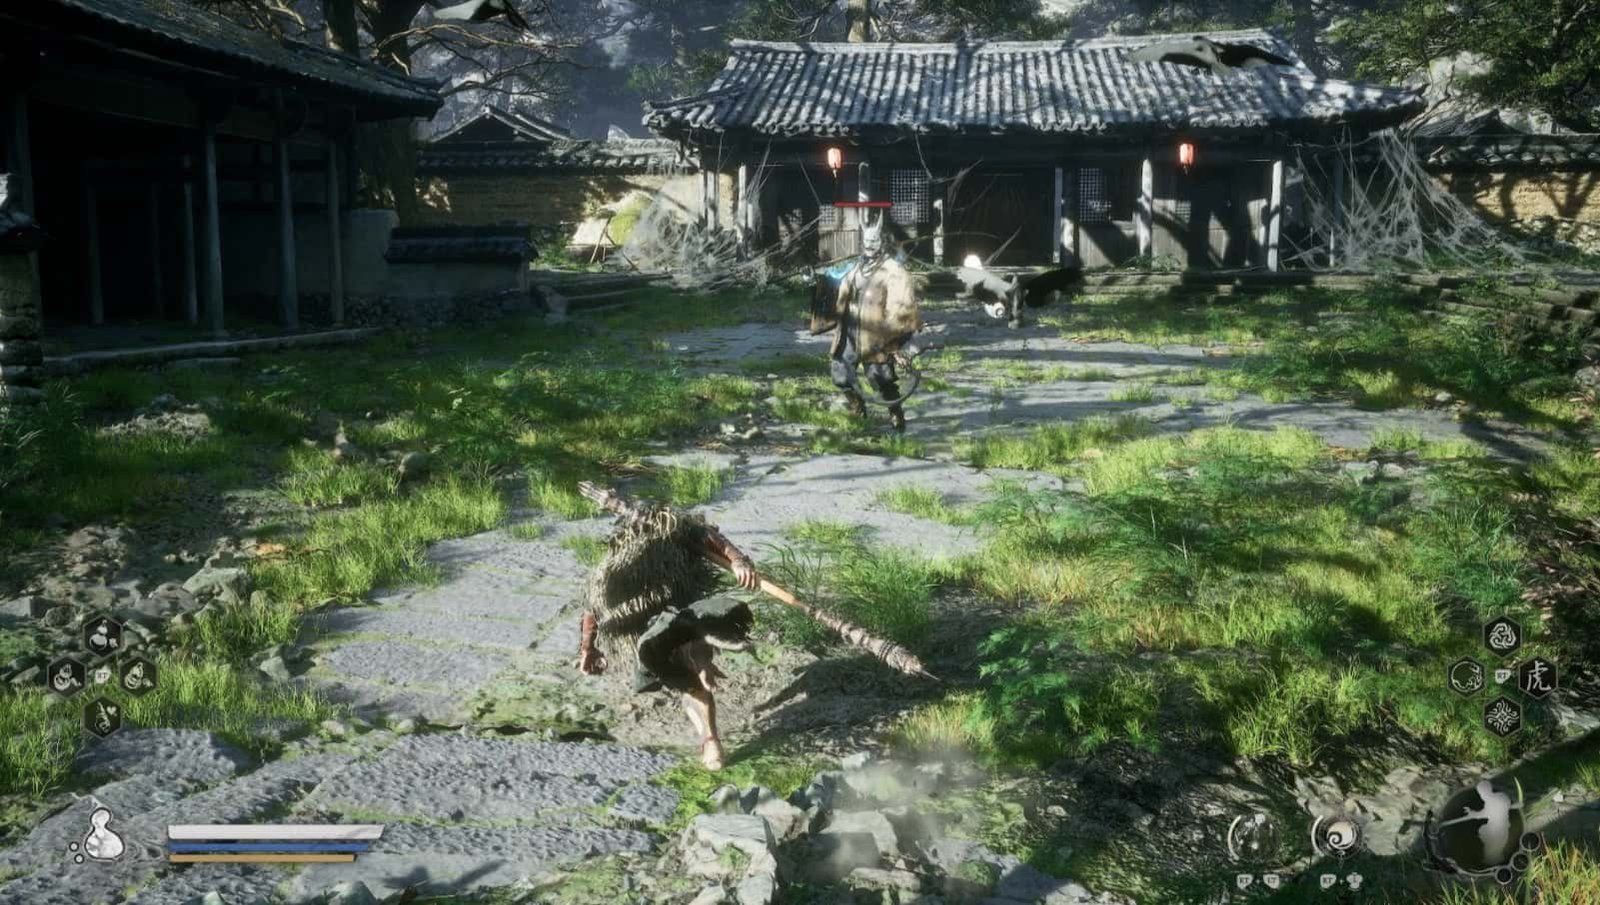
From the Upper Hollow Shrine, we will begin exploring the area on the left first. Go straight ahead, you will see a Puppet Tick roaming near the cliff, behind a few houses.
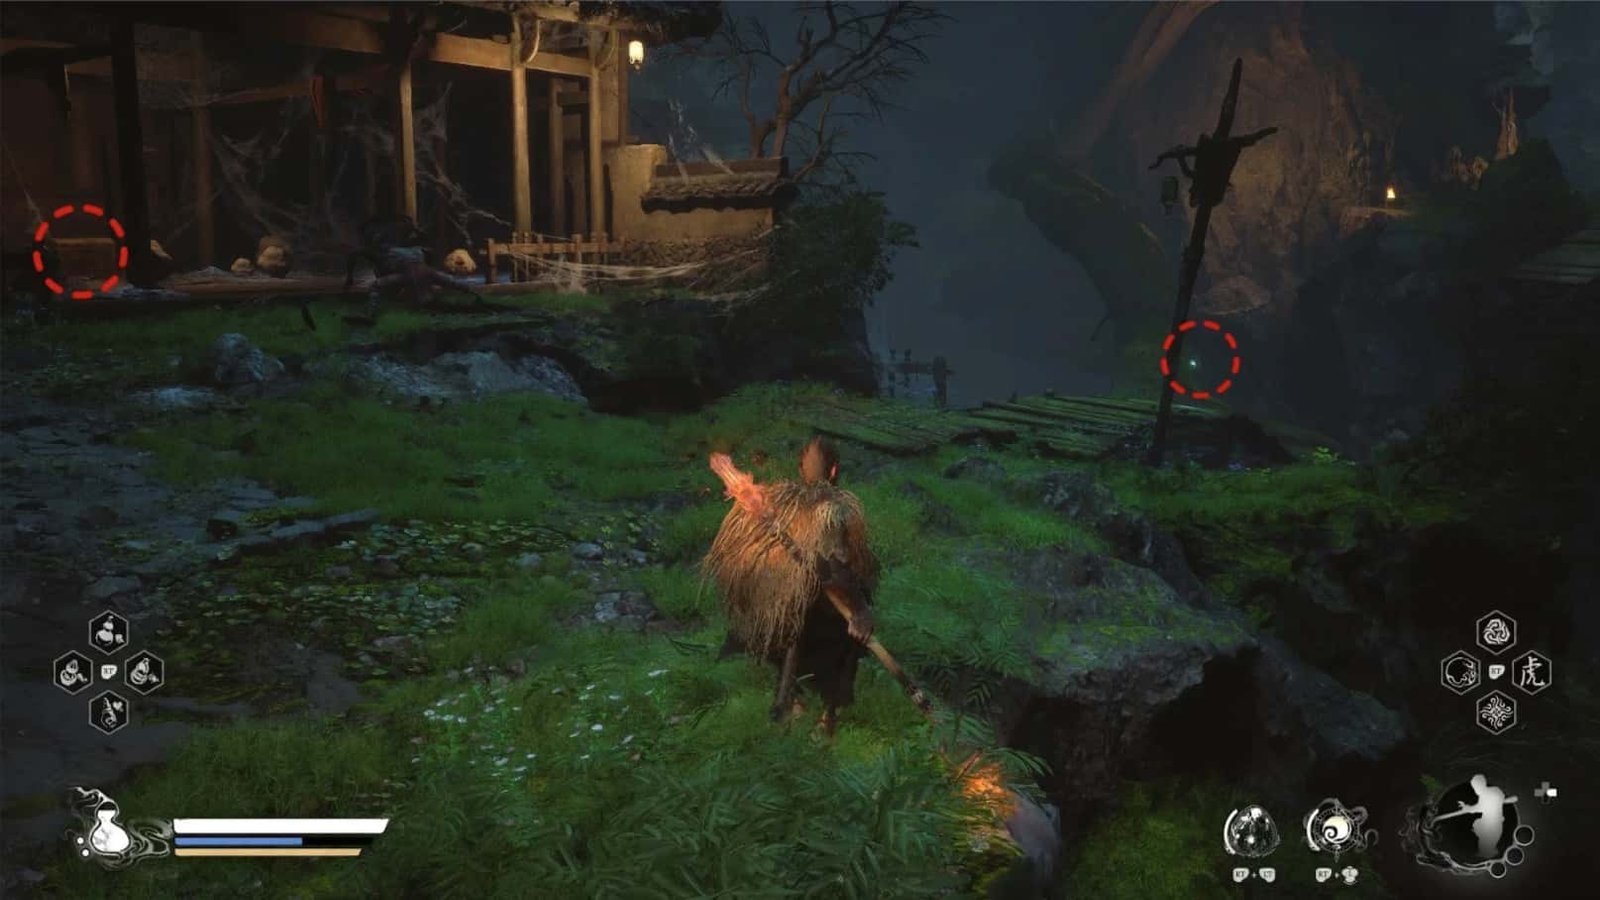
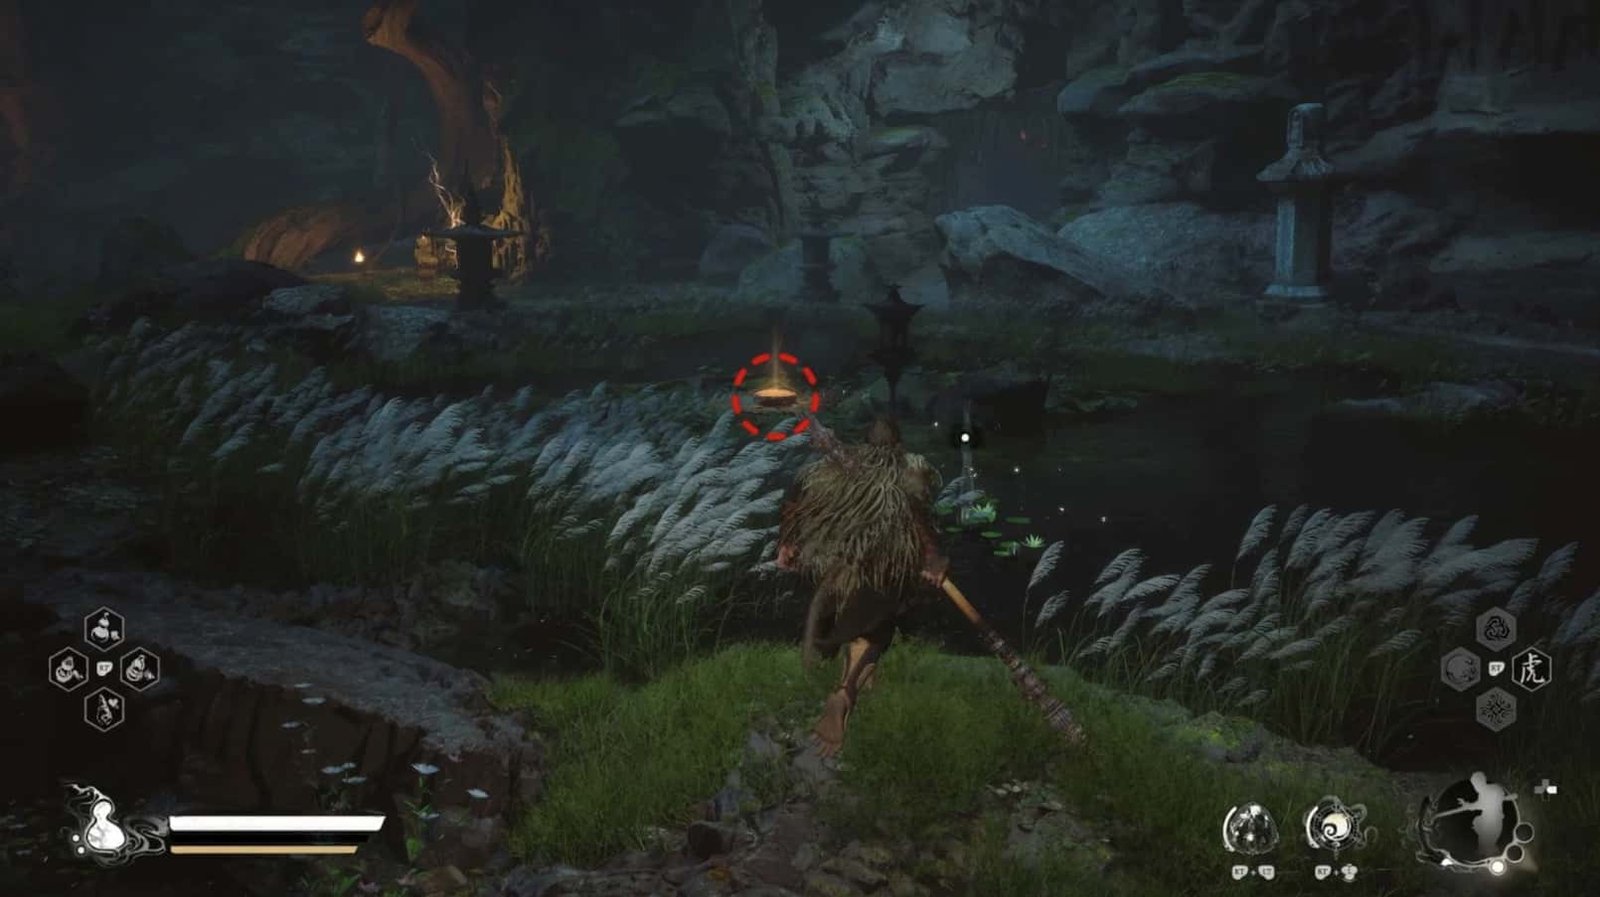
First, follow the slope on the left, leading down to a broken bridge. Here, you will find a Green Wisp (restores stamina) to absorb.
Carefully enter the nearby house, you will encounter a Puppet Spider and a few Stone Spiders guarding a Treasure Chest. Defeat them to claim the reward inside.

Return to the slope, go back up, you will see some houses and a Lantern Holder guarding the front. Finish him off quickly.
Behind one of the houses, you will find another Green Wisp.
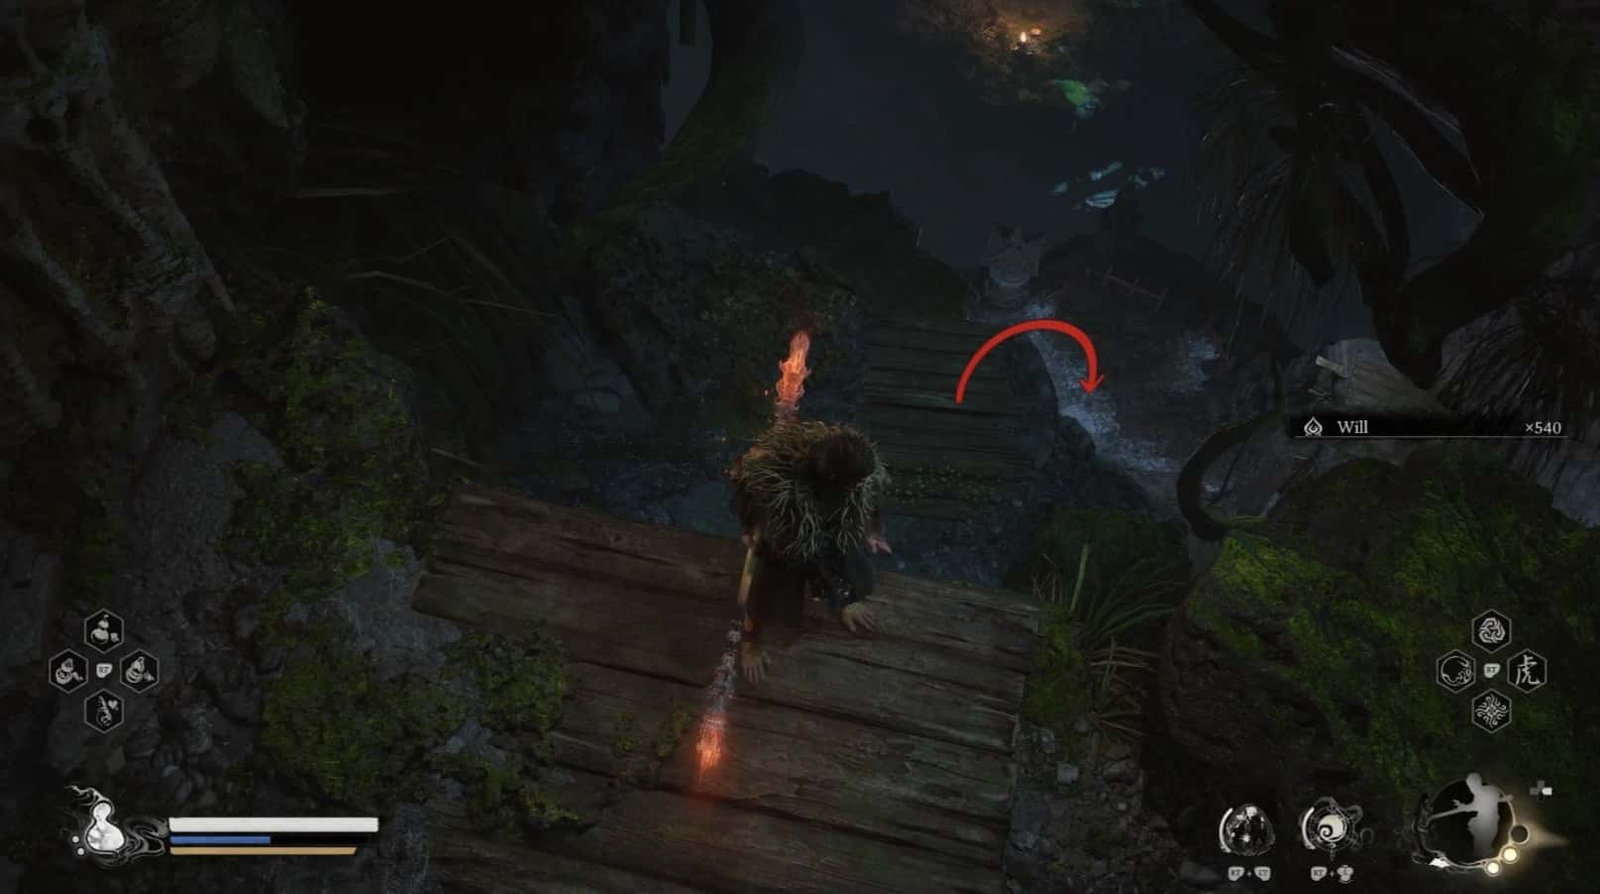
From here, you will see a set of stone stairs leading up to a large Walled Gate.
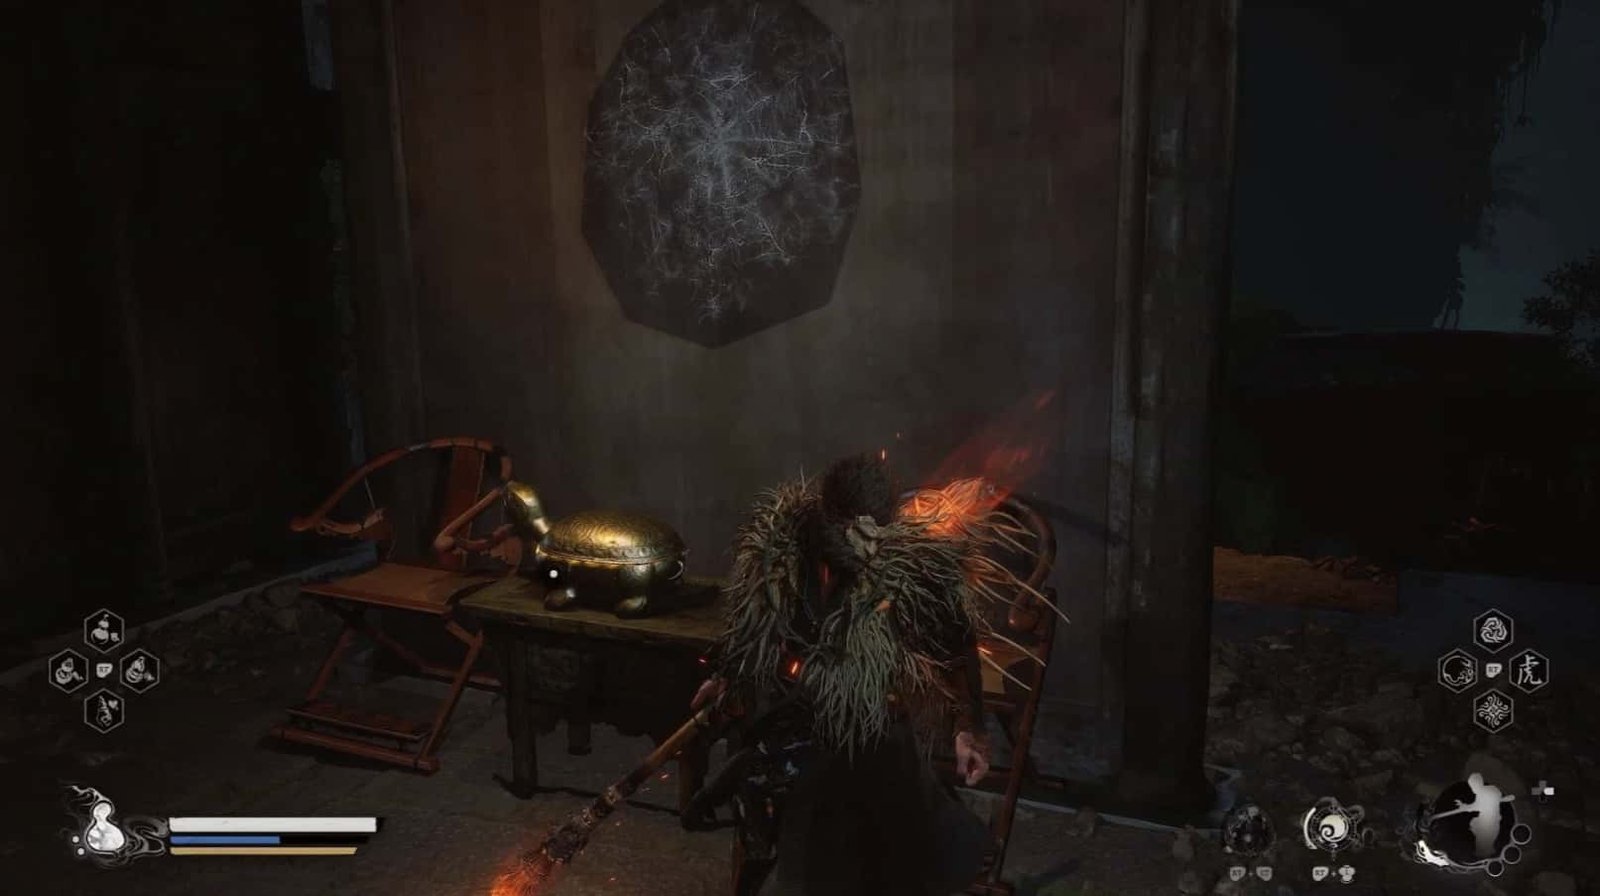
Go through the gate, check the other side to find a small Turtle Chest. Open it, you will receive Goji Shoots Soak – an upgrade item for the Gourd, which extends the duration of the fire effect.
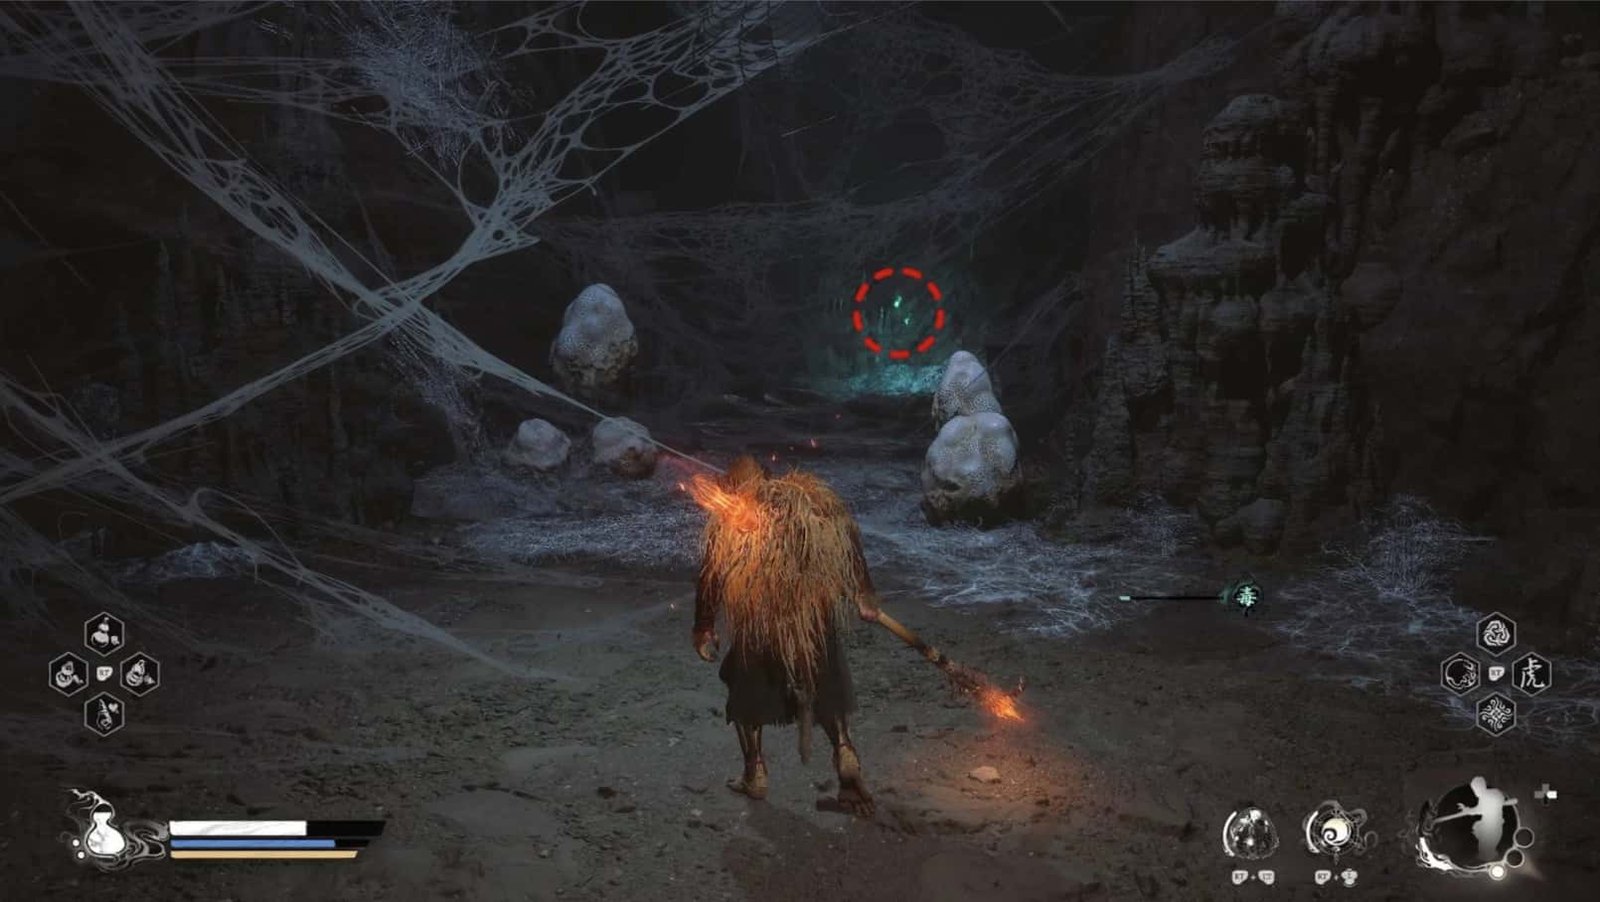
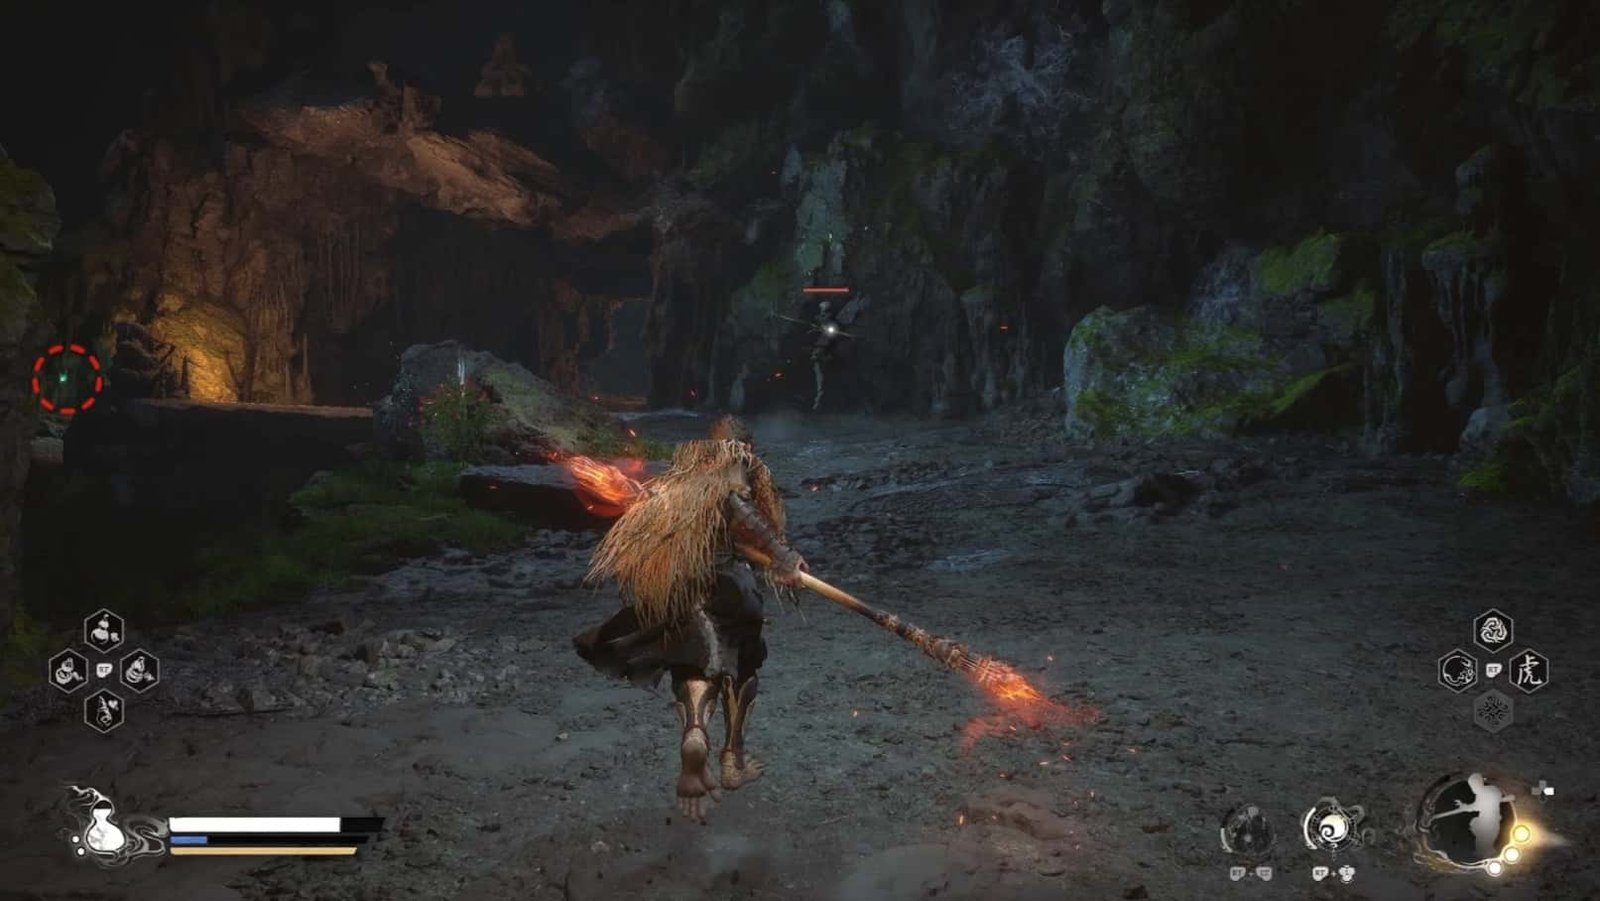
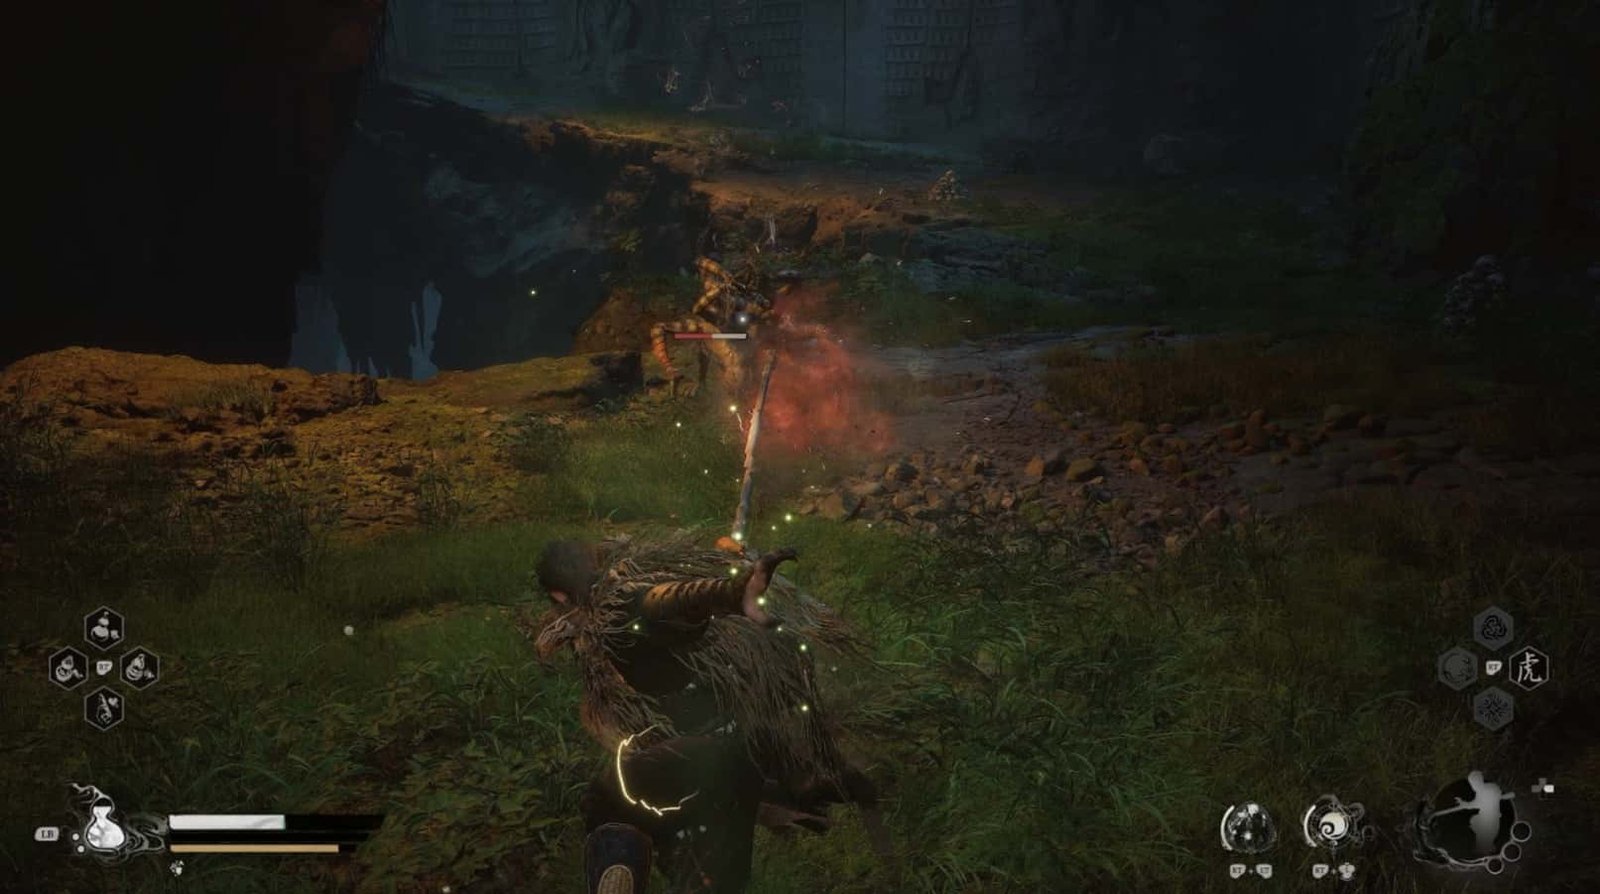
Continue to follow the edge of the cliff, you will encounter a Dragonfly Guai shooting poison arrows at you. Be careful and take him down.
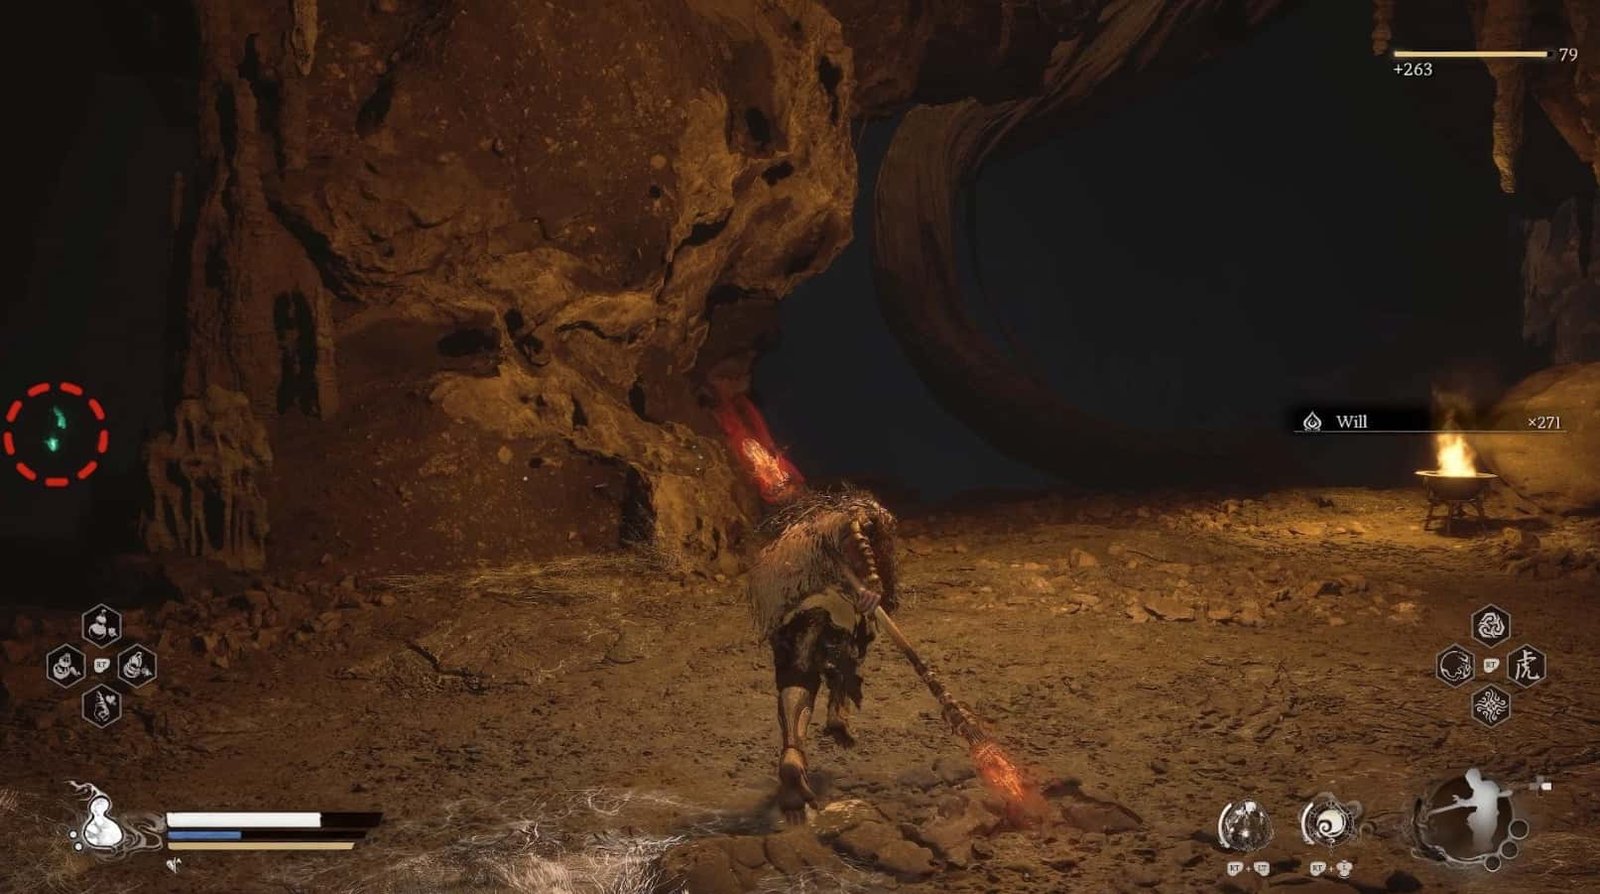
Go further, you will see a path leading down to the left, towards the Upper Hollow Shrine. On the way, you can absorb a Green Wisp on the edge of the cliff.
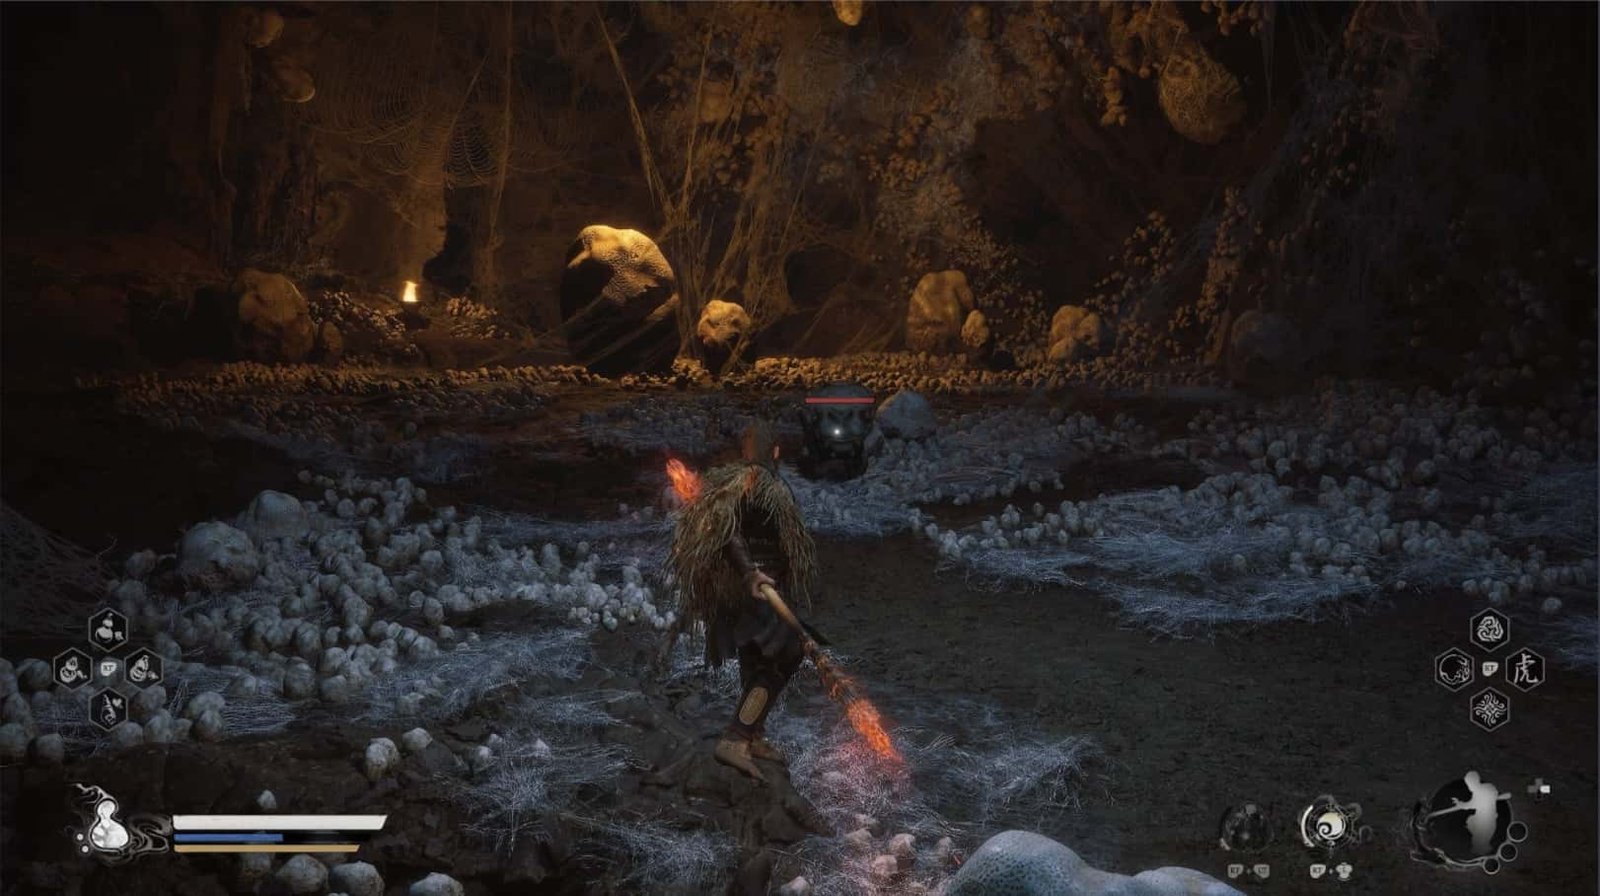
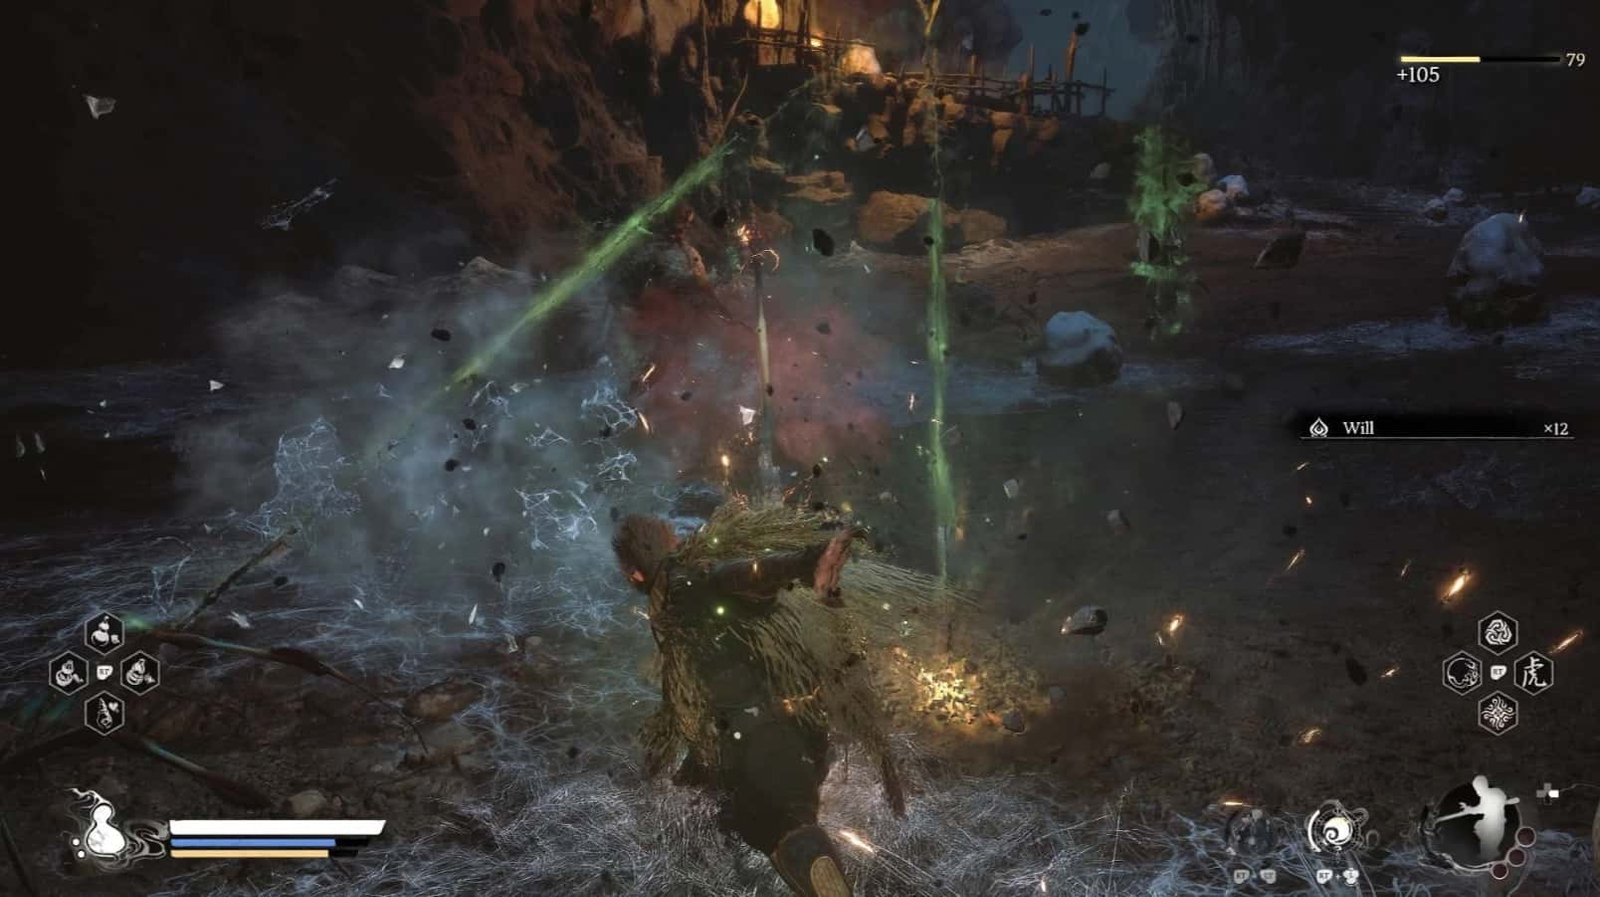
Right next to this cliff edge, you will see a small cave with many tiny cocoons. A few medium-sized cocoons will hatch Minor Amourworms. They are not too dangerous, but be careful with their lunge attack.
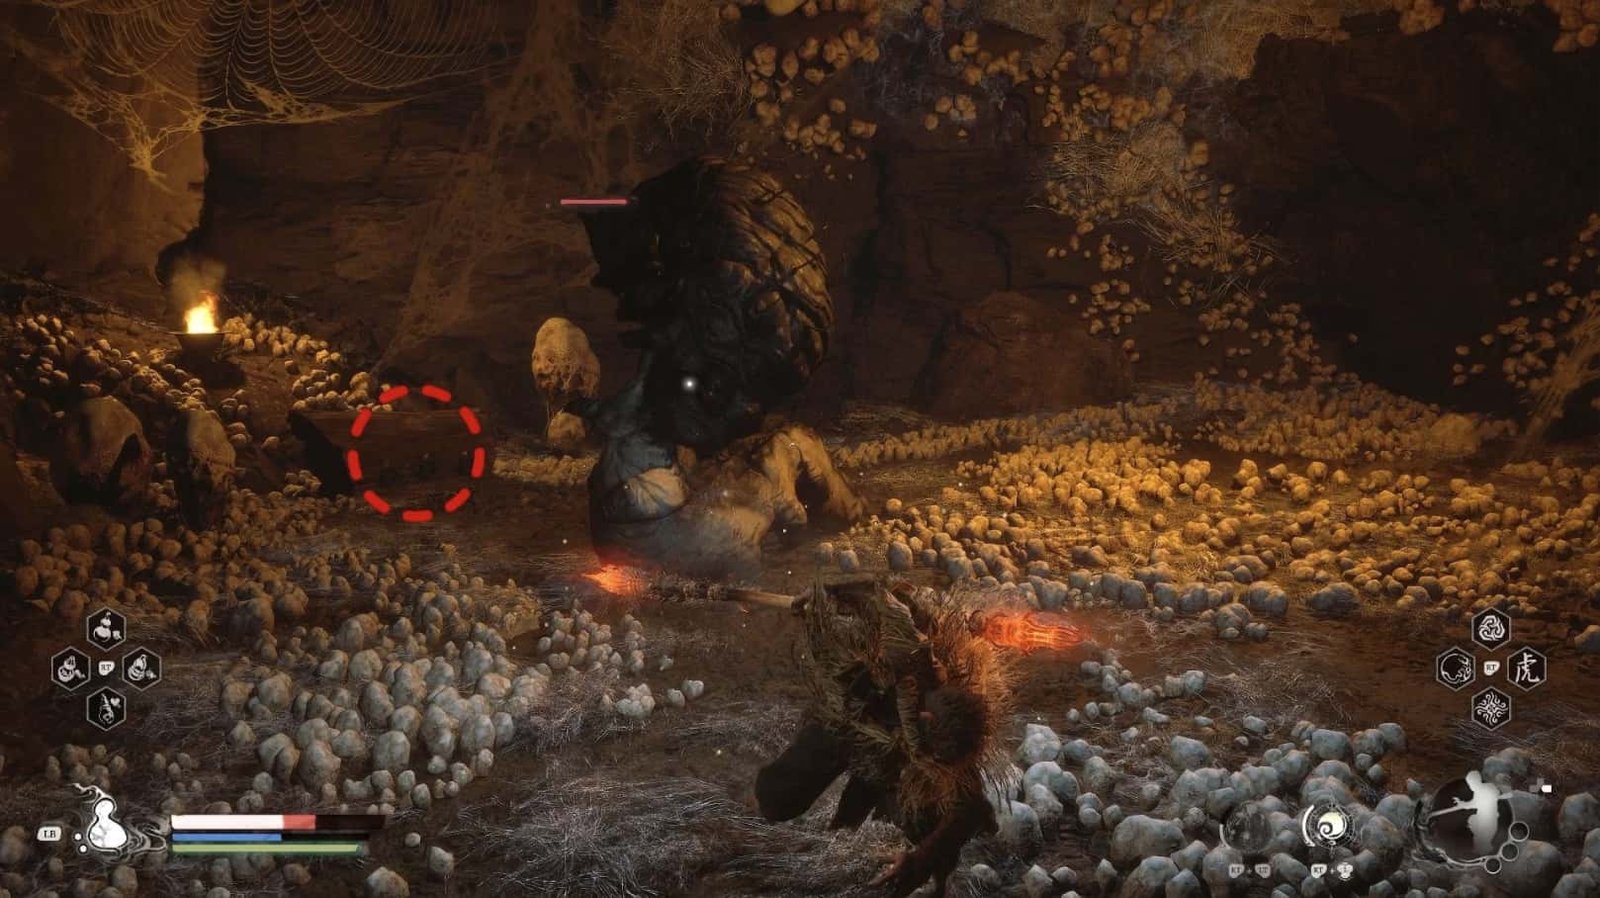
The large cocoon in the middle of the cave contains a Lesser Amourworm (a bigger worm). This one is stronger, but you can attack from a distance to be safe.
Behind the big worm, you will find the reward is a Treasure Chest filled with useful materials.
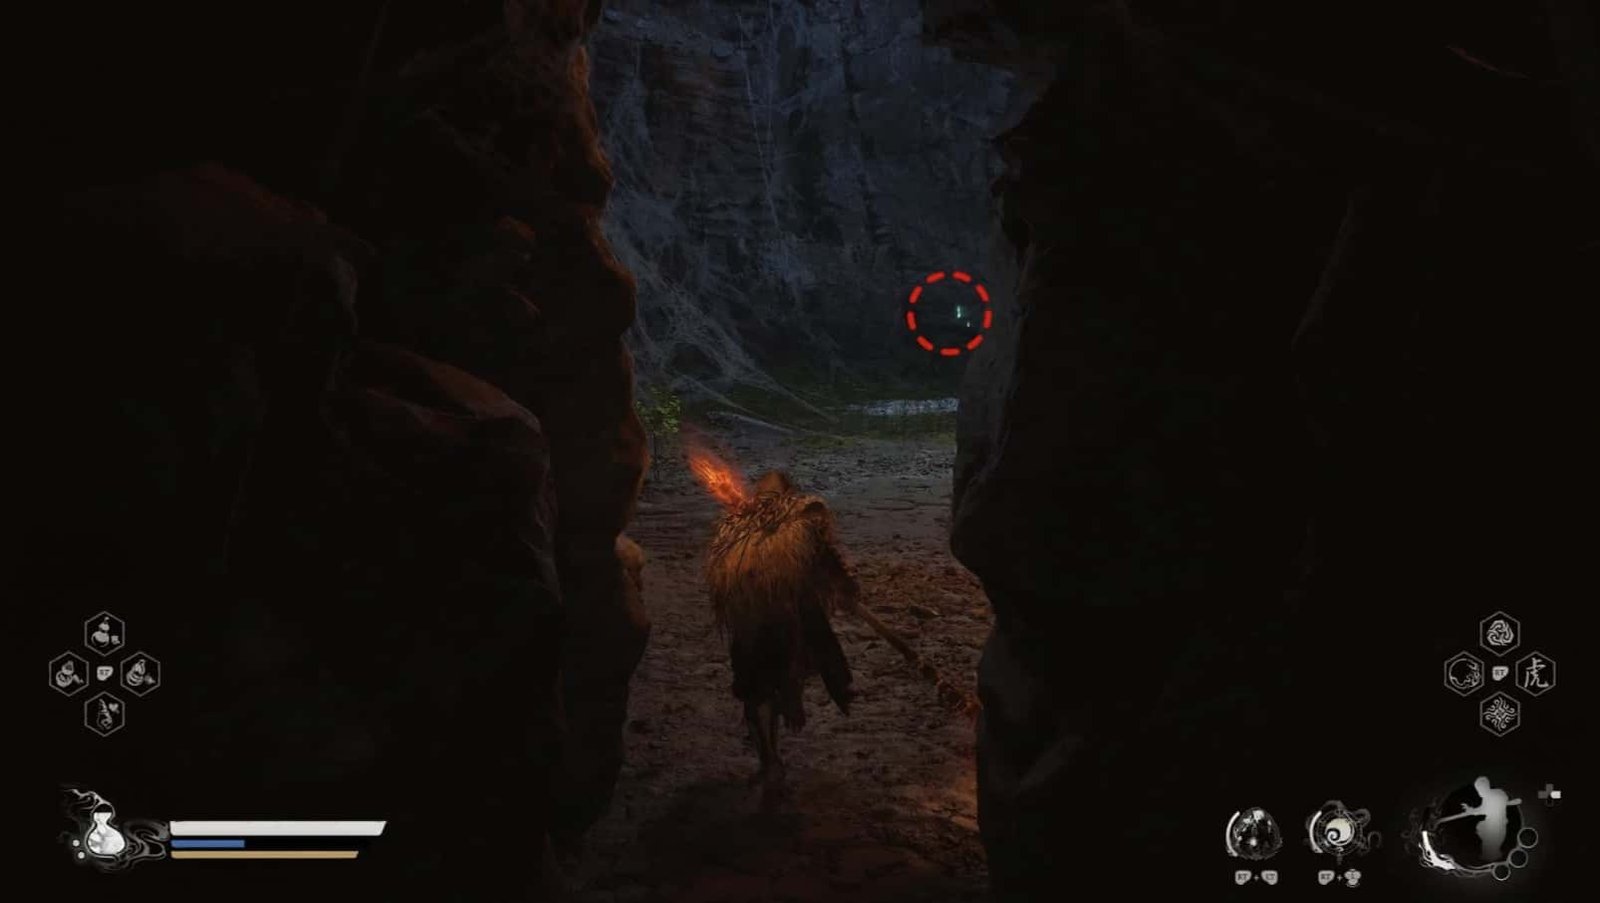
Out of the cave, go up the path lit by torches outside. Be careful because there are many Stone Spiders here.
At the end of the path is a clearing leading to a room, apparently an Entrance Pit. A large Green Wisp is floating above the cobwebs. In fact, if you return to Zhu Estate and jump down that pit again, you will fall into this room.
So we have explored the area to the left of the Shrine.
From the Upper Hollow Shrine, we will turn to the area on the right. Follow the small stone path leading up the slope, past the small house.
Going past the house, you will come to a large area filled with cocoons of all sizes.
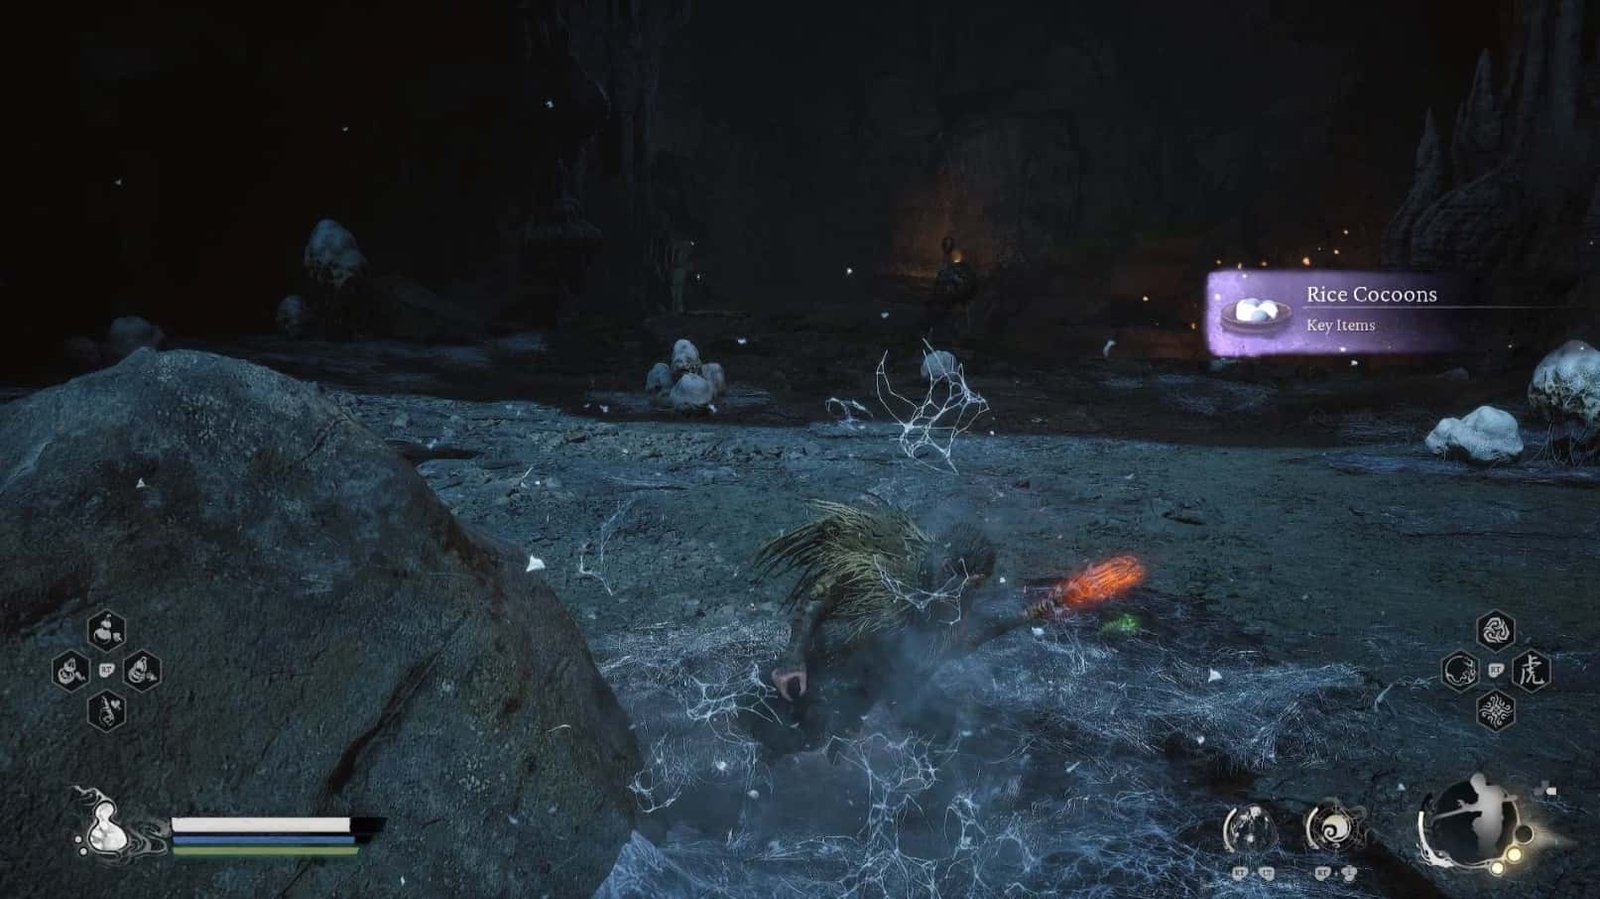
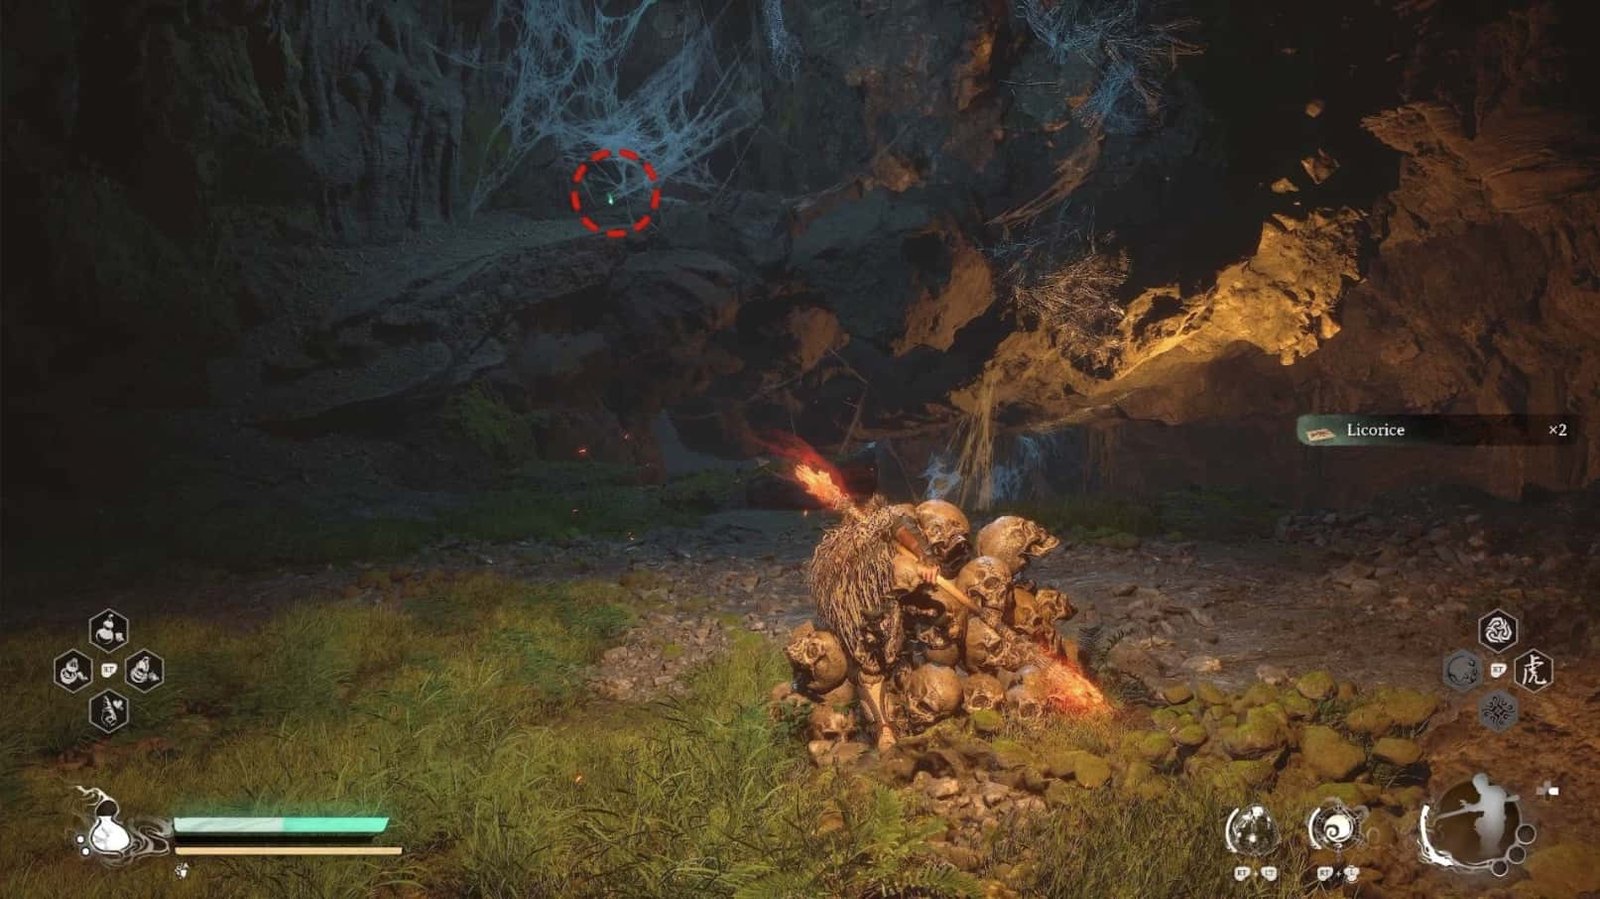
Destroy all the cocoons you see. Some cocoons contain enemies, others contain Will (experience points), and especially Rice Cocoons – important items for a side quest, and Spine in the Sack Curios – a curio that increases poison damage.
Be careful with a few Grasshopper Guai trapped in the larger cocoons as you approach the large Hole in the Middle in the middle of the road. An archer will shoot arrows from afar.
Near the big hole, you will see a wooden ledge. This is one of two paths leading down to the lower level, but we will temporarily ignore it and come back later.
Absorb the Green Wisp near where the archer stood.
Continue into a large cave full of cocoons, with a few Puppet Ticks and Wasp Guai trapped in cocoons. Lure them out and eliminate them one by one. You can use Thrust Stance or Pillar Stance to knock them out of the air.
When you are near the end of the cave, pay attention to the right to find a small alcove, where the light of a Green Wisp will lead you.
Be careful, there are a few Puppet Spiders waiting to ambush you.
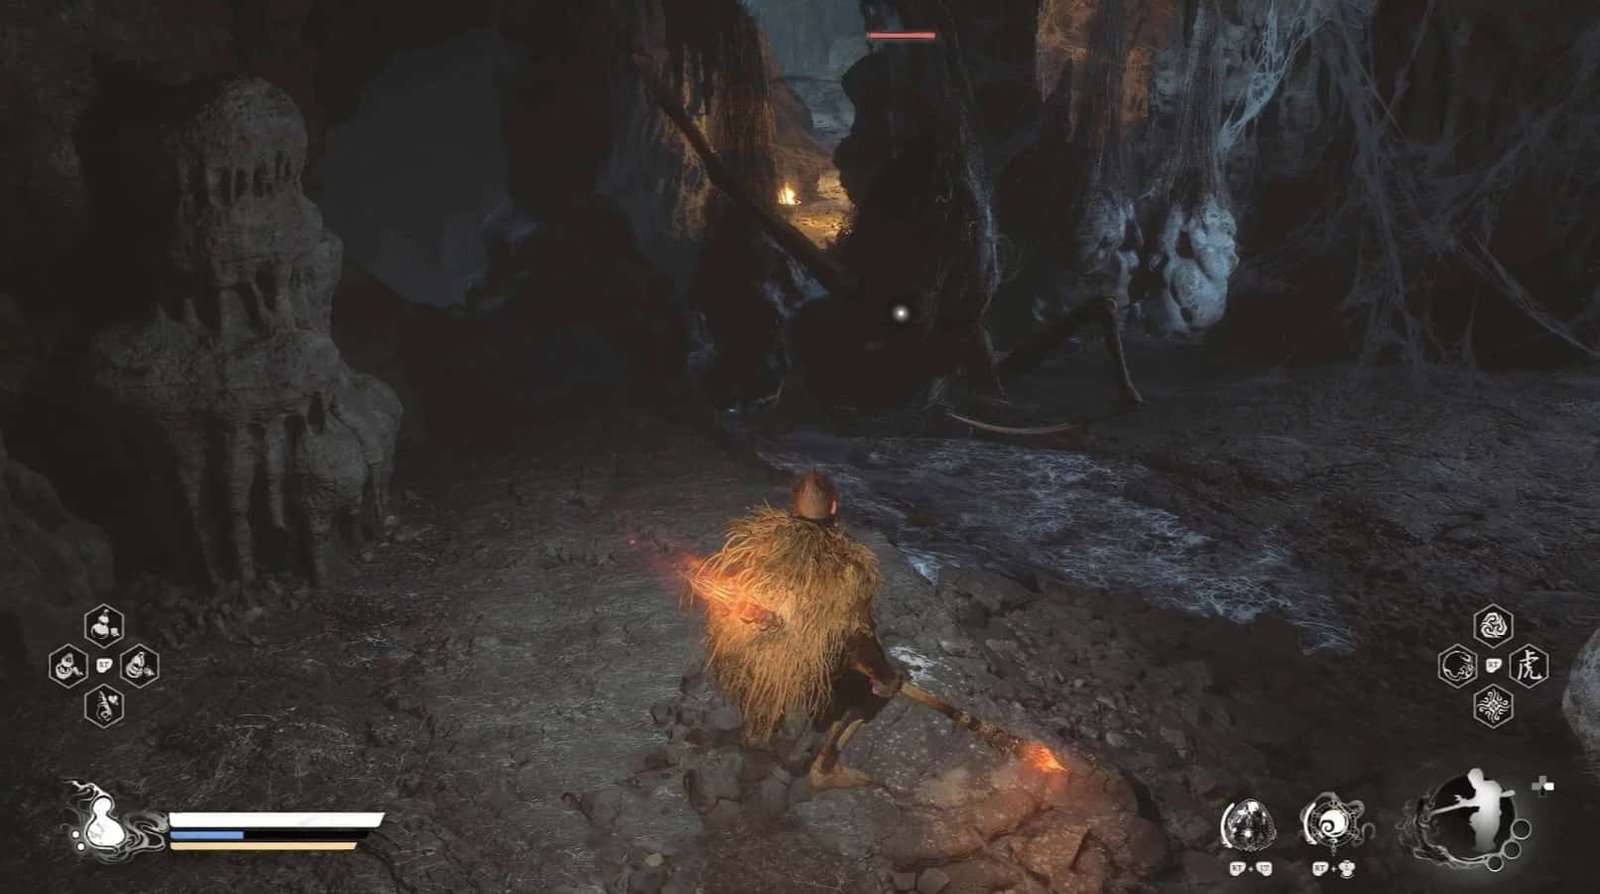
In the next cave, you will see a Puppet Tick walking among the cocoons and Stone Spiders will emerge. A Dragonfly Guai on a nearby ledge will try to shoot poison at you. Prioritize eliminating him first by running quickly or using Cloud Step to reach him.
Finally, the cave will open on the left, but go straight ahead to check this last area.
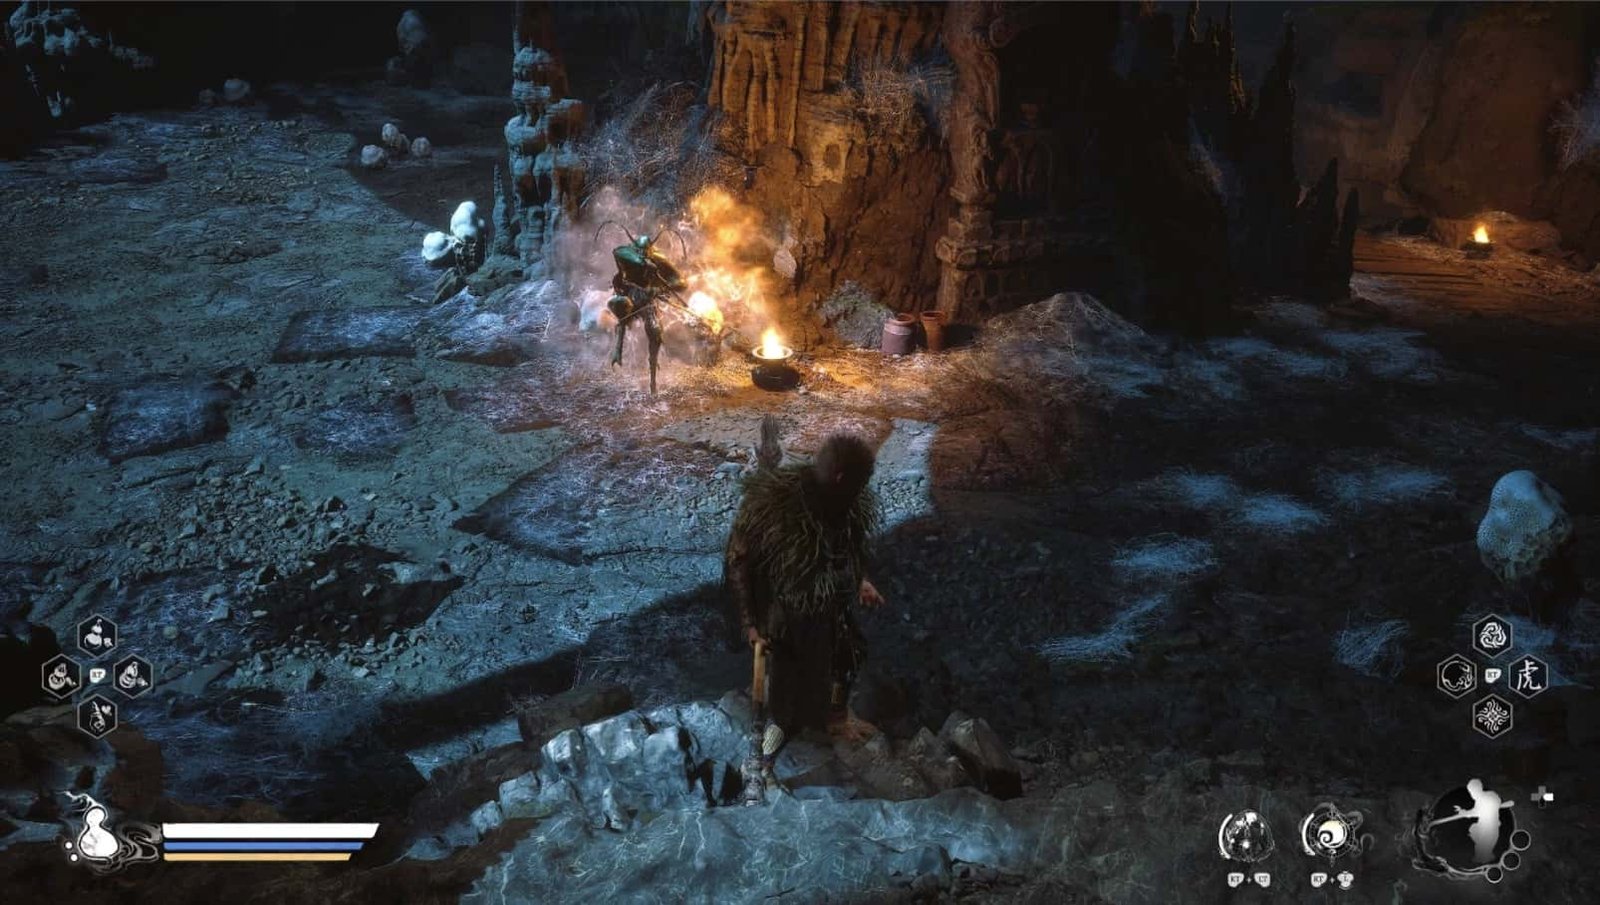
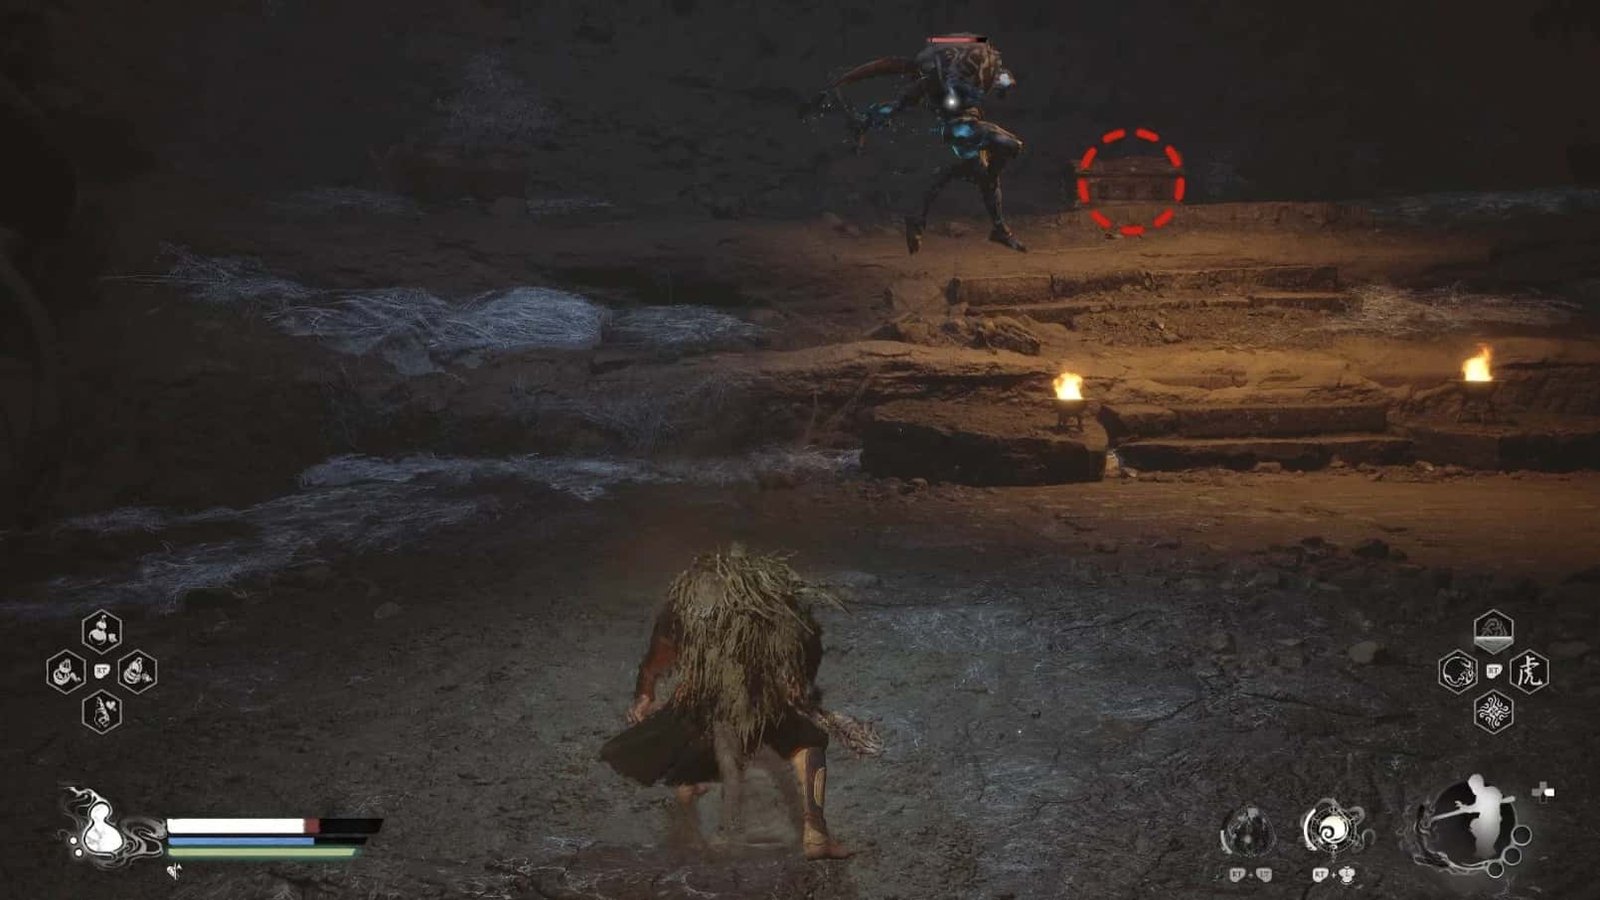
The small path leads to a room with a Beetle Captain guarding a Treasure Chest on a high ledge. Prepare for a tough battle, use Rock Solid to deflect attacks, or Immobilize to control him.
Defeat him to receive the Beetle Captain Spirit and open the Treasure Chest to get Gold Tree Core, Mind Core, and other random materials.
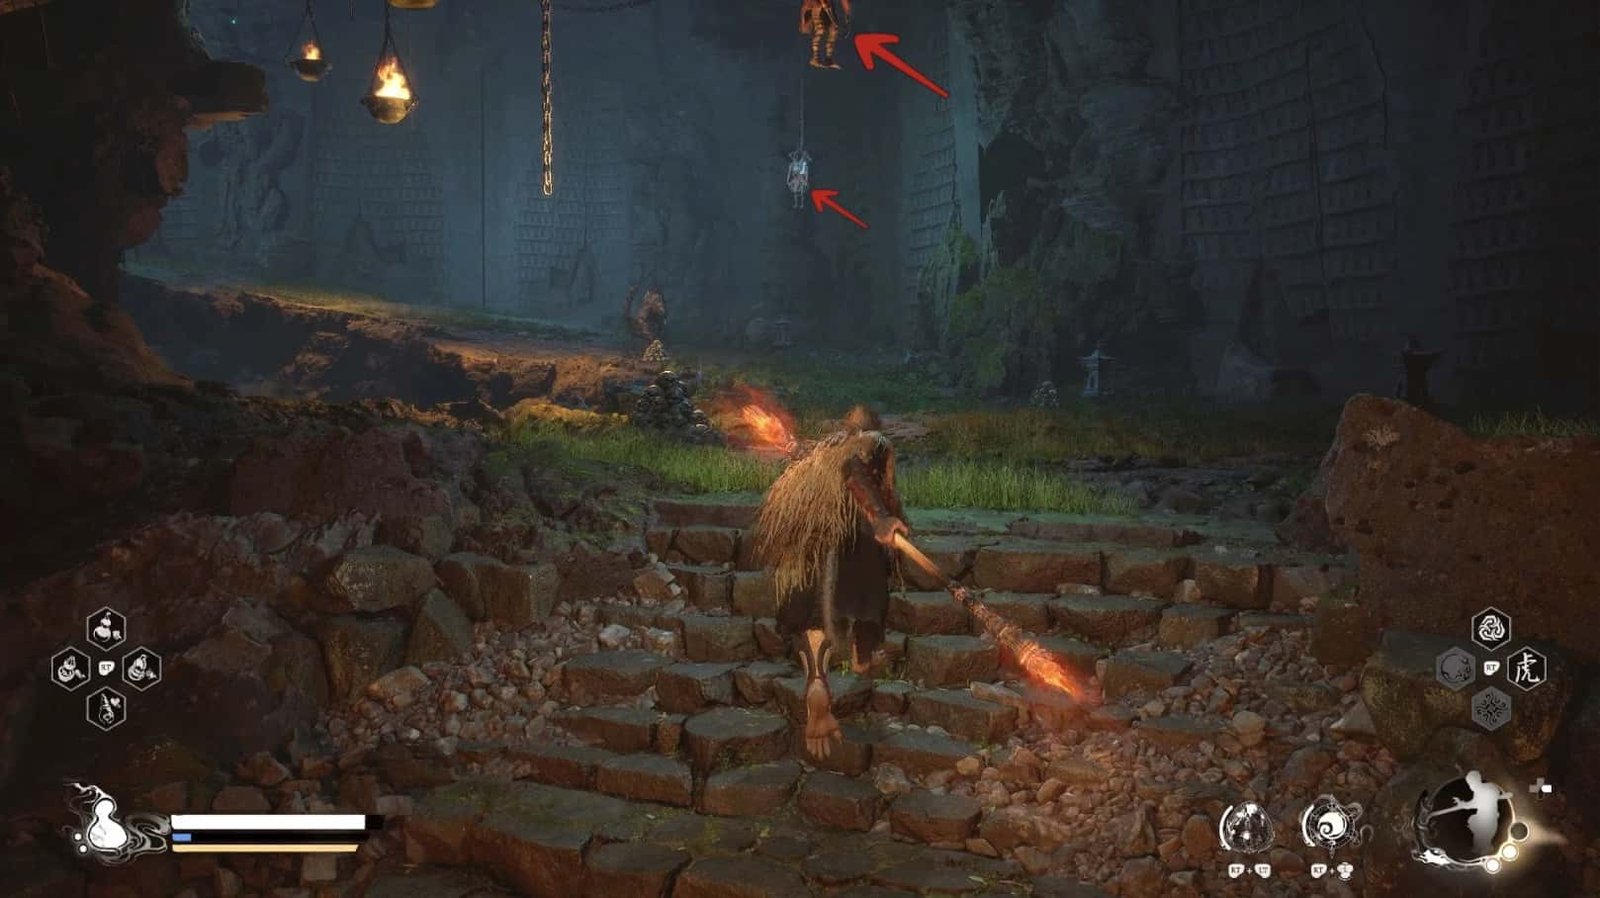
Follow the other path out of the cave, you will see a Lantern Holder waiting along with a Puppet Spider hanging above.
Now, you are standing on the opposite side of Upper Hollow from where you started. In front of you is a group of platforms leading down to Middle Hollow and Verdure Bridge. However, going down there now will cause you to miss a large sub-area along with a boss, so TEMPORARILY DO NOT GO DOWN YET. (You can jump down there first to activate the Shrine and come back later).
Thus, we have explored the area to the right of the Upper Hollow Shrine.
To reach the Pool of Shattered Jade, we need to return to the Cocoon Area that we explored in section D.1. From the Upper Hollow Shrine, go to the right, past the small house, and enter the large area filled with cocoons.
Find the large hole in the middle of the road (Hole in the Middle) that we mentioned earlier.
Look around the hole, you will see a wooden platform ledge that you can use to drop down to a lower level.
Be careful, a Puppet Spider is waiting for you down there.
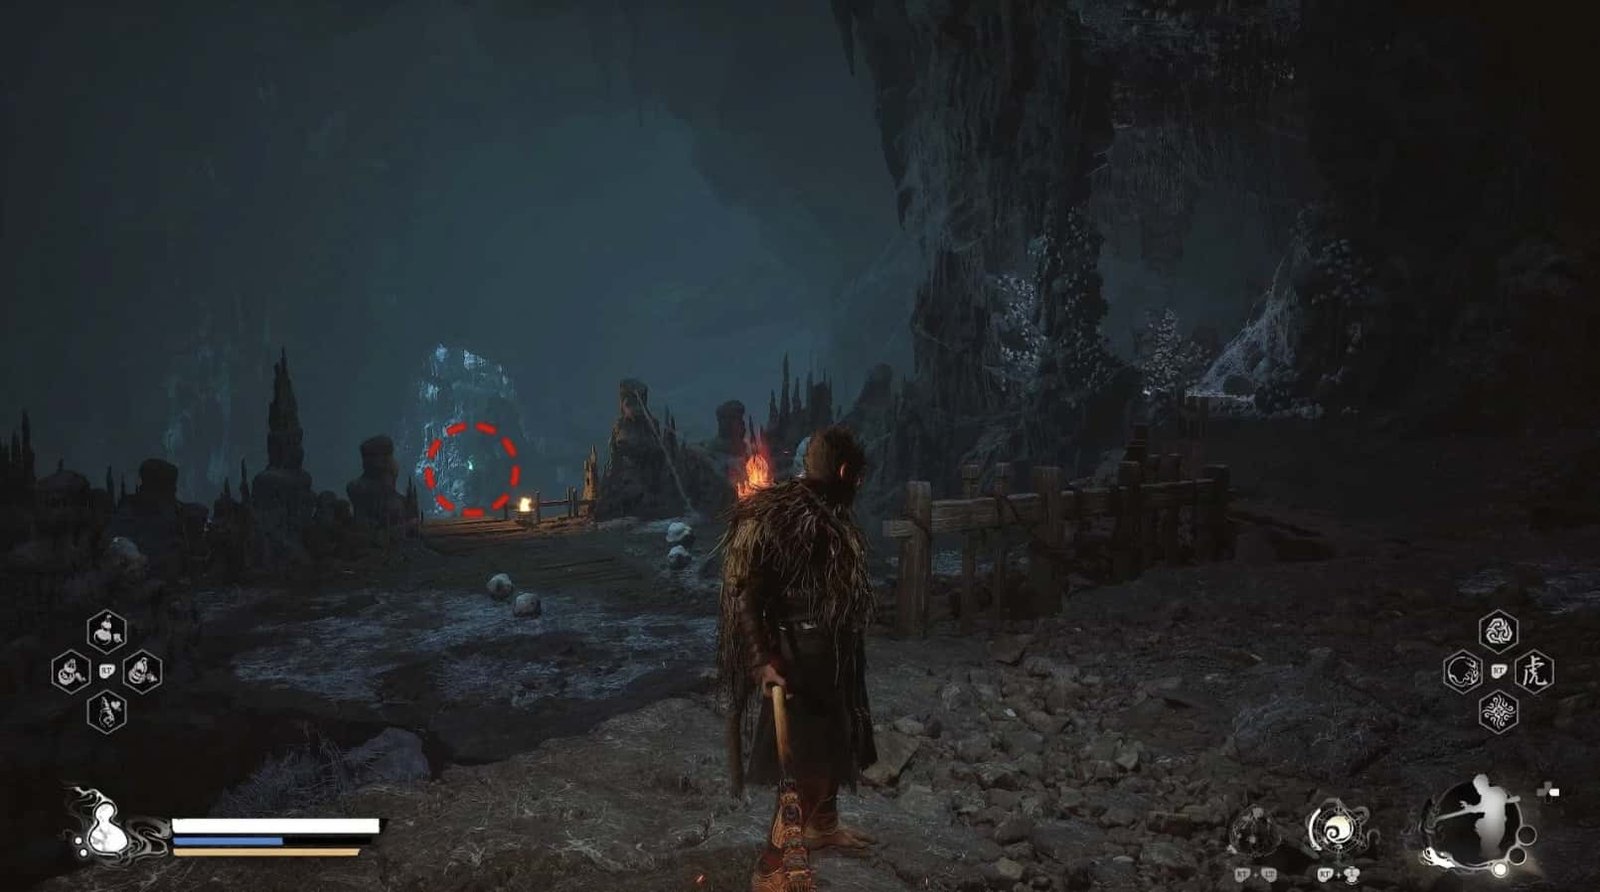
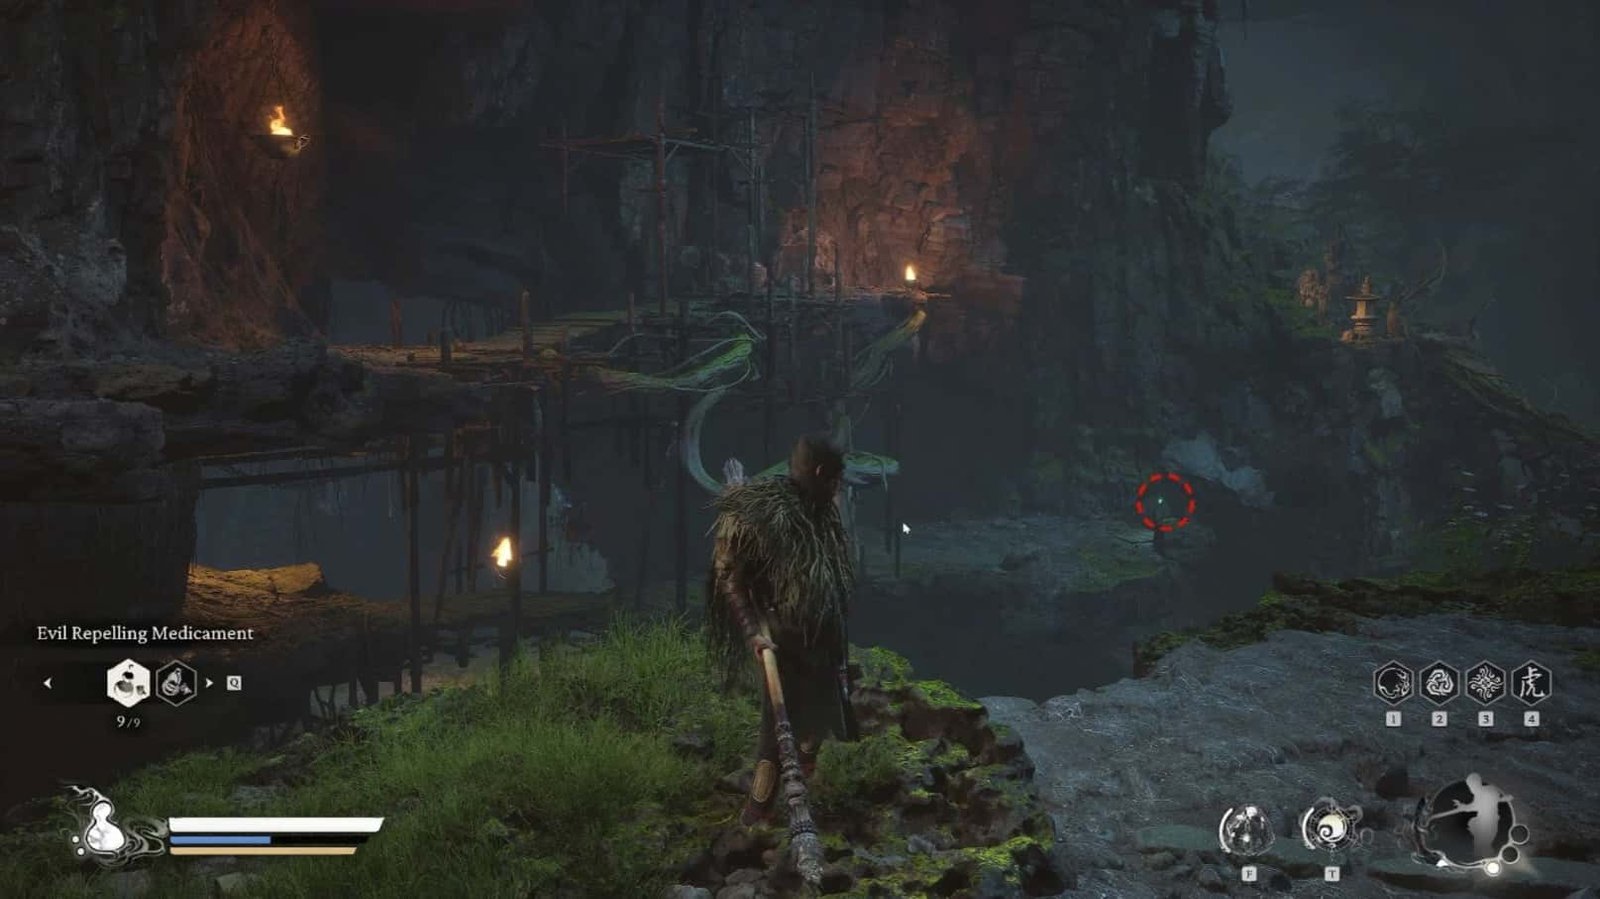
You will also find a Green Wisp on a dark ledge nearby.
Be careful, a Puppet Spider is waiting for you down there.
You will also find a Green Wisp on a dark ledge nearby.
Pool of Shattered Jade
Welcome to the Pool of Shattered Jade, an area full of secrets and dangers.
Follow the path opposite the ledge with the Green Wisp, you will enter a corridor with a gruesome sight: Dozens of hanging cocoons blocking the way.
Be careful, many of these cocoons contain Clawed Cocoons – aggressive enemies that will attack you with their sharp claws.
Use a fully charged 2-point Thrust Stance to quickly and safely eliminate Clawed Cocoons, while also clearing empty cocoons to open the way and receive Will.
Look to the right, you will see a group of hanging cocoons blocking a small alcove. Inside is a Treasure Chest containing random materials, but beware of the Beetle Captain that will emerge from a nearby cocoon!
Go to the end of the first hanging cocoon corridor, take down the Dragonfly Guai in front.
Absorb the Green Wisp on the ledge before entering the next tunnel.
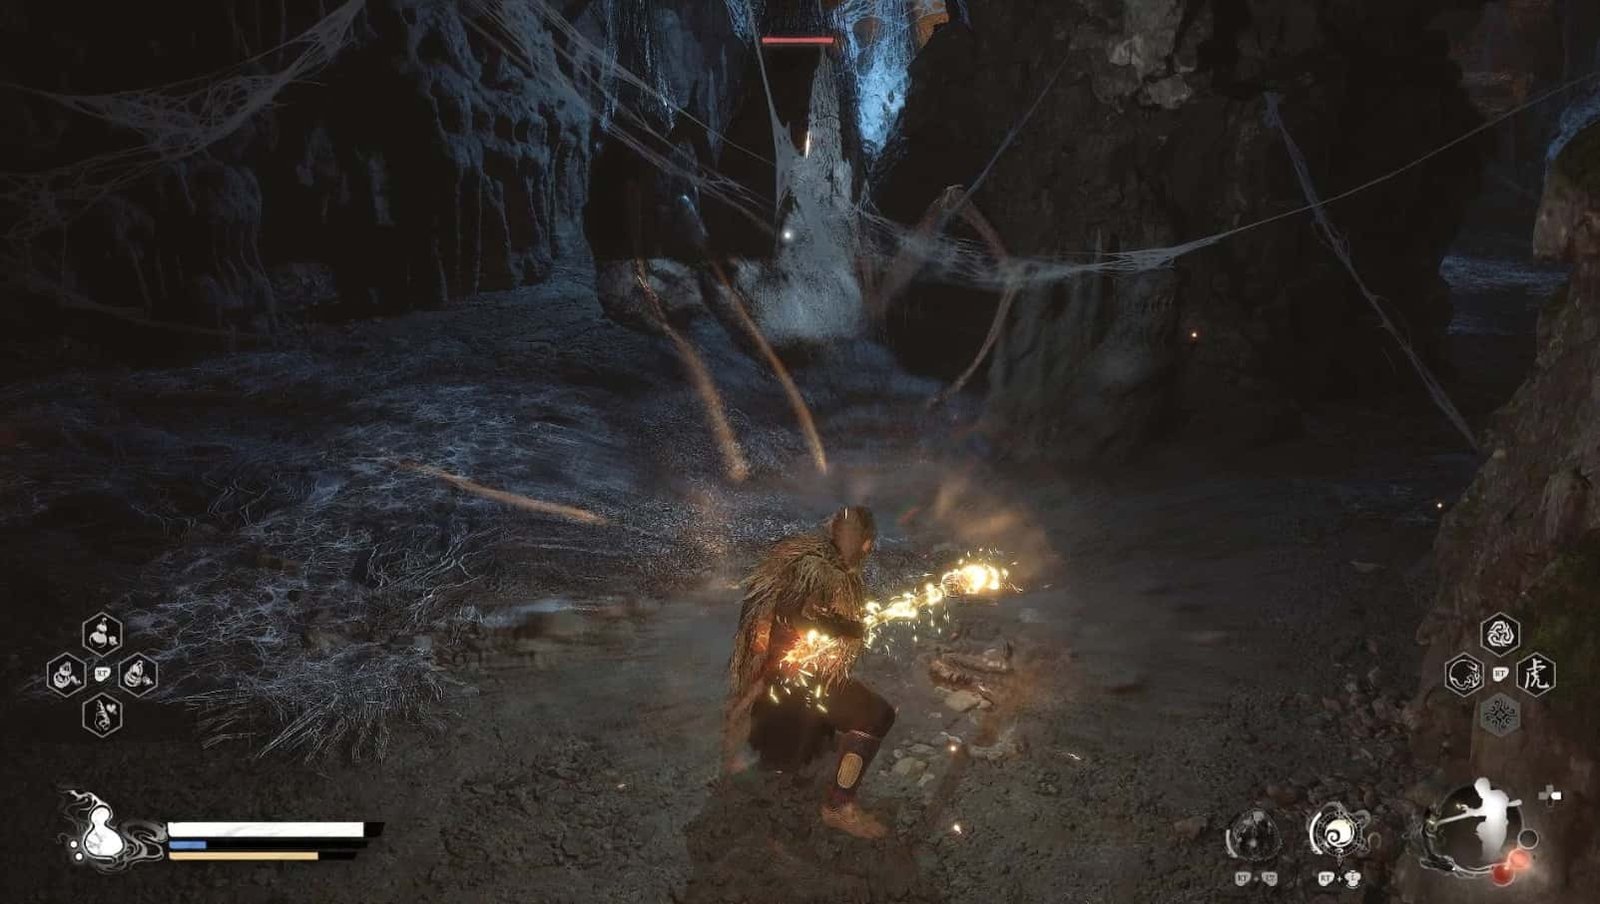
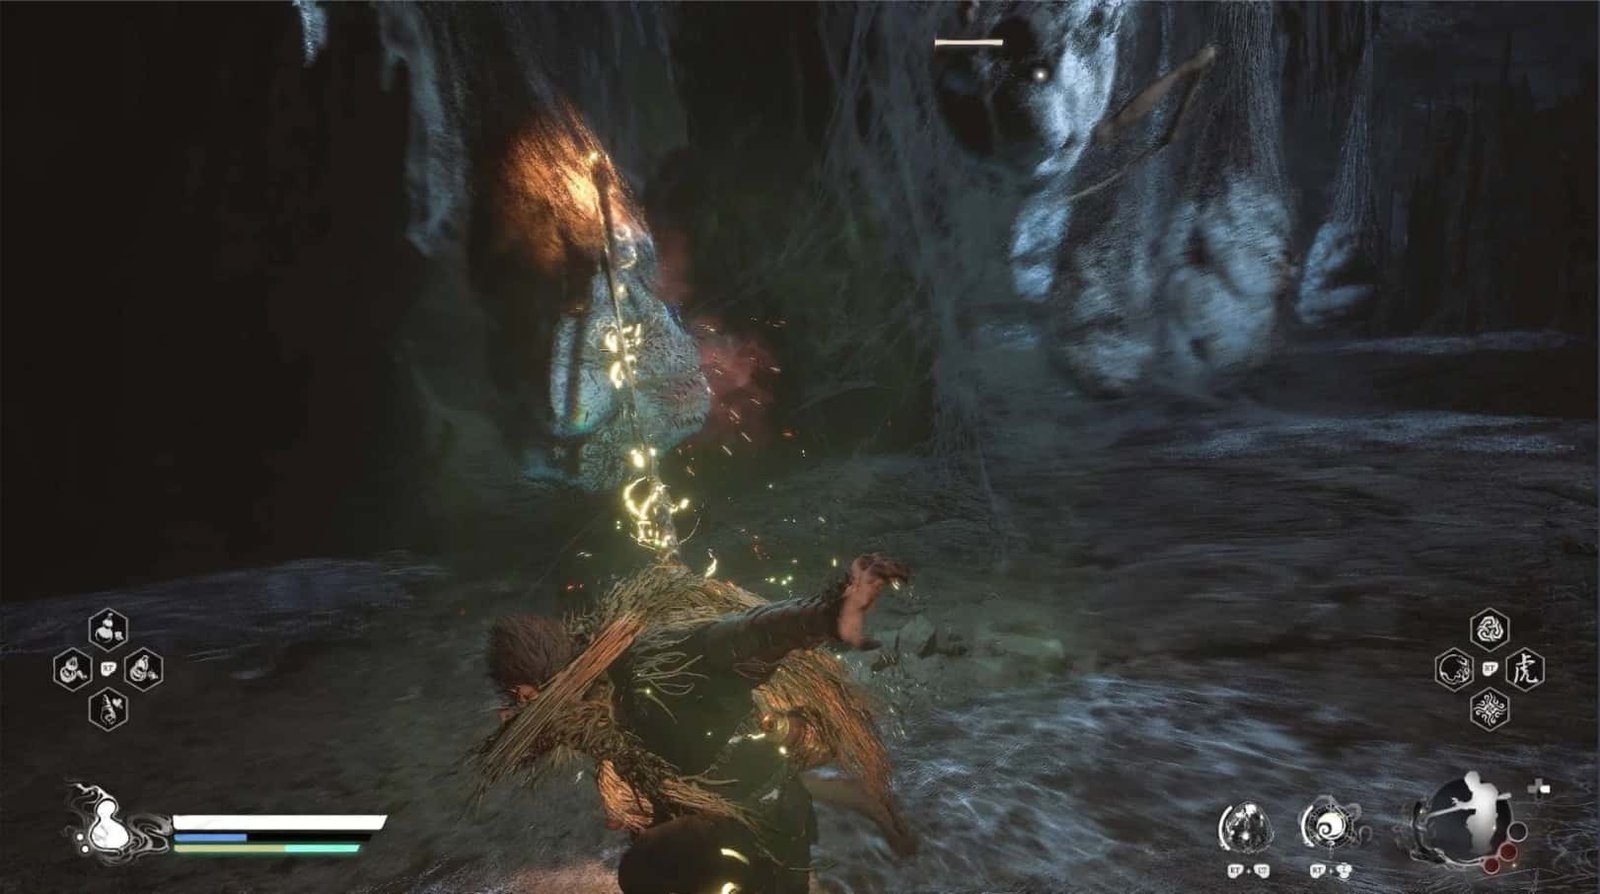
This tunnel is again full of hanging cocoons, and of course, many of them are Clawed Cocoons. In addition, there are a few more Puppet Spiders to add to the “fun”. Be careful and don’t get surrounded.
Out of the tunnel, you will enter a large room with stairs leading up to a long curved path, with giant beams on the ceiling. Be careful, Puppet Spiders are hanging on those beams.
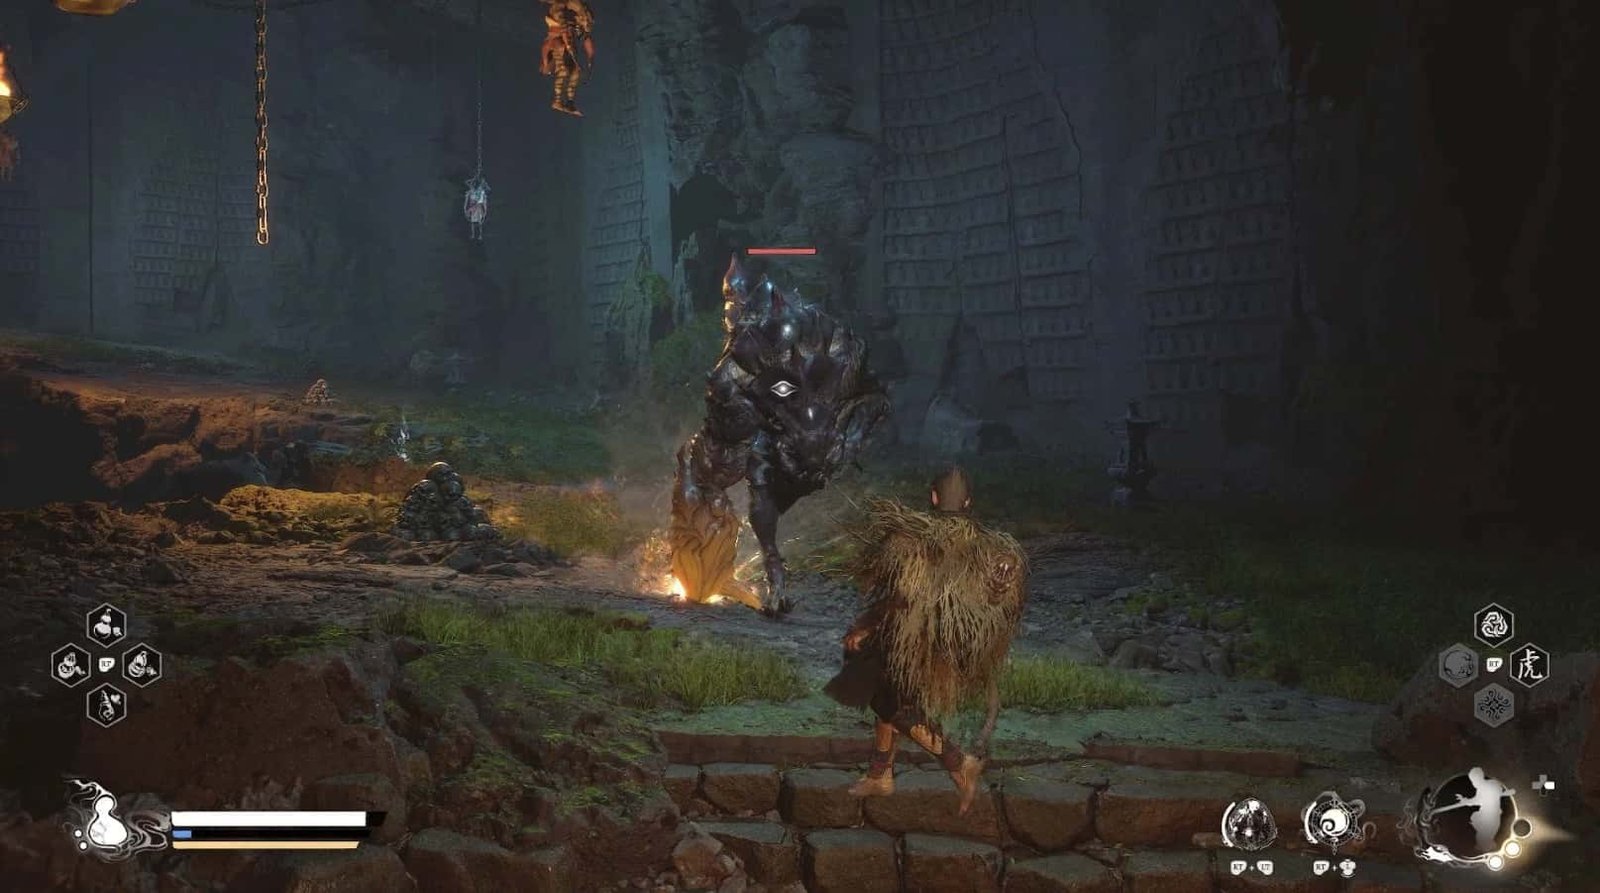
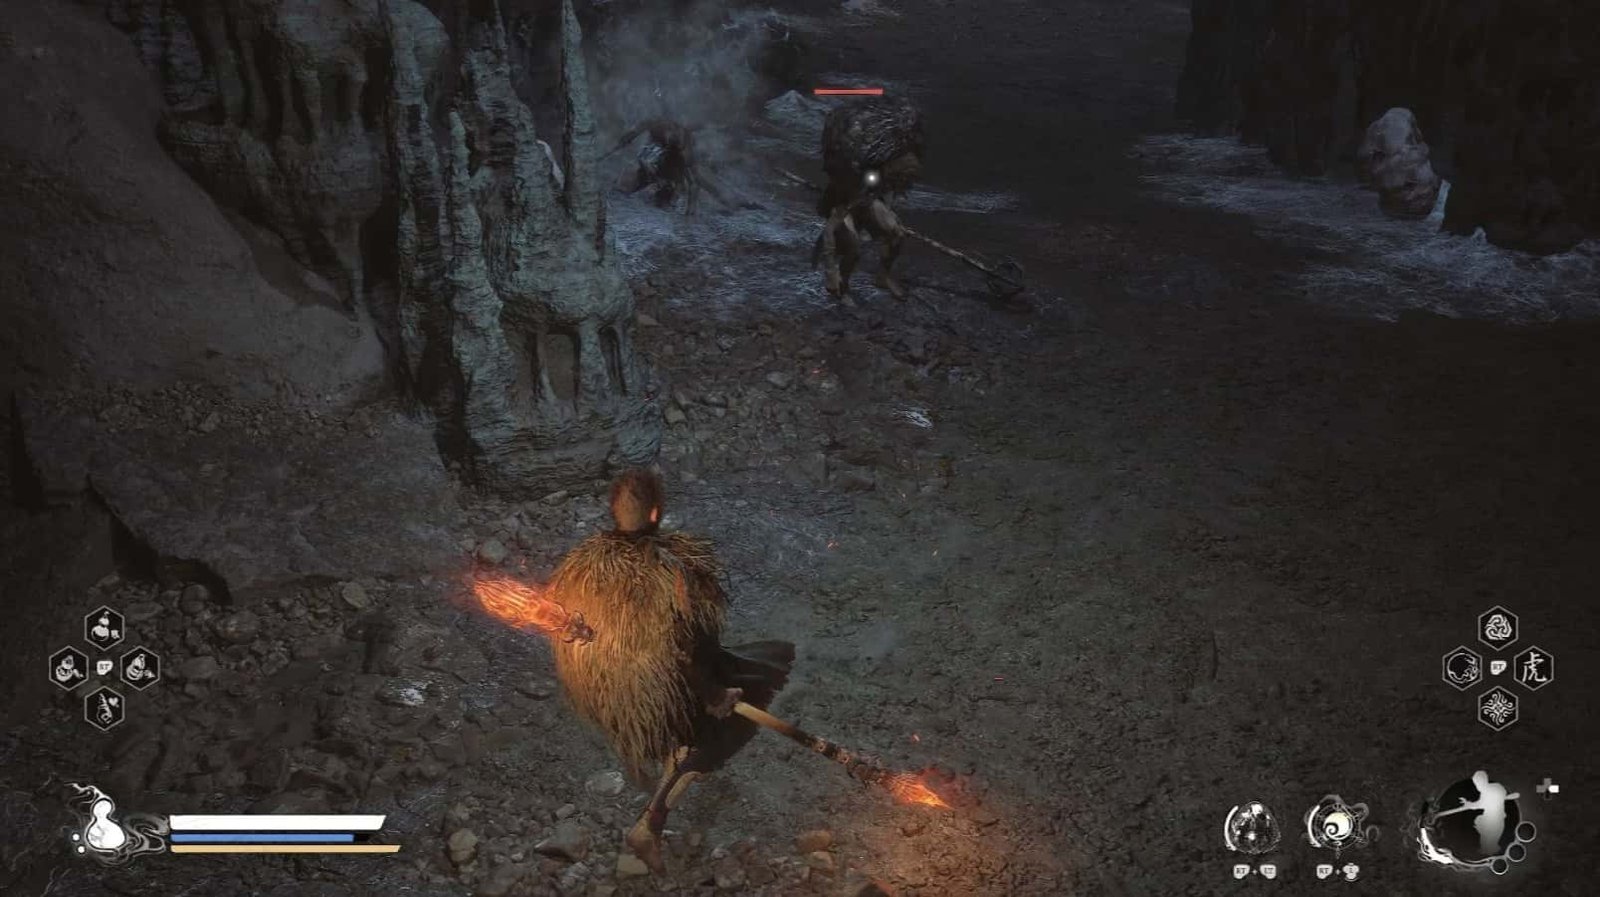
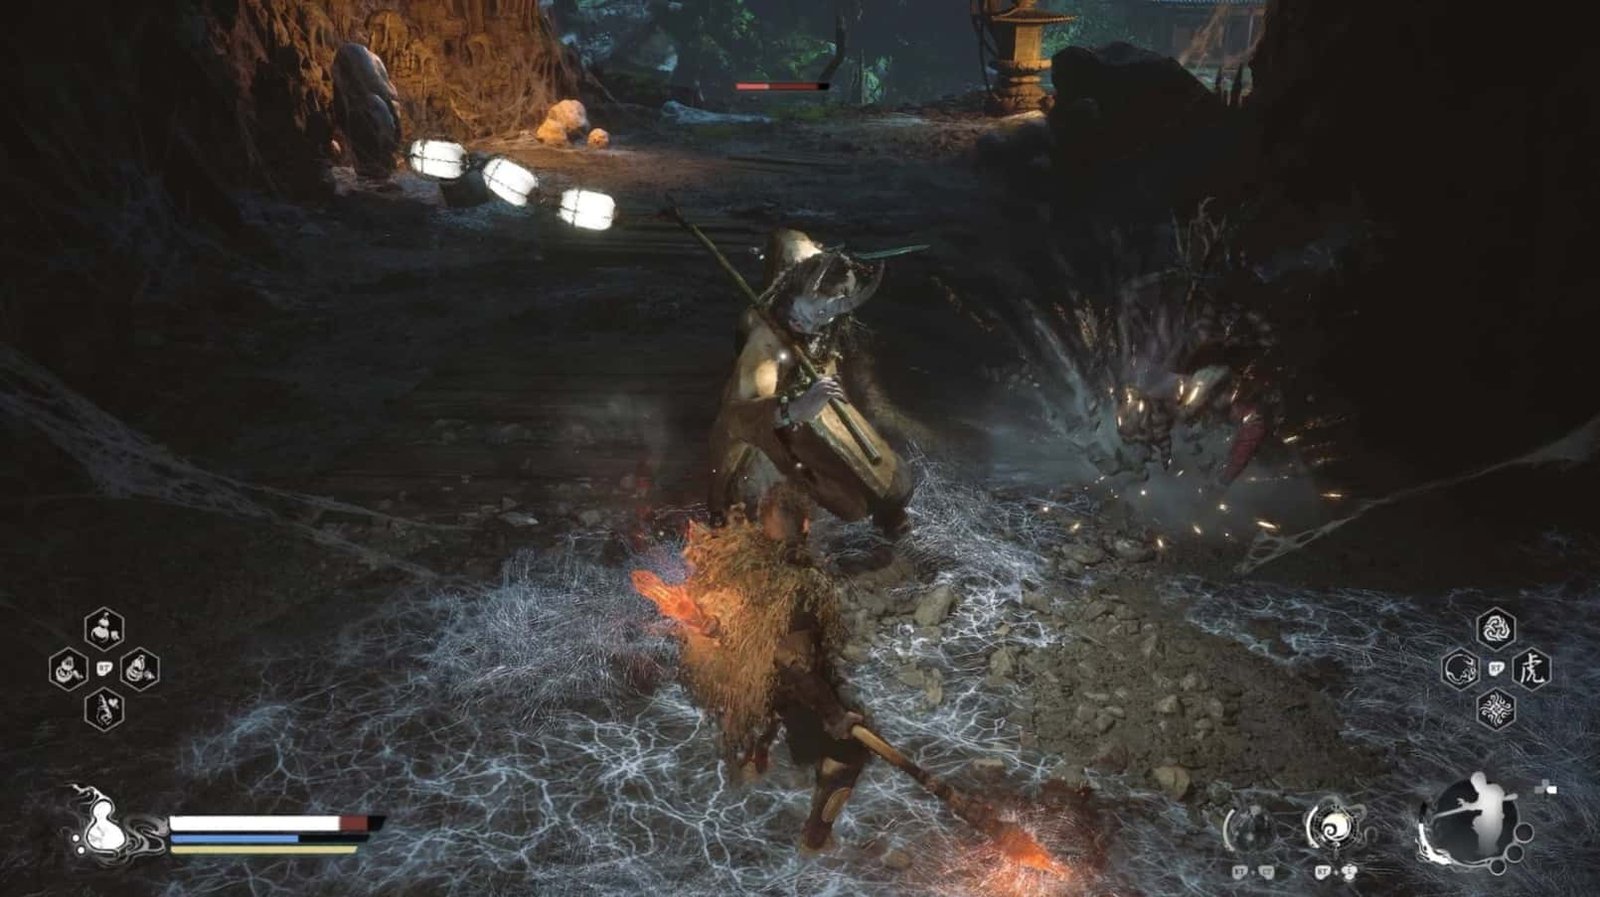
There is a Scorpion Prince patrolling this area. He is very strong and dangerous, so try to separate him from the spiders and defeat them one by one.
Before confronting the Scorpion Prince, go back behind the stairs to find a small path leading up to an alcove with a Green Wisp. From here, you can jump back down to the previous hanging cocoon corridor.
He often lunges with his claws or jumps from afar, followed by a tail whip and a second claw attack.
When he uses his tail, he will perform a hooking slash, then slam his tail down twice in a row, before making a final strike. Use Rock Solid to block attacks, and take advantage of the time he is stunned to counterattack.
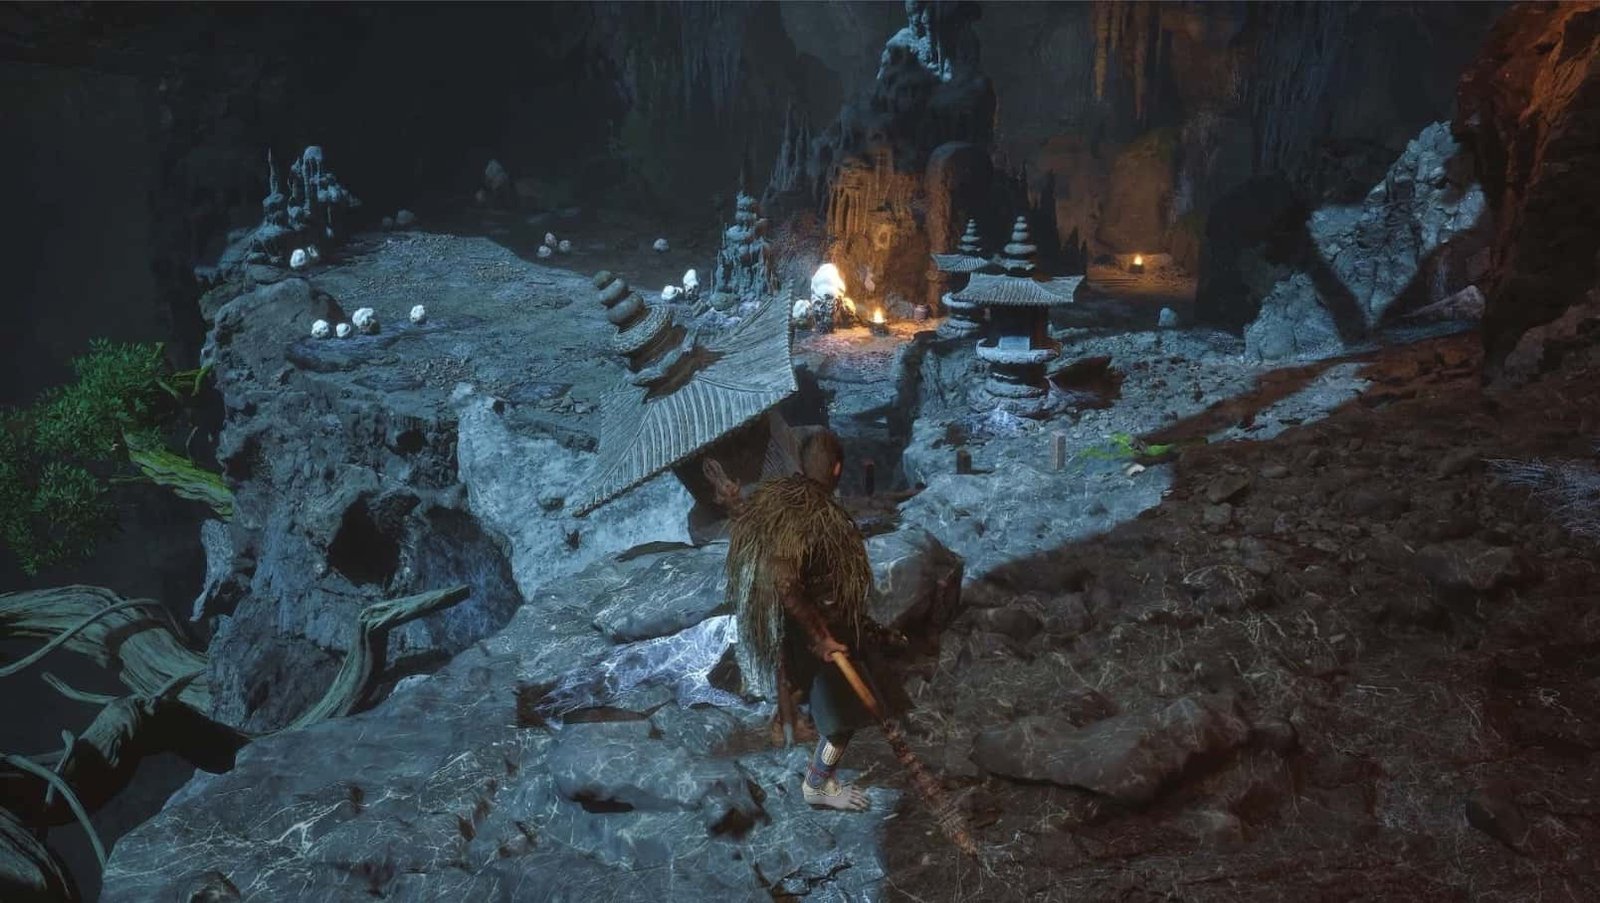
Pool of Shattered Jade Shrine
Follow the long curved path, eliminating Puppet Spiders along the way. Finally, you will reach the other side of the large stone platform you saw earlier, opposite the houses near the Upper Hollow Shrine.
Here, you will find the Pool of Shattered Jade Shrine and the Meditation Spot – The Carvings, Pool of Shattered Jade in the middle of the lake. Take this opportunity to save the game, recover, and receive a free skill point.
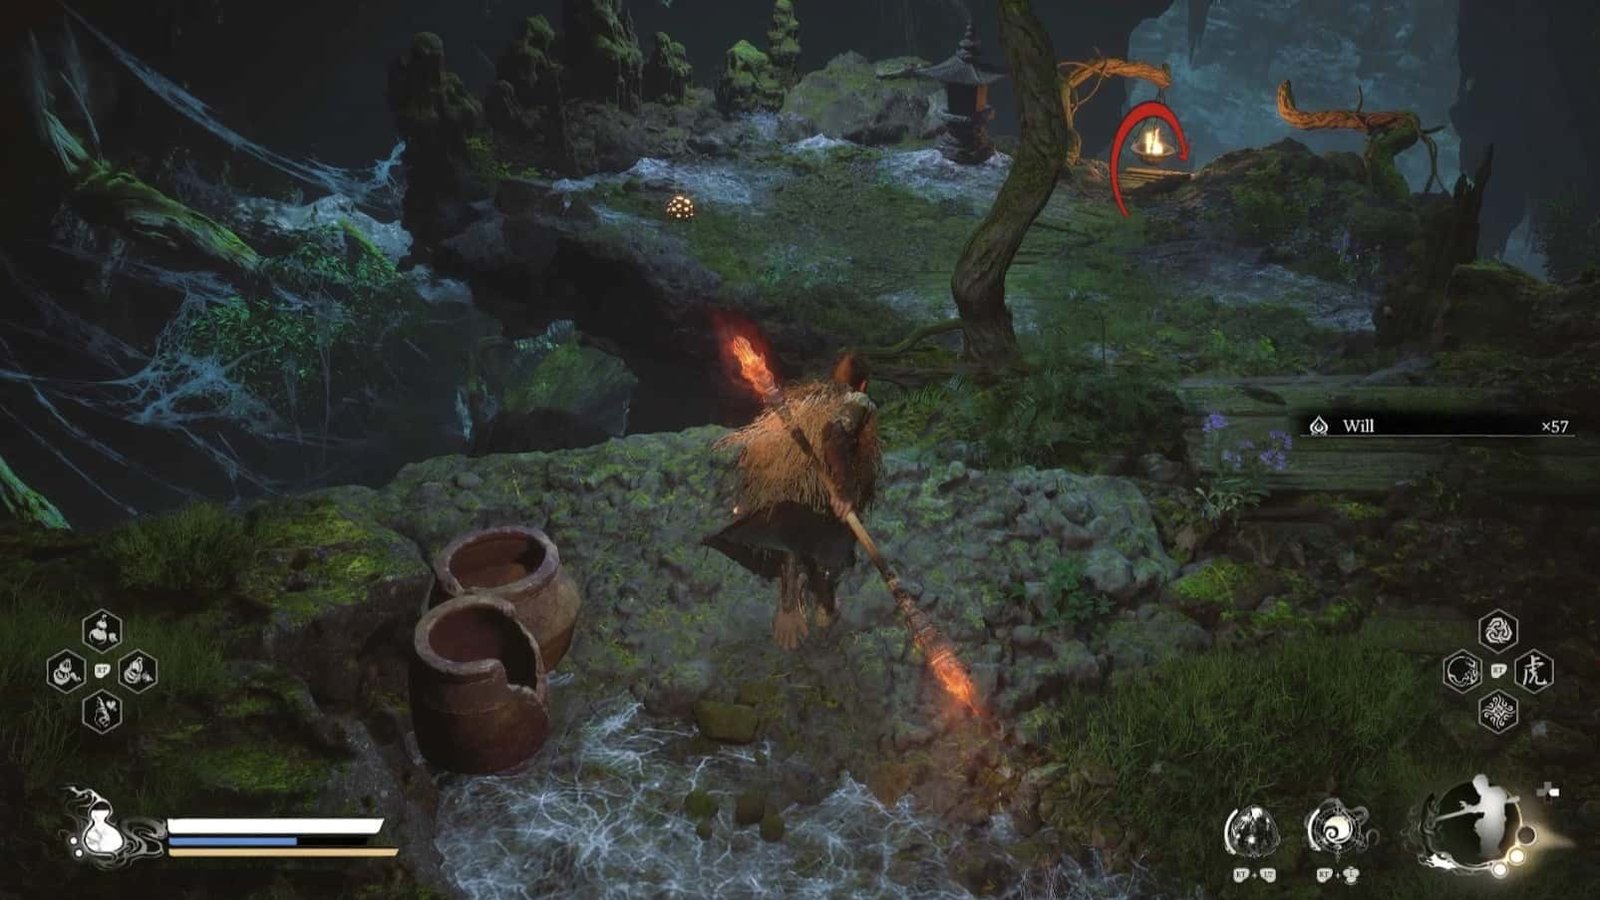
Absorb the Green Wisp on the other side of the broken bridge.
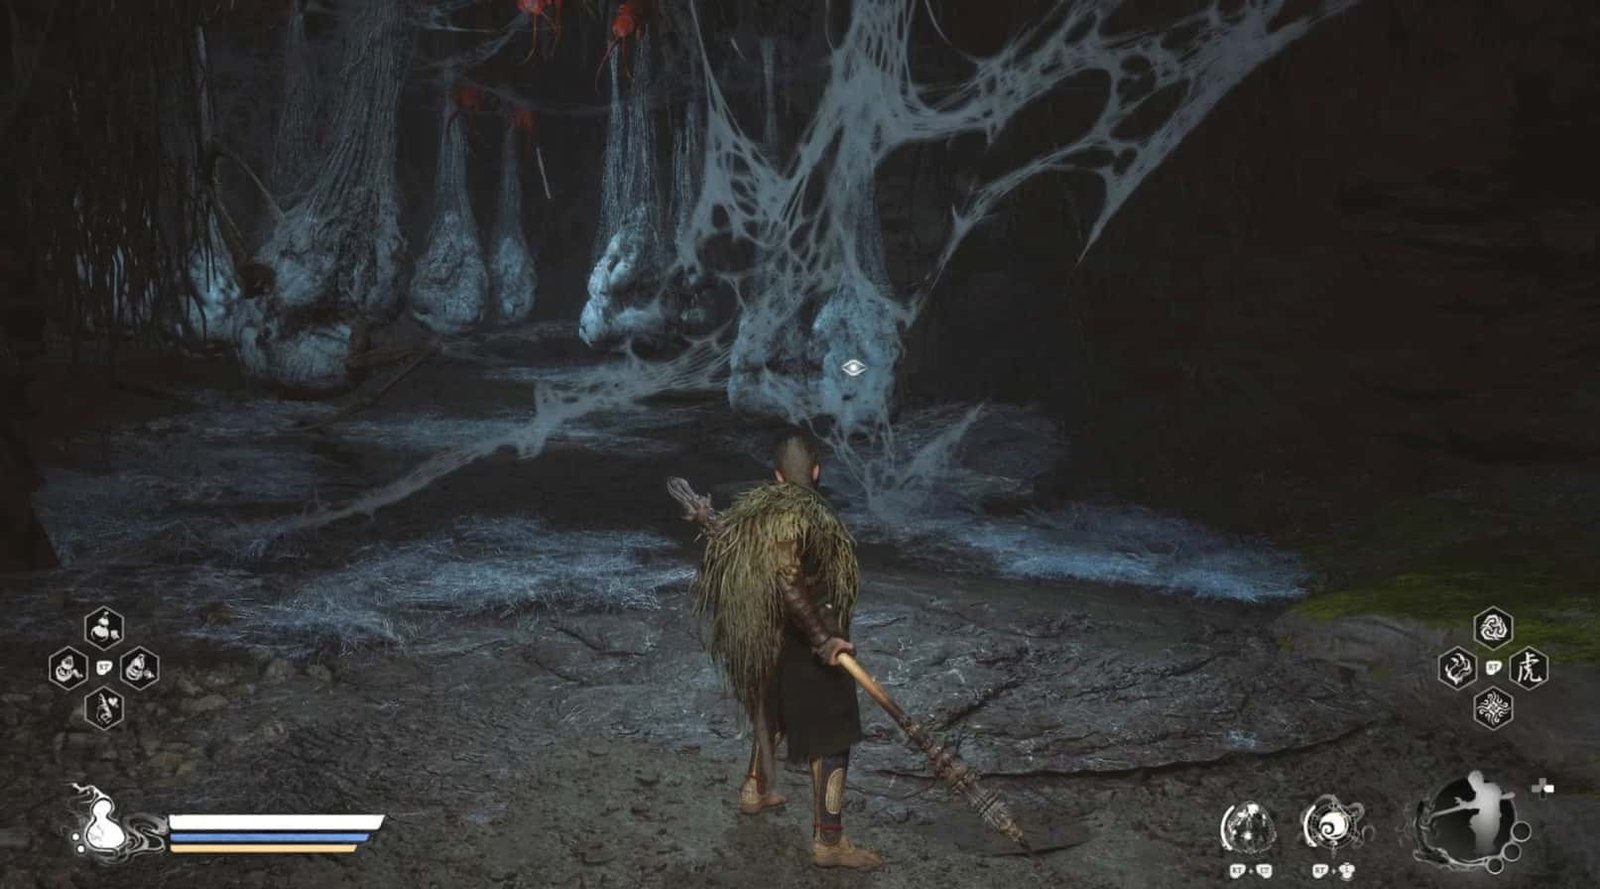
Look past the Shrine, you will see a small passage filled with familiar hanging cocoons.
Carefully clear the Clawed Cocoons to open the way.
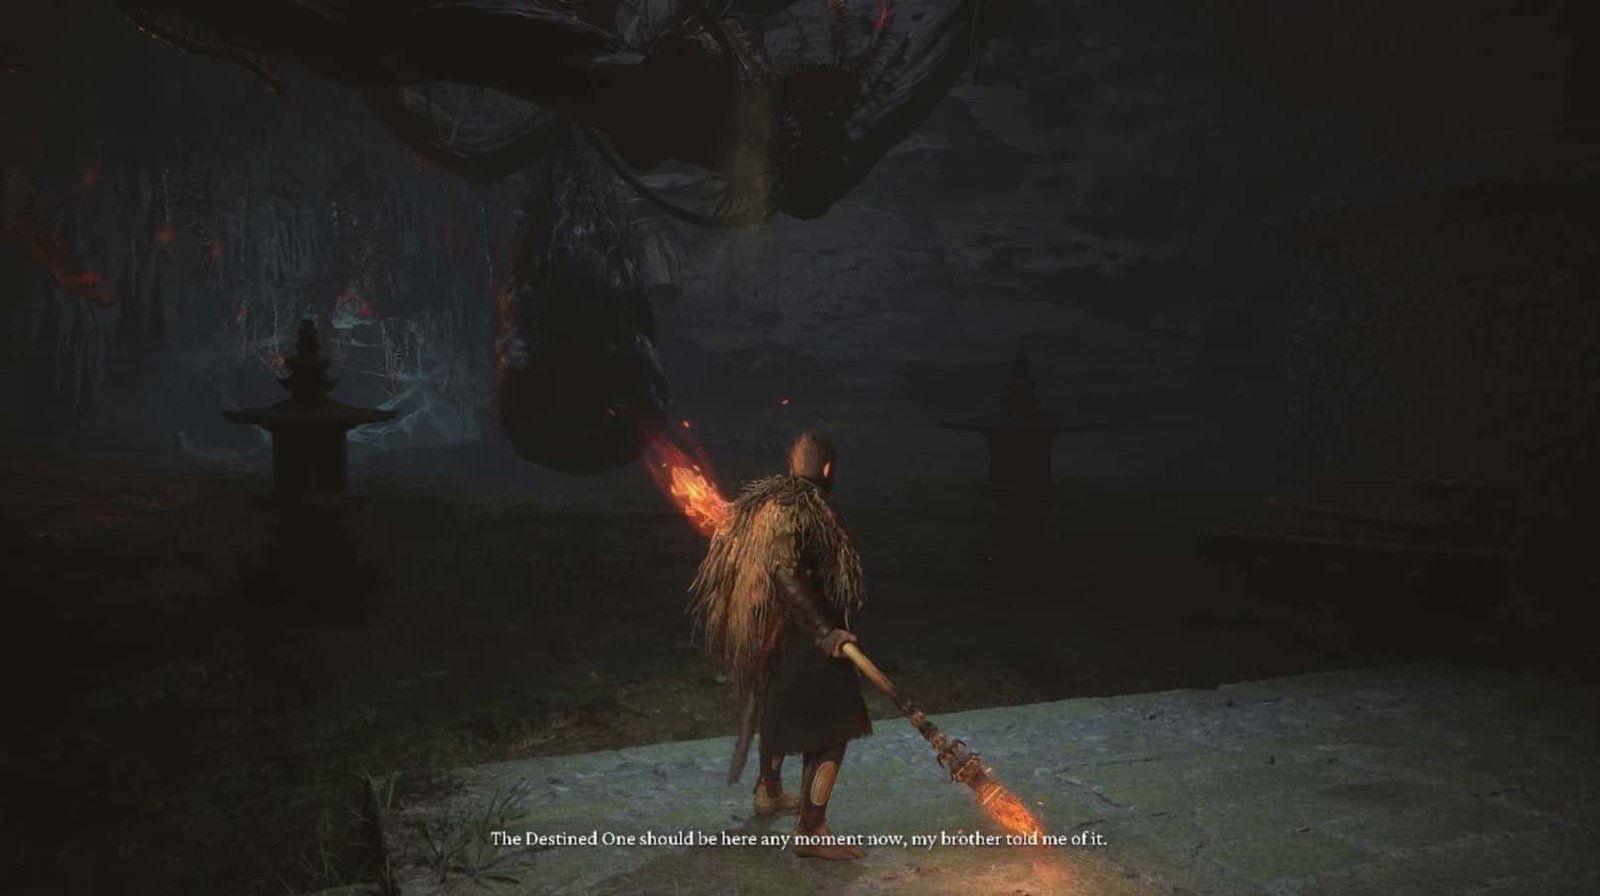
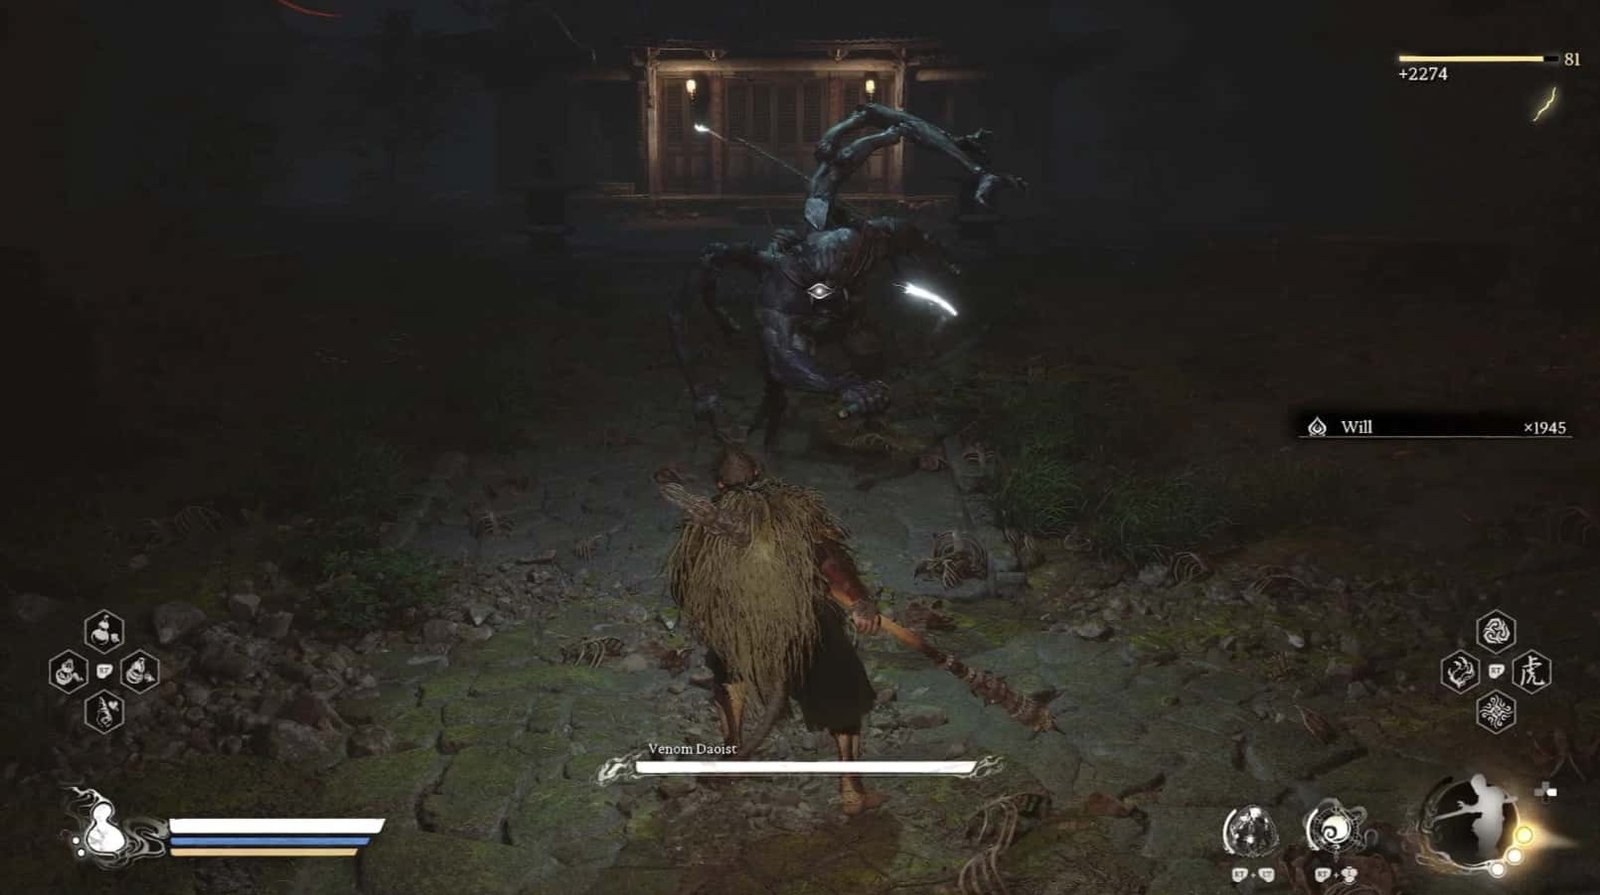
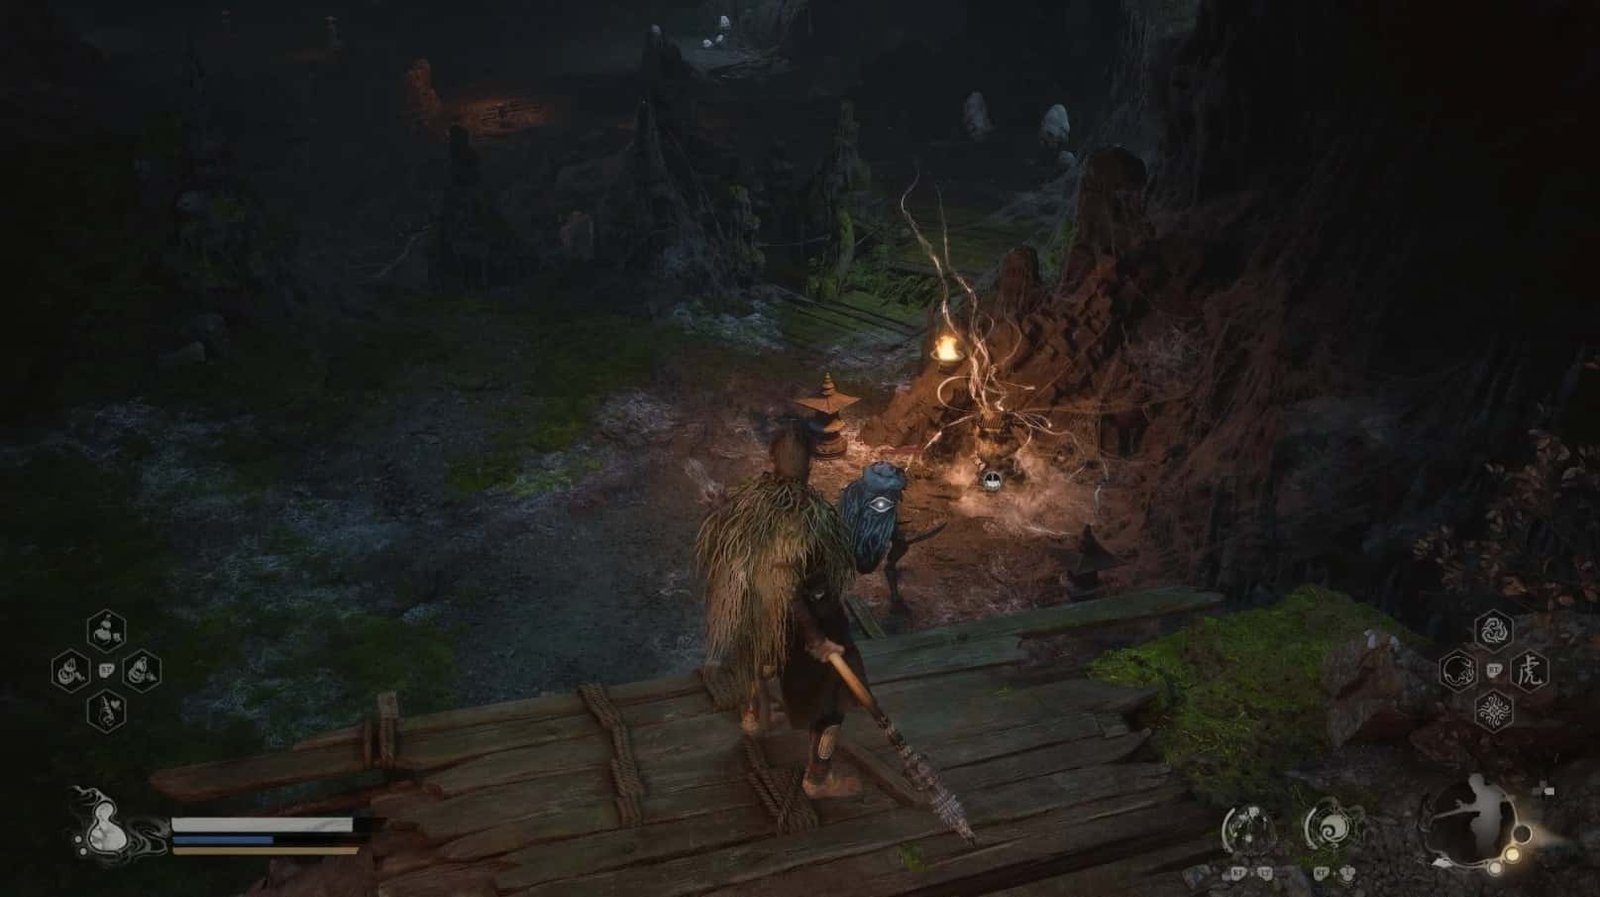
At the end of the corridor, you will come to a large room with a giant cocoon hanging in the middle. An angry voice emanates from within, and it seems to be waiting for you…
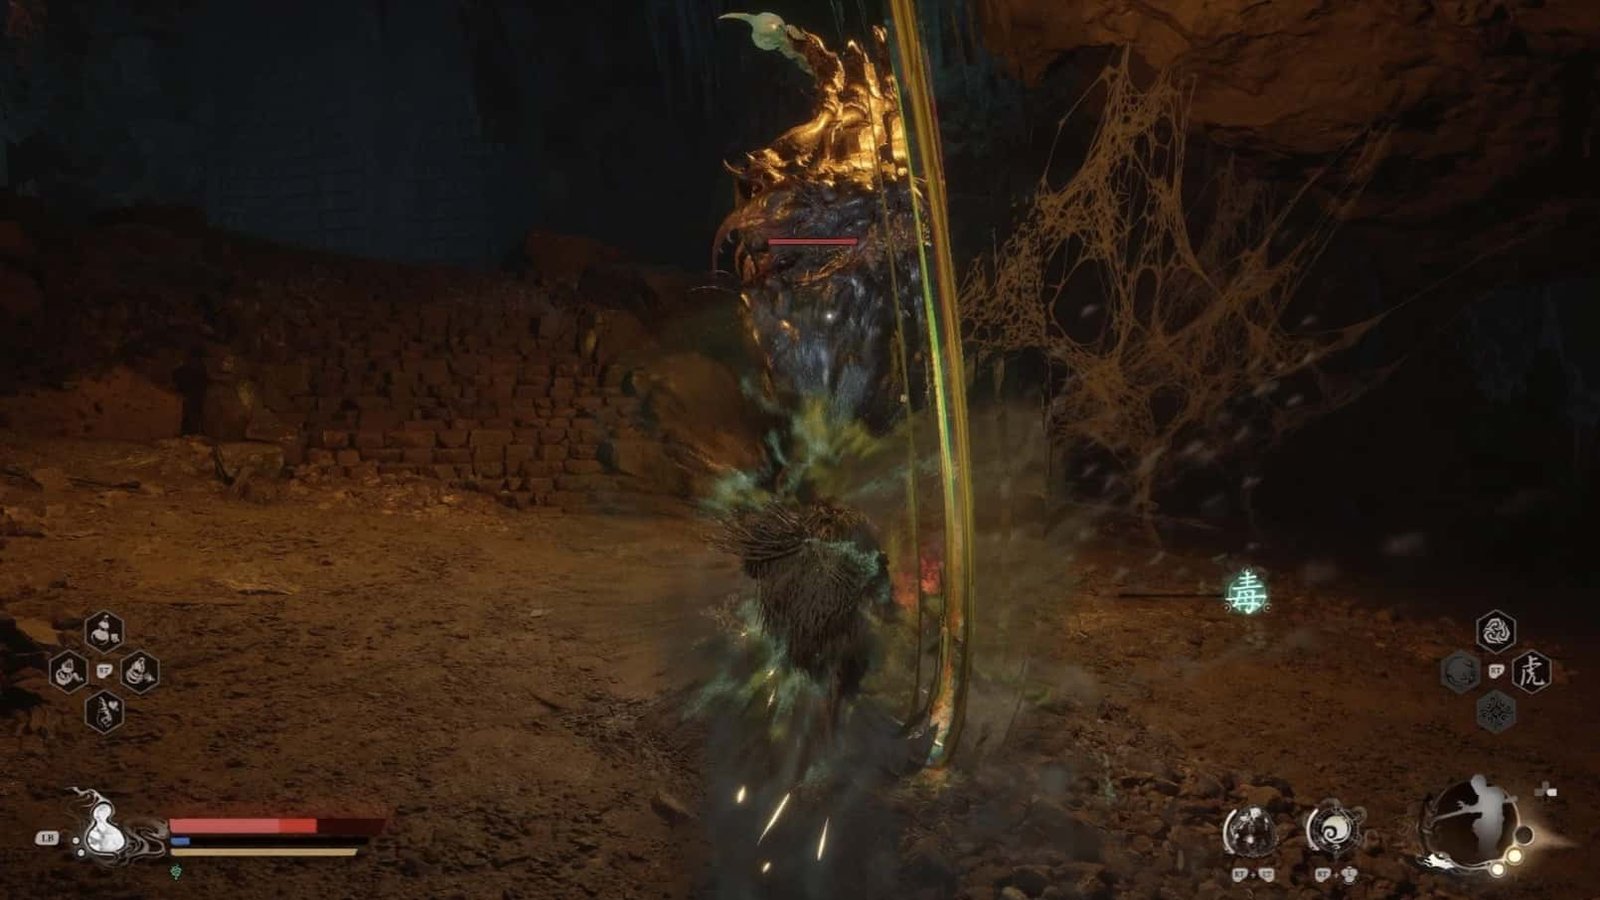
Venom Daoist Boss Fight
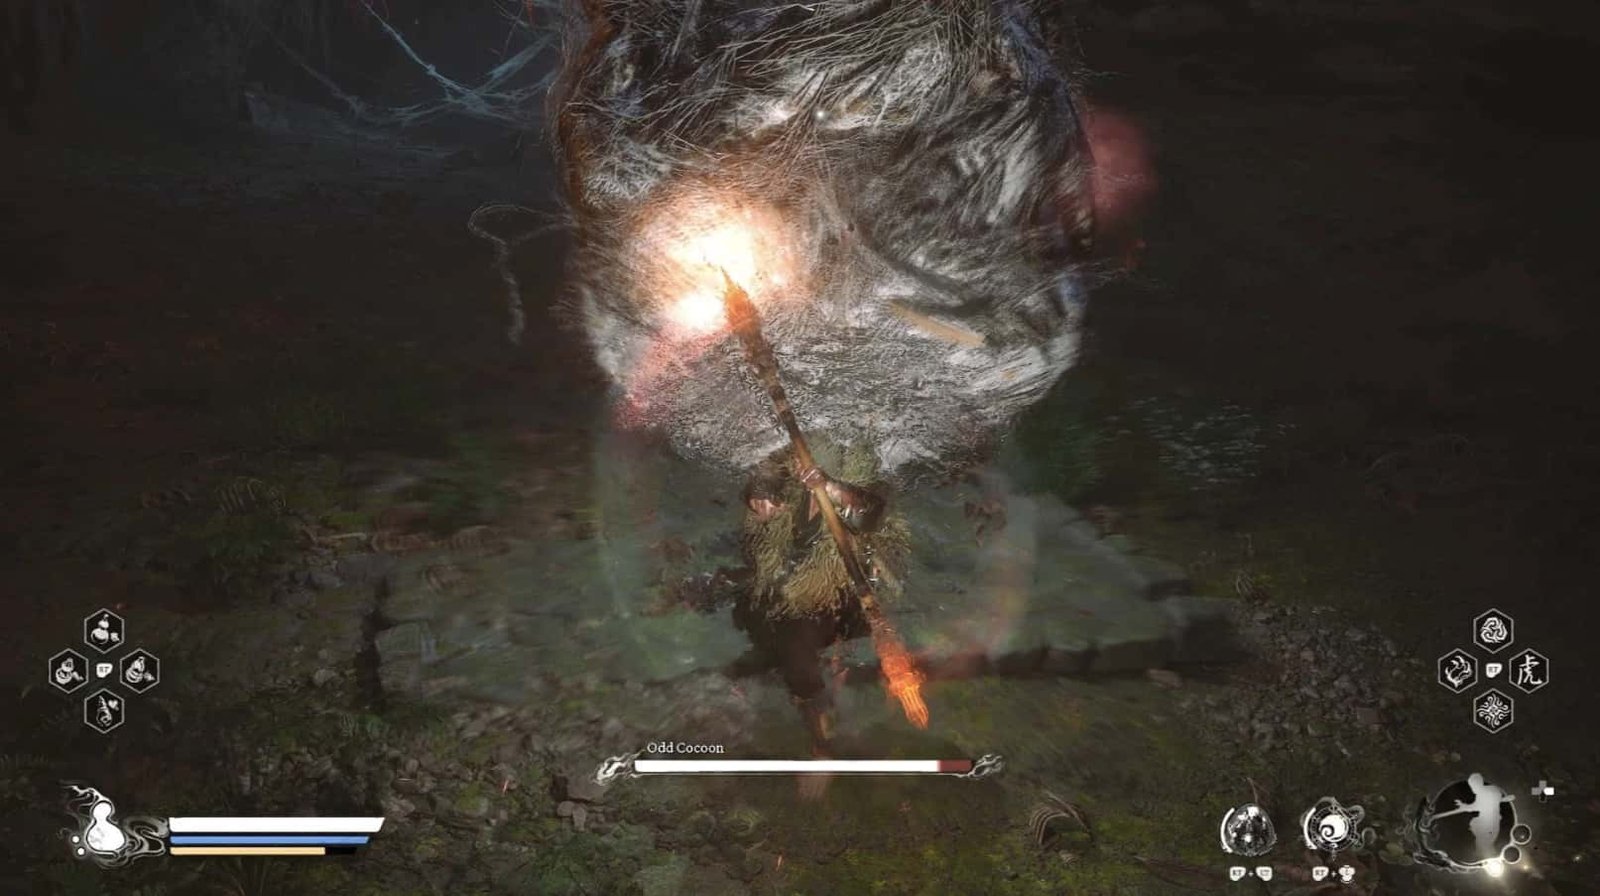
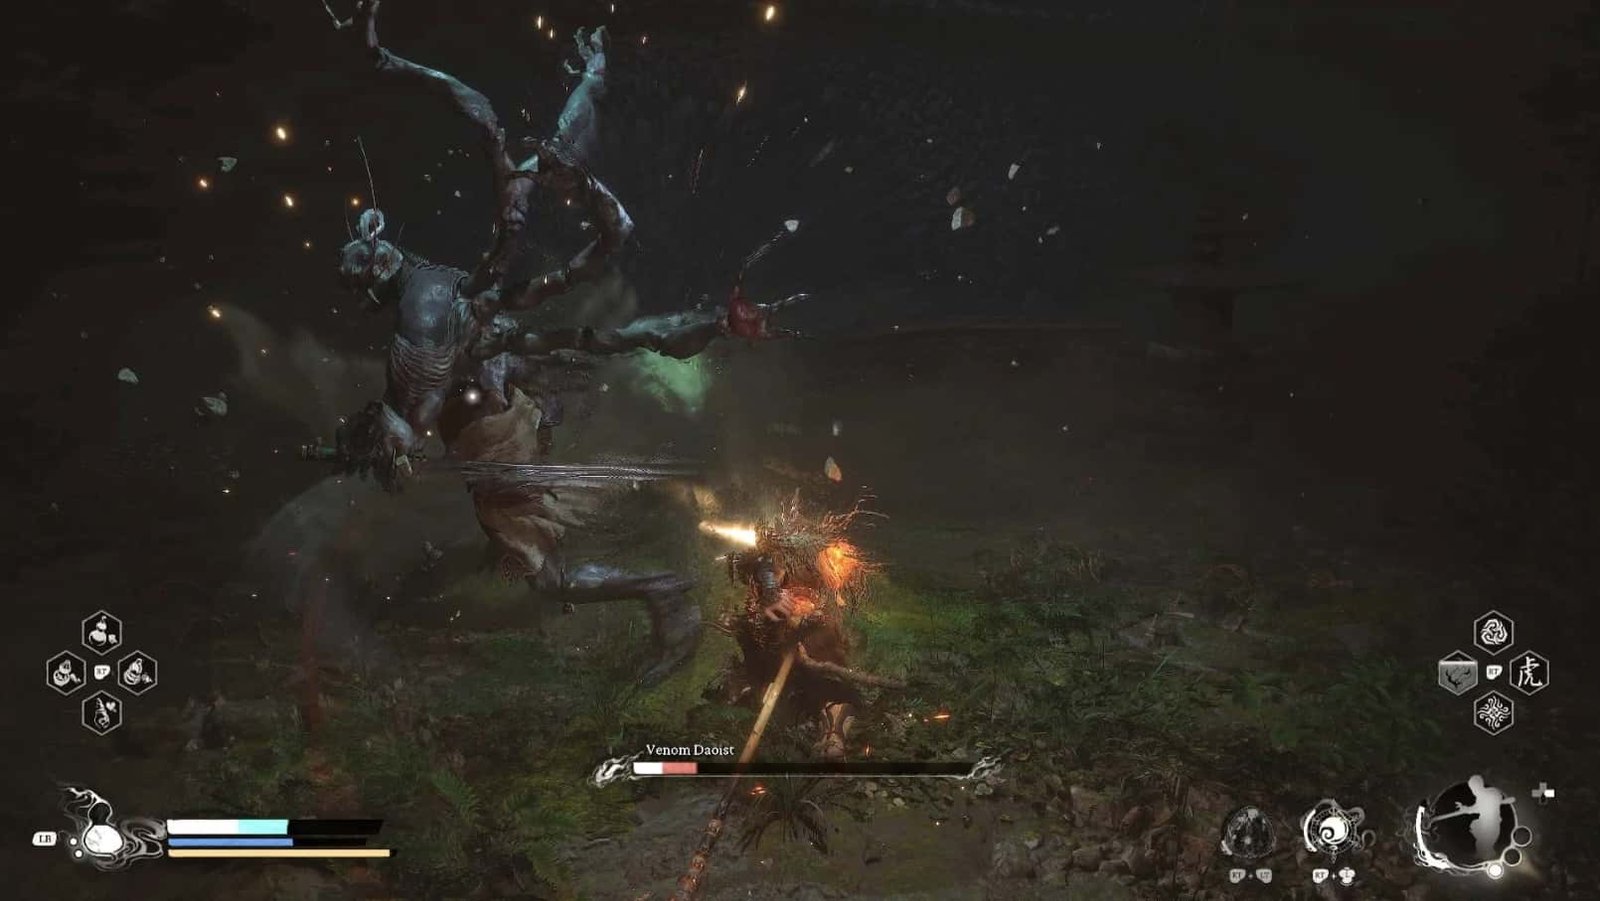
To start the battle, you need to attack the Odd Cocoon until its health bar drops to about half. Then, the Venom Daoist will appear, with two swords and eight arms ready to tear you apart.
To receive the Venomous Armguards – a necessary equipment for 100% Completion, you MUST destroy at least FOUR of Venom Daoist‘s extra arms BEFORE he is defeated. The two arms holding swords do not count.
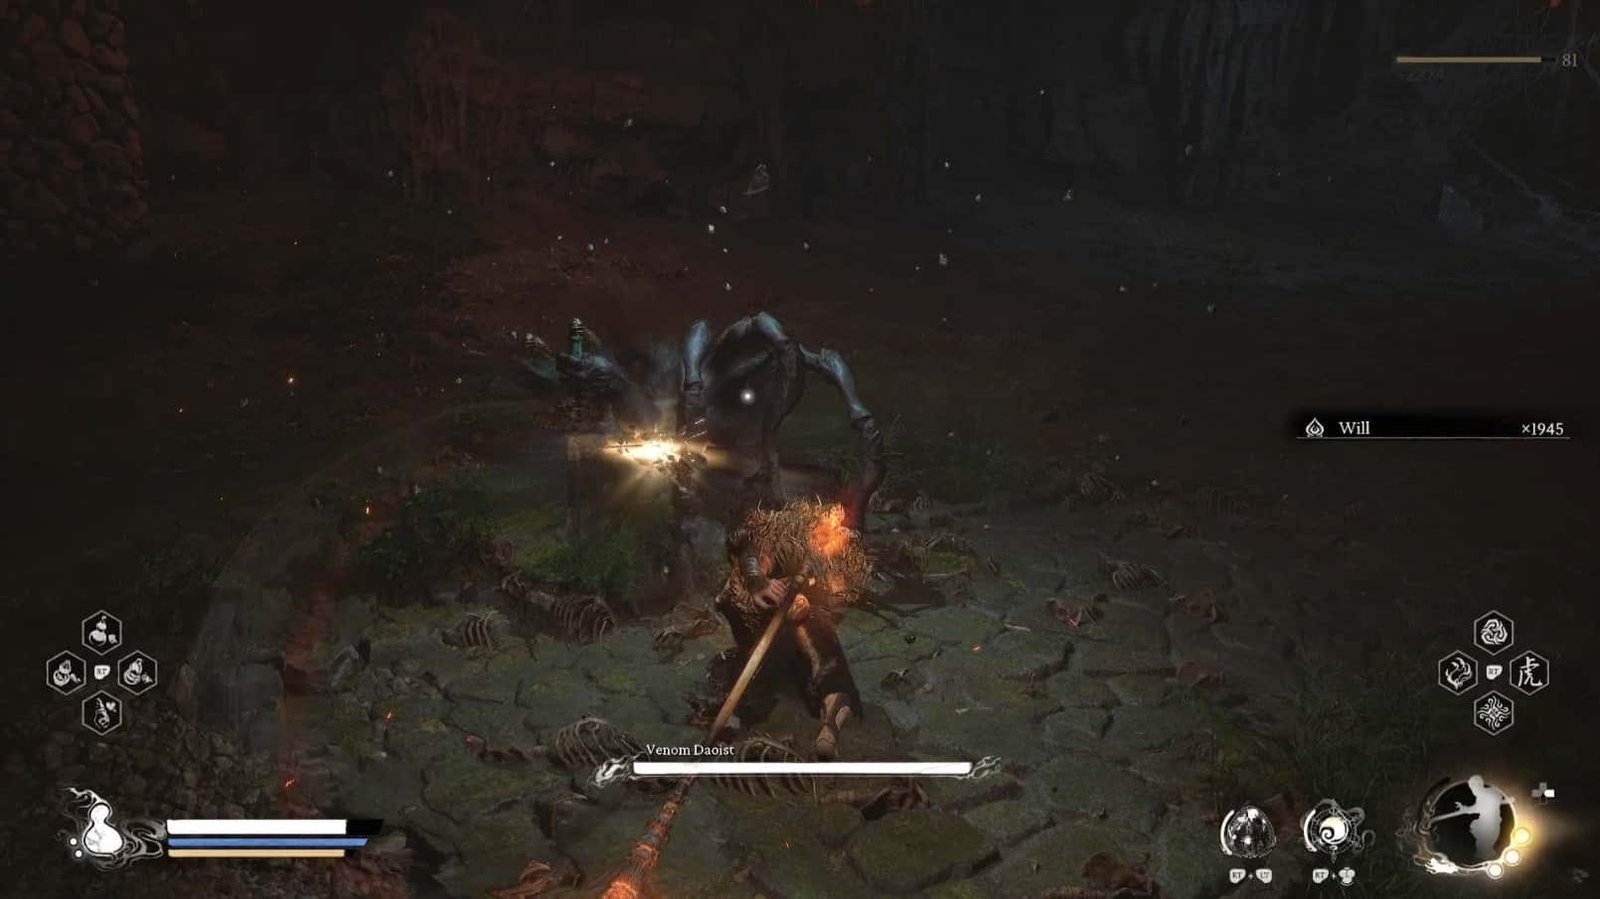
Focus on attacking the SIX arms on his back. Use Immobilize to keep him in place and attack from behind.
Area-of-effect Spirit Attacks are very useful for damaging multiple arms at once. When he loses about 2-4 extra arms, his health will also be low. Go all out to finish him off.
Rewards: Experience, Will (experience points), Venom Daoist (Webbed Hollow), and most importantly, Venomous Armguards (if you destroy enough 4 extra arms).
So we have completed the Pool of Shattered Jade area. After defeating Venom Daoist, we will return to the Pool of Shattered Jade Shrine to continue our journey.
Return to the path where you fought the Scorpion Prince. Looking towards that path, you will see a large wooden scaffold bridge crossing the chasm.
Before crossing the bridge, check around on the left to find a Green Wisp. Now, carefully cross this two-story bridge to go down to a lower level. Be warned, there is an archer waiting for you on the lower level. Eliminate him before crossing the bridge.
On the stone ledge on the other side of the bridge, you will find another Green Wisp.
From here, you can follow a series of platforms to go down. They will connect to the platforms you saw earlier, leading to a common stone platform.
Be careful, a Beetle Captain and an archer are guarding this area. You can use Cloud Step to quickly take down the archer first.
After defeating them, activate the Verdure Bridge Shrine nearby. So we have reached the Verdure Bridge Shrine, completing the Upper Hollow area of Webbed Hollow.